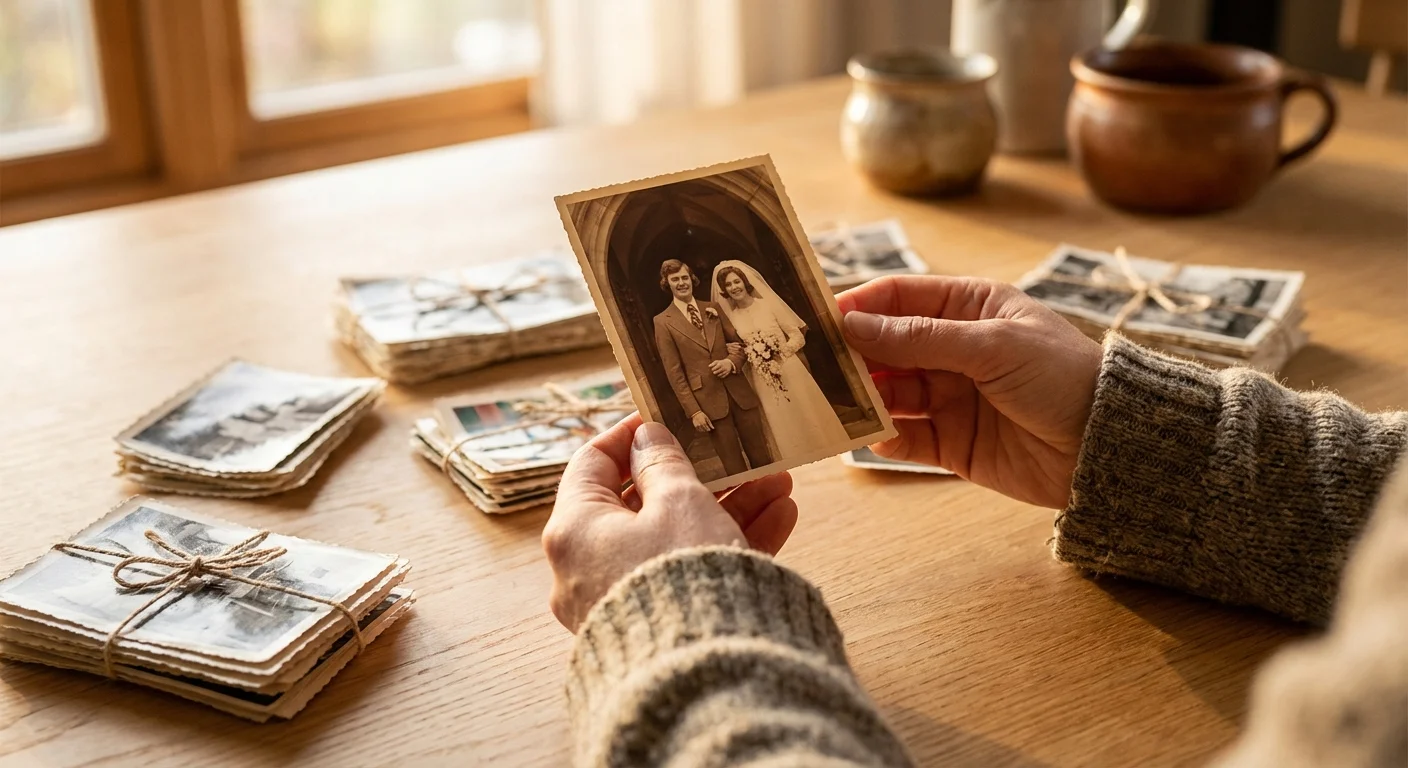
Fifty years of marriage represents more than just a passage of time; it is a sprawling epic of shared history, resilience, and evolving family dynamics. When you decide to tackle an anniversary photo project for a golden jubilee, you are not just sorting through paper and pixels—you are curating a legacy. This undertaking can feel daunting when you face decades of unorganized shoe-boxes, forgotten slides, and thousands of unsorted digital files on various smartphones. However, with a systematic approach and the right preservation mindset, you can transform this chaotic mountain of memories into a cohesive, moving tribute that honors the couple’s journey.
You may find yourself as the designated family historian, tasked with condensing half a century into a single milestone photo gift. The key to success lies in starting early and maintaining a clear vision of the final product. Whether you intend to create a high-end coffee table book, a nostalgic slideshow, or a physical gallery wall for an anniversary party, the steps you take now will ensure these memories remain vibrant for the next fifty years. This guide provides a professional framework to help you navigate the process of gathering, sorting, digitizing, and presenting a lifetime of photographic heritage.

Defining Your Project Vision and Scope
Before you open the first box of photos, you must define the goal of your anniversary photo project. A 50th anniversary is a massive milestone, and trying to use every single photo ever taken of the couple will lead to burnout and a cluttered final product. Ask yourself what the primary “output” will be. Are you creating a 15-minute tribute video to play at a banquet? Or are you designing a 100-page heirloom album that will sit on their coffee table? Your end goal dictates how many photos you need to select and how much time you should spend on restoration.
Establishing a realistic timeline is your first practical step. If the anniversary is three months away, you have enough time to do a thorough job; if it is three weeks away, you will need to narrow your focus significantly. Aim to collect approximately 100 to 150 high-impact photos for a comprehensive book or slideshow. This number allows you to show roughly two to three photos for every year of the marriage, providing a balanced look at their early years, the growth of their family, and their more recent adventures. Focus on quality over quantity—a sharp, well-composed photo of the couple laughing says more than ten blurry shots of a distant landscape from a vacation they barely remember.
Gathering Scattered Memories Across Generations
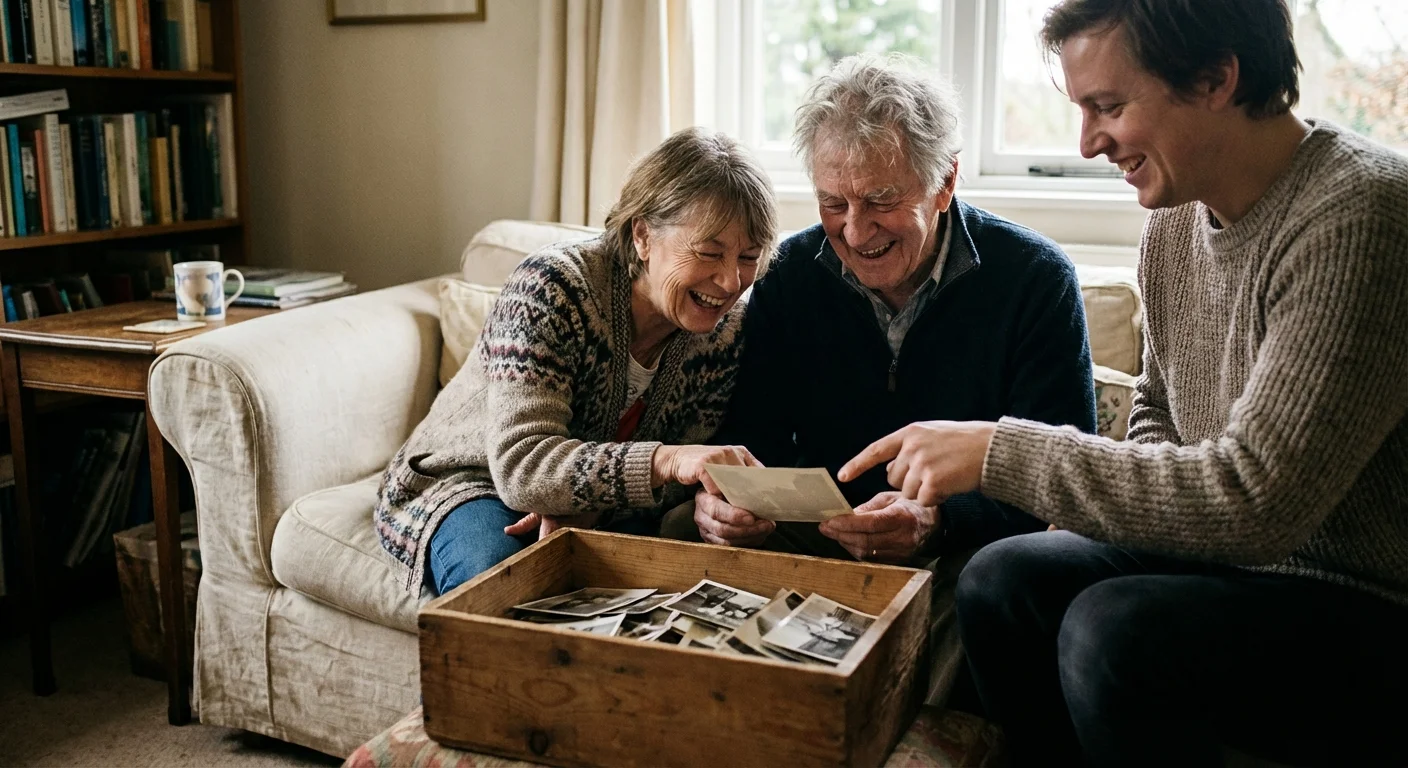
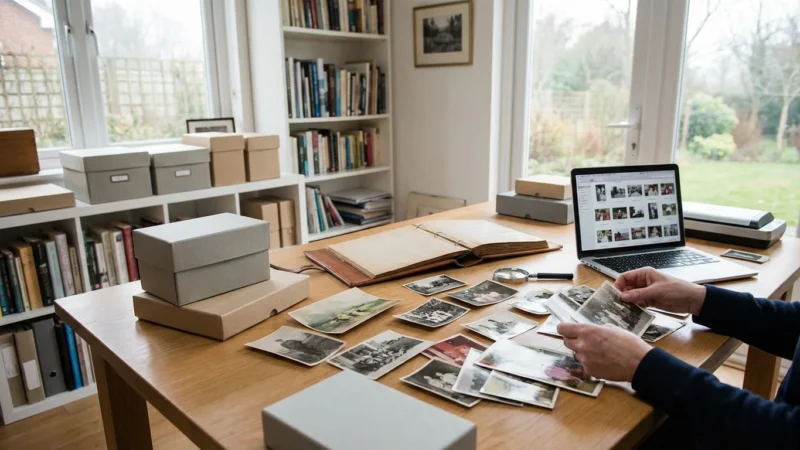
Organizing anniversary photos often requires a bit of detective work. The couple likely has the bulk of the collection, but siblings, children, and lifelong friends often hold hidden gems. Send out a clear request to family members early in the process. Ask them to look for specific “milestone” moments: the wedding day, the purchase of the first home, early holidays with children, and significant career achievements. Specify that you are looking for photos where the couple is the focus.
When you gather physical photos from relatives, implement a tracking system immediately. Use small, acid-free sticky notes on the back of the prints to record who provided the photo so you can return it safely later. If you are collecting digital images, create a shared cloud folder (like Google Drive or Dropbox) and invite family members to upload their highest-resolution files. Encourage them to include “metadata” in the description, such as the year the photo was taken or the names of the people in the frame. This collaborative effort not only lightens your load but also ensures you capture perspectives and moments you might have otherwise missed.
Essential Tools for Safe Photo Handling and Sorting
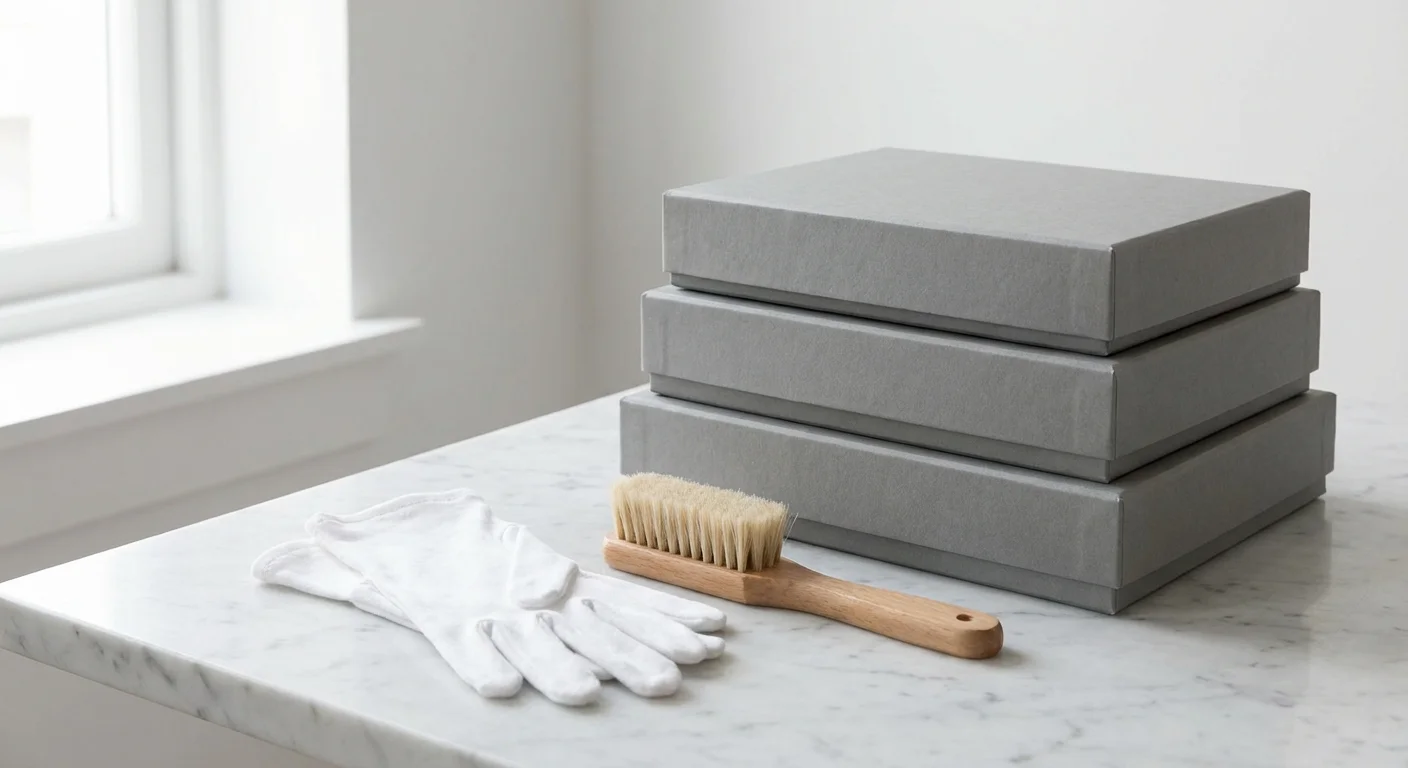
When you handle vintage prints, you are touching delicate chemical emulsions that can be easily damaged. The oils, salts, and moisture on your fingertips act as slow-acting contaminants that can lead to permanent fingerprints or fungal growth. To treat these memories with the respect they deserve, you need a basic archival toolkit. This isn’t just about being “fancy”—it is about ensuring the photos survive another fifty years.
Your toolkit should include:
- Nitrile or Cotton Gloves: These prevent skin oils from transferring to the photo surface. Nitrile is often preferred as it provides a better grip and doesn’t shed fibers.
- A Soft Brush: A clean, soft-bristled brush (like a goat-hair makeup brush or a specialized photographic brush) helps remove dust and grit without scratching the surface.
- Acid-Free Folders and Boxes: Standard cardboard contains lignin, which turns acidic over time and yellows your photos. Look for supplies labeled “acid-free” and “lignin-free.”
- Photo-Safe Pencils: Use a soft lead pencil (like a 4B or 6B) to write lightly on the back of prints. Never use ballpoint pens or felt-tip markers, as the ink can bleed through or “ghost” onto the photo stacked on top of it.
- Unflavored Dental Floss: This is a secret weapon for safely lifting photos that have become stuck to “magnetic” album pages.
Working in a clean, well-lit environment is equally important. Avoid eating or drinking near the photos, and work on a large, flat surface that has been wiped clean of dust. According to the Library of Congress Preservation guidelines, maintaining a stable environment with low humidity is the single most important factor in extending the life of photographic materials. If you find photos with active mold or significant physical tearing, set them aside for professional consultation rather than attempting a “DIY” fix that could worsen the damage.
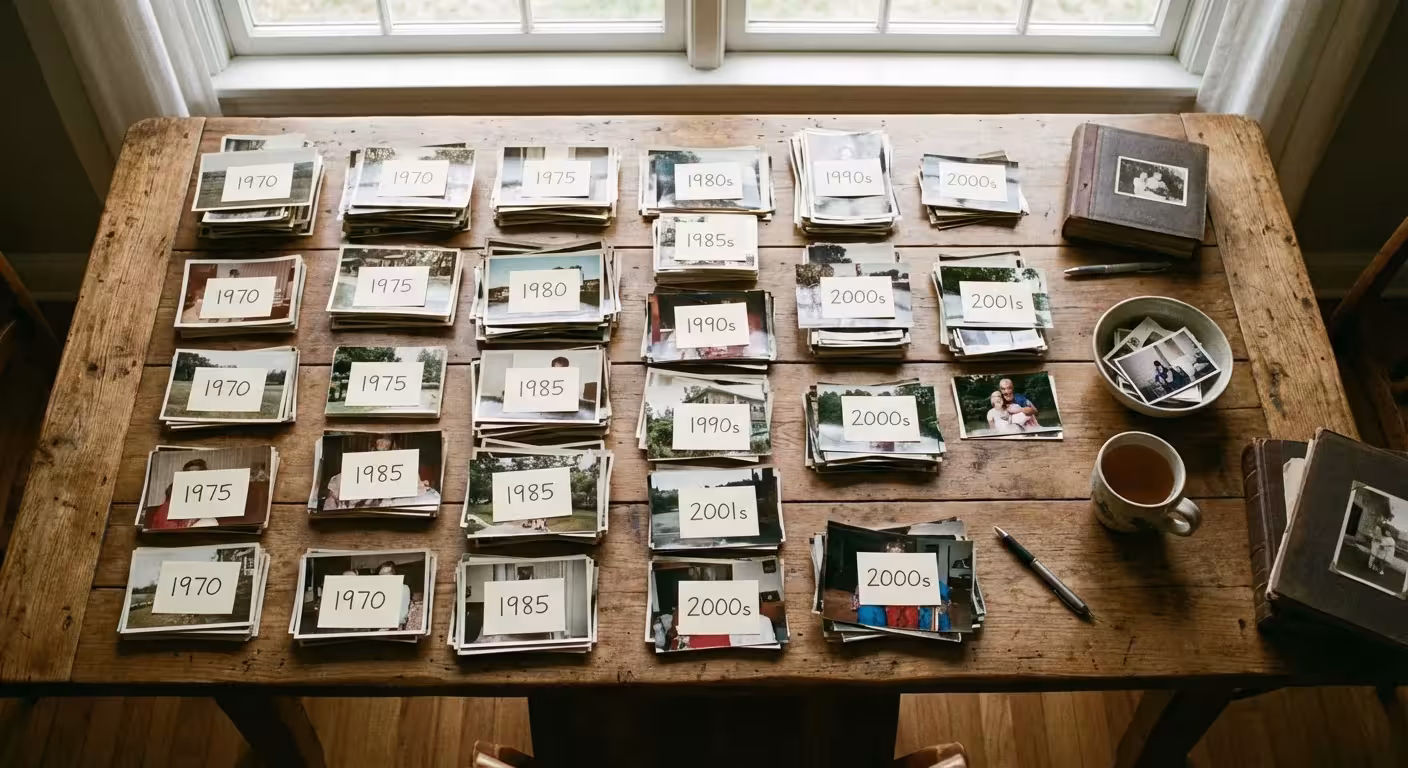
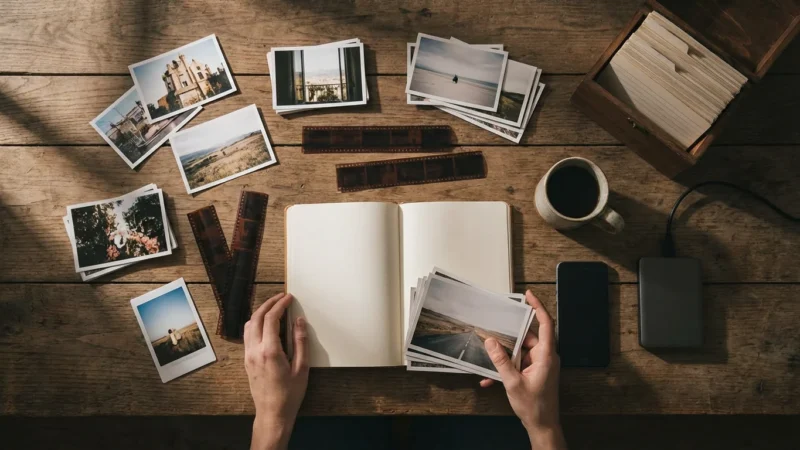
Establishing a Logical Sorting and Categorization System
Faced with thousands of images, you need a sorting method that prevents “decision fatigue.” The most effective strategy for a 50th anniversary is a two-pass sorting system. In the first pass, your goal is simply to categorize by decade. Create five large zones on your workspace: The Wedding & Early Years (1970s), Building a Life (1980s), The Growing Family (1990s), New Horizons (2000s), and The Golden Years (2010s to present).
The second pass is where you refine the selection. Use the “ABC Method” to evaluate each photo:
| Category | Definition | Action |
|---|---|---|
| A-List | The “must-haves.” Iconic moments, clear faces, and high emotional impact. | Digitize at high resolution and prioritize for the main gift. |
| B-List | Supporting photos. Good quality but perhaps repetitive or less significant. | Keep in archival storage; use as “fillers” if needed. |
| C-List | The “clutter.” Blurry shots, duplicates, or photos of people no one recognizes. | Do not digitize. Store separately or consider discarding if they hold no value. |
As you sort, look for “story arcs.” Maybe there is a recurring family pet, a favorite vacation spot they visited every decade, or a specific way the husband looks at the wife that hasn’t changed in fifty years. These thematic threads are what make an anniversary project feel like a narrative rather than just a chronological list of events. Don’t be afraid to be ruthless with the “C-List”—your goal is to highlight the best, not to archive every mundane moment.
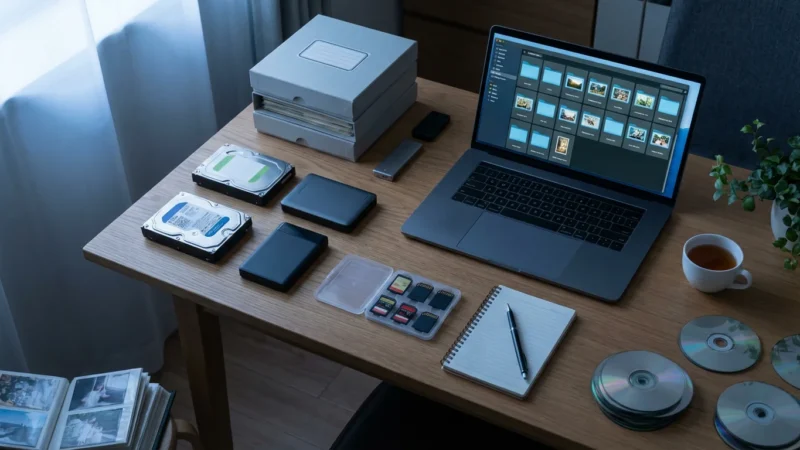
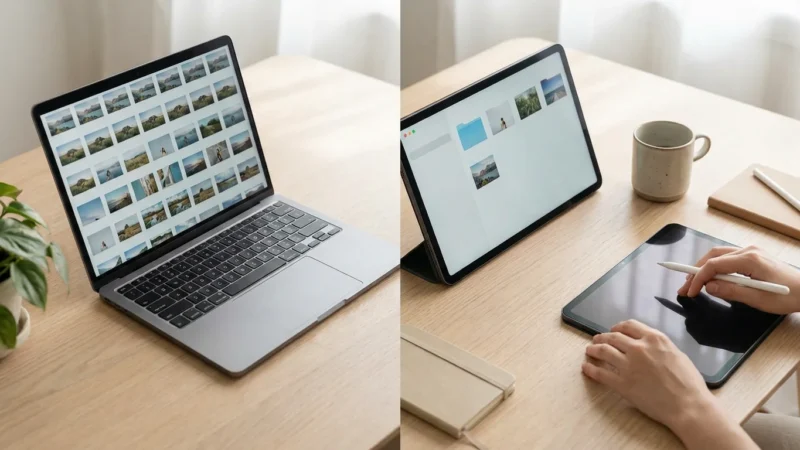
Digitization Strategies for Vintage Media
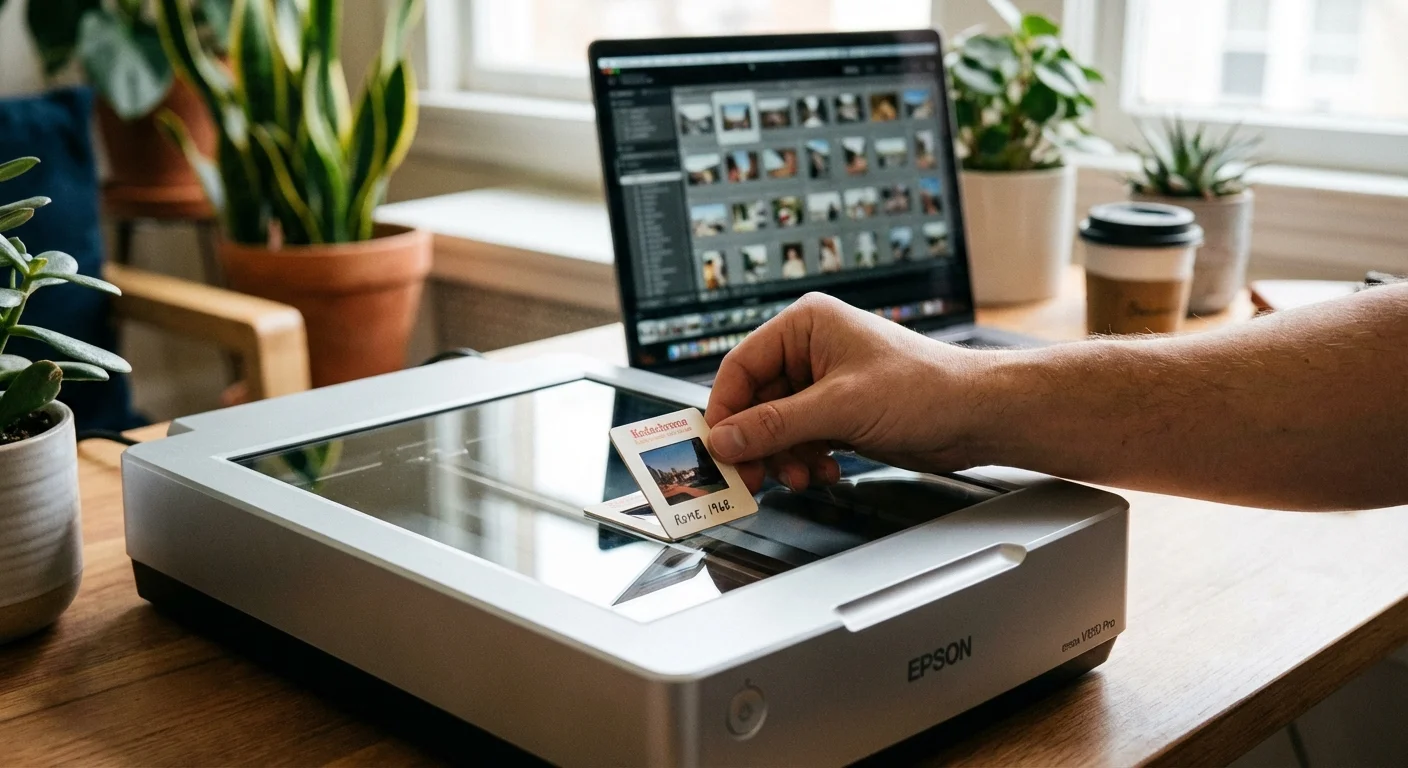
Once you have selected your “A-List” and some “B-List” photos, you need to bring them into the digital world. This step is crucial for creating books and slideshows, but it also serves as a vital backup. For most people, a flatbed scanner is the best tool for the job. It provides a stable, controlled environment for capturing details. However, if you have thousands of photos, you might consider a high-speed photo scanner like the Epson FastFoto series, which can process a stack of photos in minutes.
When scanning, pay close attention to resolution. For a standard 4×6 print, scanning at 300 DPI is sufficient for viewing on a screen. However, if you plan to enlarge that photo for a poster or a full-page spread in a book, you must scan at 600 DPI or higher. For 35mm slides and negatives, the requirements are much higher; you should aim for 2400 to 4800 DPI because the original source is so small. The Image Permanence Institute emphasizes that high-quality digital surrogates can reduce the need to handle fragile originals, effectively preserving them for longer periods.
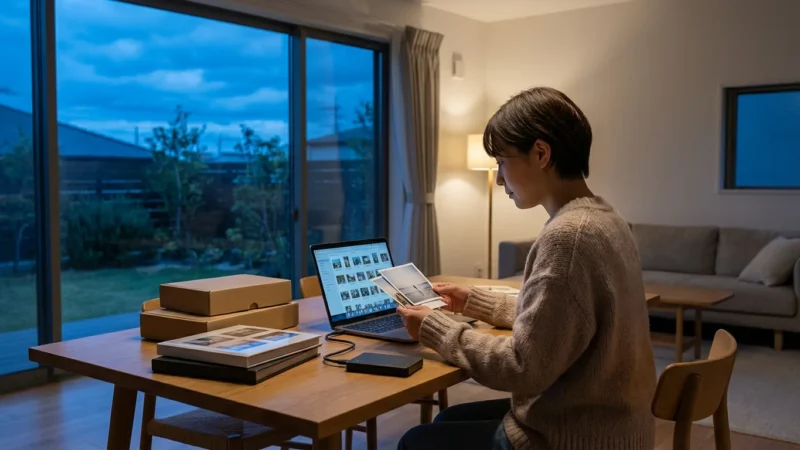
If you don’t own a scanner, you can use a smartphone with a dedicated app like Google PhotoScan. This app uses the phone’s camera to take multiple angles of a photo and then stitches them together to eliminate glare. While not as high-quality as a flatbed scanner, it is a practical solution for quickly capturing images while visiting relatives. Always save your scans in a non-proprietary format like TIFF for long-term preservation, or high-quality JPEG for immediate project use. Organize your digital files into folders that mirror your physical sorting system (e.g., “1984_Family_Vacation” or “1974_Wedding_Day”).
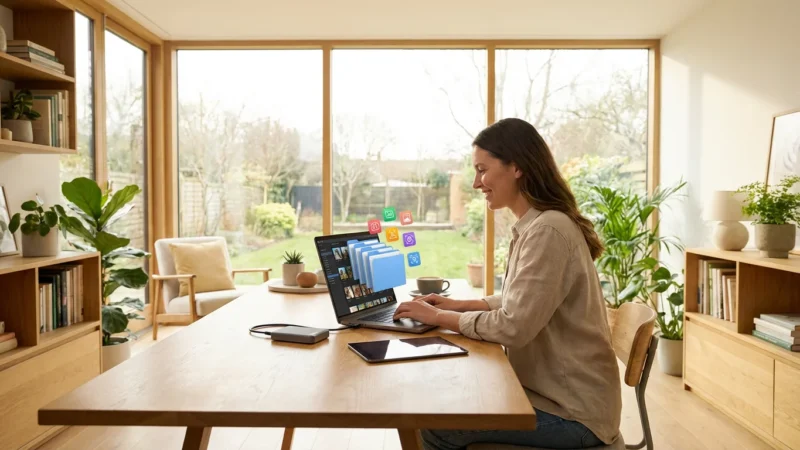
Curating the Narrative for a Milestone Photo Gift
With your photos digitized and sorted, you now step into the role of a storyteller. A 50th-anniversary photo project is most powerful when it follows a recognizable arc. You aren’t just showing that they got older; you are showing how their love matured and expanded. Start with the “Origins”—the couple as individuals before they met, their courtship, and the wedding day. This sets the stage and reminds younger generations that the couple had lives and personalities long before they became “Grandma and Grandpa.”
The most successful anniversary projects don’t just show events; they capture the ‘feeling’ of a family. A candid photo of a messy kitchen from 1982 often carries more emotional weight than a stiff, posed studio portrait.
Move into the “Foundation” years. This is usually the era of early parenthood, career building, and the first few homes. These photos often look dated in the best possible way—the fashion, the cars, and the interior decor tell a story of the era. Don’t shy away from these “retro” elements; they ground the story in time. As you reach the “Legacy” phase, focus on the couple’s role as the patriarch and matriarch. Include photos of them with their grandchildren, traveling in retirement, or simply enjoying each other’s company in the present day.
Consider adding “non-photo” elements to the narrative. If you have a scan of their original wedding invitation, a clipping from a local newspaper about their engagement, or a handwritten recipe that has been passed down, include these in the project. These “ephemera” add texture and authenticity to the visual story, making the milestone photo gift feel more like a complete history book than a simple photo album.
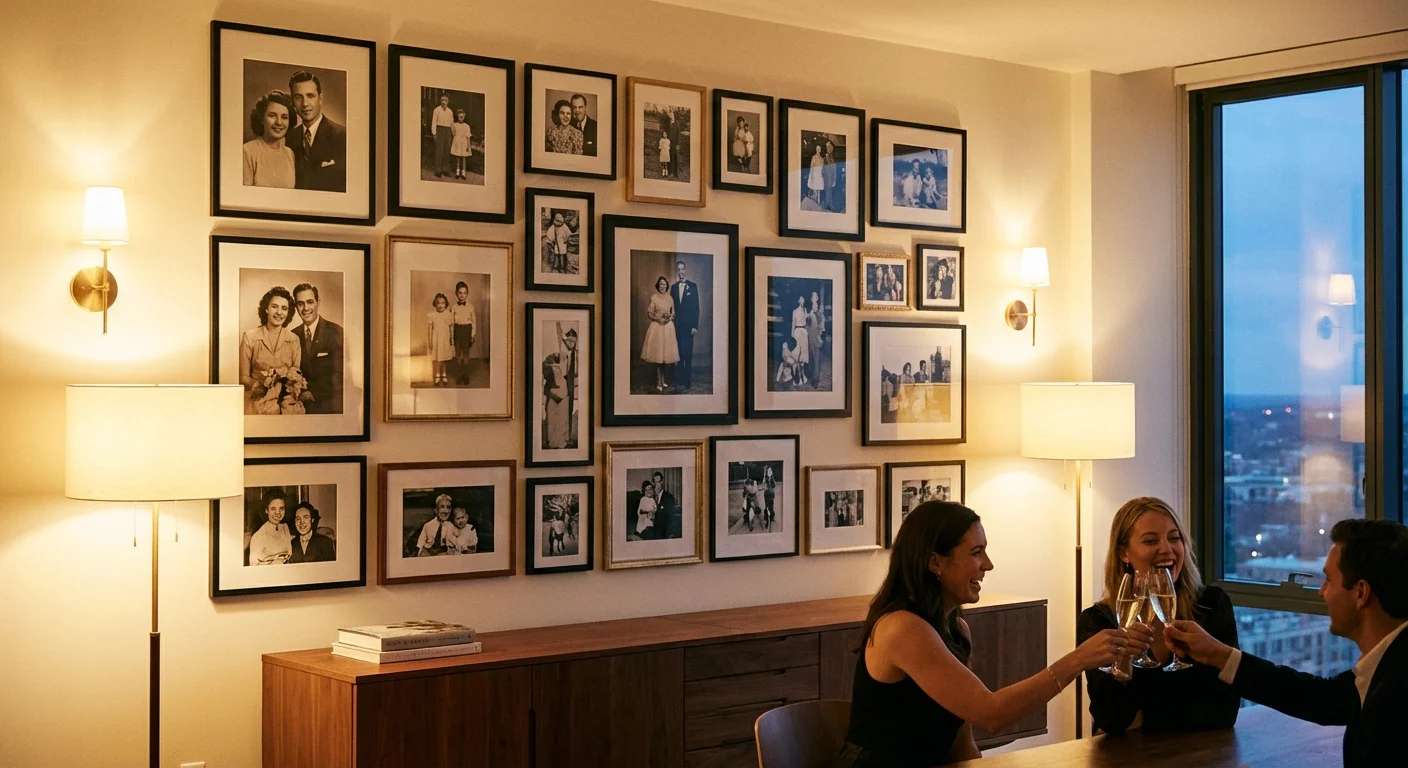
Creative Ways to Display 50 Years of History
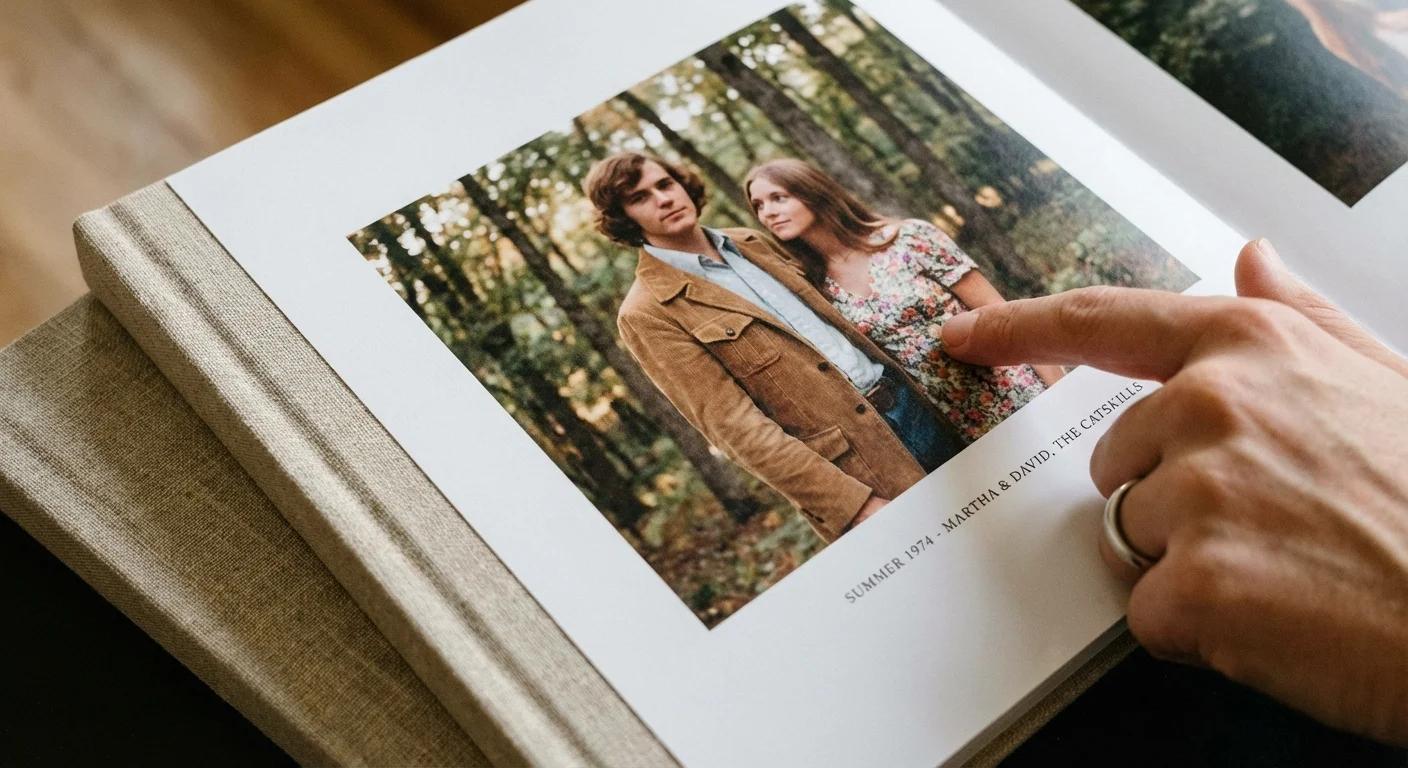
Once the curation is complete, you must decide how to present the memories. The most popular choice is a high-quality photo book. Modern services allow you to choose premium papers and linen covers that feel substantial in the hand. When designing the book, use plenty of white space. Don’t crowd every page with five photos; give the most important “A-List” images their own full pages. Use captions to name people and places, ensuring the knowledge isn’t lost as the book is passed down.
For the anniversary party itself, consider these creative options:
- The “Then and Now” Gallery: Create pairs of photos. For example, a photo of the couple on their wedding day next to a photo of them today in a similar pose. Display these on easels or a dedicated table.
- A Chronological Slideshow: Set the photos to music from the year they were married. Keep the transitions simple—cross-fades are less distracting than “exploding” transitions. Aim for a length of 10 to 12 minutes to keep guests engaged.
- Photo Centerpieces: Use small frames at each guest table, with each table representing a different year or milestone in the couple’s life. This encourages guests to walk around and “travel through time.”
- A Digital Photo Frame: For a gift that keeps on giving, load a high-resolution digital frame with the entire “A-List” and “B-List” collection. This is perfect for couples who may be downsizing and don’t have space for large physical albums.
Regardless of the medium, ensure the couple is the star. While photos of kids and grandkids are important, the 50th anniversary is specifically a celebration of their union. Make sure they appear in at least 60% of the images you choose to display.
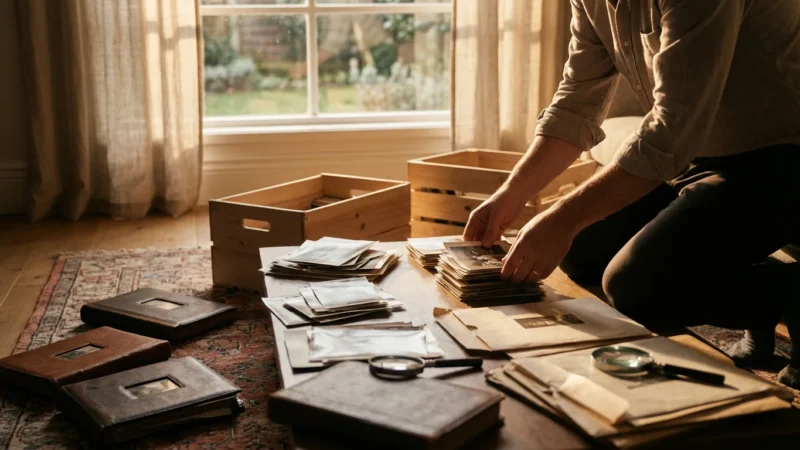
Preserving the Original Collection for Posterity
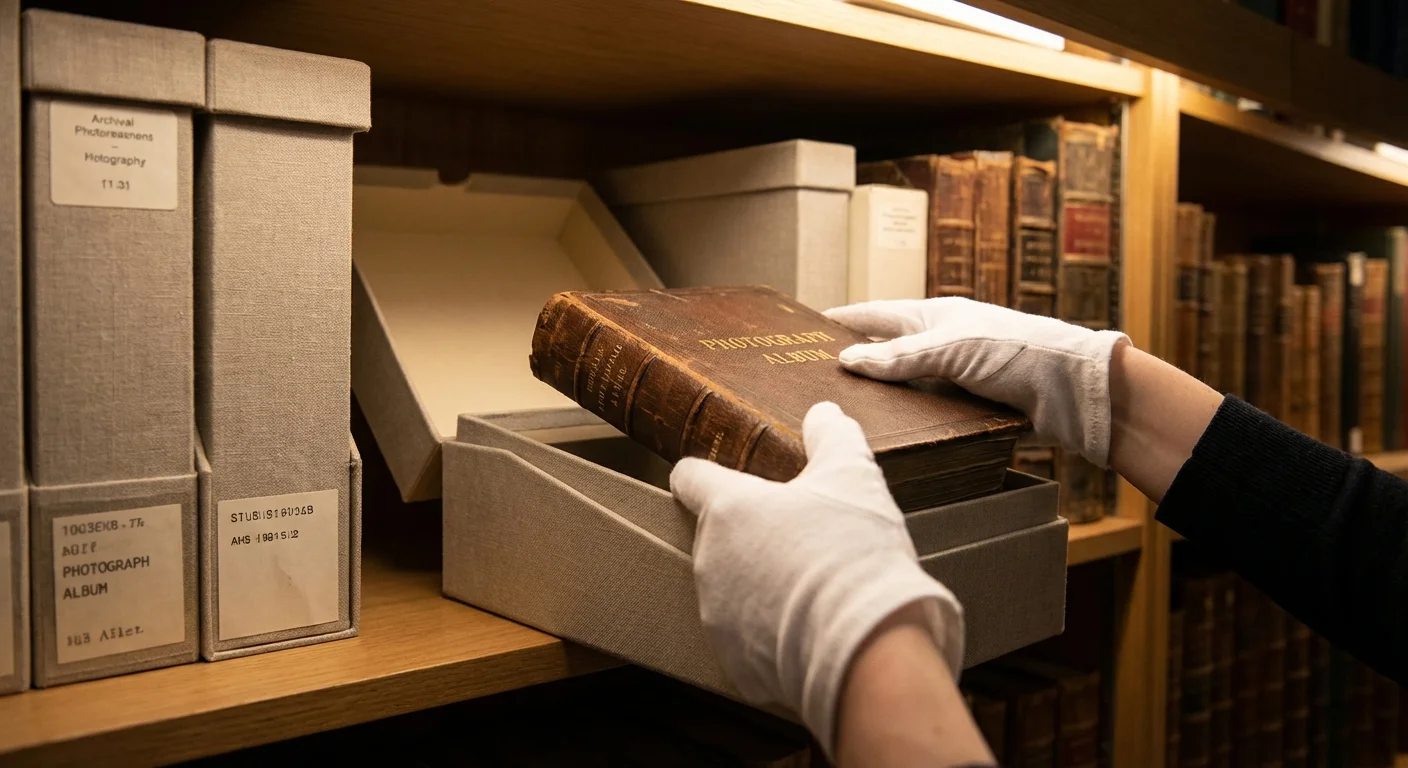
After the celebration ends, you have one final, crucial task: protecting the original physical photos. You have done the hard work of gathering and sorting them; don’t let them go back into a damp basement in a cardboard box. This is your chance to set up a “permanent archive” for the family. Place the original prints in archival sleeves (made of polypropylene or polyester) and store them in a cool, dry, and dark location. The “main floor” of a home—like a closet in a bedroom—is usually safer than an attic or basement, where temperature fluctuations are extreme.
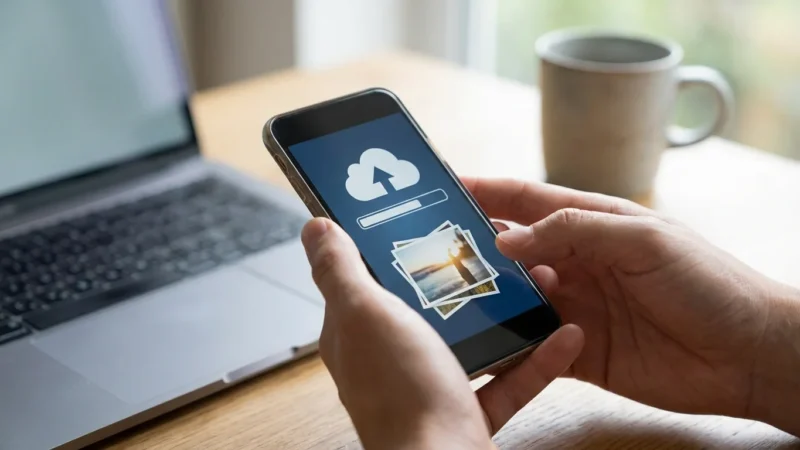
For the digital side of the project, follow the “3-2-1 rule.” You should have 3 copies of the files, stored on 2 different types of media (e.g., an external hard drive and a cloud service), with 1 copy located off-site (the cloud satisfies this). Give copies of the digital archive to other family members. In the digital age, redundancy is the best form of preservation. If one hard drive fails or one house is flooded, the family history survives because it exists in multiple places.
Finally, return any borrowed photos to their original owners. If possible, give them a digital copy of the photos they lent you as a thank-you. You have successfully navigated fifty years of history, preserved a legacy, and created a gift that will be cherished for generations. The effort you put in today ensures that when the 75th or 100th anniversary rolls around, the foundation of the family story will be ready and waiting.
Frequently Asked Questions
How long does it take to organize photos for a 50th anniversary?
Typically, you should allow three to six months for a comprehensive 50th-anniversary project. This timeline provides enough room for gathering physical photos from various family members, digitizing older prints, and designing a high-quality milestone photo gift without the stress of last-minute deadlines.
What is the best resolution for scanning old family photos?
For standard 4×6 or 5×7 prints, you should scan at a minimum of 300 DPI (dots per inch) for digital viewing. However, if you plan to enlarge the photos for a display or a printed book, scan at 600 DPI or higher to capture the maximum amount of detail and prevent pixelation.
How can I safely remove photos from sticky magnetic albums?
To safely remove photos from old “magnetic” sticky albums, use a piece of unflavored dental floss. Gently slide the floss between the photo and the page with a sawing motion to break the adhesive bond. If the photo remains stuck, do not pull it; instead, take a high-quality digital photo of the page as it is to preserve the image.
Should I wear gloves when handling old black and white prints?
Yes, you should wear clean, lint-free cotton or nitrile gloves when handling vintage photographs. The oils and salts from your skin can cause permanent staining or chemical degradation on the surface of the print over time.
Disclaimer: This article is for informational purposes only. When handling valuable or irreplaceable photographs, consider consulting a professional conservator. Always test preservation methods on non-valuable items first.

Leave a Reply