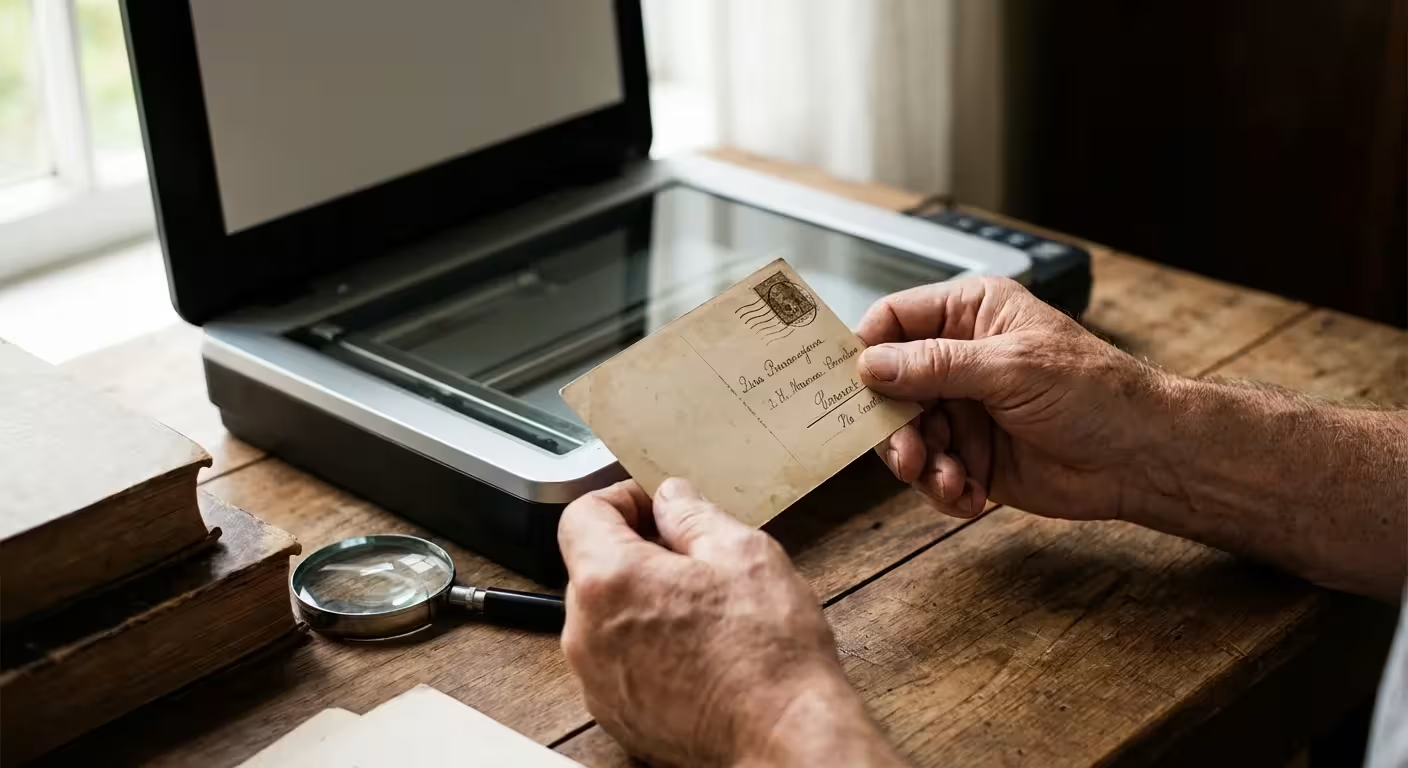
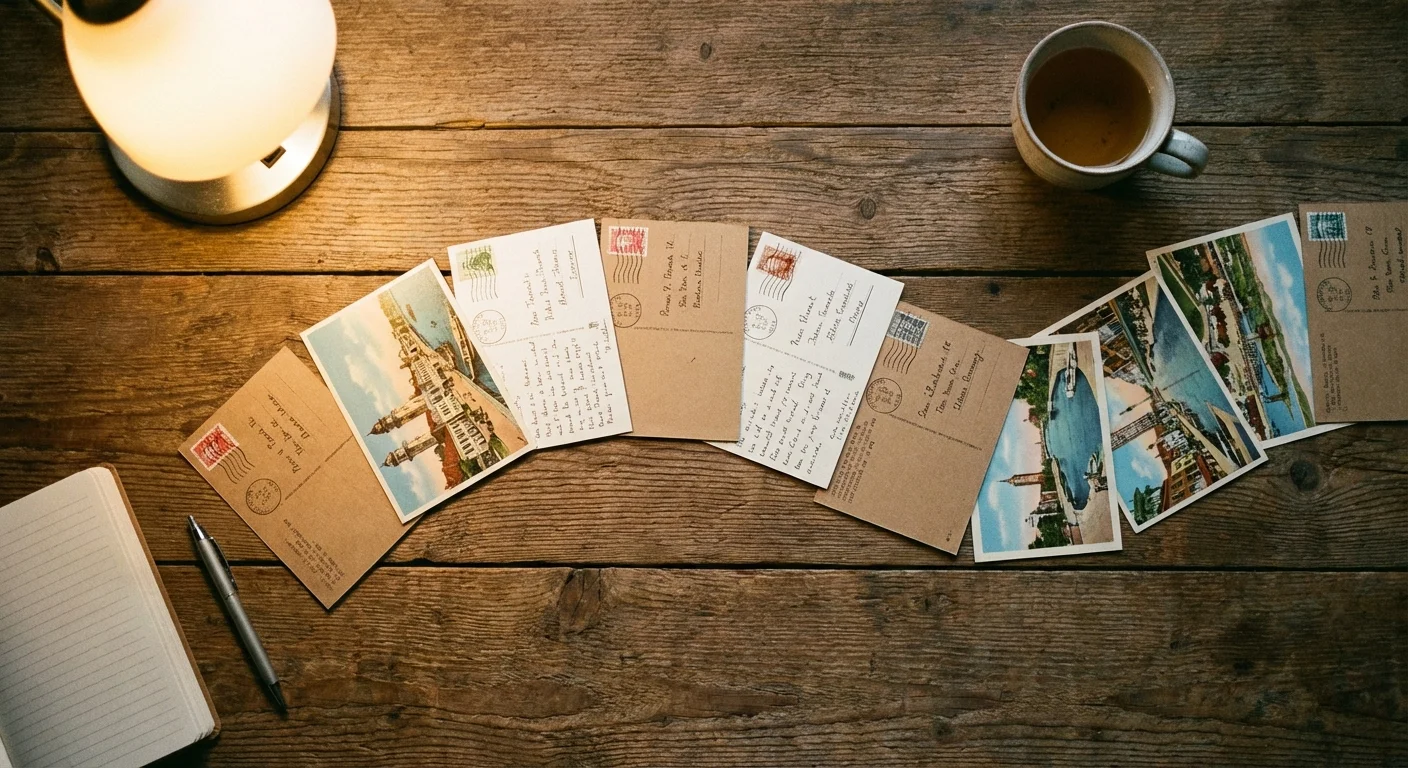
Old postcards represent a unique intersection of personal correspondence and visual history. Unlike a standard photograph, a postcard offers two distinct layers of information: the image on the front and the narrative on the back. When you find a box of these inherited treasures, you hold more than just pictures—you hold a physical connection to the travels, thoughts, and daily lives of your ancestors. Preserving these items through high-quality digitization ensures that the stories captured in faded ink and silver gelatin remain accessible for generations to come.
Digitizing a postcard collection requires a more nuanced approach than scanning a stack of modern 4×6 prints. You must treat the object as a three-dimensional piece of history. The stamp, the postmark, the handwriting, and even the choice of the card itself tell a story that a single-sided scan cannot fully convey. By following a professional workflow, you can create a digital archive that honors both the art and the evidence found on these historic documents.
The Dual Nature of Postcards: Why Both Sides Matter
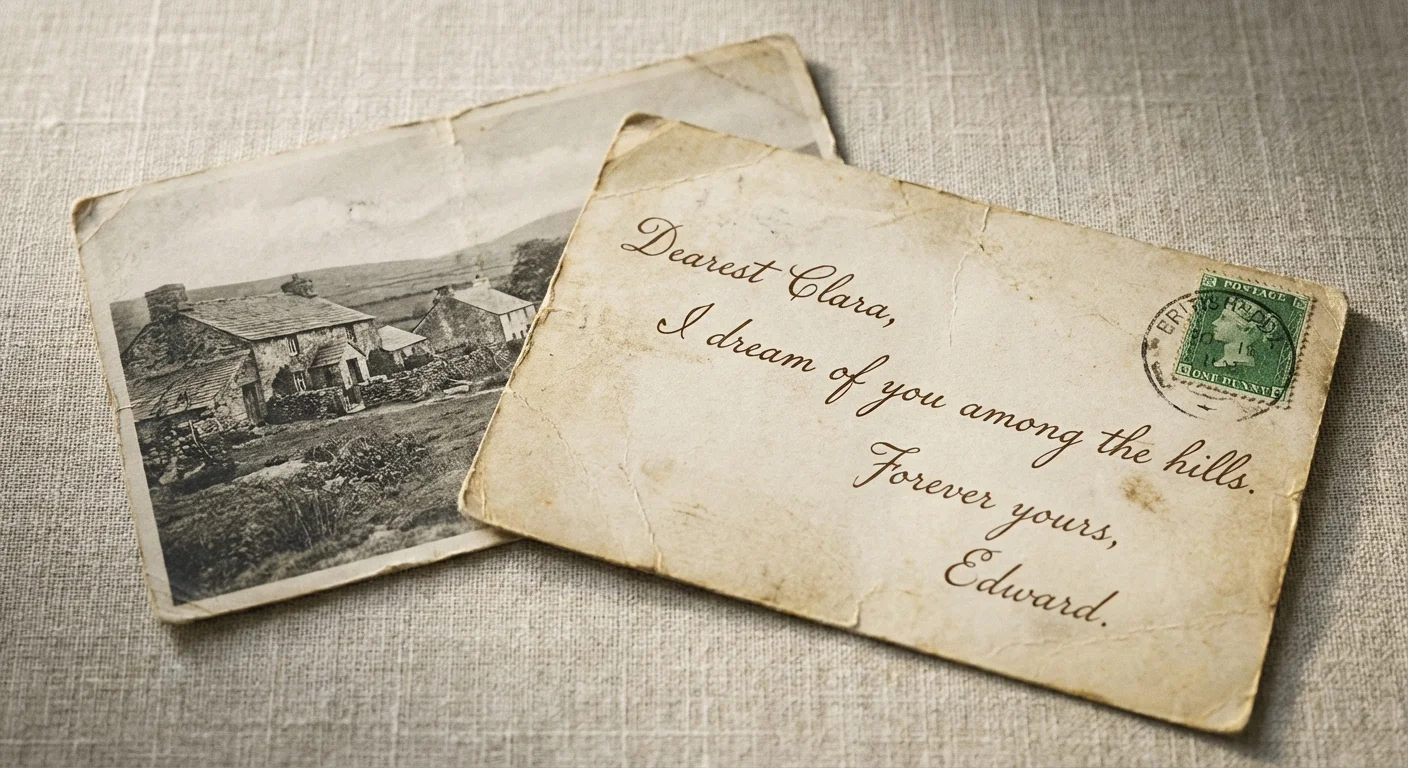
When you look at a postcard from 1910, the “Real Photo Postcard” (RPPC) on the front provides a window into a specific place and time. You might see a bustling main street, a long-forgotten family reunion, or a simple landscape. However, the true historical value often hides on the reverse side. The back of the postcard serves as a primary source document for genealogists and historians. It contains the sender’s handwriting, which carries emotional weight and personality—traits often lost in digital text.
The postmark provides a definitive date and geographic location, often proving exactly where an ancestor was on a specific Tuesday a century ago. Even the stamp carries weight; philatelists and historians use stamp types to verify the era of the card. Neglecting to scan the back of a postcard is like reading only the odd-numbered pages of a book. You miss the context, the “who,” and the “why” behind the image. To truly preserve history, you must capture the relationship between the visual scene and the written message.
Essential Equipment for High-Quality Digitization
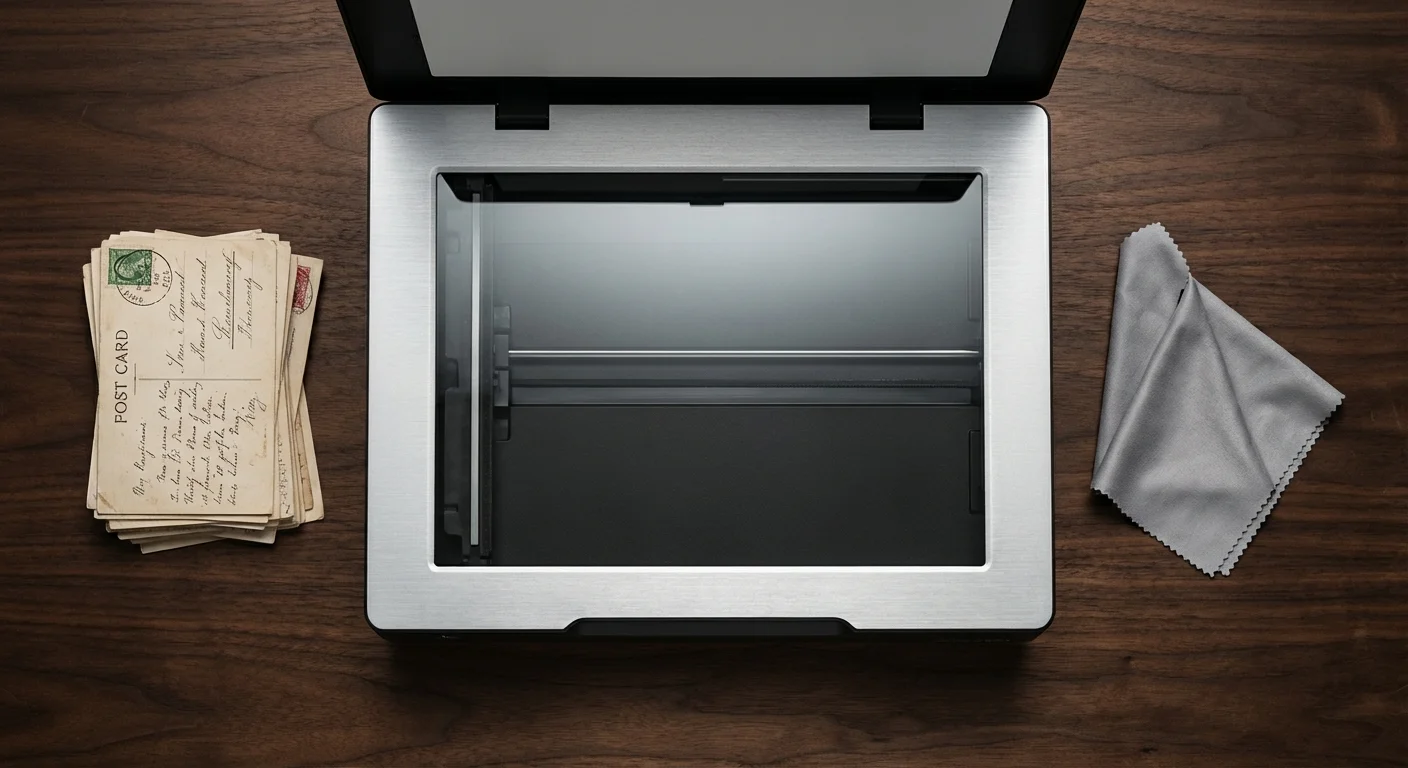
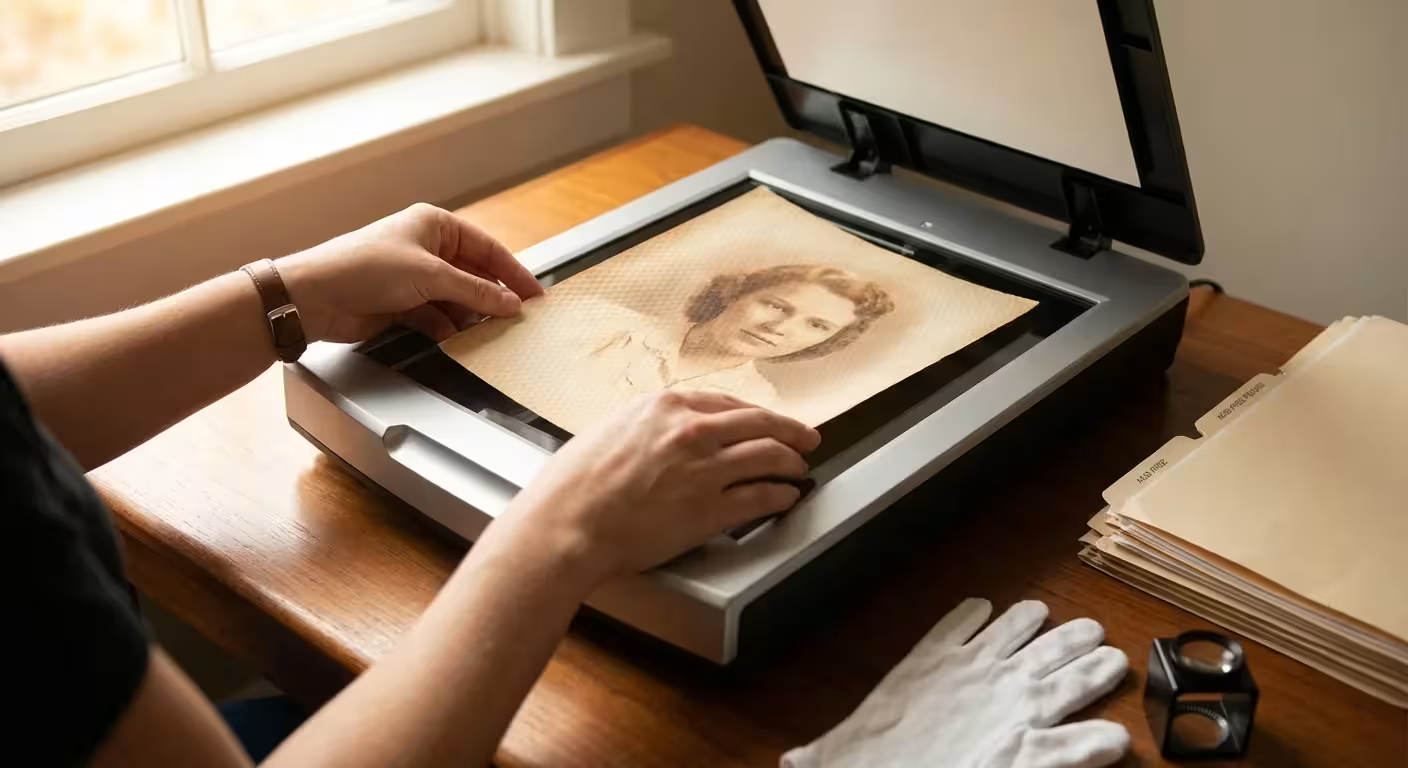
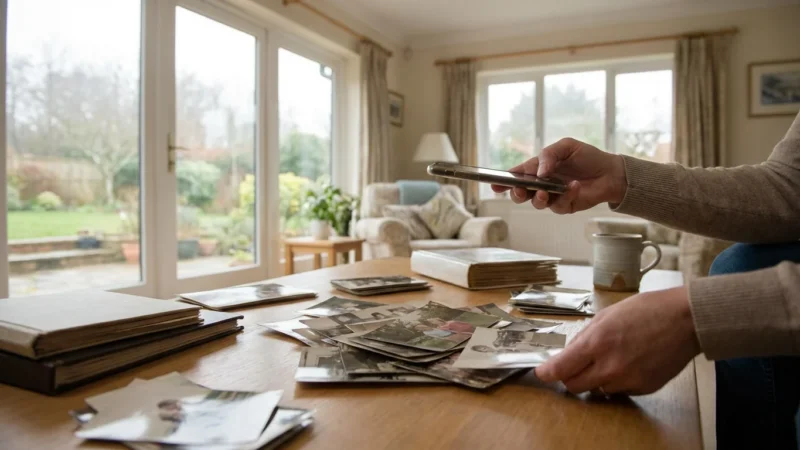
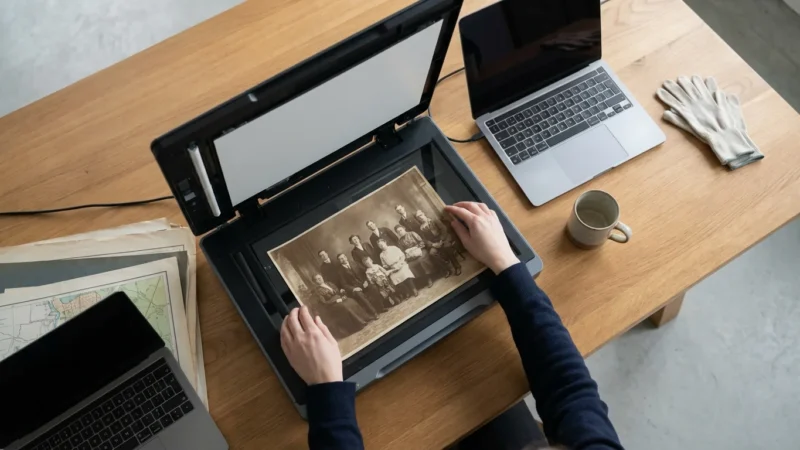
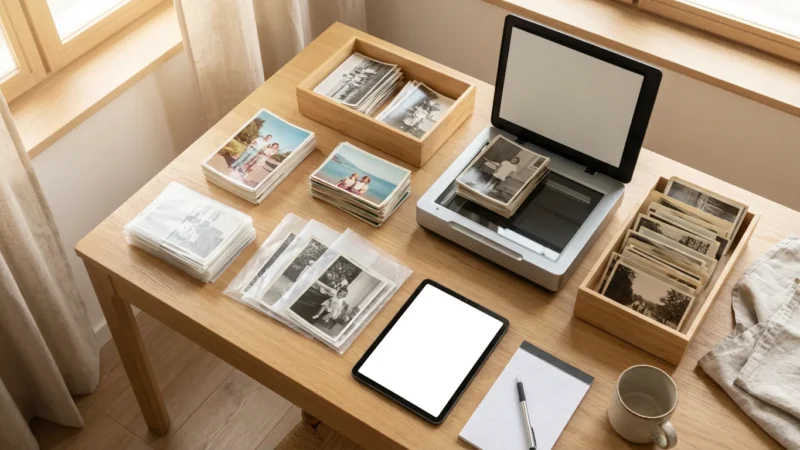
Your choice of hardware dictates the longevity and utility of your digital files. While smartphone “scanner apps” work for quick social sharing, they fall short for archival preservation. To do justice to your family history, invest in or gain access to a flatbed scanner. Flatbed scanners provide a stable, flat surface that keeps the postcard in a fixed focal plane, ensuring every grain of the photograph and every stroke of the pen is sharp.
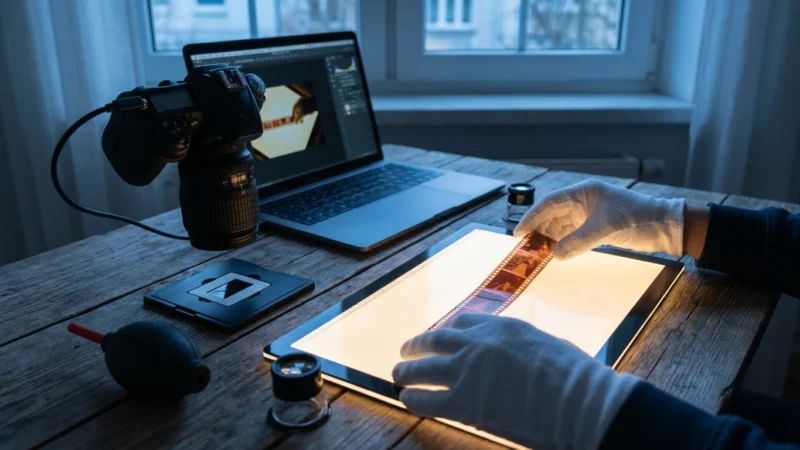
Look for a scanner with a high optical resolution—at least 1200 DPI (dots per inch) is ideal, though 600 DPI serves as the professional minimum for postcard-sized items. Some high-end scanners, like those reviewed on Digital Photography Review, offer built-in features to help manage color accuracy and dynamic range. If you have a massive collection and prefer a “camera scanning” setup using a DSLR or mirrorless camera on a copy stand, ensure you use a dedicated macro lens. Macro lenses allow you to focus closely on small details without the edge distortion common in standard zoom lenses.
The goal of archival scanning is not just to see the image, but to capture the physical texture and state of the original document for future study.

Handling and Preparing Your Postcards for the Scanner
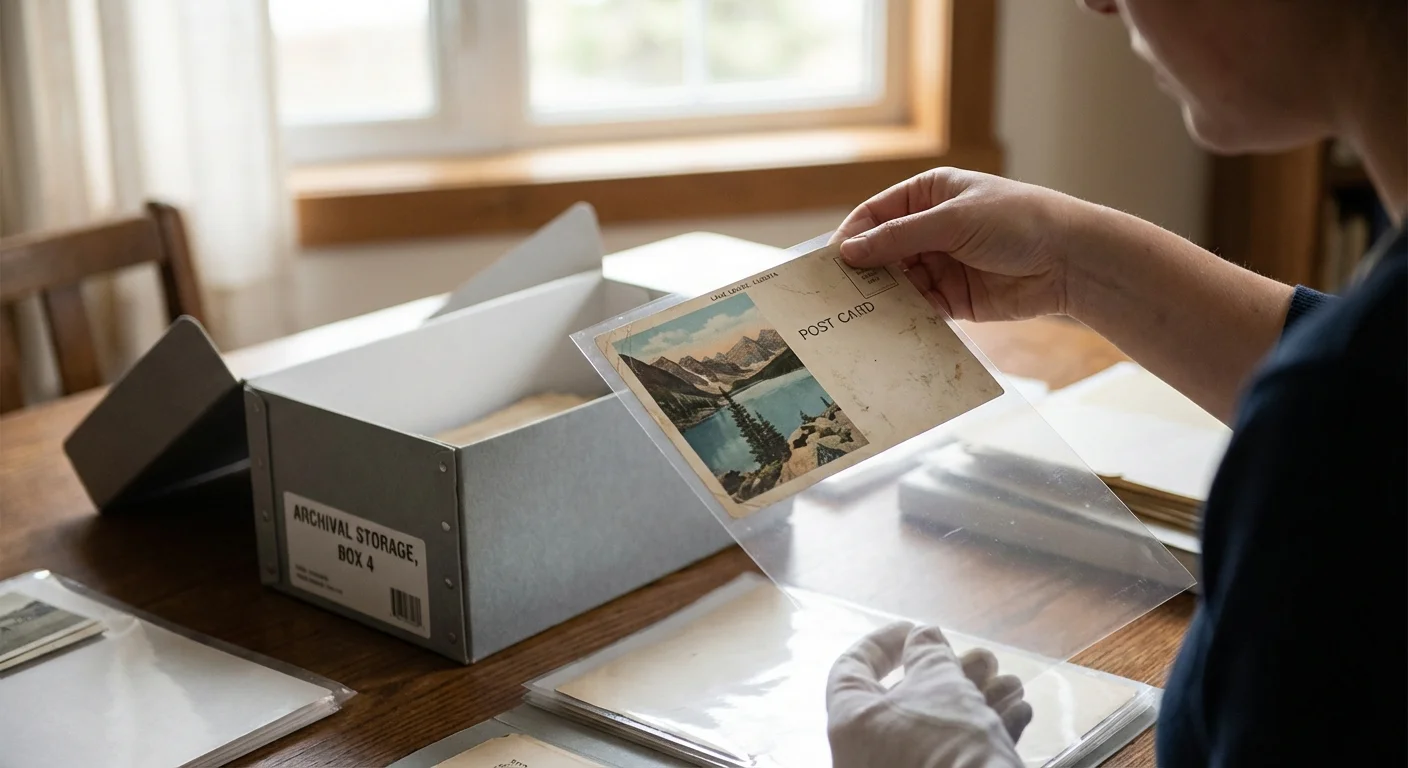
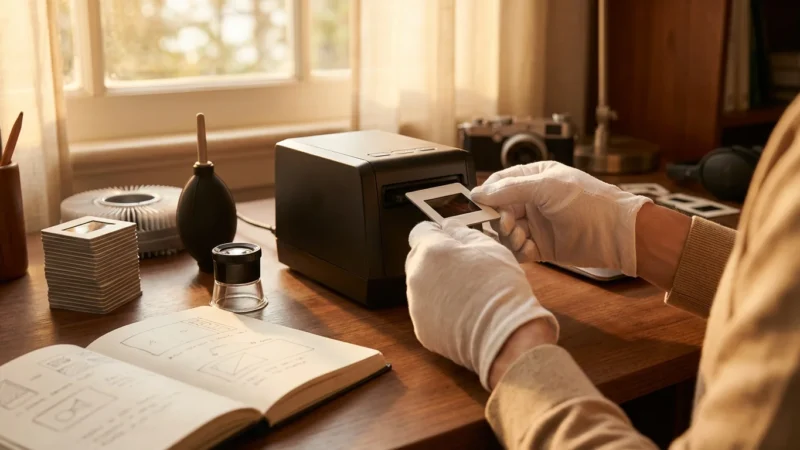
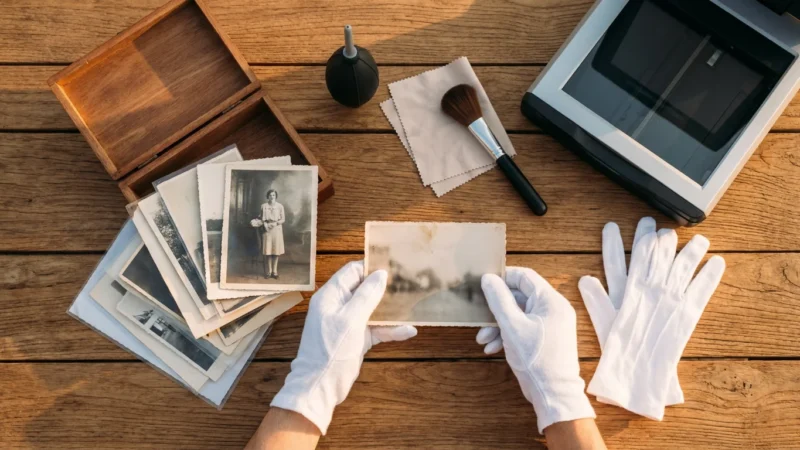
Before you begin the scanning process, prepare your workspace. Treat these postcards as the precious objects they are. Wash and dry your hands thoroughly to remove oils and salts, or wear clean, lint-free white cotton gloves. While some archivists prefer bare, clean hands for better grip on fragile items, gloves prevent fingerprints from transferring to the delicate emulsion of early photo postcards.
Clean the scanner glass using a microfiber cloth and a dedicated glass cleaner. Apply the cleaner to the cloth, never directly to the glass, to prevent liquid from seeping into the scanner housing. Dust is the enemy of a clean scan; even a tiny speck can look like a boulder when magnified at 600 DPI. Use a hand-held air blower (like those used for camera sensors) to gently remove loose dust from the postcard itself. Avoid using canned air, which can sometimes spray cold liquid propellant onto your artifacts.
If a postcard is curled or warped, do not force it flat with heavy weights, as this can crack the dried emulsion of an RPPC. Instead, let the scanner lid provide gentle, even pressure. If the item is extremely fragile or has flaking edges, place it inside a clear, archival-safe polyester (Mylar) sleeve before scanning. This protects the card while allowing the scanner to capture the image through the transparent plastic.
Optimal Scanner Settings for Archival Results
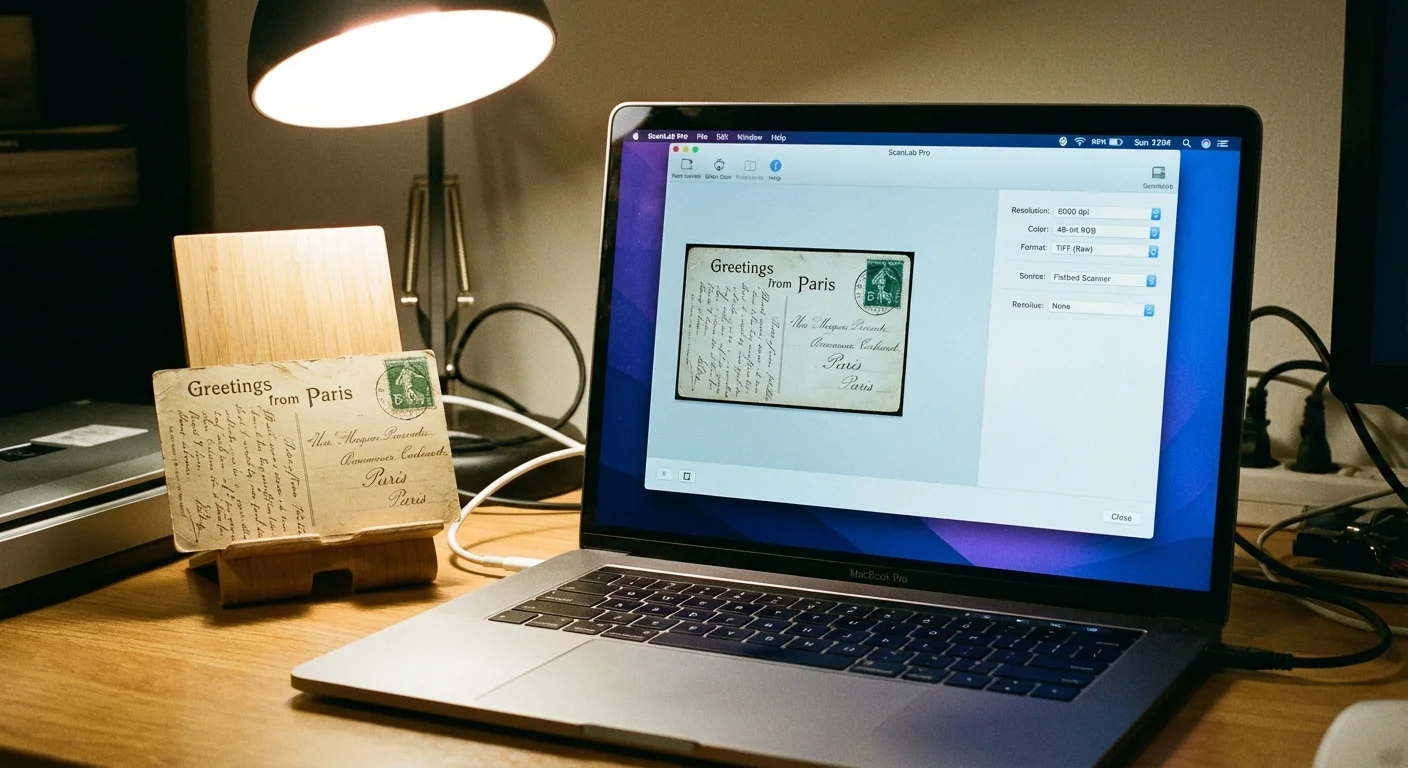
To achieve the best results, bypass the “Auto” settings on your scanner software. Manual control allows you to capture the maximum amount of data. Set your file format to TIFF (Tagged Image File Format). Unlike JPEGs, TIFFs use lossless compression, which means you won’t lose image quality every time you open and save the file. For bit depth, choose 24-bit color for standard postcards or 48-bit color if you plan to do extensive color correction later.
Even if the postcard is a black-and-white photo, scan it in color. This may seem counterintuitive, but a color scan captures the subtle sepia tones, the yellowing of the paper, and any colorful stamps or ink. These tonal variations are part of the object’s history. If you scan in “Grayscale” mode, the software discards this information, resulting in a flat, clinical image that loses the “vintage” feel of the original.
| Setting | Recommended Value | Reason |
|---|---|---|
| Resolution | 600 DPI to 1200 DPI | Captures fine handwriting and postmarks. |
| File Format | TIFF (.tif) | Lossless preservation of master files. |
| Color Mode | 24-bit or 48-bit RGB Color | Preserves paper tone and ink colors. |
| Adjustments | Off / Manual | Avoid “Auto-Enhance” to keep the original look. |
The Step-by-Step Workflow for Dual-Sided Scanning
Efficiency in scanning comes from a repeatable workflow. Start by placing the postcard face down on the scanner glass, aligning it with the guides. However, leave a small gap (about a quarter inch) from the very edge of the glass to ensure the scanner captures the entire border of the card without cropping.
Perform a “Preview” scan first. Use the marquee tool to select the area around the postcard, leaving a thin black or white border. This confirms you are capturing the physical edges of the object, which is a standard archival practice. Name this file with a suffix like “_front.” Once the front is scanned, flip the postcard horizontally. This ensures the orientation remains consistent. Scan the back using the exact same settings and marquee area, naming it with the suffix “_back.”
If you have dozens of postcards, you might be tempted to scan multiple cards at once on the glass. While this saves time during the actual scan, it adds significant work during the “chopping” or post-processing phase. For the highest quality and easiest organization, scan each side individually. If your scanner software supports “Multi-Crop,” use it cautiously—verify that it isn’t cutting off the scalloped edges often found on vintage cards.

Capturing the Story: Transcription and Digital Metadata
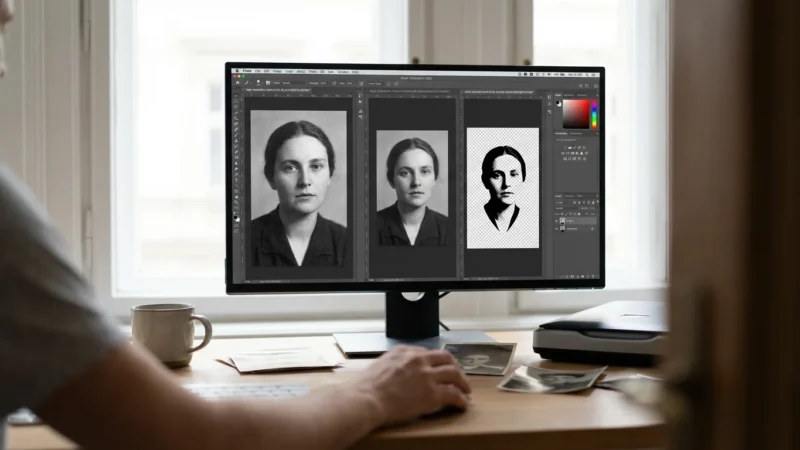
A digital image of the back of a postcard is helpful, but it isn’t searchable. If your great-grandmother wrote about a “heavy snow in Chicago” on a card from 1912, you won’t find that file later by searching for the word “snow” unless you transcribe the text. Metadata is the “data about the data” that lives inside your digital file. Using software like Adobe Bridge, Lightroom, or even basic file property editors, you can embed this information directly into the TIFF file.
Follow the Smithsonian Archives approach by transcribing the message exactly as written, including original misspellings or abbreviations. This preserves the voice of the author. In the “Description” or “Caption” metadata field, type out the message. In the “Keywords” field, add the names of people mentioned, the location, the year, and the type of card (e.g., “RPPC,” “Lithograph,” “Holiday”). This level of detail transforms a simple folder of images into a powerful, searchable family history database.
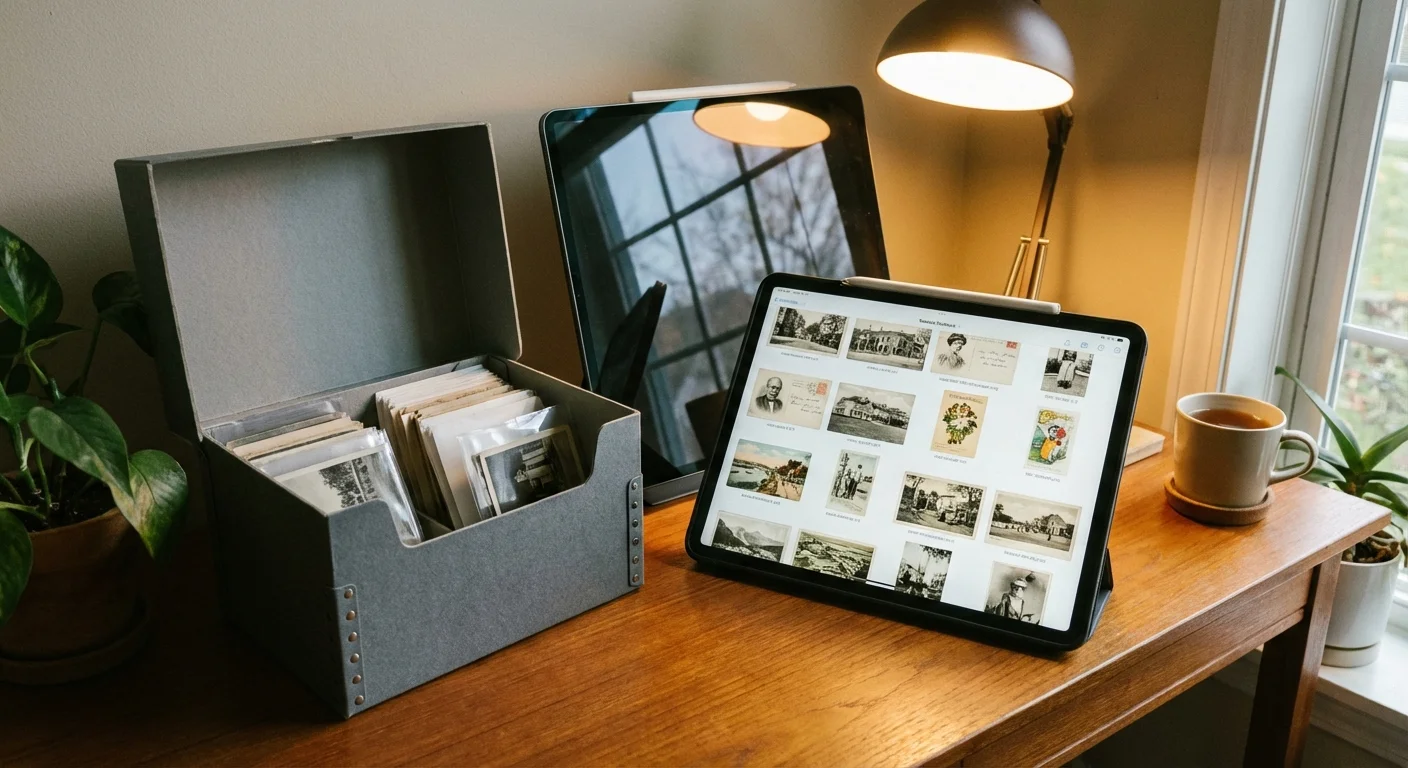
Organizing and Naming Your Digital Collection
Chaos is the enemy of preservation. Without a strict naming convention, your digitized postcards will become a digital junk drawer. Choose a naming format that sorts logically. A chronological format often works best for family history: YYYY-MM-DD_Location_Description_Side.tif. For example, a card sent from New York in 1924 would be named 1924-05-12_NYC_CousinBessie_front.tif and 1924-05-12_NYC_CousinBessie_back.tif.
This naming structure ensures that when you sort by “Name” in your computer’s file explorer, the front and back of each card appear side-by-side. It also keeps your entire collection in chronological order. Create a folder structure that mirrors your physical storage or organizes by family branch. For instance, you might have a top-level folder for “Postcard Collection,” with subfolders for “Smith Family Correspondence” and “Travel Souvenirs.”
Always maintain a “Gold Master” folder. These are your original, unedited TIFF scans. If you want to crop the images for a photo book or adjust the brightness for a slideshow, save those as separate JPEGs in a “Work” or “Export” folder. Never edit and overwrite your master TIFFs; you want to preserve the raw scan as a digital surrogate of the original artifact.
Long-Term Physical Preservation After Scanning
Digitization is only half the battle. Once you have scanned your postcards, you must return them to a safe physical environment. The scanning process exposes the cards to bright light and handling, so the goal is to minimize future stress. Avoid the “magnetic” photo albums common in the 1970s; the adhesive and plastic in those albums contain acids that will eventually destroy the paper and turn the images yellow or brown.
Instead, use archival-grade materials. The Library of Congress recommends using folders and boxes that have passed the Photographic Activity Test (PAT). Look for “acid-free” and “lignin-free” storage options. Individual polyester sleeves are excellent for postcards because they allow you to view both sides without touching the card again. Store these sleeves in a sturdy, acid-free “shoe-box” style container or a three-ring binder with archival pocket pages.
Finally, consider the environment. Keep your postcard collection in a “cool, dry, and dark” place. Avoid basements (too damp) or attics (too hot). Large fluctuations in temperature and humidity cause the paper fibers to expand and contract, which can lead to the emulsion peeling off photo postcards. A closet in the main living area of your home is usually the most stable environment for your physical history.
Frequently Asked Questions
What DPI should I use for scanning old postcards?
For standard preservation, scan your postcards at a minimum of 600 DPI (dots per inch). This resolution captures the fine details of the photographic print and the tiny text of postmarks. If you plan to enlarge the image for a print project, consider 1200 DPI.
Should I scan postcards as JPEGs or TIFFs?
Always scan your master copies as TIFF files. TIFF is a lossless format, meaning it preserves all the data from the scan without compression artifacts. You can later export JPEGs from these master TIFFs for easy sharing on social media or via email.
Is it okay to use an auto-feed scanner for old postcards?
Avoid auto-feed scanners for vintage postcards. These machines can jam, tear fragile edges, or leave roller marks on the delicate surface of the photo. Use a flatbed scanner to ensure the safety of the original physical item.
How do I link the front and back of the postcard in my digital files?
Use a consistent naming convention. For example, name the files Smith_Postcard_1920_Front.tif and Smith_Postcard_1920_Back.tif. This keeps the files adjacent to each other in your digital folders, ensuring the visual image and the written history remain connected.
Disclaimer: This article is for informational purposes only. When handling valuable or irreplaceable photographs, consider consulting a professional conservator. Always test preservation methods on non-valuable items first.

Leave a Reply