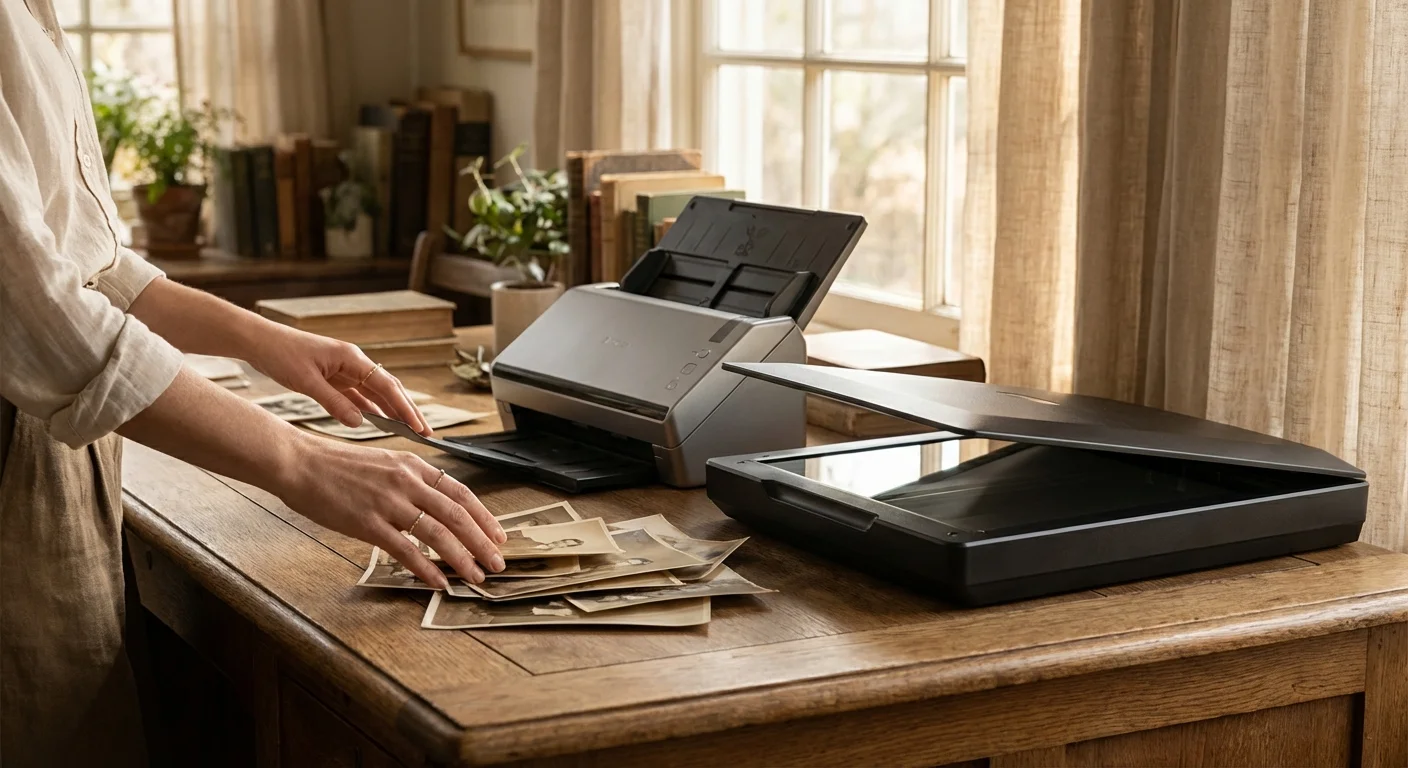
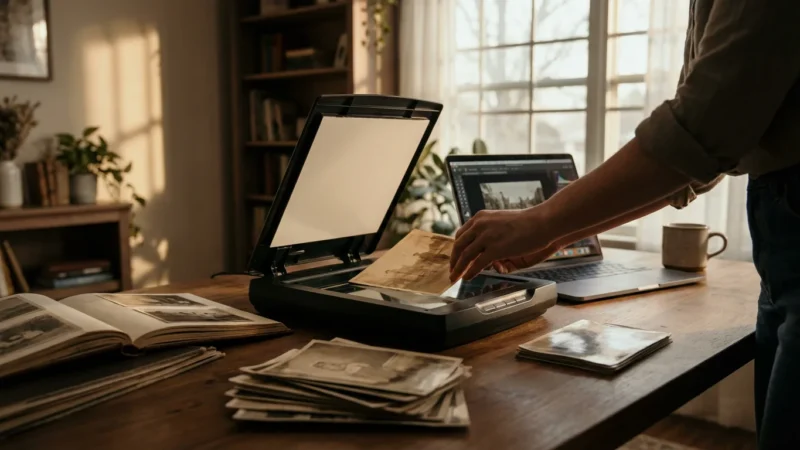
You stand before a mountain of memories—boxes filled with silver-gelatin prints, faded Polaroids, and delicate sepia-toned portraits of ancestors you only know through stories. The task of digitizing this heritage feels monumental. As you research your options, you encounter a fundamental fork in the road: the high-speed efficiency of a sheet-fed scanner or the deliberate, protective embrace of a flatbed scanner. While the promise of “fast photo scanning” is incredibly tempting when you have thousands of images to process, choosing the wrong tool can lead to irreversible damage to your family legacy.
Digitization is more than just making a digital copy; it is an act of preservation. Every time you handle a physical photograph, you expose it to light, oils from your skin, and mechanical stress. Your goal is to choose a scanning method that balances the need for progress with the absolute necessity of safety. In this guide, you will learn why speed often comes at a cost and how to identify which pieces of your collection deserve the slow, careful treatment of a flatbed.
The Mechanics of Speed: How Sheet-fed Scanners Work
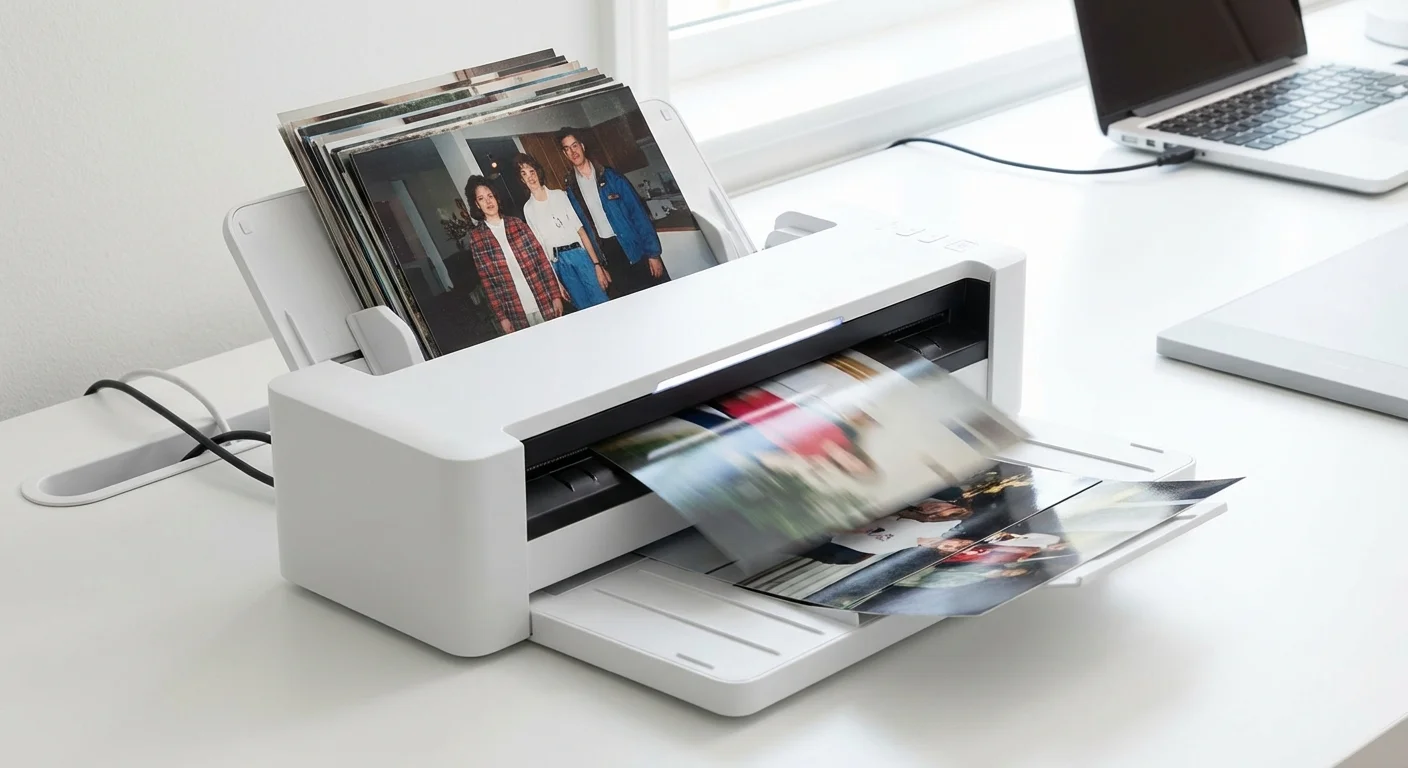
Sheet-fed scanners, also known as document scanners or automatic photo scanners, operate on a “pass-through” principle. You stack a pile of photos into an input tray, and a motorized roller system pulls each image through the device, past a stationary camera sensor, and deposits it into an output tray. The allure is undeniable. High-end models can process 30, 60, or even 80 photos per minute.
This technology relies on friction. To move a single piece of paper or photo paper through the internal path, the rubber rollers must grip the surface of the image firmly. Modern sheet-fed scanners designed specifically for photos often use “gentle” rollers and specialized paths to minimize the risk of jams. They frequently include software that automatically crops, rotates, and color-corrects the images on the fly. For a collection of standard, modern 4×6 prints from the 1990s that are in pristine condition, this speed can save you hundreds of hours of labor.
However, you must recognize that a sheet-fed scanner treats your photograph as a “document.” The mechanical force required to pull a photo through a curved or even a straight-through path is significant. If a photo is slightly curled, has a ragged edge, or features a delicate surface emulsion, that mechanical force can become a destructive one. When you prioritize speed, you are placing your trust in the machine’s ability to handle every unique physical variable of your collection without a hiccup.
The Hidden Dangers: Why Your Old Photos Might Fear the Roller
The primary risk of a sheet-fed scanner is physical trauma. When you use a sheet-fed scanner vs flatbed, you are introducing your photos to several potential failure points. The most common issue is the “roller mark.” If the rubber rollers are dirty or if the photo paper is particularly soft, the rollers can leave faint, permanent indentations or “tread marks” across the image. While software can sometimes hide these digitally, the physical print is forever changed.
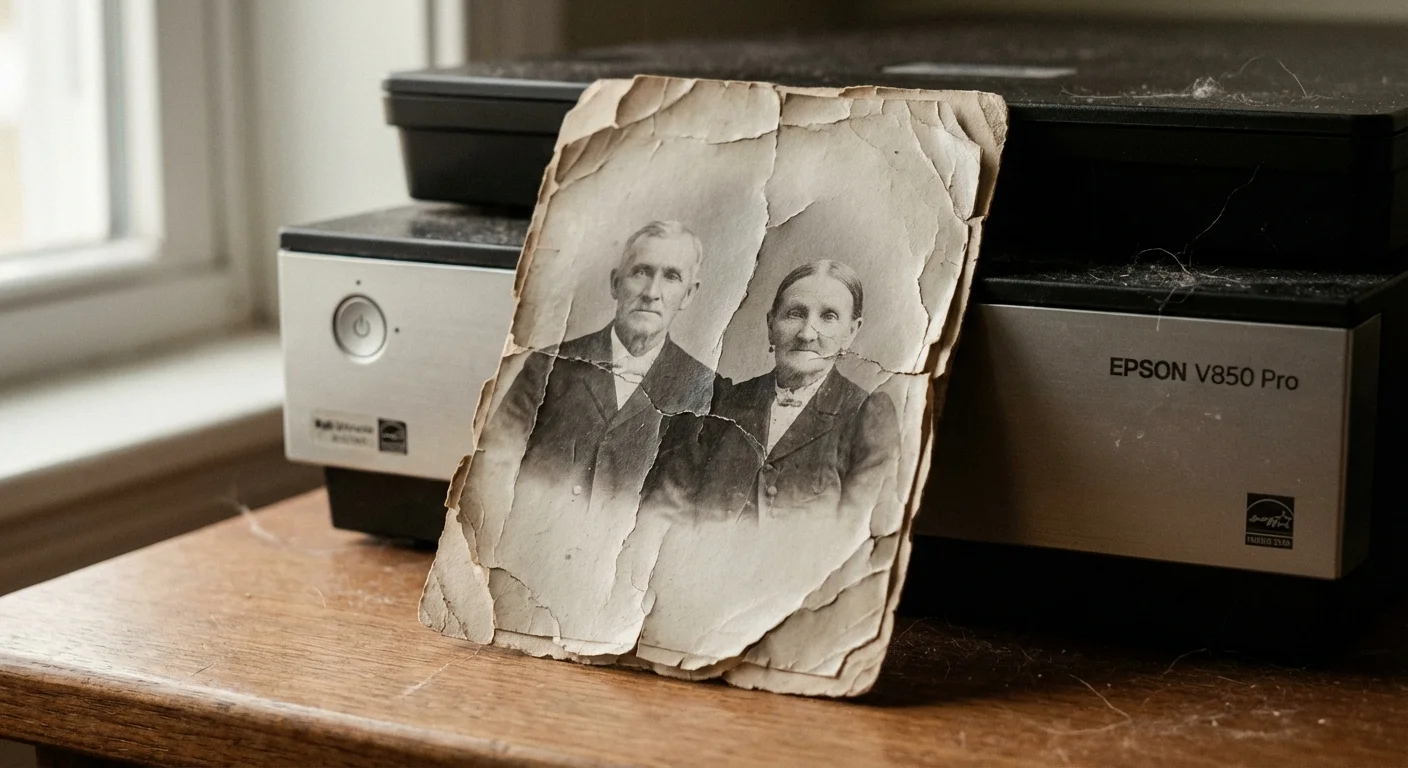
Consider the age and chemistry of your collection. Photographs from the early-to-mid 20th century often use an emulsion layer—the part containing the image—that can become brittle over time. As the rollers grip and bend the photo to move it through the scanner, this brittle emulsion can crack or even flake off entirely. Once that silver or pigment leaves the paper, it is gone. You are not just scanning the photo; you are potentially destroying the source material.
“Mechanical stress is a leading cause of damage during the digitization process, especially for items with fragile or flaking media.” — Library of Congress Preservation Guidelines
Adhesives present another significant hazard. If your photos were recently removed from a “magnetic” or “peel-and-stick” album, they likely have a residual sticky film on the back. Putting these through a sheet-fed scanner is a recipe for disaster. The adhesive can gum up the internal rollers, causing the next several photos to jam, tear, or become coated in debris. Even a tiny bit of tape residue can catch on a guide rail inside the scanner, leading to a catastrophic “accordion” jam where the photo is folded multiple times in a split second.
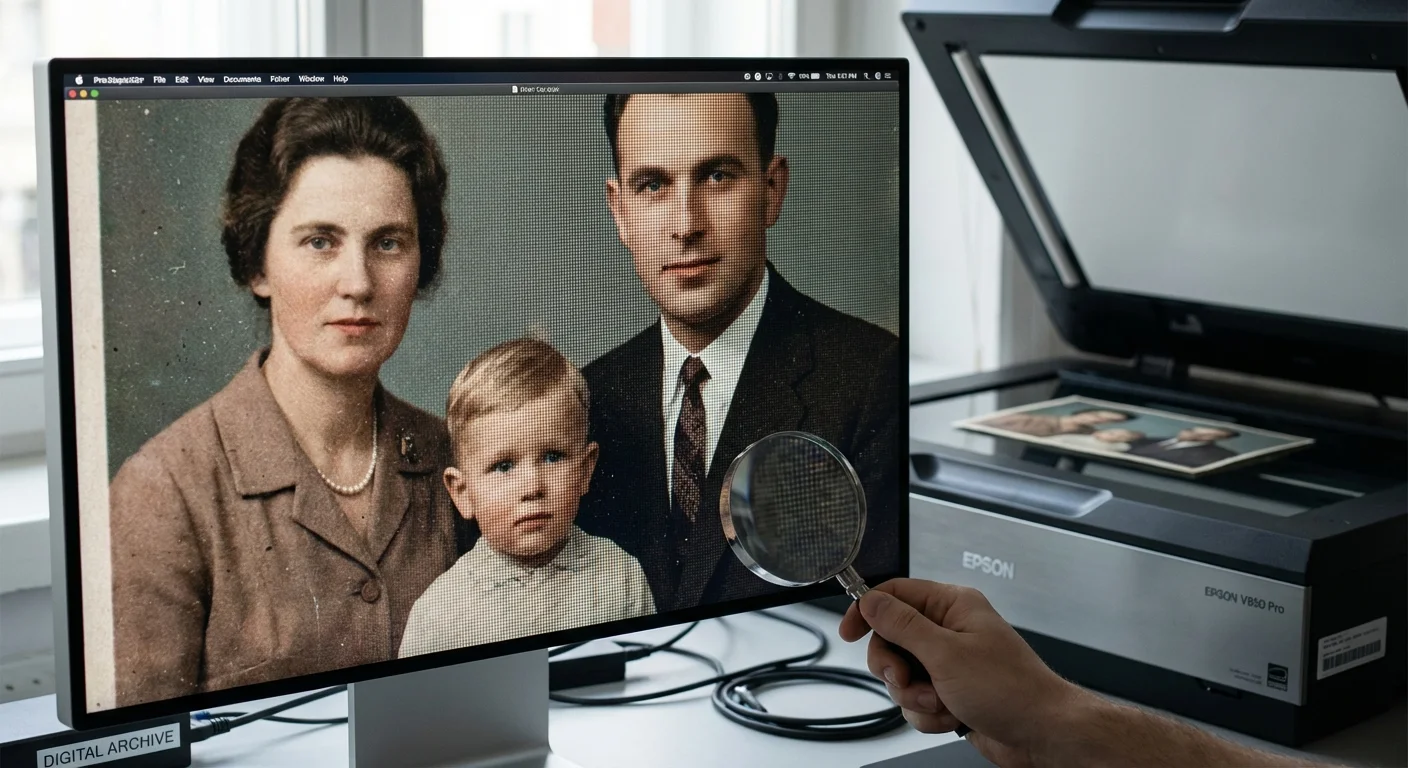
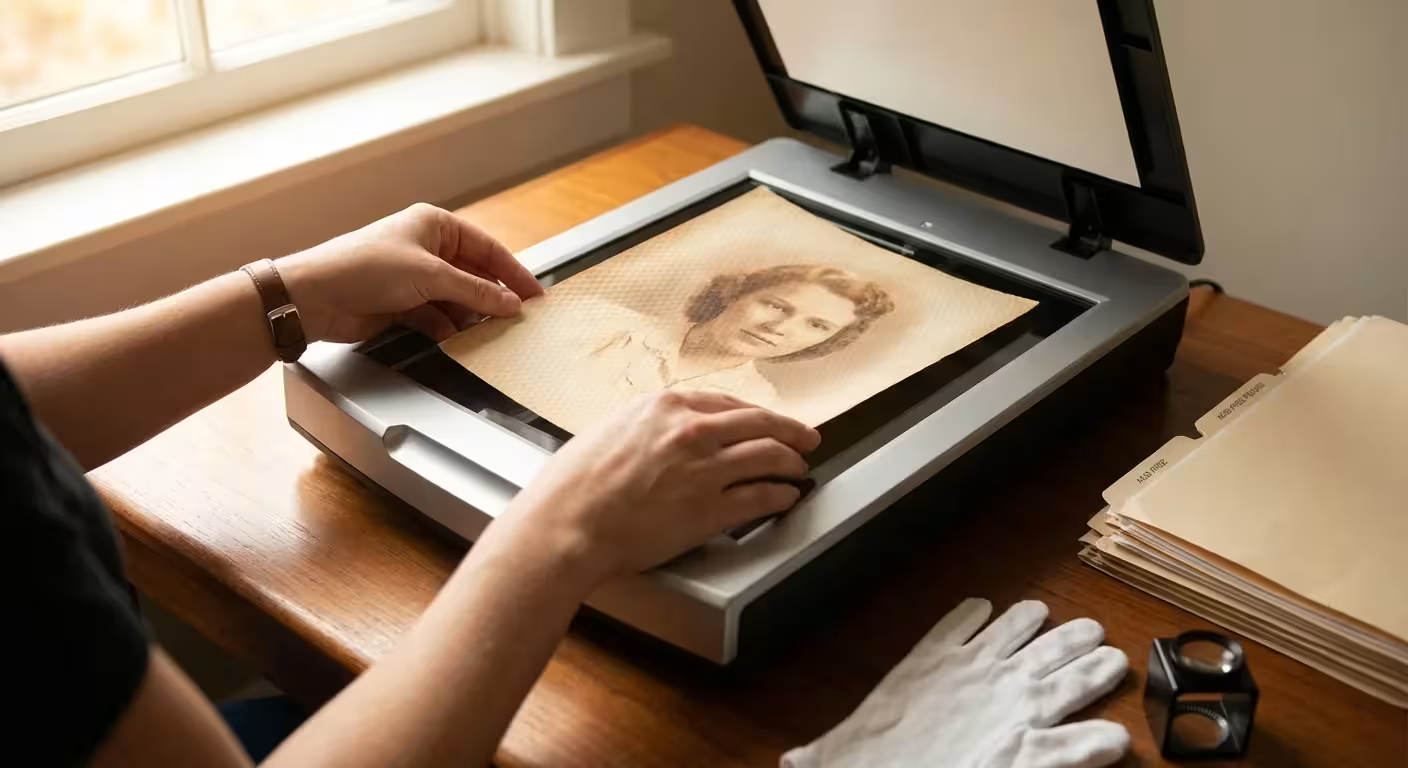
The Flatbed Sanctuary: Maximum Safety and Precision
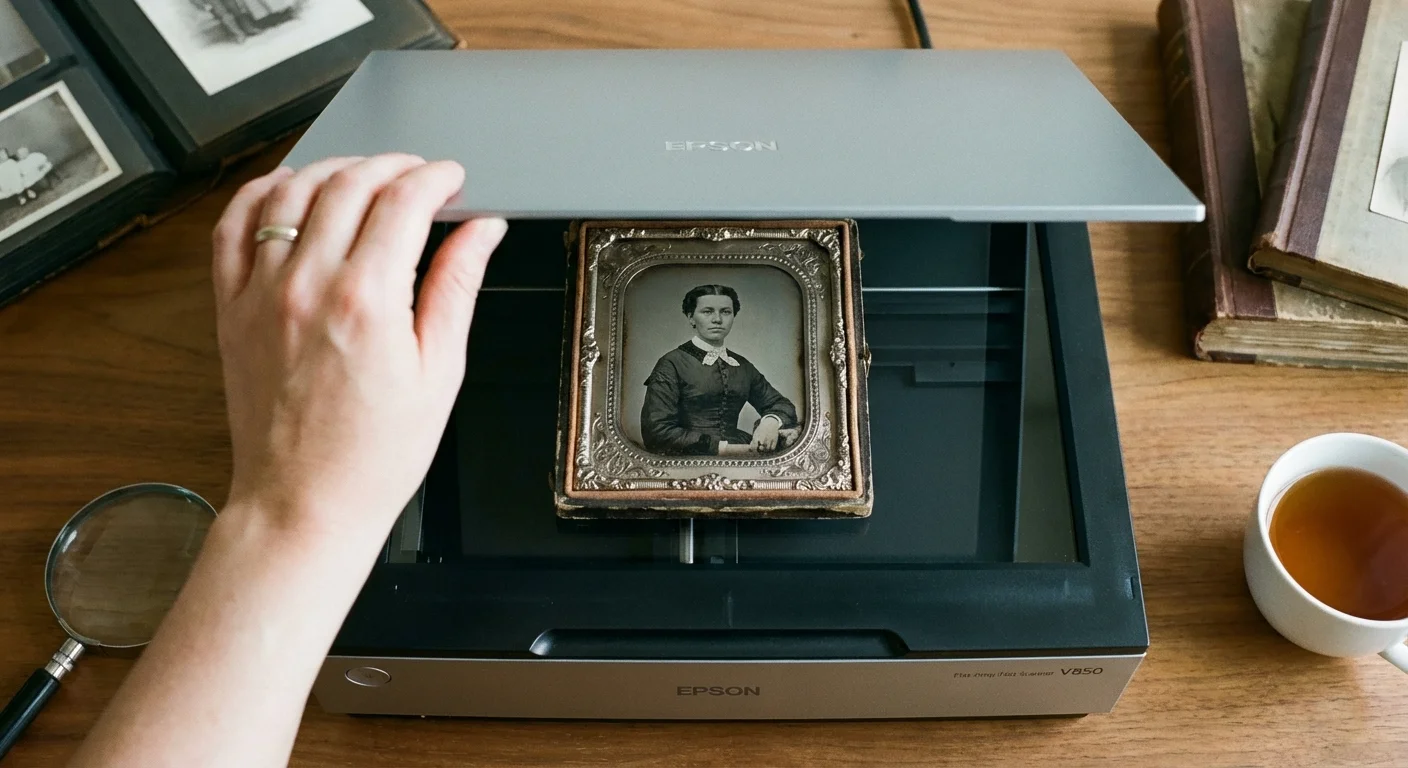
A flatbed scanner is the gold standard for preservation for a simple reason: the photograph does not move. You place the image face-down on a glass platen, close the lid, and the scanning head moves underneath the glass. This stationary environment eliminates the risk of tears, jams, and roller marks. It is the only acceptable choice for fragile, oversized, or non-standard items.
The flatbed offers you unparalleled control. If you have a photo with a torn corner, you can carefully align the pieces on the glass so they appear seamless in the digital file. If you have an exceptionally thick item—like a 19th-century “cabinet card” mounted on heavy cardstock—the flatbed handles it with ease, whereas a sheet-fed scanner would likely jam or refuse to pull the thick material through the feeder.
Furthermore, flatbed scanners are essential for “odd” formats. Polaroids, which are thick and contain internal chemical pods, should never be compressed by rollers. Tintypes, which are images on metal sheets, would damage a sheet-fed scanner and be damaged by it in return. By using a flatbed, you provide a stable, flat surface that ensures the entire image is in the “depth of field” of the scanner’s sensor, resulting in a sharper and more faithful reproduction. You can learn more about the technical nuances of professional imaging at Digital Photography Review.
Technical Specs: Image Quality and Sensor Technology
When comparing these two types of scanners, you must look beyond the physical handling and examine the internal hardware. Most high-speed sheet-fed scanners use CIS (Contact Image Sensor) technology. CIS sensors are compact and energy-efficient, but they have a very shallow depth of field. This means the photograph must be perfectly flat against the sensor to stay in focus. If your photo has even a slight curl, parts of the digital image will appear blurry.
In contrast, many high-quality flatbed scanners use CCD (Charge-Coupled Device) sensors. CCD technology generally offers superior color depth, higher dynamic range (the ability to see detail in very dark shadows and very bright highlights), and a deeper depth of field. If you are scanning an old photo that is slightly warped, a CCD-based flatbed can often still capture a sharp image because its focus range is more forgiving than a CIS sensor.
| Feature | Sheet-fed Scanner | Flatbed Scanner |
|---|---|---|
| Scanning Speed | High (30-80 ppm) | Low (1-4 ppm) |
| Risk of Damage | Moderate to High | Very Low |
| Sensor Type | Mostly CIS | CCD or High-end CIS |
| Max Resolution | Up to 600-1200 DPI | Up to 4800-9600 DPI |
| Ideal For | Modern, uniform prints | Fragile, old, or thick items |
Resolution is another key factor. While many sheet-fed scanners claim high DPI (dots per inch) ratings, their “optical” resolution—the actual physical detail the sensor can see—is often lower than that of a dedicated flatbed. For standard 4×6 prints, 300 to 600 DPI is usually sufficient. However, if you want to enlarge a small 2×2 vintage “brownie” camera print to an 8×10 frame, you need the 1200 or 2400 DPI capabilities that only a high-quality flatbed can reliably provide without digital “interpolation” (which just guesses at the missing pixels).
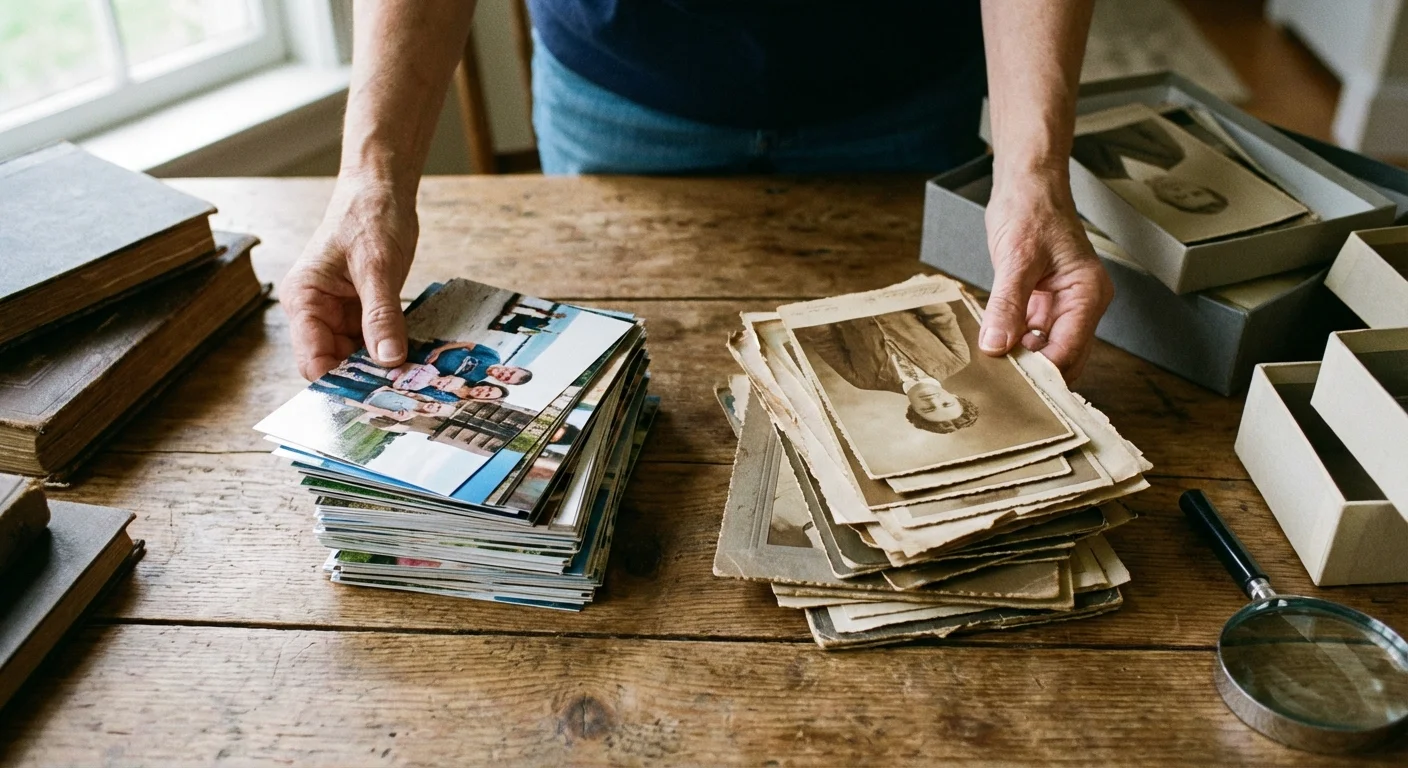
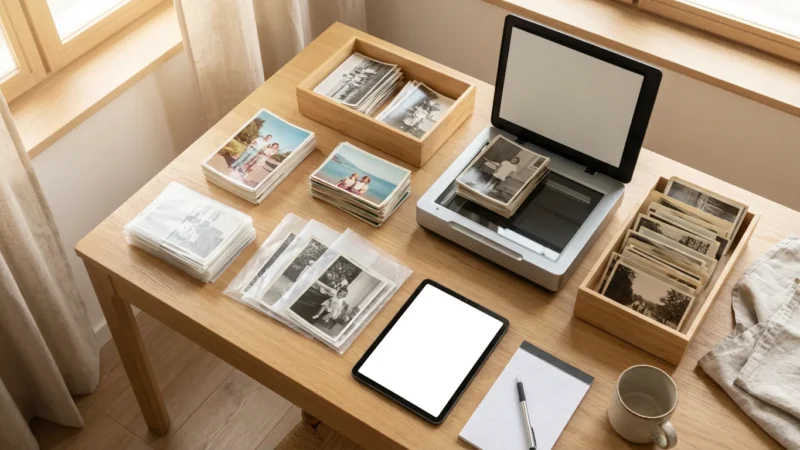
The Triage Strategy: Categorizing Your Collection for Scanning
You do not have to choose just one scanner. The most efficient and safe way to tackle a large project is to “triage” your collection into three categories. This allows you to utilize the speed of a sheet-fed device where it is safe, while reserving the flatbed for the items that truly need it.
Category 1: The High-Speed Candidates. These are standard prints from roughly 1980 to the present. They are flat, on flexible paper, have no adhesive residue, and are not unique or irreplaceable (e.g., duplicates or snapshots with less emotional value). If you have 500 photos of a 1995 vacation, a sheet-fed scanner is your best friend. Just be sure to wipe the rollers frequently to prevent dust buildup from scratching the prints as they fly by.
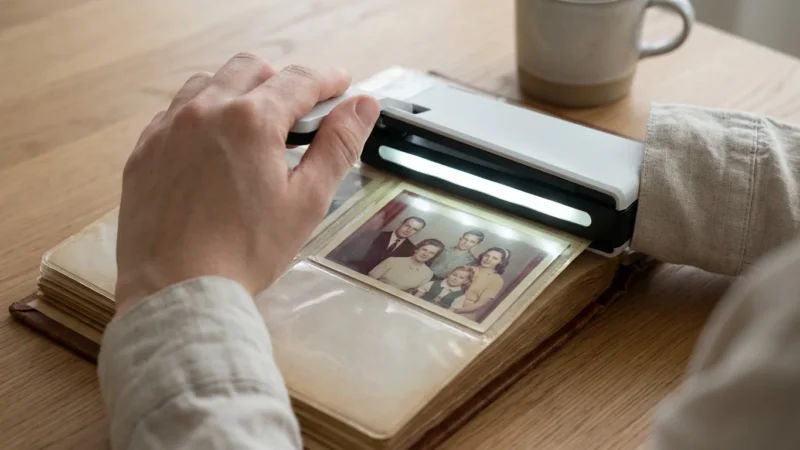
Category 2: The Delicate Items (Flatbed Only). This category includes anything from the 1970s and earlier. It also includes all Polaroids, professional studio portraits, hand-colored photos, and any print with visible damage like cracks, tears, or peeling. If the photo is on heavy cardstock or has “deckled” (zigzag) edges, it belongs on the flatbed glass. These are your “crown jewels,” and the extra two minutes per scan are a small price to pay for their safety.
Category 3: The “Carrier Sheet” Middle Ground. If you must use a sheet-fed scanner for a photo that is slightly fragile, use a plastic carrier sheet. This is a clear, archival sleeve that holds the photo flat as it passes through the scanner. The rollers touch the plastic sleeve instead of the photo itself. This reduces friction and prevents jams, though it can slightly degrade image quality due to the extra layer of plastic between the photo and the sensor.
Efficiency Hacks: Speeding Up the Flatbed Without Sacrificing Safety
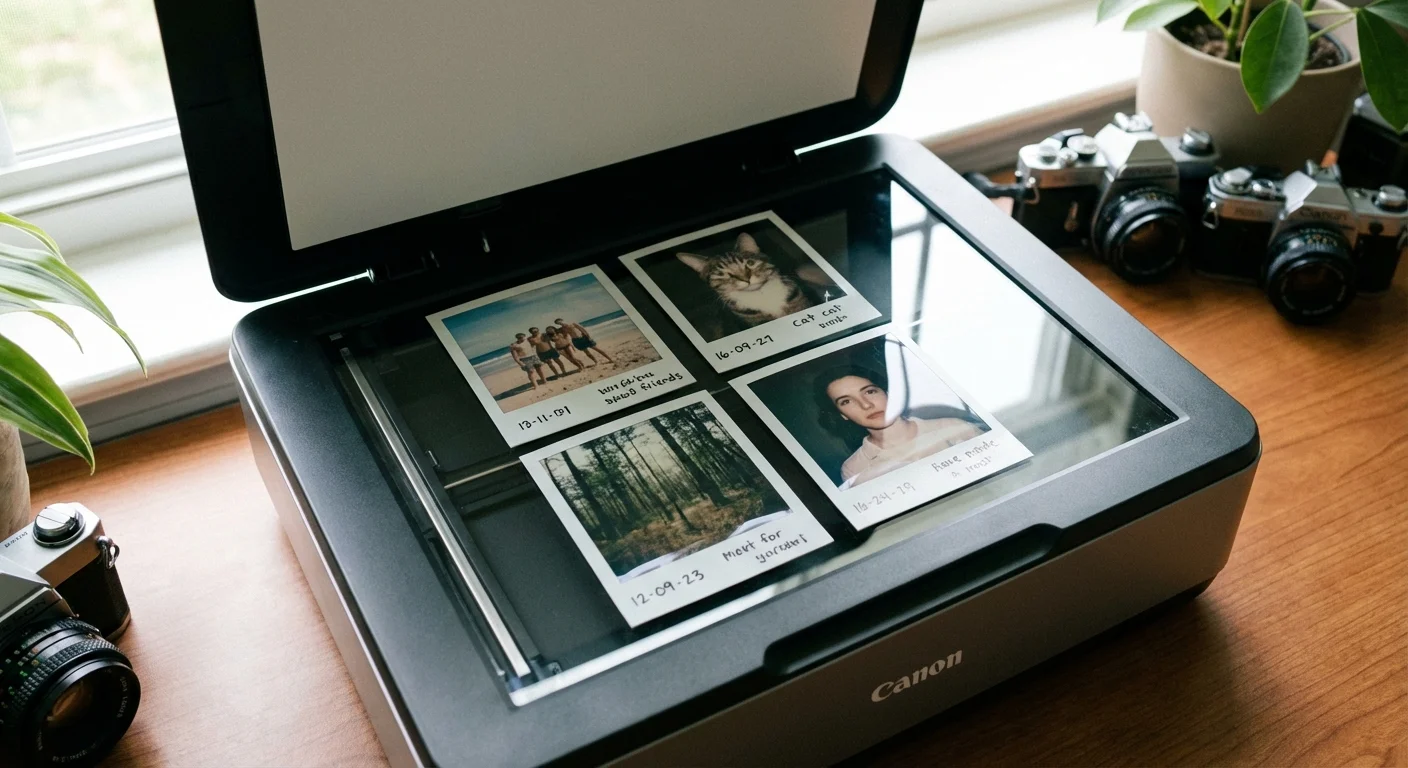
Many people avoid flatbed scanners because they think they have to scan one photo at a time. This is a misconception. You can significantly increase your throughput by using “batch scanning.” Most modern flatbed software—and third-party options like VueScan or SilverFast—allows you to place four or five photos on the glass at once. You perform one “preview” scan, and then you draw separate “marquee” boxes around each individual photo.
When you hit the final “Scan” button, the software automatically crops each photo into its own separate file. This technique allows you to scan a dozen photos in a matter of minutes while still providing them with the safety of the stationary glass. To make this even faster, use a “distributor” tool or a simple jig to keep your photos straight on the glass, reducing the time you spend rotating images in post-processing.
Another way to speed up the process is to optimize your settings. Do not scan every photo at 1200 DPI “just in case.” This creates massive file sizes and slows down the scan head significantly. Set a standard workflow: 300 DPI for standard viewing and 600 DPI for your favorite images. Reserve the ultra-high resolutions for small photos or those you intend to restore digitally. By being intentional with your settings, you keep the scanner moving without unnecessary downtime.
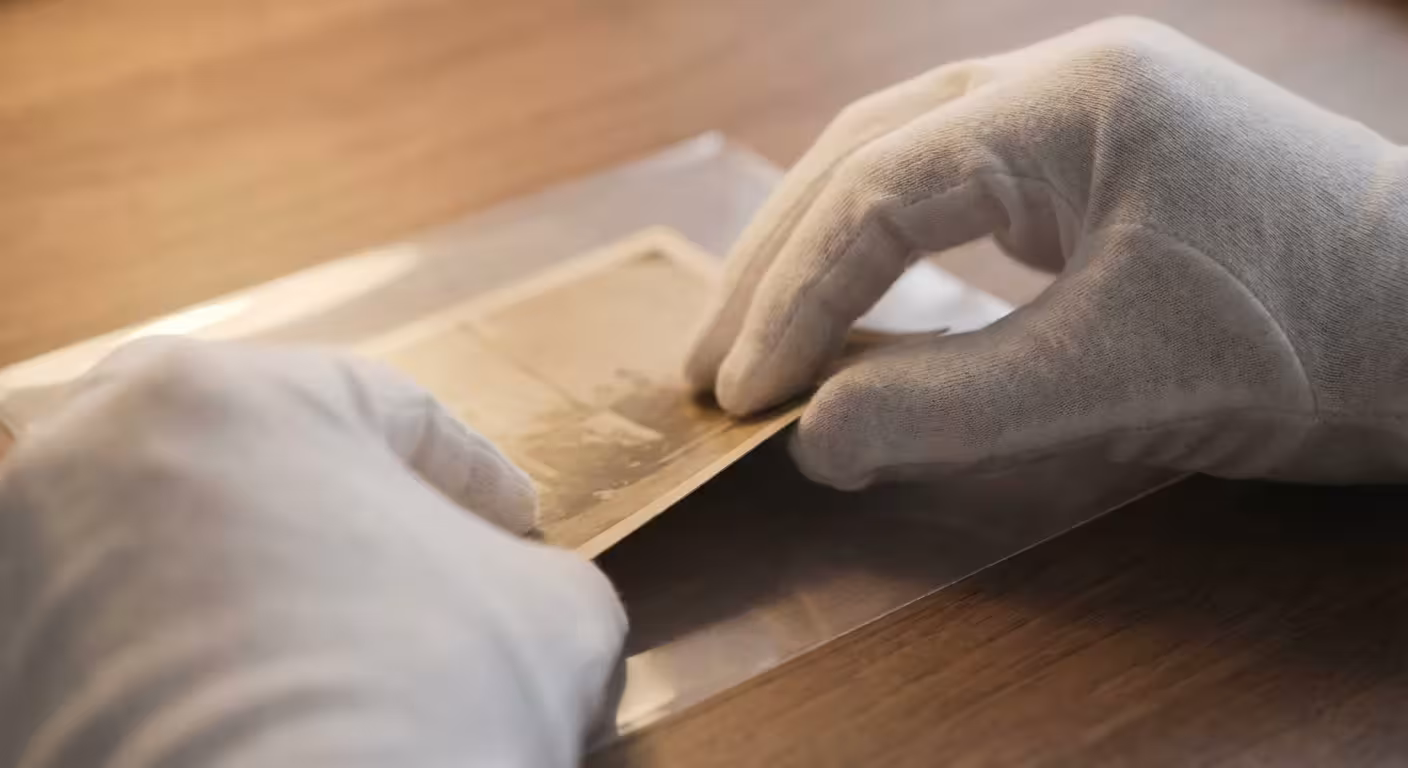
Beyond the Scan: Archival Handling and Preparation
The scanning process is only one part of the preservation journey. How you handle the photos before they touch the scanner determines whether they will survive for another fifty years. You should always work on a clean, cluttered-free surface. Wear lint-free cotton or nitrile gloves to prevent oils from your fingers from transferring to the photo emulsion. These oils attract dust and can eventually cause permanent staining.
Before placing a photo on the scanner—whether it is a flatbed or sheet-fed—use a soft-bristled brush or a gentle puff of air from a manual blower to remove loose dust. Never use “canned air” held too close to the photo, as the propellant can sometimes spray out in liquid form and damage the print. For technical guidance on long-term environmental storage conditions, consult the Image Permanence Institute.
Once you finish scanning, do not put the photos back into the same acidic boxes or “magnetic” albums they came from. Use acid-free, lignin-free folders and archival-quality storage boxes. Label your folders with a pencil or an archival pen—never use a standard ballpoint or felt-tip pen, as the ink can bleed through the paper over time. Your digital files are your “backup,” but the original physical print is the primary historical record. Treat it with the reverence it deserves, and it will remain a tangible link to your past for generations to come.
Frequently Asked Questions
Can I use a sheet-fed scanner for old Polaroids?
You should never put a Polaroid or any instant film through a sheet-fed scanner. The thickness of the Polaroid and the chemical layers inside make it susceptible to cracking or leaking under the pressure of the rollers. Always use a flatbed scanner for instant film to ensure the physical integrity of the print remains intact.
What is the best DPI setting for scanning old family photos?
For standard 4×6 prints, scan at a minimum of 300 DPI for digital viewing and 600 DPI if you plan to enlarge the print later. If you are scanning small photos, such as 2×3 wallet sizes or locket inserts, increase the resolution to 1200 DPI to capture the fine details that are often lost at lower settings.
How do I prevent dust from ruining my scans?
Keep a pressurized air canister and a high-quality microfiber cloth nearby. Gently blow air across the scanner glass and the photo surface before every scan. For flatbed scanners, you can also use a specialized anti-static brush to neutralize the charge that attracts dust particles to the glass platen.
Are sheet-fed scanners safe for 19th-century photographs?
Absolutely not. 19th-century formats like tintypes, ambrotypes, or fragile albumen prints are far too brittle and irreplaceable for a motorized feed. The mechanical rollers can cause the emulsion to flake off or the base material to snap. These items require the stationary, protected environment of a flatbed scanner.
Is a dedicated photo scanner better than a multi-function printer scanner?
Generally, yes. Dedicated scanners usually feature CCD (Charge-Coupled Device) sensors, which offer better depth of field and color accuracy than the CIS (Contact Image Sensor) technology found in most budget all-in-one printers. If you want to capture the true texture and tonal range of an old photograph, a dedicated flatbed is the superior choice. For more information on identifying archival materials, you can visit the Library of Congress Preservation site.
Disclaimer: This article is for informational purposes only. When handling valuable or irreplaceable photographs, consider consulting a professional conservator. Always test preservation methods on non-valuable items first.


Leave a Reply