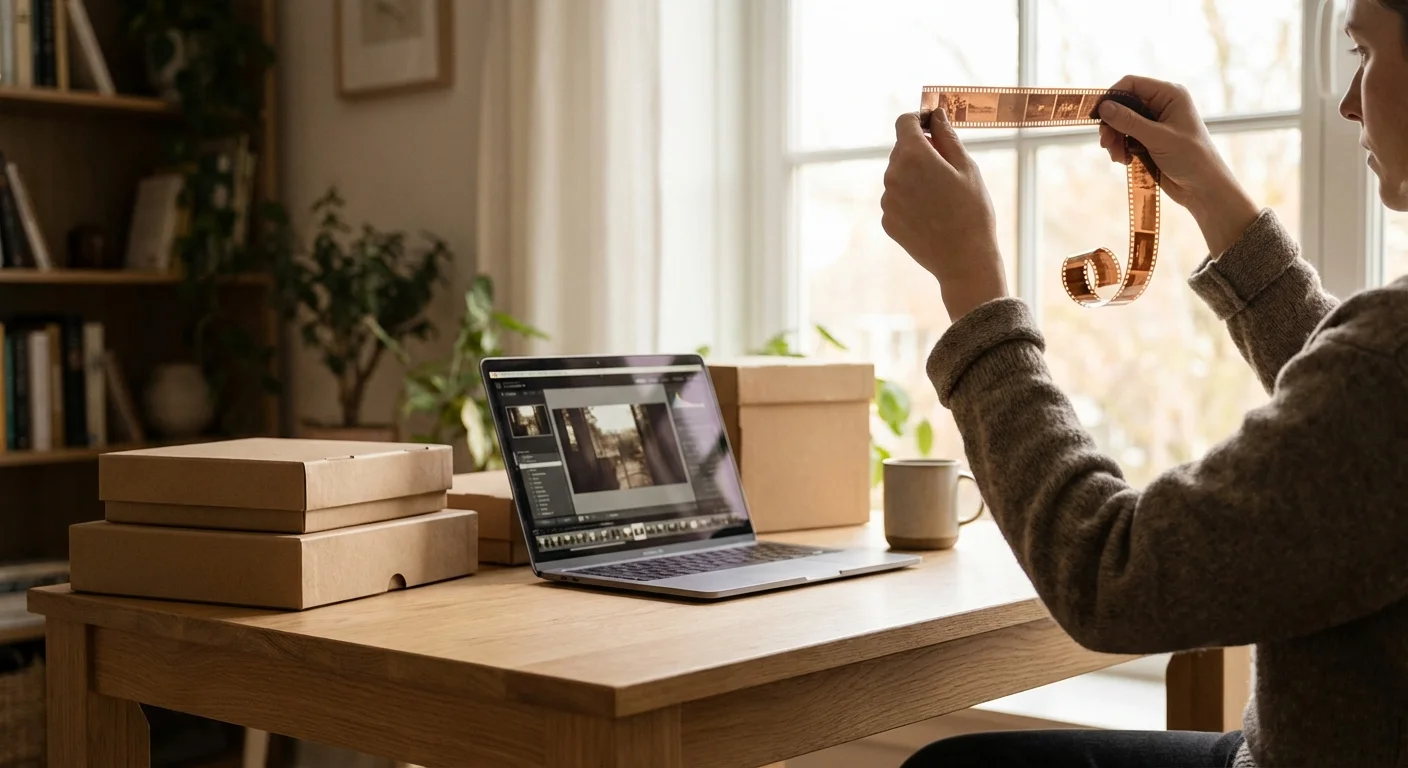
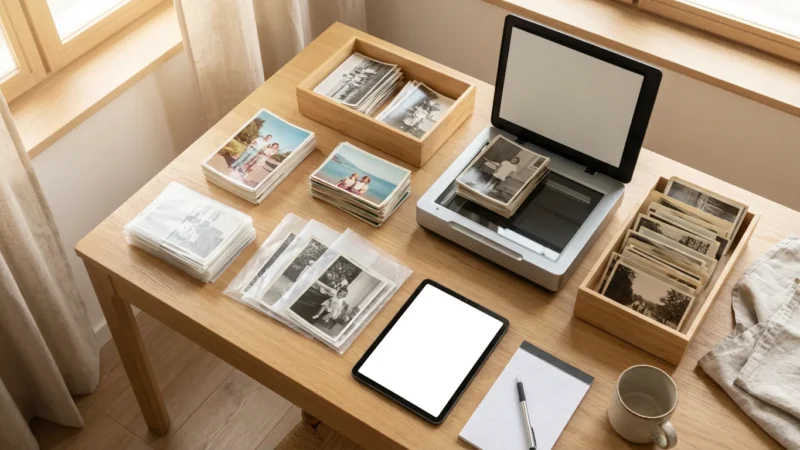
Those dusty shoe boxes in the attic often hold more than just paper prints; they contain the original blueprints of your family history in the form of film negatives. While 35mm film remains the most recognizable format, many families find themselves staring at strips of film that look “wrong”—some are tiny and thin, others are perfectly square, and some are slightly larger than a standard slide. If you have discovered 110, 126, or 127 format negatives, you have stumbled upon the artifacts of the consumer photography booms from the 1960s through the 1980s. Digitizing these specific formats at home requires a bit more finesse than standard film, as most modern scanners are not built with these dimensions in mind.
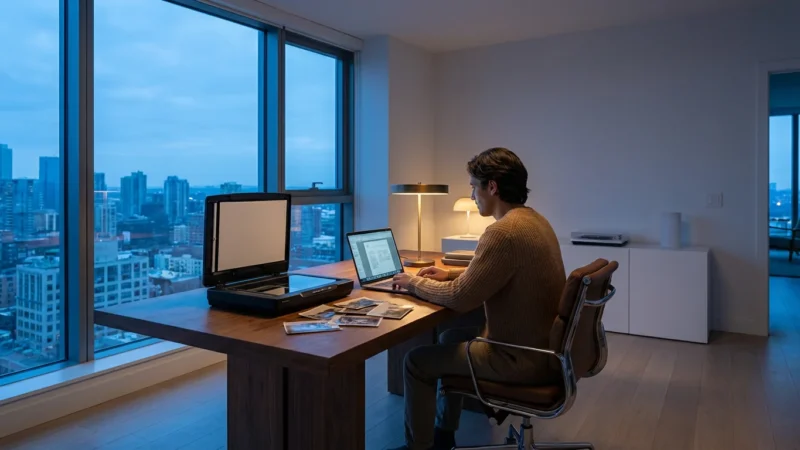
You do not need to ship these precious memories to a laboratory where they might be handled by strangers or lost in transit. With the right equipment, a bit of patience, and a methodical approach, you can transform these physical strips into high-resolution digital files that you can share with your entire family. This guide provides the technical specifications and actionable steps you need to master the digitization of “orphan” film formats in your own home workspace.
Understanding the Dimensions of 110, 126, and 127 Film
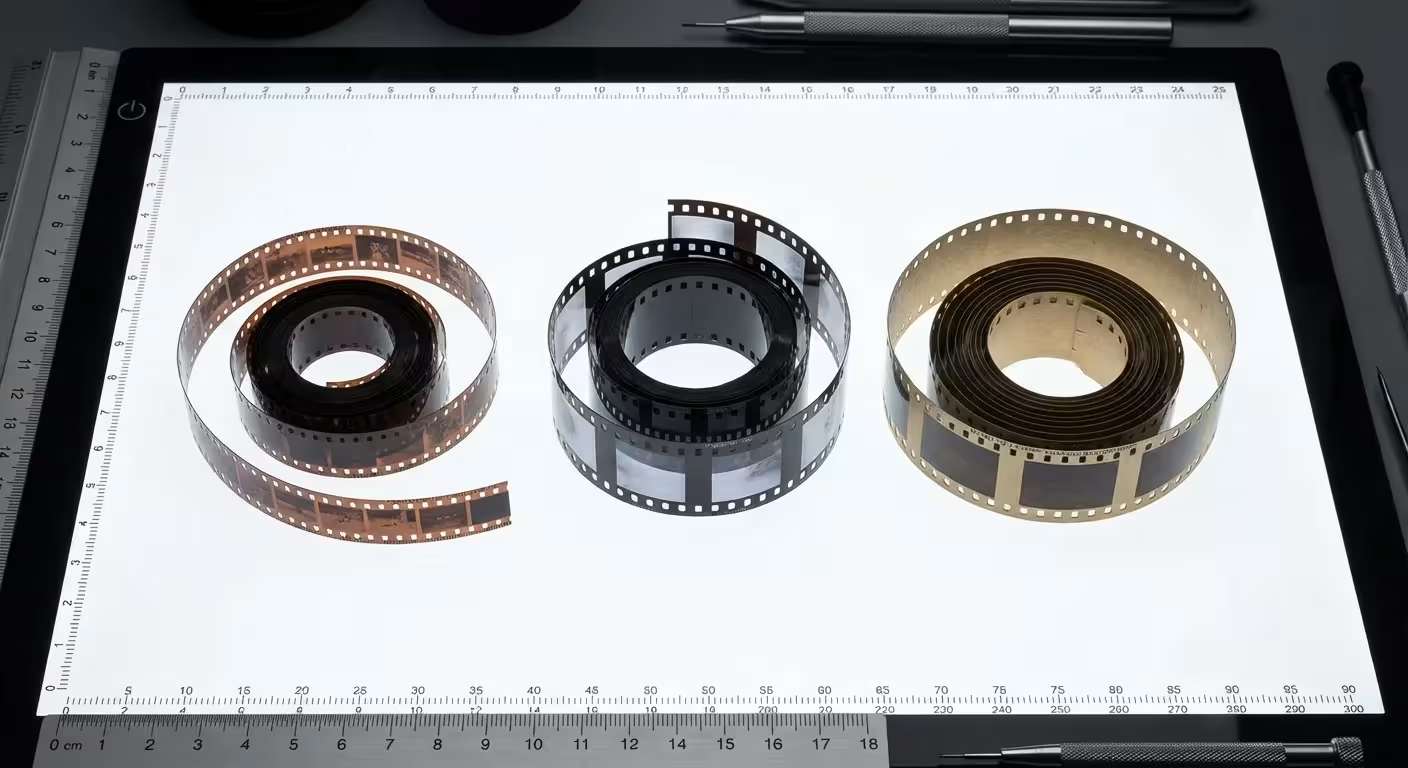
Before you begin scanning, you must identify exactly what you are holding. Each of these formats was designed to make photography easier for the average person, but their unique sizes now present challenges for modern digitization hardware.
110 Film: Introduced by Kodak in 1972, this is the “pocket” format. The film is housed in a small plastic cartridge and the negatives are tiny—measuring only 13mm x 17mm. Because the negative is so small, every speck of dust and every scratch is magnified during the scanning process. You need high-resolution settings to extract a usable image from these miniatures.
126 Film: This format powered the famous Kodak Instamatic cameras. Although the film is 35mm wide, the images are captured as 28mm x 28mm squares. Unlike standard 35mm film, which has multiple sprocket holes per frame, 126 film has only one perforation per image. If you try to use a standard 35mm film holder, you will likely cut off the top and bottom of your square images.
127 Film: A much older format introduced in 1912, 127 film experienced a resurgence in the 1950s with “Baby Rolleiflex” cameras. It is roughly 46mm wide, sitting between 35mm and 120 medium format film. It was often used for “super slides” or square 4cm x 4cm negatives. This format carries significantly more detail than 110 or 126, making it a joy to digitize once you find the right way to mount it.
| Film Format | Image Dimensions | Common Era | Major Challenge |
|---|---|---|---|
| 110 Pocket | 13mm x 17mm | 1970s – 1980s | Requires high DPI due to small size |
| 126 Instamatic | 28mm x 28mm | 1960s – 1970s | Square format doesn’t fit 35mm holders |
| 127 “Baby” | Approx. 46mm wide | 1912 – 1960s | Awkward width for standard scanners |
Preparing and Cleaning Your Negatives for the Best Results
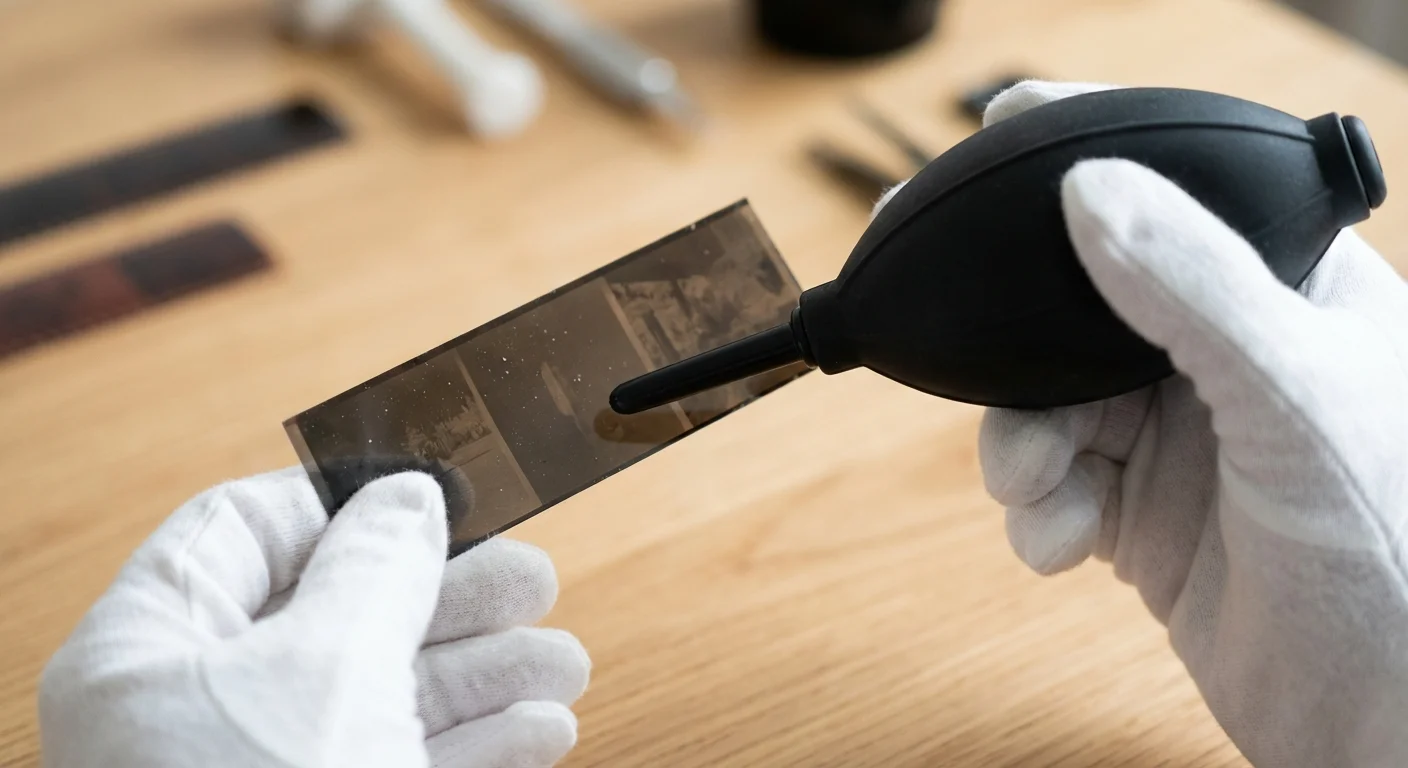
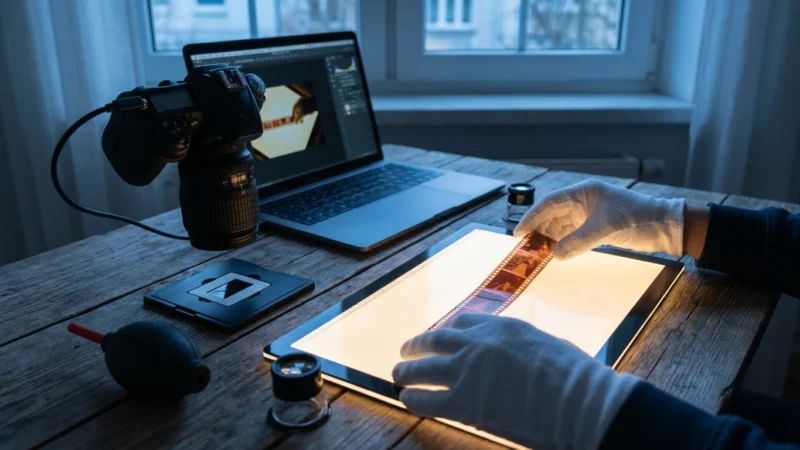
You cannot fix a physical scratch or a thumbprint with software as effectively as you can prevent it in the first place. When you handle negatives, you are handling the “master copy” of that memory. Always wear lint-free cotton or nitrile gloves to avoid transferring skin oils to the emulsion. These oils are acidic and can eventually damage the film, but more importantly for your current project, they appear as ugly smudges in your digital scans.
Begin your preparation by using a manual rubber air blower. Avoid “canned air” or compressed air canisters; these often contain chemical propellants that can leave a residue on the film surface or, if held incorrectly, blast the film with freezing liquid. A simple hand-squeezed blower removes the majority of loose dust without physical contact. For more persistent dust, use a dedicated anti-static brush designed for optics. This helps neutralize the static charge that naturally attracts dust to the plastic film base.
If you encounter negatives with “foxing” (mold spots), sticky residue, or old fingerprints, you may need a liquid cleaner. Only use a dedicated archival film cleaner like PEC-12. Apply a single drop to a lint-free pad and wipe the negative in one direction. Be extremely cautious with the emulsion side (the duller, slightly textured side). When in doubt, follow the guidelines provided by the National Archives Preservation team regarding the handling of sensitive photographic materials. Never use water or household glass cleaners, as these can soften the emulsion and cause permanent damage.
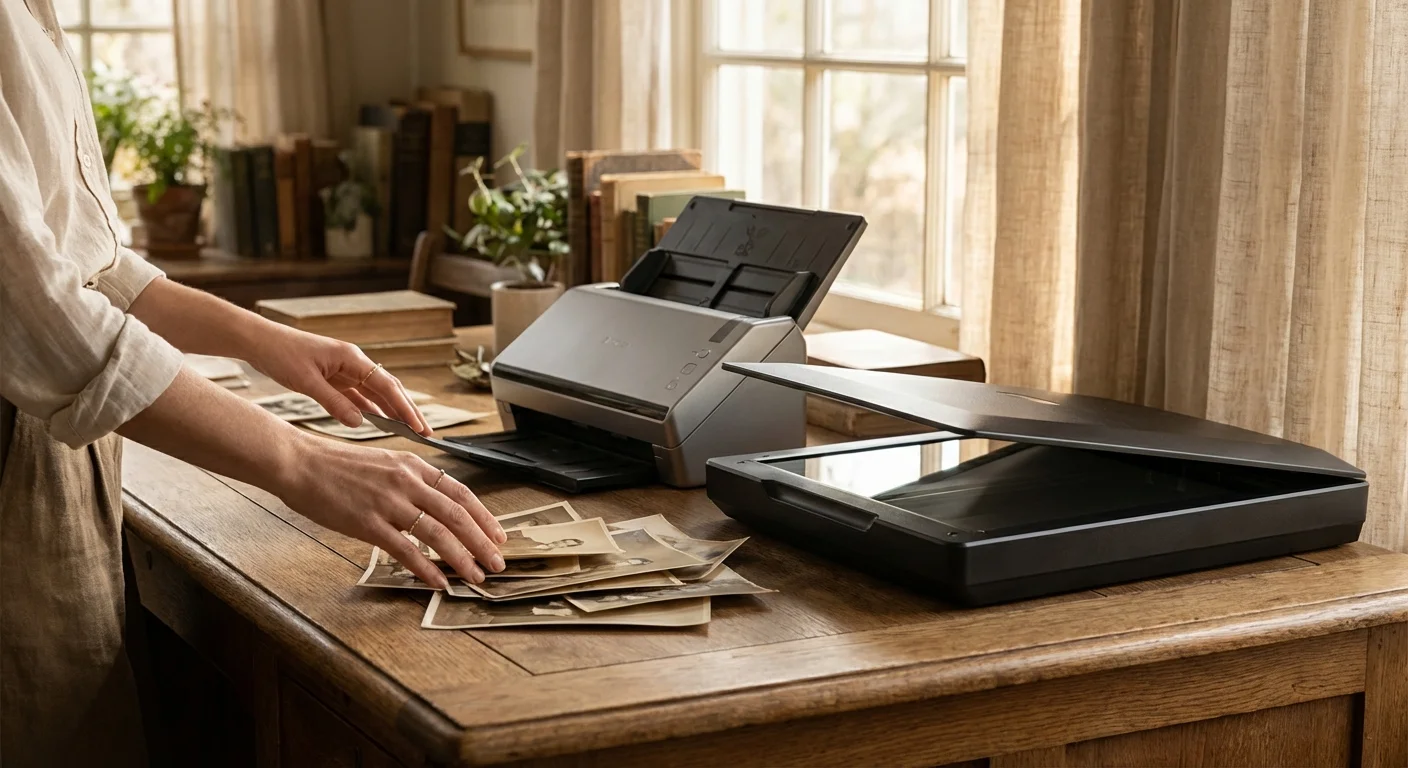
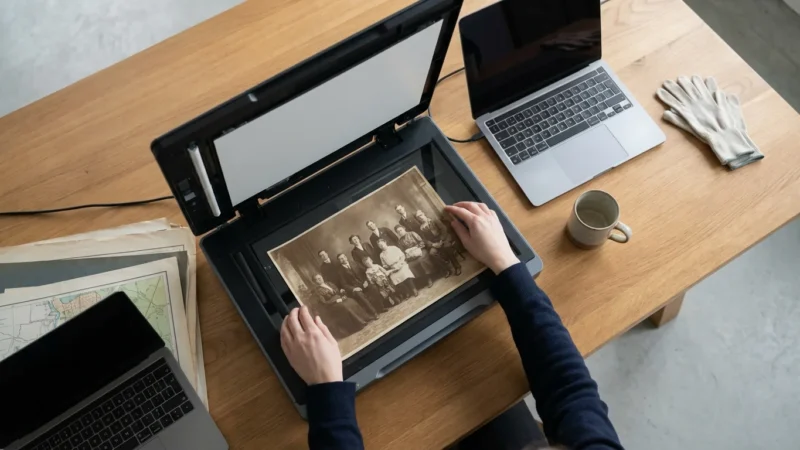
The Flatbed Scanner Approach: Custom Masks and Settings
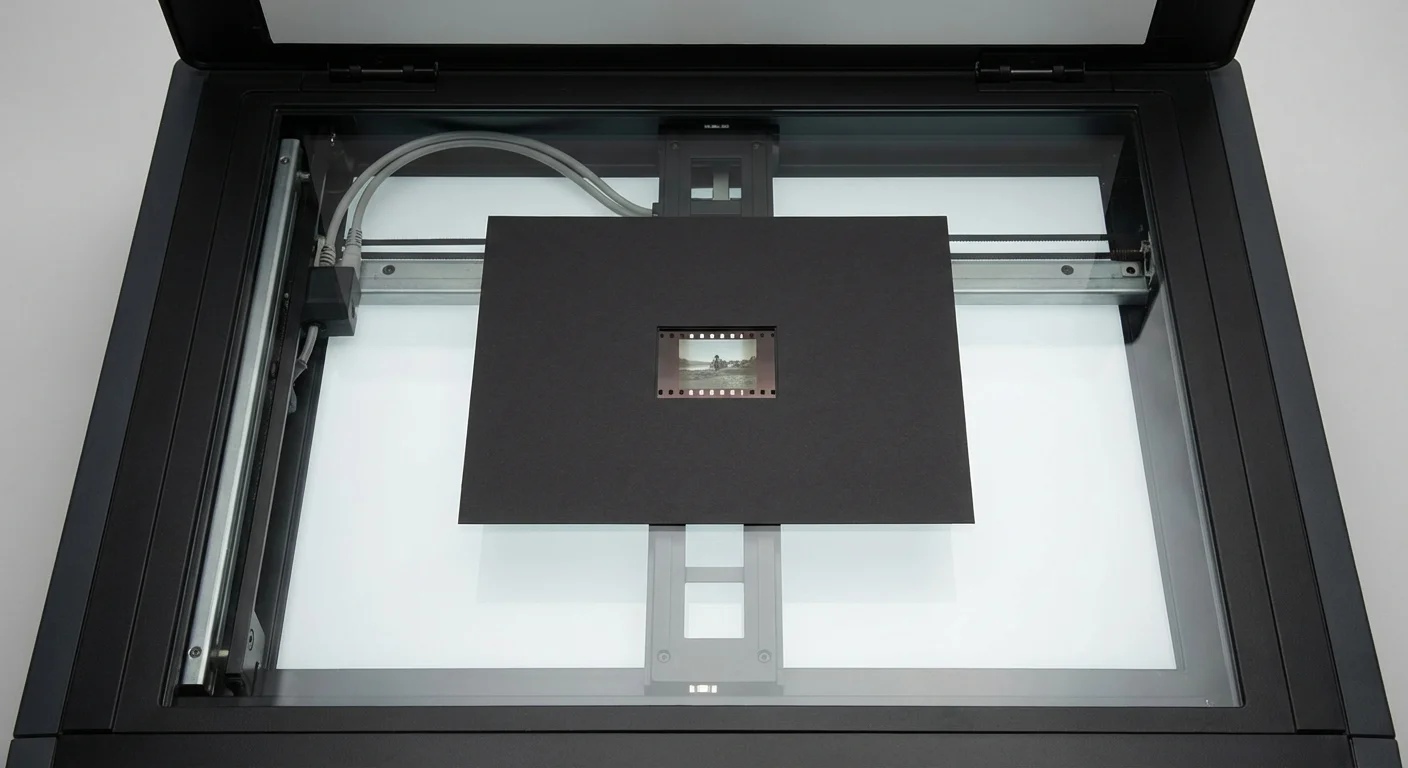
If you own a flatbed scanner with a transparency unit (a light in the lid), you have a versatile tool for digitizing these formats. However, the plastic frames that came with your scanner likely only support 35mm and 120 film. To scan 110, 126, or 127 film, you will need to find a way to hold the film flat and elevated slightly above the scanner glass to avoid “Newton’s Rings”—those oily-looking interference patterns that occur when two shiny surfaces touch.
You can purchase third-party film masks specifically for 110 and 126 formats. Companies like Negative Solutions or specialized 3D-printing hobbyists create holders that fit popular Epson or Canon scanners. These holders secure the film in place and ensure it is at the correct focal distance from the scanner’s sensor. If you are scanning 127 film, you can often use a 120 (medium format) holder and use black cardstock to mask out the extra space, preventing light bleed from ruining your exposure.
When you open your scanning software (such as SilverFast, VueScan, or the native Epson Scan), follow these technical parameters:
- Mode: Select “Transparency” or “Film” mode. Never use “Reflective” for negatives.
- Bit Depth: Choose 48-bit Color or 16-bit Grayscale. This gives you much more data to work with when you start adjusting the colors and contrast later.
- Resolution for 110: Set this to the maximum optical resolution of your scanner—usually 4,800 or 6,400 DPI. Because the negative is so small, a 2,400 DPI scan will only result in a 1-megapixel image.
- Resolution for 126 and 127: 2,400 to 3,200 DPI is generally sufficient to capture the detail available in these consumer-grade films.
- Digital ICE: If your scanner supports infrared dust removal (Digital ICE), turn it on for color film. Warning: Do not use Digital ICE for traditional black-and-white film, as the silver particles in the film will confuse the sensor and create a blurred mess.
Scanning at high resolutions takes time, but your future self will thank you for the extra detail when you decide to print a large-scale photo for a family reunion.
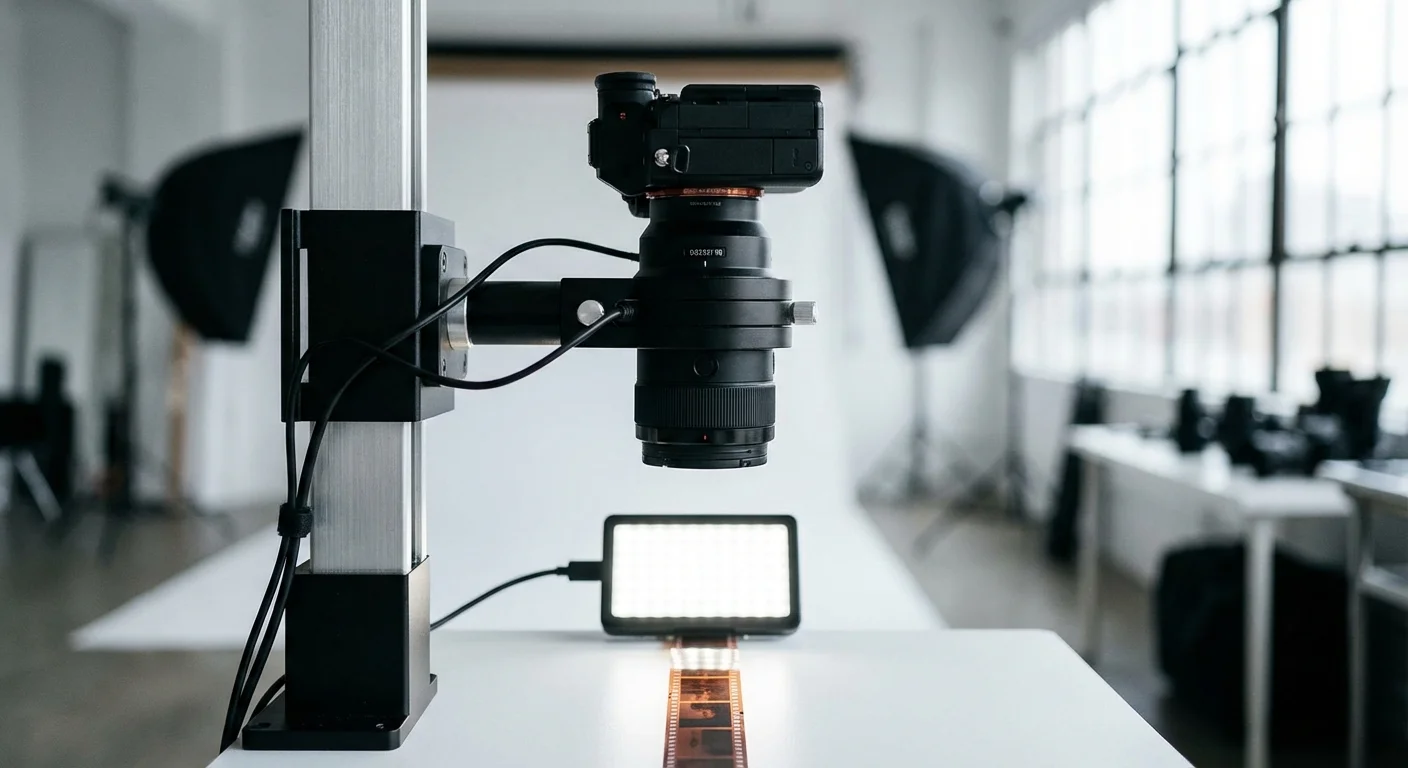
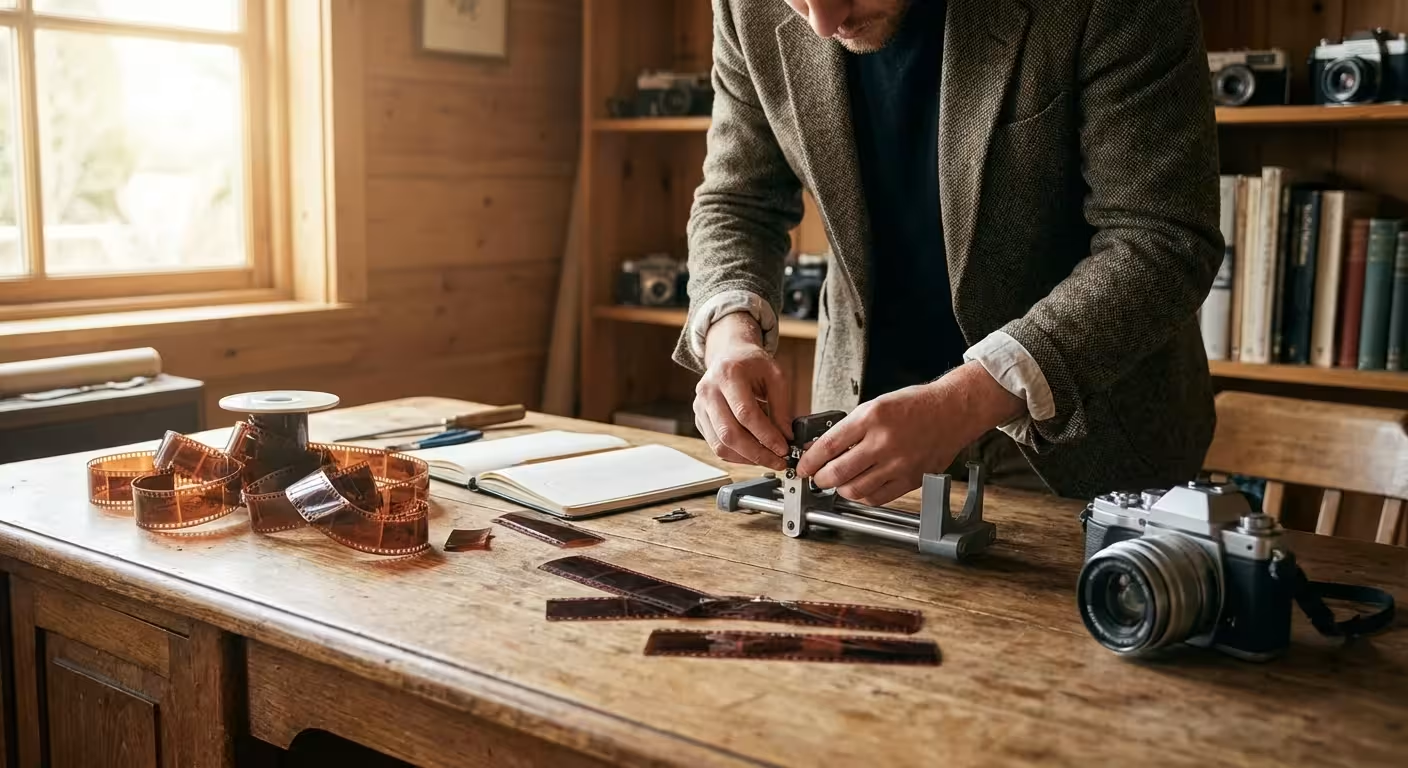
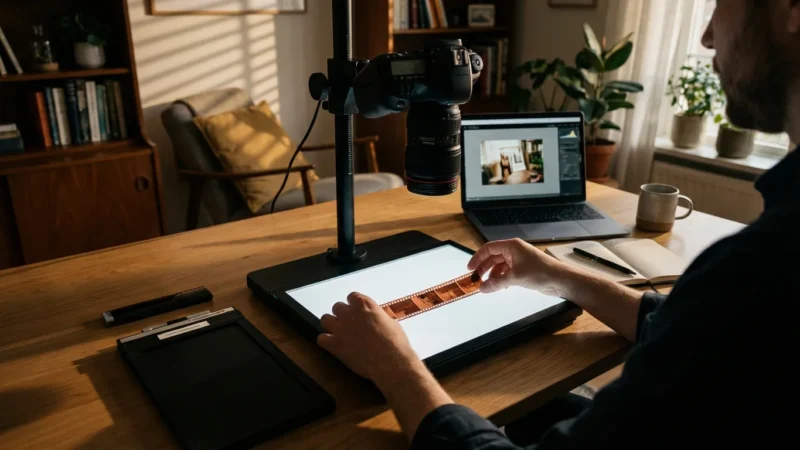
The Camera Scanning Method: Achieving Professional Quality
Many preservationists have moved away from flatbed scanners in favor of “camera scanning.” This process involves using a high-resolution DSLR or mirrorless camera to take a photograph of the negative. This method is significantly faster and often yields better dynamic range, allowing you to see detail in the darkest shadows of the original scene. According to experts at Digital Photography Review, a well-executed camera scan can rival or exceed the quality of high-end dedicated film scanners.
To set this up at home, you need four key components: a camera with a macro lens, a sturdy tripod or copy stand, a high-quality light source, and a way to hold the film flat. Your light source is critical; use a LED light pad with a High Color Rendering Index (CRI of 95 or higher) to ensure you are capturing the full spectrum of colors in your negatives.
For 110 and 126 negatives, the challenge is keeping the film perfectly flat. Since these formats often come in strips that are “curly,” you might need to use a specialized film carrier. You can adapt a 35mm carrier for 126 film by ensuring the mask is wide enough for the 28mm square image. For 110 film, you may need to DIY a mask using two pieces of black mat board with a 13mm x 17mm hole cut in the center. Sandwich the film between the boards and place it on your light pad.
Set your camera to its “base ISO” (usually 100) to minimize noise. Use an aperture around f/5.6 or f/8, which is typically the “sweet spot” for macro lens sharpness. Use a remote shutter release or the camera’s built-in timer to prevent camera shake. Once you have the focus locked—ideally focusing on the actual grain of the film—you can “scan” an entire roll of film in minutes simply by sliding the film through the holder and clicking the shutter.
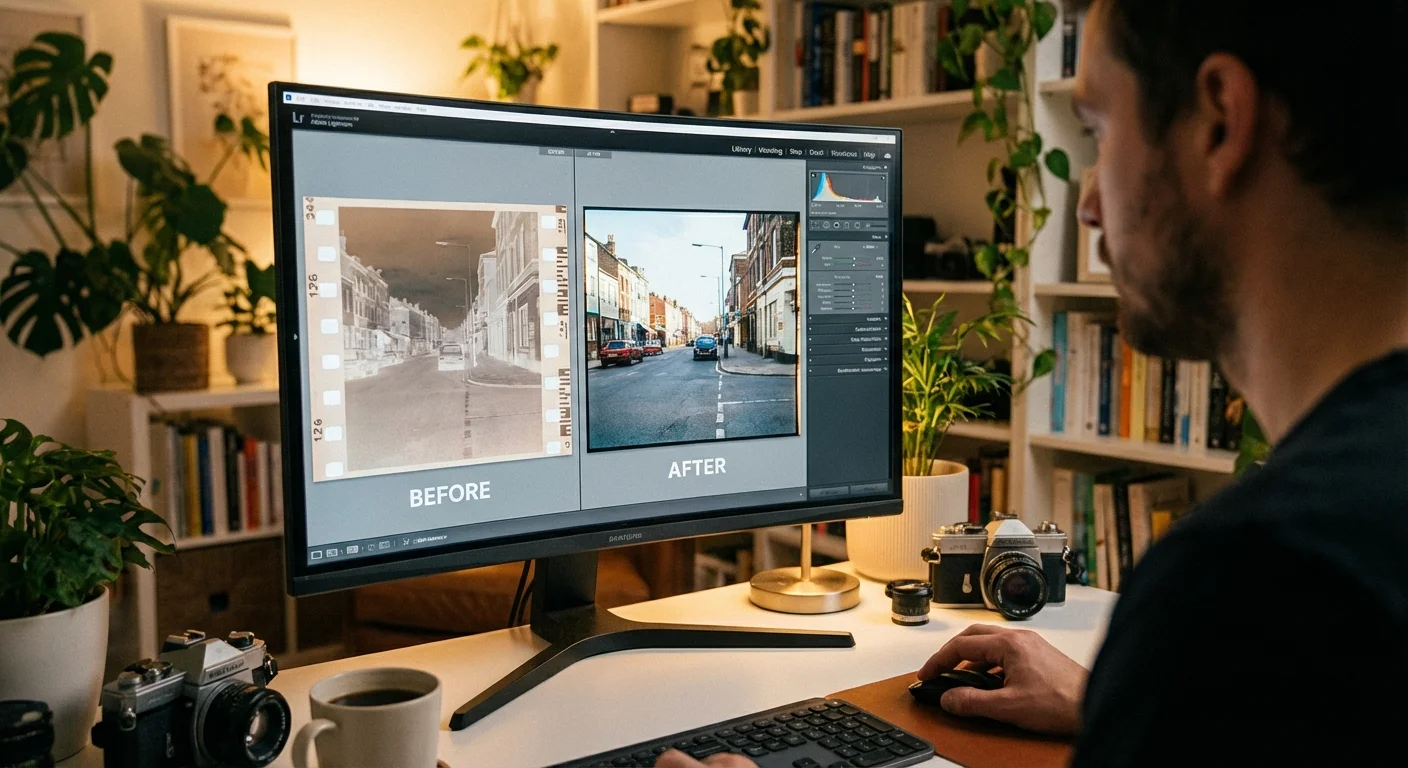
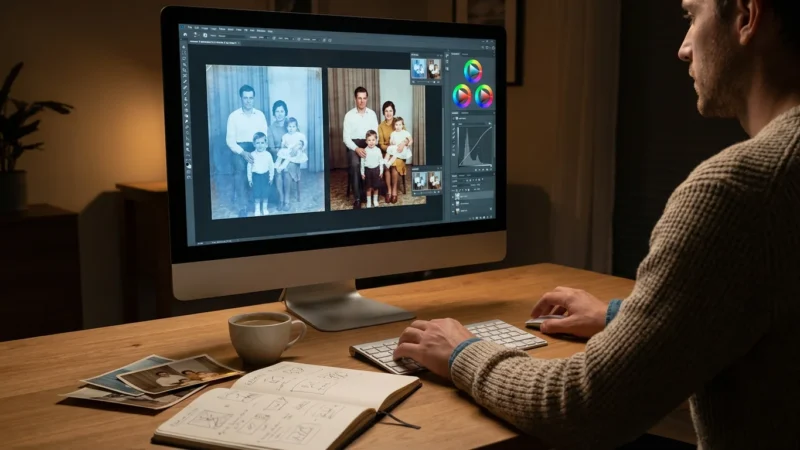
Software and Post-Processing: Turning Negatives into Positives
Once you have your raw scan—whether from a flatbed or a camera—you will likely be looking at a strange, orange-tinted negative image. Converting these into beautiful photographs is where the magic happens. If you used high-end scanning software like SilverFast, the inversion might happen automatically using their “NegaFix” profiles. However, for 110 and 126 film, specific profiles might not exist, requiring a manual touch.
If you are using Adobe Lightroom or Photoshop, the most powerful tool for this task is a plugin called Negative Lab Pro. It is specifically designed to handle the “orange mask” found on color negative film. It interprets the data and provides a natural, film-like color balance that is often difficult to achieve by simply hitting “Invert” in a photo editor. If you prefer a manual method in Photoshop, you can use the following steps:
- Invert the image: Press Ctrl+I (Windows) or Command+I (Mac).
- Neutralize the Color Cast: Create a Levels adjustment layer. Select the “Gray Point” eyedropper and click on a part of the film that should be neutral (like a sidewalk or a white shirt).
- Adjust the Black and White Points: Hold the Alt/Option key while dragging the black and white sliders in Levels until you just see the clipping points appear. This sets your dynamic range.
- Color Correction: Use the “Curves” tool to adjust the Red, Green, and Blue channels individually to remove any remaining color shifts caused by the aging of the film.
Remember that old film, especially the 110 format, often had a “grainy” look. Resist the urge to over-sharpen the image or use heavy noise reduction, as this can make people’s skin look like plastic. You want to preserve the character of the era in which the photo was taken. Technical information on how sensors interpret these light values can be found in the guides at Cambridge in Colour, which can help you understand the relationship between bit depth and color accuracy.
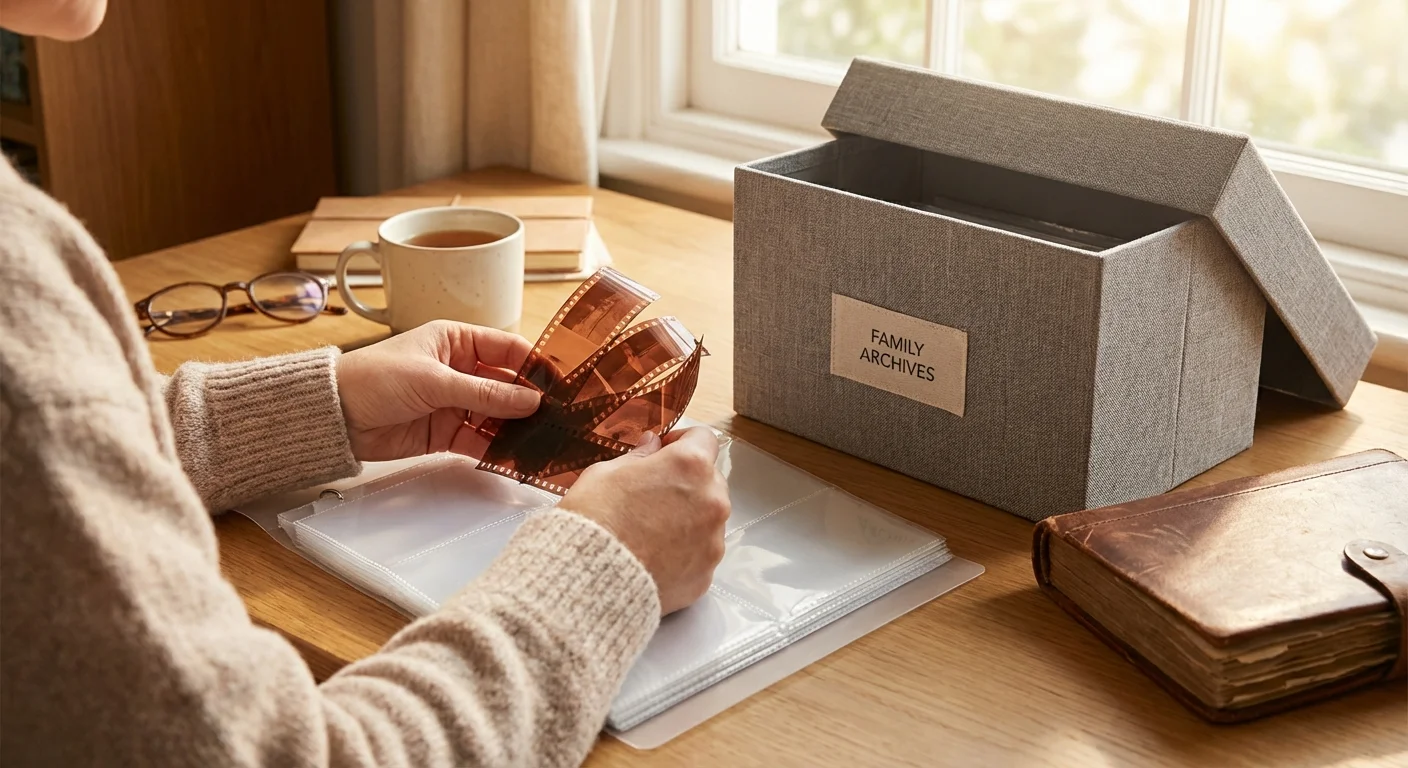
Archival Storage: Protecting Your Film After Scanning
Your digitization project is not complete until the physical negatives are safely stored. Now that you have cleaned them and removed them from their old, acidic paper envelopes or plastic cartridges, do not put them back where you found them. Standard paper and many common plastics release gases over time that can accelerate the degradation of the film emulsion.
Purchase archival-grade polypropylene sleeves. These are specifically designed to be chemically inert. For 110 and 126 film, you may need to look for “specialty format” sleeves or use 120-size sleeves and carefully place the strips inside. Once sleeved, store the film in a “clamshell” archival box. These boxes are designed to keep out dust and light while allowing the film to “breathe” slightly.
The environment where you store these boxes is just as important as the materials themselves. Choose a location in your home that is “cool, dry, and stable.” Avoid attics (which get too hot) and basements (which are often too damp). A shelf in a closet in the center of your house is usually the best spot. Consistent temperature and humidity are the keys to ensuring these negatives last another 100 years. By following these steps, you have not only created a digital legacy but also preserved the physical history for the next generation to rediscover.
Frequently Asked Questions
Can I scan 110 negatives with a phone app?
While some phone apps allow you to “preview” negatives by inverting the colors in real-time, the quality is generally too low for anything other than basic identification. The tiny size of 110 film requires a macro lens and high resolution that most smartphone cameras cannot achieve without significant distortion and loss of detail. For preservation, stick to a dedicated scanner or DSLR setup.
Why do my 126 scans have a heavy orange tint?
All color negative films have an orange “mask” built into the plastic base to help with color accuracy during the traditional darkroom printing process. When digitizing, your software must subtract this orange color to reveal the true colors of the scene. If your scans look orange, your software likely hasn’t “inverted” the colors correctly or hasn’t accounted for the film’s base color.
Is it worth digitizing 127 film?
Absolutely. 127 film negatives are significantly larger than 35mm, meaning they often contain a surprising amount of detail and a shallow depth of field that looks very “professional.” Many 127 cameras used high-quality lenses, and the resulting digital files can often be enlarged to 11×14 inches or bigger with excellent clarity.
What if my film is curled and won’t stay flat?
Film that has been stored in a roll for decades develops a “memory” of that shape. You can gently flatten it by placing the sleeved negatives under a heavy, flat object—like a stack of large art books—for several days. If that doesn’t work, you must use a film holder that physically “sandwiches” the film between two frames to force it flat during the scan.
Disclaimer: This article is for informational purposes only. When handling valuable or irreplaceable photographs, consider consulting a professional conservator. Always test preservation methods on non-valuable items first.
Leave a Reply