A family’s history lives in more than just portraits and snapshots. While a photograph captures a moment in time, a handwritten letter captures a voice, and a funeral program captures a legacy. These paper artifacts—often referred to as ephemera—provide the connective tissue for your genealogy research. They offer dates, names, locations, and personal sentiments that a silent photograph cannot convey. However, paper is inherently fragile. Acidic wood pulp, fluctuating humidity, and light exposure constantly threaten to turn your ancestors’ words into dust.
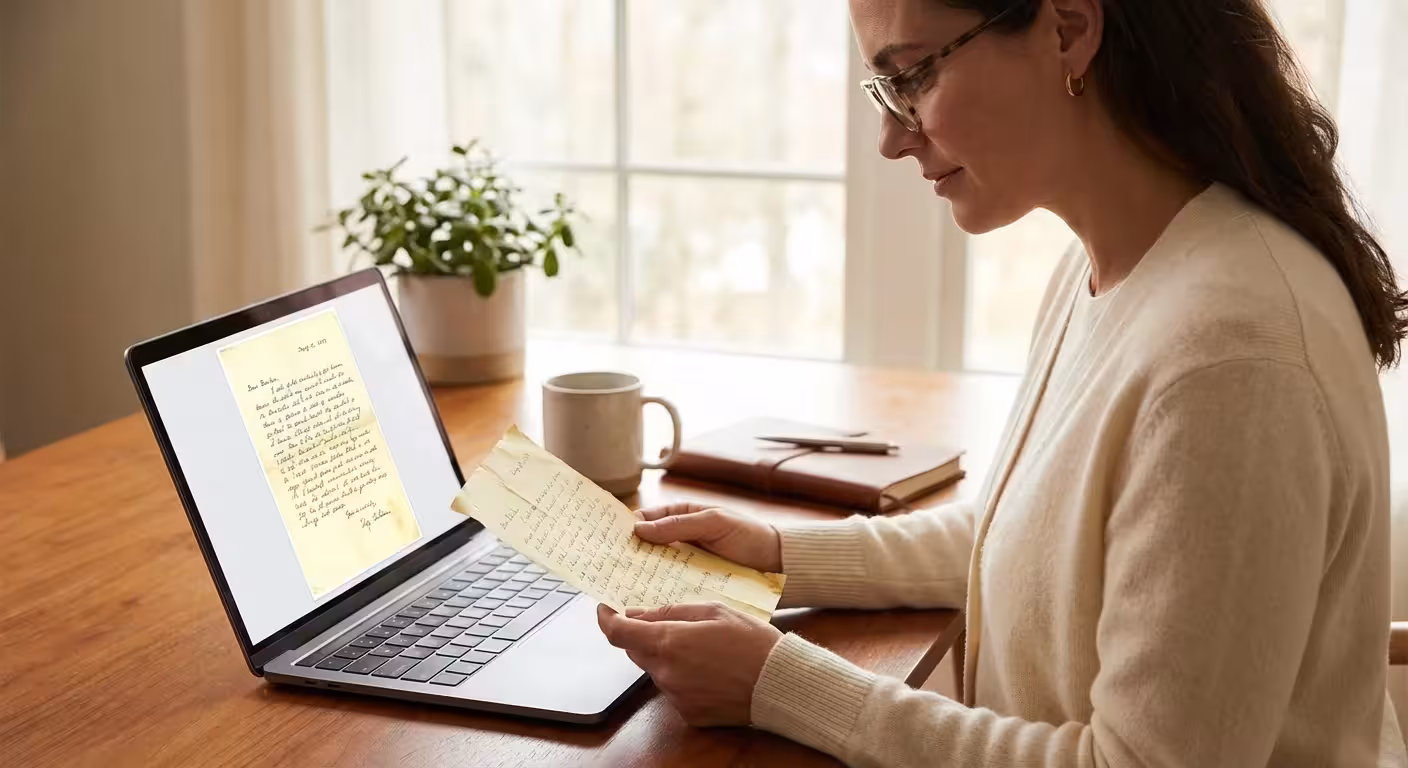
You can halt this decay by digitizing your collection. Scanning documents and preserving family letters allows you to share these stories with relatives across the globe while tucking the original “fragiles” safely away in archival storage. This guide provides a comprehensive system for digitizing your non-photo memorabilia with professional-grade results, ensuring your family’s written heritage survives for the next century.
Why Paper Memorabilia Matters for Your Family History
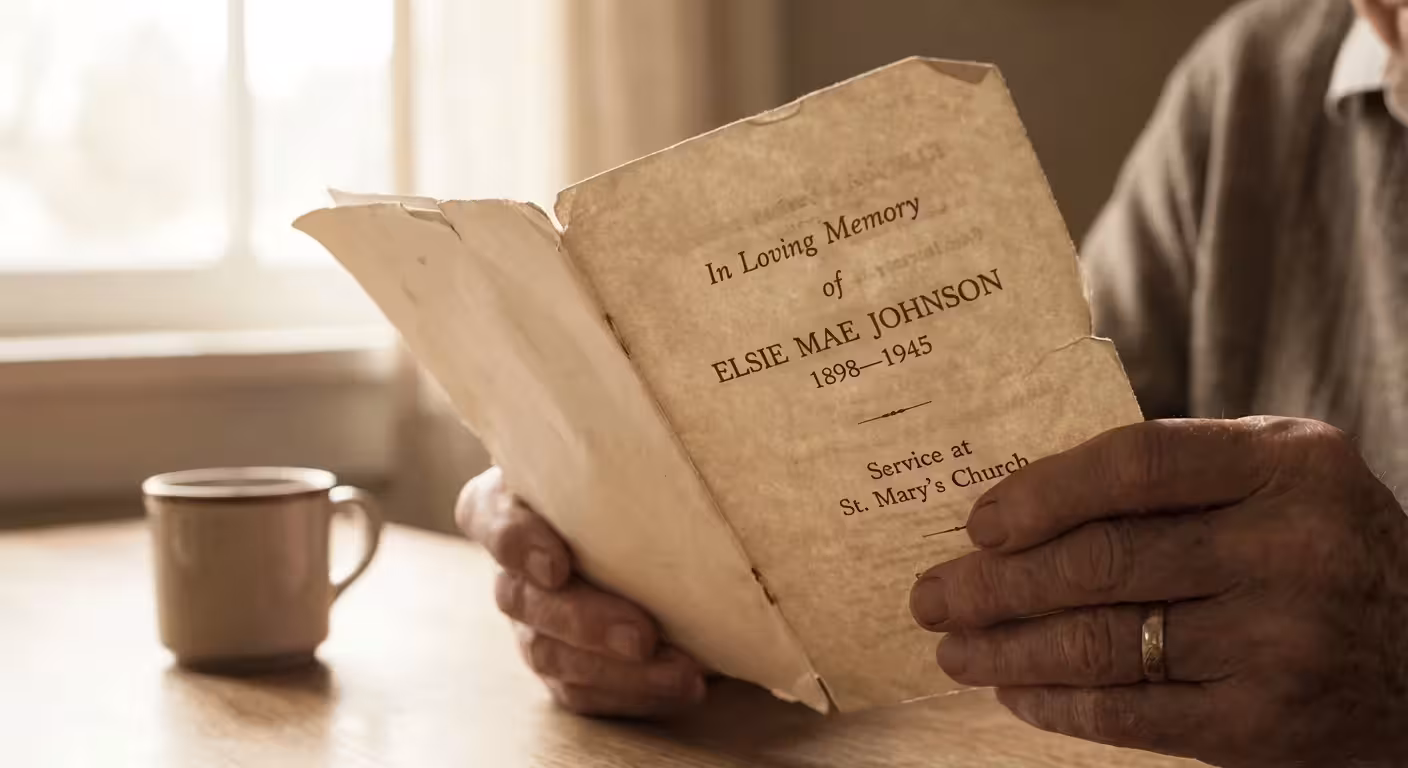
Consider the funeral program. To a stranger, it is a piece of cardstock. To a family historian, it is a goldmine. Programs often contain a full obituary, a list of surviving relatives (essential for mapping “lost” branches of a family tree), and even the names of pallbearers who were likely the deceased’s closest friends or cousins. Digitizing these records protects the only existing record of these relationships.
Family letters offer an even deeper level of intimacy. They reveal the cadence of a great-grandfather’s speech, the hardships of a wartime marriage, or the mundane details of pioneer life. When you engage in digitizing genealogy records, you aren’t just making a picture of a page; you are capturing the ink flow, the stationery choice, and the very handwriting that your ancestors produced. Data from the National Archives suggests that paper from the mid-19th century to the mid-20th century is particularly at risk due to high acid content in mass-produced paper. By scanning these items now, you create a high-resolution backup before the paper becomes too brittle to handle.

Preparing Your Workspace and Handling Fragile Items
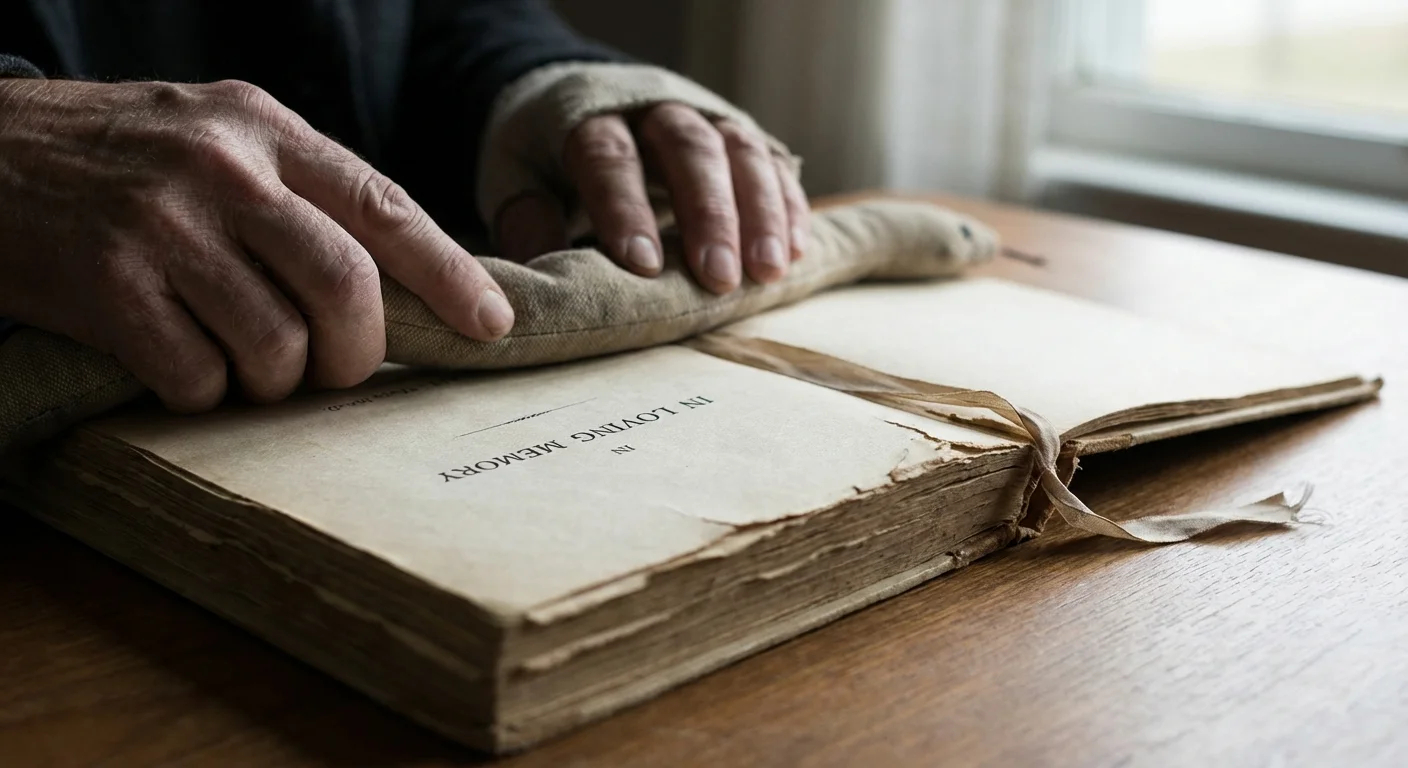
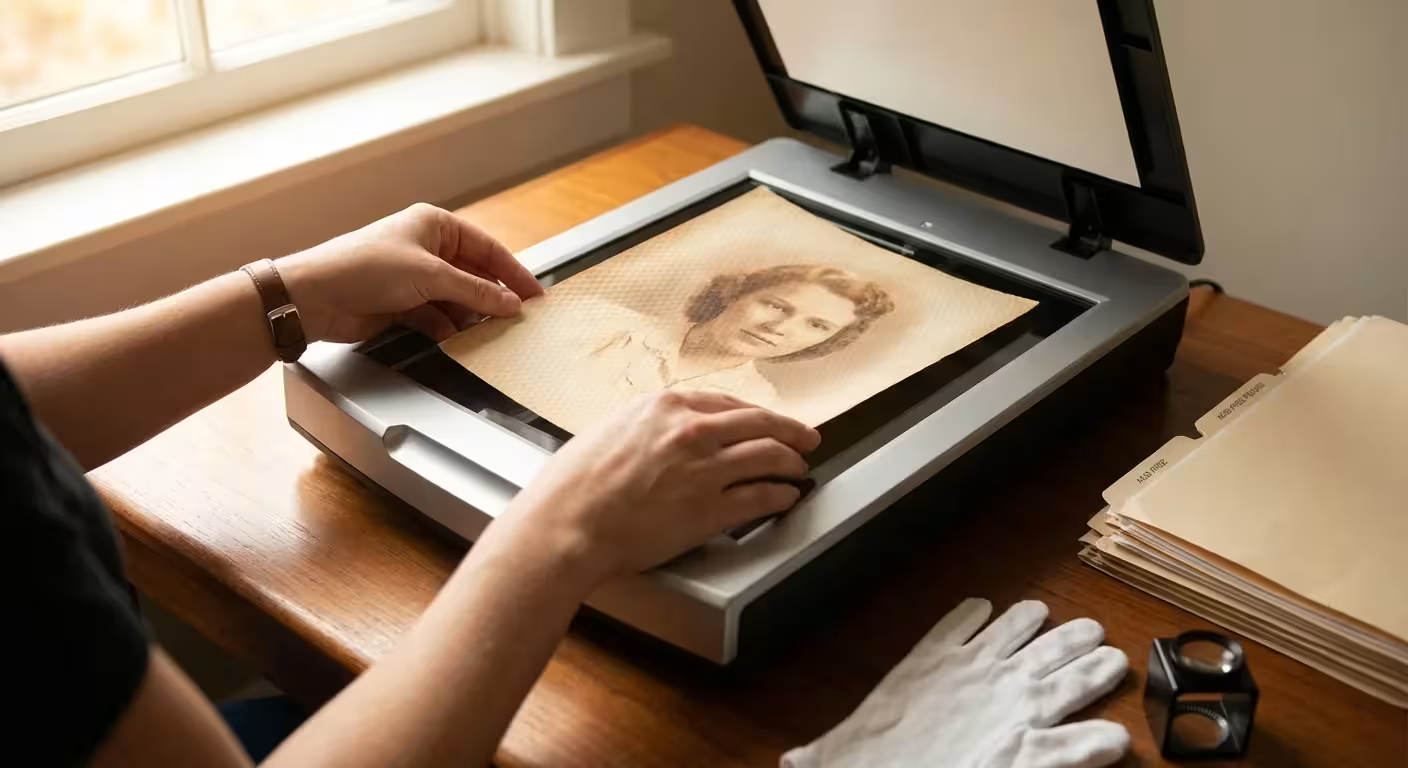
Before you power on a scanner, you must prepare your environment. Paper preservation begins with clean hands and a clear surface. Oils from your skin can cause permanent staining on porous paper over time; however, many conservators now recommend clean, dry hands over cotton gloves for paper, as gloves can reduce manual dexterity and lead to accidental tears.
Clear a large table and wipe it down to remove any dust or residue. You should avoid eating or drinking anywhere near your memorabilia. If you are dealing with letters that have been folded for fifty years, do not snap them open. If the paper feels stiff or brittle, apply gentle pressure to flatten it. Never use an iron to flatten a letter, as extreme heat can damage the fibers and cause certain inks to lift or fade.
The goal of digitization is to capture the item exactly as it exists today, including the ‘patina’ of age, without causing further physical stress to the document.
Remove any staples, paper clips, or rusted pins. These metal fasteners are the enemies of paper. Over time, they oxidize, leaving orange rust stains and eating holes through the pages. Use a plastic spatula or a specialized staple remover to gently pry them away. If a letter is stuck to its envelope, do not force it. Sometimes a gentle puff of air or simply scanning the items as they are is safer than risking a tear.
Essential Equipment and Technical Settings for Best Results
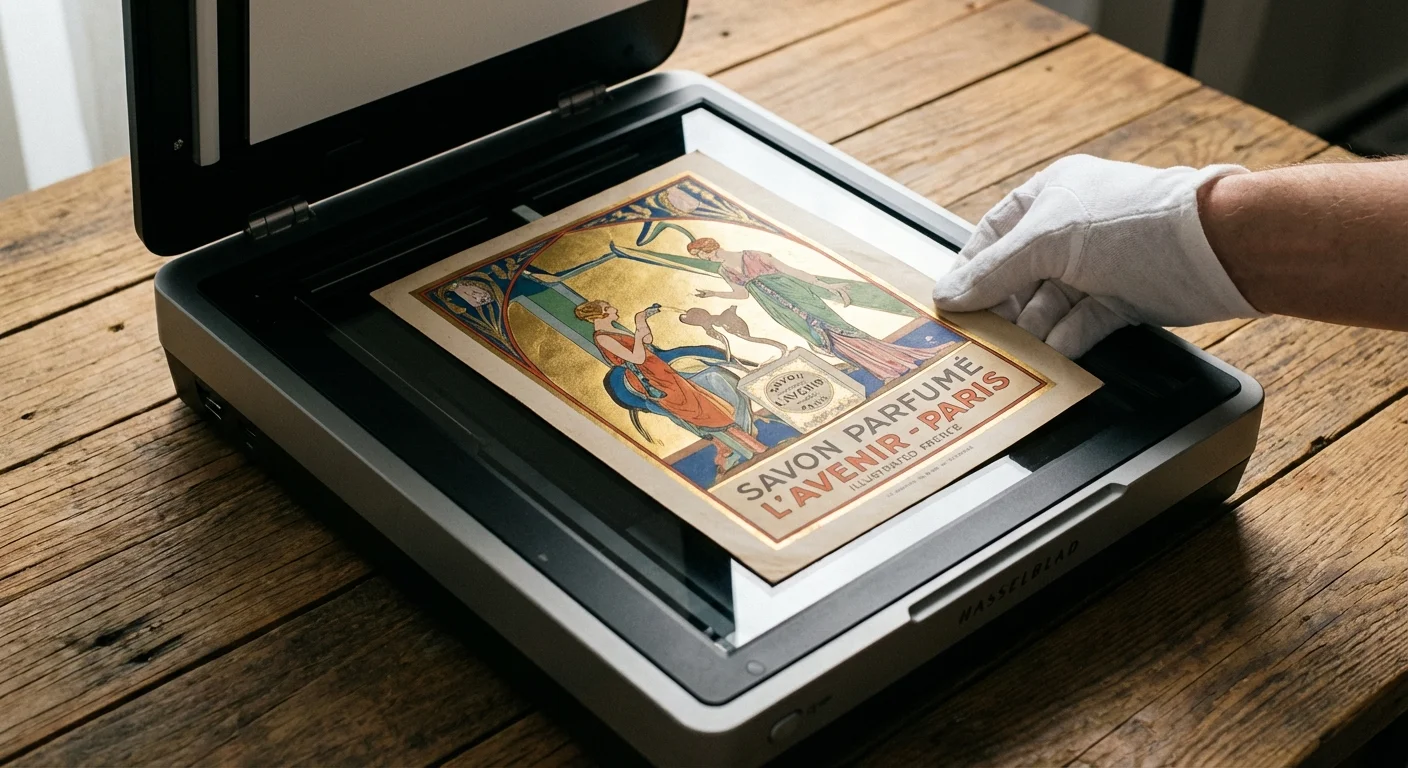
While you might feel tempted to use a high-speed document feeder, avoid it at all costs for historical items. Document feeders can jam, tear thin paper, or “eat” the edges of fragile programs. A flatbed scanner is the gold standard for preserving family letters and programs. It provides a stable, flat surface that protects the document from movement during the scan.
When configuring your scanning software, avoid “Auto” settings. You want total control over the output. Use the following table as a guide for your settings:
| Document Type | Recommended DPI | File Format | Color Mode |
|---|---|---|---|
| Standard Handwritten Letters | 300 – 400 DPI | TIFF or PNG | 24-bit Color |
| Funeral Programs with Photos | 600 DPI | TIFF | 24-bit Color |
| Newspaper Clippings/Obituaries | 400 – 600 DPI | TIFF | Grayscale or Color |
| Large Maps or Wills | 300 DPI | TIFF | 24-bit Color |
Always scan in color, even if the document appears black and white. A color scan captures the yellowing of the paper, the blue or red ink of a pen, and any stamps or markings that provide historical context. Save your “master” copies as TIFF files. Unlike JPEGs, TIFFs are lossless, meaning they do not lose quality every time you open or save them. You can always create smaller JPEG copies later for sharing on social media or ancestry websites.
Digitizing Genealogy Records: A Step-by-Step Workflow
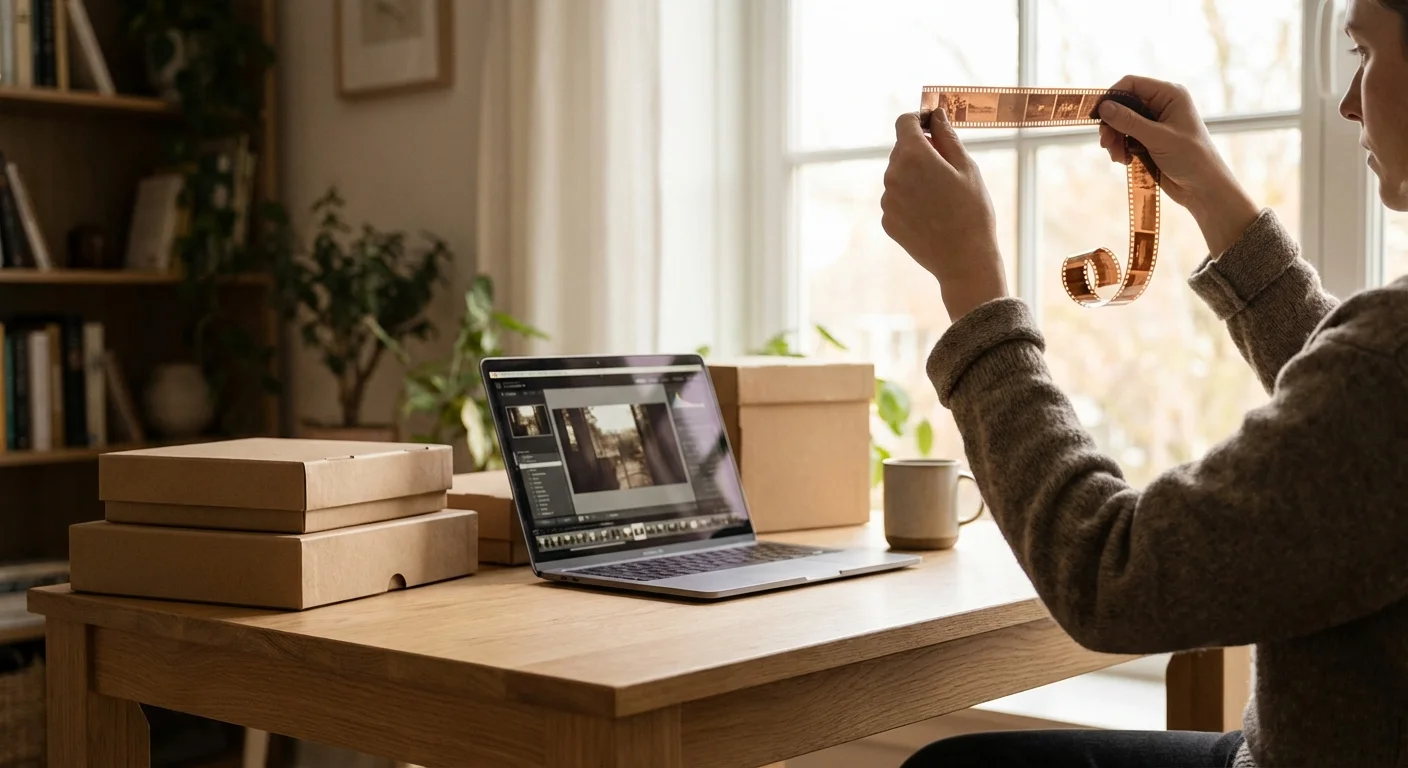
Scanning documents effectively requires a consistent process. If you have a box of 200 letters, you will quickly lose track of your progress without a workflow. Start by sorting your items by person or date. Use small, acid-free sticky notes to label piles, but never stick them directly onto the historical documents.
- Clean the Scanner Glass: Use a microfiber cloth and a dedicated glass cleaner. Spray the cloth, not the glass, to prevent liquid from seeping into the scanner’s internals. Even a tiny speck of dust can look like a period or a stray mark on a digital scan.
- Position the Document: Place the document face down. Align it with the corner markers, but leave a tiny gap (about 1/8th of an inch) between the paper edge and the scanner frame. This ensures you capture the entire edge of the paper, which is important for proving the document’s authenticity.
- Perform a Pre-Scan: Use the “Preview” function to crop the area. Do not crop too tightly; seeing the edges of the paper provides a sense of the object’s physical scale.
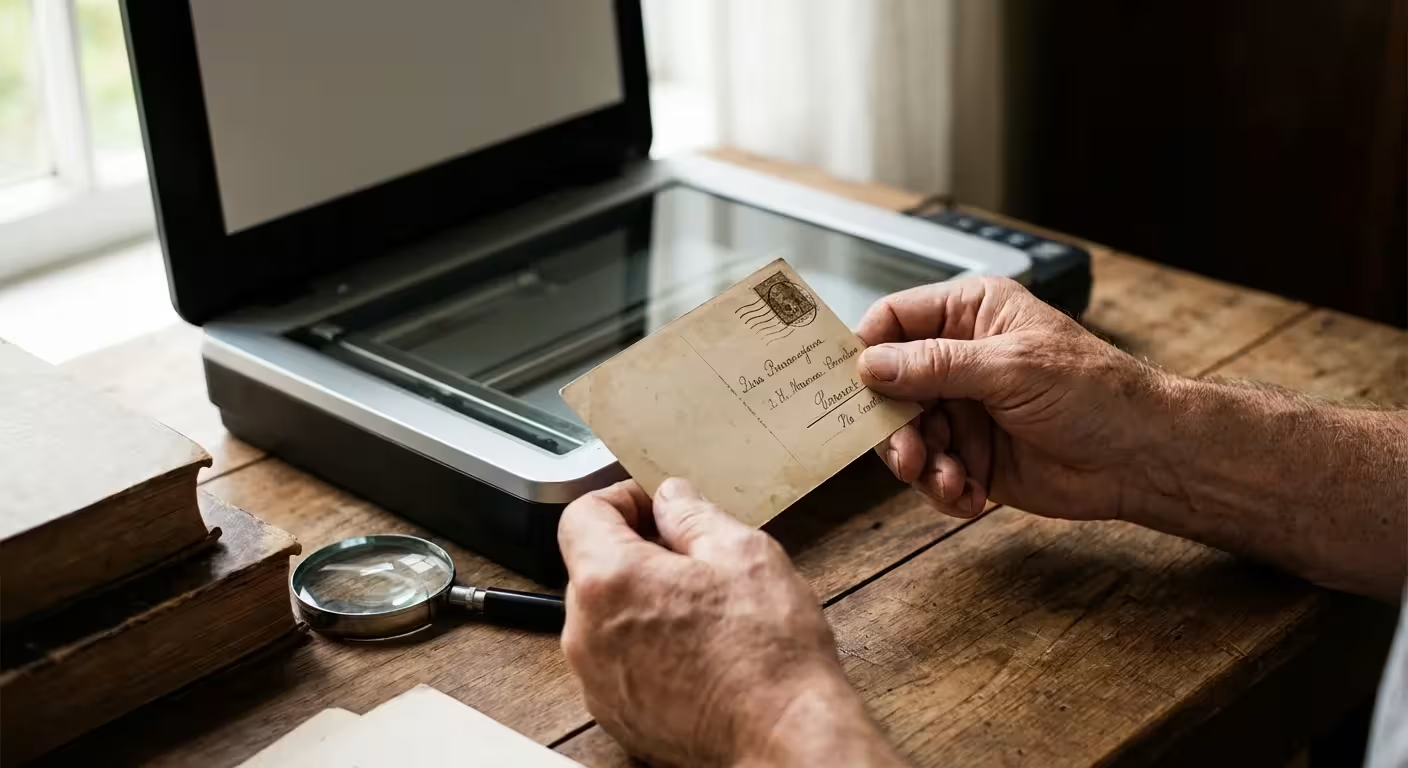
- Scan Both Sides: For letters, always scan the back, even if it appears blank. Sometimes a faint “bleed-through” of ink from the other side is more legible on the back, or there may be a small postmark or note you missed.
- The Envelope Matters: For family letters, the envelope is as important as the contents. The postmark provides a verified date and location, and the stamps can help date the correspondence if the writer forgot to include a year.
Specific Challenges: Scanning Funeral Programs and Multi-Page Booklets
Funeral programs present a unique challenge because they are often folded into “bifold” or “trifold” formats. You must decide whether to scan the program as it is folded or to open it flat. For preservation purposes, scanning it flat on the glass is usually best as it captures the most information in the fewest number of files.
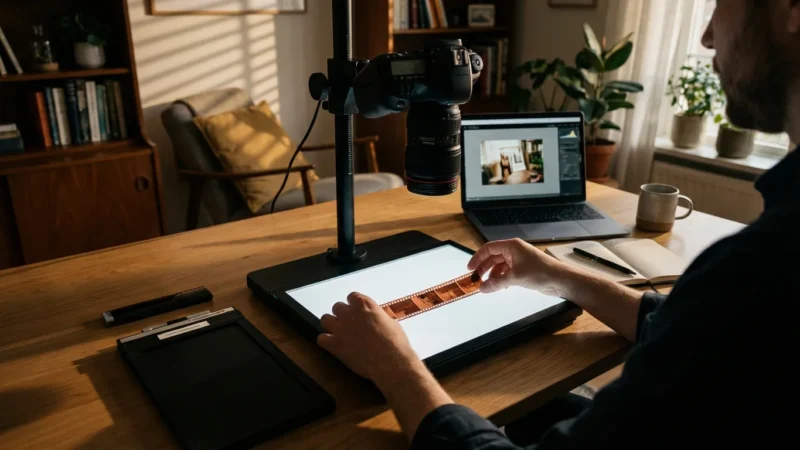
If the program is a multi-page booklet bound with staples, do not remove the staples if they are in good condition. Instead, gently press the booklet flat. If the spine is too thick, you may need to use a “book scanner” or a digital camera mounted on a tripod (copy stand) to avoid damaging the binding. When using a camera, ensure you have two light sources at 45-degree angles to eliminate shadows and glare from glossy paper.
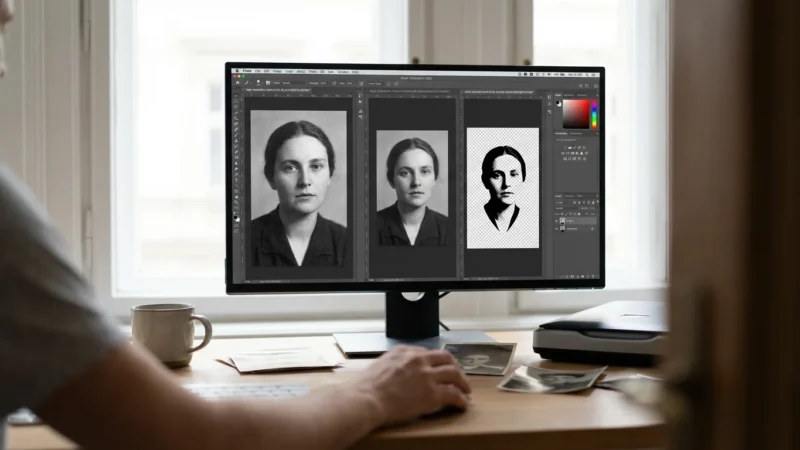
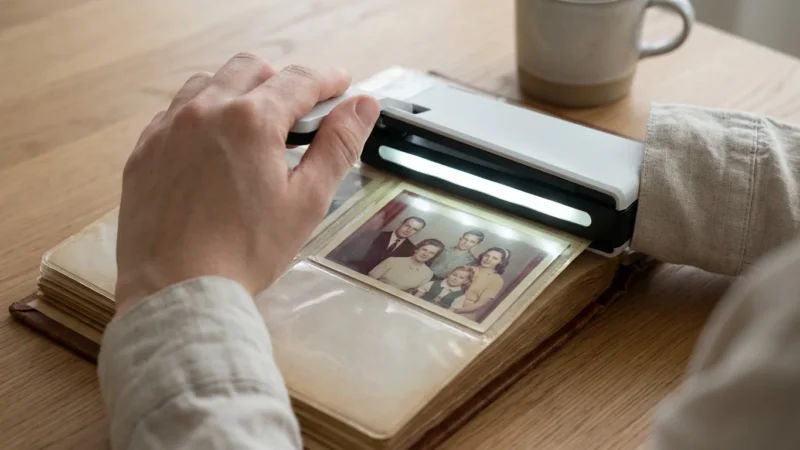
Capture the “Order of Service,” the obituary, and any poems or scriptures included. These details offer a window into the religious and cultural life of your ancestors. If the program includes a photo of the deceased that you don’t have elsewhere, scan that specific page at 600 DPI or higher. This allows you to “extract” a high-quality portrait later using photo editing software.

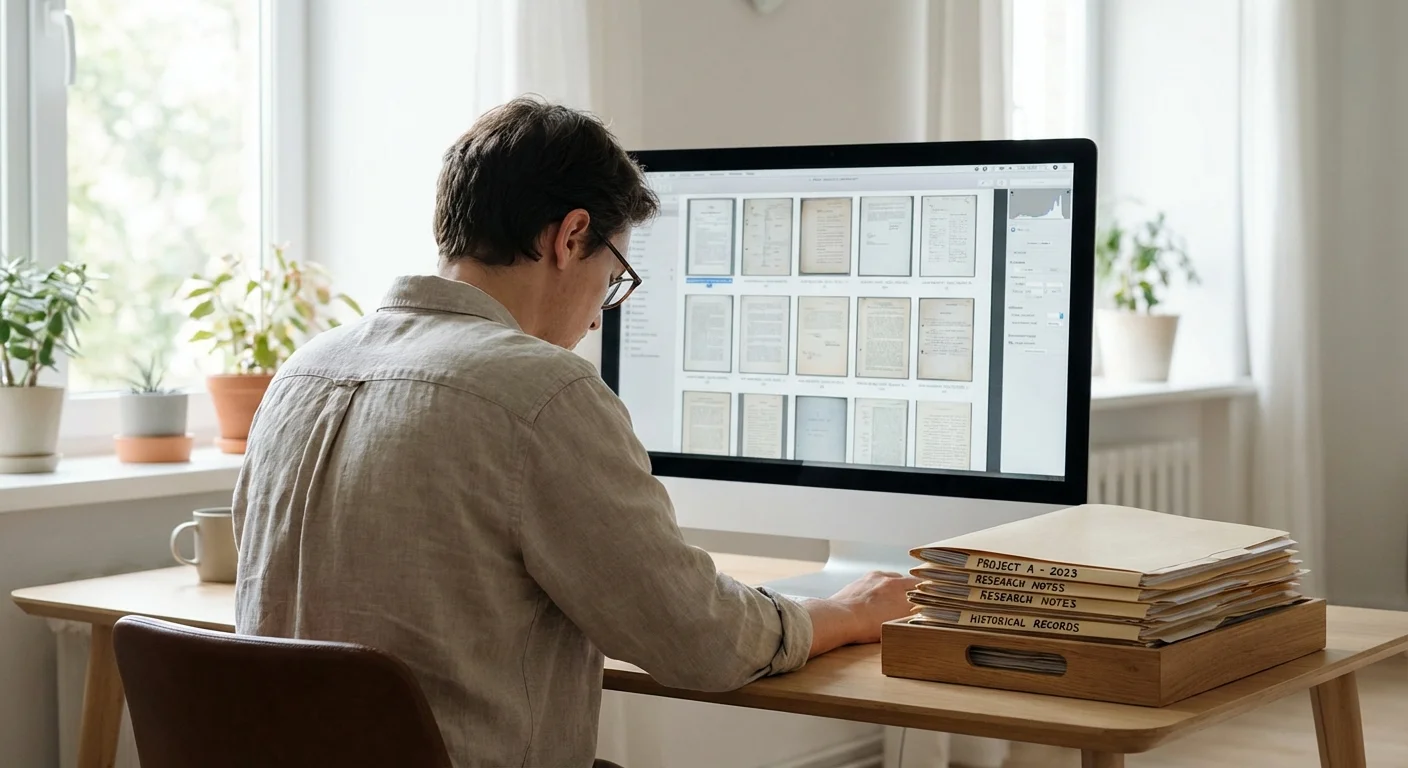
Organization and Metadata: Making Your Scans Searchable
A folder full of files named “Scan001.tif” and “Scan002.tif” is a digital graveyard. To make your efforts worthwhile, you must use a logical naming convention. The most effective method for genealogy is the ISO date format: YYYY-MM-DD.
Example: 1944-11-12_Letter_JohnSmith_to_MarySmith_01.tif
This format ensures that your files sort chronologically in your computer’s file explorer. Beyond the filename, take advantage of “Metadata.” In Windows, you can right-click a file, go to “Properties,” and then “Details” to add tags and comments. On a Mac, you can use the “Get Info” pane. Adding tags like “Civil War,” “Funeral,” or “Surname_Jones” will allow you to find specific documents in seconds using your computer’s search bar.
For handwritten letters, consider creating a transcript. Optical Character Recognition (OCR) software is getting better at reading handwriting, but it is rarely perfect. Typing out the text of the letter into a simple Word or Notepad document and saving it with the same filename as the scan (e.g., as a .txt file) ensures that the *content* of the letter is searchable. This is a vital step in digitizing genealogy records because it allows you to search for specific keywords like “illness,” “farm,” or “marriage” across your entire collection.
Physical Preservation: How to Store Paper Long-Term
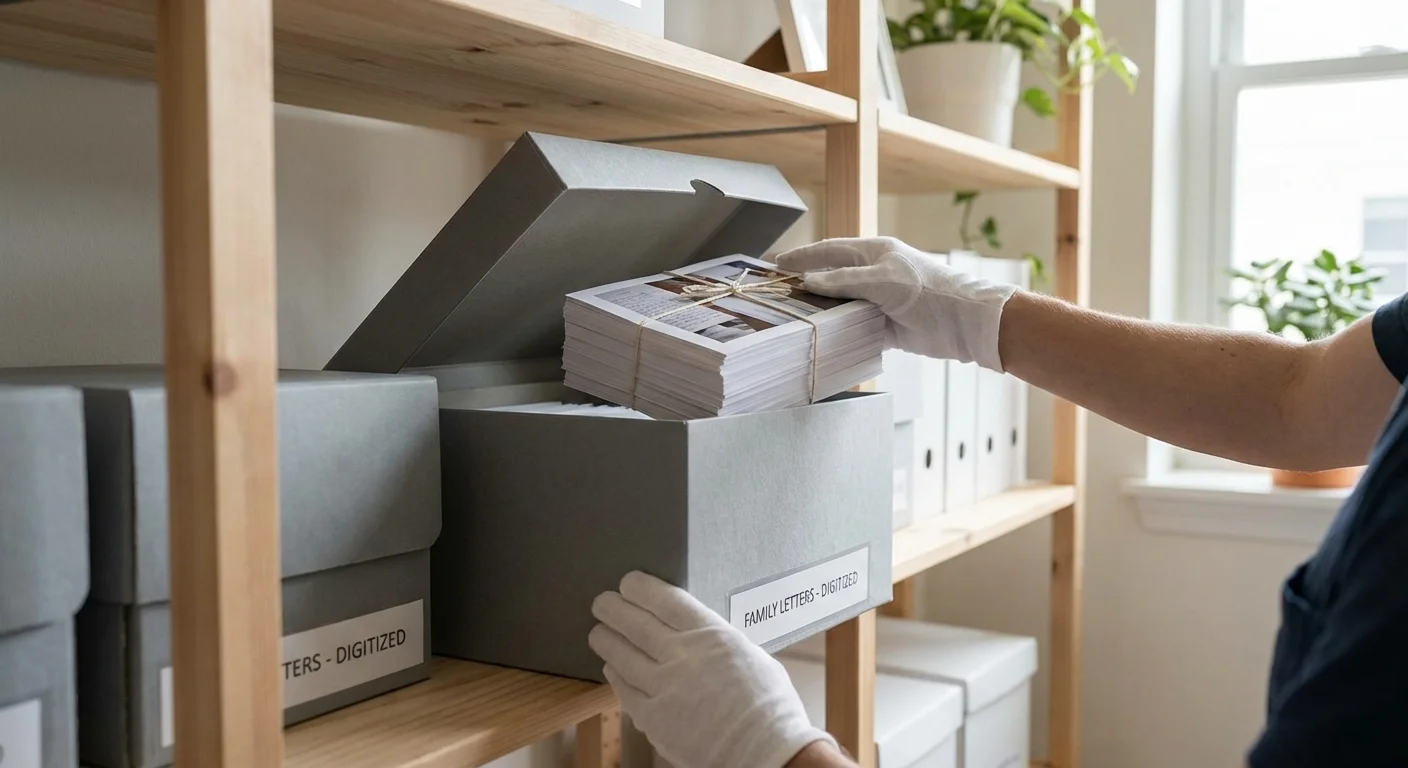
Once you have captured the digital image, your job is only half done. You must now protect the physical “source of truth.” Standard folders and envelopes from office supply stores are made of acidic wood pulp. Over time, this acid migrates into your precious letters, causing them to turn brown and crumble.
Invest in archival supplies. Look for materials labeled “acid-free” and “lignin-free.” For funeral programs and letters, individual Mylar (polyester) sleeves are ideal. They allow you to view the document without touching the paper. Place these sleeves into archival-quality boxes. According to the Library of Congress, the ideal storage environment is “cool, dry, and dark.” Specifically, aim for a temperature below 70 degrees Fahrenheit and a relative humidity between 30% and 50%.
Avoid storing your memorabilia in the attic (where it gets too hot) or the basement (where it is too damp). A closet on the main floor of your home is often the most stable environment. For extremely valuable items, such as a 19th-century land deed or a letter from a famous ancestor, consider a fireproof and waterproof safe, but ensure the items are properly buffered with acid-free tissue to prevent “micro-climate” humidity issues inside the safe.
The best way to preserve a memory is to ensure it exists in two places: as a protected physical artifact and as a widely shared digital file.
By following these steps, you transform a box of old papers into a living, searchable archive. You give your family’s history a voice that can be heard by future generations, ensuring that the letters, programs, and records of the past are never truly lost.
Frequently Asked Questions
What DPI should I use for scanning old letters and funeral programs?
For standard text documents and letters, 300 DPI is sufficient for legibility. However, for funeral programs that contain photographs or for letters where you want to capture the fine texture of the paper and ink, 600 DPI is recommended. This higher resolution allows for better preservation of visual details and future printing needs.
Can I use a phone app to scan these important documents?
While mobile scanning apps are convenient for modern receipts, they often lack the precision and flat-plane focus required for historical preservation. For fragile family letters and multi-page funeral programs, a flatbed scanner is superior as it prevents shadows, avoids keystoning (perspective distortion), and ensures the document remains perfectly flat without being subjected to the oils on your hands.
How should I store the physical paper after it has been digitized?
Place physical documents in acid-free, lignin-free folders or Mylar (polyester) sleeves. Store these folders inside archival-quality boxes in a “cool, dry, and dark” environment. Avoid basements or attics where temperature and humidity fluctuations can accelerate the degradation of paper and ink. You can find more detailed specs on the Image Permanence Institute website.
Is it safe to unfold old, brittle letters for scanning?
If a letter is extremely brittle and “snaps” when touched, do not force it open. You may need to humidify the document in a controlled environment before unfolding. For most family letters, gentle handling with clean, dry hands is acceptable, but never use tape or staples to repair tears before scanning; simply lay the pieces flat on the scanner glass.
What is the best way to digitize a very long, handwritten document?
For long documents like wills or multi-page letters, scan each page as an individual TIFF file. Once the scanning is complete, you can use software to combine these images into a single, multi-page PDF/A (an archival version of a PDF). This makes it easier to read the document in sequence while keeping the high-resolution individual masters for your records.
Disclaimer: This article is for informational purposes only. When handling valuable or irreplaceable photographs, consider consulting a professional conservator. Always test preservation methods on non-valuable items first.
Leave a Reply