Your camera lens is the gateway to capturing the world. It translates light into the images that preserve your most cherished memories. Neglecting proper lens maintenance compromises this critical component, leading to hazy photos, distracting dust spots, and even permanent damage. Learning to clean your camera lens correctly safeguards your equipment and ensures your photographs retain their clarity and emotional impact. This guide delivers practical, actionable insights on effective camera care, ensuring you can keep your lenses pristine without causing damage.

Why a Clean Lens Matters for Your Photography
A clean camera lens directly influences the quality of your images. Dust, smudges, fingerprints, and other debris on the front element significantly degrade photographic output. These particles scatter light, reducing contrast and sharpness. You might notice your photos appearing softer than intended, lacking vibrant colors, or displaying unwanted flare artifacts, especially when shooting into a light source. For instance, a small smudge, barely visible to the naked eye, can create noticeable halos or a general haziness across your entire frame. Professional photographers recognize that meticulous lens maintenance is a foundational aspect of achieving consistently high-quality results. Your precious family portraits, scenic landscapes, or everyday moments deserve the best possible rendition, and that starts with a pristine lens surface. By keeping your lens free from obstructions, you ensure that the sensor receives the purest light, allowing your camera to capture the full detail and dynamic range of your scene.
While maintaining your digital gear is important, older physical prints may require specific techniques for saving yellowed and discolored photographs to restore their original beauty.
If you have already taken shots with a dirty lens, you might need to use software tools to sharpen blurry photos and salvage your cherished memories.
Understanding these optical basics is the first step to knowing how to take sharp photos every time regardless of your shooting environment.
Understanding the Risks: Avoiding Damage
Improper cleaning methods pose a greater threat to your camera lens than dirt itself. Many well-intentioned actions, when executed incorrectly, lead to irreversible damage. The delicate coatings on modern lenses, which enhance light transmission and reduce reflections, are particularly susceptible to abrasion. For example, wiping a dusty lens with a dry cloth often grinds abrasive particles into the surface, creating microscopic scratches. These scratches, over time, accumulate and permanently degrade image quality. Similarly, using harsh household cleaners, such as window cleaner or solvents, can strip or dissolve lens coatings, causing irreparable harm. Even breathing on a lens to create moisture, a common but misguided practice, introduces saliva and contaminants that can leave stubborn residue. You must understand that lens elements are not simple pieces of glass. They are precision optical instruments with multiple layers of specialized coatings. Your approach to cleaning must respect this delicate engineering. For a deeper dive into lens construction and optical coatings, you might find resources like Cambridge in Colour’s explanation of lens coatings valuable. This careful approach prevents you from unknowingly compromising your valuable equipment while you learn how to clean a camera lens without scratching.
Even owners of the best cameras for beginners must learn proper maintenance to avoid permanent damage to their new equipment.
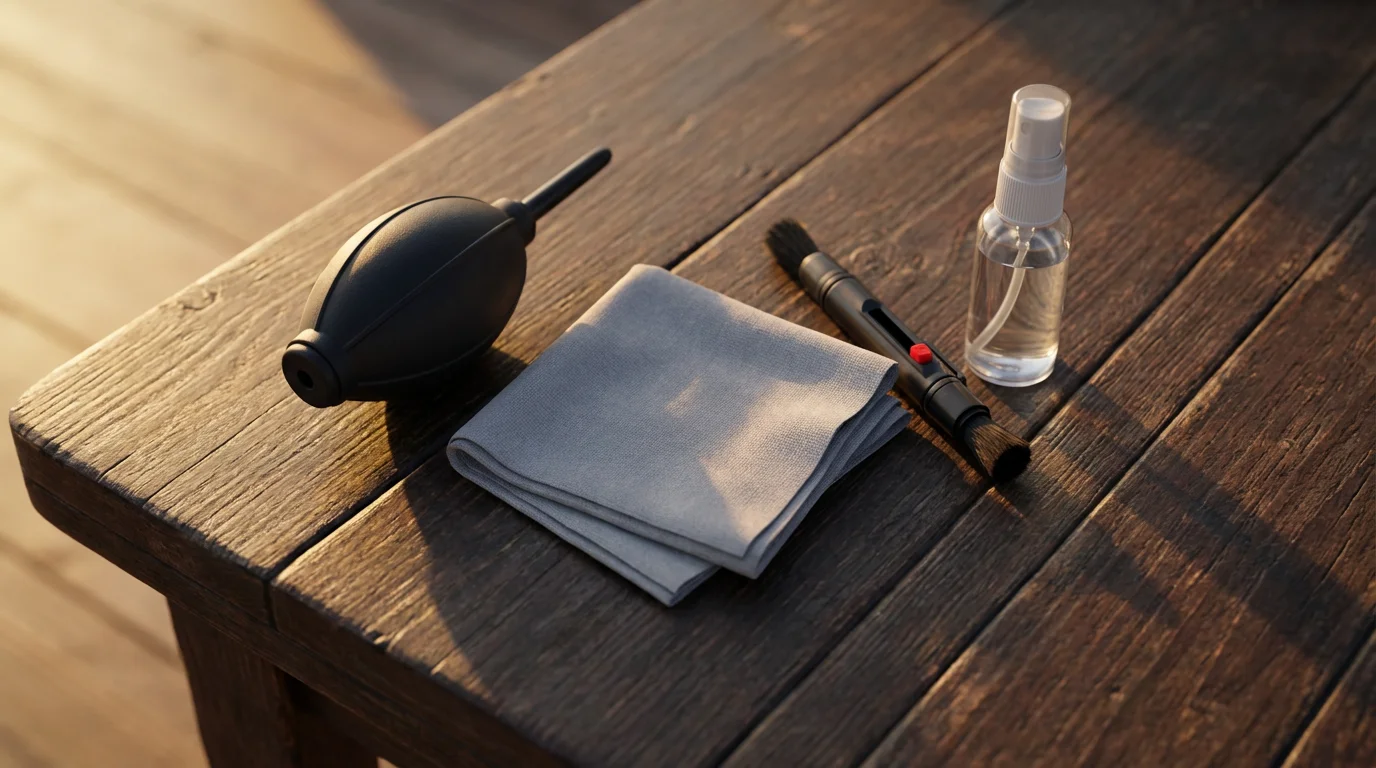
Essential Tools for Effective Lens Cleaning
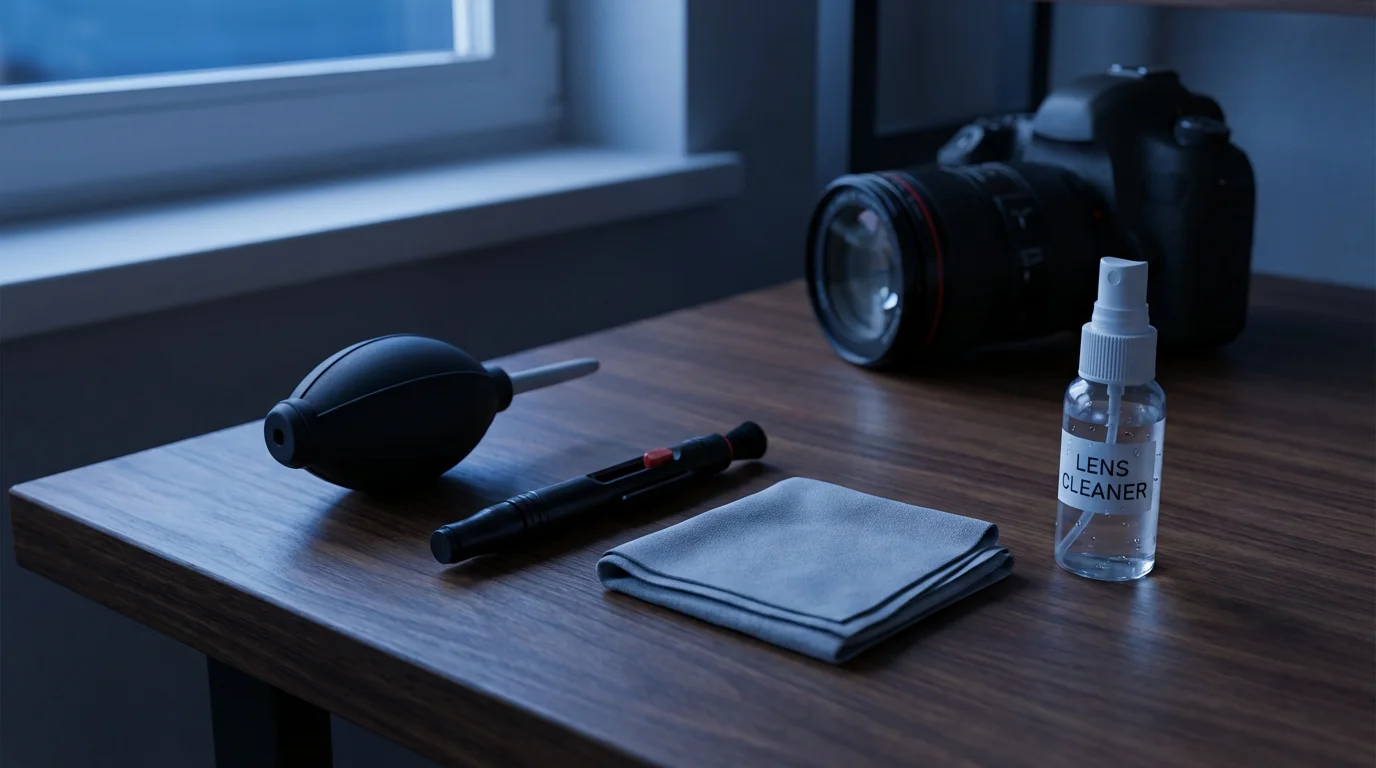
Successful lens cleaning relies on using the right tools. Investing in a quality lens cleaning kit saves you from potential damage and ensures effective results. You do not need an extensive collection, but rather a few purpose-built items that tackle different types of contaminants. Here is a breakdown of the indispensable components you need:
To keep your tools safe between uses, it is worth investing in the best camera bags specifically designed for gear protection.
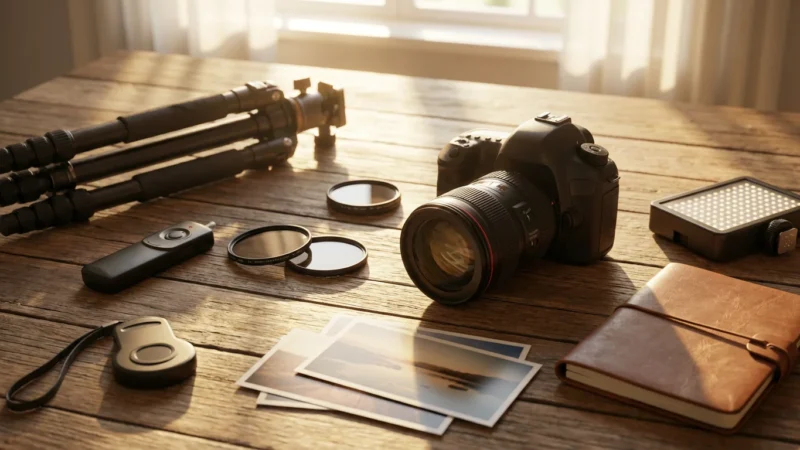
A dedicated cleaning kit is just one of many essential camera accessories every photographer needs to capture the best possible images.
- Rocket Blower or Air Blower: This is your first line of defense. A high-quality rubber bulb blower, often shaped like a rocket, expels a strong burst of air to dislodge loose dust and debris without touching the lens surface. Avoid using canned air, which can emit propellants and moisture, and possesses a force that can damage sensitive camera components.
- Lens Brush: A soft, natural hair brush, specifically designed for optics, gently sweeps away stubborn dust particles that the blower cannot remove. Ensure the brush is clean and stored with a cap to prevent contamination.
- Microfiber Lens Cloths: These specialized cloths are woven with extremely fine fibers that lift and trap oils, smudges, and dirt without leaving lint or scratching delicate surfaces. Keep them clean and stored separately from other cloths to prevent contamination. Wash them gently with mild soap and water when they become dirty.
- Lens Cleaning Solution: A professional optical cleaning solution is formulated to evaporate quickly and leave no residue. These solutions are safe for lens coatings. Apply a small amount to a microfiber cloth, never directly to the lens.
- Lens Cleaning Pen: A convenient, two-in-one tool. One end features a retractable brush for dust removal, and the other has a specialized cleaning tip, often containing a non-liquid carbon compound, for removing fingerprints and smudges. This makes it an excellent choice for on-the-go lens maintenance.
When selecting these items, look for reputable brands within the photography accessory market. The best lens cleaning kit for photographers typically includes these core components. By acquiring these tools, you equip yourself to handle most lens cleaning scenarios safely and effectively.

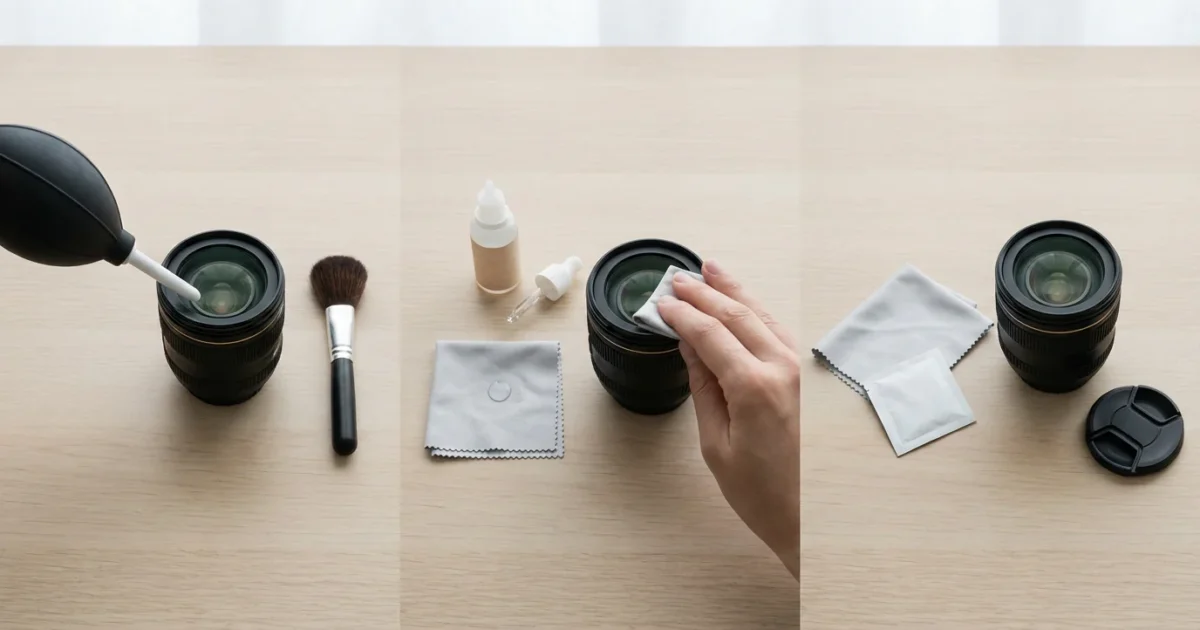
Your Step-by-Step Guide to Cleaning Your Camera Lens
Follow this precise sequence to clean your camera lens properly and prevent damage. Patience and a gentle touch are crucial at every stage:
- Remove Loose Dust with an Air Blower:
- Hold your camera or lens facing downwards to allow gravity to assist.
- Use your rocket blower to direct bursts of air across the entire lens surface.
- Do not touch the lens with the blower’s nozzle. The goal is to dislodge loose dust and larger particles without any physical contact. Repeat this step until no more visible dust flakes off. This prevents scratching during subsequent steps.
- Gently Brush Away Remaining Debris:
- If tiny dust specks remain after using the blower, extend your lens brush.
- Lightly sweep the brush across the lens surface, starting from the center and moving outwards in a circular or linear motion.
- Avoid pressing down. The brush hairs should just skim the surface.
- Retract the brush immediately after use to protect its bristles from contamination.
- Address Smudges and Fingerprints with Lens Cleaner and Microfiber:
- For stubborn smudges, fingerprints, or dried water spots, retrieve a clean microfiber lens cloth and your optical cleaning solution.
- Apply one or two drops of the cleaning solution onto a fresh, clean section of the microfiber cloth, not directly onto the lens.
- Starting from the center of the lens, gently wipe in a circular motion, spiraling outwards towards the edge. Use very light pressure.
- Fold the cloth to expose a dry, clean section and gently buff the lens until streak-free.
- If using a lens cleaning pen, use the brush end first to remove dust, then twist the carbon cleaning tip gently onto the smudge with a light circular motion until it disappears.
- Final Inspection:
- Hold the lens up to a light source, rotating it to inspect the surface from various angles.
- Look for any remaining smudges, dust, or streaks.
- If you find any, repeat the relevant steps gently. Avoid over-cleaning, as excessive rubbing can also introduce minor abrasions over time.
“Consistent, gentle lens maintenance is not just about aesthetics, it is about preserving the optical integrity that defines your images. Treat your lens like the precision instrument it is, and it will reward you with clarity for years.” – Expert Photo Preservation Guide
Advanced Lens Care and Protecting Your Investment
Beyond routine cleaning, several practices extend the life and performance of your camera lenses. Proactive measures significantly reduce the frequency of deep cleaning and protect against accidental damage. Consider these strategies for comprehensive lens care:
Protecting your equipment is a vital first step, but you should also learn how to scan old photos at home to ensure your family history is preserved in a high-quality digital format.
Beyond your digital equipment, learning how to store old photographs ensures your physical collection of family history remains protected from environmental decay.
Maintaining optical purity is particularly crucial when practicing low light photography, as even small particles can cause significant light flare and ghosting.
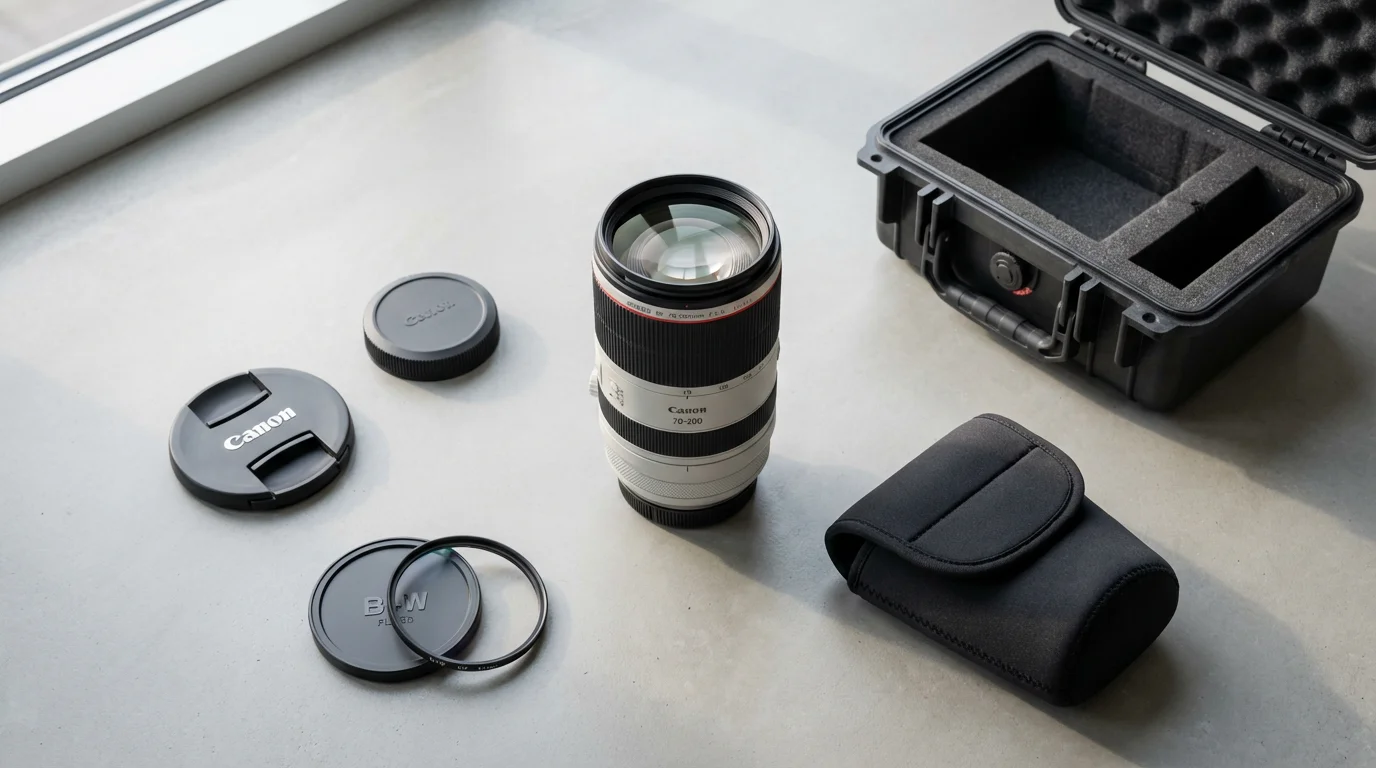
- Utilize UV or Protective Filters: A clear UV filter or a protection filter serves as a sacrificial layer on the front of your lens. It shields the delicate front element from dust, scratches, and impacts. Should the filter get dirty or scratched, you clean or replace the inexpensive filter rather than repairing a costly lens. For more on how these filters work and their benefits, consider resources like Digital Photography Review’s guide to UV filters. This offers peace of mind, especially in challenging environments.
- Use Lens Caps and Hoods Consistently: Always attach both front and rear lens caps when your lens is not in use or stored. This prevents dust accumulation and protects against bumps. A lens hood, while primarily designed to block stray light and reduce flare, also provides a physical barrier against incidental contact or light bumps.
- Proper Storage Conditions: Store your camera and lenses in a clean, dry, and temperature-stable environment. High humidity encourages mold and fungus growth, which can permanently etch into lens coatings and internal elements. If you live in a humid climate, consider using desiccants like silica gel packets in your camera bag or storage cabinet. Store lenses horizontally, if possible, to minimize stress on the lens mount.
- Regular Sensor Cleaning (Separate from Lens Cleaning): While distinct from lens cleaning, a dirty camera sensor can mimic dirty lens issues, manifesting as dark spots on your images. If you consistently see spots in the same location across multiple lenses, the issue likely lies with the sensor. Refer to specific guides for safe sensor cleaning procedures, or seek professional service for this delicate task. You should never attempt to clean your camera sensor with lens cleaning tools.
Implementing these advanced practices creates a robust system of lens maintenance, extending the lifespan and ensuring peak performance of your photographic equipment.

Common Lens Cleaning Myths Debunked
Many misconceptions surround camera lens cleaning, often leading to detrimental practices. Dispel these myths to ensure you apply safe and effective camera care:
Similarly, if you are digitizing physical prints, be sure to follow specialized cleaning and handling tips to ensure the best possible scan quality.
While a clean lens ensures physical clarity, understanding the difference between RAW vs JPEG is equally important for preserving the digital detail of your shots.
- Myth 1: Breathing on your lens is a safe way to create moisture for cleaning.
Reality: Your breath contains tiny saliva particles and other contaminants that leave residue on your lens. This residue can be difficult to remove and potentially harbor mold or bacteria. Always use proper optical cleaning solutions for moisture.
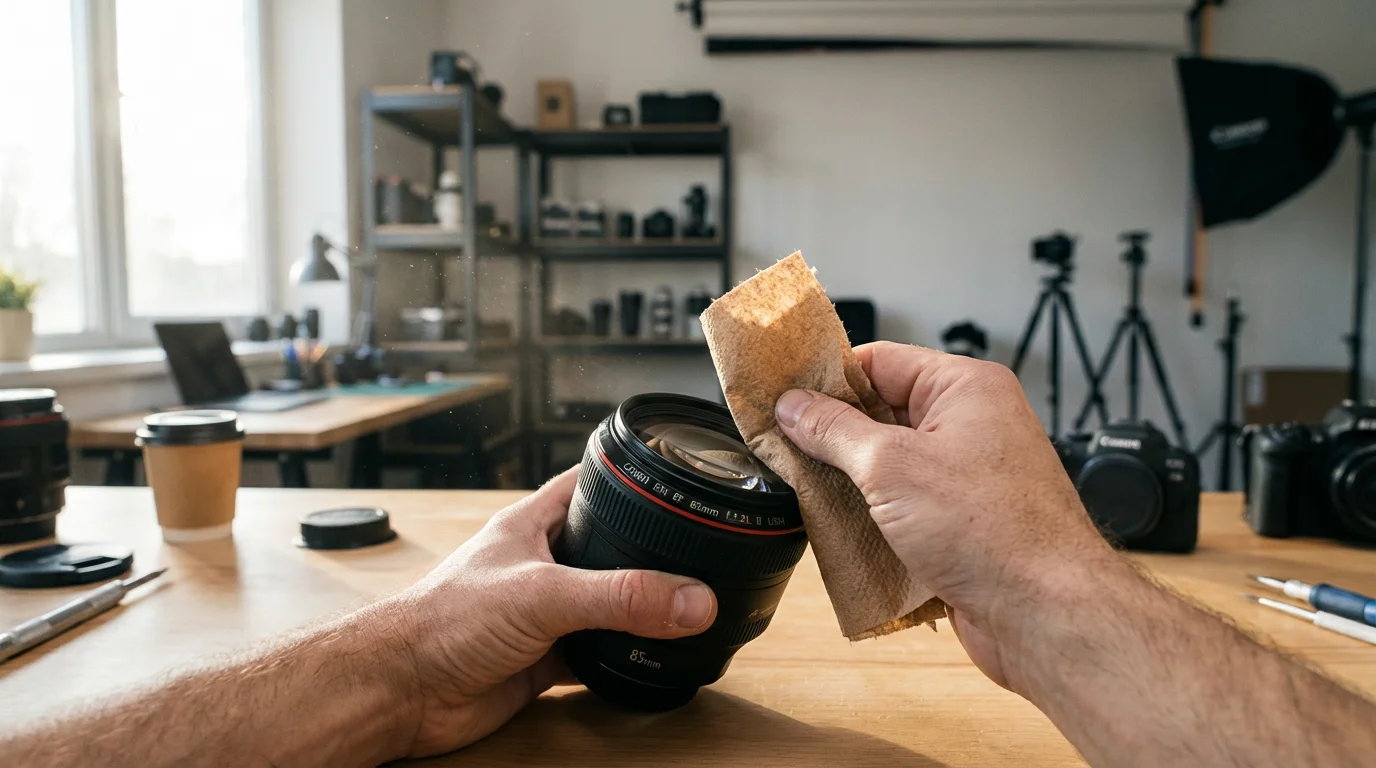
- Myth 2: Any soft cloth, like a t-shirt or paper towel, is fine for wiping lenses.
Reality: T-shirts, paper towels, and even ordinary spectacle cloths contain abrasive fibers or leave lint. These materials can scratch delicate lens coatings or deposit fine particles, counteracting your cleaning efforts. Only use specialized microfiber lens cloths.
- Myth 3: You can use household glass cleaner on your camera lens.
Reality: Household glass cleaners contain ammonia or other harsh chemicals that permanently damage lens coatings. These chemicals strip away the anti-reflective and protective layers, leading to hazy images and irreversible damage. Stick to optical-grade lens cleaning solutions.
- Myth 4: Canned air is a good substitute for a blower.
Reality: Canned air often contains propellants that can leave a residue on your lens. The force of the air can also be too strong, potentially blowing dust into internal lens components or even damaging sensitive parts like aperture blades. A dedicated rocket blower provides a safe, controlled burst of clean air.
- Myth 5: You should clean your lens after every use.
Reality: Over-cleaning, especially aggressive rubbing, can introduce micro-scratches over time. Clean your lens only when visibly dirty, or when you notice a degradation in image quality due to debris. Regular visual inspection is sufficient for determining when cleaning is necessary.
Understanding and avoiding these common pitfalls protects your investment and maintains the pristine condition of your optics, ensuring your efforts to clean camera lens are always beneficial.
Building Your Own Lens Cleaning Kit
Instead of relying on makeshift solutions, assemble a dedicated lens cleaning kit. This ensures you always have the correct tools on hand, whether you are at home or out shooting. A well-curated kit not only facilitates proper lens care but also contributes to your overall camera care routine. Here is a practical checklist:
- The Essential Core: Start with a reliable rocket blower, a high-quality microfiber lens cloth, and a small bottle of optical lens cleaning solution. These three items handle the vast majority of cleaning tasks effectively.
- On-the-Go Convenience: For field use, add a lens cleaning pen. Its compact size and dual functionality make it ideal for quick clean-ups of fingerprints and dust without carrying liquids.
- Protective Storage: Store your cleaning tools in a small, separate pouch or compartment within your camera bag. This prevents them from becoming contaminated by other items, such as keys or snacks, which can transfer oils and debris. A dedicated pouch for your best lens cleaning kit for photographers ensures that the tools remain pristine until you need them.
- Regular Replenishment: Microfiber cloths eventually accumulate dirt and oils that even washing cannot fully remove. Replace them periodically, perhaps every six months to a year, depending on usage. Lens cleaning solutions also run out, so keep a spare bottle.
Having a dedicated, clean, and well-maintained cleaning kit ready at all times makes lens maintenance a simple, stress-free part of your photographic workflow. This proactive approach saves you time and ensures your lenses are always ready to capture stunning images.
Ongoing Camera Care Habits for Longevity
Effective lens cleaning is a subset of a broader camera care philosophy that prolongs the life and performance of your entire photographic system. Adopting consistent habits prevents issues before they arise, minimizing the need for intensive cleaning or costly repairs. Implement these practices for comprehensive equipment longevity:
In addition to physical upkeep, ensuring your memory cards are reliable will safeguard the high-quality photos your clean lens captures.
- Change Lenses in a Clean Environment: When swapping lenses, do so in a sheltered, dust-free area. Point the camera body downwards to prevent dust from settling on the sensor or inside the camera body. This simple action significantly reduces the risk of internal contamination.
- Keep Lens Caps On: Whenever a lens is not actively mounted on a camera or in use, ensure both the front and rear lens caps are securely in place. This prevents dust accumulation on the glass and protects the rear element from scratches when handling.
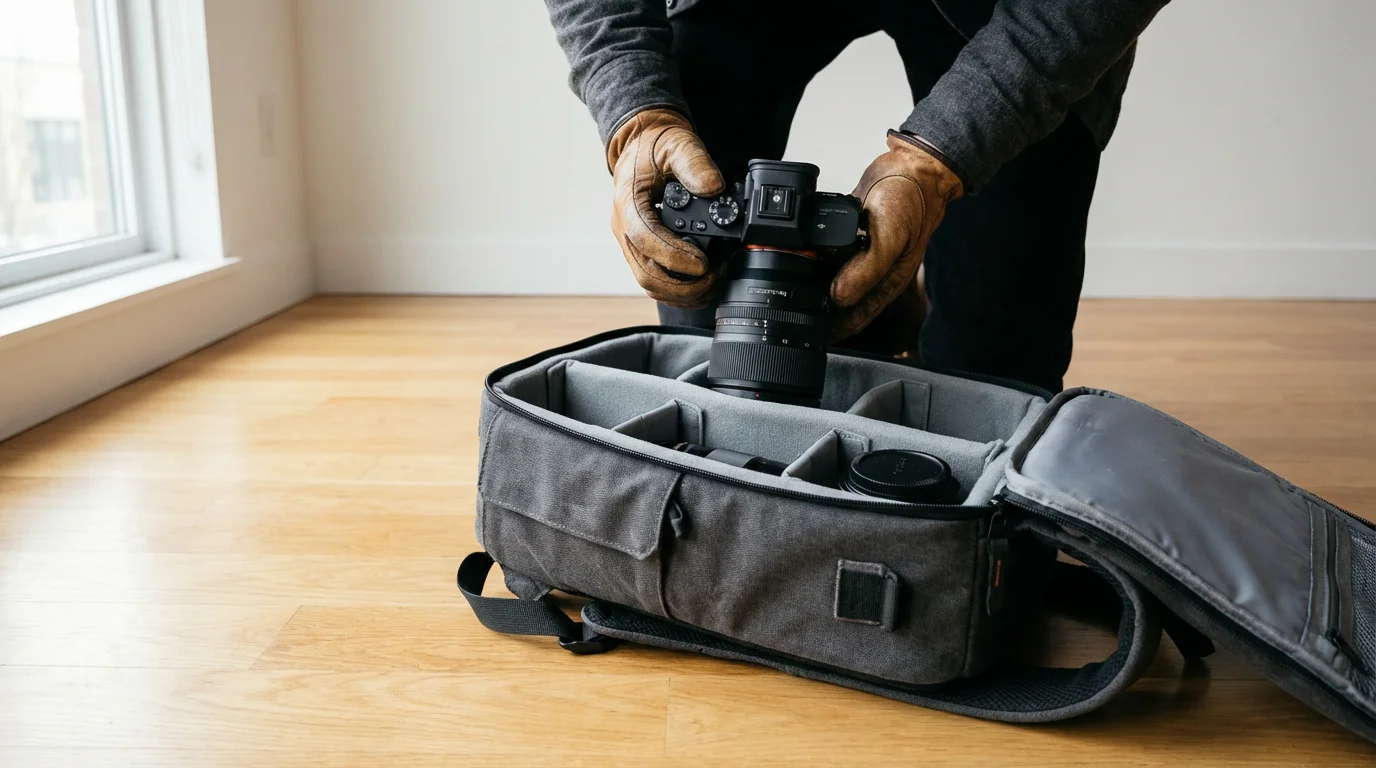
- Use a Camera Bag for Transport: Always transport your camera and lenses in a padded camera bag. This protects them from impacts, dust, moisture, and temperature fluctuations. A well-organized bag also prevents components from knocking against each other.
- Avoid Extreme Temperatures and Humidity: Store your gear away from direct sunlight, excessive heat, and high humidity. These conditions can degrade electronics, foster mold growth on optics, and warp plastic components. Aim for a stable, moderate environment. A good rule of thumb is if it is comfortable for you, it is probably comfortable for your camera.
- Regular Exterior Wiping: Use a soft, dry cloth to periodically wipe down the exterior of your camera body and lenses. This removes grime, sweat, and oils that accumulate from handling, preventing them from migrating to more sensitive areas.
- Battery Care: Follow manufacturer guidelines for battery charging and storage. Remove batteries from your camera during long periods of disuse to prevent leakage, which can severely damage internal electronics.
By integrating these habits into your routine, you develop a robust system for camera care. This holistic approach ensures not only your lenses but your entire camera system remains in optimal condition, ready to capture your photographic heritage for years to come. Proper lens maintenance, combined with these broader habits, is the cornerstone of responsible equipment ownership.
Frequently Asked Questions
Can I use rubbing alcohol to clean my camera lens?
No, you should not use rubbing alcohol to clean your camera lens. Rubbing alcohol, especially isopropyl alcohol, can damage the delicate anti-reflective coatings on your lens elements. These coatings are crucial for reducing flare and improving image contrast. Always use cleaning solutions specifically formulated for optical lenses, which are designed to be safe for these specialized coatings.
How often should I clean my camera lens?
Clean your camera lens only when it is visibly dirty, such as when you see fingerprints, smudges, or dust that affects image quality. Over-cleaning can potentially cause micro-scratches over time due to repeated rubbing. A gentle puff from a rocket blower before each use is good general practice for loose dust, but liquid cleaning should be reserved for actual contamination.
What is the difference between a lens blower and canned air?
A lens blower, often a rubber ‘rocket’ blower, uses ambient air that you manually pump, ensuring no residue or propellants are expelled onto your lens. Canned air, however, contains compressed gases that can emit propellants, moisture, and even freeze the lens surface, potentially causing damage. The force from canned air is also often too strong. Always opt for a dedicated lens blower for safe dust removal.
What if I scratch my camera lens?
Minor, superficial scratches on the front element often have minimal impact on image quality, especially if they are small and outside the optical center. However, deeper or widespread scratches can cause noticeable degradation, including reduced contrast and increased flare. If you suspect significant damage, consult a professional camera repair service. Avoid attempting to ‘fix’ scratches yourself, as this can worsen the problem.
Is it safe to use a cotton swab for lens cleaning?
While cotton swabs might seem soft, they can leave lint on your lens surface, which then requires further cleaning. Additionally, the fibers are not as fine or as effective at trapping oils and smudges as specialized microfiber lens cloths. Stick to tools specifically designed for optical cleaning to ensure a lint-free and scratch-free result.
Disclaimer: This article is for informational purposes only. When handling valuable or irreplaceable photographs, consider consulting a professional conservator. Always test preservation methods on non-valuable items first.


Leave a Reply