
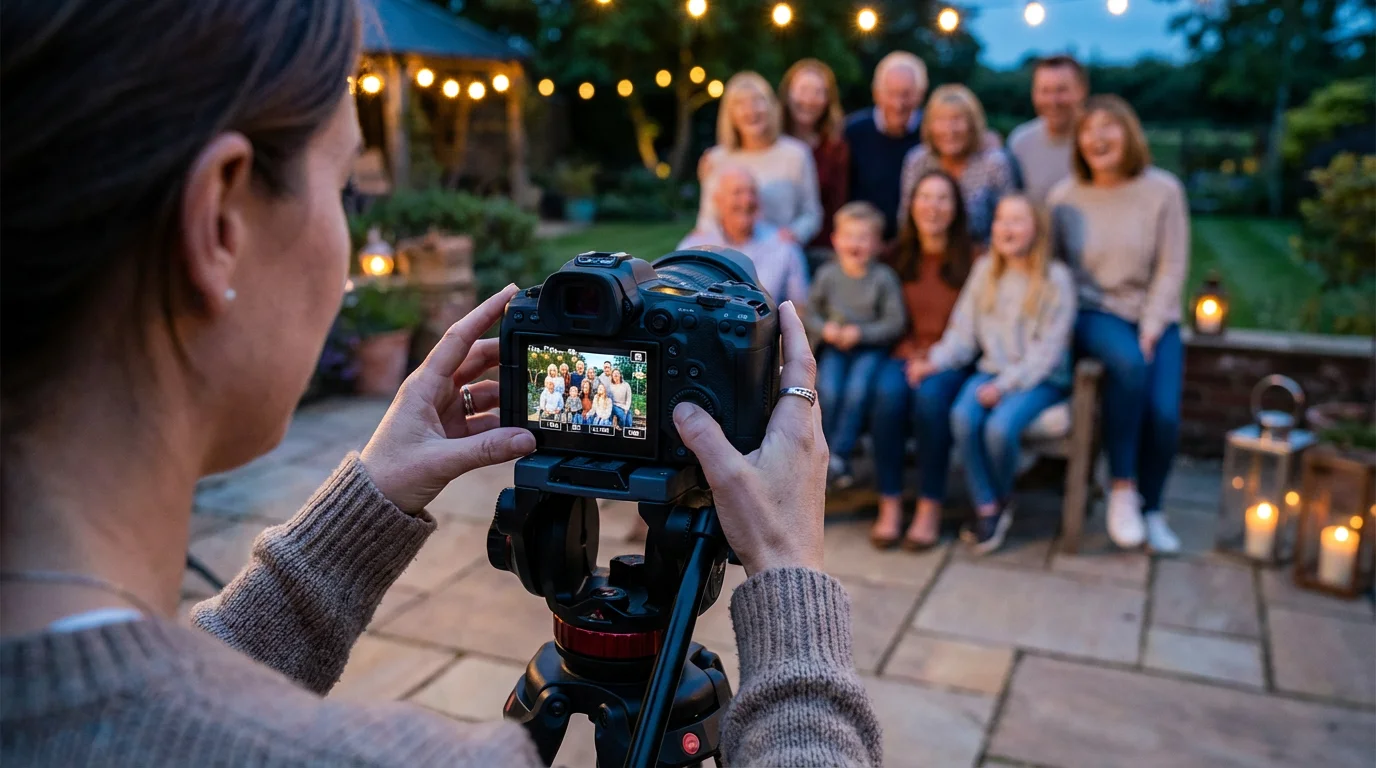
Family gatherings are special times, filled with laughter, shared stories, and the creation of new memories. Capturing these moments, especially with everyone together, preserves a piece of your family’s history. Yet, photographing a large group can present unique challenges, from wrangling toddlers to ensuring everyone looks their best. You want more than just a snapshot, you aim for a cherished portrait that truly represents the joy and connection of your loved ones. This guide provides practical, actionable strategies to help you confidently take outstanding group photos, transforming chaos into beautiful, lasting images. You can achieve professional-looking results with careful planning, thoughtful execution, and a few key photography techniques.
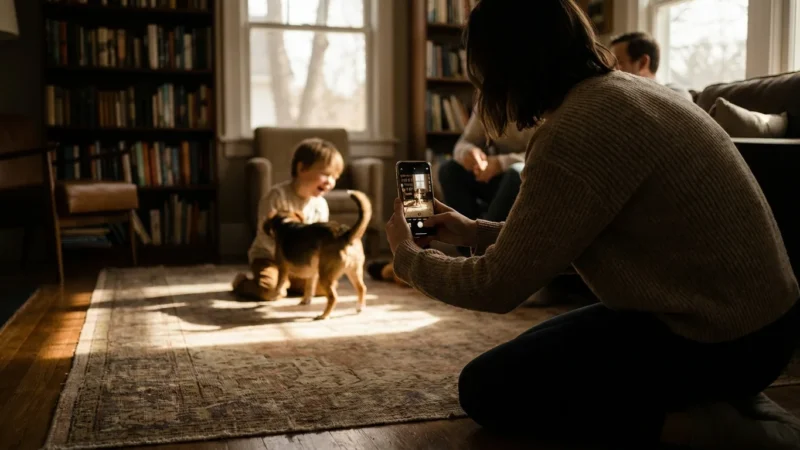
Even if you aren’t using a professional camera, these smartphone photography tips for family moments can help you get high-quality results with your phone.
Planning for Success: Location, Time, and Logistics
Successful group photography begins long before you press the shutter button. Thorough planning reduces stress and significantly improves your chances of capturing a fantastic image. Consider these elements as you prepare for your family gathering.
Scout Your Location
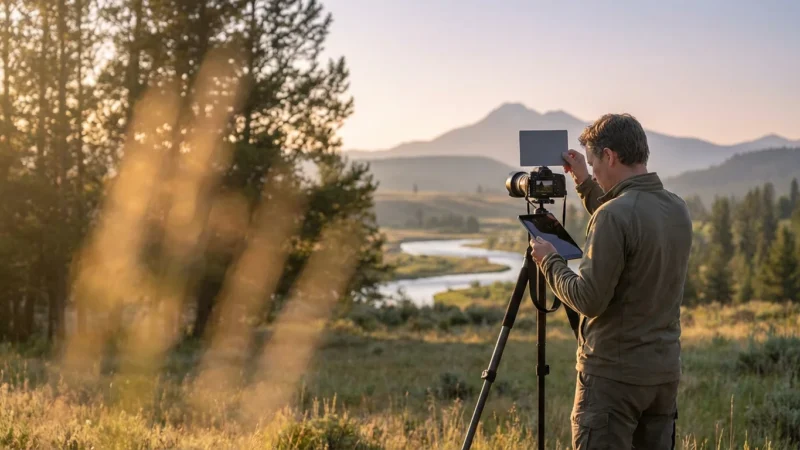
The backdrop for your group photo greatly influences its aesthetic. Look for areas that offer both visual appeal and practical space. An open field, a spacious living room, a shaded garden area, or even a porch with a nice view can work well. Pay attention to potential distractions. Clutter in the background, bright objects that pull focus, or busy patterns can detract from your subjects. A clean, uncluttered background ensures the family remains the central focus.
Choose the Right Time
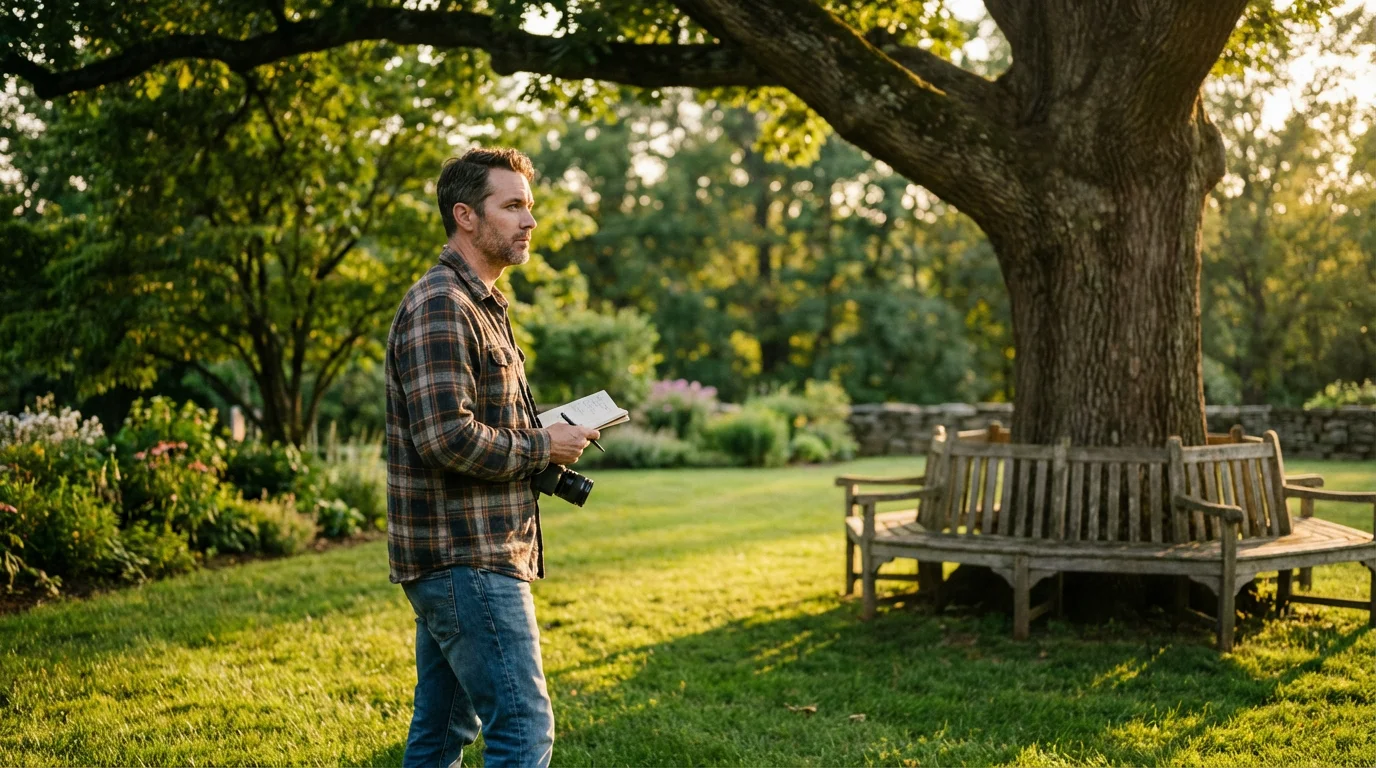
Lighting profoundly impacts a photograph. Harsh midday sun creates unflattering shadows, causes people to squint, and often blows out highlights. The best times for outdoor photography are usually the “golden hours” soon after sunrise or before sunset. During these periods, the sun delivers soft, warm light that flatters complexions and creates a pleasant glow. If you must shoot midday, seek out open shade, such as under a large tree or on the north side of a building, to diffuse the light and avoid direct sun. Indoor photography requires evaluating available window light and considering additional light sources.
Communicate Expectations
Inform your family members ahead of time about the plan for a group photo. This simple step can prevent frustration and ensure everyone is present and ready. Suggest a specific time and location. You might even advise on clothing choices, such as avoiding overly busy patterns or very bright, distracting colors, favoring instead a cohesive color palette that complements the setting.
Prepare Your Gear
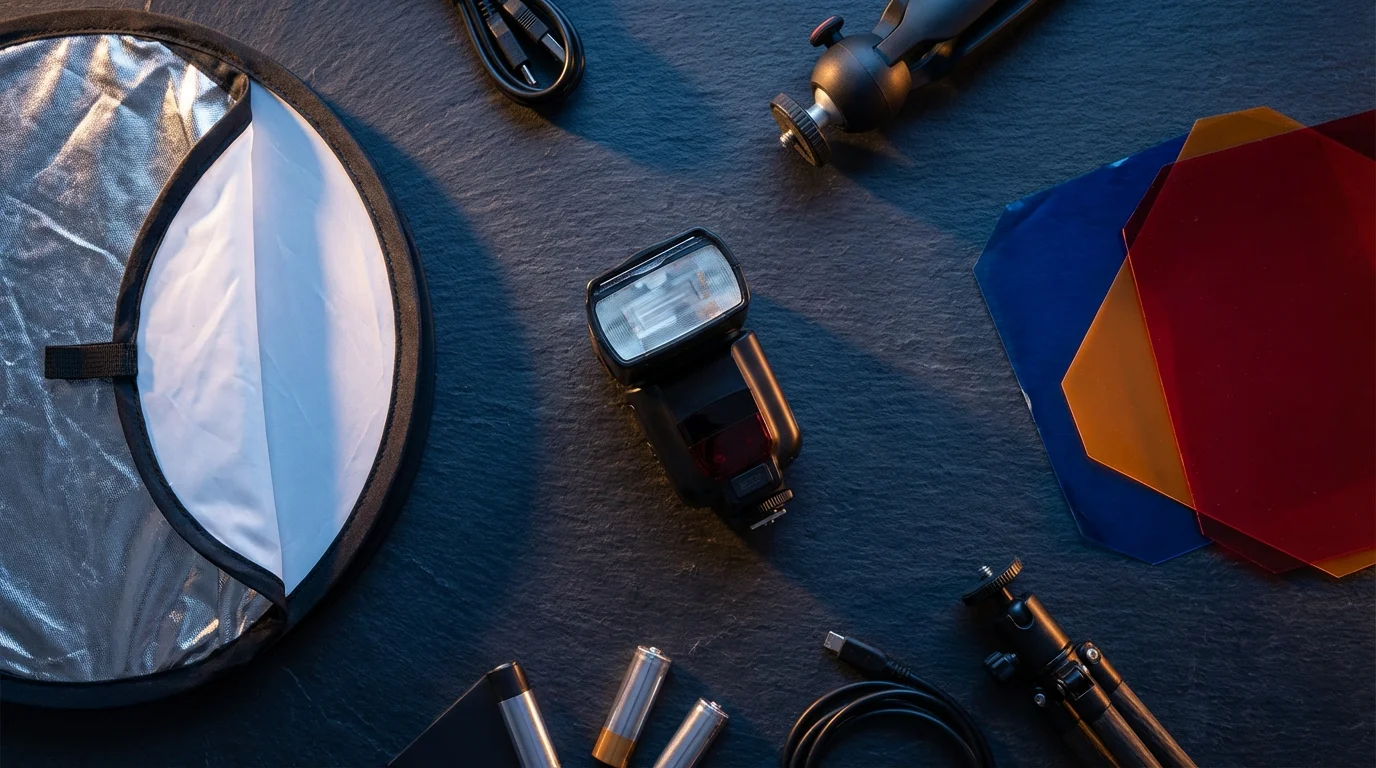
Before the event, charge all your camera batteries. Clean your camera lens thoroughly to avoid smudges or dust spots that can ruin an otherwise perfect shot. Pack any accessories you might need, such as a tripod for stability, a remote shutter release to include yourself in the photo, or a reflector to bounce light onto your subjects. Having everything ready means you can focus on directing your family, not fumbling with equipment.
Master Your Camera Settings for Group Shots
Understanding your camera’s settings is crucial for capturing sharp, well-exposed group photos, especially when dealing with varying light conditions and multiple subjects.
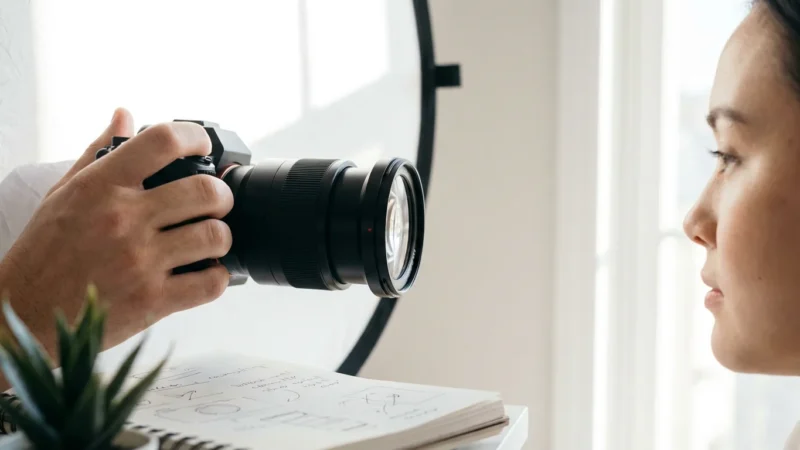
Understanding white balance is also essential for capturing accurate skin tones in various lighting conditions.
Aperture: Control Your Depth of Field
Learning how to take sharp photos every time is especially important when you have several rows of people at varying distances.
For group photos, you need everyone in focus. This requires a wider depth of field compared to a single portrait. Set your aperture to a narrower opening, typically between f/8 and f/11. This ensures that subjects standing at slightly different distances from the camera, such as people in different rows, remain sharp. If your group is very large or spread out, you might even consider f/13 or f/16. Be mindful that narrower apertures require more light, so you may need to adjust your ISO or shutter speed.
Shutter Speed: Freeze the Action
Even with a stationary group, minor movements can lead to blur. Aim for a shutter speed of at least 1/125th of a second. If you have active children or expect slight movement, increase it to 1/200th of a second or faster. If you are hand-holding your camera, your shutter speed should generally be at least equivalent to your focal length (e.g., 1/50th of a second for a 50mm lens). However, for group photos, prioritize freezing any potential subject movement. A tripod allows for slower shutter speeds if necessary, particularly in low light, but remember that subjects can still move.
ISO: Manage Light and Grain
ISO determines your camera’s sensitivity to light. Keep your ISO as low as possible, typically ISO 100 or 200, to minimize digital noise or “grain” in your images. If you are shooting indoors or in low light and your aperture and shutter speed are already set for the best compromise, then increase your ISO incrementally. Modern cameras handle higher ISO settings better, so do not fear using ISO 800 or 1600 if necessary, but always strive for the lowest acceptable setting to maintain image quality.
Focusing for Sharpness
When focusing on a group, select a single autofocus point and direct it to a person in the middle of your group, preferably in the front row if you have multiple rows. This strategy helps ensure the entire group remains within the depth of field. Many cameras offer eye-detection or face-detection autofocus, which can be useful but may prioritize one person over the whole group. Experiment with your camera’s focus modes to find what works best for your specific setup. Take multiple shots, subtly shifting your focus point if needed, to maximize your chances of a perfectly sharp image.
“Patience is your best lens when photographing families. You’re not just capturing faces, you’re preserving the dynamic energy of relationships.”

Composing and Posing Groups for Impact
A well-composed and thoughtfully posed group photo looks natural, balanced, and engaging. Avoid the “straight line up” approach that often feels static and uninteresting.
Vary Heights and Create Layers
A common mistake is having everyone stand in a single straight line. Instead, use varying heights to create visual interest and dynamic composition. Have some people sit, others stand, and if appropriate, some kneel or lean. You can achieve this using furniture, steps, benches, or by simply having taller individuals stand behind shorter ones. Creating multiple rows or layers adds depth and ensures everyone is visible. Think of forming a pleasing “V” or triangle shape with your group, which naturally draws the eye into the center.
Close the Gaps
Encourage family members to get close together. Gaps between people can make the group look disconnected. Encourage them to touch shoulders, link arms, or even lean slightly into one another. This proximity conveys a sense of unity and warmth, making the photo feel more intimate and cohesive. Remind them to be comfortable, but close.
Consider the Rule of Thirds
While you might want your main subject, the family, centered, applying the rule of thirds can still enhance the composition. Imagine your frame divided into a 3×3 grid. Placing key elements or the overall group along these lines or at their intersections can create a more balanced and visually appealing photograph. For a large group, this might mean placing the bulk of the group slightly off-center, balanced by negative space or a background element.
The Power of the Pyramid
A classic posing technique for groups involves arranging individuals in a pyramid shape. You can achieve this by having a few people at the base, with fewer people layered above them, culminating in one or two at the apex. This provides a strong, stable, and pleasing visual structure. For very large groups, you might create several smaller pyramid structures within the larger group.
Direct Gaze and Expression
For a classic group portrait, you want everyone looking towards the camera with a pleasant expression. Give clear directions. For more candid shots, encourage interaction among family members. You might ask them to talk to each other, laugh, or tell a joke. This approach often yields more genuine and joyful expressions.
Lighting Your Subjects Beautifully
Lighting is perhaps the most crucial element in photography. Good lighting can transform an ordinary picture into an extraordinary one. For group photos, aim for soft, even light that illuminates everyone without harsh shadows or overexposed areas.
Embrace Open Shade
As mentioned, open shade is your best friend when shooting outdoors during bright conditions. Find a large, evenly shaded area, such as under a big tree, a covered porch, or the shadow cast by a building. The light in these areas is diffused and soft, creating flattering illumination without harsh shadows or squinting eyes. Ensure your subjects are entirely within the shade, and avoid dappled light that creates distracting patches of brightness and shadow on faces.
Utilize Golden Hour Light
The hour after sunrise and the hour before sunset offer the most beautiful natural light. This “golden hour” light is soft, warm, and comes from a lower angle, making it incredibly flattering for skin tones. If you can schedule your group photo during this time, you will achieve stunning results with minimal effort. Position your group so the sun is hitting their faces at an angle, avoiding direct backlighting unless you specifically intend to create a silhouette effect or use fill flash.
Watch for Backlight
If the sun is behind your subjects, they will appear underexposed, often as silhouettes. While this can be an artistic choice, for a clear group portrait, you generally want the light on their faces. If you must shoot with backlight, use a reflector or a fill flash to illuminate your subjects. A reflector, held by an assistant or positioned cleverly, can bounce available light back onto their faces, brightening them and reducing harsh shadows.
Using a Flash Thoughtfully
On-camera flash can often create harsh, flat lighting and red-eye. If you need to use a flash, consider diffusing it with a softbox or a simple diffuser to soften the light. For more advanced photographers, an off-camera flash bounced off a wall or ceiling provides much more natural-looking light. If shooting outdoors, a fill flash can be excellent for balancing strong backlighting or filling in shadows, even in daylight. You can find detailed guides on flash photography at sites like Cambridge in Colour.

Engaging Your Group for Natural Smiles
A great group photo is not just technically perfect, it captures genuine emotion. Getting authentic smiles and relaxed postures from everyone, especially kids, requires skillful engagement.
Be a Director, Not Just a Photographer
You are in charge of the scene. Give clear, simple instructions. Tell people exactly where to stand, where to look, and what to do. Avoid vague requests. For example, instead of “Look natural,” try “Everyone, look at me and imagine your favorite dessert.”
Make it Fun, Especially for Kids
Children lose interest quickly. Keep the mood light and playful. Tell jokes, ask silly questions, or encourage them to make funny faces (and then tell them to make their “nice face”). Promise a treat or a fun activity afterwards. You can even involve them by letting them press the remote shutter release a few times. The goal is to make the experience enjoyable, not a chore.
Capture the Candid Moments
Do not limit yourself to posed shots. While everyone is getting into position, or between formal shots, keep your camera ready. Sometimes the most treasured photos are the candid interactions, the side glances, the spontaneous laughter that happens when people think the “official” photography is over. Shoot in burst mode during these moments to capture a sequence of expressions.
Patience is Key
Large groups, especially families with many individuals, take time to organize. Not everyone will be looking at the camera, smiling, and perfectly still at the same exact moment. Be patient. Take many shots. For a group of ten people, you might take 50 or 100 photos to find the one where everyone looks their best.
Troubleshooting Common Group Photo Challenges
Even with the best planning, group photos often present unexpected hurdles. Knowing how to quickly address these issues can save your shot.
If you find that a few faces are slightly out of focus, you can often sharpen blurry photos during the editing phase.
Closed Eyes and Awkward Blinks
This is perhaps the most common challenge. To minimize closed eyes, tell everyone to close their eyes on the count of three, then open them wide and smile on “four.” This synchronizes blinks. Alternatively, take several rapid-fire shots using your camera’s burst mode. When reviewing, you can often find one frame where everyone’s eyes are open.
Distracting Background Elements
A bright sign, a parked car, or an overflowing trash can in the background can ruin a photo. Before everyone settles into position, quickly scan the background for anything distracting. If you find something, either adjust your camera angle, reposition the group, or use a wider aperture to blur the background slightly, though be careful not to blur people. Sometimes, simply moving a few feet to the left or right makes a significant difference.
Uneven Lighting or Shadows
If you notice some people are brightly lit while others are in shadow, this usually indicates uneven light. Reposition your group into a more uniformly lit area. If shooting indoors, open curtains or blinds for more natural light, or consider using a single, soft artificial light source positioned to illuminate the entire group evenly. Outdoors, open shade is generally the best solution for consistent light.
Getting Everyone’s Attention
With large groups, especially with children, getting everyone to look at the camera can be tough. Use a firm but friendly voice. A distinctive sound, like a whistle or a quick “Everyone look here!” can help. Sometimes, having another family member stand behind you and make a silly noise or wave something can capture attention. Make sure your instructions are brief and to the point.
Crowded or Unbalanced Composition
If your initial shots feel too cramped or unbalanced, take a step back or consider a wider lens if available. Ensure there is enough space around the group so they do not look “cut off.” Conversely, if the group looks too small within the frame, move closer or zoom in. Aim for a composition where the group fills a good portion of the frame without feeling suffocated.

Beyond the Shutter: Post-Processing and Sharing Your Memories
Taking the photo is only one step. Thoughtful post-processing and smart sharing strategies ensure your memories are preserved and enjoyed.
These group images are perfect for creative projects, such as making a custom family photo calendar for the holidays.
Once the event is over, knowing how to organize your digital photos ensures those group shots don’t get lost in your library.
Culling and Selecting Your Best Shots
After the session, review all your photos. Be ruthless in your selection process. You might have dozens, even hundreds, of shots, but you only need a few truly great ones. Look for images where everyone’s eyes are open, expressions are natural, and the focus is sharp. Digital asset management software can help you rate and categorize your images efficiently.
Basic Editing Enhancements
Even fantastic photos often benefit from minor adjustments. Cropping can improve composition, removing distractions and strengthening the focus on your subjects. Adjusting exposure can brighten an image that appears too dark or slightly darken one that is too bright. White balance corrections ensure colors look natural, especially skin tones. You might also fine-tune contrast and saturation to make your photos pop. Free and paid software options like Adobe Lightroom, GIMP, or even basic phone editors offer these capabilities.
Back Up Your Precious Memories
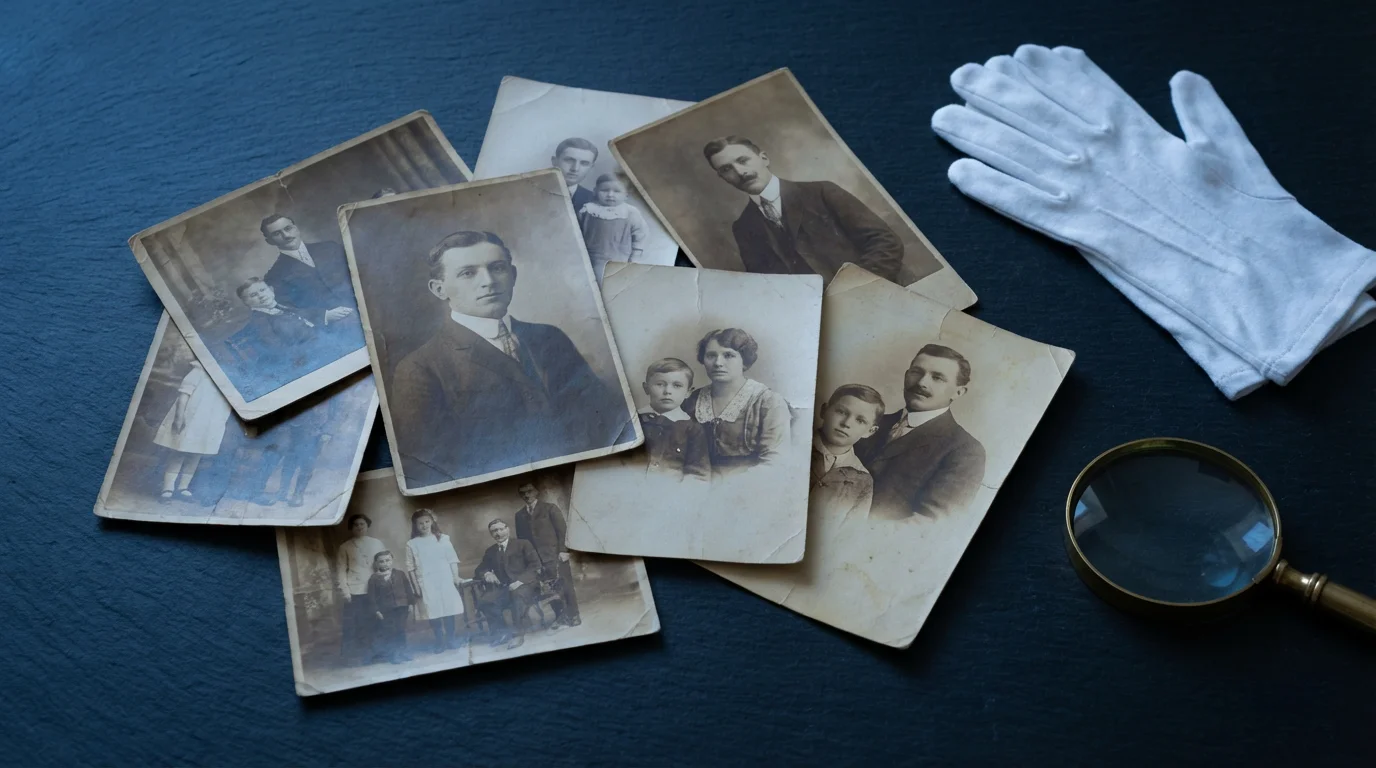
Digital photos are vulnerable to hard drive failures or accidental deletion. Immediately back up your selected images to at least two different locations. This could include an external hard drive, cloud storage services like Google Photos or Dropbox, or a network-attached storage (NAS) device. Regularly backing up your photos is a fundamental step in preserving your family’s visual history for future generations. For more information on digital preservation, explore resources like National Archives Preservation.
Share and Display Your Photos
Do not let your beautiful group photos languish on a hard drive. Share them with your family. Create online albums, print high-quality enlargements, or design a custom photo book. Imagine the joy of seeing these photos displayed on a wall or flipping through a physical album years from now. These printed pieces become tangible artifacts of your shared history.
Frequently Asked Questions
What is the ideal camera lens for group photos?
A versatile zoom lens, such as a 24-70mm or 24-105mm (on a full-frame camera), works well for most group sizes. These lenses offer enough wide-angle capability to capture large groups while also allowing you to zoom in for tighter compositions. If your group is very large or you are in a confined space, a wider-angle prime lens (e.g., 24mm or 35mm) can be beneficial. For more technical details on lens choice, you can reference resources like Digital Photography Review.
How do I avoid red-eye in my group photos?
Red-eye occurs when the flash reflects off the retina of your subjects’ eyes. To avoid it, ensure there is sufficient ambient light so your flash does not have to be the primary light source. If using a built-in flash, consider using the red-eye reduction mode if your camera has it, which fires a pre-flash to constrict pupils. The best solution is to use an external flash bounced off a ceiling or wall, or positioned off-camera, as this changes the angle of the light and significantly reduces the red-eye effect.
Should I use autofocus or manual focus for group photos?
Autofocus (AF) is generally recommended for group photos because it is faster and often more accurate than manual focus, especially with modern cameras. Use a single-point AF mode and focus on a person in the middle of the group, ideally in the front row if you have multiple rows. This approach ensures critical sharpness for the main subjects. Manual focus is best reserved for controlled studio environments or when AF struggles in very low light.
What is the best way to get everyone to look at the camera at the same time?
This requires a combination of clear communication and quick execution. Give a firm countdown, like “One, two, three, smile!” and then take several rapid shots in burst mode. Another effective technique involves having an assistant stand directly behind you and make a noise or hold up a bright object to capture everyone’s attention just before you press the shutter. Patience and taking many frames are key, as you can later select the shot where most people look good.
How can I make my group photo look more natural and less posed?
While some direction is necessary for group photos, you can encourage naturalness by promoting interaction. Ask family members to talk to each other, whisper secrets, or laugh about a shared memory. Capture moments between poses. Instead of everyone rigidly looking at the camera, have some people look at each other, creating a sense of connection. The goal is to capture the dynamic relationships within the group, not just static faces.
Disclaimer: This article is for informational purposes only. When handling valuable or irreplaceable photographs, consider consulting a professional conservator. Always test preservation methods on non-valuable items first.
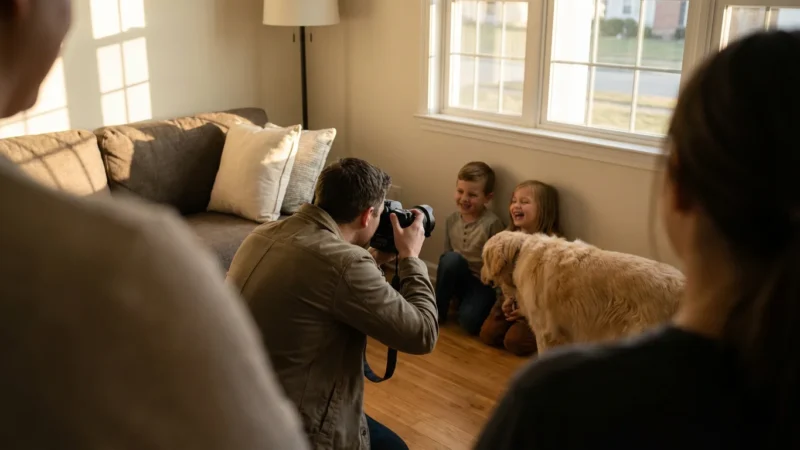
Specific techniques on how to photograph children and pets successfully can help you keep the energy positive and the results sharp.


Leave a Reply