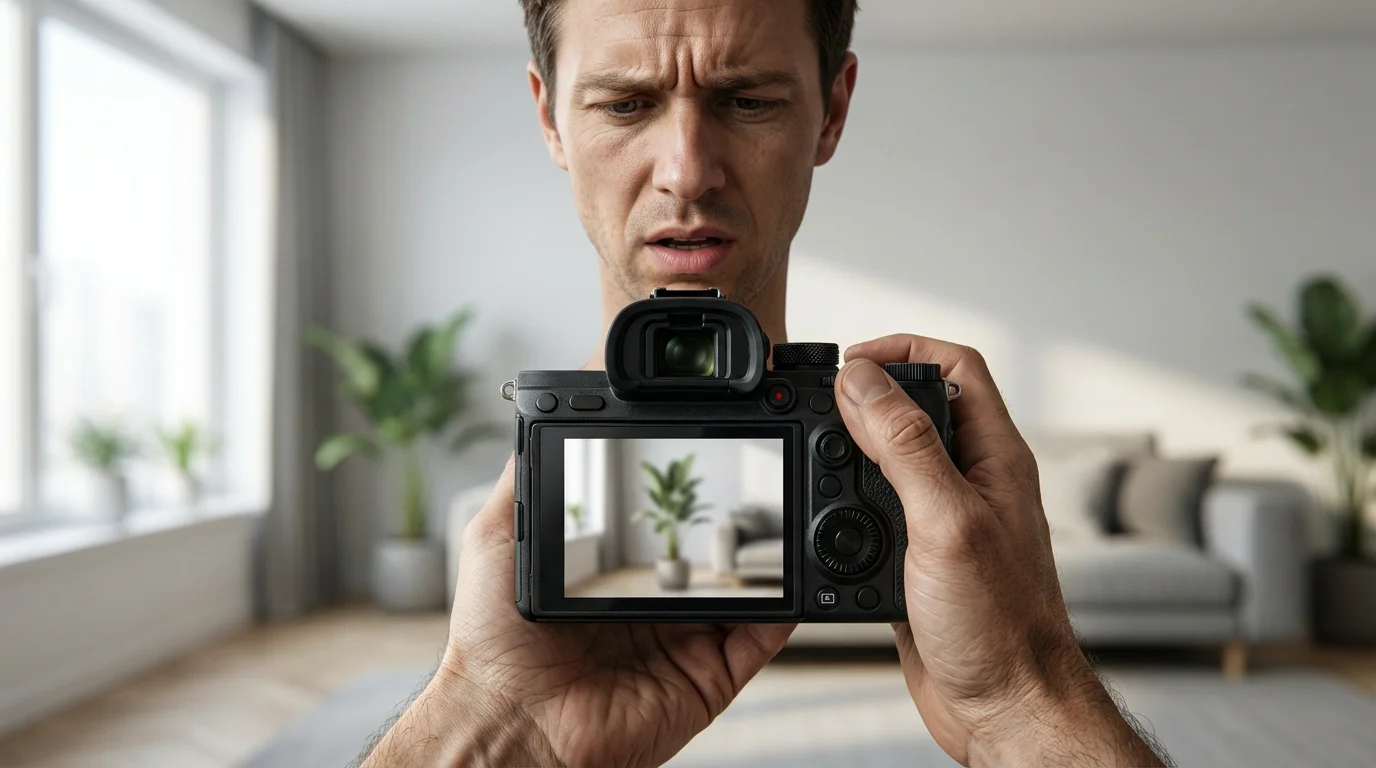
You value your photographic memories. You capture special moments, hoping to preserve them clearly for years to come. Yet, you sometimes find your images lack the crispness you desire, appearing soft, blurry, or simply not as sharp as you remember the scene. Unsharp photographs diminish the impact of your efforts and can make cherished memories difficult to appreciate. This comprehensive guide helps you troubleshoot common sharpness issues and equips you with practical techniques to achieve consistently sharp photos, transforming your photography from frustratingly fuzzy to wonderfully clear. We cover everything from fundamental camera settings to advanced focusing methods and post-processing refinements, ensuring your images capture every detail.
If you are just starting your journey, selecting one of the best cameras for beginners is an excellent way to ensure you have the right tools for high-quality results.

Why Sharpness Defines Your Memories
Sharpness is more than a technical detail in photography, it is the cornerstone of clarity and impact. A sharp photograph vividly presents your subject, allowing viewers to see textures, expressions, and fine details. This clarity directly translates to the emotional resonance of your images. Consider a portrait: a sharp focus on the subject’s eyes communicates their emotion directly. A blurred image, conversely, can leave viewers feeling disconnected and frustrated, forcing them to guess at what you intended to convey. When you aim for sharp photos, you respect the moment you captured and enhance your ability to share its story effectively. You ensure your photographic heritage remains vibrant and comprehensible for generations, allowing future family members to genuinely connect with the visual history you provide. Achieving sharpness builds your confidence as a photographer and elevates the quality of your entire photo collection.

Diagnosing Blur: Uncovering Common Culprits
Before you fix a problem, you must understand its cause. When your photos are not sharp, it often stems from one of several primary issues. Incorrect focus is a frequent offender, where your camera locks onto the wrong element in your scene, rendering your intended subject soft. Camera shake, caused by movement during the exposure, introduces motion blur across the entire image. This is particularly noticeable in low light or with slower shutter speeds. Subject motion blur occurs when your subject moves significantly during the exposure while your camera remains still. Technical limitations, such as shooting with a low-quality lens or using an excessively wide aperture that produces a shallow depth of field, also contribute to a lack of perceived sharpness. You must systematically identify which of these factors affects your images to implement the correct solution. Examining your blurry photos closely helps you differentiate between these common culprits. For example, if only parts of the image are blurred while others are sharp, your focus may be off. If the entire image shows a streaky blur, camera shake is the likely problem.
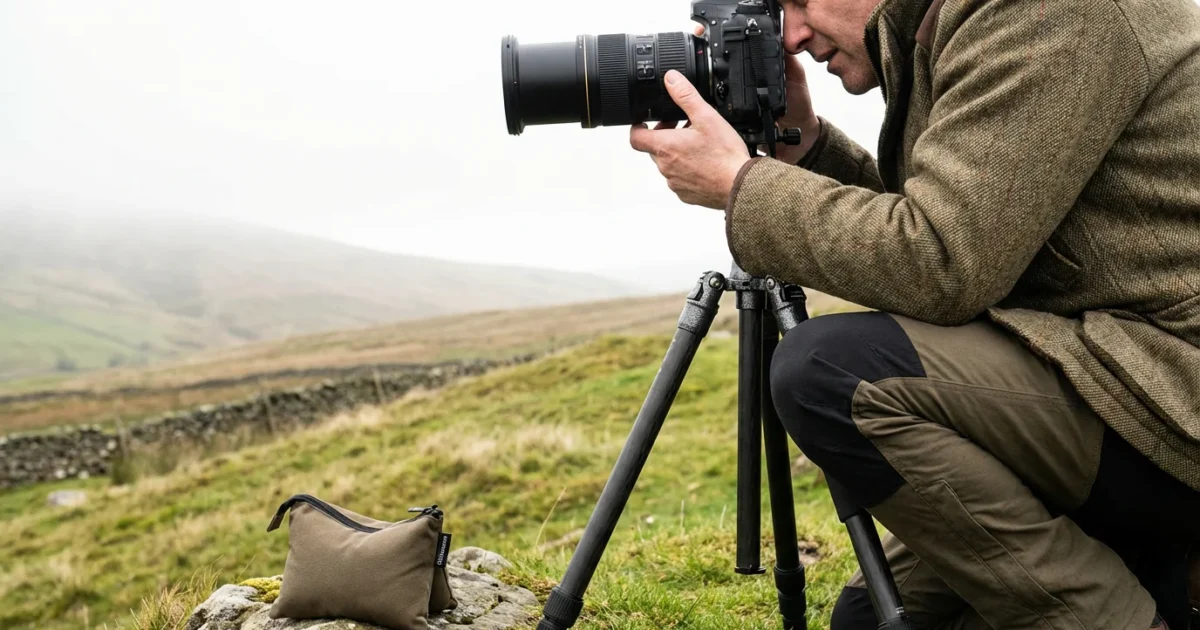
Eliminate Camera Shake: Your Foundation for Sharpness
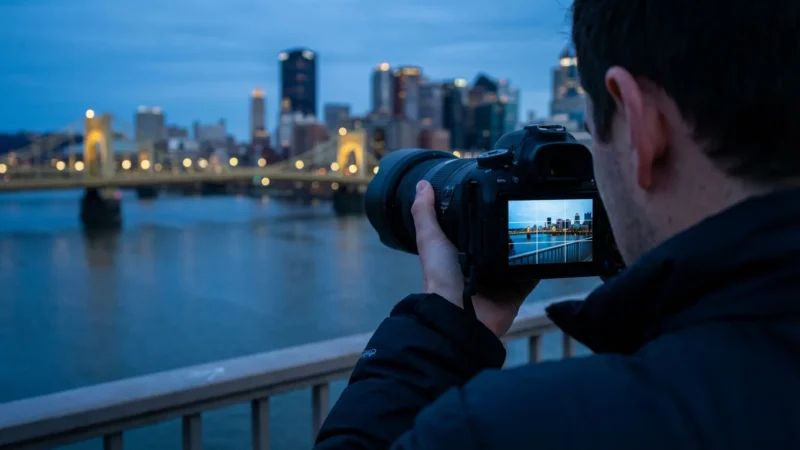
Camera shake is a leading reason why photos are not sharp, especially when shooting handheld. Your body’s natural movements, even slight ones, introduce blur if your shutter speed is too slow. Preventing camera shake requires a multi-pronged approach combining technique and equipment.
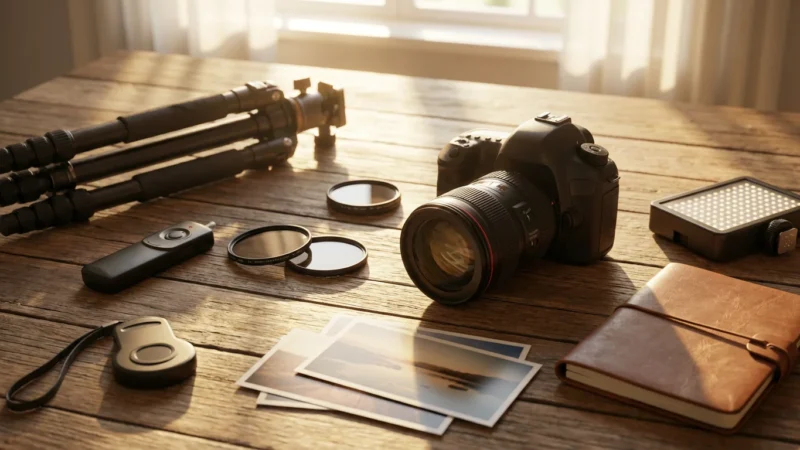
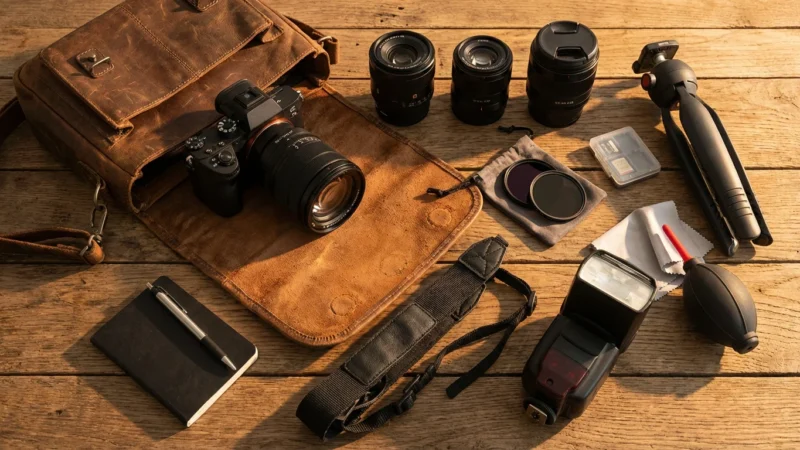
In addition to proper technique, using essential camera accessories like tripods and remote triggers can make a dramatic difference in image stability.
- Use a Faster Shutter Speed: This is your primary defense against camera shake prevention. A good rule of thumb for handheld shooting is to use a shutter speed equal to or faster than 1 divided by your focal length (e.g., for a 50mm lens, use 1/50th of a second or faster; for a 200mm lens, use 1/200th of a second or faster). For moving subjects, you need even faster speeds, such as 1/250th to 1/1000th of a second, depending on their speed.
- Stabilize Your Body: Brace yourself against a wall, tree, or fence. Keep your elbows tucked in close to your body. Breathe slowly and press the shutter button gently at the end of an exhale to minimize movement.
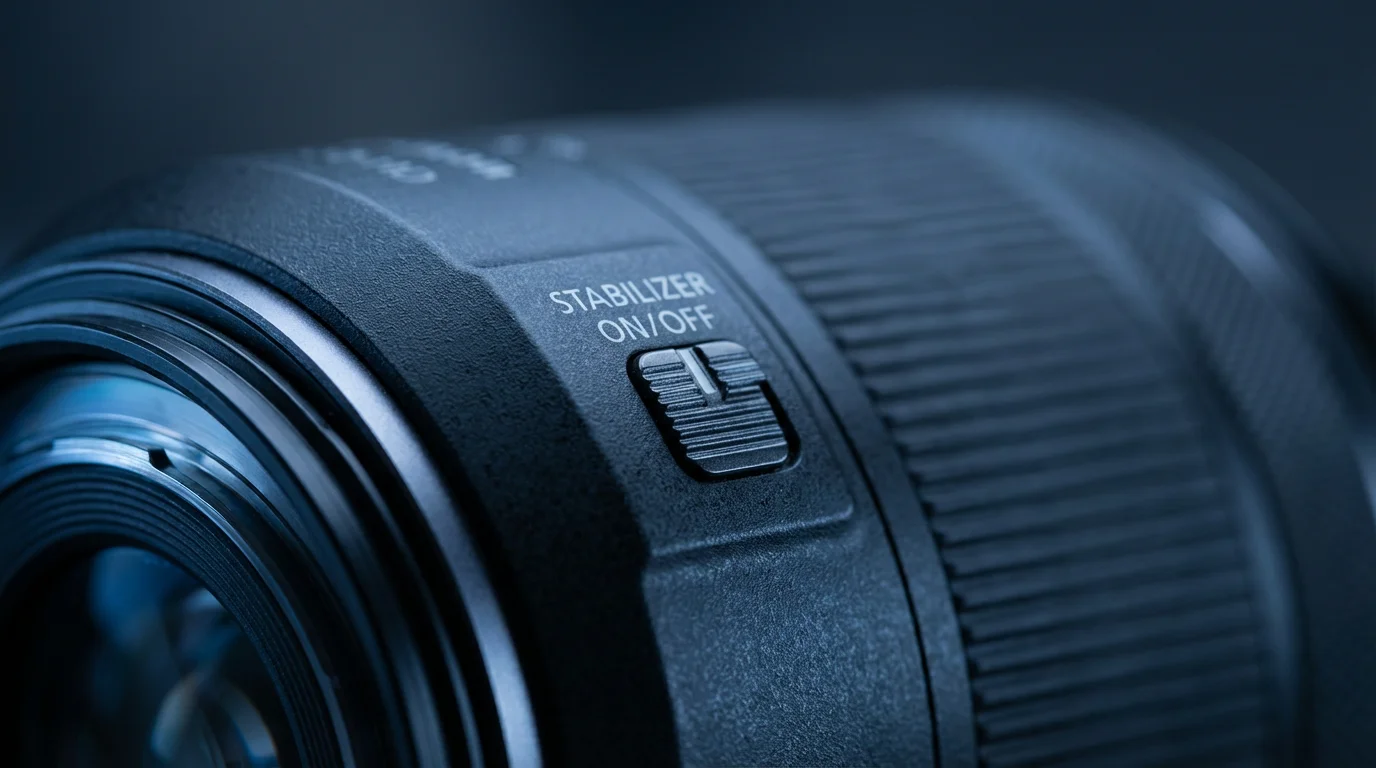
- Utilize Image Stabilization (IS/VR/OS): Many modern lenses and camera bodies feature built-in image stabilization. Activate this feature, as it electronically compensates for minor movements, allowing you to use slower shutter speeds, often by 2-4 stops. Remember to turn off lens-based stabilization when using a tripod to avoid conflicting with its stability.
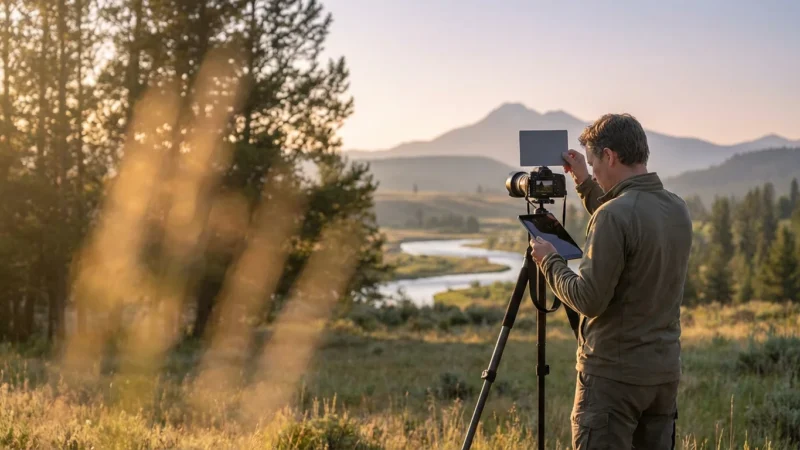
- Employ a Tripod or Monopod: For ultimate stability, especially in low light, a tripod is indispensable. It completely eliminates camera shake. A monopod offers a compromise, providing significant stability while remaining more portable.
- Use a Remote Shutter Release or Self-Timer: Even pressing the shutter button introduces slight movement. A remote shutter release (wired or wireless) or your camera’s 2-second self-timer eliminates this contact-induced shake, ensuring your camera remains perfectly still during exposure.
- Mirror Lock-Up: On DSLR cameras, the mirror inside the camera flips up just before exposure, causing a tiny vibration. Activating mirror lock-up (if available) allows the mirror to flip up and settle before the shutter opens, preventing this micro-shake.
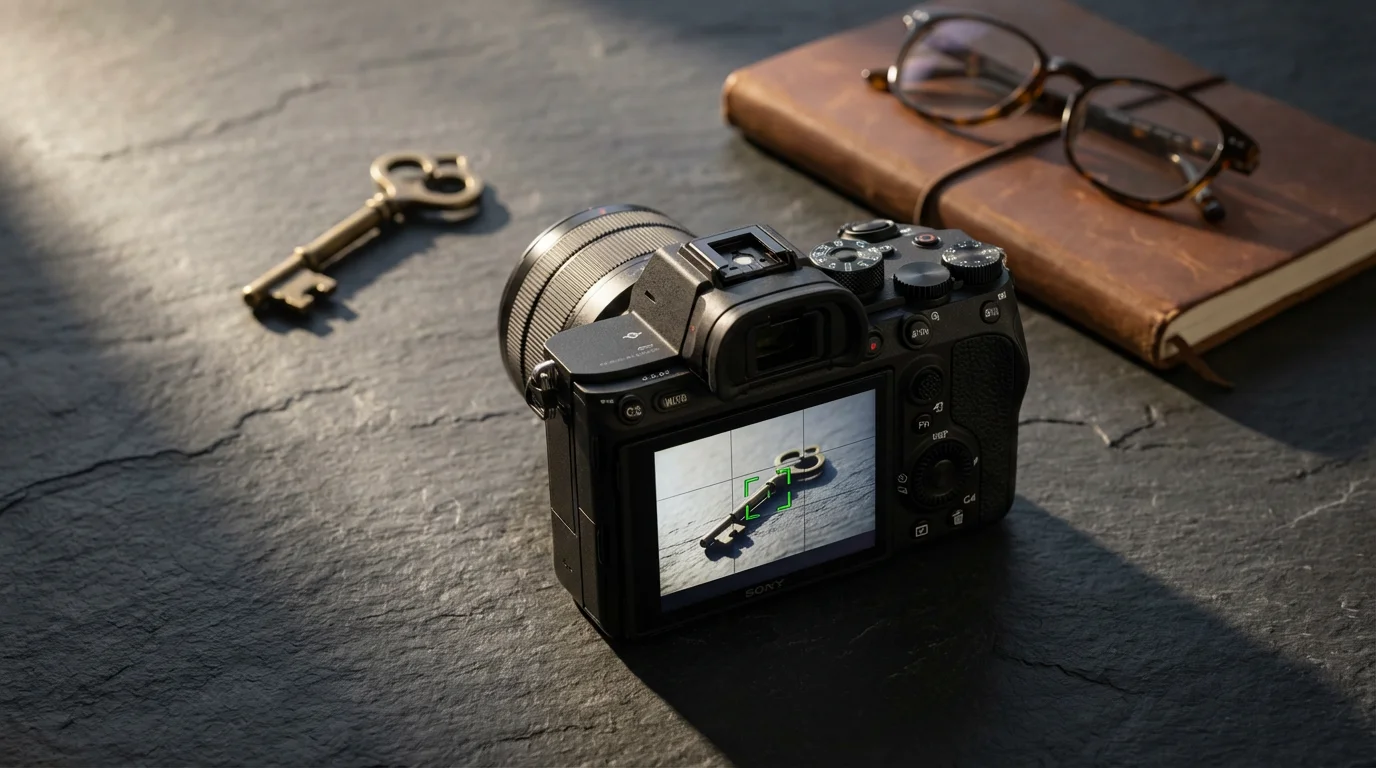
Master Autofocus: Achieve Precise Focus Every Time
Precise focus is paramount for sharp photos. Your camera’s autofocus system is powerful, but you need to guide it effectively. Poor focus is a common reason why photos are not sharp, often because the camera focused on the background instead of your subject.
These focus techniques are particularly important when photographing children and pets because they move quickly and unpredictably.
Once you’ve mastered focus, you can combine it with effective composition techniques to make your subjects truly pop.
- Select the Right Autofocus Mode:
- Single-Shot AF (AF-S/One-Shot AF): Ideal for stationary subjects. The camera focuses once and locks focus when you half-press the shutter button. You can then recompose your shot.
- Continuous AF (AF-C/AI Servo AF): Essential for moving subjects. The camera continuously adjusts focus as your subject moves, as long as you keep the shutter button half-pressed. This mode is critical for capturing sharp action shots.
- Auto-Area AF/Zone AF: The camera chooses the focus point for you. While convenient, it can lead to missed focus if the camera prioritizes the wrong element. Use this mode cautiously and understand its limitations.
- Choose Your Focus Point: Do not rely solely on your camera’s automatic focus point selection. Manually select a single focus point and place it directly over your most important subject detail, such as the eyes in a portrait. This provides significantly more control and ensures your desired area is precisely sharp.
- Focus and Recompose: With single-shot AF, you can focus on your subject, lock focus by holding the shutter button half-pressed, then recompose your shot without changing your focus distance. This technique works best when your subject and you are not moving significantly.
- Back-Button Focus: Many photographers prefer assigning autofocus activation to a dedicated button on the back of the camera, separating it from the shutter release. This allows you to focus independently, locking focus until you choose to re-engage it, offering greater flexibility, especially with continuous AF.
- Understand Depth of Field: Your aperture setting directly influences how much of your image appears in focus.
- Wide Apertures (e.g., f/1.8, f/2.8): Create a shallow depth of field, blurring the background nicely but also making your critical focus area very narrow. This demands extreme precision for sharp photos.
- Narrower Apertures (e.g., f/8, f/11): Provide a larger depth of field, keeping more of your scene in focus from foreground to background. This is generally preferred for landscapes where you want widespread sharpness.
- Manual Focus (MF): In challenging situations, such as very low light, intricate patterns, or when shooting through obstructions, manual focus provides superior control. Use your camera’s live view magnification or focus peaking features (if available) to achieve pixel-perfect focus.

Optimize Your Exposure Settings for Pin-Sharp Images
The exposure triangle, comprising aperture, shutter speed, and ISO, profoundly impacts the sharpness of your photographs. Understanding their interplay allows you to make informed decisions for optimal clarity.
Balancing aperture and shutter speed is also essential when learning how to take great group photos where everyone in the frame needs to stay sharp.
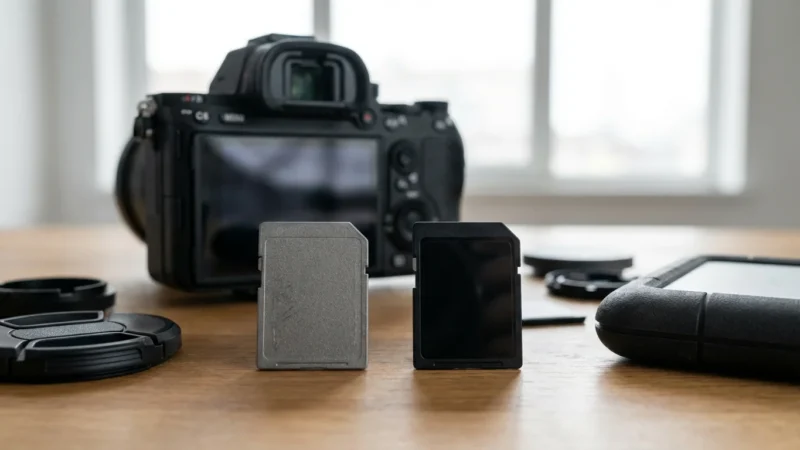
To preserve the maximum amount of detail for post-capture sharpening, understanding RAW vs JPEG formats is a vital first step.
- Aperture (f-stop): Controls depth of field and influences overall lens sharpness.
- Sweet Spot: Lenses typically perform their sharpest a few stops down from their maximum aperture. For instance, a lens with a maximum aperture of f/2.8 might be sharpest at f/5.6 or f/8. Shooting at the absolute widest aperture often introduces softness, especially at the edges.
- Diffraction: Going too narrow with your aperture (e.g., f/16, f/22) introduces diffraction, a phenomenon where light waves spread out as they pass through a small opening, leading to a general softening of the image. Aim for the sharpest aperture, which is usually in the f/5.6 to f/11 range for most lenses.
- Shutter Speed: Directly controls motion blur.
- Fast Shutter for Stillness: As discussed in the camera shake section, a fast shutter speed freezes motion, whether it is camera movement or subject movement. This is crucial for capturing crisp details.
- Balancing Act: In low light, you face a trade-off. To maintain a fast shutter speed, you often need to increase your ISO or open your aperture, each with its own consequences for image quality or depth of field.
- ISO: Determines your camera’s sensitivity to light.
- Keep ISO Low: A lower ISO setting (e.g., ISO 100, 200) produces cleaner images with less digital noise. Digital noise can manifest as graininess, which visually reduces sharpness and fine detail.
- Increase ISO When Necessary: Do not be afraid to raise your ISO if it allows you to achieve a faster shutter speed or a more optimal aperture for sharpness, especially in low-light situations. Modern cameras handle higher ISOs much better than older models. Aim for the lowest ISO that still allows you to use a fast enough shutter speed and an appropriate aperture.
Consider your shooting situation and prioritize accordingly. For a moving child, prioritize a fast shutter speed. For a detailed landscape, prioritize an optimal aperture and a low ISO, using a tripod to manage shutter speed.
Lens Selection and Optimal Technique for Maximum Sharpness
The quality of your lens significantly impacts image sharpness. Not all lenses are created equal, and even the best lenses require proper handling.
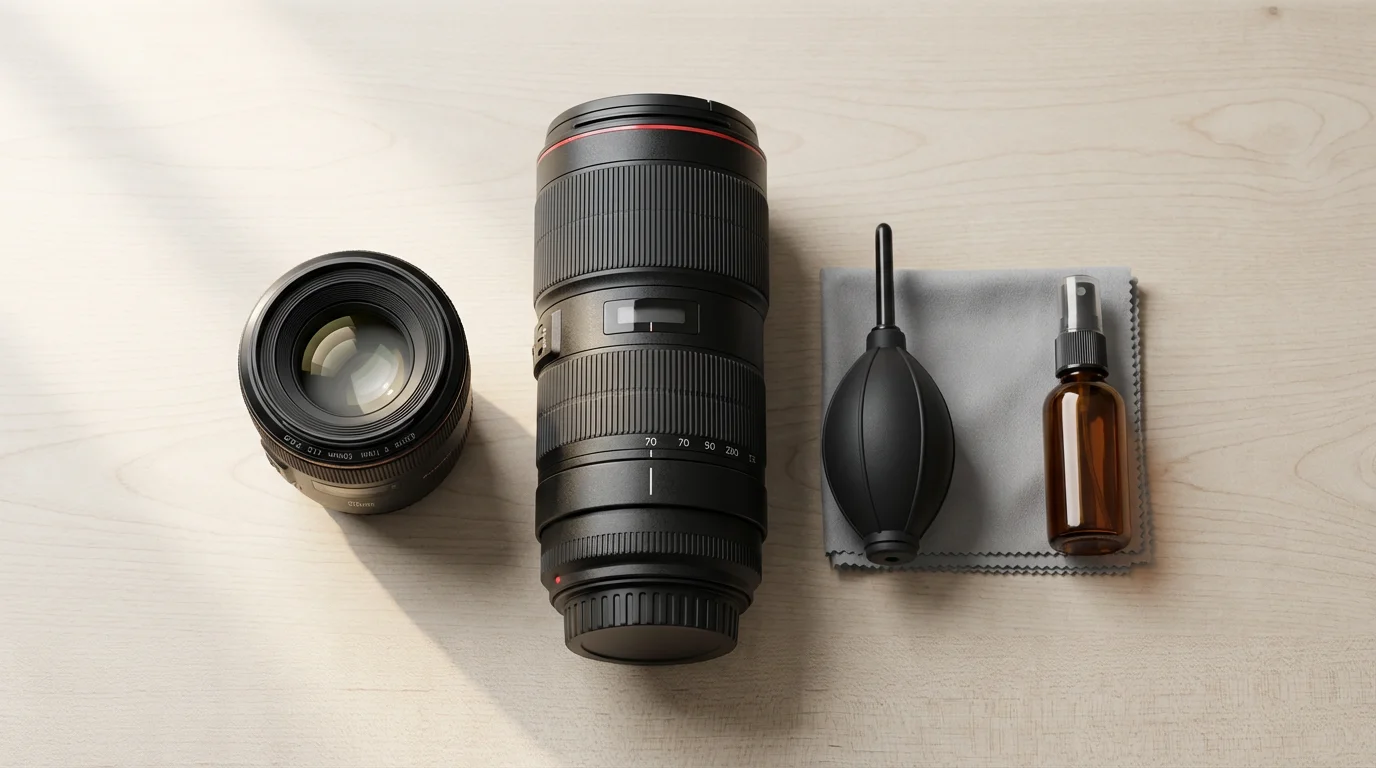
Before checking your settings, make sure to clean your camera lens properly as dust or smudges on the glass are a common cause of soft images.
Even the best glass will struggle if it’s dirty, so ensure you know how to clean your camera lens properly before heading out to shoot.
“A high-quality lens is an investment in your image quality. It provides superior contrast, resolves finer details, and minimizes optical imperfections that can compromise sharpness, even before you press the shutter.”
- Invest in Quality Lenses: Entry-level kit lenses offer versatility but often lack the optical sharpness of prime lenses or professional-grade zoom lenses. Prime lenses (fixed focal length, e.g., 50mm f/1.8) generally offer superior sharpness, wider apertures, and better low-light performance compared to zoom lenses at similar price points. When evaluating lenses, research their “sweet spot” aperture for maximum sharpness. For comprehensive reviews and technical data on various lenses, websites like Digital Photography Review offer valuable insights.
- Clean Your Lenses: Dust, smudges, and fingerprints on your front or rear lens elements introduce haze and reduce contrast, making your images appear soft and less sharp. Regularly clean your lenses with a microfiber cloth and lens cleaning solution.
- Use a Lens Hood: A lens hood primarily blocks stray light that causes lens flare, but it also provides physical protection for your front element and improves image contrast, which contributes to perceived sharpness.
- Shoot in Good Light: Ample, soft, natural light helps your camera’s autofocus system perform optimally and allows you to use lower ISOs and faster shutter speeds, all contributing to sharper images.
- Focus on Contrast: Your camera’s autofocus system works best when it can detect contrast. Aim your focus point at an area of high contrast on your subject, such as the edge of an eye or a distinct pattern.

Post-Processing Sharpening: Refining Your Images After the Shot
Even with perfect in-camera technique, post-processing can enhance sharpness and recover subtle details. It is a refinement process, not a fix for fundamentally blurry images.
If you have older images that aren’t quite perfect, learning how to sharpen blurry photos using software can help rescue those important moments.
When a shot is slightly soft despite your best efforts, you can learn how to sharpen blurry photos to recover those lost details.
- Capture in RAW: Shooting in RAW format provides significantly more data than JPEG. This extra data allows for greater flexibility and control during post-processing, including more effective sharpening without introducing excessive artifacts.
- Subtle Sharpening: Most images benefit from a touch of sharpening in post-production. Use photo editing software like Adobe Lightroom, Photoshop, or Capture One.
- Amount: Controls the strength of the sharpening effect.
- Radius: Determines the size of the details to be sharpened. A smaller radius (0.5-1.5 pixels) generally works best for natural-looking sharpness.
- Detail: Helps bring out finer textures.
- Masking: This crucial slider prevents sharpening of smooth areas (like skin or sky) by only applying the effect to areas with high contrast edges, minimizing noise. Hold Alt/Option while dragging the slider to see the mask.
- Output Sharpening: Sharpening needs differ depending on the final output. Images for web display require more sharpening than images destined for large prints. Some software offers specific “output sharpening” tools designed for these different uses.
- Do Not Over-Sharpen: Excessive sharpening introduces halos, artifacts, and an unnatural, grainy look. Apply sharpening subtly and check your image at 100% zoom to assess the impact.
Common Mistakes and How to Avoid Blurry Photos
You now have many tools to ensure sharp photos, but understanding common pitfalls helps you consistently avoid blur. If you frequently ask yourself, “why are my photos not sharp?”, reviewing these points helps you.
- Underestimating Low Light: Low light conditions demand slower shutter speeds, higher ISOs, or wider apertures. Without careful consideration, low light quickly leads to camera shake or missed focus. Always assess the available light and adjust your settings accordingly.
- Ignoring Depth of Field: Accidentally using too wide an aperture can render important elements out of focus, especially with multiple subjects or when shooting close-up. Understand what you want in focus and select your aperture intentionally.
- Failing to Clean Equipment: A dirty lens or sensor reduces overall image clarity and contrast, making your photos appear soft even if perfectly focused. Regular, careful cleaning is essential.
- Expecting Your Camera to Do Everything: While modern cameras are smart, they are not mind readers. You need to actively select focus points, choose AF modes, and understand your settings. Relying solely on “auto” modes often compromises sharpness in challenging situations.
- Rushing the Shot: Taking a moment to stabilize yourself, carefully compose, and confirm focus makes a significant difference. Patience and precision pay off with sharper results.
- Camera Strap Management: A flapping camera strap in windy conditions can introduce subtle vibrations. Secure your strap or remove it when using a tripod for critical shots.
By consciously addressing these common mistakes, you build a consistent workflow that prioritizes sharpness. This proactive approach significantly reduces the instances of blurry photographs in your collection, ensuring your memories are captured with the clarity they deserve.
Frequently Asked Questions
What is the most important setting for sharp photos?
There isn’t one single most important setting, as sharpness results from a combination of factors. However, for preventing motion blur, a sufficiently fast shutter speed is crucial. For precise focus, carefully selecting your autofocus point and mode is paramount. You need to balance these settings with aperture and ISO based on your scene.
How do I make my phone photos sharper?
To make your phone photos sharper, ensure good lighting, hold your phone steady (brace your elbows or use a mini-tripod), tap the screen to set focus on your subject, and clean your phone’s camera lens. Avoid zooming in digitally, as it often degrades quality. Utilize your phone’s portrait mode for background blur, but check focus carefully. Many phone cameras also benefit from slight post-processing sharpening in photo editing apps.
What is the “sweet spot” for lens sharpness?
The “sweet spot” is the aperture setting at which a particular lens performs its sharpest, offering the best balance of detail and minimal optical imperfections. This typically occurs 2-3 stops narrower than the lens’s maximum aperture. For example, a lens that opens to f/2.8 might be sharpest around f/5.6 or f/8. You generally want to avoid the widest and narrowest apertures for maximum sharpness.
Should I always use a tripod for sharp photos?
While a tripod guarantees maximum stability and eliminates camera shake, you do not always need one. For fast shutter speeds (e.g., above 1/250th of a second), good light, and with image stabilization, handheld shooting often yields sharp results. A tripod becomes essential in low light, for long exposures, macro photography, or when using slower shutter speeds to achieve a specific effect, ensuring consistent sharpness without blur.
Why are my photos sharp in the center but blurry at the edges?
If your photos are sharp in the center but soft at the edges, it often indicates a characteristic of your lens, especially when shooting at its widest aperture. Many lenses, particularly more affordable ones, exhibit less sharpness towards the edges at their maximum aperture. Stopping down your aperture (using a higher f-number like f/5.6 or f/8) often significantly improves edge-to-edge sharpness. Optical aberrations can also contribute to this effect.
Disclaimer: This article is for informational purposes only. When handling valuable or irreplaceable photographs, consider consulting a professional conservator. Always test preservation methods on non-valuable items first.


Leave a Reply