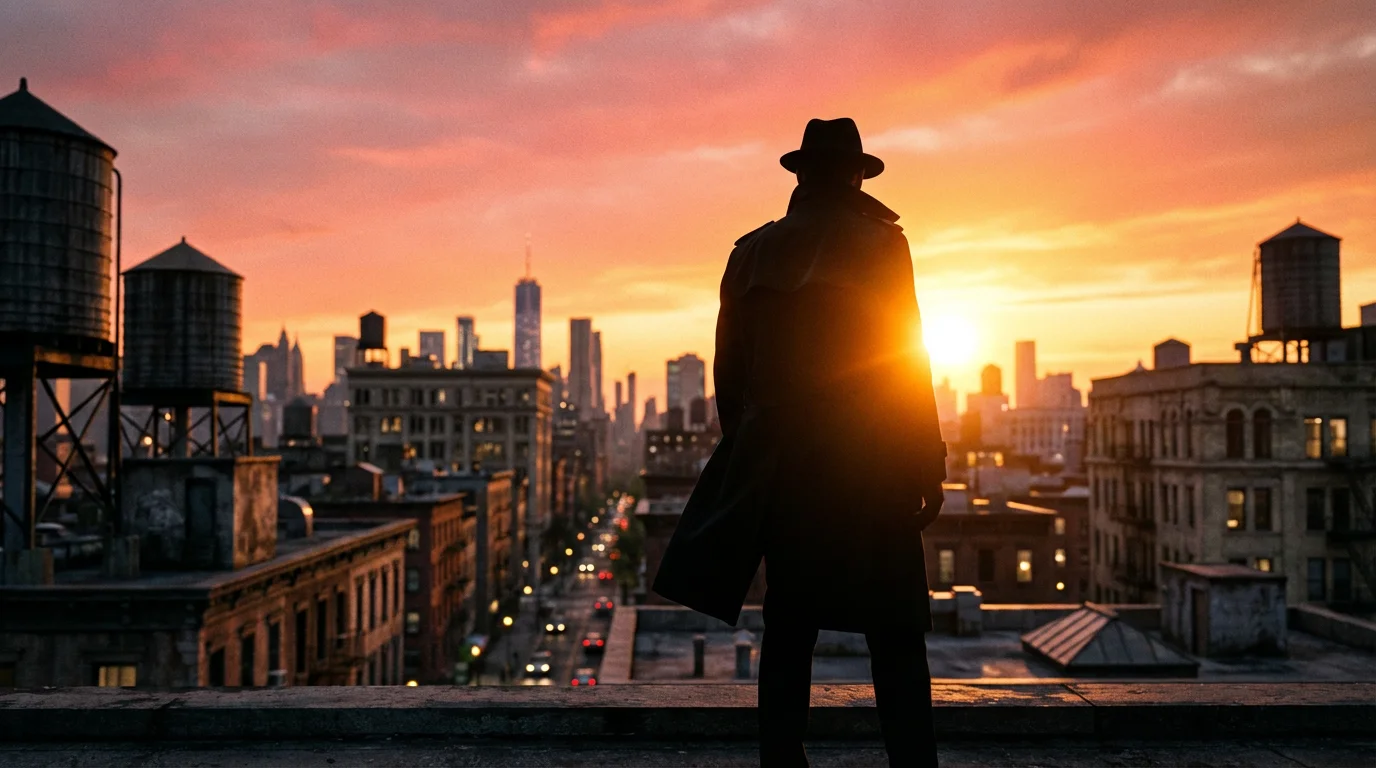
Capturing the magic of dimly lit moments, from a cozy family dinner to the captivating glow of a cityscape at dusk, requires a different approach than daytime shooting. Many photographers instinctively reach for their flash when light levels drop, but a flash often destroys the natural ambiance, flattening your subjects and creating harsh shadows. You can master low light photography without resorting to artificial light, preserving the mood and authenticity of your scenes. This guide equips you with the knowledge and techniques to achieve stunning, natural-looking images even when light is scarce.
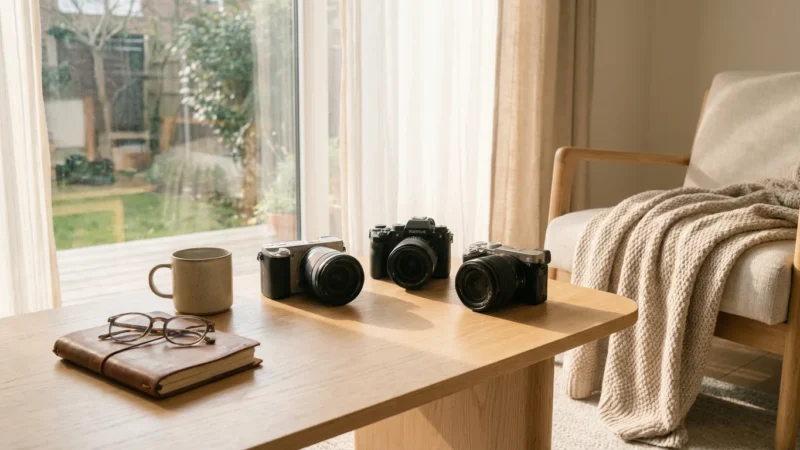
If you are just getting started, selecting one of the best cameras for beginners in 2025 can help you more easily manage the manual settings required for dark environments.

Embrace the Available Light: Why Go Flash-Free?
You often find the most compelling photographic opportunities in low light environments. The soft, directional quality of natural or ambient light creates a sense of intimacy and drama that a direct flash simply cannot replicate. Think of the warm glow of candlelight on faces, the subtle hues of a sunset reflecting on water, or the deep shadows that sculpt a subject in a dimly lit room. These scenarios invite you to see and capture light differently.
Once you have mastered the light, applying classic composition techniques will help you create a more balanced and professional-looking shot.
To capture the atmosphere accurately, understanding white balance is also necessary for managing the different color temperatures of ambient light.
This approach is central to natural light photography, where you prioritize authentic tones and soft textures over artificial illumination.
Using available light avoids several common issues associated with flash photography. A flash often produces harsh shadows, overexposes foreground elements, and causes dreaded red-eye in portraits. It can also flatten a scene, eliminating the sense of depth and dimension you perceive with your eyes. By learning to work with the light present, you respect the scene’s inherent atmosphere. You create images with a rich, natural look, full of character and emotion. This approach strengthens your photographic vision, making you more attuned to light quality and direction.
Understanding Your Camera’s Core Settings for Dark Conditions
Successful low light photography without a flash hinges on mastering your camera’s exposure triangle: aperture, ISO, and shutter speed. These three settings work in concert to control the amount of light reaching your camera’s sensor. Understanding their interplay allows you to make informed decisions and achieve optimal results.
To give yourself more flexibility when editing noisy images later, it is highly recommended to start understanding RAW vs JPEG differences.
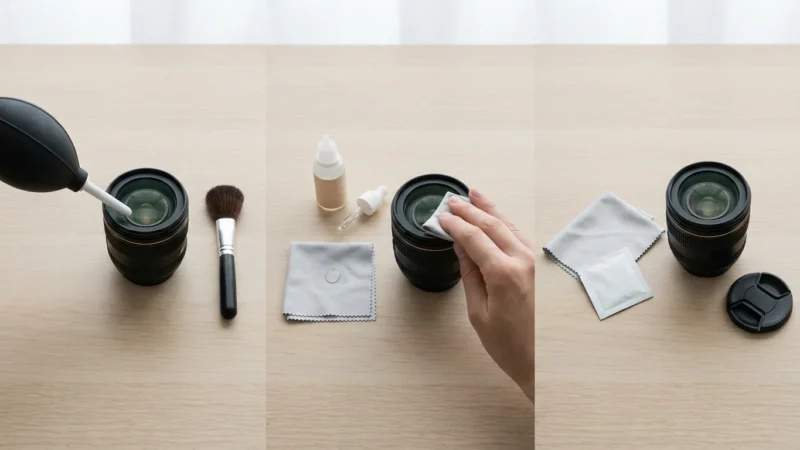
Before adjusting your settings, make sure you know how to clean your camera lens properly so that smudges don’t cause unwanted glare in your dark-room shots.
If you are shooting with a phone instead of a DSLR, you can still apply similar smartphone photography tips to get great low-light results.
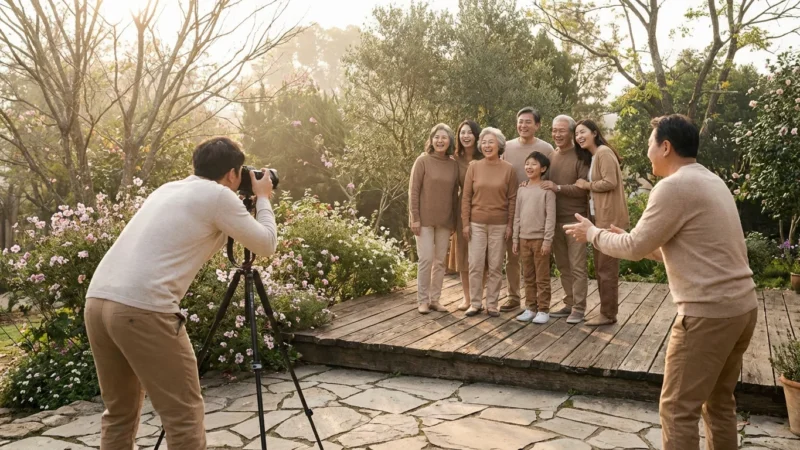
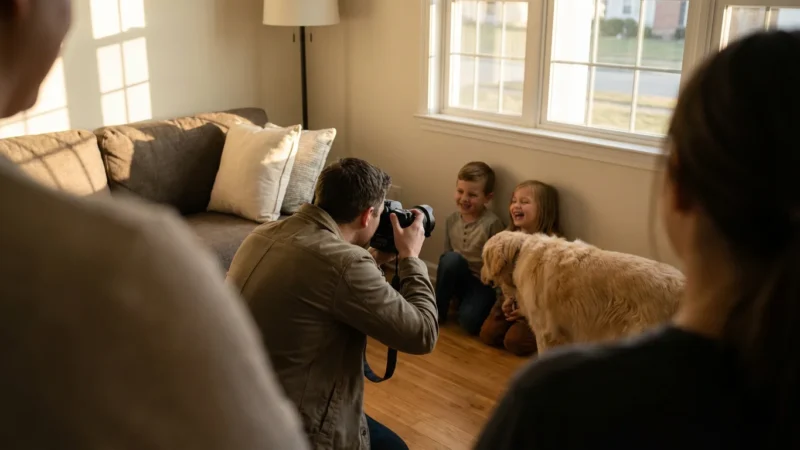
Many of these technical principles also apply when understanding camera settings for better indoor photos during family gatherings or events.
Aperture: Your Light Funnel
Aperture refers to the opening in your lens that lets light pass through. You control it with f-numbers (e.g., f/2.8, f/4, f/8). A lower f-number indicates a wider aperture, which allows more light to enter your camera. This is your primary tool in low light. For example, an f/2.8 aperture lets in significantly more light than an f/8 aperture, allowing you to use faster shutter speeds or lower ISO settings. A wider aperture also produces a shallower depth of field, resulting in a beautifully blurred background (bokeh) that isolates your subject, a particularly appealing effect in many no flash photos.
ISO: Your Sensor’s Sensitivity
ISO measures your camera sensor’s sensitivity to light. A lower ISO (e.g., 100 or 200) produces cleaner images with less digital noise. However, in low light, you often need to increase your ISO (e.g., 800, 1600, or even higher) to achieve proper exposure. Higher ISO settings make your sensor more sensitive, effectively “amplifying” the available light. The trade-off is an increase in digital noise, which appears as graininess in your images. Modern cameras manage noise at higher ISOs much better than older models, but you still need to balance light gathering with image quality. Aim for the lowest ISO you can use while maintaining an acceptable shutter speed and aperture.
Shutter Speed: Controlling Light Duration and Motion
Shutter speed dictates the length of time your camera’s shutter remains open, allowing light to hit the sensor. In low light, you often need slower shutter speeds (e.g., 1/30s, 1/15s, 1s, or longer) to collect enough light for a well-exposed image. The challenge with slow shutter speeds is motion blur. Any movement of your camera or subject during the exposure time results in a blurred image. This is where stabilization becomes critical.
A Practical Workflow for Best Camera Settings for Dark Rooms:
- Open Your Aperture Wide: Start by selecting the widest aperture your lens allows (lowest f-number). This maximizes light intake and often creates beautiful background blur.
- Adjust Shutter Speed for Sharpness: Next, try to maintain a shutter speed fast enough to avoid camera shake for handheld shots (a common rule of thumb is 1/focal length, e.g., 1/50s for a 50mm lens). If using a tripod, you have much more freedom to slow it down.
- Increase ISO as Needed: Finally, if your image is still too dark, gradually increase your ISO until you achieve a good exposure. Monitor the image for excessive noise.
- Review and Refine: Take a test shot, review your histogram and image on your LCD, and adjust your settings as necessary.
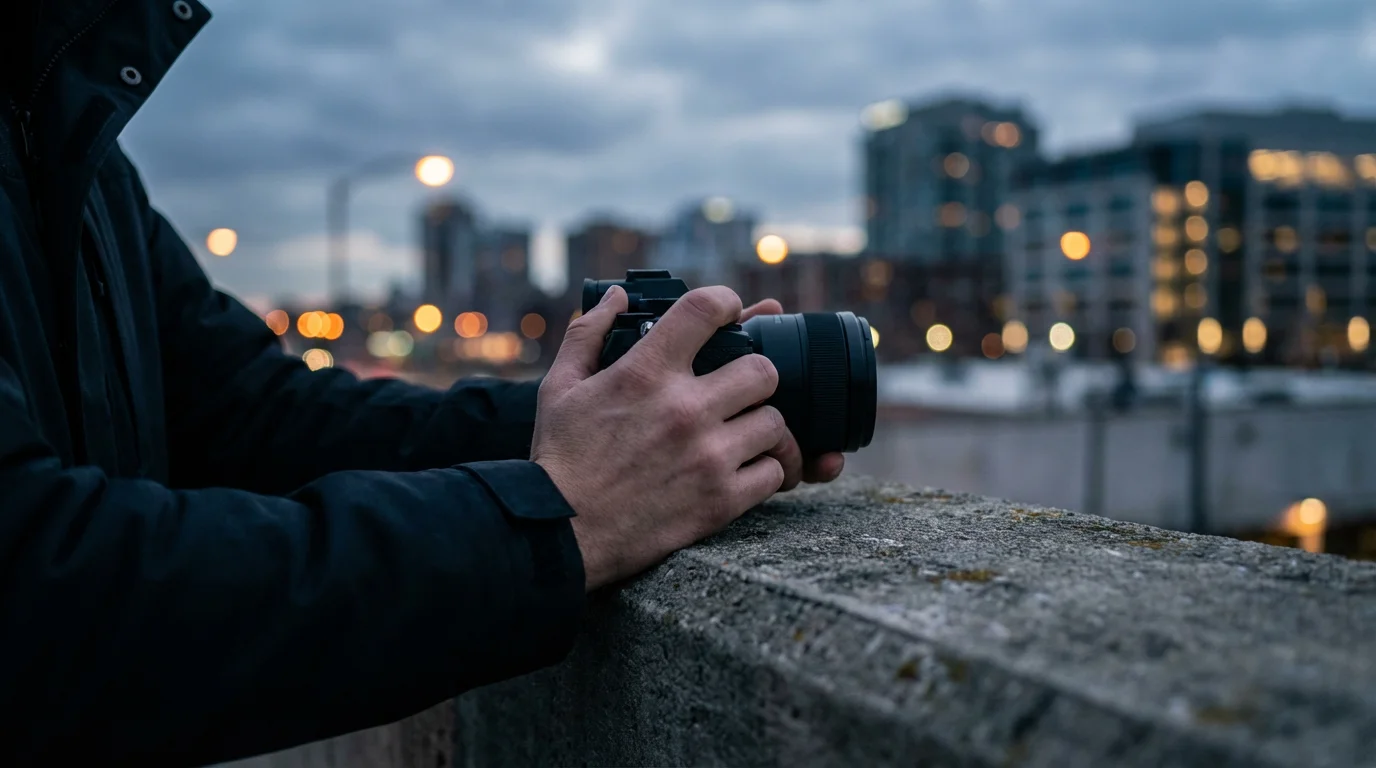
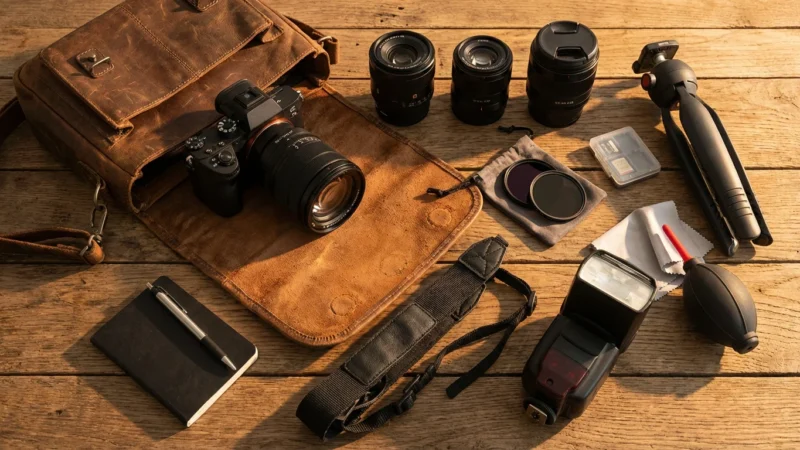
Stabilize Your Shot: Essential Gear for Sharper Images
When working with the slower shutter speeds common in low light photography, camera shake becomes your biggest enemy. Even a slight tremor can turn an otherwise perfect shot into a blurry mess. Fortunately, several tools and techniques can help you achieve sharp, clear low light photography without a flash.
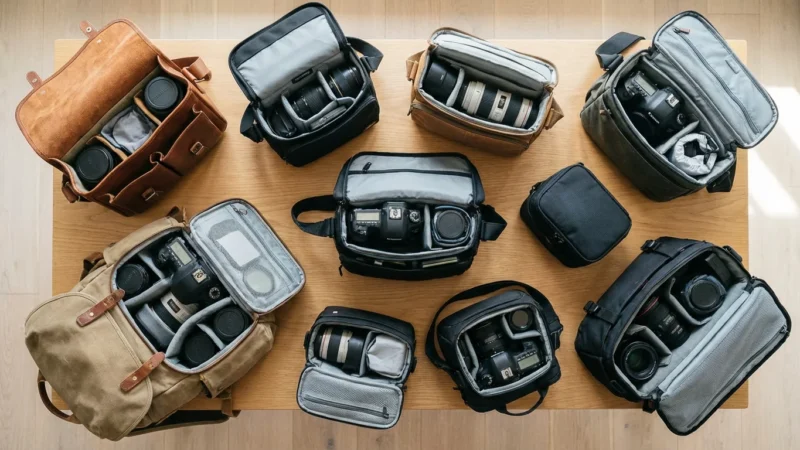
When carrying extra equipment like tripods for night shoots, choosing one of the best camera bags will keep your fragile gear safe and organized.
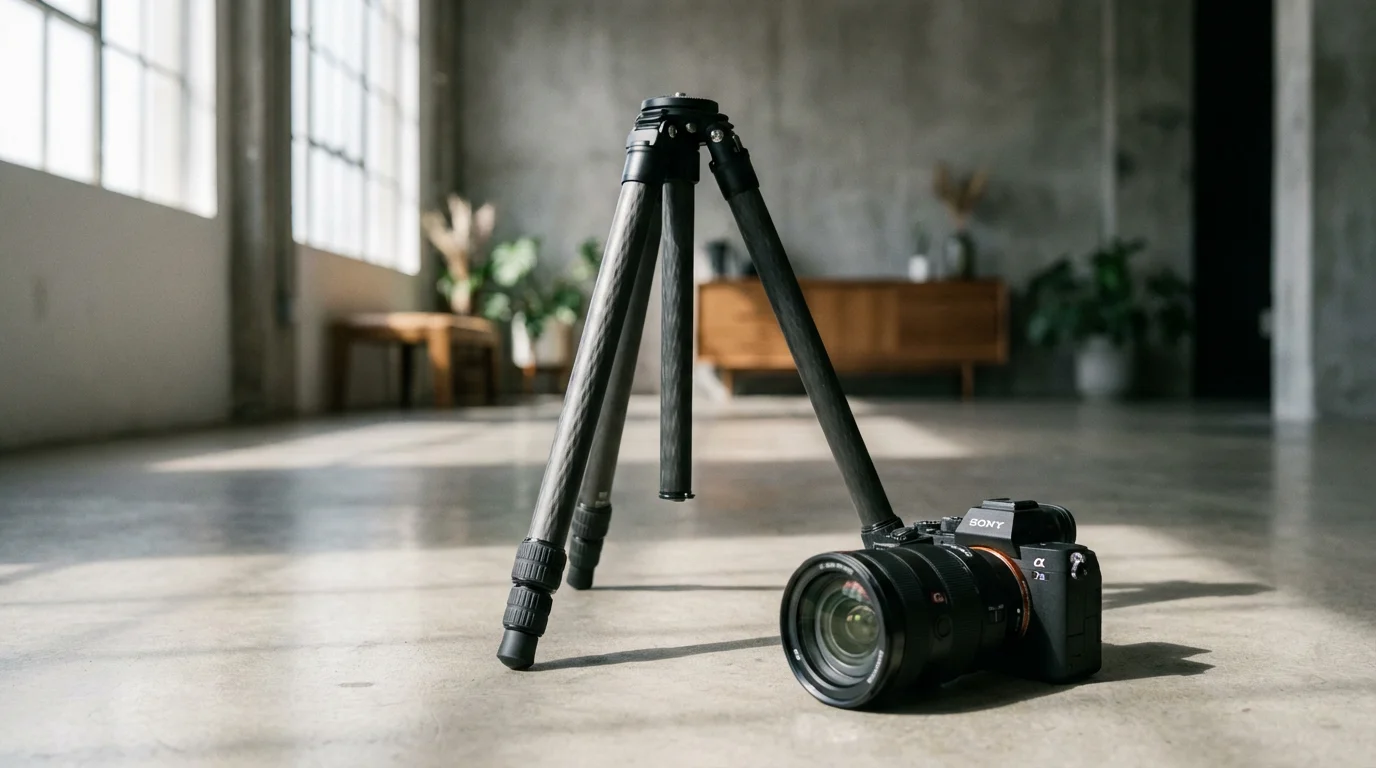
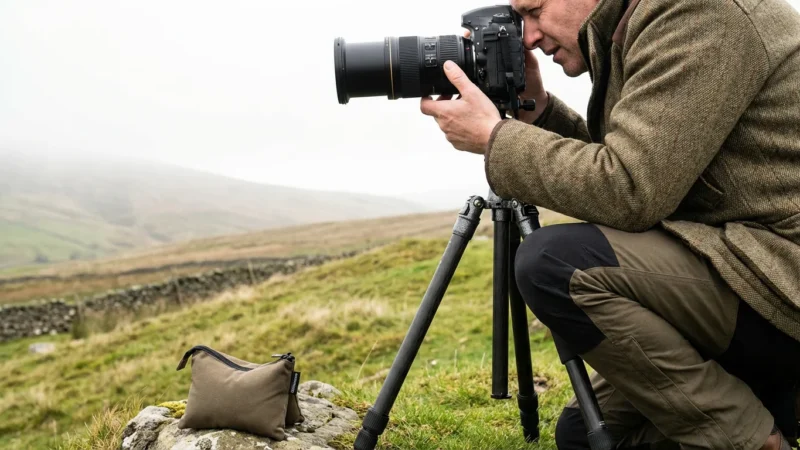
Tripods and Monopods: Your Best Friends for Stability
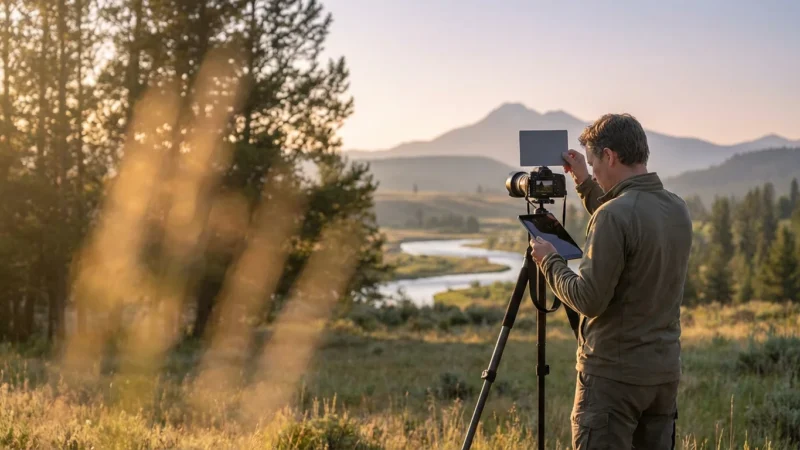
A tripod is perhaps the most crucial accessory for serious low light work. It provides absolute stability, allowing you to use very slow shutter speeds (several seconds or even minutes) without any risk of camera shake. This is essential for night photography, long exposure photography, or capturing stationary subjects in extremely dim environments. When selecting a tripod, consider its weight, stability, and maximum load capacity. A sturdy tripod means sharp images.
A monopod offers a compromise between handheld shooting and a tripod. It has a single leg, providing more stability than handholding but allowing for greater mobility than a tripod. Monopods are excellent for situations where you need to move quickly, such as at events or in crowded spaces, but still require some extra support to use slightly slower shutter speeds. While not as stable as a tripod, a monopod significantly improves image sharpness in situations where handheld low light shooting would be too challenging.
Image Stabilization: A Handheld Helper
Many modern cameras and lenses feature image stabilization (IS), also known as Vibration Reduction (VR) or Optical SteadyShot (OSS). This technology compensates for minor camera movements, allowing you to handhold your camera at shutter speeds 2-5 stops slower than otherwise possible. While not a substitute for a tripod in extremely dark conditions or for very long exposures, image stabilization is invaluable for handheld no flash photos, particularly when shooting events or street scenes where setting up a tripod is impractical. Always ensure you activate image stabilization when handholding in low light and turn it off when using a tripod to avoid potential issues.
Remote Shutter Release or Self-Timer: Eliminate Touch-Shake
Even pressing the shutter button on a camera mounted on a tripod can introduce a tiny amount of shake. To entirely eliminate this, use a remote shutter release. These can be wired cables or wireless remotes. They allow you to trigger the shutter without physically touching the camera. If you do not own a remote, your camera’s self-timer function serves a similar purpose. Set it to a 2-second delay; the camera will settle completely before capturing the image. This simple step makes a big difference in ensuring maximum sharpness.
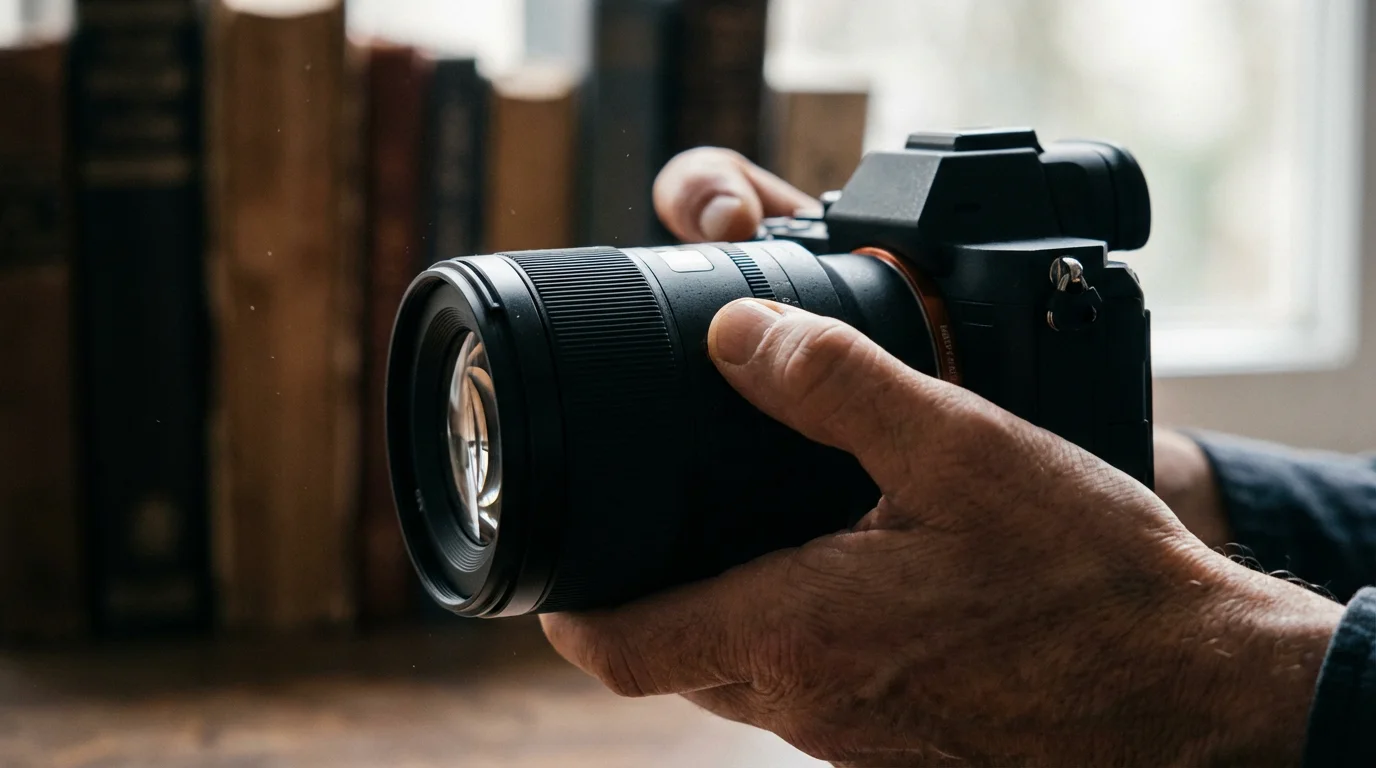
Mastering Focus in Low Light
Achieving sharp focus in dimly lit environments presents a unique challenge. Your camera’s autofocus system relies on contrast to lock onto a subject. In low light, contrast levels drop, making it difficult for autofocus to perform accurately. However, with a few techniques, you can overcome these hurdles and ensure your low light photography without a flash remains crisp.
Combining these specific focusing methods with broader strategies on how to take sharp photos every time will significantly improve your overall image quality.
Autofocus Limitations and Solutions
Many cameras struggle with autofocus in low light. The autofocus assist lamp, if your camera has one, can provide a burst of light to help the camera find focus. However, this often defeats the purpose of discreet, flash-free photography and can be distracting. A better approach involves identifying areas of higher contrast within your scene. For example, focus on the edge where a subject meets a brighter background, or on a distinct texture that stands out. Point your camera at this contrast point, lock focus (often by half-pressing the shutter button), and then recompose your shot if necessary.
Consider using your camera’s single-point autofocus mode. This gives you precise control over where the camera attempts to focus, preventing it from trying to focus on a large, low-contrast area. Many cameras offer a central autofocus point that is more sensitive than peripheral points, making it a good choice for challenging light.
Embracing Manual Focus
Often, the most reliable method for precise focus in very low light is manual focus. Modern cameras offer several tools to assist you:
- Live View Zoom: Switch to Live View mode (if available) and digitally zoom in on your subject on the LCD screen. This magnifies the area, allowing you to manually adjust the focus ring on your lens with much greater accuracy.
- Focus Peaking: Many mirrorless cameras and some DSLRs in Live View offer focus peaking. This feature highlights areas of the image that are in sharp focus with a colored outline, providing an immediate visual cue for critical focus. Learn how to use this feature effectively, as it streamlines the manual focusing process. For more detailed information on focus peaking and other advanced focusing techniques, consider resources like Cambridge in Colour’s focus tutorials.
- Pre-focusing: If your subject will be at a known distance (e.g., a specific spot on a stage or a table), you can pre-focus on that spot before the light drops or the action begins.
Practice these manual focusing techniques in various low light scenarios. You will find they offer greater control and accuracy when your camera’s autofocus struggles.
Creative Techniques for Impactful Low Light Images
Low light photography without a flash opens a world of creative possibilities. Instead of fighting the darkness, you learn to embrace it, using the available light and shadow to create evocative and unique images. Experimentation is key to discovering your unique style.
Working with Silhouettes and Shadows
Use strong backlighting to create dramatic silhouettes. Position your subject between your camera and a bright light source (a window, a sunset, a distant light). Expose for the brighter background, allowing your subject to fall into shadow, forming a compelling shape. This technique emphasizes form and gesture, adding a sense of mystery and narrative to your photos.
Shadows themselves become powerful compositional elements in low light. Look for interesting patterns, textures, or abstract shapes created by shadows. Use them to add depth, direct the viewer’s eye, or create a moody atmosphere. The interplay of light and shadow is fundamental to compelling visual storytelling in dark environments.
Embracing Long Exposures and Light Trails
With your camera stabilized on a tripod, long exposure photography becomes possible. This technique allows you to capture movement as blurs or trails of light, transforming mundane scenes into artistic expressions. For example:
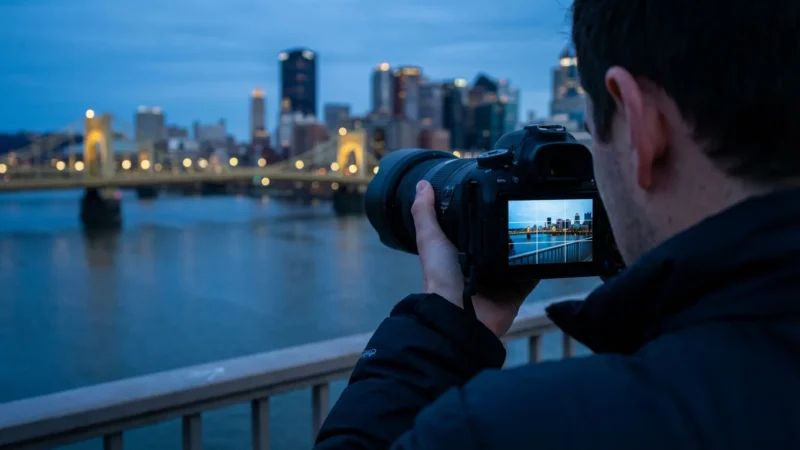
- Light Trails: Photographing moving vehicles at night with a slow shutter speed (several seconds) turns their headlights and taillights into streaks of color, creating dynamic light trails.
- Star Trails: Very long exposures (minutes or hours, often stacked) reveal the apparent movement of stars across the night sky, drawing mesmerizing arcs.
- Smooth Water: Slow shutter speeds blur moving water into a silky, ethereal mist, perfect for capturing waterfalls or oceanscapes at dawn or dusk.
Experiment with different shutter speeds to control the degree of blur and movement. A remote shutter release is especially useful for these techniques to avoid any camera shake.
Mastering White Balance for Mood
Low light often comes with unique color casts from artificial light sources (incandescent bulbs, streetlights, neon signs). While your camera’s auto white balance does a decent job, manually adjusting it allows you to fine-tune the mood of your image. For example, setting your white balance to “Tungsten” or “Incandescent” under warm indoor lighting will neutralize the orange cast, producing more neutral colors. Conversely, you might choose to leave the warm cast to enhance a cozy, inviting atmosphere. Experiment with different white balance presets or use custom white balance to achieve specific creative effects. Shooting in RAW format gives you maximum flexibility to adjust white balance during post-processing without losing image quality.
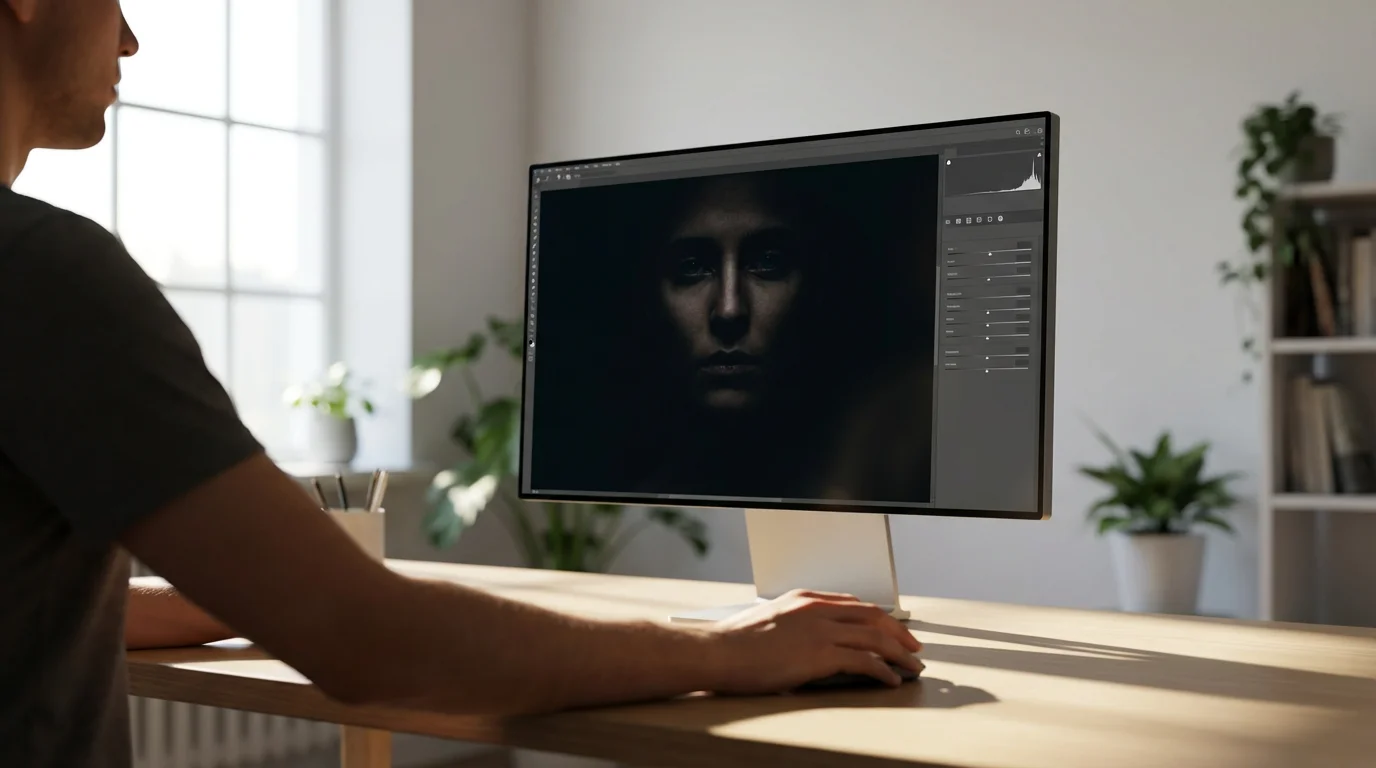
Post-Processing Your Low Light Photos
The journey of a great low light photograph does not end when you press the shutter button. Post-processing plays a critical role in refining and enhancing your no flash photos, allowing you to bring out details, manage noise, and fine-tune the overall mood. Modern editing software offers powerful tools to transform your images.
During this stage, focus on basic photo editing to recover detail from shadows and balance the exposure of your dimly lit scenes.
Essential Adjustments for Low Light Images:
- Exposure and Contrast: You can often make subtle adjustments to exposure to brighten areas that are still a bit too dark or recover highlights that might have clipped. Increasing contrast slightly can add punch and definition, especially in scenes that might look a bit flat due to low light.
- Noise Reduction: High ISO settings introduce digital noise. Editing software features sophisticated noise reduction tools. Apply noise reduction carefully, as aggressive application can sometimes soften details. Often, you apply luminance noise reduction and color noise reduction separately, finding a balance that cleans up the image without making it look plasticky.
- Sharpening: After noise reduction, apply a touch of sharpening to restore detail. Again, moderation is key. Over-sharpening can create halos or an unnatural appearance.
- White Balance and Color Adjustments: Fine-tune the white balance to ensure accurate colors or to enhance the mood you wish to convey. You can also make targeted adjustments to specific color channels to deepen blues in a night sky or enhance the warmth of streetlights.
- Vignetting: Adding a subtle vignette (darkening the edges of the frame) can draw the viewer’s eye toward your subject and enhance the dramatic feel of a low light image.
Always shoot in RAW format if your camera allows it. RAW files contain much more image data than JPEGs, providing significantly greater flexibility for adjustments during post-processing. This allows you to recover shadows, control highlights, and make more extensive color corrections without degrading image quality. Your approach to post-processing should complement your in-camera decisions, helping you realize the full potential of your low light captures.
Practical Tips for Better No-Flash Photos
Beyond settings and gear, incorporating certain practices into your low light photography routine significantly improves your results. These actionable tips help you consistently capture compelling images without relying on a flash.
If you still end up with a few soft shots, you can often learn how to sharpen blurry photos using specialized editing software.
- Seek Out Existing Light Sources: Instead of lamenting the lack of light, actively look for it. Windows, streetlights, lamps, candles, even illuminated signs all become valuable assets. Position your subject near these light sources or use them to illuminate your scene creatively.
- Shoot RAW for Maximum Flexibility: Always shoot in RAW format if your camera supports it. RAW files capture far more information than JPEGs, giving you tremendous latitude to adjust exposure, white balance, and noise in post-processing without quality loss. This is invaluable when working with the often challenging exposures of low light.
- Experiment with Different Angles and Compositions: Low light changes the way objects appear, creating new shadows and highlights. Walk around your subject. Try shooting from higher or lower angles. A slight shift in perspective can reveal a captivating interplay of light and shadow, transforming an ordinary scene into something extraordinary.
- Understand Your Camera’s Limitations: Every camera has a limit to how well it performs in low light, particularly regarding high ISO noise. Learn where your camera’s acceptable ISO limit lies. Pushing it too far results in unusable, noisy images. Knowing this helps you make realistic decisions about what you can achieve.
- Practice Regularly: Low light photography is a skill that improves with practice. The more you experiment with different settings, subjects, and light sources, the more intuitive the process becomes. Go out at dusk, shoot indoors with only ambient light, and review your images critically to learn what works best.
- Embrace the Grain (Sometimes): While you generally strive for noise reduction, sometimes a touch of digital grain can add character and a film-like quality to your images. Do not fear noise entirely; sometimes it enhances the mood rather than detracting from it.
By integrating these practical tips into your workflow, you enhance your ability to create stunning low light photography without a flash, capturing the essence of dark scenes with authenticity and artistry.
Frequently Asked Questions
What is the most important setting for low light photography without a flash?
The most crucial setting is often a wide aperture (low f-number), which allows your camera’s lens to gather the maximum amount of available light. Balancing this with ISO and shutter speed optimizes exposure without sacrificing too much image quality. A wider aperture also creates a pleasing background blur, separating your subject.
How can I reduce noise when shooting at high ISO in low light?
Minimizing noise involves several steps. Start by using the lowest ISO setting possible that still provides adequate exposure. Ensure you expose correctly in-camera, as brightening an underexposed image in post-processing exacerbates noise. Shooting in RAW format offers more flexibility for noise reduction during editing compared to JPEG files. Many modern cameras also feature in-camera noise reduction, which you can enable for high ISO shots. Finally, specialized software tools effectively reduce digital noise while preserving detail.
Do I need a special camera for good low light photos without a flash?
While advanced cameras with larger sensors and better high-ISO performance excel in low light, you can achieve excellent results with many standard cameras. The key lies in understanding and utilizing your camera’s manual controls for aperture, ISO, and shutter speed. A fast lens, one with a wide maximum aperture (e.g., f/1.8, f/2.8), makes a significant difference. Even smartphones incorporate improved low light capabilities through computational photography, applying these principles internally.
What is the difference between a tripod and a monopod for stabilization?
A tripod provides maximum stability with three legs, crucial for very long exposures and ensuring perfectly sharp images when using slow shutter speeds. It immobilizes the camera completely. A monopod, with a single leg, offers less stability than a tripod but significantly more than handholding. It is ideal when you need portability and quick adjustments, such as at events or in crowded spaces where a tripod is impractical. You still provide some support to the camera when using a monopod.
Disclaimer: This article is for informational purposes only. When handling valuable or irreplaceable photographs, consider consulting a professional conservator. Always test preservation methods on non-valuable items first.
Gaining a deeper understanding of camera settings for better indoor photos will help you balance the exposure triangle when shooting without a flash.
Leave a Reply