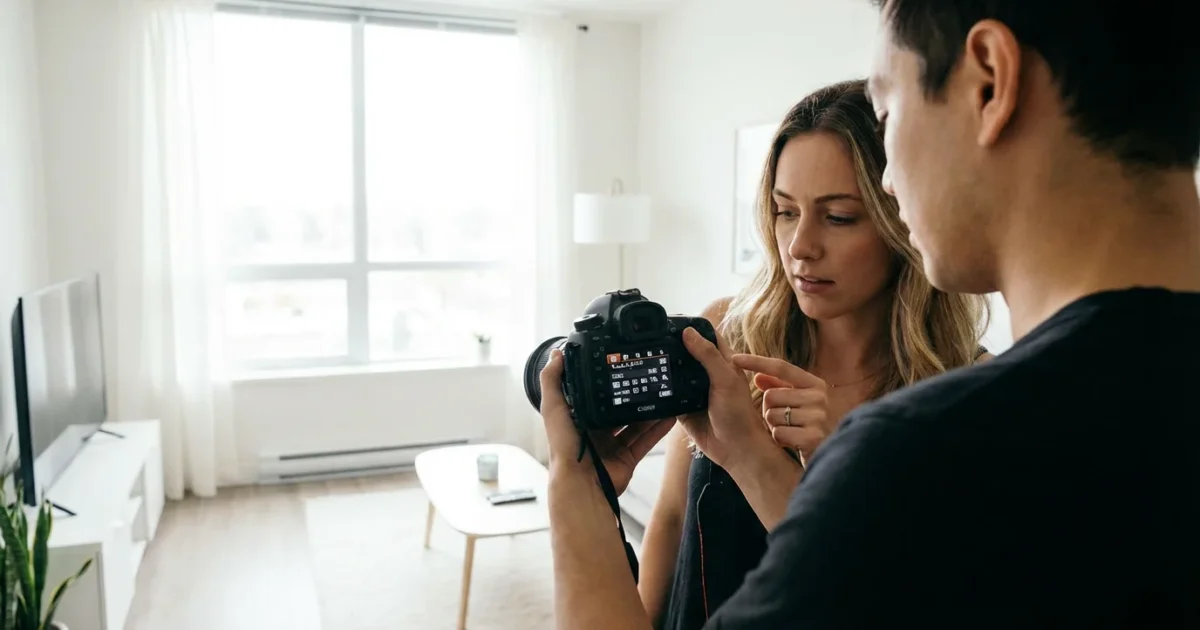
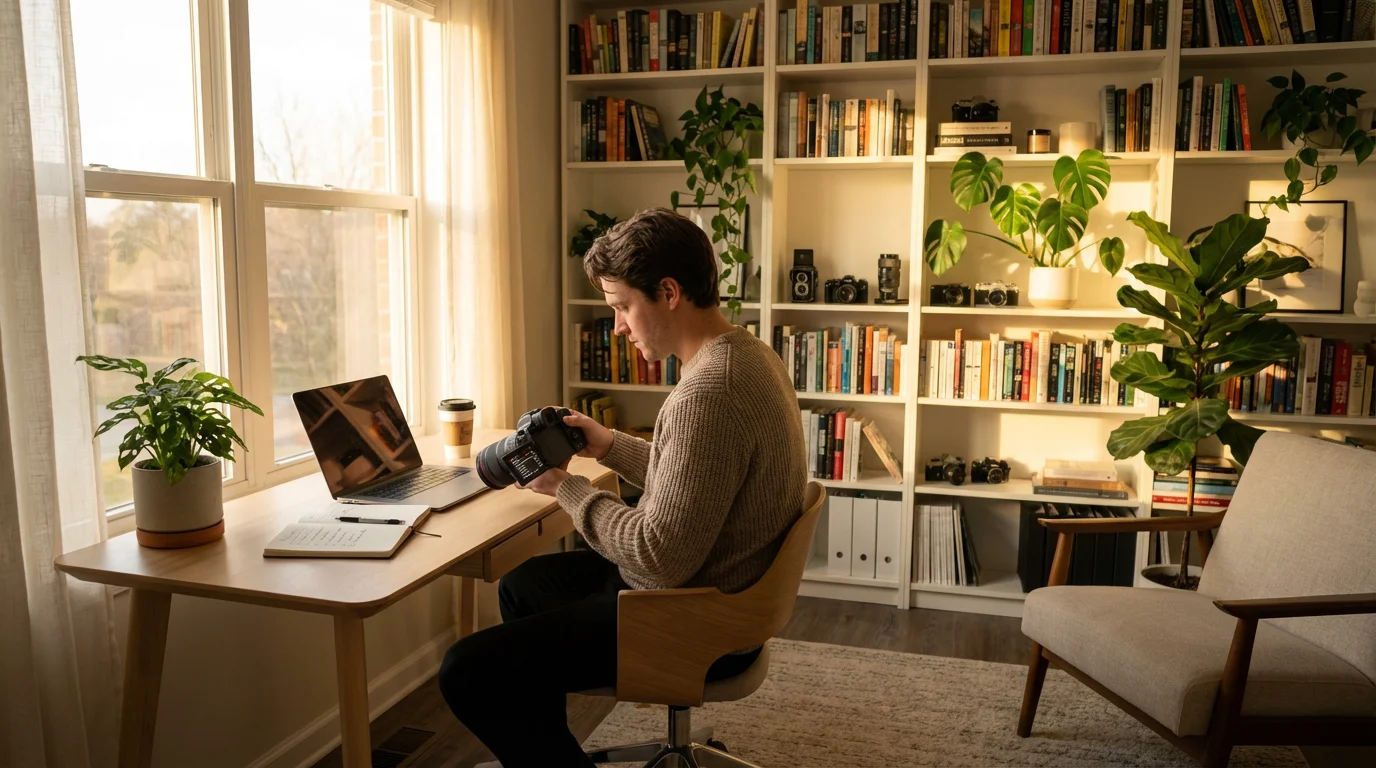
Capturing beautiful moments indoors often presents unique challenges. Low light, mixed lighting, and the absence of a strong natural light source can leave your photographs looking dim, blurry, or strangely colored. You want to preserve those cherished family gatherings, quiet moments at home, or the details of an antique inherited from your grandparents, but your camera sometimes struggles. Fortunately, you hold the power to overcome these hurdles. By understanding and adjusting your camera settings, you transform your indoor photography from frustrating guesswork into a confident, creative process.
While manual adjustments are powerful, many smartphone photography tips can help you achieve similar high-quality results using just your mobile device.
This guide equips you with the foundational knowledge of camera settings essential for achieving crisp, well-exposed, and vibrant indoor photos without always resorting to a harsh flash. We will demystify the core controls and offer practical, actionable steps you can implement today, helping you create lasting visual memories that truly reflect the moment. Master these techniques, and you will consistently capture the atmosphere and emotion of your indoor scenes, whether you are documenting a family meal or carefully photographing precious heirlooms for your digital archive.
Mastering the Exposure Triangle for Indoor Photography
Every great photograph begins with proper exposure. The “exposure triangle” refers to the three fundamental camera settings that control how much light reaches your camera’s sensor: ISO, aperture, and shutter speed. Adjusting one impacts the others, similar to balancing a three-legged stool. In indoor photography, especially when capturing low light photos, you constantly manage this triangle to achieve your desired brightness and image quality.
Understanding how these three settings interact gives you complete control over your final image. You dictate not only how bright your photo appears, but also its sharpness, the amount of background blur, and whether moving subjects appear frozen or intentionally blurred. Effective indoor photography relies on skillfully manipulating these settings to compensate for often limited light sources. Your goal is to gather enough light for a well-exposed image without introducing unwanted noise or blur.
ISO: Managing Light Sensitivity in Low Light Conditions
ISO determines your camera sensor’s sensitivity to light. A lower ISO (e.g., 100 or 200) means less sensitivity, requiring more light for a proper exposure. A higher ISO (e.g., 1600 or 3200) increases sensitivity, allowing you to capture images in dimmer environments with less light. Think of ISO as amplifying the existing light.
Before increasing your sensitivity, consider understanding RAW vs JPEG settings, as RAW files provide more data for cleaning up ISO noise later.
For indoor photography, you often find yourself in low light situations, necessitating a higher ISO. However, increasing ISO introduces digital noise or “grain” into your images. This noise manifests as colored speckles or a gritty texture, particularly noticeable in darker areas of your photo. Modern cameras manage noise better than older models, but it remains a consideration.
Practical Steps for ISO:
- Start Low: Always begin with the lowest possible ISO setting your lighting conditions allow, typically ISO 100 or 200. This minimizes noise and maximizes image quality.
- Increase Gradually: If your photos appear too dark or your shutter speed becomes too slow (leading to blur), gradually increase your ISO (e.g., to 400, 800, 1600).
- Balance with Other Settings: Prioritize adjusting aperture and shutter speed first. Only raise ISO when those adjustments alone do not provide adequate light.
- Know Your Camera’s Limit: Experiment to discover the highest ISO setting your camera can handle before noise becomes unacceptable for your personal standards. Many cameras perform well up to ISO 1600 or 3200, while others can push even higher. For web use or smaller prints, you tolerate more noise than for large, museum-quality prints.
The key to successful indoor photography often lies in finding the sweet spot where your ISO is high enough to capture the scene, yet low enough to minimize distracting digital noise. It is a constant calibration.
Aperture: Shaping Depth of Field and Capturing More Light Indoors
Aperture refers to the opening within your camera lens that controls the amount of light passing through to the sensor. It works much like the pupil of your eye. Measured in f-stops (e.g., f/1.8, f/4, f/11), aperture also dictates your photo’s depth of field, the area in focus from front to back.
Once you have selected the right aperture, applying classic composition techniques will help you arrange elements more effectively within your indoor frame.
Choosing a mid-range f-stop is also a key strategy when you need to take great group photos at family gatherings where everyone needs to be in focus.
A “wide” aperture (represented by a smaller f-number, such as f/1.8 or f/2.8) means a larger opening. This allows more light into the camera, crucial for low light photos indoors. A wide aperture also creates a shallow depth of field, where your subject remains sharp while the background beautifully blurs, producing a pleasing “bokeh” effect. This separation effectively highlights your subject, which works wonderfully for portraits or focusing on a specific heirloom.
A “narrow” aperture (represented by a larger f-number, such as f/8 or f/16) means a smaller opening. This admits less light but produces a deeper depth of field, keeping more of the scene in focus. You might use a narrow aperture when photographing a group of people or an entire room where you want everything sharp.
Practical Steps for Aperture:
- Go Wide for Light: For most indoor photography, especially without flash, use the widest aperture your lens offers (the smallest f-number, e.g., f/1.8 or f/2.8). This maximizes the light reaching your sensor, allowing for faster shutter speeds and lower ISOs.
- Consider Your Subject:
- For portraits or close-ups of objects where you want a blurred background, use a wide aperture (e.g., f/1.8-f/4).
- For groups or scenes where you want more elements in focus, a slightly narrower aperture (e.g., f/5.6-f/8) provides greater depth of field.
- Prime Lenses excel: Lenses with fixed focal lengths (prime lenses) often have wider maximum apertures than zoom lenses (e.g., a 50mm f/1.8 lens is excellent for indoor work).
For more detailed technical insights into aperture, you can refer to resources like Cambridge in Colour’s tutorials on camera lenses, which explains these concepts comprehensively.
Shutter Speed: Freezing Action or Creating Artistic Blur in Your Indoor Shots
Shutter speed controls the duration your camera’s sensor is exposed to light. It directly influences how motion appears in your photographs. Measured in fractions of a second (e.g., 1/125s, 1/30s, 2s), shutter speed is a critical component of your camera settings for indoor lighting.
Your choice of speed will also vary depending on whether you are capturing candid vs posed photos during your event.
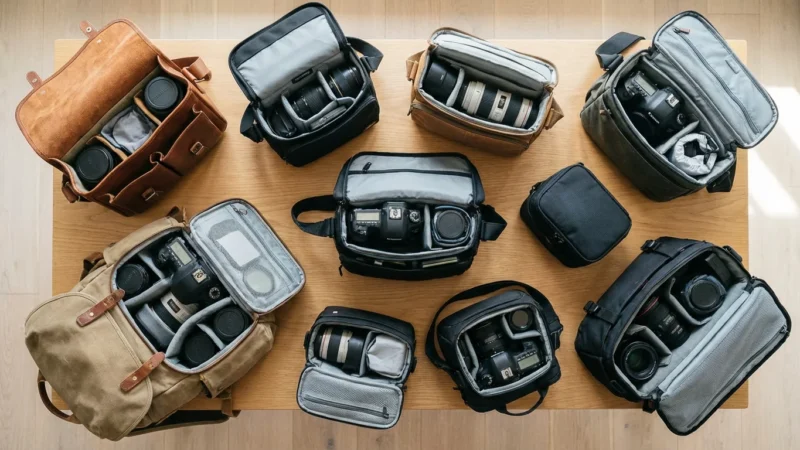
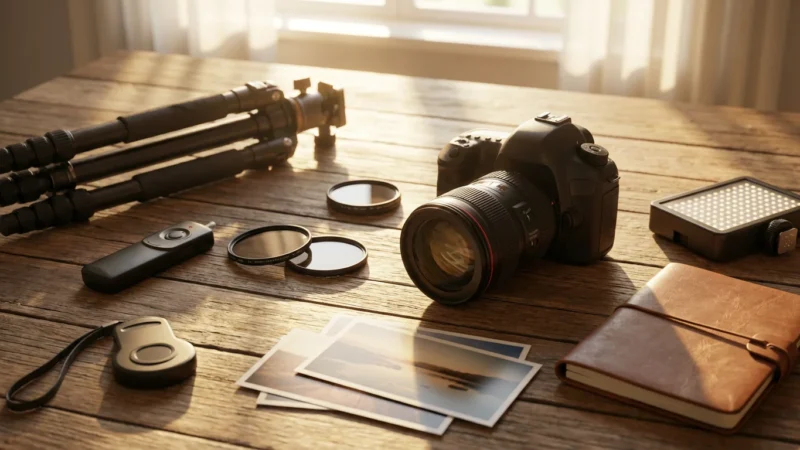
A sturdy tripod is one of the essential camera accessories every photographer needs to ensure stability during longer exposures indoors.
A “fast” shutter speed (e.g., 1/250s or faster) freezes motion. You use this for active subjects like children playing, pets, or people moving quickly. A fast shutter speed prevents blur caused by subject movement.
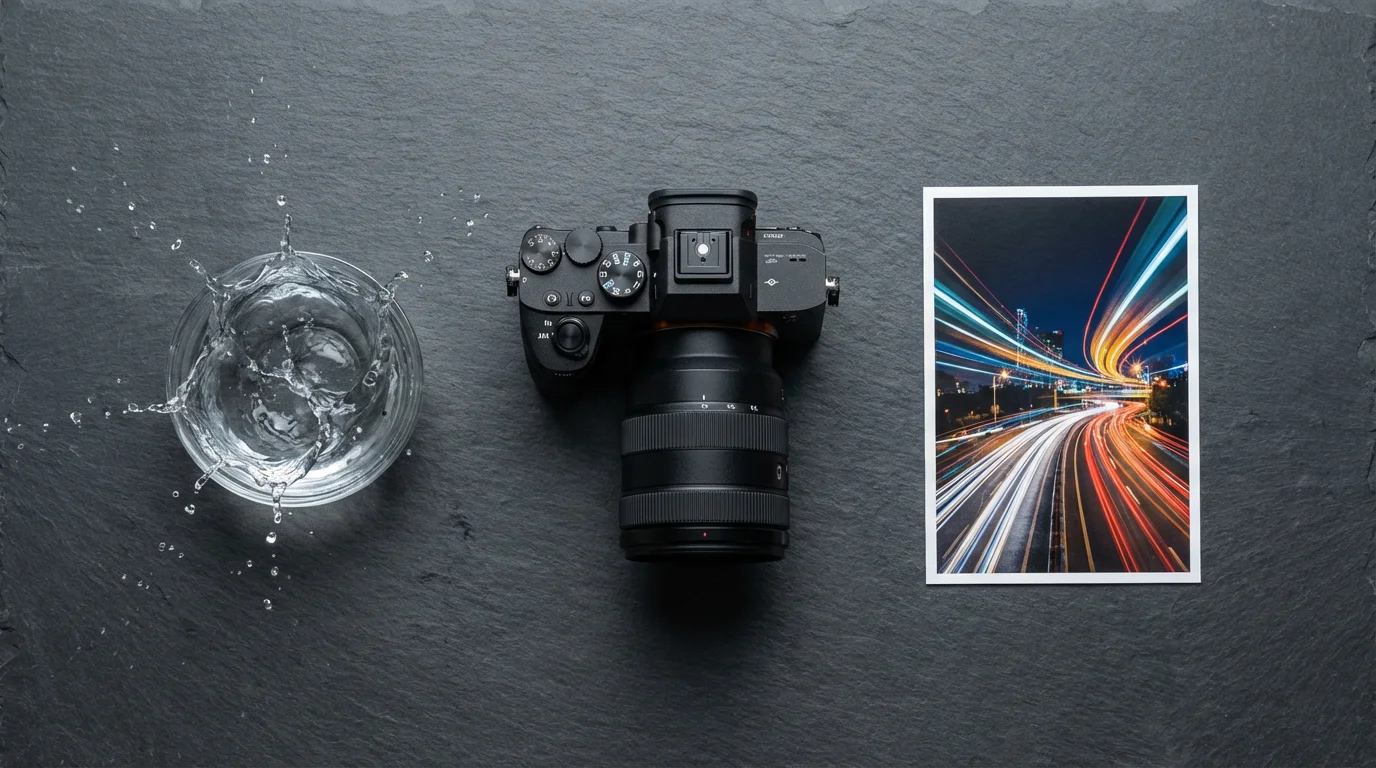
A “slow” shutter speed (e.g., 1/30s or slower) allows more light to hit the sensor but also records any movement during that longer exposure time. This results in motion blur, which can be intentional for artistic effects (like light trails) or unintentional when shooting handheld and experiencing camera shake.
Practical Steps for Shutter Speed:
- Prevent Camera Shake: The general rule of thumb for handheld shooting is to use a shutter speed no slower than 1 divided by your focal length (e.g., with a 50mm lens, aim for 1/50s or faster). With image stabilization, you can often go a bit slower. Indoors, prioritize preventing camera shake, as it is a common cause of blurry low light photos.
- Freeze Action: When photographing people or pets indoors, aim for 1/125s or faster to freeze their movement.
- Embrace a Tripod: If you photograph stationary subjects (e.g., still life, architectural details of your home, or historical documents), use a tripod. A tripod allows you to use very slow shutter speeds (several seconds) at low ISO, maximizing light capture and image quality without introducing camera shake or noise. This is one of the best camera settings for indoor lighting when subjects do not move.
- Experiment with “Drag”: Sometimes, a slightly slower shutter speed combined with a wider aperture can add a sense of movement or atmosphere to your indoor scenes. Practice helps you find this balance.
White Balance: Ensuring True Colors Under Artificial Lighting
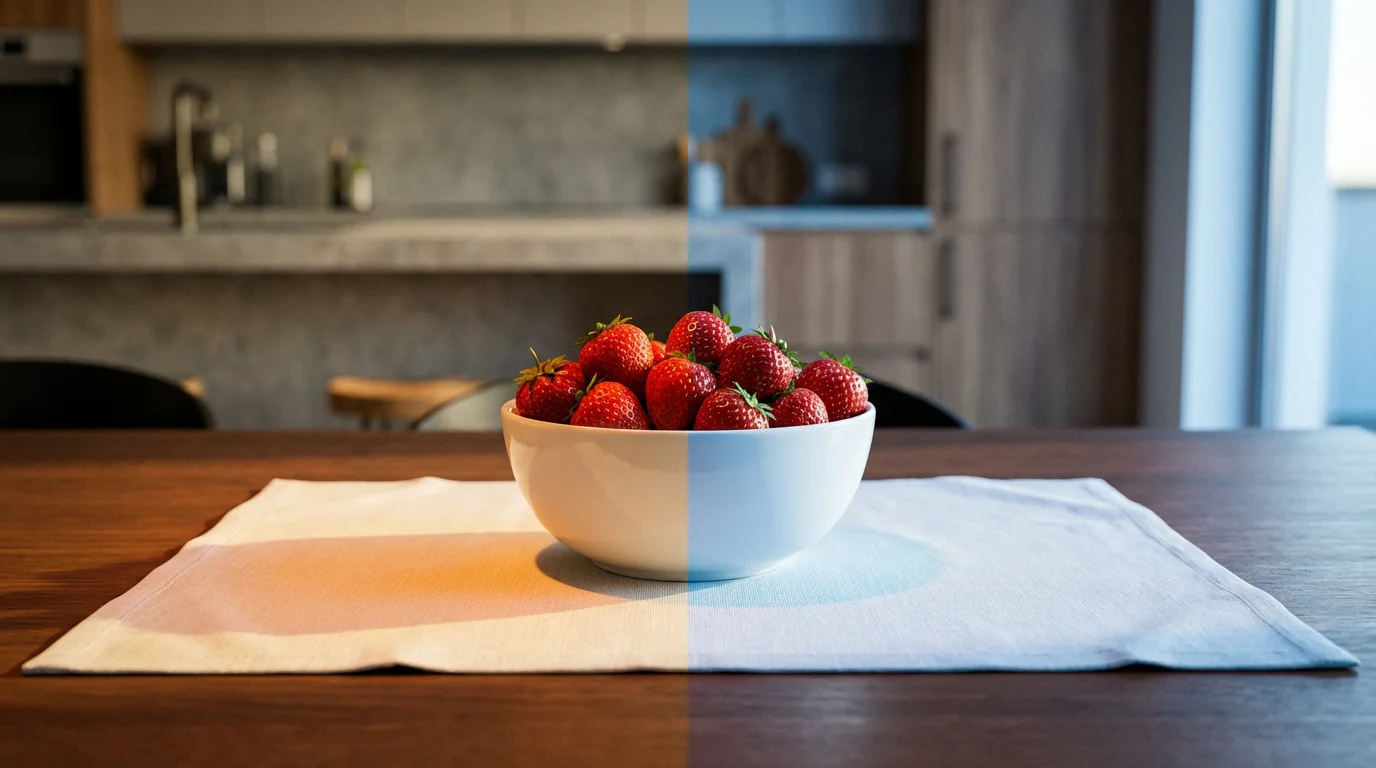
Have you ever taken an indoor photo that looked too yellow, too orange, or even bluish? That is a white balance issue. White balance tells your camera how to interpret “white” under various light sources, ensuring other colors appear accurate and natural. Different light sources emit different color temperatures. Sunlight is relatively neutral, but incandescent bulbs cast a warm, yellowish glow, while fluorescent lights often have a cool, greenish tint.
Your camera attempts to correct these color casts through its white balance settings. Without proper white balance, your indoor photography suffers from unnatural color shifts, making skin tones look sickly or turning a vibrant red into a dull orange.
Practical Steps for White Balance:
- Avoid Auto White Balance (AWB) in Mixed Lighting: While AWB works well outdoors in consistent lighting, it can struggle indoors, especially with multiple light sources (e.g., a window letting in daylight mixed with incandescent lamps).
- Use Presets: Your camera offers various white balance presets designed for common lighting conditions:
- Tungsten/Incandescent (light bulb icon): Corrects the warm, yellow cast of traditional light bulbs.
- Fluorescent (fluorescent tube icon): Corrects the cool, green cast of fluorescent lights.
- Daylight/Sun (sun icon): For natural light coming through windows.
- Cloudy (cloud icon): Slightly warms up colors on overcast days.
- Shade (house/tree icon): Further warms up colors in shaded outdoor areas, sometimes useful for very cool indoor light.
Select the preset that matches your dominant light source.
- Custom White Balance for Precision: For critical color accuracy, perform a custom white balance. This involves photographing a neutral gray card or a pure white object under the actual lighting conditions you are shooting in, then telling your camera to use that as its reference for white. This provides the best camera settings for indoor lighting when color is paramount, such as when documenting textiles or artwork.
- Shoot RAW: If your camera allows it, shoot in RAW format. RAW files capture all the data from your sensor, giving you far greater flexibility to adjust white balance precisely in post-processing without degrading image quality. This offers a safety net for any white balance mistakes made in-camera.
Achieving Sharp Focus Indoors: Techniques and Settings
Blurry photos often stem from either camera shake (addressed by shutter speed) or inaccurate focus. Indoors, achieving sharp focus can be trickier due to lower light levels, which reduce contrast and challenge your camera’s autofocus system. However, specific techniques and settings significantly improve your results.
Practical Steps for Sharp Focus:
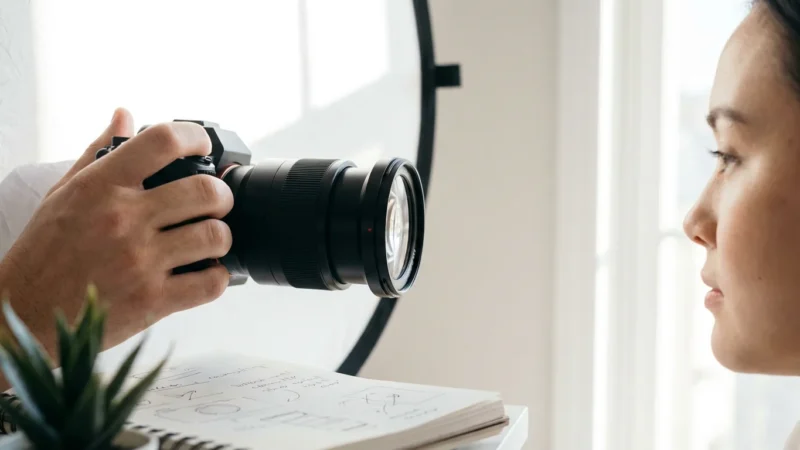
- Use a Single-Point Autofocus (AF) Mode: Instead of letting your camera decide where to focus, switch to a single-point AF mode. This allows you to precisely select the most important part of your subject (e.g., the eyes in a portrait, the intricate detail on an artifact) and ensure it is tack sharp. Move this focus point directly over your intended focal area.
- Focus and Recompose (Carefully): With your single focus point selected, focus on your subject, then, while holding down the shutter button halfway, recompose your shot if necessary. Be cautious with wide apertures and close subjects, as slight camera movements after focusing can shift your plane of focus.
- Utilize Back-Button Focus: Many advanced cameras offer back-button focus, which separates the autofocus activation from the shutter button. This allows you to focus once, then shoot multiple frames without your camera trying to refocus each time, which is invaluable for candid indoor photography.
- Look for Contrast: Autofocus systems work best when they can detect contrast. If your subject lacks contrast (e.g., a plain white wall), find a high-contrast edge or detail on the subject to focus on.
- Use the AF Assist Light: Many cameras and external flashes have an AF assist beam that projects a pattern of light to help the camera focus in very dim conditions. While it can be helpful, some find it distracting for subjects, so use it judiciously.
Harnessing Available Light: Indoor Photography Without Flash
Using flash often creates harsh shadows, unflattering highlights, and a flat, artificial look. Learning how to take better photos indoors without flash transforms your indoor photography into something more natural and appealing. The key lies in understanding and maximizing the available light sources around you.
Applying the principles of natural light photography can help you capture soft, flattering skin tones using simple window light.
Practical Steps for Available Light:
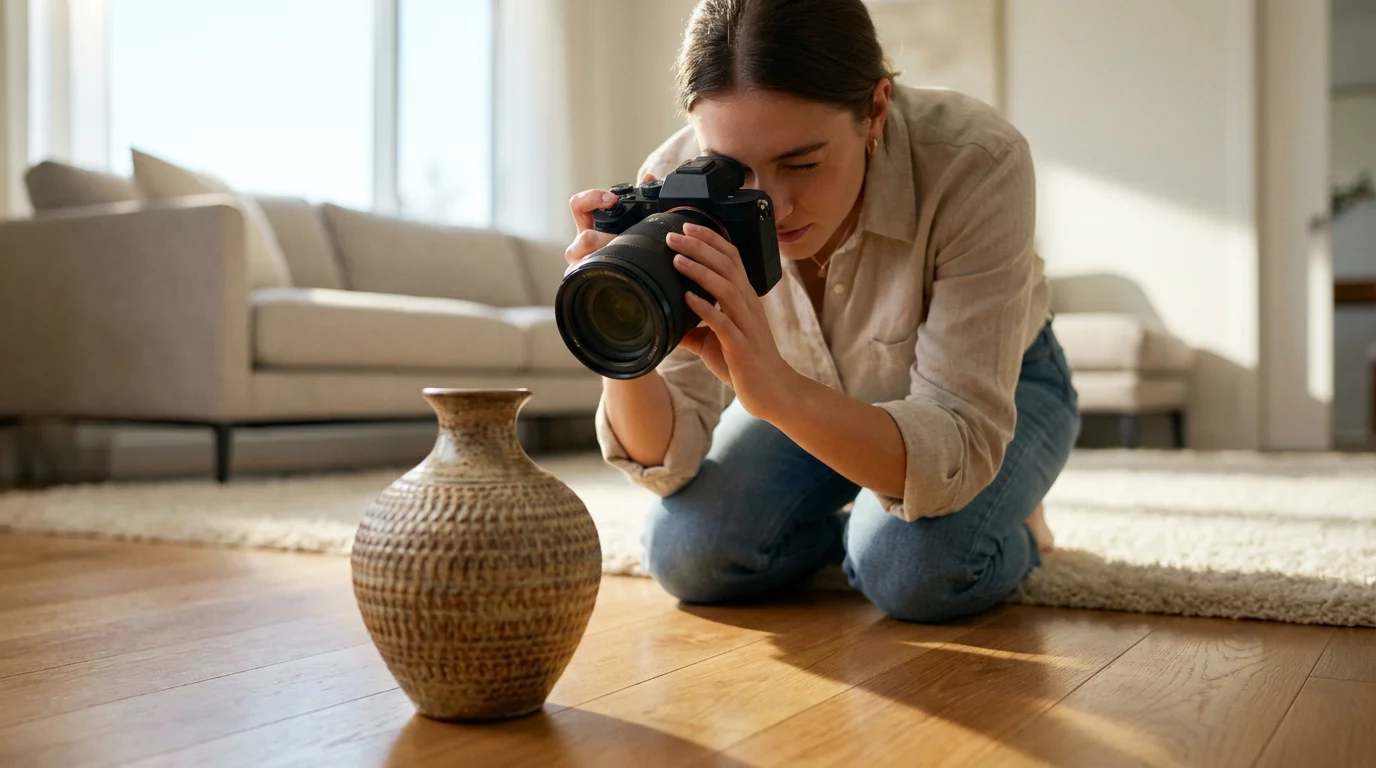
- Position Your Subject Near a Window: Windows are your best friends for indoor photography. Place your subject near a window, but not directly in harsh sunlight, which can create strong contrasts and blown-out highlights. A north-facing window provides consistent, soft light throughout the day.
- Turn Off Overhead Lights (Sometimes): Overhead room lights often cast an unflattering, yellowish, or greenish glow from above. While they add overall brightness, their quality of light is often poor. Sometimes, relying solely on window light and other directional sources produces a cleaner look.
- Utilize Lamps and Light Fixtures: Reposition lamps to act as natural-looking light sources. Lamps with diffusers or softboxes provide softer light. You can use multiple lamps to create more even illumination or highlight specific areas. Consider lamps with dimmer switches to control intensity.
- Bounce Light: If you have a lamp, point it towards a neutral-colored wall or ceiling rather than directly at your subject. The bounced light will be softer, larger, and more flattering, reducing harsh shadows.
- Employ Reflectors: A simple white foam board or a photographic reflector (silver or gold) can bounce light back onto your subject, filling in shadows and adding brightness. Place it opposite your primary light source (e.g., opposite the window) to gently lift shadows. You will be surprised at the difference a cheap reflector makes in indoor photography.
- Embrace the Direction of Light: Observe how light falls on your subject. Front-lighting (light hitting the front of the subject) can be flat. Side-lighting adds dimension and texture, while back-lighting creates a halo effect and separates the subject from the background (though it requires careful exposure metering).
Your Indoor Photography Checklist: Step-by-Step Settings Guide
Putting all these camera settings together forms a practical workflow. Follow this checklist to achieve the best camera settings for indoor lighting consistently:
- Assess the Light:
- Identify your primary light source: Is it a window, a lamp, or a mix?
- Note the brightness: Is it very dim or moderately lit?
- Set Your Aperture First:
- For maximum light and background blur (portraits, objects), choose your lens’s widest aperture (smallest f-number, e.g., f/1.8, f/2.8).
- For more in-focus depth (groups, rooms), use a slightly narrower aperture (f/4, f/5.6).
- Adjust Shutter Speed:
- If shooting handheld with moving subjects, aim for 1/125s or faster.
- If shooting handheld with static subjects, try to stay above your focal length’s reciprocal (e.g., 1/50s for a 50mm lens).
- If using a tripod, you can slow the shutter speed down significantly (multiple seconds) to achieve optimal exposure at a low ISO.
- Manage ISO for Exposure:
- With your aperture and shutter speed set, check your camera’s light meter. If your image is still too dark, slowly increase your ISO (e.g., from 100 to 400, then to 800, then 1600).
- Stop increasing ISO once your exposure is balanced or when noise becomes unacceptable.
- Dial in White Balance:
- Avoid Auto White Balance indoors if the light source is consistent.
- Select the appropriate preset (Tungsten, Fluorescent, Daylight).
- For critical color, perform a custom white balance or shoot RAW for post-processing flexibility.
- Refine Focus:
- Switch to single-point autofocus.
- Directly select the most important area of your subject for sharp focus.
- Utilize back-button focus if available.
- Review and Adjust:
- Take a test shot.
- Review the image on your camera’s LCD. Check for brightness, sharpness, and color accuracy.
- Adjust settings as needed based on your review. Is it too dark? Open your aperture more, slow your shutter speed (if using a tripod or subject is still), or increase ISO. Is it blurry? Speed up your shutter or ensure accurate focus.
Practicing this workflow makes indoor photography a much more rewarding experience. You gain confidence in your camera settings and consistently capture those precious moments with clarity and beauty.
Frequently Asked Questions
What are the best camera settings for indoor lighting when I do not want to use flash?
Aim for a wide aperture (small f-number like f/1.8 or f/2.8) to let in maximum light, a shutter speed fast enough to prevent blur (at least 1/60s handheld, faster for moving subjects), and then increase your ISO as needed to achieve correct exposure without excessive noise, often in the 800-3200 range. Use a tripod for static subjects to allow for very slow shutter speeds at low ISO.
How do I avoid grainy or noisy indoor photos?
Minimize grain by keeping your ISO as low as possible. Maximize light capture first through a wide aperture and, if practical, a slower shutter speed (especially with a tripod). Only raise ISO when other options fail to provide adequate brightness. Ensure you have ample available light by positioning subjects near windows or using bounced lamp light.
Should I use a tripod for all indoor photography?
You do not need a tripod for every indoor shot, but it is highly recommended for static subjects, such as still life, product photography, or detailed shots of documents and heirlooms. A tripod eliminates camera shake, allowing you to use very slow shutter speeds (e.g., several seconds) at low ISO settings, which results in exceptionally clean, sharp images with excellent detail.
What is the most important setting for low light photography indoors?
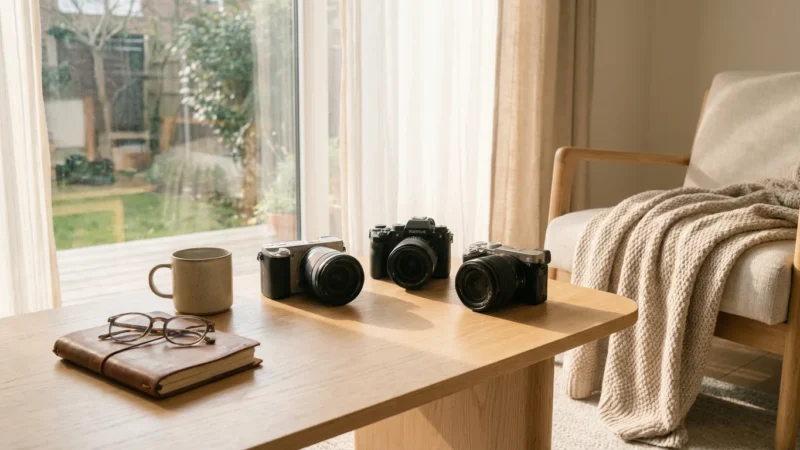
While all three elements of the exposure triangle (ISO, aperture, shutter speed) are crucial, aperture often holds significant importance for low light photos indoors. A wide aperture (small f-number) maximizes the light entering your lens, allowing you to use faster shutter speeds to prevent blur and lower ISOs to reduce noise. Many photographers prioritize finding a fast lens for indoor work for this reason.
How do I make my indoor photos look professional without expensive equipment?
Focus on mastering the exposure triangle, white balance, and sharp focusing techniques discussed here. Crucially, pay attention to light. Position subjects near natural light sources like windows, or use lamps creatively by bouncing their light off walls or ceilings. A simple white foam board acts as an effective reflector. Understanding light and your camera’s fundamental controls elevates your indoor photography more than any expensive gear.
Disclaimer: This article is for informational purposes only. When handling valuable or irreplaceable photographs, consider consulting a professional conservator. Always test preservation methods on non-valuable items first.
Leave a Reply