Every time you press your camera’s shutter button, you capture a moment. That moment, however, exists as data, and how your camera processes and stores that data significantly impacts its quality, flexibility, and longevity. The choice between shooting in RAW or JPEG format is one of the most fundamental decisions you make as a photographer. It influences everything from file size and storage needs to your editing capabilities and the ultimate visual impact of your images. For families and individuals looking to preserve their precious memories, understanding these photo formats is not just technical jargon, it is a critical step in safeguarding your photographic heritage for generations.
Once you choose a format, establishing a system for organizing photos by date or event will help keep your digital library manageable.
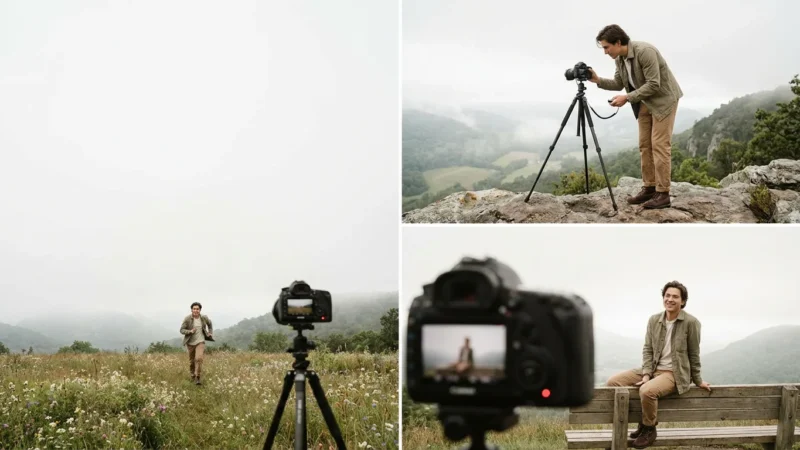
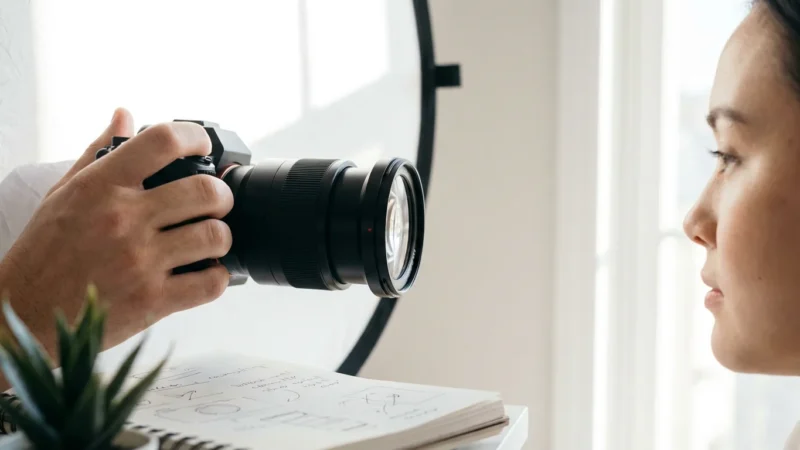
Whether you are using one of the best cameras for beginners or a high-end professional model, understanding your file options is the first step toward better photography.
This article will demystify the core differences between RAW and JPEG files. We will explore their unique characteristics, advantages, and disadvantages, helping you make an informed decision that aligns with your photographic goals and memory preservation efforts. You will gain practical, actionable insights to choose the best format for your needs, ensuring your images retain their beauty and detail, whether they are historical family photographs or everyday snapshots.
The Digital Negative: Unveiling RAW Files
Imagine the old days of film photography. When you shot a roll of film, you created a negative, a pristine record of the light hitting the film. This negative contained all the information captured by your camera, untouched by processing decisions. You then took this negative to a darkroom or a lab, where you or a technician developed it, chose the paper, and made adjustments to brightness, contrast, and color to produce a final print. A RAW file is the digital equivalent of that film negative.
While the file format provides the data, mastering how to take sharp photos is the true foundation of high-quality image capture.
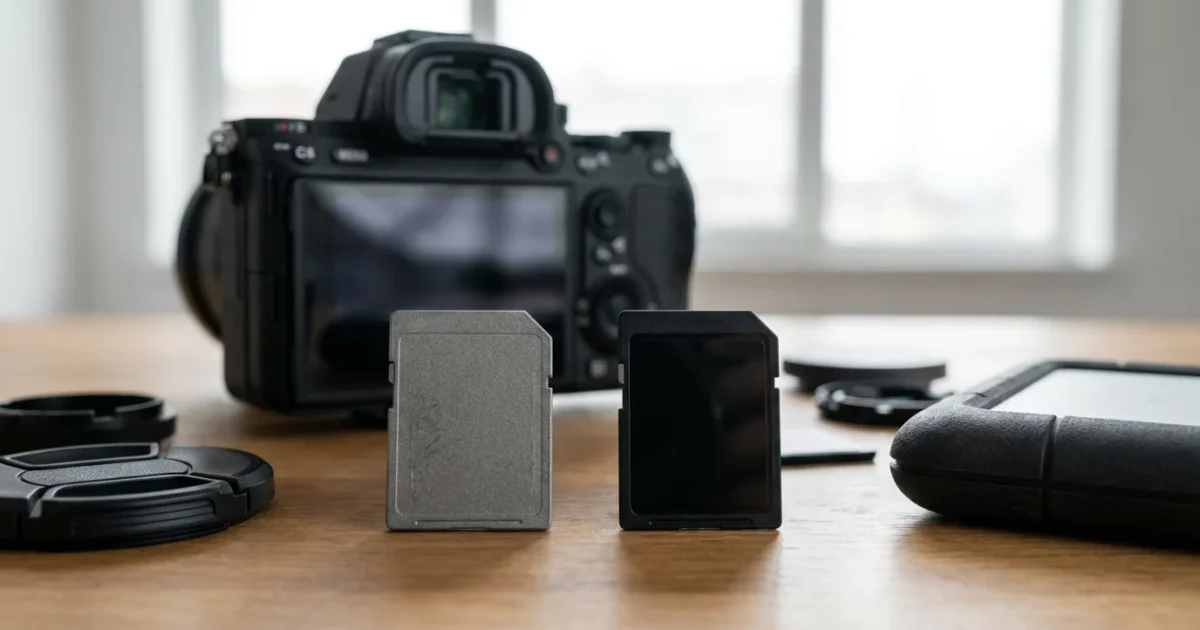
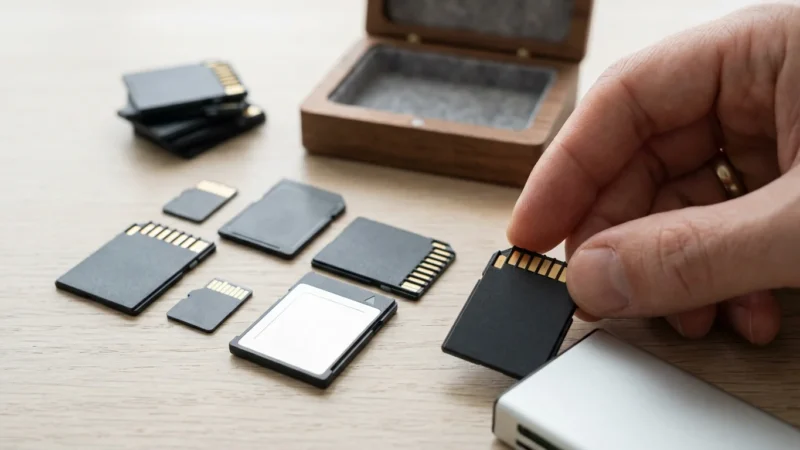
Because these files contain so much data, you may need to invest in essential camera accessories like high-capacity external drives to manage your growing collection.
When your camera’s sensor captures an image, it records light information as electrical signals. If you shoot in RAW, the camera saves this unprocessed, uncompressed data directly from the sensor to your memory card. It is a direct dump of what the sensor saw. This means a RAW file contains significantly more data than a JPEG. For example, a typical camera sensor captures color and tonal information in 12-bit or 14-bit depth, while JPEGs are generally 8-bit. This difference translates to billions more colors and subtle tonal gradations in a RAW file. RAW is not an image format in the traditional sense, but rather a container for raw sensor data specific to your camera model, hence why different camera brands have their own RAW extensions, such as .CR2/.CR3 for Canon, .NEF for Nikon, or .ARW for Sony.
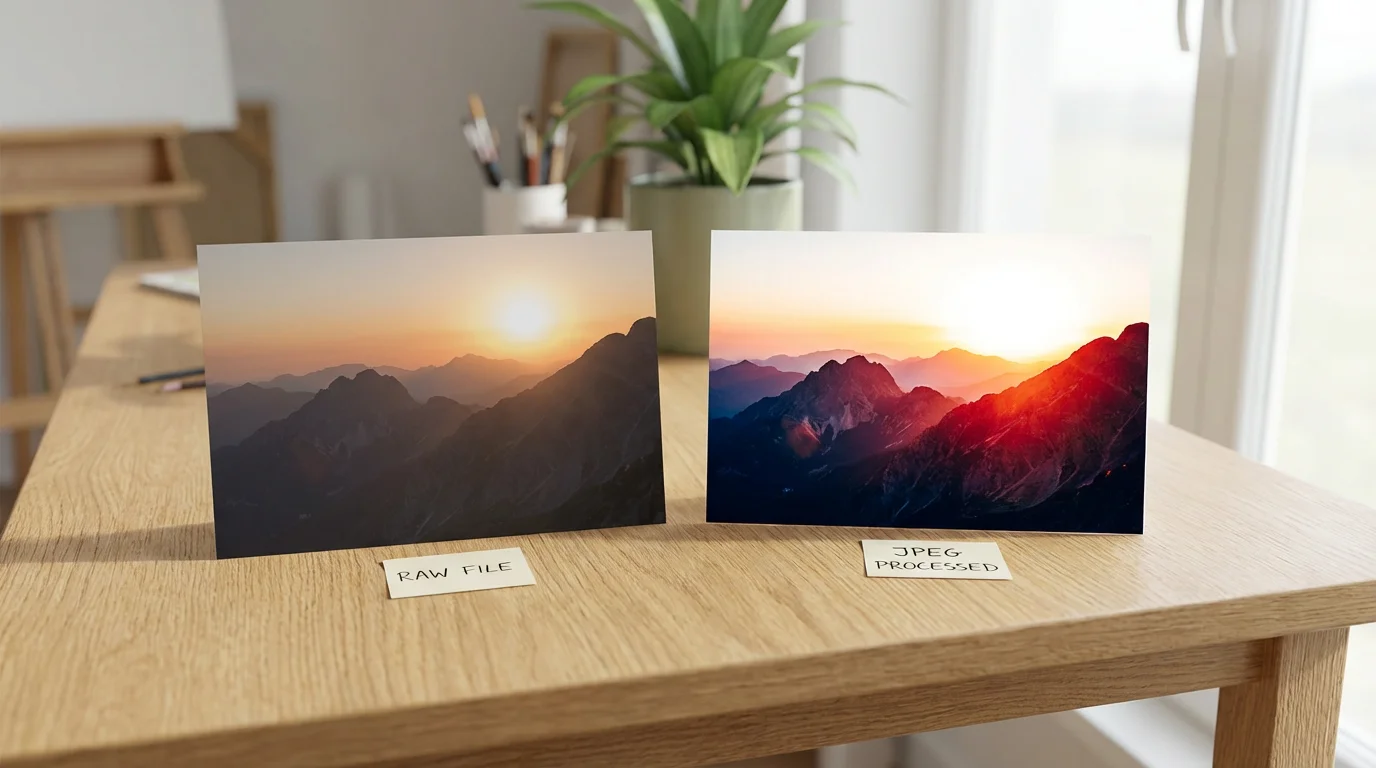
The key benefit here lies in flexibility. Since the RAW file is unprocessed, your camera does not apply any sharpening, noise reduction, white balance, or color saturation adjustments. You perform all these crucial processing steps yourself later, using specialized software on your computer. This gives you ultimate control over the final look of your image. You can correct exposure errors, recover detail in blown-out highlights or deep shadows, and fine-tune colors with a much greater margin of error than with a JPEG. This is critical for archival purposes, as you preserve the maximum possible information from your original capture, ensuring you can reprocess it with future technologies or editing styles without degrading the original data.
“Shooting RAW gives you a digital negative. You’re preserving the maximum amount of light information captured by your camera’s sensor, which empowers you to make substantial, non-destructive adjustments later. It is the closest digital equivalent to archiving a master photographic plate.”
The Ready-to-Share Snapshot: Exploring JPEG Files
In contrast to the RAW file, a JPEG (Joint Photographic Experts Group) is a processed, compressed, and ready-to-use image file. Think of it as the photographic print that comes directly from the lab, fully developed and retouched according to standard parameters. When you shoot in JPEG, your camera takes the raw sensor data and immediately applies a series of internal processing steps. These steps include:
To keep your storage from overflowing with unnecessary files, periodically decluttering your photo collection can help you focus on your best memories.
While JPEG is the standard for instant sharing, it is helpful to compare JPEG with TIFF and PNG when deciding how to digitize your physical archives.
- White Balance: Adjusting colors so white objects appear white.
- Sharpening: Enhancing edge contrast to make details appear clearer.
- Noise Reduction: Smoothing out unwanted graininess, especially in low light.
- Color Saturation and Contrast: Enhancing the vibrancy and distinction between light and dark areas.
- Compression: Reducing file size by discarding some visual information.
Once your camera applies these processes, it saves the image as an 8-bit JPEG file. This means the camera makes all the aesthetic decisions for you at the moment of capture. The resulting file is much smaller than a RAW file because it discards a significant amount of the original sensor data. While this compression is “lossy,” meaning the lost information cannot be recovered, it is often visually imperceptible to the average viewer, especially at typical viewing sizes.
The primary advantage of JPEG files is their immediate usability and universal compatibility. Almost every device and software program can open, view, and share JPEG files without any special converters or editors. Their smaller file size makes them ideal for:
- Quick sharing via email or social media.
- Saving space on memory cards and hard drives.
- Situations where you need immediate access to a finished image.
- Amateur photographers who prefer not to spend time on post-processing.
While JPEGs are convenient, their processed and compressed nature means they offer much less flexibility for significant editing. If you try to make substantial changes to a JPEG, such as correcting severe over or underexposure, you will quickly notice a degradation in image quality, with posterization or banding becoming apparent. Each time you save an edited JPEG, it undergoes another round of compression, further reducing its quality. For long-term preservation of original image quality, JPEGs present a challenge compared to RAW files.
RAW vs JPEG: A Head-to-Head Comparison
To truly understand which photo format suits your needs, let us look at the key differences side by side. This comparison highlights the practical implications for your photography and your efforts to preserve those precious images.
If you aren’t ready to invest in professional suites, there are several free photo editing software options available for processing your RAW and JPEG files.
When managing large image libraries, weighing the pros and cons of external hard drives vs cloud storage is essential for long-term data safety.
Because the choice of format impacts how quickly your camera can save data, ensure you are using high-quality memory cards with sufficient speed to handle large RAW files.
| Feature | RAW Files | JPEG Files |
|---|---|---|
| Image Quality & Detail | Highest possible quality, uncompressed sensor data. Captures full dynamic range and color depth (12-14 bit). Excellent for detail recovery. | Good quality, but processed and compressed (8-bit). Some data loss occurs during compression. Limited room for detail recovery. |
| File Size | Very large (2-6 times larger than JPEG). Requires more storage space on memory cards and hard drives. | Much smaller. Ideal for maximizing storage and faster transfers. |
| Editing Flexibility | Extremely flexible. Major adjustments to exposure, white balance, highlights, shadows, and color can be made without significant degradation. Non-destructive editing. | Limited flexibility. Significant adjustments lead to rapid image degradation, banding, and artifacting. Re-saving causes further compression loss. |
| Processing Requirements | Requires post-processing with specialized software (e.g., Lightroom, Photoshop, Capture One) to convert to a viewable format. | Ready to use straight out of the camera. No post-processing required for basic viewing or sharing. |
| Camera Buffer & Speed | Slower continuous shooting speed and longer buffer clearing times due to larger file sizes. | Faster continuous shooting and quicker buffer clearing. |
| Compatibility & Sharing | Less compatible. Requires specific software to view and edit. Not ideal for direct sharing online. | Universally compatible. Can be viewed and shared on virtually any device or platform. |
| Archival Value | Excellent. Preserves maximum original image data, future-proof for new processing technologies. Serves as a digital negative. | Good for immediate use, but less ideal for long-term archival where ultimate flexibility and quality preservation are paramount due to lossy compression. |
When to Choose RAW: Maximizing Control
For individuals serious about their photography and committed to preserving memories with the highest fidelity, RAW often becomes the format of choice. Here are scenarios where choosing RAW maximizes your control and enhances your image preservation efforts:
Following best practices for home photo archives ensures that your high-resolution RAW files are preserved for future generations.
Once you’ve captured your high-quality files, you can begin basic photo editing to adjust the exposure and contrast of your favorite memories.
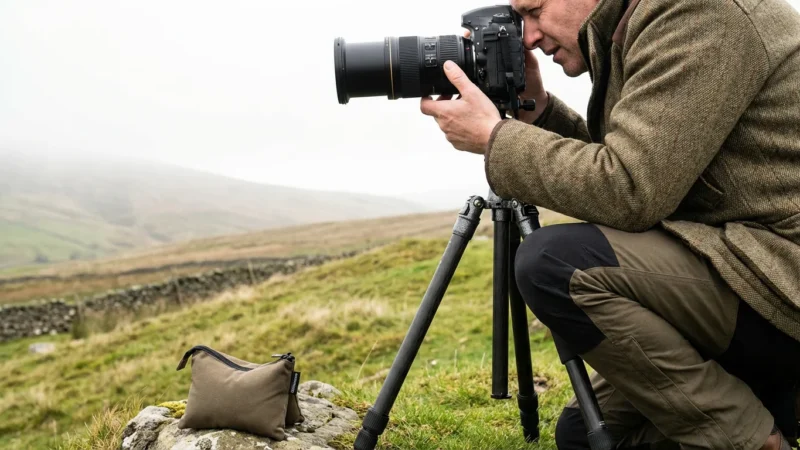
This format is also highly recommended when understanding camera settings for indoor photos, where lighting is often inconsistent and requires significant post-processing.
- Challenging Lighting Conditions: When shooting in tricky light, such as high-contrast scenes, low light, or mixed lighting, RAW provides the crucial data needed to recover details. If you underexpose a shot, you can often recover several stops of exposure in RAW without introducing excessive noise or banding. Conversely, you can pull back detail from overexposed areas. This capability can rescue an otherwise unusable photograph, especially important for irreplaceable event photos or family portraits.
- Future-Proofing Your Memories: Technology evolves. What looks good today might be enhanced with future editing software or display capabilities. By saving your images as RAW files, you retain all original sensor data. This ensures that you can revisit your digital negatives years down the line and reprocess them with new tools, adapting them to new aesthetic trends or technological advancements, all while starting from the highest quality source. This is a foundational practice for long-term digital preservation.
- Creative Editing and Artistic Vision: If you enjoy fine-tuning your images, applying specific styles, or correcting subtle color shifts, RAW offers unparalleled freedom. Photographers who spend time in software like Adobe Lightroom, Photoshop, or Capture One benefit immensely from the deep color and tonal information in RAW files. You can precisely adjust white balance, apply complex color grading, or selectively enhance specific areas of an image without degrading the overall quality.
- Professional Work and High-Stakes Photography: For weddings, portraits, landscapes, or commercial photography, RAW is standard. Professionals rely on its flexibility to deliver consistent, high-quality results, knowing they have the maximum information to work with, rectify minor errors, and meet client expectations. Your family’s cherished moments deserve a similar level of care and quality.
- When Details Truly Matter: In situations where fine details are paramount, such as macro photography or capturing intricate patterns, RAW’s uncompressed data ensures every pixel holds its maximum potential. This can mean the difference between seeing the delicate texture of a butterfly’s wing or a blurred approximation.
While shooting RAW demands more storage and a post-processing step, the long-term benefits for image quality and preservation are substantial. It empowers you to refine your images to their fullest potential, making it an excellent investment of your time for your most cherished memories.
When to Opt for JPEG: Prioritizing Convenience
Despite RAW’s advantages, JPEG remains an incredibly popular and perfectly viable photo format, especially when convenience, speed, and immediate usability are your top priorities. There are many valid reasons to choose JPEG, particularly for everyday photography and quick sharing:
Even when prioritizing speed, you can improve your shots by implementing basic composition techniques that help your JPEG snapshots look their best.
- Casual Shooting and Everyday Moments: For snapshots of a family picnic, a child’s birthday party, or a vacation where you simply want to capture the moment without intensive editing later, JPEG is ideal. The camera handles all the processing, delivering a ready-to-share image instantly. You capture the memory, and it is immediately available for viewing on your phone or computer.
- Limited Storage Capacity: RAW files consume significantly more storage space. If you are on a trip with limited memory cards, do not have immediate access to external hard drives, or use a camera with smaller storage options, shooting JPEG allows you to capture many more images before needing to offload. This can be a practical consideration for extended travels or events where you anticipate taking hundreds of photos.
- Speed is Critical: In fast-paced environments, such as sports photography, wildlife photography, or capturing fleeting candid moments, a camera’s ability to write files quickly to the memory card is crucial. Because JPEGs are smaller, cameras can shoot longer bursts and clear their buffers faster, meaning you are less likely to miss a critical moment while your camera is busy processing.
- Minimal Post-Processing Desired: If you prefer to spend little to no time editing your photographs, JPEGs are the natural choice. Your camera’s internal processing engine often does an excellent job of producing pleasing images right out of the box, especially with modern cameras offering various in-camera styles and color profiles. For many users, the quality of a well-exposed JPEG is perfectly sufficient.
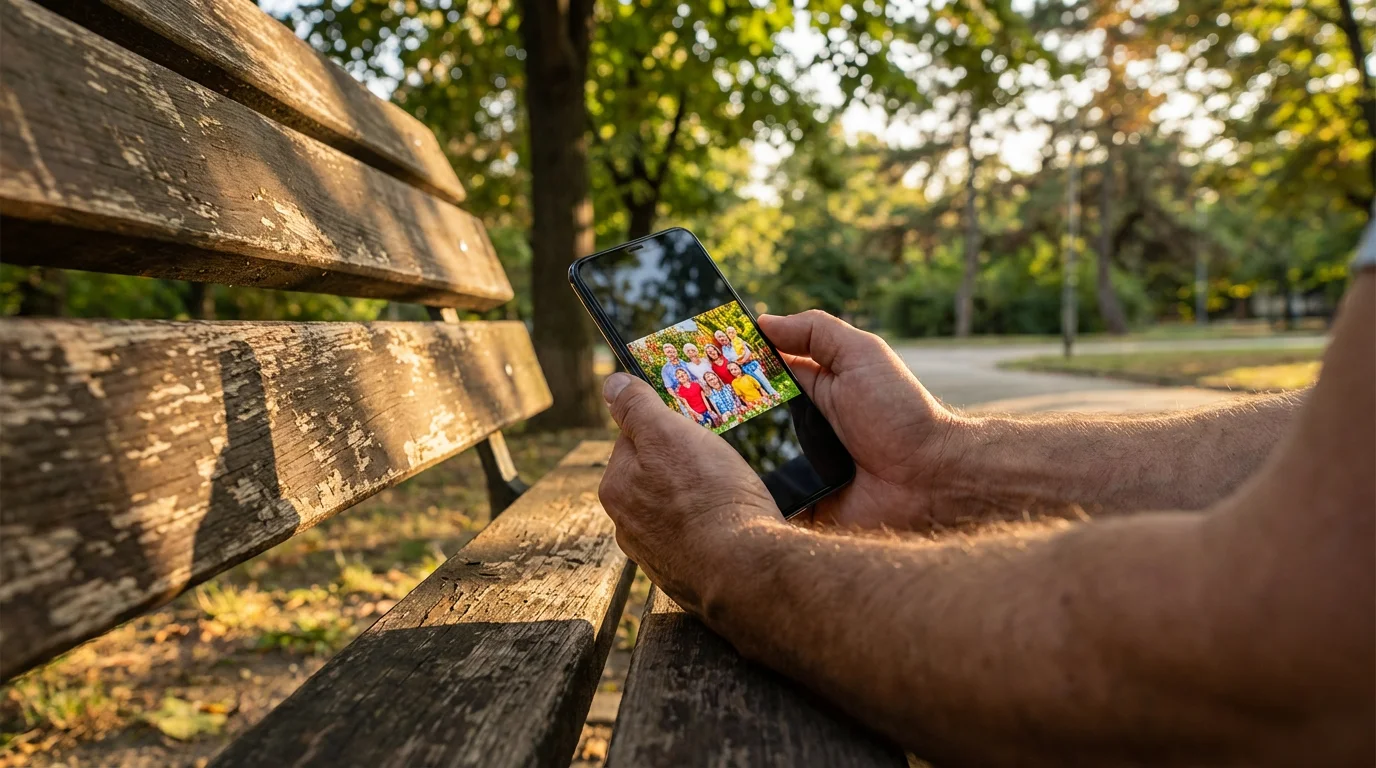
- Immediate Sharing Needs: Need to upload photos to social media, send them via messaging apps, or email them to family immediately after capture? JPEG’s universal compatibility and smaller file size make it the go-to format. You do not need to convert or process anything; the image is ready to go.
For the vast majority of digital photographs taken today, JPEG provides an excellent balance of quality and practicality. It is accessible, efficient, and ensures your memories are immediately ready for enjoyment and sharing.

The Hybrid Approach: Shooting RAW + JPEG
Many modern cameras offer a third option: shooting RAW + JPEG simultaneously. This setting instructs your camera to save both a RAW file and a JPEG file for every photograph you take. This hybrid approach offers a compelling compromise, potentially giving you the best of both worlds, though it comes with its own set of considerations.
Benefits of Shooting RAW + JPEG:
- Instant Gratification with Future Flexibility: You immediately have a high-quality JPEG ready for sharing, reviewing, or quick printing. At the same time, you retain the RAW file, preserving all that rich sensor data for potential future editing, advanced processing, or archival purposes. This means you do not have to choose between convenience and control at the moment of capture.
- Backup and Redundancy: The JPEG can serve as a quick preview or even a fallback if something goes wrong with your RAW workflow. It acts as a processed version of your memory, while the RAW provides the ultimate source.
- Learning and Experimentation: For those new to photography or post-processing, shooting both formats provides a fantastic learning opportunity. You can compare the camera’s default JPEG processing to your own RAW edits, understanding how different settings impact the final image. You can practice editing RAW files without the pressure of ruining your only copy of an image.
Drawbacks of Shooting RAW + JPEG:
- Massive Storage Consumption: This is the most significant disadvantage. Since you are saving two files for every shot, your memory cards and storage drives will fill up twice as fast. This can quickly become unmanageable if you take a large volume of photos.
- Slower Performance: Writing two files simultaneously takes longer. Your camera’s buffer will fill up more quickly, leading to slower continuous shooting speeds and longer delays between bursts, especially with high-megapixel cameras.
- Increased Workflow Complexity: You now have two versions of every image. This doubles the files you need to manage, sort, and back up, which can add complexity to your photo organization system. You must decide whether to keep both long-term or discard one after a certain period.
Consider the RAW + JPEG option if you have ample storage, do not rely heavily on continuous shooting, and appreciate the balance of immediate usability with long-term editing potential. Many photographers use this setting for important events, travel, or when they are unsure if a particular image will require extensive post-processing but want the option. It is a powerful way to ensure you never regret not having the extra data for a crucial memory.

Managing Your Workflow: Storage, Editing, and Archiving
Your choice of photo format directly impacts how you handle your images after they leave the camera. A robust workflow ensures your precious memories are not only captured effectively but also organized, safely stored, and accessible for years to come.
Storage Considerations:
- RAW Files: Because RAW files are large, you will need ample, fast storage. Invest in high-capacity memory cards for your camera and fast external hard drives or a Network Attached Storage (NAS) device for your computer. Consider cloud storage solutions that offer generous space. Remember, a robust backup strategy is non-negotiable for RAW files. Aim for the 3-2-1 backup rule: three copies of your data, on two different types of media, with one copy offsite.
- JPEG Files: JPEGs are much more forgiving on storage. They fit easily on most memory cards, internal drives, and cloud services. While they require less space, do not underestimate the importance of backing them up too, especially if they are your only copy of a treasured memory.
- Archival Media: For long-term preservation of either format, consider archival-grade external hard drives, solid-state drives (SSDs) for faster access, or even specialized archival cloud services. Regularly check the health of your storage devices.
Editing and Software:
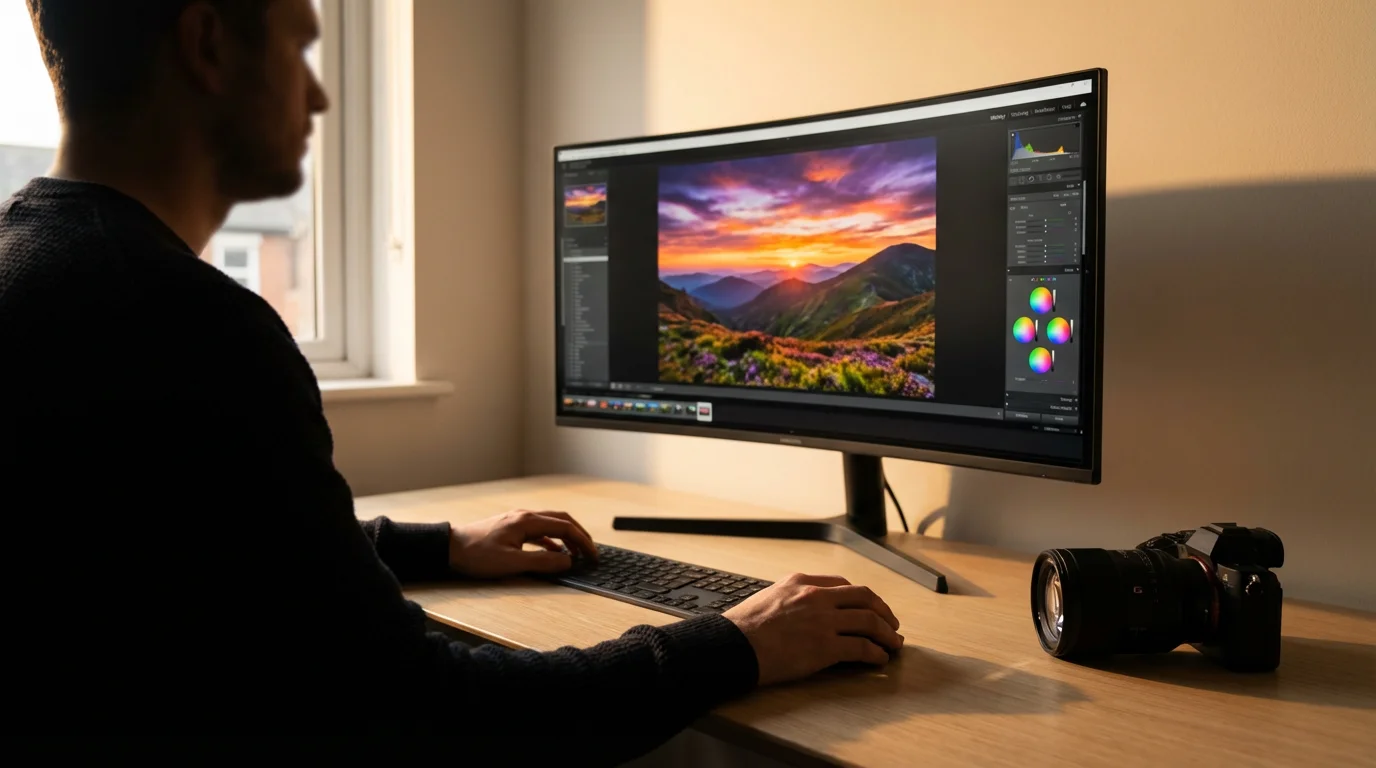
- RAW Editing Software: To work with RAW files, you need dedicated photo editing software. Popular options include Adobe Lightroom Classic, Adobe Photoshop, Capture One Pro, DxO PhotoLab, or free alternatives like Darktable or RawTherapee. Your camera manufacturer often provides basic RAW conversion software as well. These programs allow you to make non-destructive edits, meaning your original RAW file remains untouched, and all adjustments are saved as instructions.
- JPEG Editing Software: You can edit JPEGs with virtually any image editor, from basic built-in photo apps on your computer or phone to advanced programs like Photoshop. However, remember that extensive edits on JPEGs will quickly degrade image quality. Always edit a copy, not your original JPEG, to avoid repeated lossy compression.
Archiving for Longevity:
Regardless of format, a systematic approach to archiving safeguards your photographic heritage. Here are actionable steps:
- Consistent Organization: Develop a consistent folder structure based on year, month, event, or subject. Use descriptive filenames. Good organization makes finding specific images easier and prevents loss.
- Regular Transfers: Transfer images from your camera’s memory card to your primary storage device regularly. Do not use memory cards as long-term storage.
- Verify File Integrity: After transferring, always verify that the files copied correctly and are readable. Some software offers checksum verification.
- Metadata: Embed descriptive metadata (keywords, captions, dates, location) into your files. This dramatically improves discoverability. RAW files preserve this metadata, and it transfers to JPEGs upon export.
- Migration: Storage media has a finite lifespan. Periodically migrate your entire collection to new, healthier storage devices every 5-10 years to prevent data loss due to hardware failure or obsolescence.
By consciously managing your workflow, you extend the life of your digital memories, ensuring they remain accessible and viewable for future generations. For more in-depth guidance on preservation strategies, consider resources like the National Archives Preservation.
Making Your Decision: A Practical Guide
The choice between RAW and JPEG is not a one-size-fits-all answer. It depends entirely on your specific needs, your level of commitment to post-processing, and the importance of the memories you are capturing. Here is a practical framework to help you decide:
- Assess Your Photographic Goals:
- If you seek maximum quality, ultimate control, and are willing to invest time in editing: Choose RAW. This is ideal for portraits, landscapes, fine art, professional work, and any memory you consider irreplaceable and worthy of the highest fidelity. You want the flexibility to perfect every detail and preserve the full extent of the captured light.
- If you prioritize convenience, speed, and immediate sharing, with minimal editing: Choose JPEG. This is perfect for casual snapshots, everyday moments, social events, and situations where you need images ready to go straight from the camera.
- If you want the best of both worlds and have ample storage: Consider RAW + JPEG. This gives you the immediate usability of a JPEG and the deep editing potential of a RAW file.
- Evaluate Your Post-Processing Interest:
- Are you an avid editor? Do you enjoy refining colors, adjusting exposure, and bringing out details? RAW will empower your creative vision.
- Do you prefer minimal editing, or simply want images ready to share? JPEG will save you time and effort.
- Consider Your Storage Capacity:
- Do you have large memory cards, external hard drives, or robust cloud storage? RAW is manageable.
- Are you limited by storage space? JPEG will allow you to capture more images.
- Think About the Longevity of the Memory:
- Is this a once-in-a-lifetime family event, a treasured portrait, or an archival document? The full data of a RAW file offers superior long-term preservation and flexibility for future reprocessing.
- Is it a casual snapshot meant for fleeting enjoyment? JPEG is perfectly adequate.
Ultimately, your camera is a tool for capturing memories. By understanding the capabilities of RAW and JPEG, you empower yourself to make informed decisions that best serve those memories, ensuring they are preserved with the quality and flexibility they deserve. Do not be afraid to experiment. Try shooting in RAW for a week, then JPEG for a week, and then RAW + JPEG. Observe your workflow, review your results, and let your personal experience guide your choice. Resources like Digital Photography Review and Cambridge in Colour provide excellent technical deep dives and practical comparisons to aid your learning.
Frequently Asked Questions
Can I convert RAW files to JPEG later?
Yes, absolutely. This is one of the primary benefits of shooting in RAW. You can process your RAW files using software like Adobe Lightroom, Photoshop, Capture One, or your camera manufacturer’s proprietary software, and then export them as JPEGs. This process allows you to make significant adjustments to exposure, white balance, color, and more, before creating a high-quality JPEG for sharing or printing.
Do professional photographers always shoot in RAW?
Many professional photographers prefer shooting in RAW because it provides the maximum amount of image data and the greatest flexibility for post-processing. This control is crucial for achieving specific artistic visions, correcting errors, and ensuring the highest quality for client work. However, some professionals might opt for JPEG in situations where speed is critical, storage is limited, or the final images require minimal editing, such as sports photography or event coverage with tight deadlines for direct delivery.
Does my phone camera shoot RAW?
Many modern smartphones now offer the ability to shoot in RAW format, often referred to as DNG, especially in their ‘Pro’ or ‘Manual’ camera modes. While phone RAW files might not offer the same level of flexibility as those from dedicated mirrorless or DSLR cameras due to sensor size differences, they still provide significantly more editing latitude than standard JPEGs. Check your phone’s camera settings or explore third-party camera apps to see if RAW capture is an option for you.
If I shoot RAW, do I still need to back up my JPEGs?
If you shoot RAW and then convert them to JPEGs for sharing, printing, or general use, you should back up both the original RAW files and the processed JPEGs. The RAW files serve as your digital negatives, preserving all original capture data for future editing. The JPEGs represent your finished work, ready for consumption. Losing either could mean losing your original images or your carefully edited versions. A robust backup strategy includes both versions on multiple storage solutions.
Disclaimer: This article is for informational purposes only. When handling valuable or irreplaceable photographs, consider consulting a professional conservator. Always test preservation methods on non-valuable items first.


Leave a Reply