
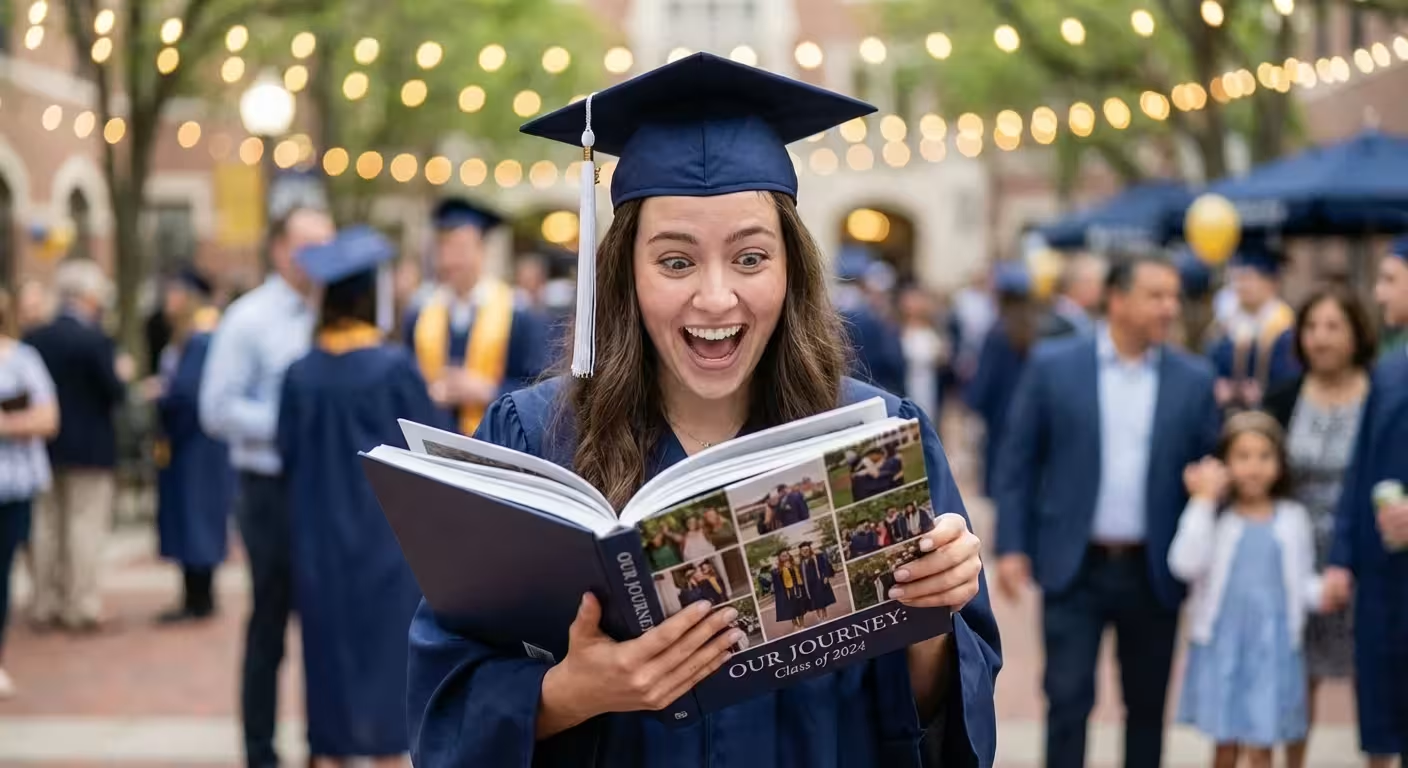
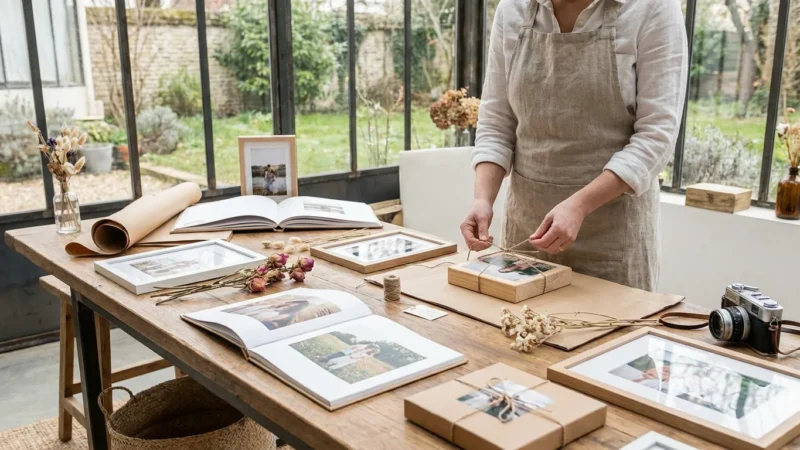
The four years of high school represent a monumental era of growth, discovery, and transformation. As your graduate prepares to cross the stage and head toward their next chapter, they leave behind a whirlwind of Friday night lights, late-night study sessions, and friendships that shaped their identity. While digital photos often sit forgotten in cloud storage or on social media feeds, a physical graduation photo book serves as a tangible anchor for these memories. It transforms scattered pixels into a curated legacy that your child can carry into adulthood.
Creating a high school memories album is more than a creative project; it is an act of preservation. You are documenting the transition from adolescence to young adulthood, ensuring that the small details—the specific messy locker, the favorite worn-out hoodie, and the candid laughter in the cafeteria—are not lost to time. This guide provides a comprehensive, professional approach to curating, designing, and printing a high school highlights book that will remain a cherished graduation gift idea for decades to come.

Curating the Narrative: Sourcing Your Best Images
A successful high school highlights book does not require every photo ever taken. Instead, it requires a narrative arc. You are telling the story of a journey, and that story needs a beginning, middle, and end. Start by identifying the key pillars of your graduate’s experience: academics, extracurriculars, social life, and home life. Each of these categories deserves a seat at the table.
To find the best candid shots, look beyond your own camera roll. Often, the most authentic moments live on the phones of friends, teammates, and other parents. Reach out to the “team mom” or the parent who always seemed to have their DSLR at the theater performances. Shared Google Photos albums or iCloud folders make this collaboration seamless. You might find a shot of your graduate’s exhausted but triumphant face after a playoff game that you missed, or a behind-the-scenes photo of a rehearsal that perfectly captures their dedication.
Don’t ignore social media, but treat it with caution. Platforms like Instagram and Snapchat often compress images, stripping away the resolution needed for high-quality printing. If you find a must-have photo on a social feed, try to track down the original file from the person who posted it. If that is not possible, plan to use that image in a smaller format within your layout to hide any pixelation. Curating with a critical eye now prevents disappointment later when the physical book arrives.
The most meaningful photo books are those that capture the ‘in-between’ moments—the quiet study sessions and the messy car rides—rather than just the posed portraits.
Organizing Your Digital and Physical Archives
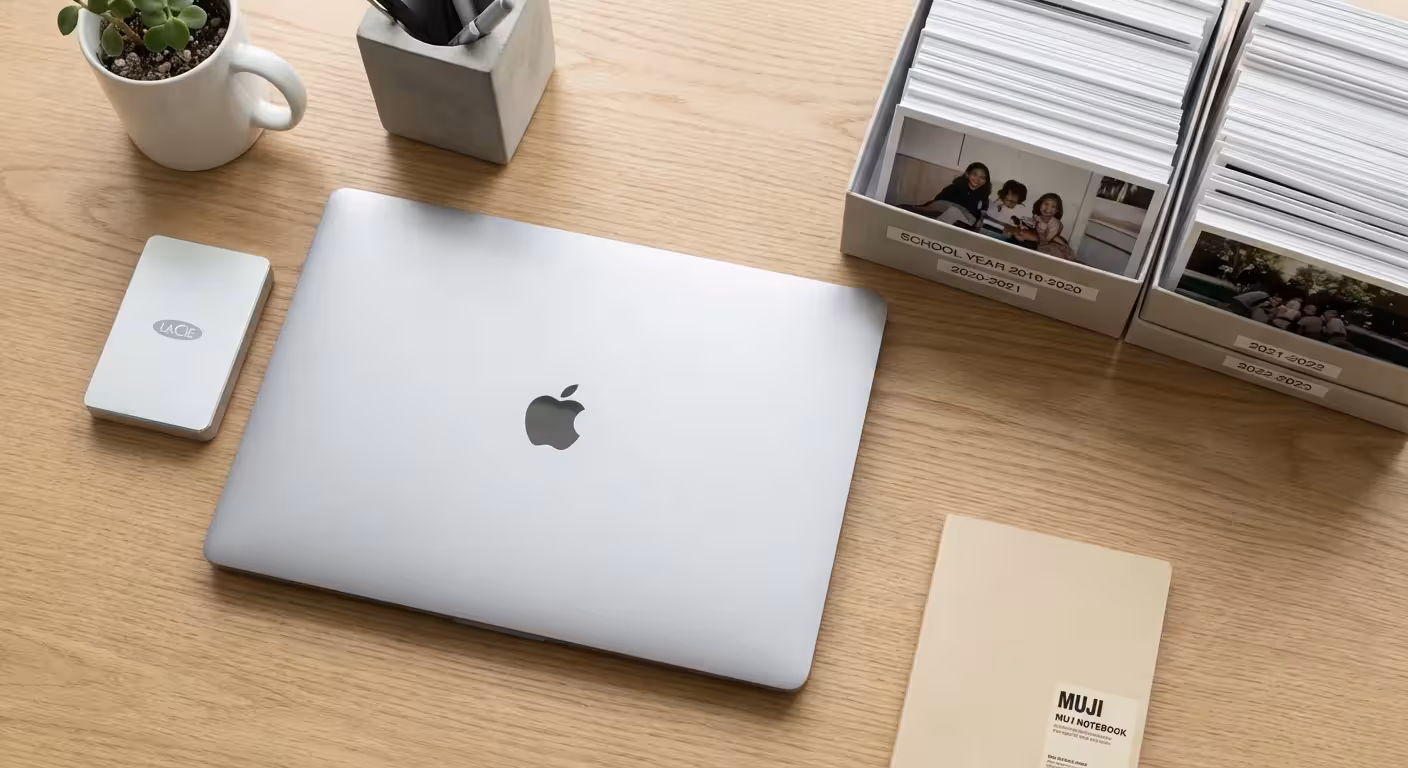
Before you touch a single page template, you must organize your assets. Attempting to build a book while digging through thousands of unorganized files leads to frustration and missed deadlines. Create a master folder on your computer titled Graduation Book Project. Inside, create subfolders for each year: Freshman, Sophomore, Junior, and Senior. This chronological structure helps you track your graduate’s physical and emotional growth over time.
If you are starting with a massive backlog of images, learning how to organize 20 years of digital photos can help you select the most impactful shots.
As you sort through images, apply a “three-star” system. A one-star photo is a backup. A two-star photo is a strong contender. A three-star photo is a non-negotiable highlight that deserves a full page or a prominent spot. If you find yourself with 500 three-star photos, you must become a more ruthless editor. A book that is too cluttered loses its impact; white space allows the viewer’s eye to rest and appreciate the most important images.
If you have physical memorabilia or old printed photos from the early high school years, you must digitize them. Use a high-quality flatbed scanner rather than a phone camera for the best results. Phone “scans” often introduce glare and perspective distortion. For those interested in the highest standards of photo longevity, the Library of Congress Preservation department offers excellent resources on handling and digitizing precious family records. Proper organization ensures that once you begin the design phase, you can focus entirely on the creative aspects of the project.
Technical Standards for Quality Preservation
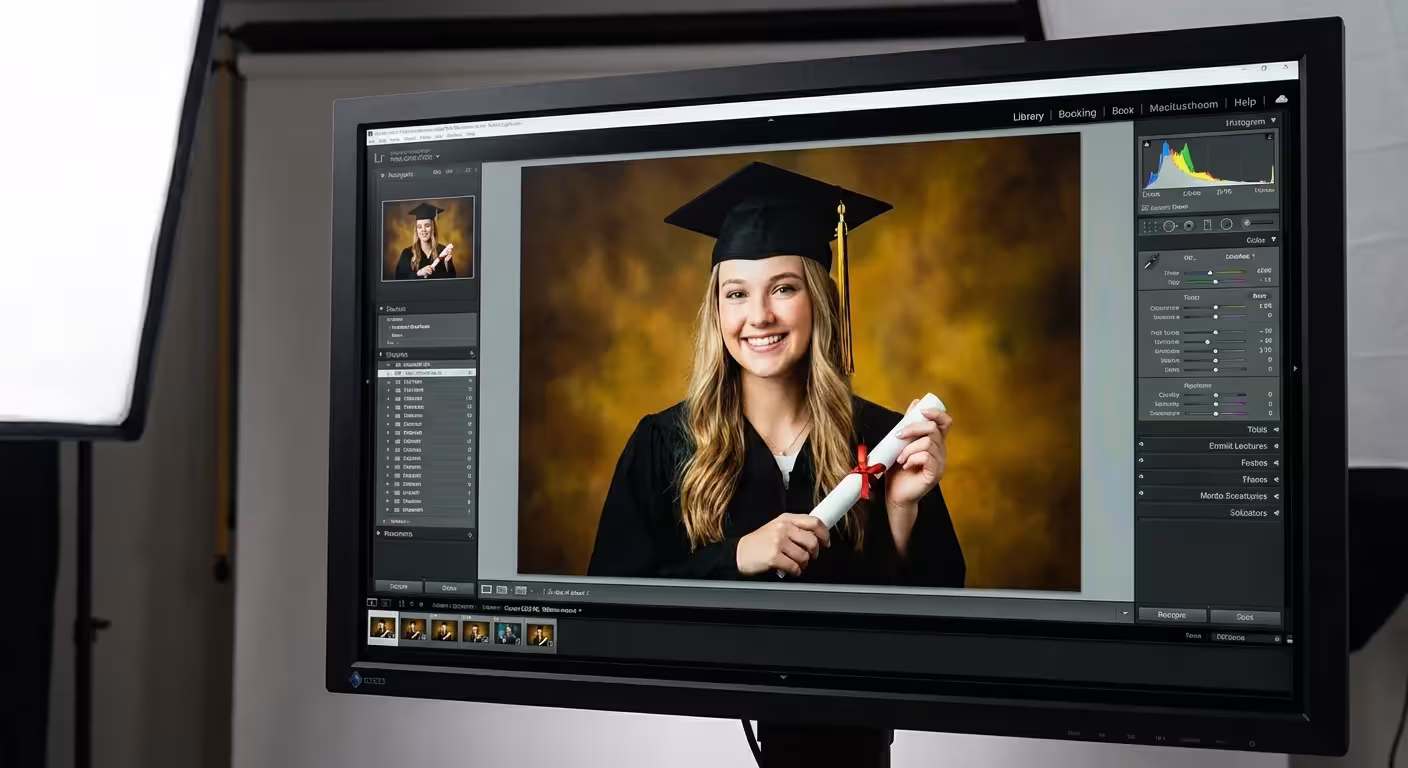
Digital screens are forgiving, but paper is not. To ensure your high school memories album looks professional, you must understand resolution and color profiles. Most professional printing services require images to be at least 300 Dots Per Inch (DPI) at their final print size. If you take a small, low-resolution photo and stretch it to fill a 10×10 inch page, it will appear blurry or “blocky.” Always check the file size; if a photo is under 500 KB, it likely won’t hold up as a primary image.
Pay attention to lighting and color. High school events often take place in gyms or under stadium lights, which can result in yellow or green color casts. Use basic photo editing software to balance the whites and increase the contrast. You don’t need to be a professional editor; simply ensuring that skin tones look natural and that the graduate’s eyes are clear can significantly elevate the quality of the book. Remember that printed images often appear slightly darker than they do on a backlit screen, so consider nudging the brightness up by 5-10% before finalizing your layouts.
Consistency is your best friend. If you choose to use filters, apply them sparingly and consistently across the book. A sudden shift from vibrant, saturated colors to a moody, faded film look can be jarring. If you have low-quality images that you absolutely must include, consider converting them to black and white. This often hides noise and graininess while adding a timeless, artistic feel to the page. By adhering to these technical standards, you create a product that rivals professional yearbooks in quality and durability.
Designing Layouts That Tell a Story
The design of your book should reflect the personality of your graduate. Are they a minimalist who appreciates clean lines and plenty of white space? Or are they a high-energy athlete or artist who would enjoy a more dynamic, collage-heavy style? Your design choices should amplify the photos, not compete with them. Use consistent fonts—one for headings and one for body text—to create a cohesive look throughout the entire project.
For inspiration on how to arrange multiple images across a page, check out these creative photo collage design ideas to keep your layouts engaging.
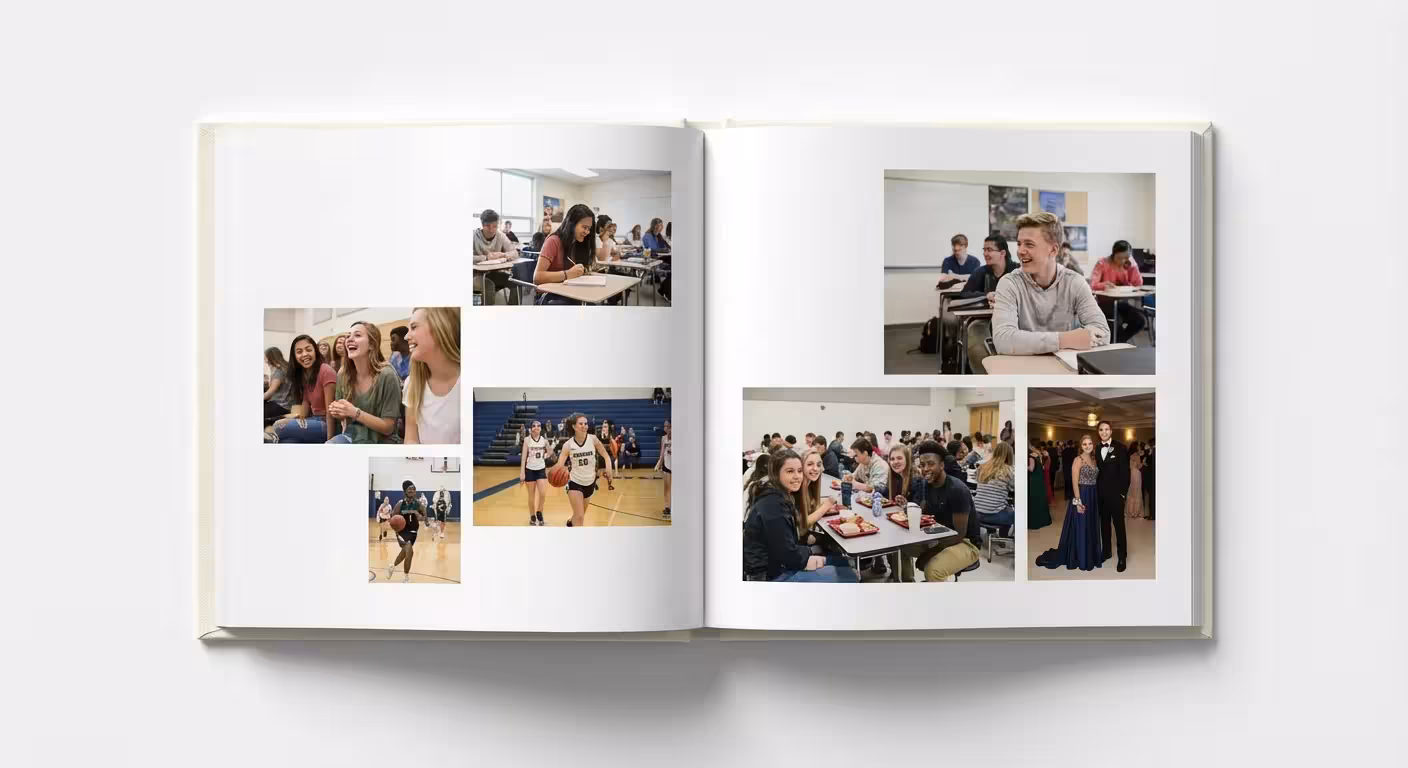
Consider starting each chapter (or school year) with a “Then and Now” comparison. Placing a freshman-year portrait next to a senior-year portrait is a powerful way to visualize the transformation. For major events like prom, homecoming, or championship games, dedicate a full two-page spread. These “hero” layouts allow the viewer to soak in the atmosphere of the event. For everyday moments, like hanging out in the parking lot or working on a group project, use a grid layout. Grids are an efficient way to include several photos without making the page feel chaotic.
Balance is key. If the left page is a busy collage of twenty small photos, make the right page a single, stunning image with a small caption. This prevents “viewer fatigue.” You should also think about the “gutter”—the middle area where the pages are bound. Avoid placing faces or important text in the gutter, as they may get lost or distorted in the binding process. Most modern photo book software provides a safety margin; respect those lines to ensure your graduate’s face isn’t swallowed by the spine of the book.

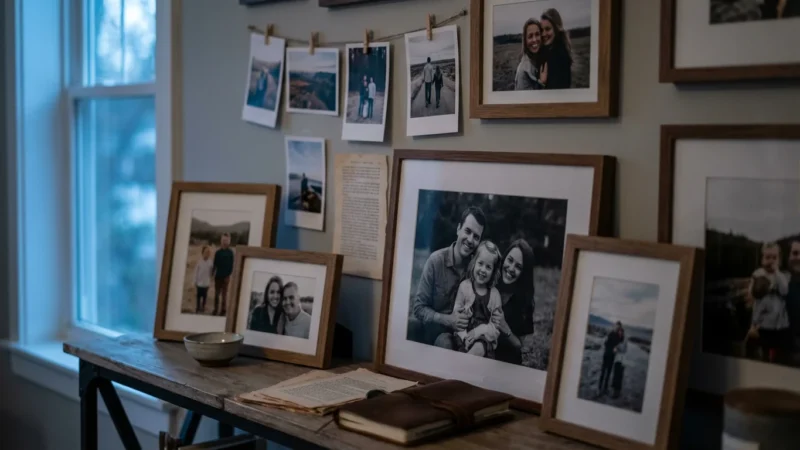
Adding Depth with Memorabilia and Text
While photos are the stars of the show, they only tell part of the story. To create a truly immersive graduation gift idea, include scans or photos of physical artifacts. These items provide context that photos alone cannot. Consider including:
If you prefer a more traditional, tactile approach to these artifacts, you might also consider how to make a photo scrapbook from scratch for a different stylistic feel.
- The program from their first theater performance or the ticket stub from a major concert.
- A copy of a particularly meaningful essay or a snippet of a graded art project.
- The varsity letter or a photo of their first set of car keys.
- A screenshot of a group chat that perfectly captures their friend group’s humor.
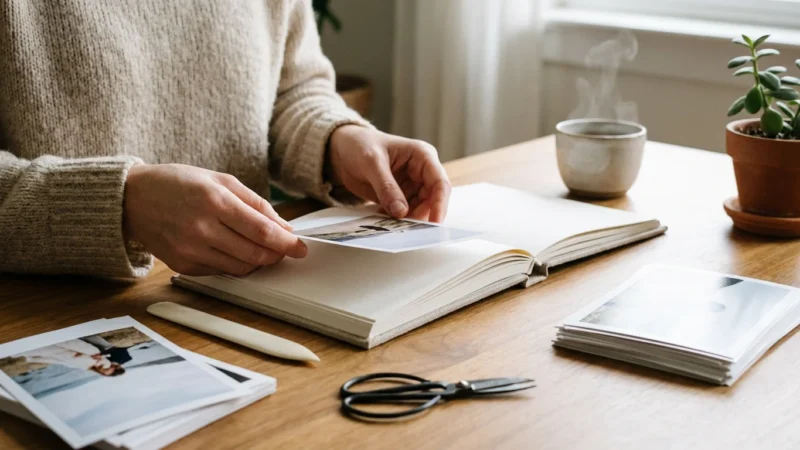
Text is equally vital. Don’t assume your graduate will remember every name and date twenty years from now. Include brief captions with dates, locations, and the names of the people pictured. Even better, reach out to teachers, coaches, and close friends to collect short “well wishes” or favorite memories. Incorporating these quotes next to photos of those people creates a deeply emotional experience. You might also include a “Favorites” list for each year: favorite song, favorite teacher, and the most-used slang of the era. These small details act as a time capsule, preserving the culture of the moment.
For a modern twist, use QR codes. You can generate a QR code that links to a video of their final choir solo or the winning goal of the state championship. Print the code in a corner of the page with a small label. This turns a static book into a multimedia experience, bridging the gap between physical preservation and digital convenience. It allows the graduate to “hear” the cheers of the crowd while they flip through the pages, adding a layer of nostalgia that a standard album cannot match.
Choosing the Right Printing and Archival Materials
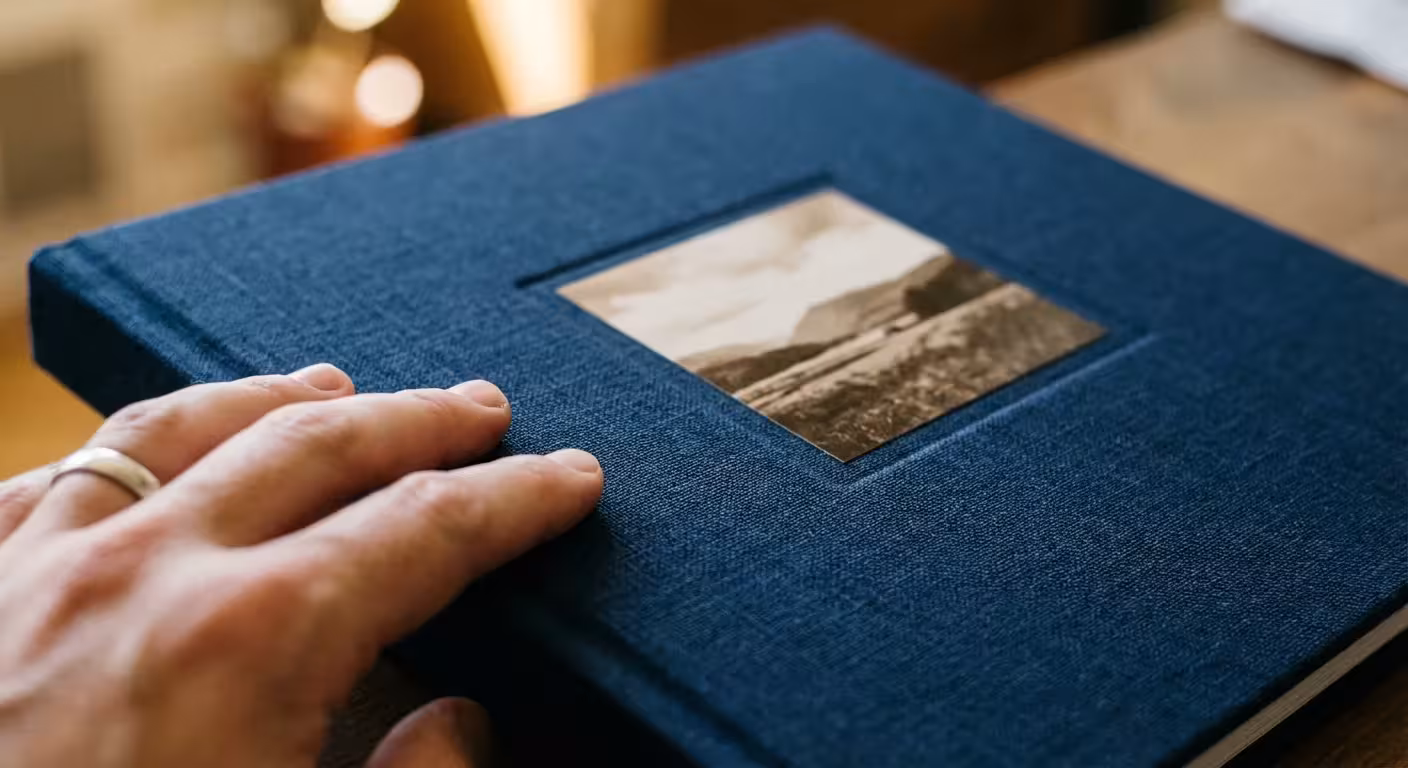
You have put hours into curating and designing; do not stumble at the finish line by choosing a low-quality printer. Not all photo books are created equal. For a milestone as significant as high school graduation, look for “lay-flat” binding. Traditional photo books use a glued spine that makes it difficult to see the center of the pages. Lay-flat books use a specialized hinge that allows the book to open completely flat, making it perfect for those expansive two-page spreads you designed.
The choice of paper is another critical decision. Lustre or matte finishes are generally superior to high-gloss for photo books. Glossy pages are prone to fingerprints and can produce a distracting glare under bright lights. A heavy-weight, acid-free paper ensures that the pages won’t yellow or become brittle over time. If you want to understand the science behind why certain materials last longer, the Image Permanence Institute provides data on the stability of various printing methods and paper types.
Finally, consider the cover. A hard-bound cover is essential for protection. You can choose a photo wrap, where an image is printed directly onto the cover, or a linen or leather cover with a debossed title for a more classic, sophisticated look. While a high-quality, archival book may cost more upfront, it is an investment in a legacy piece that will survive multiple moves and decades of handling. This is not just a book for today; it is a book for your graduate’s future children and grandchildren.
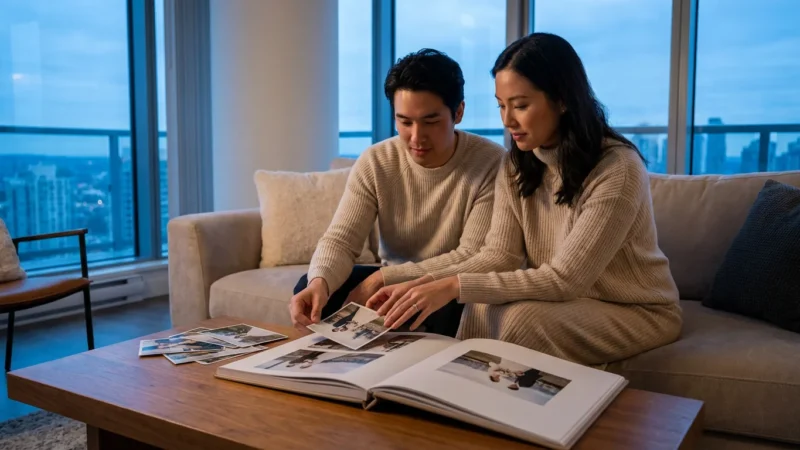
The Reveal: Presenting the Graduation Legacy
The way you present the high school highlights book can enhance its emotional impact. While it is tempting to hand it over during a busy graduation party, consider a quieter moment. Many parents choose to give the book on the morning of graduation or the night before. This allows the graduate to process the memories privately and reflect on how far they have come before the chaos of the ceremony begins.
Include a handwritten letter at the very beginning or end of the book. In this letter, express your pride in their accomplishments and your excitement for their future. This personal touch transforms the book from a collection of photos into a direct message of love and support. You might also leave a few blank pages at the end of the book specifically for “Graduation Day” photos and messages from guests at the graduation party. This makes the book feel like a living document that captures the very final moments of their high school journey.
Remember that this book serves as a bridge. As your graduate moves into a dorm room or their first apartment, they may feel a sense of homesickness or uncertainty. Having a tangible record of their past successes and the community that supports them can provide immense comfort. By following these steps, you have created more than a gift; you have created a permanent home for their most precious memories, ensuring they are protected, organized, and celebrated for a lifetime.
| Project Phase | Key Actions | Estimated Time |
|---|---|---|
| Curation | Gather photos from phones, social media, and friends. | 2 Weeks |
| Organization | Sort by year, star-rate favorites, and digitize memorabilia. | 1 Week |
| Design | Choose a layout, add text, and include QR codes for video. | 2 Weeks |
| Production | Select archival paper, proof the final copy, and print. | 1-2 Weeks |
Frequently Asked Questions
How many photos should I include in a high school highlights book?
For a standard 20 to 40-page book, aim for 80 to 120 high-quality images. This allows for a mix of full-page feature photos and collage-style layouts without making the pages feel cluttered or overwhelming.
What is the best way to digitize old physical photos for the book?
Use a flatbed scanner set to at least 300 DPI for standard prints, or 600 DPI if you plan to enlarge the image. Ensure the scanner glass is clean and save files as high-quality JPEGs or TIFFs to maintain detail.
Should I organize the book chronologically or by theme?
Both methods work well. A chronological approach tells a story of growth from freshman to senior year. A thematic approach allows you to group memories like sports, friendships, and academics, which can be more visually cohesive.
How can I include video memories in a physical book?
You can generate QR codes that link to private YouTube videos or cloud storage folders. Print these codes on the pages next to related photos, allowing the graduate to scan the book and watch videos of performances, games, or speeches.
Disclaimer: This article is for informational purposes only. When handling valuable or irreplaceable photographs, consider consulting a professional conservator. Always test preservation methods on non-valuable items first.


Leave a Reply