
Losing a loved one brings a flood of emotions and countless memories. As you navigate this tender time, a memorial photo tribute offers a powerful and deeply personal way to honor their life, celebrate their legacy, and share their story with family and friends. A thoughtful remembrance display not only provides comfort but also creates a focal point for shared grief and heartwarming recollections. This guide helps you create a meaningful and lasting memorial photo tribute, step-by-step, ensuring your cherished images are displayed beautifully and respectfully.
Understanding the Power of a Memorial Photo Tribute
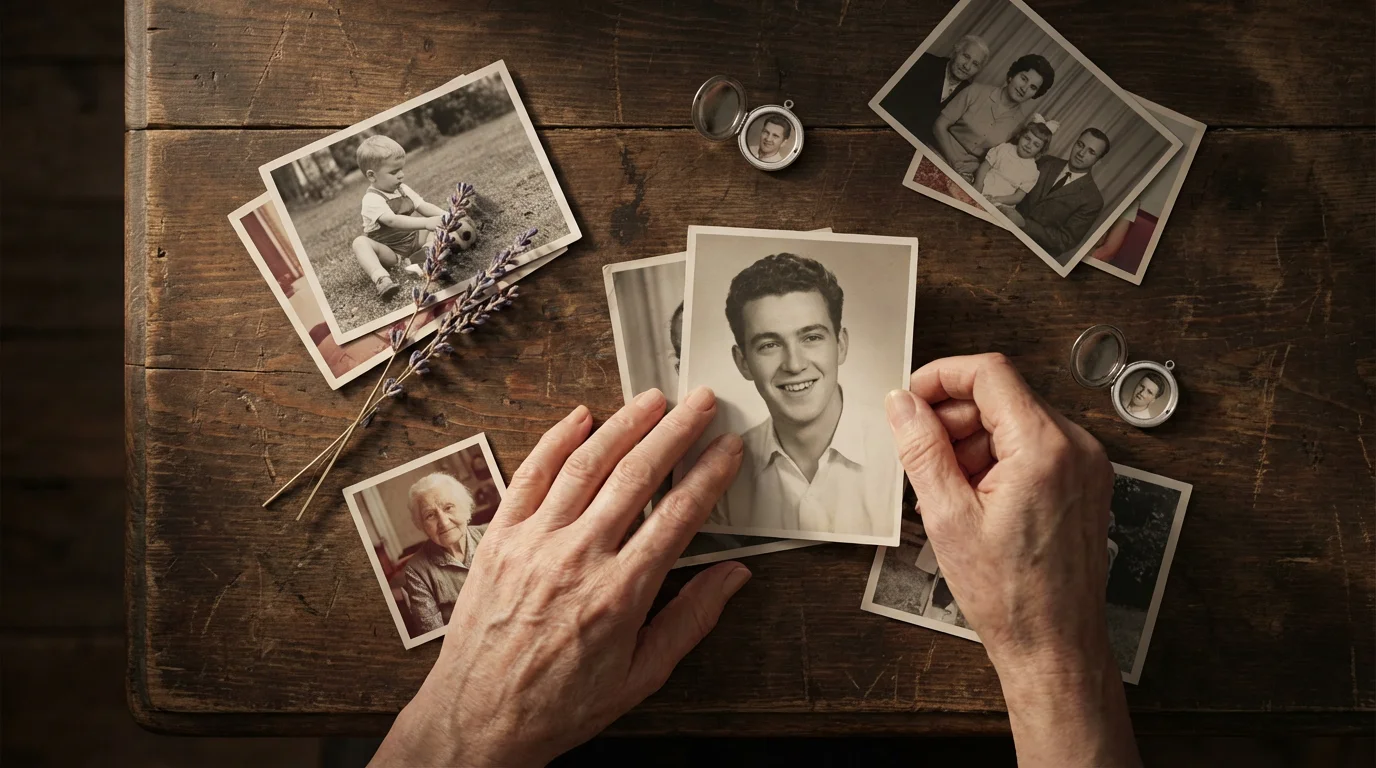
A memorial photo tribute serves as a visual narrative of a life well-lived. It allows you to share significant moments, relationships, and the essence of your loved one’s personality with those who gather to remember them. Whether you design a physical memory board for a funeral service, a dynamic digital slideshow for a celebration of life, or a heartfelt photo album for family reflection, each option offers unique benefits.
A memorial display can often serve as the foundation for a larger project, such as building a family heritage wall that traces your entire lineage.
These remembrance displays provide a tangible way for people to connect with memories. Guests often find solace in seeing images that spark their own recollections, fostering conversations and shared experiences. A carefully curated memorial photo tribute helps everyone reflect on the joy, love, and impact your loved one brought into the world. It transforms a moment of sorrow into an opportunity for collective appreciation and connection.
Gathering Your Precious Photo Memories
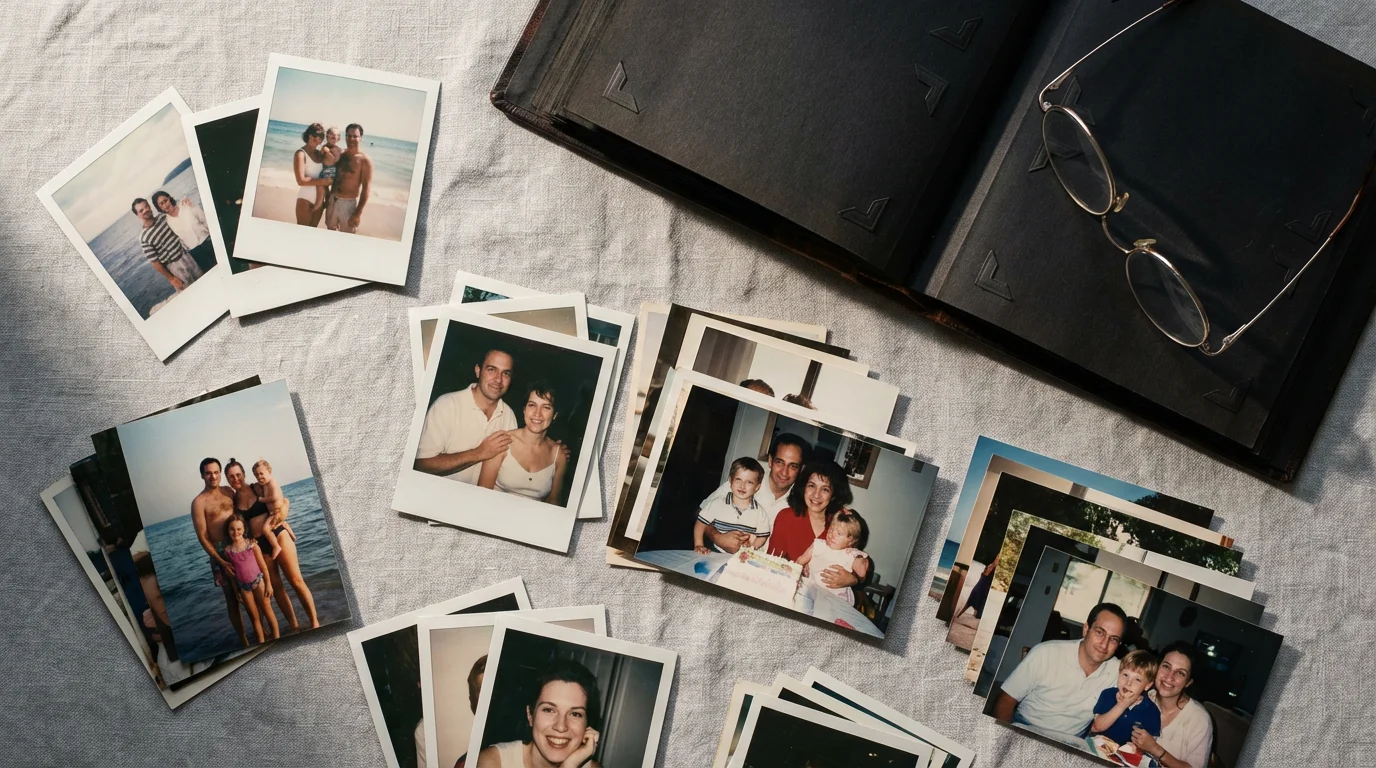
The first step in creating your memorial photo tribute involves a comprehensive search for photographs. This process can feel daunting, but approaching it systematically helps manage the task. Begin by exploring all potential sources for images of your loved one.
Managing this volume of images is similar to organizing photos for a 50th anniversary or other major family milestones.
This phase is often a significant part of learning how to organize photos for a family history project, as it brings together disparate parts of a relative’s life.
Where to Look for Photos:
- Physical Albums and Boxes: Dig through traditional photo albums, shoeboxes, and drawers. These often hold a treasure trove of candid snapshots and formal portraits from different eras.
- Digital Devices: Check smartphones, tablets, computers, external hard drives, and cloud storage accounts. Many recent photos reside solely in digital formats.
- Social Media: Access profiles on platforms like Facebook, Instagram, or Flickr. Your loved one or family members might have shared many photos online.
- Family and Friends: Reach out to close family members, friends, and colleagues. They often possess unique photos from specific events or shared experiences that you might not have. Create a shared folder online or arrange for photo exchange sessions.
As you gather photos, an initial sorting helps. Separate images into broad categories like “definite yes,” “maybe,” and “duplicates/unsuitable.” This preliminary organization streamlines the selection process later.
Preserving and Digitizing Your Legacy Photos
Many photographs, especially older ones, show signs of wear, fading, or damage. Prioritizing their preservation protects these invaluable pieces of your family history. Digitization ensures their longevity and provides flexibility for your memorial photo tribute.
Handling Original Photographs with Care:
When working with physical photos, observe best practices for preservation:
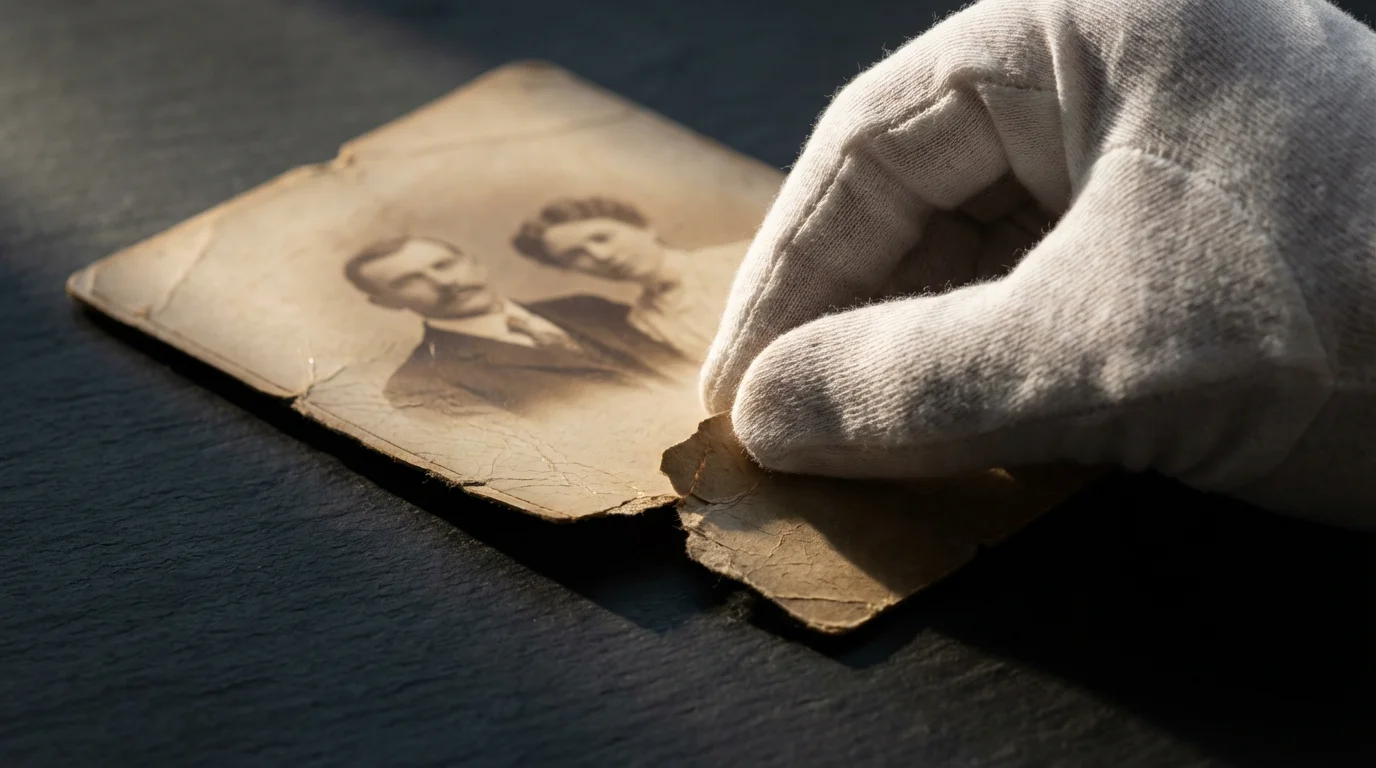
- Gloves: Wear clean cotton or nitrile gloves to prevent oils from your skin from transferring to the photo surface, which can cause damage or deterioration over time.
- Clean Workspace: Work on a clean, flat surface to avoid creasing, tearing, or soiling images.
- Gentle Cleaning: Use a soft, dry brush or a lint-free cloth to gently remove dust. Avoid chemical cleaners or excessive rubbing.
- Archival Storage: After digitization, store original photos in acid-free, lignin-free enclosures, such as photo sleeves or archival boxes. This protects them from environmental damage and prevents further degradation. The Library of Congress provides comprehensive guidance on preserving family photographs, recommending specific environmental controls and storage materials to extend the life of your precious originals. You can find detailed information on their preservation resources. Visit the Library of Congress Preservation website for more details.
Digitizing Your Collection:
Digitizing your photos offers numerous benefits for a memorial photo tribute, allowing you to use images without risking the originals, share them easily, and even restore damaged pictures. You have several options:
- Flatbed Scanner: A dedicated flatbed scanner offers the best quality for print photos, negatives, and slides. Scan at a high resolution (at least 300 DPI for standard prints, 600 DPI or higher for prints you might enlarge, and 1200+ DPI for negatives/slides) to capture maximum detail. Save files in TIFF format for archival quality and JPEG for everyday use and sharing.
- Photo Scanning Services: Professional services handle large volumes of photos, negatives, and slides, often offering color correction and minor restoration. This saves you time and ensures high-quality digital files.
- Smartphone Scanning Apps: Apps like Google Photoscan or Photomyne offer a quick solution for casual scanning. While convenient, the quality might not match a flatbed scanner, especially for older or delicate photos. These work best for photos you intend to use primarily in digital formats or small prints.
Once digitized, organize your files meticulously. Create a dedicated folder for your loved one’s memorial photos. Name files descriptively, including dates, locations, and names (e.g., “GrandpaJohn_Birthday_1975_SmithFamily.jpg”). This organization proves invaluable for future access and ensures you easily locate specific images for your memorial photo tribute.

Curating Your Collection: Selecting the Right Images
With your photos gathered and digitized, the next crucial step involves curating the selection for your memorial photo tribute. This process shapes the narrative and emotional impact of your display. Aim for images that tell a story, evoke warmth, and represent the unique spirit of your loved one.
To ensure future generations recognize those in the pictures, consider adding text and captions to photos that include names and approximate dates.
Key Considerations for Selection:
- Tell a Life Story: Choose photos spanning different life stages. Include baby photos, school pictures, milestones, wedding photos, career moments, and later-life images. This creates a chronological journey, showing growth and change.
- Highlight Relationships: Feature photos with family members, friends, pets, and significant others. These images illustrate the love and connections that defined their life.
- Showcase Personality and Passions: Select photos that capture their hobbies, interests, sense of humor, or signature expressions. Did they love gardening, travel, or a particular sport? Include photos reflecting these passions.
- Vary the Types of Photos: Mix candid shots with more formal portraits. Include solo pictures and group shots. This variety adds depth and visual interest to your remembrance display.
- Prioritize Quality: Choose clear, well-composed photos. While sentimental value matters, blurry or extremely low-quality images can detract from the overall presentation.
- Consider the Audience: Think about who will view the tribute. Select photos that will resonate with various guests, from close family to distant acquaintances.
- Manage Quantity: While you want to be comprehensive, avoid overwhelming viewers. For a physical memory board, 30-50 photos often strike a good balance, depending on the board size. For a digital slideshow, 50-100 photos with appropriate pacing works well. Fewer, impactful images resonate more than a vast, disorganized collection.

Designing Your Memorial Photo Tribute Layout
The design of your memorial photo tribute significantly impacts its effectiveness. Consider the venue, available space, and your desired emotional tone. You have several options for presentation, each with its own advantages for your remembrance display.
You can also draw inspiration from creative photo wall ideas to design a semi-permanent remembrance gallery within your home.
For a modern and dynamic option, you can also create a digital photo frame slideshow to keep a rotating collection of memories visible throughout the service.
Popular Memorial Photo Tribute Formats:
- Memory Boards: These remain a popular choice for memorial services. You can use large foam core boards, cork boards, or poster boards. Arrange photos chronologically or thematically. You might dedicate one board to early life, another to family, and a third to hobbies.
- Digital Slideshows: A versatile option for displaying a larger number of photos. You can incorporate music, text captions, and even short video clips. Loop the slideshow on a monitor or projector during the service or reception.
- Photo Albums or Scrapbooks: A more intimate way to share memories. Guests can gently flip through pages, often sparking personal reflections and conversations. This also serves as a lasting keepsake for the family.
- Shadow Boxes: For a smaller, more focused display, a shadow box allows you to combine photos with small personal artifacts (e.g., a favorite pin, a flower from their garden).
Layout Principles for a Cohesive Display:
Once you select your format, focus on arrangement. A well-organized layout enhances the impact of your memorial photo tribute:
- Chronological Flow: This is a common and effective approach for a life story. Start with early childhood photos on the left or top, moving through milestones to later years. This helps viewers follow the narrative easily.
- Thematic Grouping: Group photos by theme, such as “Family & Friends,” “Travel Adventures,” “Career Highlights,” or “Passions.” This works well for multifaceted lives.
- Focal Points: Designate a central photo or a small cluster of significant images as the focal point. Build around these key visuals.
- Balance and Spacing: Distribute photos evenly across the display area. Avoid overcrowding, which makes the tribute feel cluttered and difficult to view. Leave some white space around photos to allow each image to breathe.
- Incorporate Text: Use brief, meaningful captions or quotes to provide context. Identify people, dates, or significant events. This adds an extra layer of storytelling.
“A well-designed memorial tribute acts as a silent storyteller, guiding guests through a lifetime of cherished moments. Focusing on clarity, balance, and a narrative flow makes the experience more impactful and comforting for everyone involved.”
Crafting Your Display: Practical Steps and Materials
With your design conceptualized, you move to the practical aspects of assembling your memorial photo tribute. Using archival quality materials and thoughtful presentation techniques ensures your remembrance display looks professional and lasts longer.
Printing Your Photos:
- Photo Paper: Print photos on high-quality, archival photo paper. Matte finishes reduce glare, while glossy papers offer vibrant colors. Opt for acid-free paper to prevent yellowing over time.
- Print Size: Vary the sizes of your prints to create visual interest. Larger prints can highlight key moments, while smaller ones fill in the narrative. Ensure consistency in print quality if using multiple sizes.
- Professional Printing: Consider using a reputable photo lab for printing. They offer superior color accuracy and paper quality compared to most home printers.
Assembling Your Memory Board or Display:
- Backing Material: For a memory board, use sturdy foam core board, cork board, or rigid poster board. Ensure it is acid-free if you intend the display to be permanent.
- Mounting Photos:
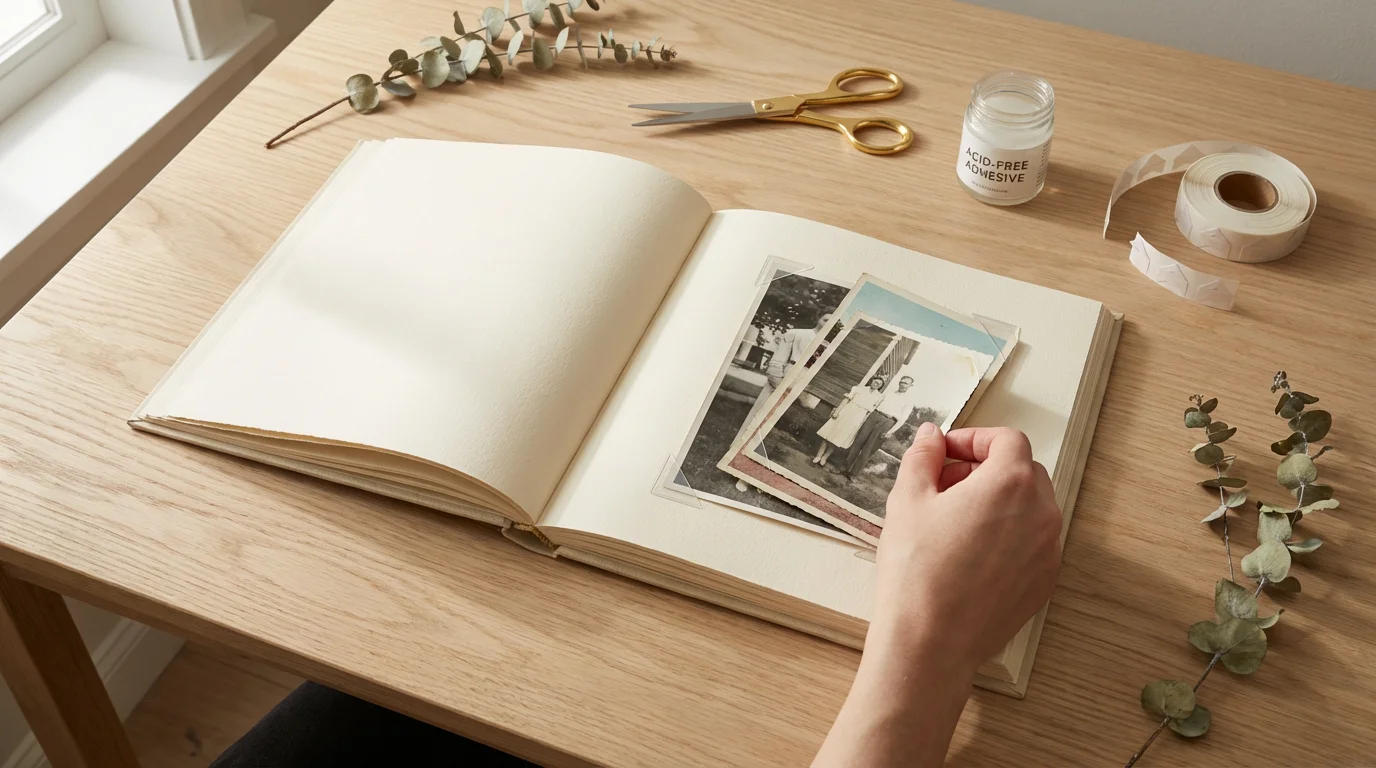
- Photo Corners: Use acid-free photo corners for a reversible mounting method. This allows you to remove photos later without damage.
- Archival Adhesive: For a more permanent display, use acid-free, photo-safe adhesive dots, tape, or spray. Apply sparingly and ensure it will not bleed through or damage the photo.
- Matting: Matting key photos with acid-free mat board adds a professional touch and visually separates images.
- Captions and Text: Print captions clearly on archival paper or cardstock. Use a readable font and size. Attach them near the corresponding photos. Hand-written anecdotes can add a personal, touching element.
- Borders and Embellishments: Simple, elegant borders around the photos or the display can enhance its appearance. Avoid glitter, stickers, or materials that could damage photos or distract from the tribute’s solemnity.
For a digital slideshow, choose appropriate background music that reflects your loved one’s taste or evokes a comforting mood. Keep transitions smooth and consistent. Ensure the slideshow length allows ample time for viewing without being overly long. As a general guideline, aim for 5-10 seconds per photo.
Always think about the environment where you will display the tribute. If outdoors, ensure protection from wind, sun, or rain. Indoors, consider lighting—avoid direct sunlight that can cause fading, and ensure adequate illumination for easy viewing.
Beyond the Event: Creating Lasting Remembrance
While the immediate memorial event provides a setting for your tribute, its purpose extends far beyond a single day. Think about how you can preserve and share this memorial photo tribute for years to come, creating a lasting legacy of remembrance.
Archiving and Sharing Your Digital Tribute:
- Cloud Storage: Keep your digitized photos and the final digital slideshow in a secure cloud storage service (e.g., Google Drive, Dropbox, iCloud). This provides an offsite backup and easy access for sharing with family members worldwide.
- External Hard Drive: Maintain a physical backup of all digital files on an external hard drive. Store this drive in a safe, cool, and dry place, away from extreme temperatures or humidity.
- Family Website or Blog: Consider creating a simple website or a private blog where family members can access the memorial photo tribute, share their own memories, and upload additional photos.
- Printed Photo Books: Compile the curated photos into a beautifully printed photo book. Several online services offer high-quality photo book creation. This provides a tangible keepsake that can be shared and revisited for generations.
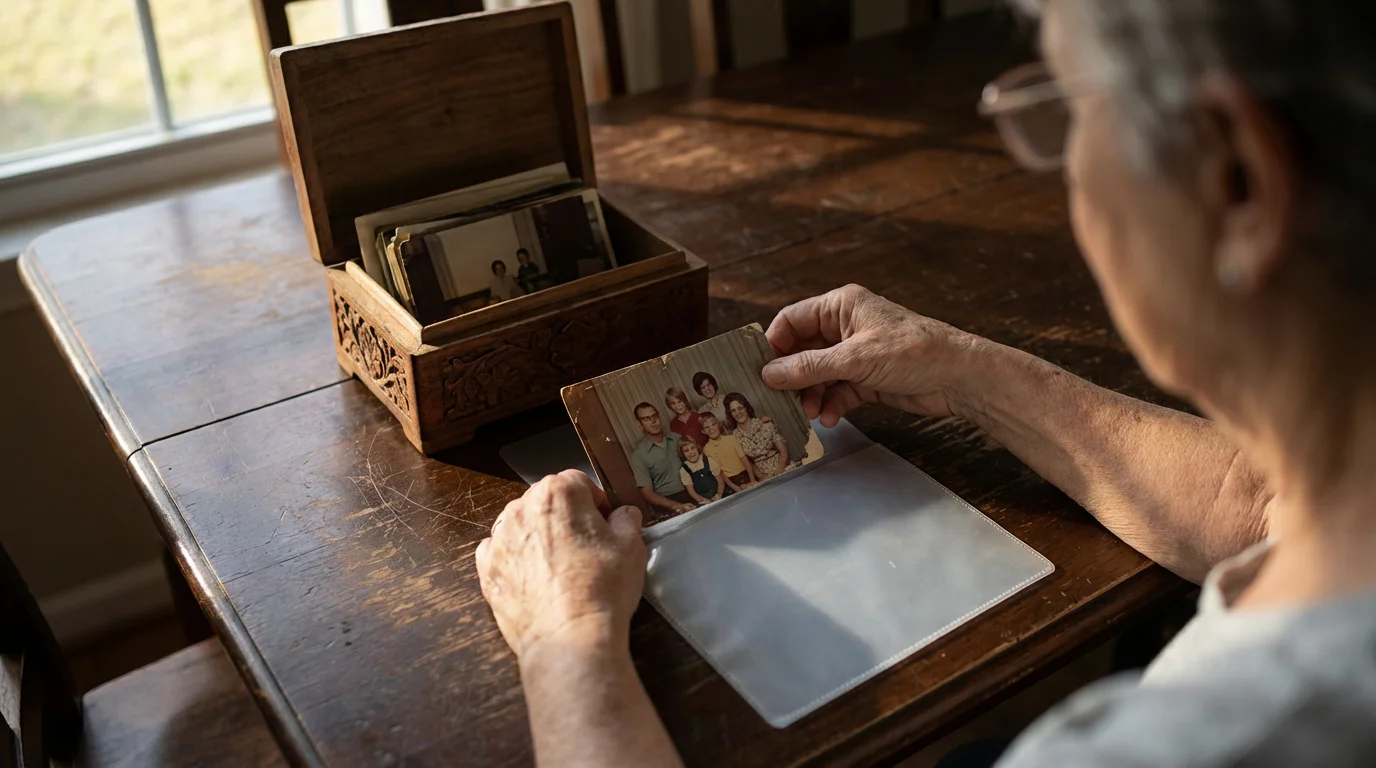
For physical memory boards, consider carefully disassembling them after the event. Store key photos in archival sleeves and boxes, or convert the board’s contents into a more permanent album or digital collection. This ensures that the effort you put into selecting and displaying these precious images results in a sustained tribute to your loved one.
Creating a memorial photo tribute is a heartfelt act of love. It not only honors the memory of someone important but also provides a source of comfort and connection for everyone who shares in their remembrance. By following these steps, you build a beautiful and lasting testament to a life cherished.
Frequently Asked Questions
How many photos should I include in a memorial photo tribute?
The ideal number of photos depends on the display format and available space. For a physical memory board, 30-50 photos often create a balanced display without overwhelming viewers. For a digital slideshow, you can use more, perhaps 50-100, ensuring each photo has sufficient viewing time (5-10 seconds). Focus on quality and narrative impact over sheer quantity.
What is the best way to arrange photos for a remembrance display?
Arranging photos chronologically, from early childhood to later life, provides a clear and moving narrative of your loved one’s journey. Alternatively, you can group photos thematically, such as “Family,” “Hobbies,” or “Travels,” to highlight different facets of their life. Choose the method that best tells their unique story.
Can I use damaged old photos for a memorial photo tribute?
Yes, you absolutely can. First, carefully digitize the damaged photos using a flatbed scanner. Once digitized, you can often use photo editing software to restore colors, remove creases, repair tears, or enhance clarity. This allows you to use even very old or damaged images beautifully in your memorial photo tribute without risking the original prints.
Should I add captions to my memorial photo tribute?
Adding captions significantly enhances a memorial photo tribute. Brief, informative captions identifying people, dates, and locations, or sharing a short anecdote, provide context and evoke stronger memories for viewers. Use a clear, readable font and attach captions discreetly below or beside the corresponding photos.
How do I protect the photos I use in a physical memory board?
To protect photos in a physical remembrance display, print them on archival-quality photo paper. When attaching them to the board, use acid-free photo corners or photo-safe adhesive to prevent damage. Avoid direct sunlight or extreme temperatures if the display remains up for an extended period, as these conditions can cause fading and deterioration.
Disclaimer: This article is for informational purposes only. When handling valuable or irreplaceable photographs, consider consulting a professional conservator. Always test preservation methods on non-valuable items first.