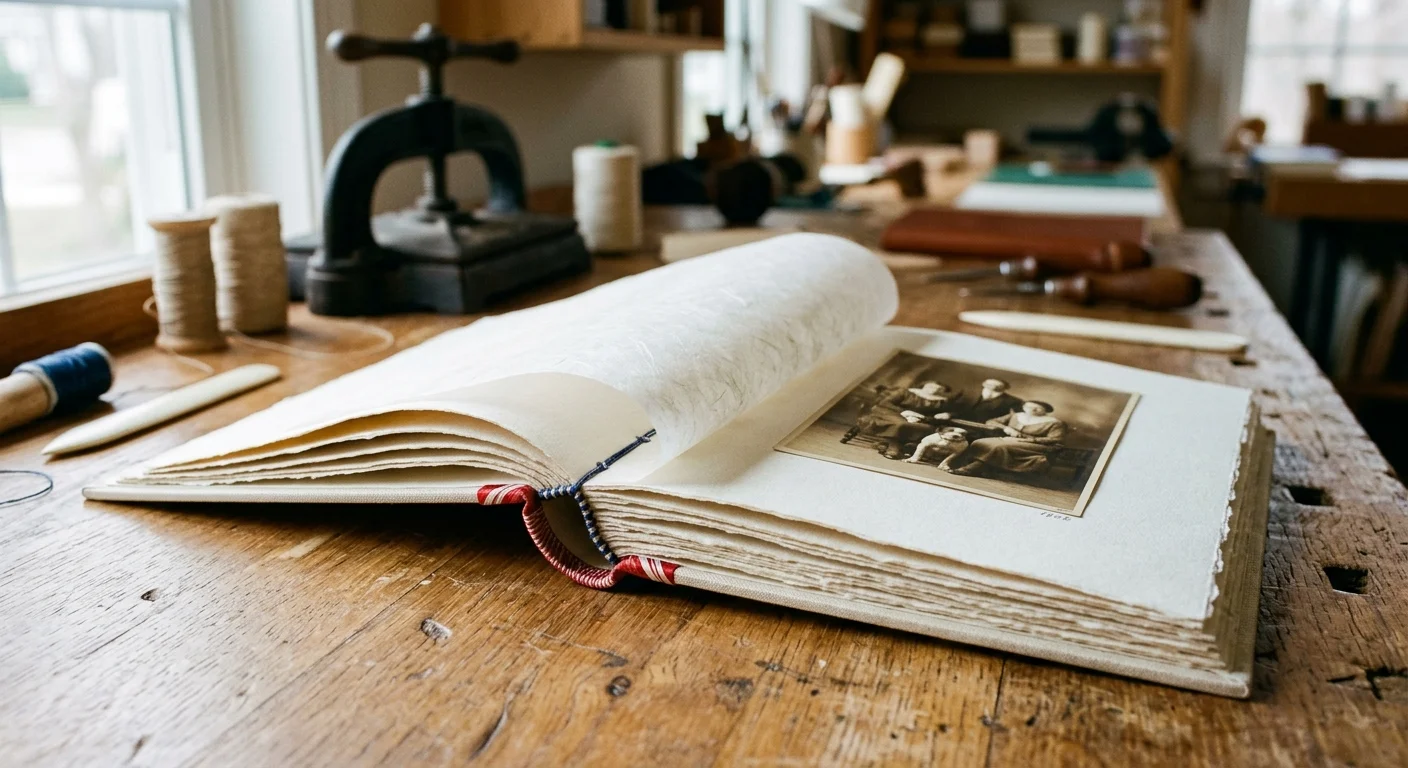
You can celebrate your tenth anniversary by hand-crafting a Kangxi stitch binding scrapbook that balances thick cotton rag sheets with gossamer mulberry interleaving. This architectural binding safeguards a decade of silver gelatin and pigment prints against surface friction.
Standard tutorials ignore paper physics, causing stiff art paper to slice through sheer interleaf leaves along the spine. Master the exact sewing-hole spacing ratios and pull tension to prevent page shear.
By calculating margin depths and stitch geometry, your DIY handmade heirloom photo album will open smoothly without tearing irreplaceable anniversary memories.
The Mechanics of Kangxi Binding for Mixed-Weight Heirlooms
A Japanese stab binding pierces clean through the entire text block rather than gathering folded signatures. This creates a rigid clamped spine along the binding margin.
Traditional four-hole binding, or Yotsume Toji, works well for single-weight, flexible calligraphy papers. However, mounting heavy anniversary photos demands an upgraded mechanical design.
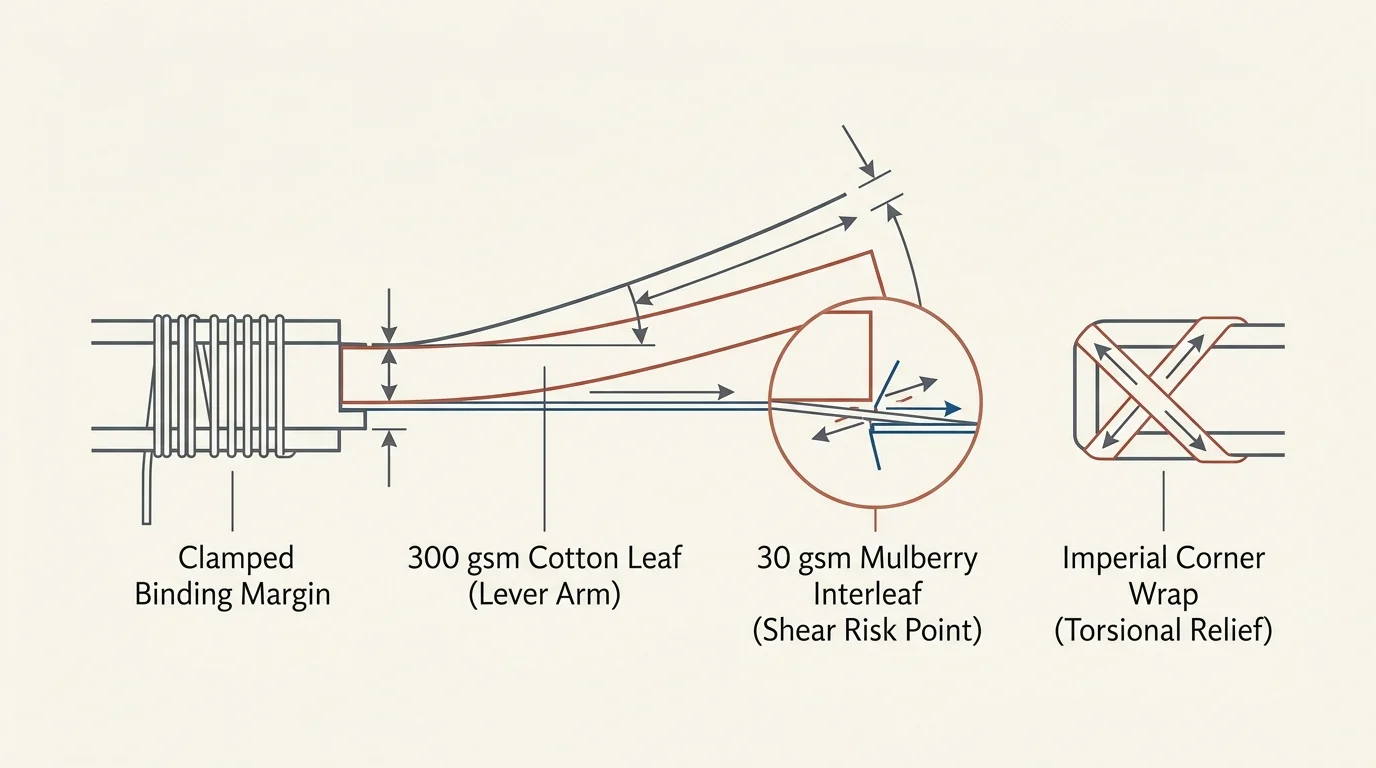
The Kangxi (Noble or Imperial) binding style introduces corner stitches that loop around both the spine and the horizontal head and tail edges. These structural wraps prevent the board covers from racking diagonally.
When you combine 300 gsm cotton rag with 30 gsm mulberry interleaves, you introduce an extreme differential in tensile strength. The thick paper acts as a mechanical lever against the spine.
Without exact hole placement, the stiff edge of the cotton paper tears through the thin Japanese tissue. The interleaf simply shears away when you turn the page.
In side-sewn bindings, paper flexibility determines spine survival. Balancing leaf thickness with calculated margins prevents mechanical stress from shearing delicate interleaf sheets.
You neutralize this vulnerability by controlling two mechanical factors: the spine margin depth and the distance between sewing stations. The proper ratio distributes opening strain evenly across the threads.
Selecting Archival Cotton Rag and Mulberry Interleaf Papers
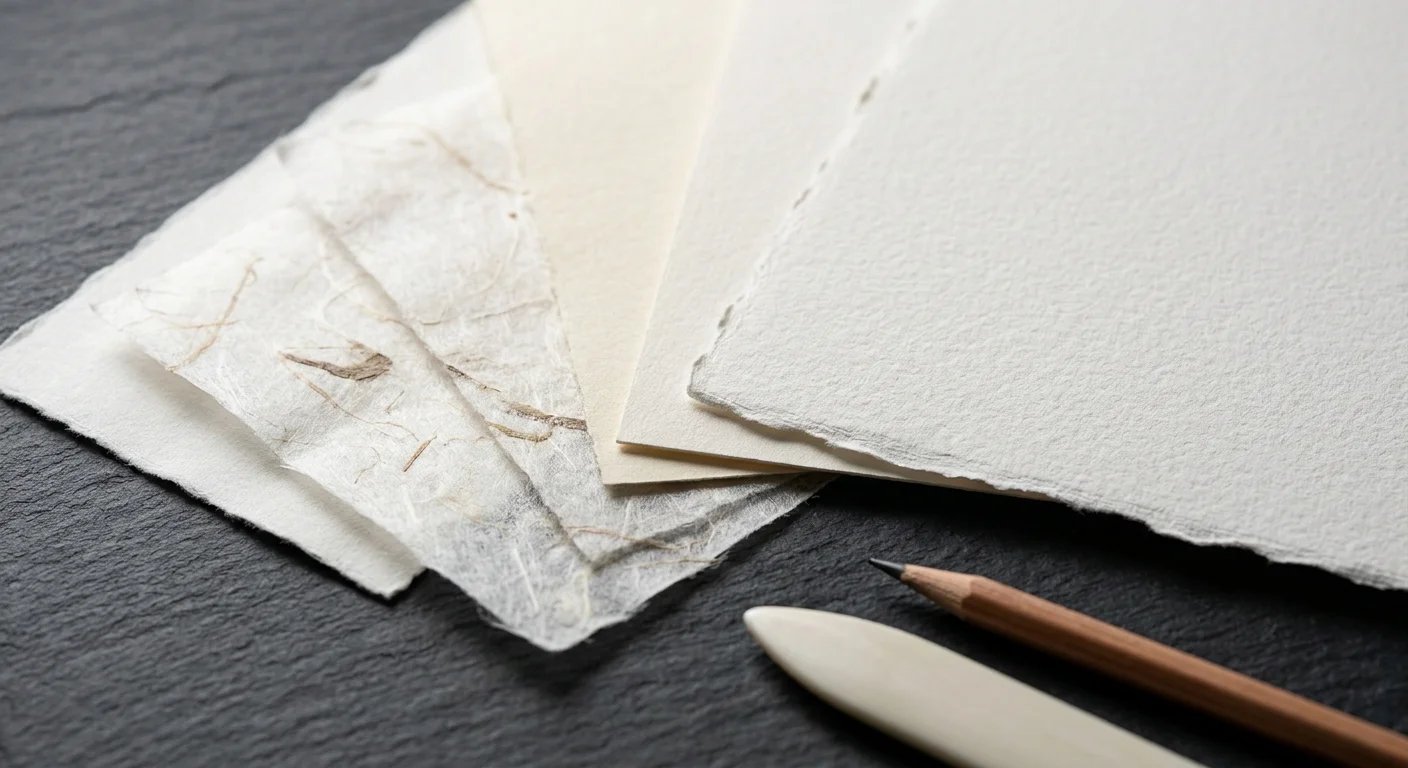
Selecting the right materials protects your photographs from chemical degradation over decades of storage. Always use unbuffered or mildly buffered 100% cotton rag paper for your primary mounting leaves.
Somerset Velvet 250 gsm and Arches BFK Rives 280 gsm provide outstanding dimensional stability and tactile luxury. Their cotton fibers resist mechanical fatigue along the flex line.
For your interleaving leaves, select artisanal Japanese mulberry paper such as 30 gsm handmade Sekishu or machine-made Awagami Kozo. These thin sheets prevent glossy photo emulsions from sticking together.
Consult the preservation guidelines published by the American Institute for Conservation to verify paper chemical stability. Confirm your papers pass the Photographic Activity Test (ISO 18916).
Paper grain direction is non-negotiable for side-sewn books. The grain of every mounting leaf and interleaf must run parallel to the sewn spine edge.
If the paper grain runs horizontally, your leaves will resist flexing. This perpendicular stiffness exerts tremendous tearing force on your stitch stations whenever you turn a page.
You can locate paper grain by gently flexing a test sheet in both directions. The grain runs parallel to the direction of least resistance.
Calculating the Golden Sewing-Margin and Hole-Spacing Ratios
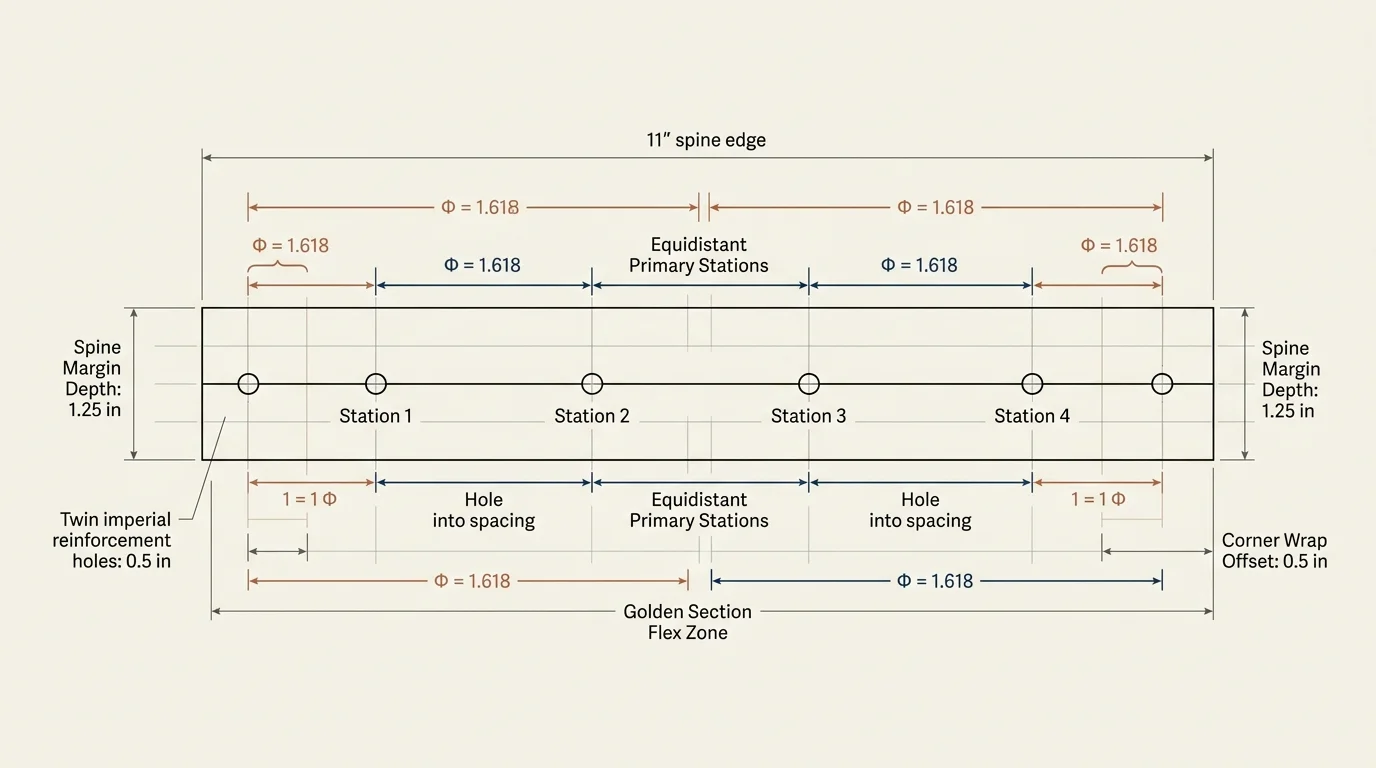
Standard stab bindings often fail because artisans punch holes arbitrarily close to the spine edge. A heavy cotton book requires a wider clamping margin to accommodate paper hinge flex.
Calculate your spine margin depth using the formula: Margin Depth equals the total text block thickness multiplied by 1.5, plus a baseline allowance of 15 millimeters.
For an album text block measuring 12 millimeters thick, your spine margin must be 33 millimeters deep. Punching inside this boundary guarantees the cotton sheets will flex without crushing.
The Kangxi style requires six distinct sewing stations along the spine margin line. These include two primary corner holes, two secondary corner wraps, and two equidistant intermediate holes.
Establish your sewing line directly in the center of the spine margin allowance. For a 30-millimeter margin, position the sewing line exactly 15 millimeters from the trimmed spine edge.
Next, calculate your primary corner hole locations. Place these primary stations inward from the head and tail edges by a distance equal to your spine margin depth.
Place secondary corner holes precisely halfway between each primary hole and the adjacent album edge. These specialized holes anchor the distinctive Kangxi decorative reinforcement loops.
Finally, divide the remaining distance between the two primary corner holes into three equal segments. This geometric division establishes the coordinates for your two interior sewing stations.
Worked Example: Spacing Calculations for an Heirloom Portfolio
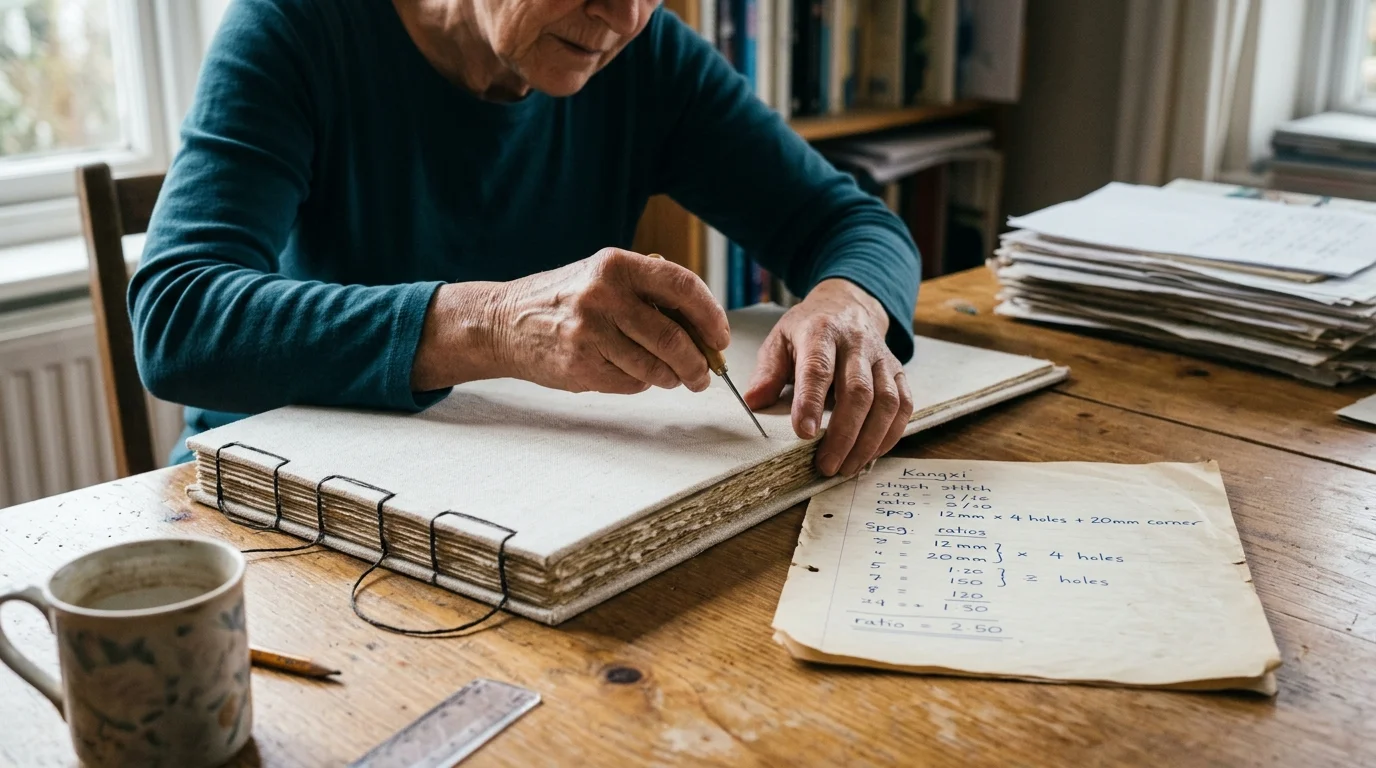
Consider an archival landscape scrapbook measuring 210 millimeters in height by 297 millimeters in width. The album contains twenty leaves of 300 gsm Somerset Velvet and twenty interleaf sheets.
When compressed under weight, this text block measures exactly 10 millimeters in thickness. Applying our formula produces a binding margin depth of 30 millimeters.
Mark your vertical sewing line down the spine, positioned exactly 15 millimeters inward from the raw spine edge. All sewing stations will center on this line.
Set your top primary hole at 30 millimeters down from the head edge. Set your bottom primary hole at 30 millimeters up from the tail edge.
Mark your secondary corner holes at 15 millimeters from the head edge and 15 millimeters from the tail edge. These positions split the difference to the outer corners.
Now calculate the span between your primary stations: 210 millimeters total height minus 60 millimeters equals 150 millimeters. Divide 150 millimeters by three equal spaces of 50 millimeters.
Your intermediate holes fall precisely at 80 millimeters and 130 millimeters down from the head edge. This distribution yields four perfectly balanced mechanical anchors along your spine.
Use a steel ruler and a mechanical pencil to draft this template onto archival cardstock. Never measure directly on your heirloom cotton leaves without a verified punch guide.
Thread Tension Math and Precision Punching Execution
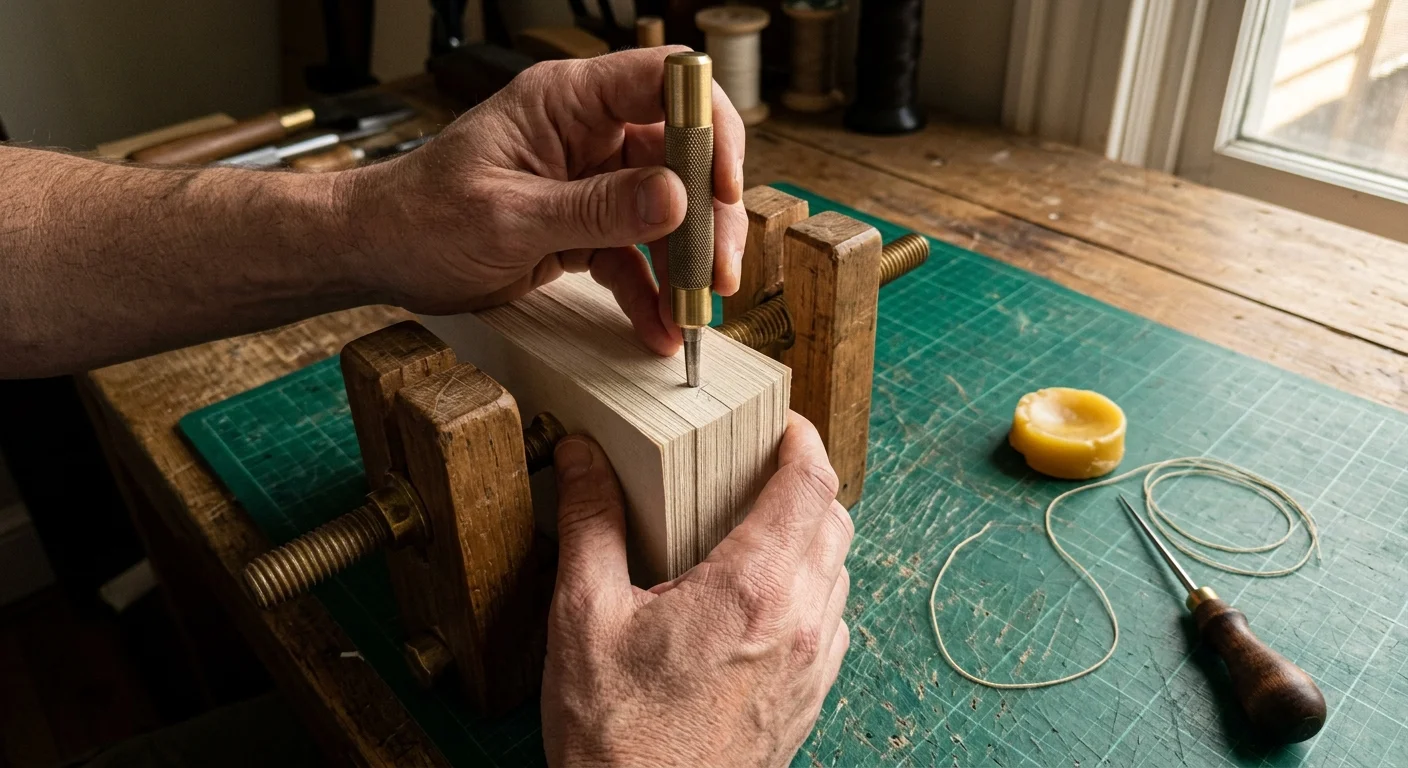
Clean holes are critical when combining high-density cotton with light mulberry tissue. An ordinary awl pushes fibers aside, creating an uneven bulge that tears thin interleaves.
Use a professional Japanese screw punch fitted with a 2.0-millimeter or 2.5-millimeter hollow drill bit. A sharp circular punch extracts paper cores cleanly without stressing internal fibers.
Clamp your complete text block between scrap binder boards using rubber-padded hand clamps. Clamping compresses the mixed papers and prevents interleaves from twisting around the punch bit.
Align your punch strictly perpendicular to the board surface. Press firmly downward until the rotary bit cuts through the final bottom cover.
Thread your binding needle with 4-ply or 3-ply waxed linen bookbinding thread. Waxed linen resists humidity fluctuations and locks down knot friction inside the binding channel.
Calculate your required thread length using the formula: album height multiplied by six, plus 300 millimeters for knotting. For a 210-millimeter spine, cut your thread to 1,560 millimeters.
Thread tension requires delicate calibration. Pull each stitch until the thread rests flat against the cover cloth, but stop before the thread indents the surface.
Always draw the needle and thread parallel to the spine edge rather than pulling straight upward. Pulling outward distributes friction against the cotton core rather than ripping through the mulberry margin.
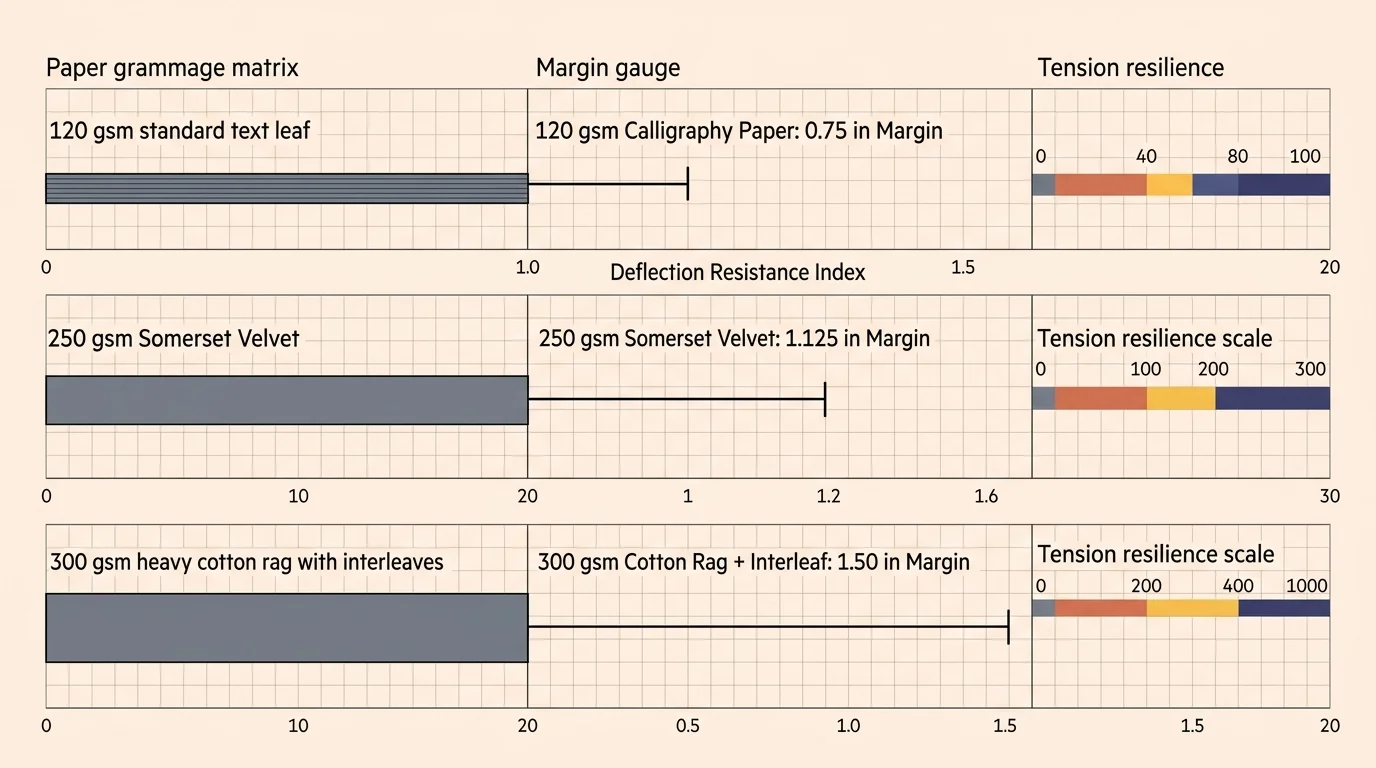
Spine Margins and Paper Grammage Configuration Matrix
Different combinations of photographic mounting boards and protective tissues require customized margin depths. The table below details recommended dimensional ratios for typical heirloom scrapbooks.
| Leaf Configuration | Block Bulk (mm) | Margin Depth (mm) | Punch Diameter (mm) | Thread Specification |
|---|---|---|---|---|
| 200 gsm Rag + 20 gsm Tissue | 8.0 | 27.0 | 2.0 | 18/3 Waxed Linen |
| 250 gsm Rag + 30 gsm Kozo | 10.0 | 30.0 | 2.0 | 18/3 Waxed Linen |
| 300 gsm Rag + 35 gsm Sekishu | 13.5 | 35.0 | 2.5 | 18/4 Waxed Linen |
| 350 gsm Rag + 45 gsm Awagami | 16.0 | 39.0 | 3.0 | 18/4 Waxed Linen |
Notice how margin depth increases proportionally as paper weight climbs. Giving heavier sheets a broader margin reduces leverage against the stitches when turning pages.
Heavier cotton boards also require larger punch holes. A 2.5-millimeter hole accommodates multiple passes of heavier 18/4 linen thread without causing binding friction.
Follow these proportional increases to prevent structural failures. Using a narrow margin on heavy cotton stock guarantees leaf tear-out after minimal handling.
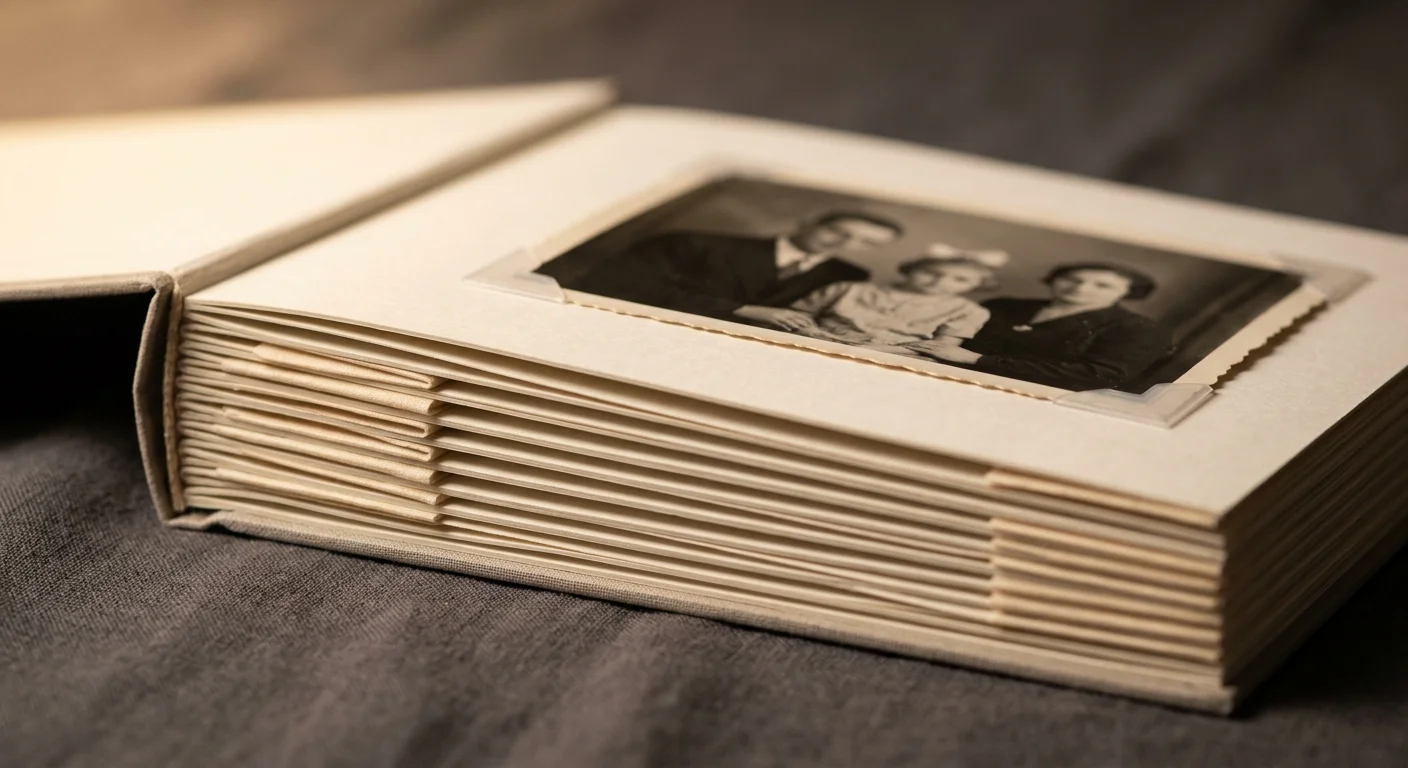
Compensating Spacers and Reversible Photo Mounting
Photographic prints add measurable thickness to the display leaves of your stitch binding scrapbook. If you fail to compensate for this bulk, your album will swell into an uneven wedge.
A wedged album concentrates extreme tension across the spine stitches while leaving the fore-edge loose and splayed. You must insert compensating spacers, or guards, along the spine margin.
Cut narrow strips of your 300 gsm cotton paper matching the exact height and margin depth of your album. Interleave one spacer strip between every two album leaves before punching.
These hidden paper strips equalize spine thickness with the center of the book. When you mount prints across the pages, the closed album remains perfectly parallel and flat.
Never glue anniversary photos directly to the page using rubber cement, aerosol adhesives, or double-sided tape. These common adhesives degrade over time and permanently destroy photographic emulsions.
Mount your milestone prints using archival polyester photo corners or Japanese paper hinges. Archival polyester corners hold prints securely while allowing photographic papers to expand naturally with atmospheric shifts.
Refer to photographic preservation standards from the Library of Congress Preservation Directorate for advice on handling silver gelatin and pigment prints. These resources detail safe housing and handling standards.
For custom photo hinging, apply pure wheat starch paste to light kozo paper strips. This traditional conservation technique creates a durable bond that remains fully reversible with moisture.
Frequently Asked Questions
Why does a Kangxi binding have extra corner stitches compared to standard four-hole binding?
Kangxi binding adds paired corner stitches that wrap both the spine and the horizontal head and tail edges. These supplementary loops lock down high-wear outer corners and prevent heavy cotton leaves from torquing out of alignment.
Can I use PVA glue along the spine to reinforce a Japanese stab binding?
Never apply adhesive along the spine margin of a stab-bound book. Adhesive eliminates leaf flexibility, causes thin mulberry leaves to snap at the glue line, and violates archival reversibility standards.
How do compensating guards prevent the album spine from splaying outward?
Compensating guards equalize the spine thickness with the added bulk of mounted photographs. Without these paper spacers sewn into the binding margin, the fore-edge will flare open like a wedge.
What thread tension is ideal when sewing heavy rag to thin mulberry paper?
Draw each stitch snug until the waxed linen lays flush against the paper surface without indenting the cotton fibers. Pull thread strictly parallel to the spine to prevent shearing delicate mulberry leaves.
Disclaimer: This article is for informational purposes only. When handling valuable or irreplaceable photographs, consider consulting a professional conservator. Always test preservation methods on non-valuable items first.