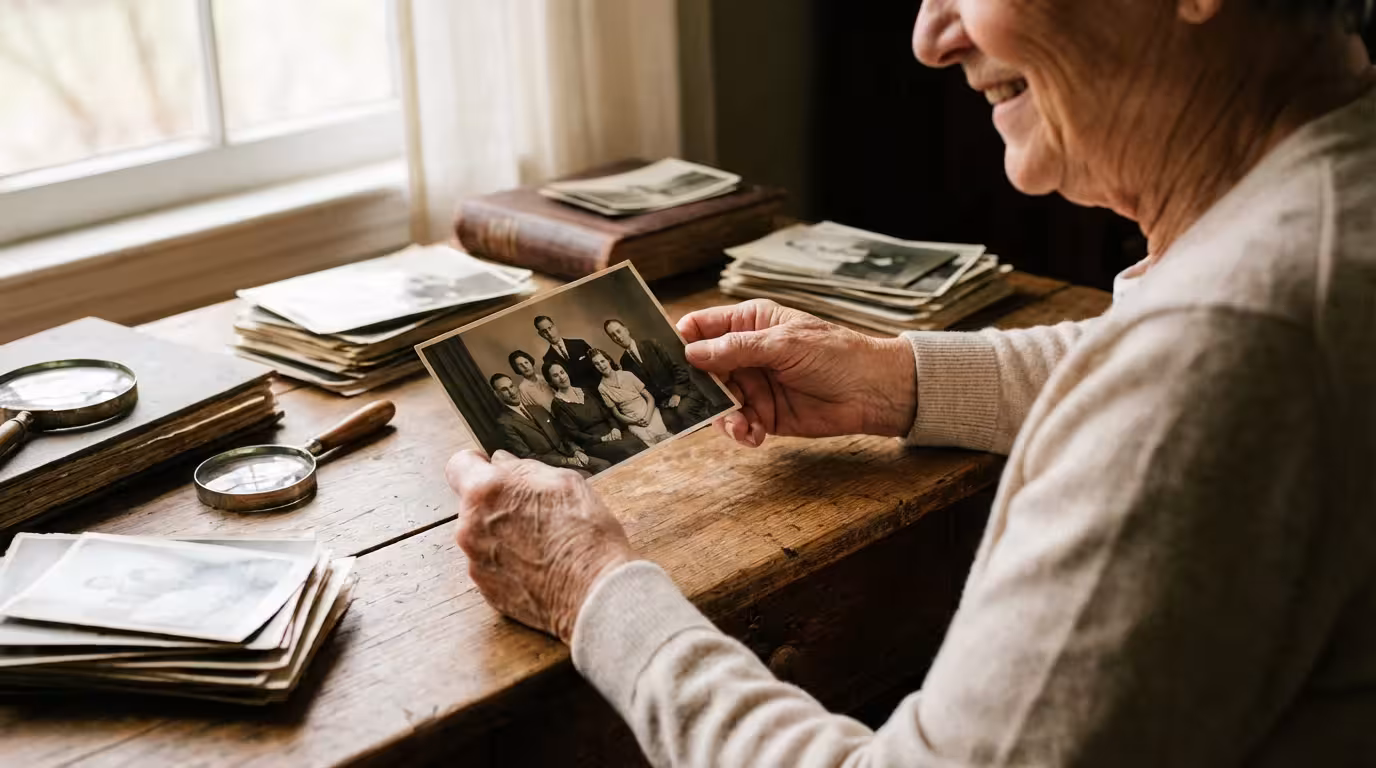
Your family photographs serve as more than just snapshots; they are tangible links to your history, capturing moments that defined your ancestors and your own childhood. However, these physical prints are inherently fragile. They consist of complex layers of paper, gelatin, and chemical dyes—all of which are susceptible to decay the moment they leave the darkroom or the printer. If you have inherited a shoebox full of curling black-and-white prints or have stacks of color photos from the 1970s that are beginning to turn an eerie shade of orange, you are witnessing the slow march of chemical degradation. Fortunately, you can stop this process in its tracks. By implementing professional photo preservation techniques, you ensure that these precious memories survive for several more generations.
By taking these steps, you are actively building a family photo archive that will remain intact for your descendants.
Identifying the Primary Threats to Your Photo Collection
To protect your photos, you must first understand what is trying to destroy them. Preservation experts often refer to the “Enemies of Conservation,” which include environmental factors, biological threats, and human error. Light is perhaps the most aggressive culprit. Ultraviolet (UV) radiation breaks down the molecular bonds in photographic dyes, causing them to fade. Once these dyes are gone, they cannot be recovered through physical means; the information is lost forever. This is why you should never hang an original, irreplaceable photograph in direct sunlight.
Humidity and temperature act as catalysts for chemical reactions. High heat speeds up the rate of “vinegar syndrome” in acetate films and causes the paper base of prints to become brittle. Excessive humidity, generally anything over 60%, encourages the growth of mold and mildew—which literally digest the gelatin emulsion on your photos. Conversely, if the air is too dry (below 15% humidity), the photos can curl and crack. The goal is stability; frequent fluctuations in temperature cause the different layers of a photo to expand and contract at different rates, eventually leading to delamination.
Chemical threats also hide in plain sight. Many common household items, such as cardboard shoeboxes, wooden trunks, and standard adhesive tapes, contain acids and lignins. Lignin is a natural component of wood that turns paper yellow and brittle over time. When your photos sit in a non-archival box, they “off-gas” and absorb these acids, leading to the characteristic yellowing you see in old newspaper clippings. Even the air in your home contains pollutants like sulfur dioxide and ozone, which can tarnish the silver in older black-and-white prints, creating a metallic sheen known as “silver mirroring.”
Understanding Archival Standards and Material Chemistry
When you begin shopping for supplies, you will encounter the term “archival” everywhere. However, because this term is not strictly regulated by the government, manufacturers often use it as a marketing buzzword rather than a technical specification. To truly protect your collection, you need to look for specific certifications. The most important of these is the Photographic Activity Test (PAT). Developed by the Image Permanence Institute, the PAT is an international standard (ISO 18916) that tests whether a storage material will react chemically with a photograph. If a product does not explicitly state that it has passed the PAT, you should assume it is not safe for long-term photo storage.
You also need to distinguish between “acid-free” and “buffered” materials. Acid-free paper has a pH of 7.0 or higher at the time of manufacture. Buffered paper contains an added alkaline substance, usually calcium carbonate, which acts as a shield to neutralize any acids that might migrate into the box from the environment. While buffered materials are excellent for most black-and-white prints, some experts suggest using unbuffered materials for specific types of color processes or cyanotypes (blueprints), as the high pH can occasionally affect certain dyes. For a general family collection, high-quality buffered, acid-free, and lignin-free paper is the standard choice.
“Preservation is not about stopping time; it is about slowing the inevitable chemical decay of physical media to a point where the lifespan of the object is measured in centuries rather than decades.”
Selecting the Best Photo Storage Containers
The container you choose acts as the first line of defense against dust, light, and pests. You have two primary paths: paper-based storage or plastic-based storage. Both have their merits depending on how often you plan to view the photos and the climate of your storage area.
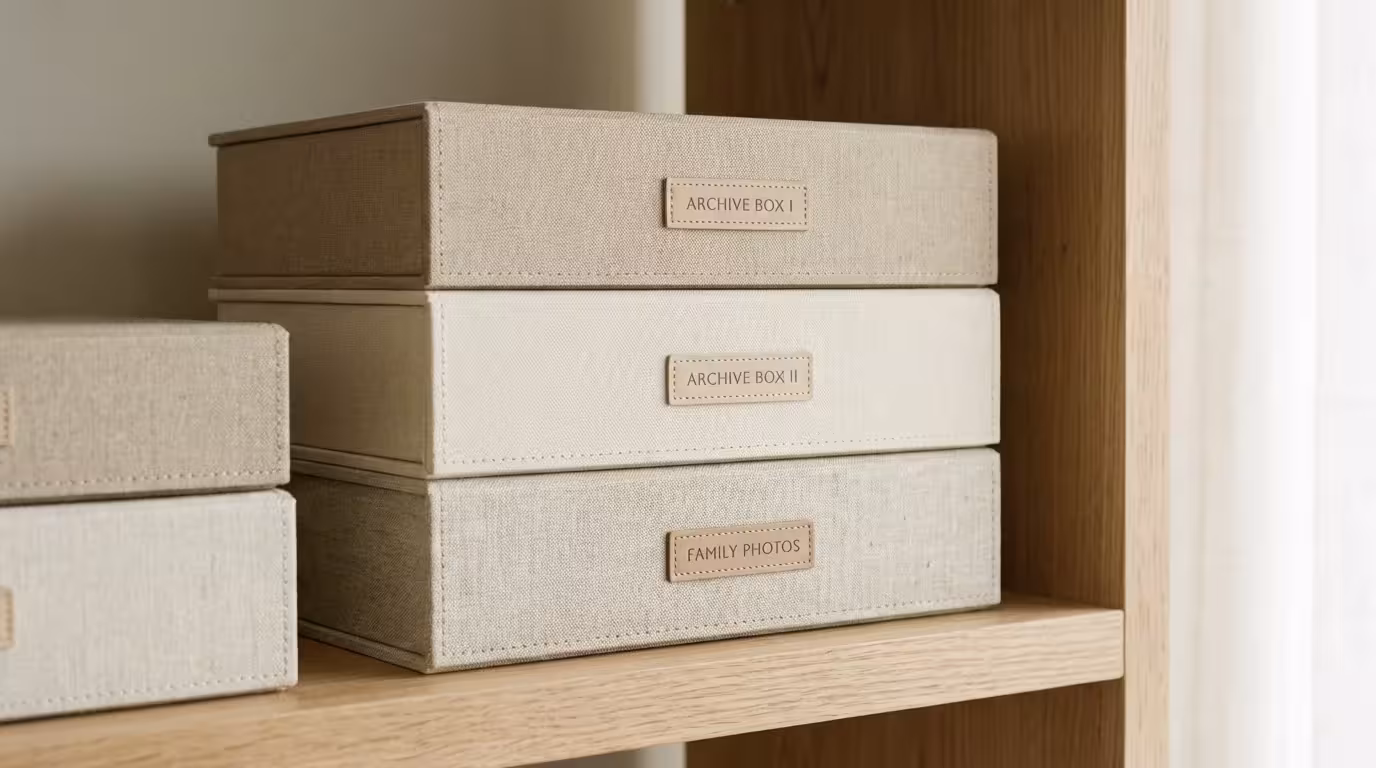
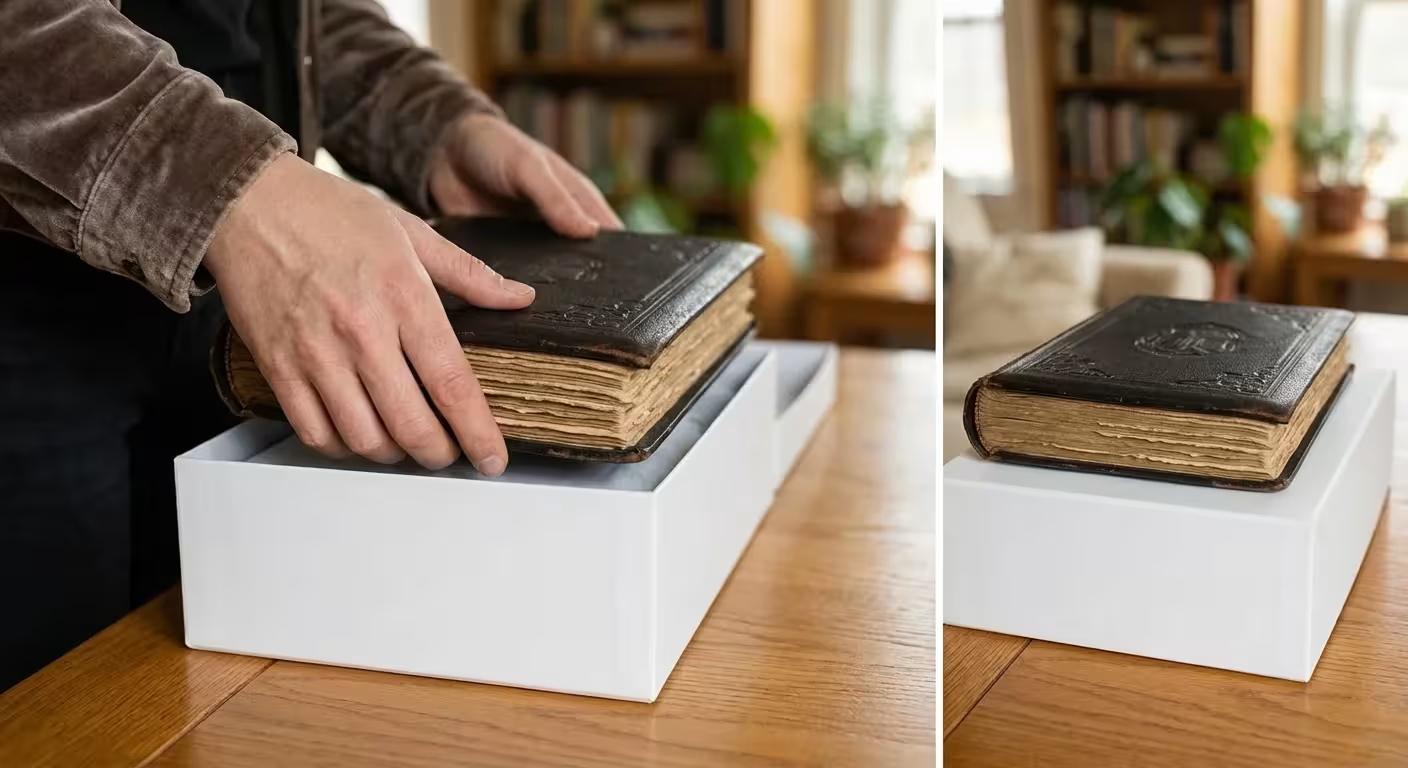
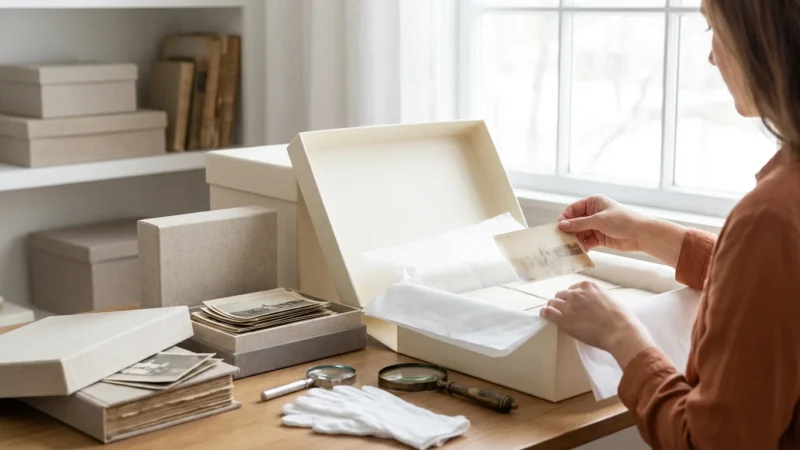
Paper envelopes and boxes are opaque, which provides a natural barrier against light. They are also breathable, preventing the buildup of moisture or gases inside the container. If you have a large volume of photos that you don’t look at frequently, acid-free, PAT-passed boxes are the most space-efficient and cost-effective method. Look for “clamshell” or “drop-front” boxes; these allow you to slide photos out flat rather than digging through them, which prevents edge damage.
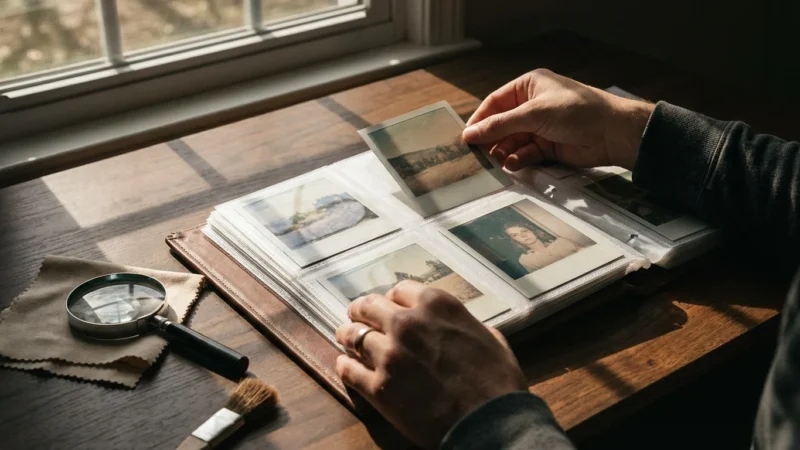
Plastic sleeves allow you to view the images without touching the photo surface. This is ideal for collections that you share with family members. However, you must be extremely selective about the type of plastic. Avoid PVC (polyvinyl chloride) at all costs. PVC releases hydrochloric acid as it degrades and contains plasticizers that will eventually fuse your photo to the sleeve. Instead, choose chemically inert plastics such as polyester (often sold under the brand name Mylar), polypropylene, or polyethylene. Polyester is the gold standard for clarity and strength, though it can generate static electricity which may attract dust or lift flaking emulsion from very damaged photos.
| Material Type | Pros | Cons |
|---|---|---|
| Acid-Free Paper | Breathable, blocks light, prevents gas buildup. | Cannot see the photo without handling it. |
| Polyester (Mylar) | Crystal clear, chemically inert, very durable. | Can be expensive; prone to static electricity. |
| Polypropylene | Affordable, safe for most prints, available in many sizes. | Less clear than polyester; thinner material. |
| Metal (Enameled) | Best protection against fire and water. | Heavy and very expensive. |
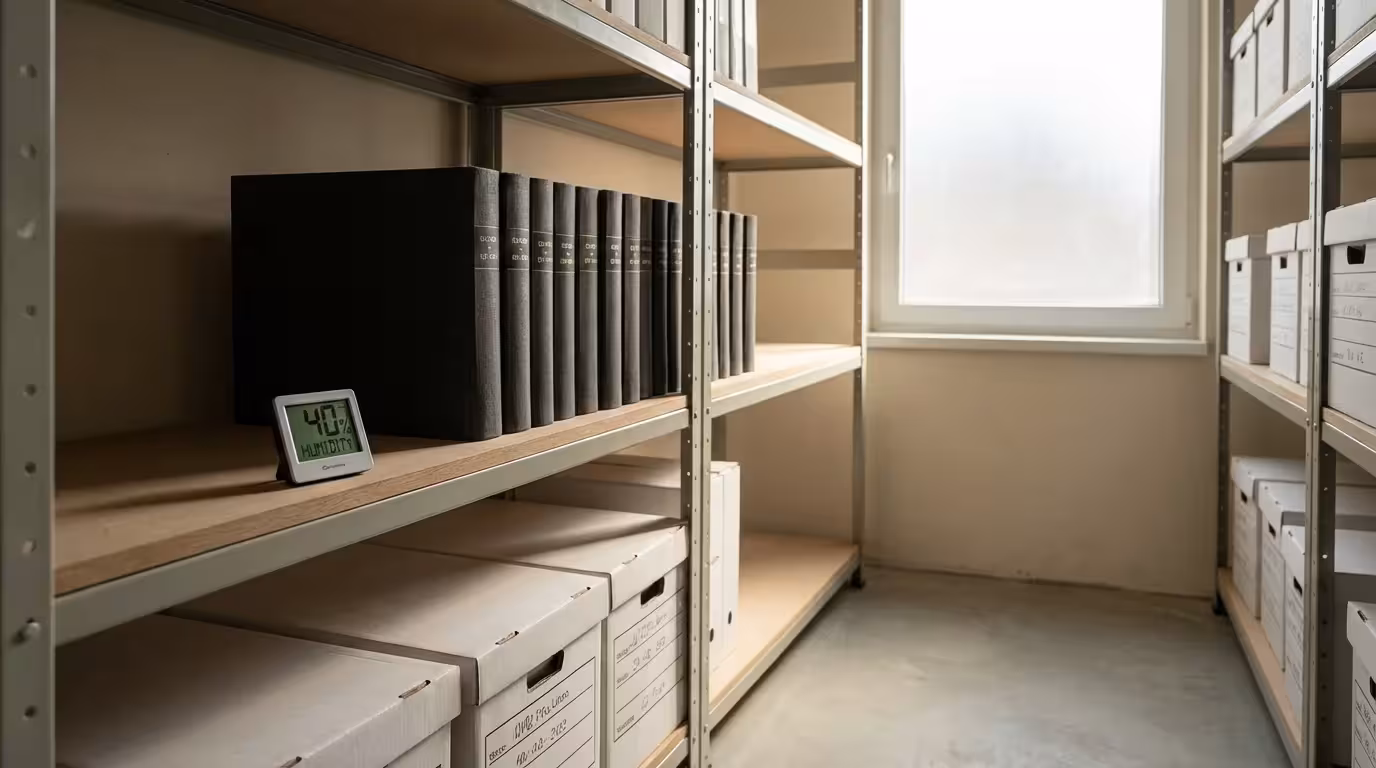
Creating the Perfect Storage Environment in Your Home
You can buy the most expensive archival boxes in the world, but if you store them in your attic or basement, you are wasting your money. Attics are “ovens” in the summer and “freezers” in the winter. These extreme temperature swings cause the paper fibers in your photos to expand and contract, leading to warping. Basements are equally dangerous; they are prone to high humidity and the catastrophic risk of flooding from burst pipes or heavy rain. The golden rule of photo storage is: If you are comfortable, your photos are likely comfortable.
Select a location in the “living envelope” of your home. This might be an interior closet or a shelf in a bedroom. Avoid walls that face the outside of the house, as these can harbor hidden condensation or temperature gradients. You want a dark, dry, and cool space. According to the Library of Congress, even a 10-degree Fahrenheit drop in temperature can double the life of a color photograph. If you live in a particularly humid climate, consider running a dehumidifier in the room where your collection is stored to keep the relative humidity consistently between 30% and 50%.
Elevate your boxes off the floor. Even a simple shelf can save your entire family history if a nearby pipe leaks or a heavy storm pushes water into your home. Additionally, keep your storage area clean and free of food debris. Pests like silverfish and cockroaches love the starch and gelatin found in old photographs; keeping your collection in a clean, climate-controlled environment is your best defense against biological infestation.
Safe Handling and Organization Workflows
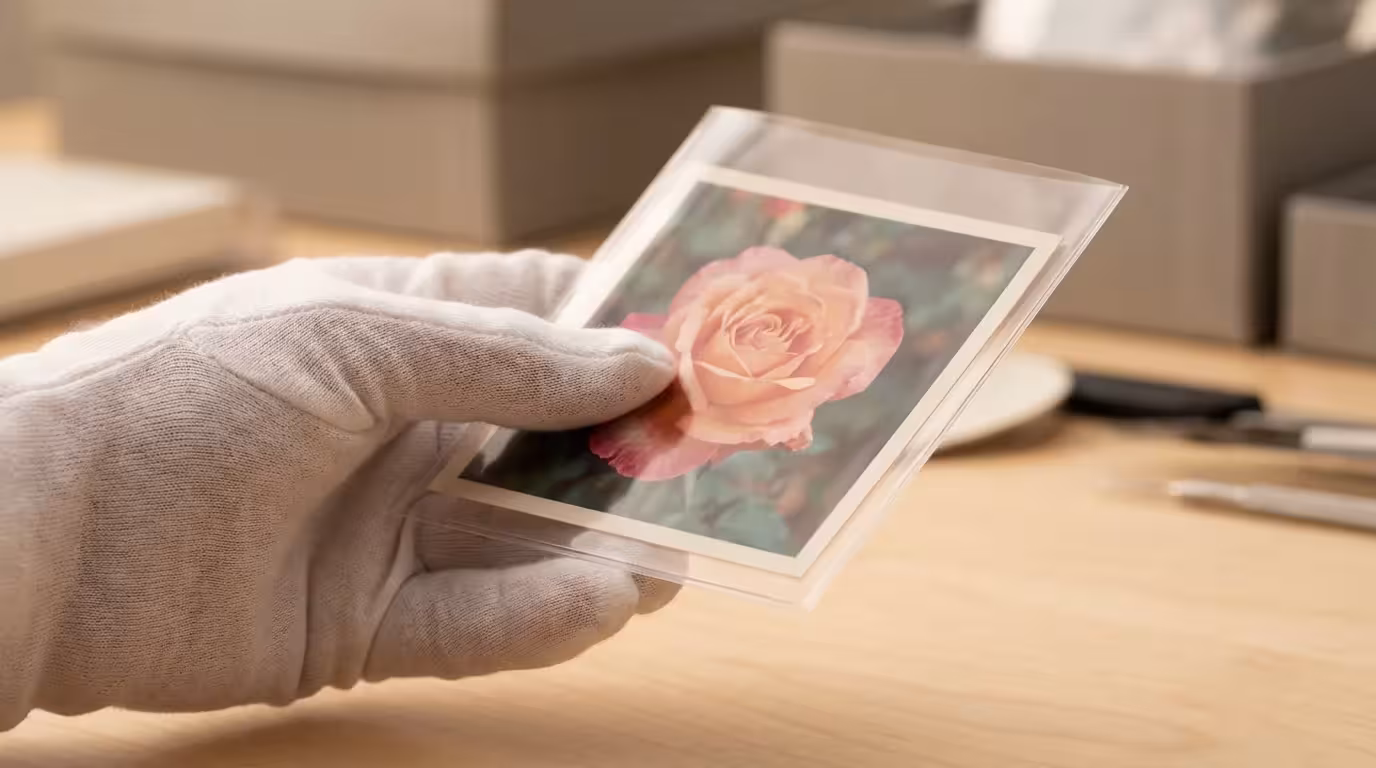
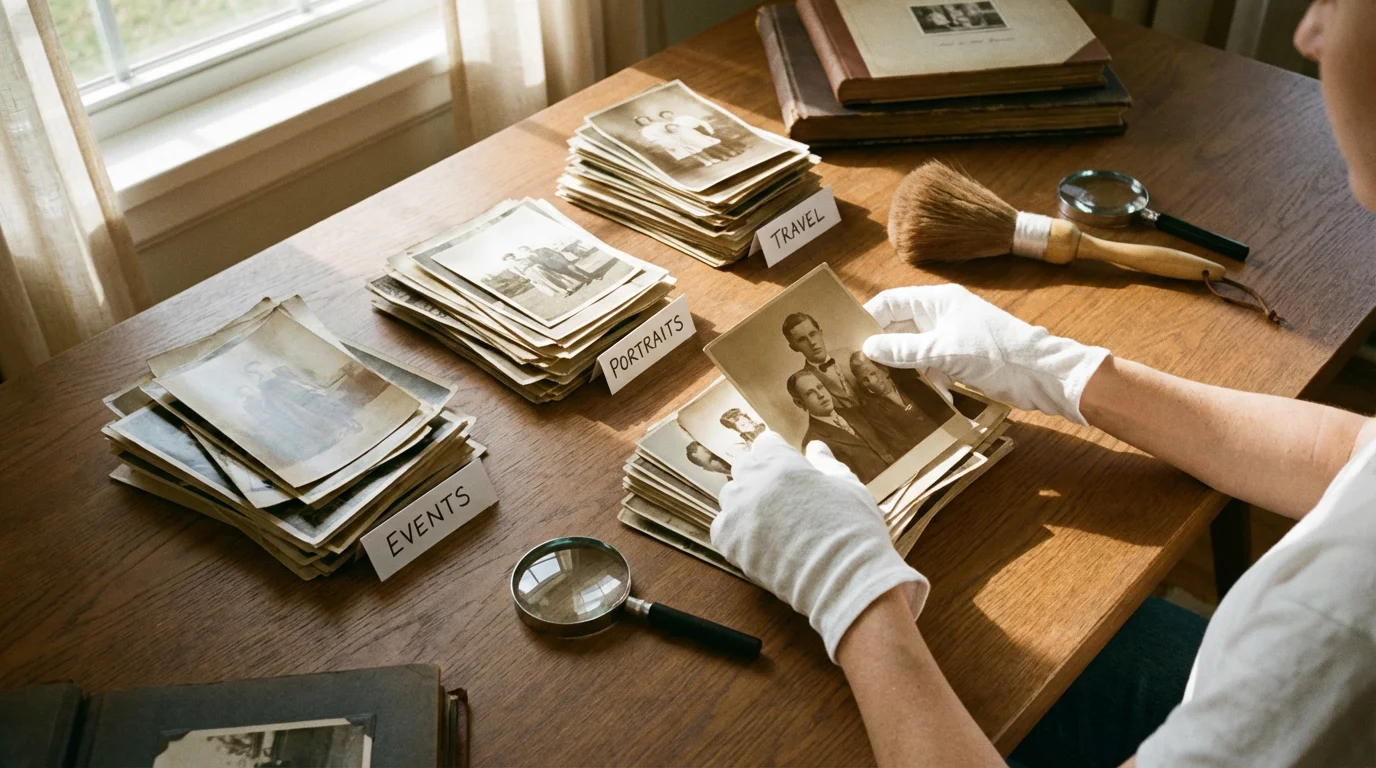
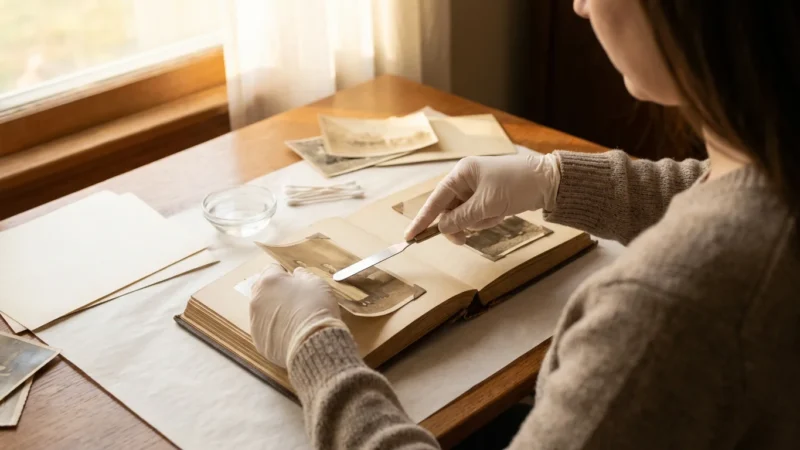
Most damage to photographs happens when we touch them. Your skin produces natural oils, salts, and perspiration that are slightly acidic. When you touch a photo with bare hands, you leave behind invisible residues that react with the silver or dyes. Over time, these residues manifest as permanent brown fingerprints or “silver mirroring.” To prevent this, always wear clean, white cotton gloves or powder-free nitrile gloves when handling your prints. Nitrile is often preferred by professionals because it provides a better grip and prevents the transfer of skin oils more effectively than cotton.
When it comes to labeling, never use a ballpoint pen or a “permanent” marker on the back of a photo. Ballpoint pens require pressure that can indent the emulsion on the front side, and the ink can eventually bleed through the paper. Markers often contain solvents that migrate through the fibers. Instead, use a soft lead pencil (2B or softer). Write lightly on the back edge of the photo. If the back of the photo has a plastic coating (common in modern RC or resin-coated prints) that a pencil won’t mark, write the information on the archival envelope or sleeve rather than the photo itself.
Approach organization systematically. It is tempting to dump all your photos onto the floor and start sorting, but this is a recipe for chaos and damage. Work on a clean, flat surface. Organize your photos into logical batches—by decade, branch of the family, or specific event. As you sort, discard items that have no sentimental or historical value, such as blurry landscapes or photos of strangers. This reduces the volume of the collection, making the preservation of truly important images more manageable. Place each batch into its designated archival container immediately to avoid accidental spills or exposure to light.

The Role of Digitization in Your Preservation Plan
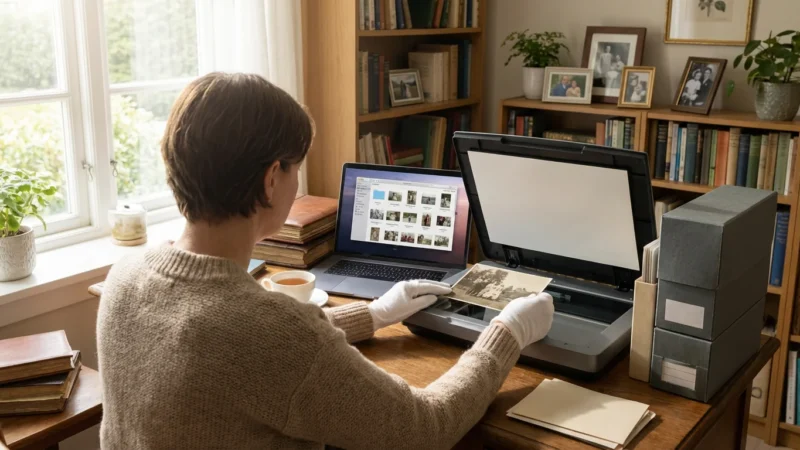
Digitization is a vital component of preservation, but you must view it as a secondary backup rather than a replacement for the original. Digital files are susceptible to bit rot, hardware failure, and format obsolescence. A physical photograph, if stored correctly, can be viewed by anyone with eyes for the next 200 years. A digital file requires a computer, specific software, and a functioning storage drive. However, digitization allows you to share memories with relatives across the globe and provides a “safety net” should the physical originals be lost to fire or natural disaster.
When scanning your photos, prioritize quality over speed. For standard prints, scan at a minimum of 600 DPI (dots per inch). This resolution allows you to enlarge the photo later without losing significant detail. If you are scanning small prints or those with high detail, consider 1200 DPI. Save your master files in the TIFF format. Unlike JPEGs, TIFFs are “lossless,” meaning they do not lose quality every time you open or save the file. Once you have your high-quality master TIFF, you can create smaller JPEG copies for sharing on social media or via email.
Follow the “3-2-1 Rule” for your digital backups:
- Keep 3 copies of your digital collection.
- Use 2 different types of media (e.g., an external hard drive and a cloud service).
- Store 1 copy off-site (e.g., a cloud provider or a drive at a relative’s house).
This redundancy ensures that a single hardware failure or local disaster won’t wipe out your entire digital archive.

Displaying Your Memories Without Risking Damage
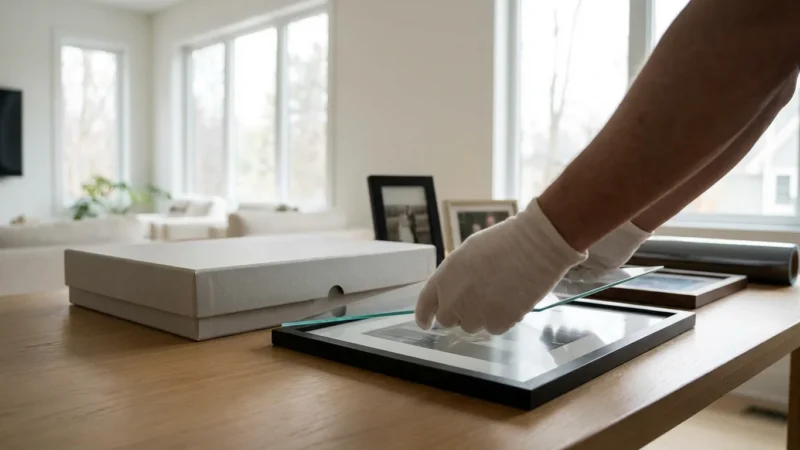
You likely want to enjoy your photos rather than keeping them hidden in boxes forever. To do this safely, you must change how you think about framing. Never place an original, irreplaceable photograph in a frame that will be exposed to sunlight. Instead, follow the “Display the Copy, Preserve the Original” rule. Scan your precious photo, have a high-quality professional print made, and frame that instead. You can display the copy anywhere without the fear of destroying your family’s heritage.
If you insist on framing an original, you must use archival framing techniques. Use UV-filtering glass or acrylic, which can block up to 99% of harmful light rays. However, remember that “UV-filtering” does not mean “light-proof.” Even visible light will eventually cause fading. Ensure that the photo is mounted using acid-free matting. The mat provides a crucial air gap between the photo and the glass. Without this gap, changes in humidity can cause the photo to stick to the glass, making it impossible to remove without tearing the emulsion. Use archival “photo corners” to secure the image to the backing board rather than using tape or glue, ensuring the process is entirely reversible.
“The most sustainable way to enjoy a family heirloom is to create a high-fidelity duplicate for the wall and keep the original in a dark, controlled environment.”
Finally, consider the rotation method. If you have a collection of favorites, rotate which ones are on display every few months. This limits the total light exposure for any single print. By being a mindful steward of your collection, you balance the joy of seeing your memories every day with the responsibility of keeping them safe for the future.
Frequently Asked Questions
Is it okay to use magnetic photo albums from the 1980s?
No, these are often called “sticky” albums for a reason. They contain acidic adhesives that eventually turn yellow and can permanently bond to your photographs. The plastic overlays are usually made of PVC, which further damages the images. If you have photos in these albums, you should carefully remove them as soon as possible. If they are stuck, do not pull on them; consult a professional or try to slide a thin piece of dental floss underneath the photo to break the adhesive bond gently.
What should I do if my photos have a strong vinegar smell?
A vinegar scent is a sign of “Vinegar Syndrome,” which occurs when the acetate film base begins to break down and release acetic acid. This process is contagious; the gases released by one deteriorating photo can trigger the breakdown of others nearby. You should immediately isolate any photos or negatives that smell like vinegar. While you cannot “cure” vinegar syndrome, you can slow it down significantly by storing the affected items in a specialized cold storage or freezer environment designed for film preservation.
Can I store my photos in a fireproof safe?
While fireproof safes protect against heat, many are not ideal for long-term photo storage. Some safes utilize “moisture-release” technology to keep the interior cool during a fire, which creates a very humid environment that can lead to mold. If you use a safe, ensure your photos are inside sealed, air-tight archival containers and include silica gel packets to manage humidity levels. Regularly check the interior to ensure no moisture is building up.
What is the safest way to clean dust off an old photo?
Never use liquids, cleaning solvents, or even a damp cloth to clean a photo, as you risk dissolving the emulsion. Instead, use a clean, soft-bristled brush (such as a high-quality make-up brush or a dedicated goat-hair archival brush) to gently sweep dust away. You can also use a manual air bulb blower (like those used for camera lenses) to puff away loose particles. If a photo has heavy soiling or stuck-on debris, it is best to leave it to a professional conservator.
Disclaimer: This article is for informational purposes only. When handling valuable or irreplaceable photographs, consider consulting a professional conservator. Always test preservation methods on non-valuable items first.


Leave a Reply