
Those small, cardboard-mounted squares sitting in your attic hold more than just images; they hold the vibrant, high-contrast history of your family. For decades, color reversal film—commonly known as slides—captured the world in a way that standard prints never could. If you have ever projected a slide onto a white sheet in a dark room, you know the specific magic of Kodachrome or Ektachrome. However, as time passes, the dyes in those slides can fade, the mounts can warp, and the equipment required to view them becomes increasingly scarce. Digitizing your collection is the only way to ensure these memories survive for the next generation.
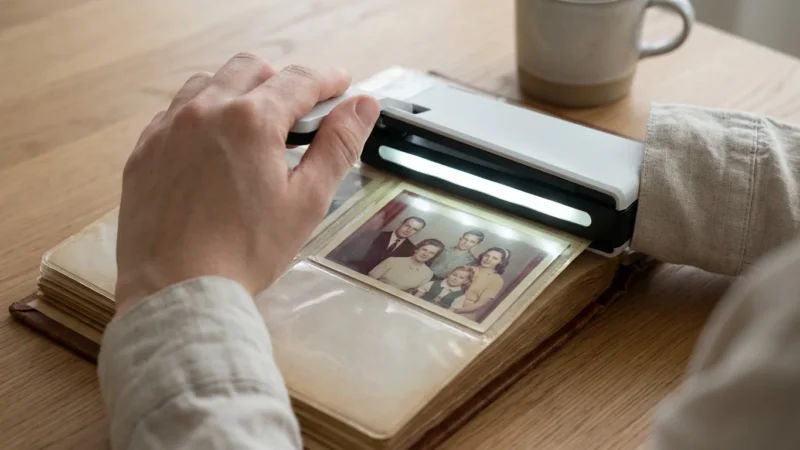
In addition to slides, many families find it equally important to consider scanning negatives at home to round out their digital legacy.
Many people feel overwhelmed by the sheer volume of boxes or the technical jargon surrounding digital imaging. You might wonder if you should buy a slide scanner, use a professional service, or attempt to convert slides to digital diy with your existing camera. This guide removes the guesswork by providing a clear, professional framework for digitizing your slides with precision and care. You will learn the specific techniques that archival experts use to achieve sharp, color-accurate results that look just as good on a modern 4K screen as they did on a projector thirty years ago.
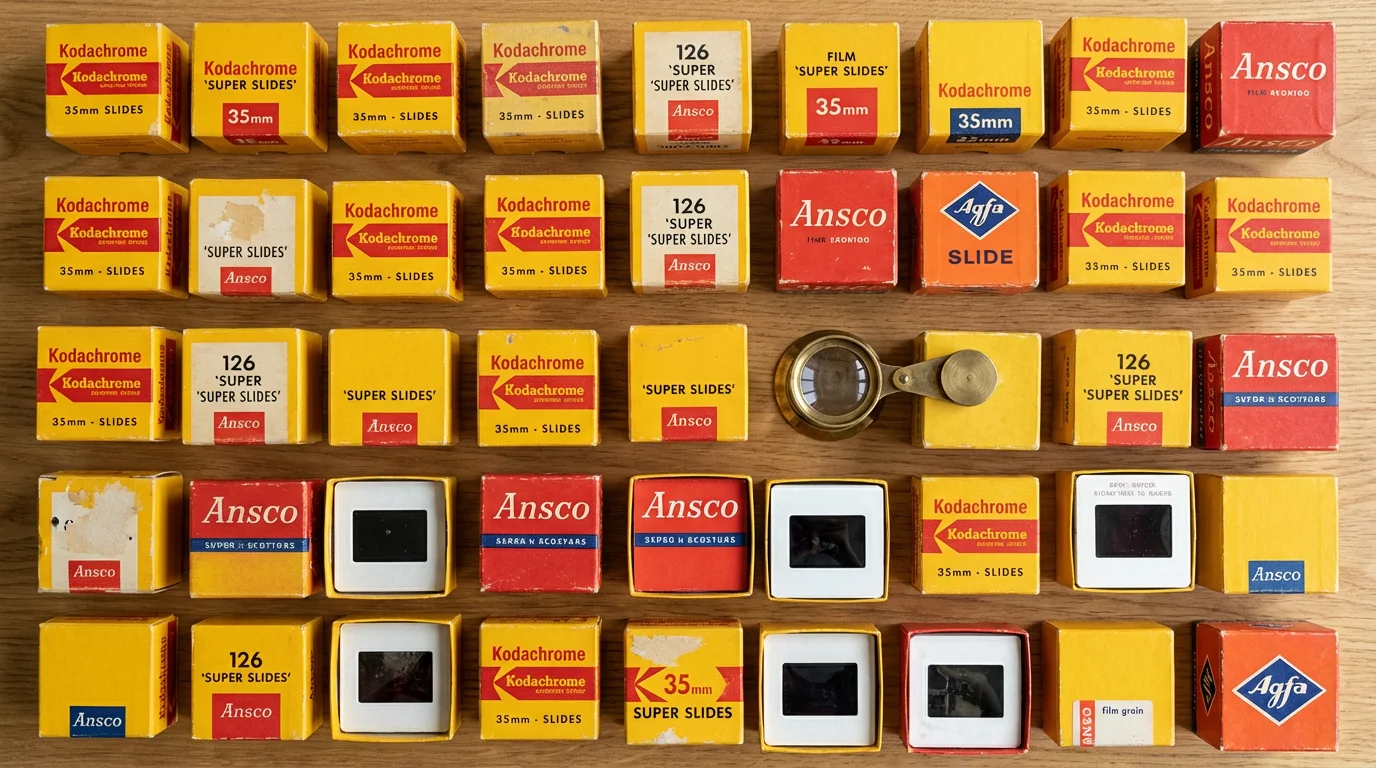
Assessing Your Slide Collection and Formats
Before you power on a slide scanner, you must understand exactly what you are working with. Not all slides are the same, and identifying the format early prevents technical headaches later. The most common format is the 35mm slide, which measures roughly 2 inches by 2 inches in its mount. However, your collection might contain smaller 110 or 126 formats, or even larger medium-format slides. If you find slides with a square image area, they are likely 126 or 127 “Super Slides,” which require specific masks for certain scanners.
If you find that your collection spans multiple media types, you might also need tips for creating digital copies of photo negatives alongside your slides.
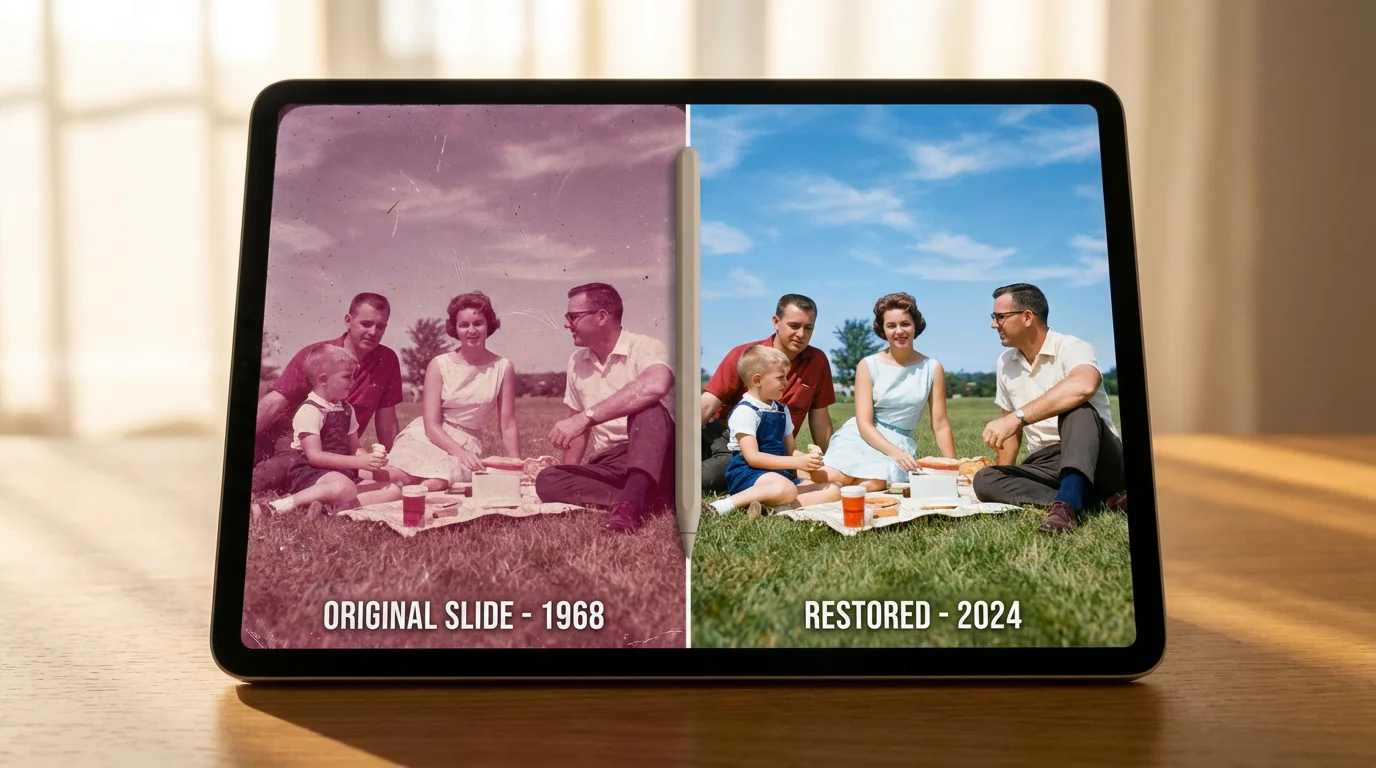
Inspect the film itself for signs of deterioration. Kodachrome slides, identified by their distinct cardboard mounts and the “Kodachrome” brand name, are incredibly stable and often retain their color for over fifty years. In contrast, Ektachrome or generic brand slides from the 1970s and 80s may show a distinct magenta or reddish tint. This shift indicates that the cyan and yellow dyes have faded. Knowing this allows you to prioritize which slides need urgent attention and which will require more aggressive color correction during the digital phase.
Examine the mounts as well. Cardboard mounts are standard, but some slides are encased in plastic or glass. Glass mounts were popular because they kept the film perfectly flat during projection, but they are a nightmare for digitization. Dust and mold often grow between the glass and the film. If you encounter glass-mounted slides, you may need to carefully remove the film from the mount before scanning to achieve a clear image, a process that requires a steady hand and a clean environment.
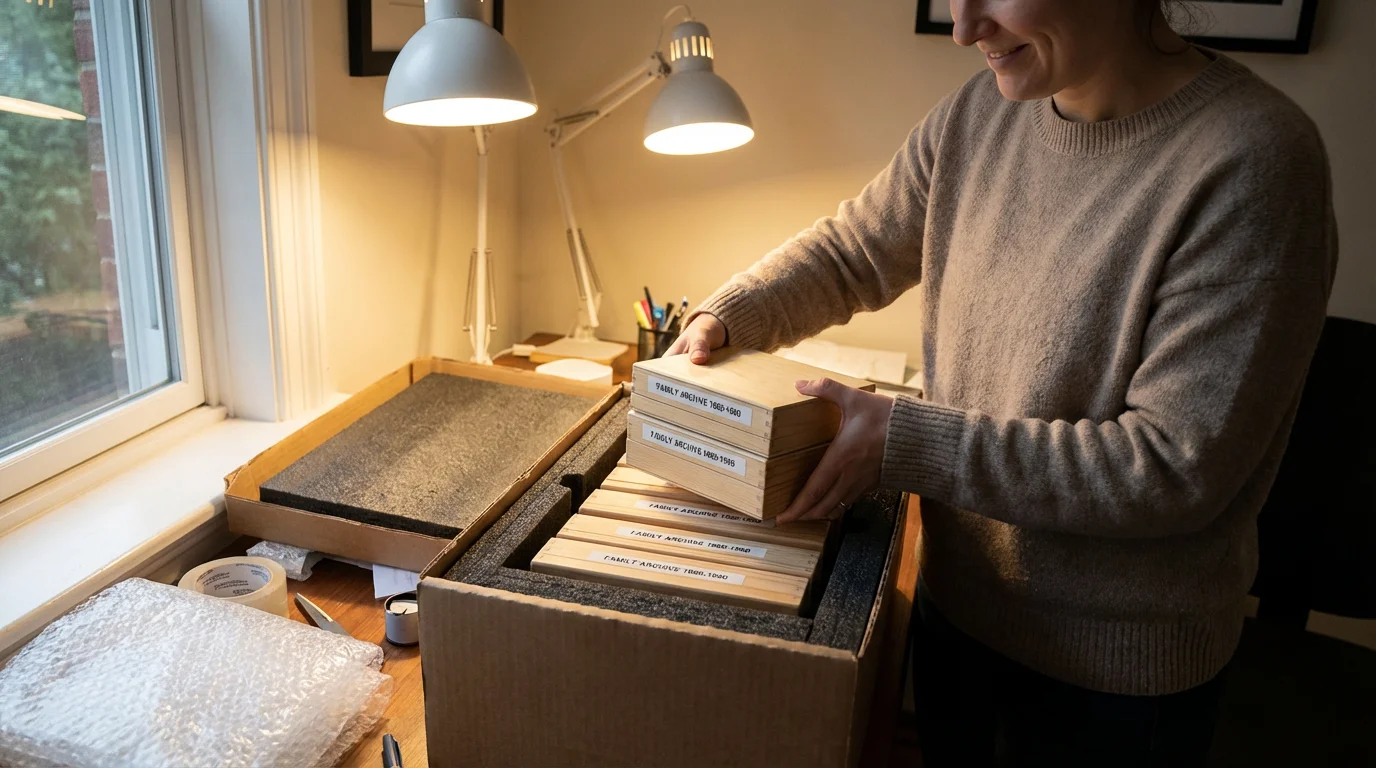
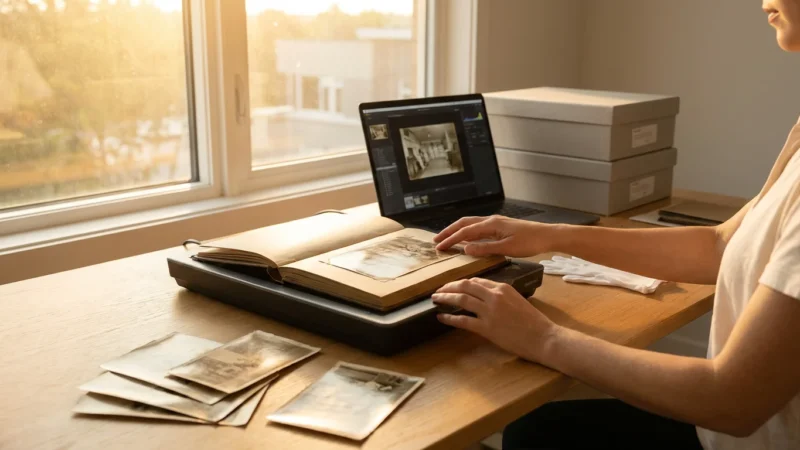
Preparation: Cleaning and Archival Handling
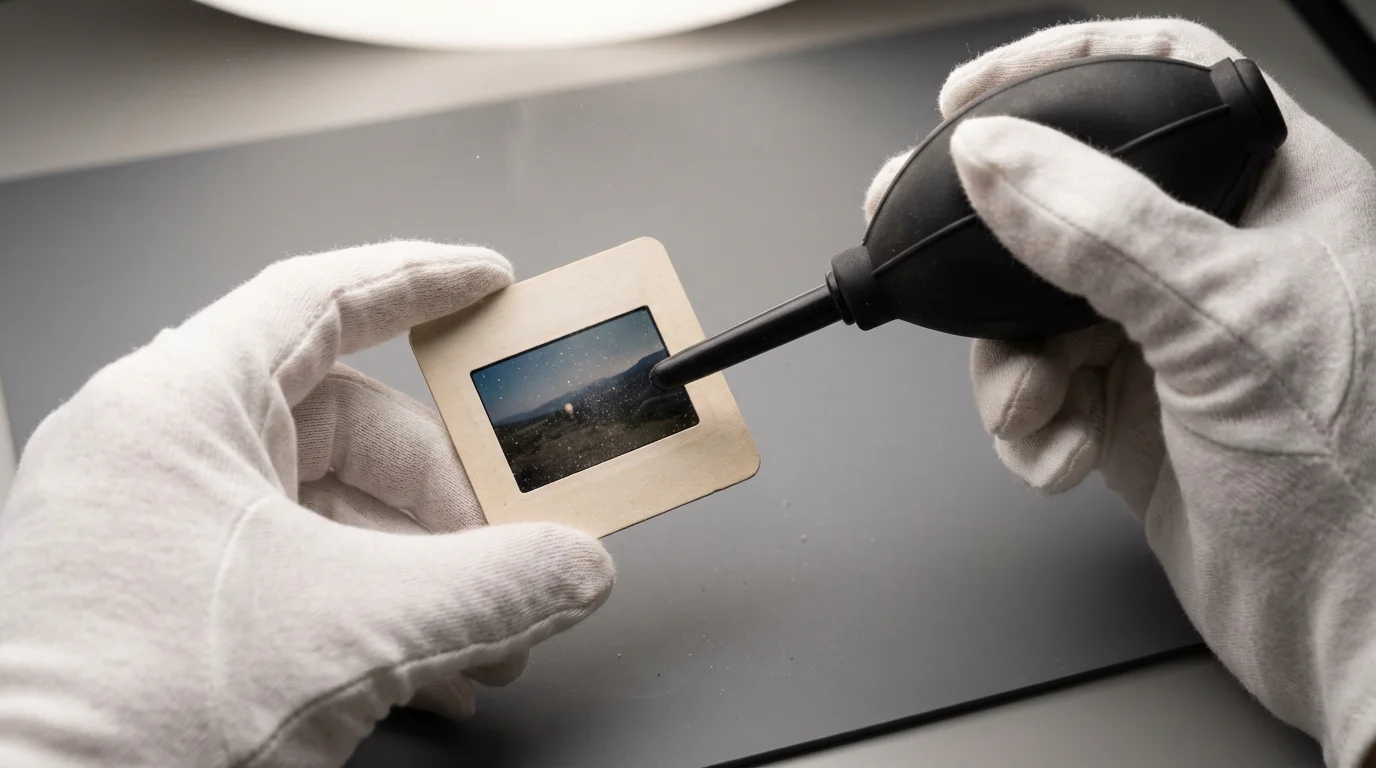
Every speck of dust on a slide becomes a giant blemish once it is magnified to a digital file. To digitize slides effectively, you must start with a clean surface. Professional archivists emphasize that cleaning is a delicate balance; you want to remove debris without scratching the sensitive emulsion. Treat your slides with the same respect as a museum curator would by wearing lint-free cotton or nitrile gloves to prevent skin oils from transferring to the film.
Beyond film, protecting your prints through proper storage and handling is another vital part of maintaining a physical archive.
Your primary tool for cleaning should be a manual air blower—the kind used for camera sensors. Avoid “canned air,” as the chemical propellants can sometimes spray a liquid residue onto the film. Give each side of the slide a few quick puffs of air. For persistent dust, use a soft, anti-static brush designed for optics. If you find mold or sticky residue, you must use a specialized film cleaner. Apply a tiny amount of the fluid to a dedicated lint-free wipe and gently pass it over the film in a single direction. Never use water, as it can soften the emulsion and cause permanent damage.
Proper handling of original materials is the foundation of any preservation project; always prioritize the physical integrity of the film before beginning the technical scan.
For more detailed guidance on handling historical media, the Library of Congress Preservation department offers extensive resources on the best practices for managing photographic collections. Following these institutional standards ensures that your physical slides remain in good condition even after you have created digital copies.
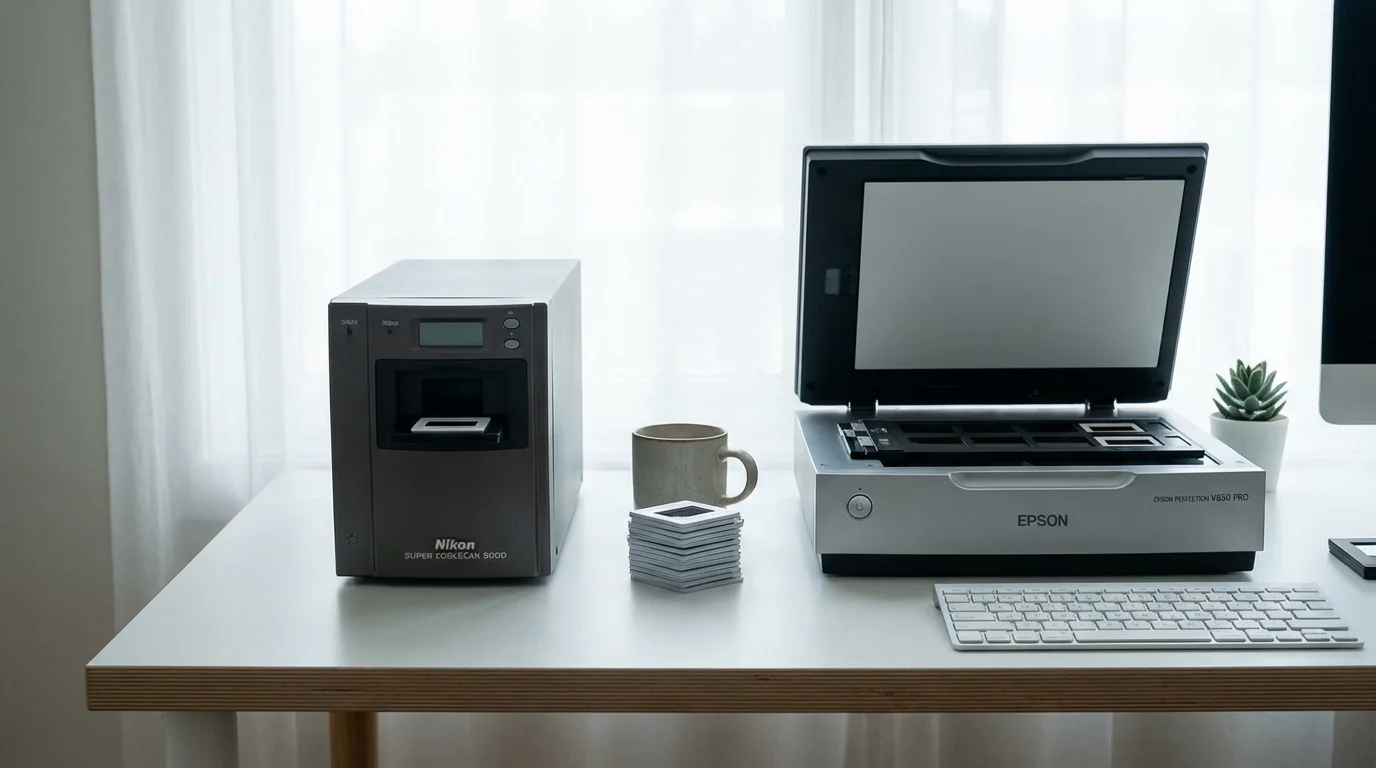
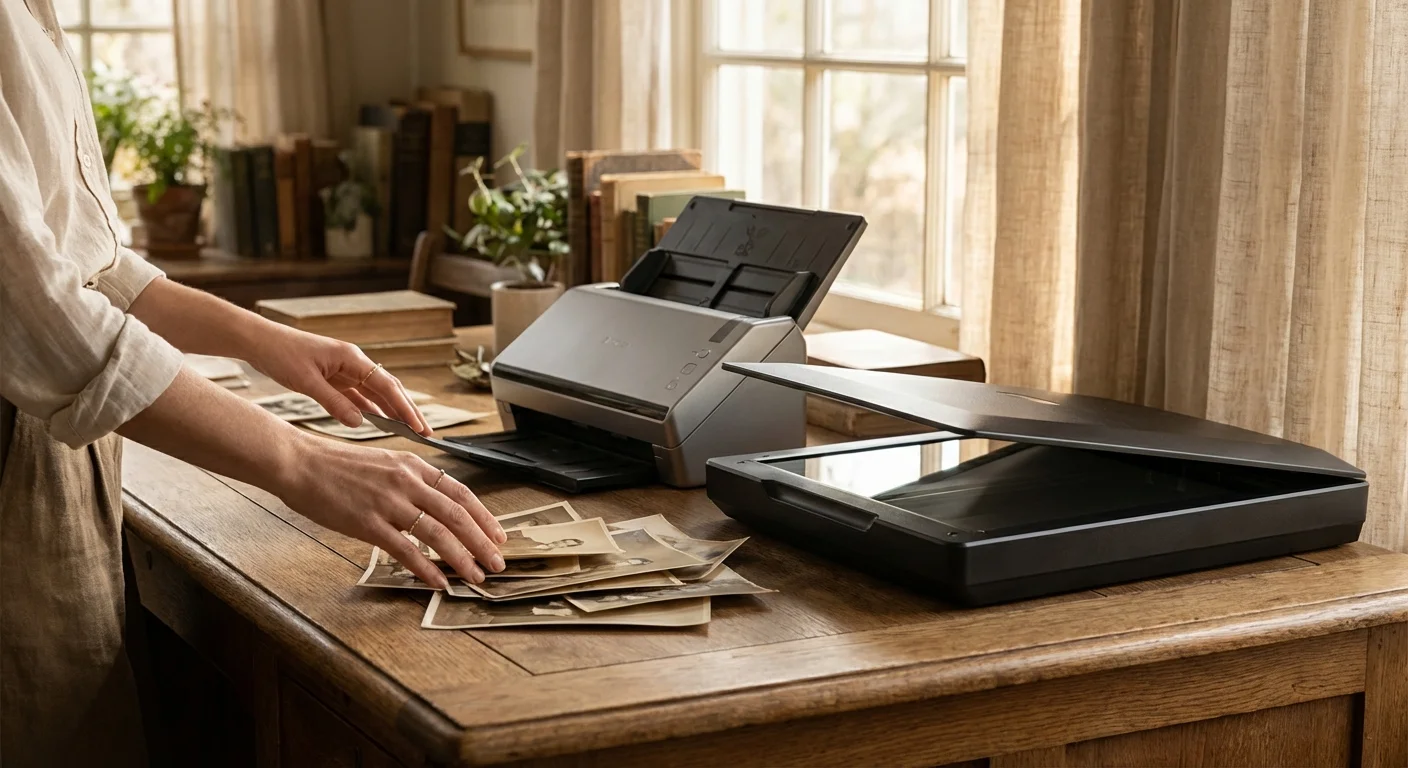
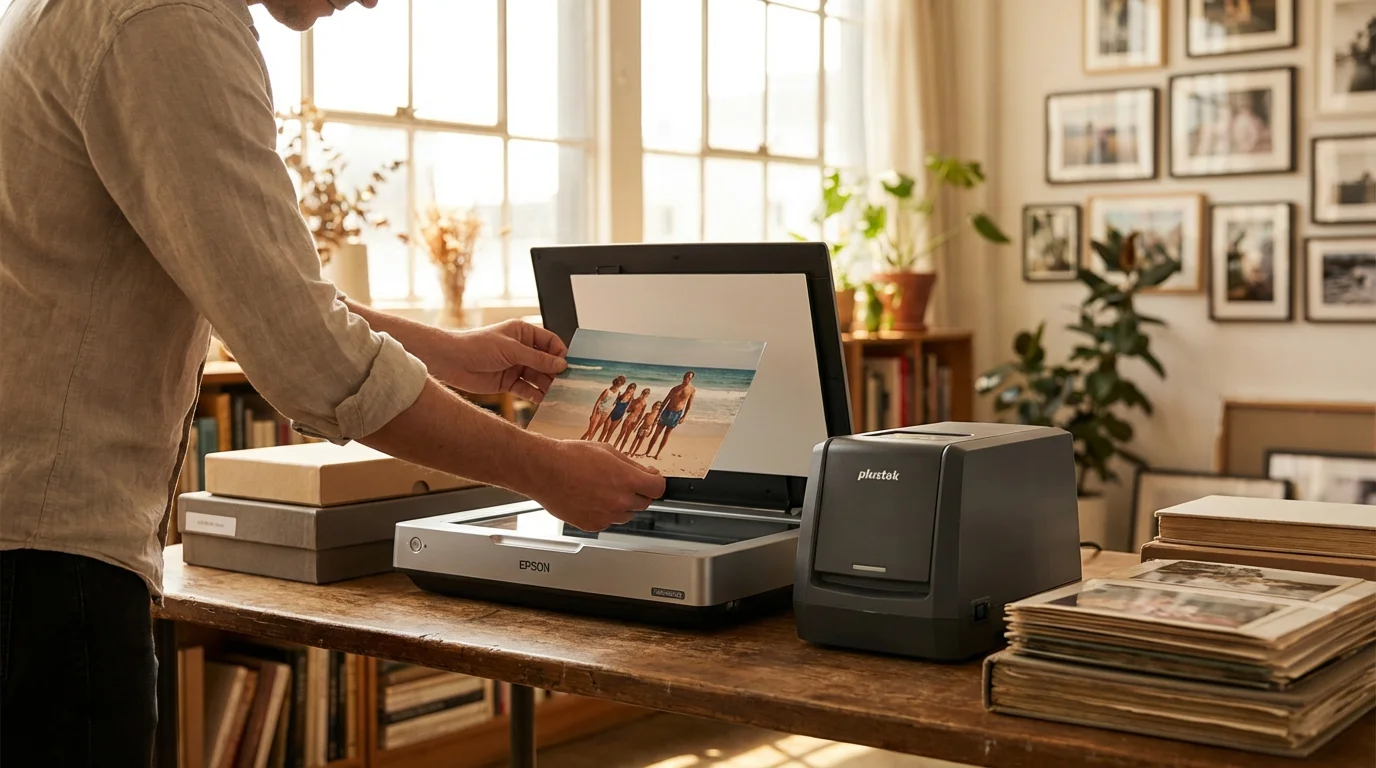
Choosing Your Hardware: Dedicated Scanners vs. Flatbeds
When you decide to convert slides yourself, the choice of hardware is the most significant factor in determining the final quality. There are three main categories of hardware you can use, each with its own set of trade-offs regarding speed, price, and resolution.
| Scanner Type | Best For | Pros | Cons |
|---|---|---|---|
| Flatbed Scanner (e.g., Epson V600) | General family archives | Versatile; can scan prints too | Lower effective resolution; bulky |
| Dedicated Film Scanner (e.g., Plustek) | High-quality 35mm archives | Excellent sharpness; compact | Slow; handles one slide at a time |
| Automated “Box” Scanners | Fast, low-res sharing | Extremely fast; easy to use | Poor dynamic range; lacks detail |
If you have thousands of slides and quality is your top priority, a dedicated film scanner is the standard choice. These devices use a linear CCD sensor that moves across the film, capturing every minute detail. They often include a feature called Digital ICE, which uses an infrared light source to detect and automatically remove dust and scratches from the final image. This feature alone can save you hundreds of hours of manual retouching in Photoshop.
Flatbed scanners are a solid middle ground. Models like the Epson Perfection series include a transparency unit in the lid that shines light through the slide. While they are slightly less sharp than dedicated film scanners, they allow you to scan batches of 4 to 12 slides at once. If your goal is to digitize a large volume of slides for digital viewing rather than large-format printing, a high-quality flatbed is often the most practical solution.
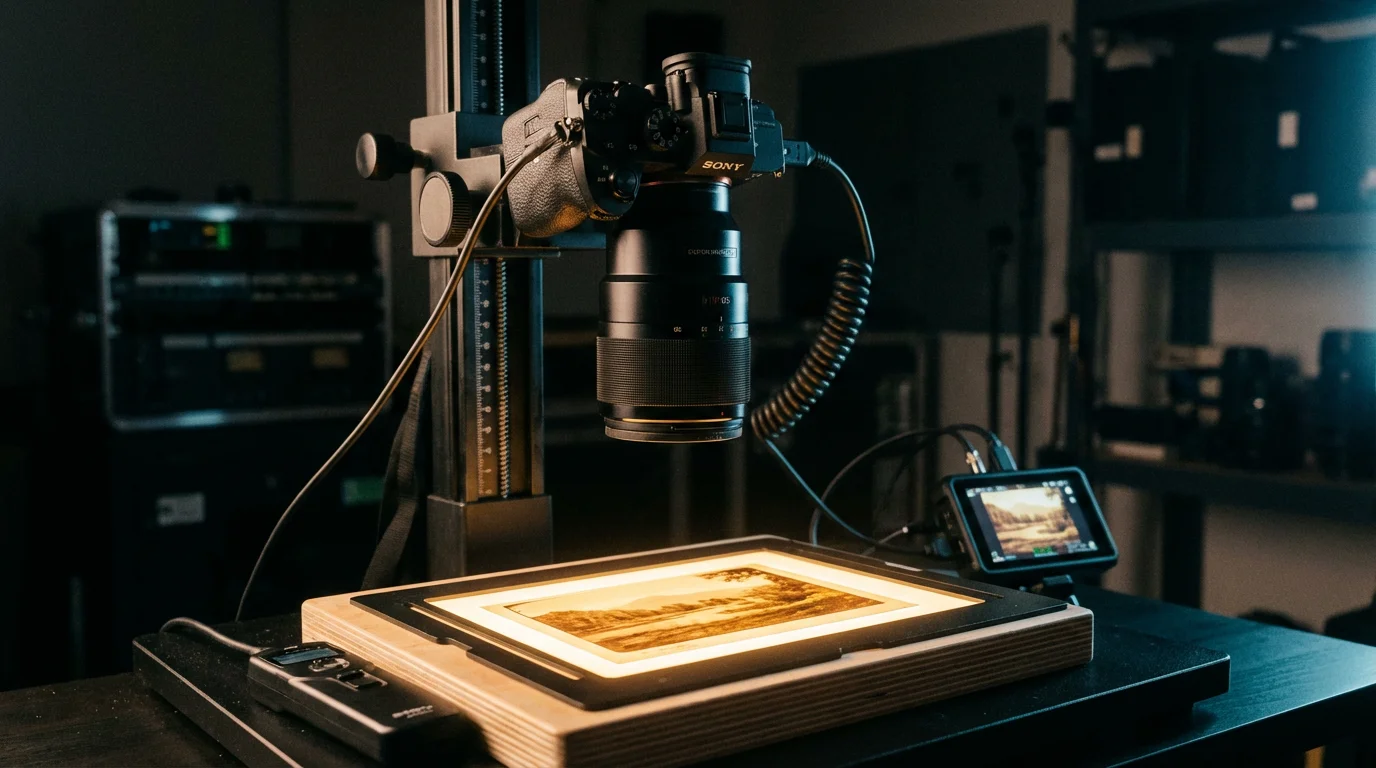
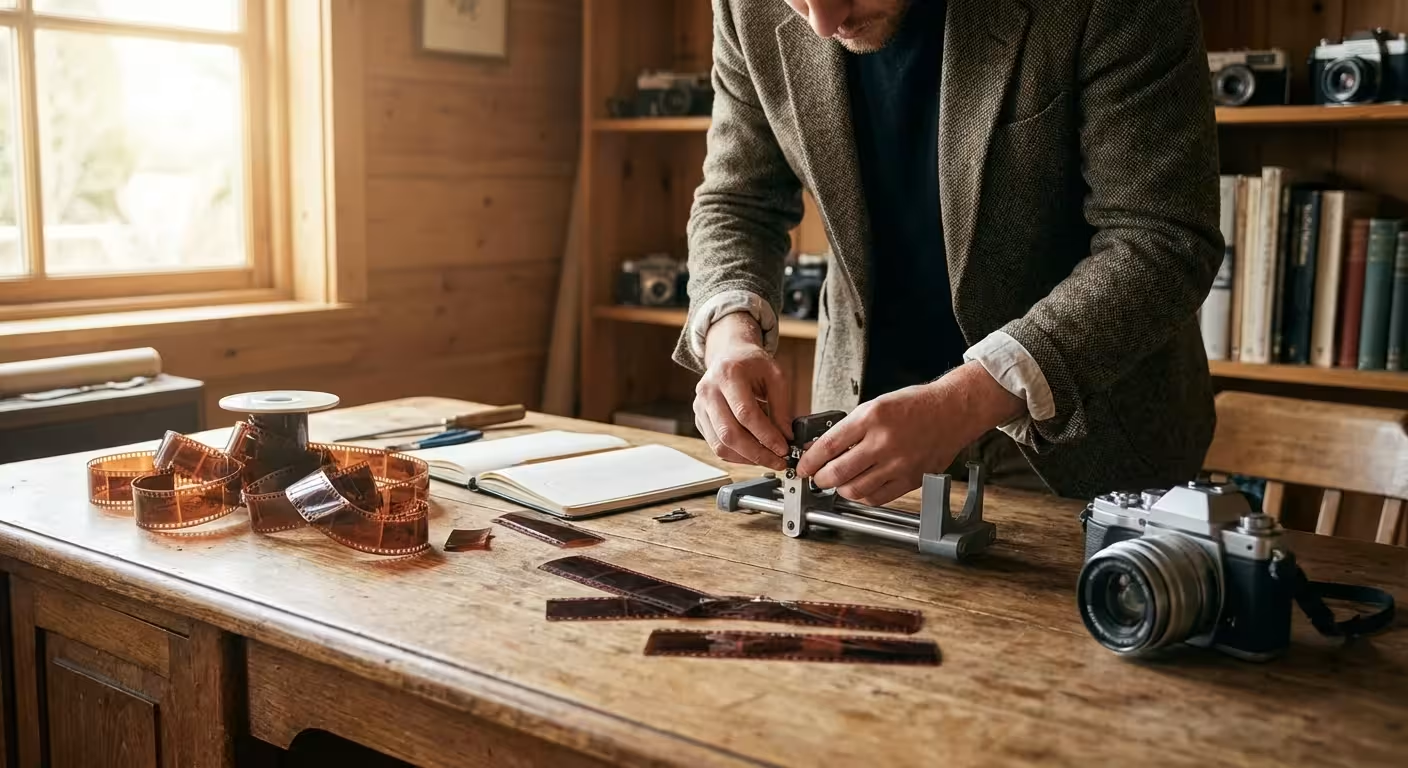
The Pro Secret: Digitize Slides Using a DSLR or Mirrorless Camera
The “secret” method used by many professional photographers today is not a scanner at all, but a high-resolution digital camera. This method is often called “camera scanning” or “DSLR digitization.” By using a macro lens and a consistent light source, you can capture a slide in a fraction of a second, compared to the 2 to 5 minutes a traditional scanner might take. This makes it the fastest way to convert slides to digital diy while maintaining professional-grade quality.
To set this up, you need a sturdy tripod or a copy stand, a macro lens capable of 1:1 magnification, and a high-quality LED light panel with a high Color Rendering Index (CRI). You place the slide in a film holder above the light source and photograph it. Because modern camera sensors have incredible dynamic range, they can capture the deep shadows and bright highlights of a slide more effectively than many consumer scanners. This technique requires more initial setup and technical knowledge—such as managing exposure and focus—but once you find the “sweet spot,” you can digitize an entire carousel of 80 slides in under 20 minutes.
Precision is key in this setup. You must ensure the camera sensor is perfectly parallel to the slide to keep the entire image in focus. Using a spirit level and a small mirror placed on the slide holder can help you achieve perfect alignment. When the reflection of your lens is centered in the mirror, your alignment is correct. This method produces RAW files, giving you the maximum amount of data to work with during the editing phase.
Technical Settings for Maximum Image Quality
Whether you use a scanner or a camera, your settings will dictate the longevity and usability of your digital files. The two most important metrics are resolution (DPI) and bit depth. For 35mm slides, do not settle for the default “web” settings. You want a resolution of at least 3200 DPI, though 4000 DPI is the gold standard. This level of detail captures the actual grain of the film, ensuring that if you ever want to print a large poster of your grandfather’s travel photos, the image will remain crisp.
Once your files are saved, remember the importance of backing up physical photos digitally to ensure you never lose these high-resolution captures.
Bit depth refers to the amount of color information captured. Most scanners offer 24-bit (8 bits per channel) or 48-bit (16 bits per channel) options. Always choose 48-bit color for your master scans. This provides billions more color possibilities, which is essential when you need to fix a slide that has faded or has a heavy color cast. It prevents “banding” in the sky and keeps transitions between colors smooth. For a deeper dive into how these technical factors affect image quality, Cambridge in Colour provides excellent tutorials on sensor dynamics and resolution.
Finally, always save your initial captures as TIFF files. Unlike JPEGs, TIFFs are “lossless,” meaning they do not compress and discard data to save space. A JPEG is like a finished print—it’s hard to change. A TIFF is like a digital negative—it holds all the potential. You can always make a small JPEG copy of a TIFF to email to a cousin, but you can never turn a low-quality JPEG back into a high-quality TIFF.
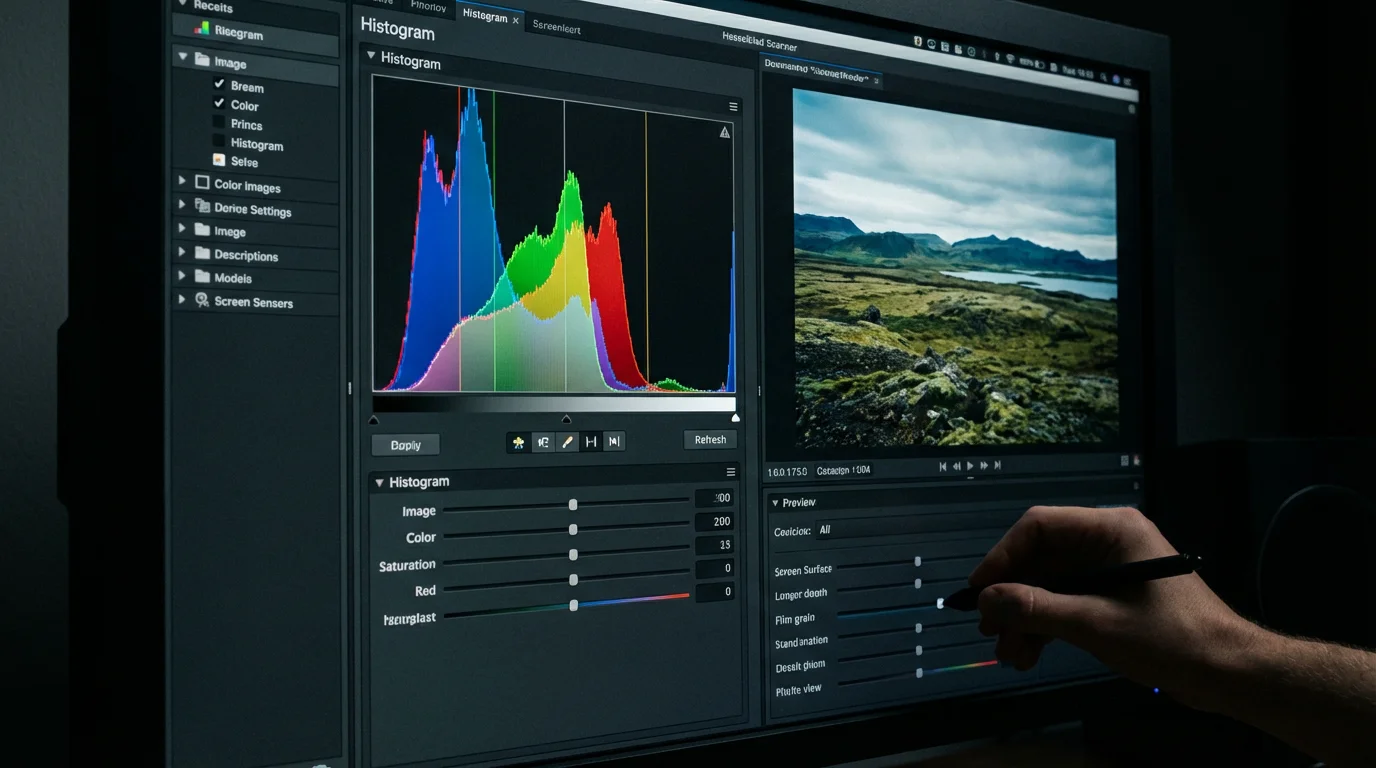
Post-Processing and Color Correction
Once you have digitized your slides, you will likely notice that they don’t look perfect. Even the best scans require some digital polish. Color correction is usually the first step. Slides, especially those stored in warm environments, tend to shift toward red or yellow over time. Using software like Adobe Lightroom or SilverFast, you can use the “White Balance” tool to find a neutral gray or white in the image. Clicking on a white cloud or a grey stone often snaps the colors back into their natural state.
Contrast is the next hurdle. Slides are naturally high-contrast, which can sometimes result in “blocked” shadows where no detail is visible. Use the “Shadows” and “Blacks” sliders in your editing software to gently lift these areas. Be careful not to go too far, or you will introduce digital noise that looks like colorful static. The goal is to replicate the way the slide looked when it was first projected, not to make it look like a modern digital photo.
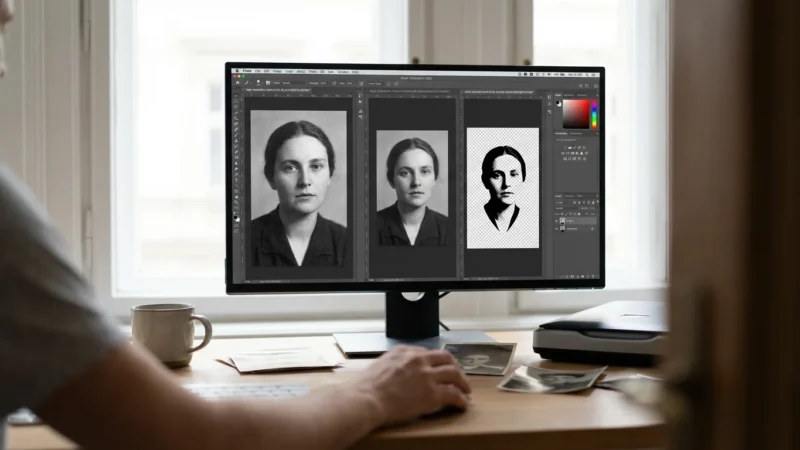
If your scanner did not have Digital ICE, you will need to manually remove dust using the “Spot Removal” or “Healing Brush” tool. This is the most time-consuming part of the process. Zoom in to 100% and scan across the image systematically, clicking on white dust specks or dark hairs. It is tedious work, but for a truly “pro” result, it is non-negotiable. Modern AI-powered plugins can now automate some of this, but they often require a careful eye to ensure they don’t accidentally “heal” away a facial feature or a distant bird.
When to Use the Best Slide Scanning Service
DIY digitizing is a rewarding project, but it is also a massive time commitment. If you have a collection of 5,000 slides, it could take you several months of weekends to finish. In such cases, hiring the best slide scanning service is a smart investment. Professional labs use high-end equipment like Hasselblad Flextight scanners or industrial Noritsu machines that most consumers cannot afford. These machines offer unparalleled sharpness and color depth.
When choosing a service, look for companies that offer manual frame-by-frame adjustment. Some high-volume “factories” simply run your slides through an automated belt, which can result in cropped edges or poor exposure. A quality service will provide “Pro-Grade” options that include manual color correction and dust removal. Check their shipping procedures as well; the best services provide trackable, reinforced shipping kits to protect your originals. If your slides are irreplaceable family heirlooms, the peace of mind offered by a professional lab with a proven track record is worth the additional cost.
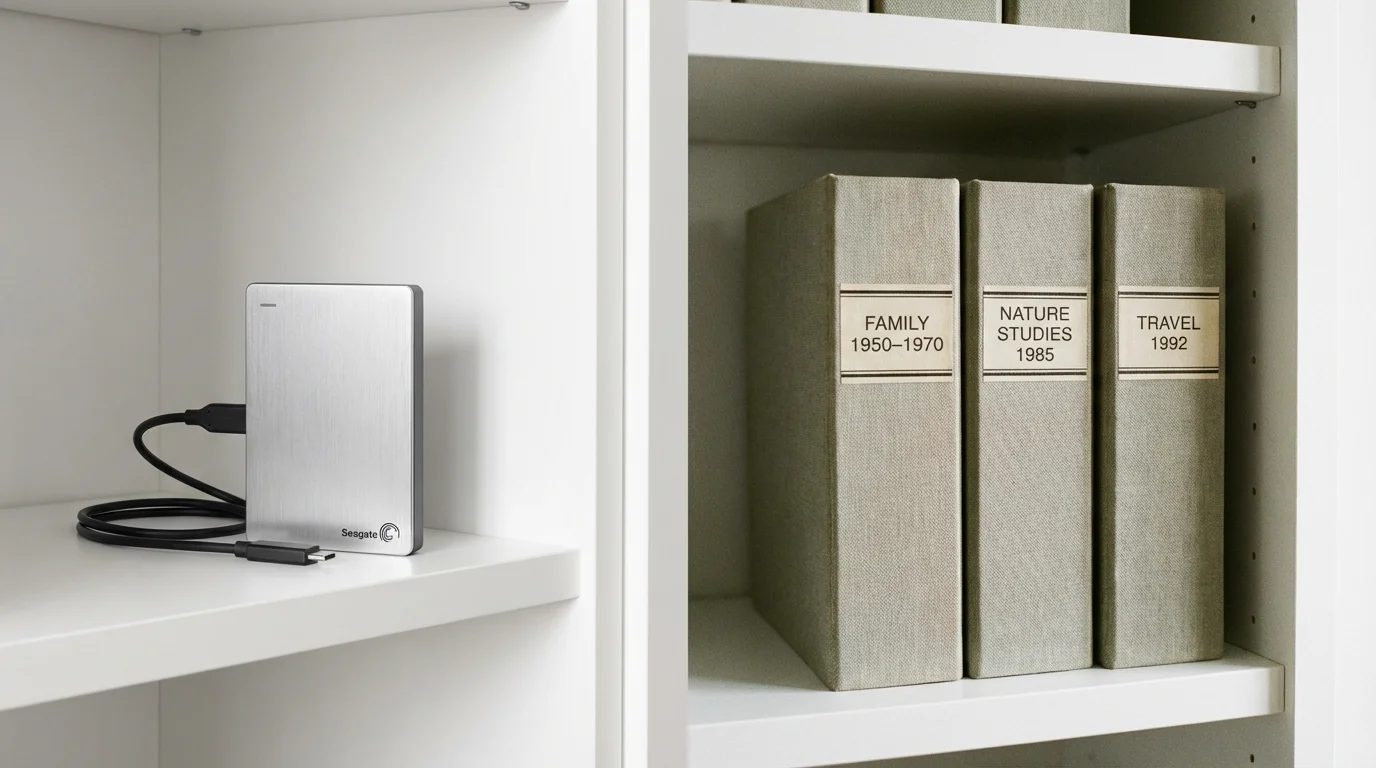
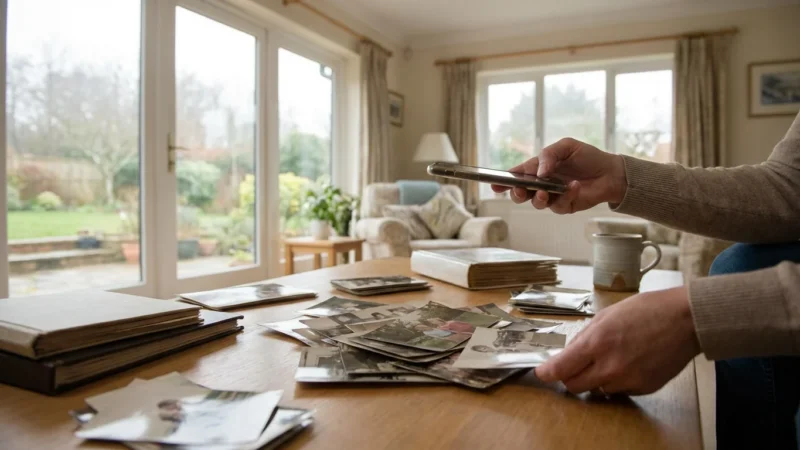
Long-Term Storage and Digital Organization
Digitizing your slides is only half the battle; you must also manage the digital files so they don’t get lost in a cluttered hard drive. Use a consistent naming convention for your files. Instead of “IMG_001.tif,” use something descriptive like “1974-Grand-Canyon-Vacation-001.tif.” This allows you to use your computer’s search function to find specific memories years later. Add metadata tags—such as the names of people in the photos—to the file properties to make your collection truly searchable.
If the scale of your project feels overwhelming, follow a 7-day action plan to systematically process and preserve your inheritance.
For your digital storage, follow the 3-2-1 rule: Maintain three copies of your data, stored on two different types of media (e.g., an external hard drive and the cloud), with one copy kept off-site. This protects you against hardware failure, fire, or theft. For the physical slides themselves, don’t throw them away! The original film is still the “ultimate backup.” Store them in archival-quality, acid-free boxes in a cool, dry place. The National Archives Preservation standards suggest keeping photographic materials in a climate-controlled environment, as humidity is the primary cause of mold growth and emulsion breakdown.
Digital files are fragile in their own way; a single hard drive failure can erase a lifetime of work, making a redundant backup strategy essential.
By following these steps, you transform a dusty box of old film into a vibrant, accessible digital library. You have the power to share these images with family across the globe, print them into high-quality books, or simply enjoy them on your phone. Digitizing slides is more than a technical task; it is an act of preservation that ensures your family’s unique story remains clear and bright for generations to come.
Frequently Asked Questions
What is the difference between a slide and a negative?
A slide is a “positive” image, meaning the colors and tones you see on the film are the same as they were in real life. A negative reverses the colors and requires an extra step of inversion during the scanning process to look normal. Slides are generally easier to view by eye but can be harder to scan because they have a very high density (dark areas are very thick).
Is it worth digitizing slides that are already faded?
Absolutely. While the physical slide has lost its original dyes, digital software can often “recover” those colors by boosting specific channels. Modern post-processing can often bring a faded 1970s slide back to 90% of its original vibrancy.
How long does it take to scan a single slide?
On a dedicated film scanner at 4000 DPI with Digital ICE enabled, expect each slide to take between 3 and 6 minutes. This does not include the time for cleaning or post-processing. If you have 1,000 slides, you are looking at roughly 60 to 100 hours of active scanning time.
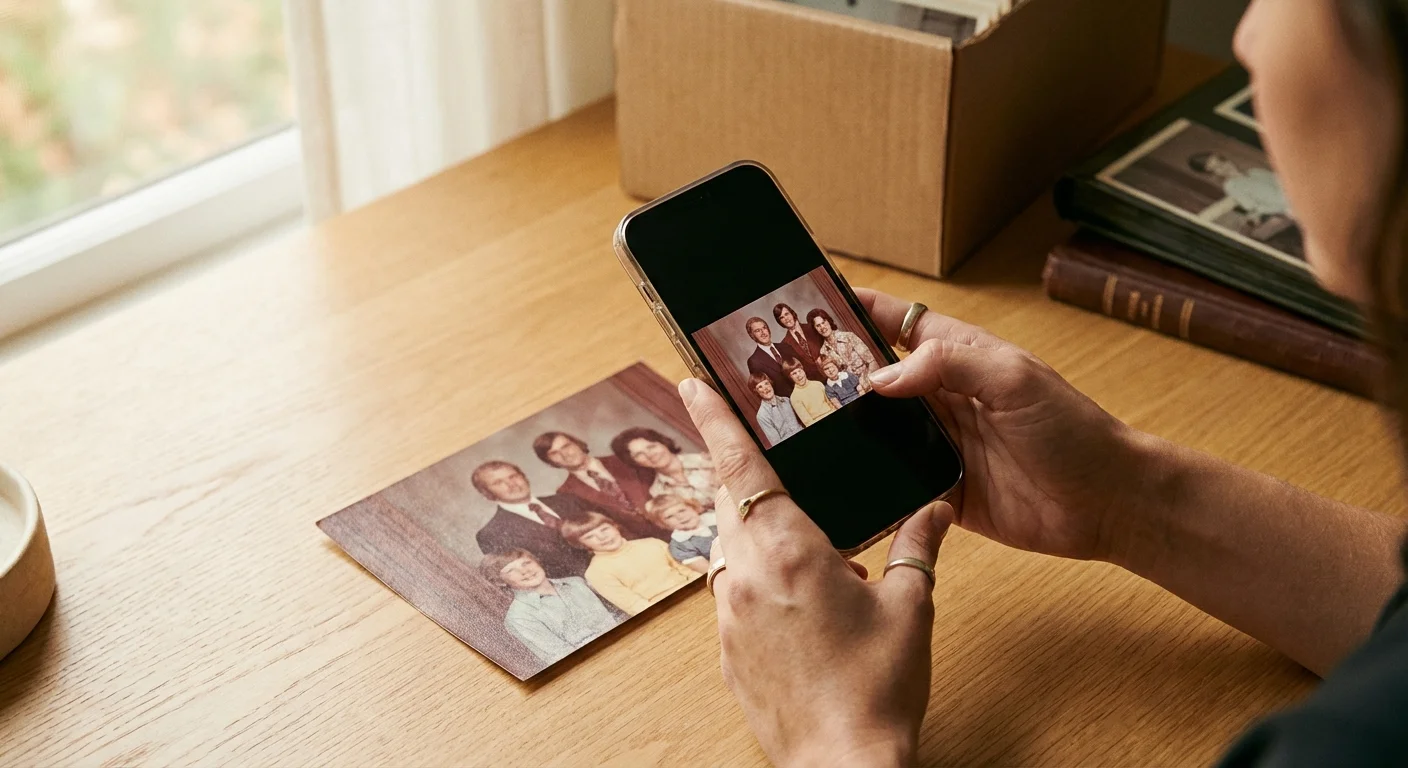
Can I use my smartphone to digitize slides?
While there are “slide scanner” apps and cheap cardboard holders for phones, the quality is generally very poor. Smartphone sensors struggle with the high contrast of slides, often resulting in “blown out” highlights and blurry edges. It is fine for a quick preview, but not for long-term preservation.
Disclaimer: This article is for informational purposes only. When handling valuable or irreplaceable photographs, consider consulting a professional conservator. Always test preservation methods on non-valuable items first.
Leave a Reply