A burst pipe, a heavy summer storm, or a spilled vase of flowers can turn a cherished family album into a soggy, frightening mess in seconds. When you find your heirlooms soaking in water, your heart likely sinks. These aren’t just pieces of paper; they are the visual records of your ancestors, your childhood, and your most significant life milestones. The sight of blurred ink and sticking pages feels like losing those memories all over again.
To prevent such disasters, understanding the basics of protecting your prints is essential for every family archivist.
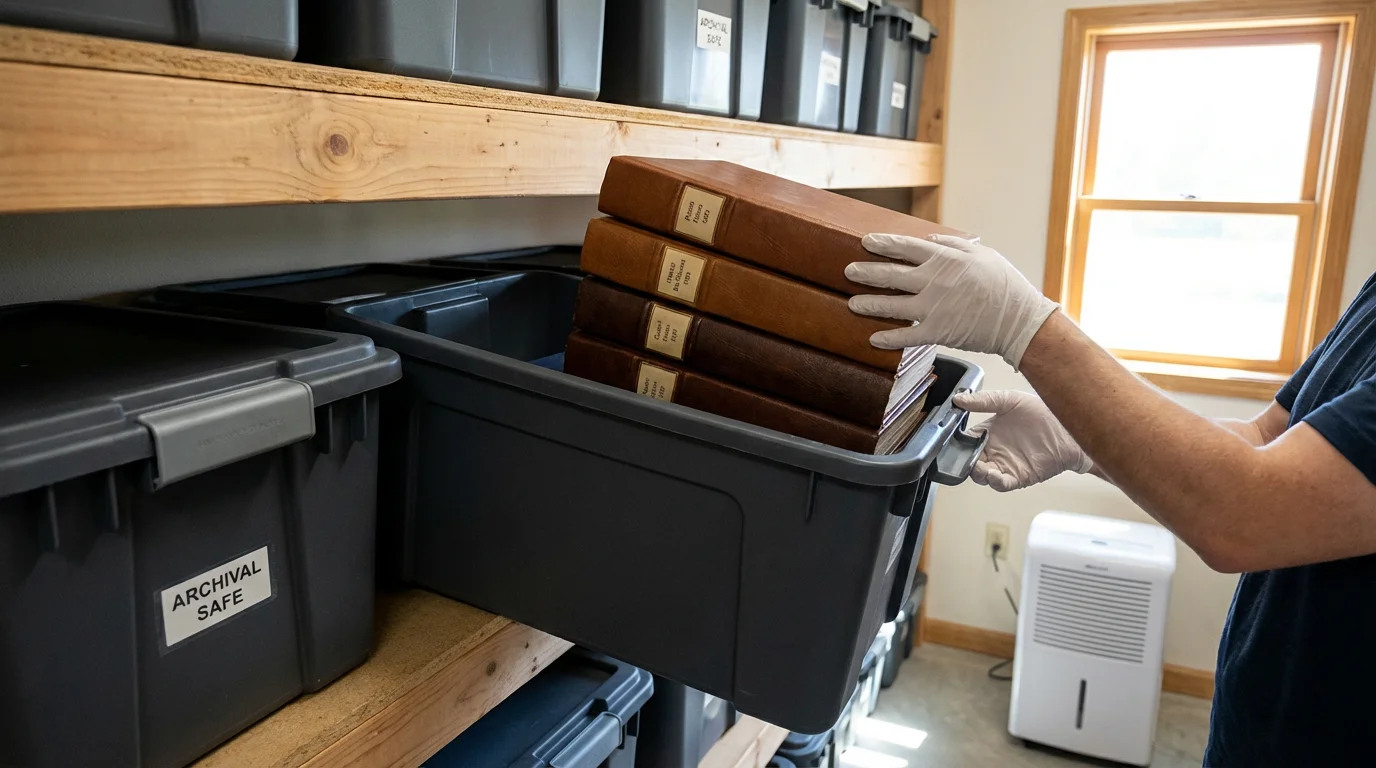
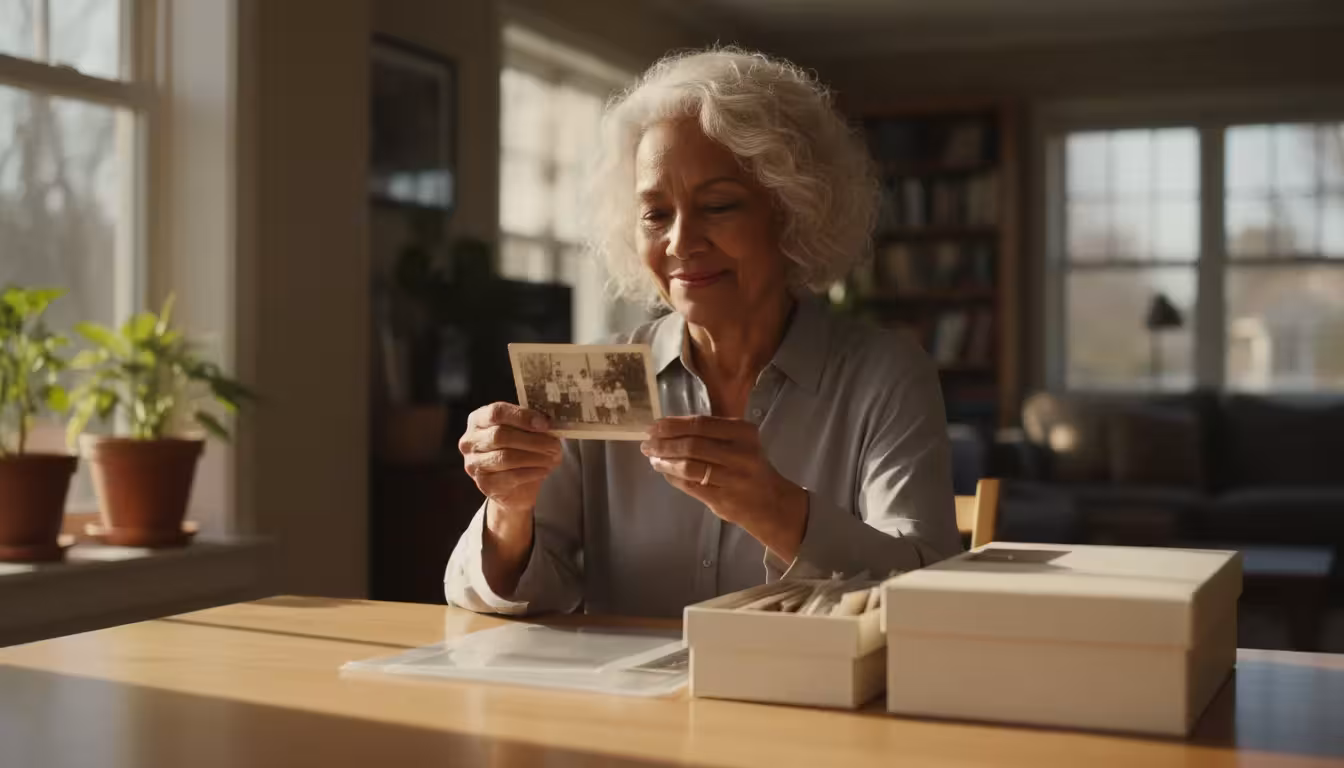
Proactively storing your old photographs in archive-safe conditions is the most effective way to protect them from household accidents.
Fortunately, photographs are more resilient than they look. Because traditional silver halide photos underwent a liquid chemical process during their creation, they can often survive a second soaking if you act quickly and follow the correct procedures. This guide provides a comprehensive roadmap to help you triage, clean, dry, and restore photos that have suffered water damage. By following these steps, you can stabilize your collection and prepare it for professional photo restoration if the physical damage remains visible.
Immediate Triage: The First 48 Hours
Time is your greatest enemy when dealing with water damaged photos. Within 48 hours, mold begins to colonize organic materials like paper and gelatin. Once mold sets in, it digests the image layer, leading to permanent loss of detail and staining. Your primary goal during the first two days is to stabilize the environment and stop the progression of damage.
This stabilization is especially critical if you are storing photos in high-humidity climates where moisture encourages rapid mold growth.
First, prioritize your items. If you have a mix of digital prints, traditional darkroom prints, and negatives, you must choose what to save first. Color prints typically deteriorate faster than black-and-white images. Older “instant” photos like Polaroids are extremely sensitive to water because the chemicals remain trapped inside the layers. If these become submerged, they often suffer irreversible internal damage very quickly. Prioritize your one-of-a-kind negatives and older color snapshots first.
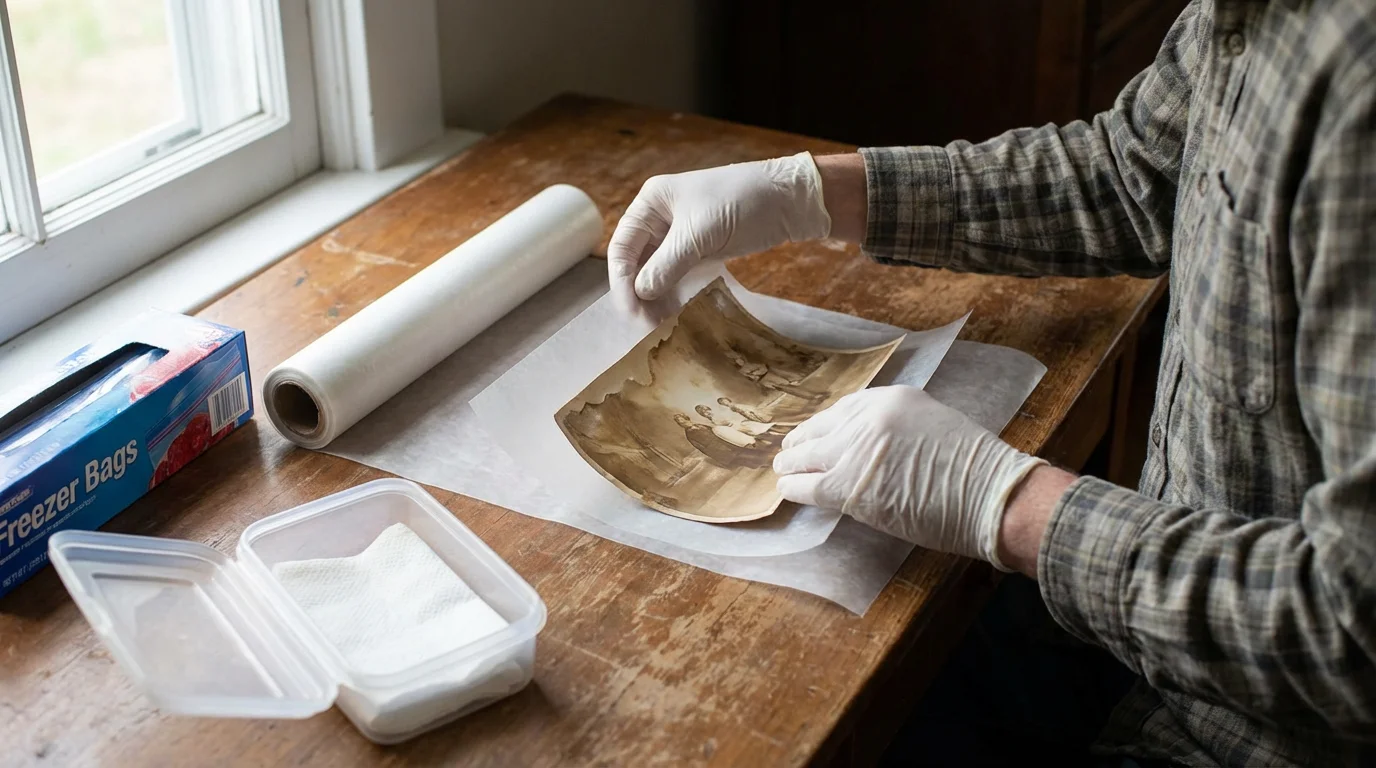
If you cannot process the entire collection immediately, you have a secret weapon: the freezer. Freezing buys you time by putting biological growth on hold. Wrap small stacks of wet photos in wax paper to prevent them from sticking further, place them in heavy-duty freezer bags, and put them in a standard household freezer. This stabilization technique allows you to work on the collection in manageable batches later.
“The most important step in salvaging water-damaged materials is to stabilize the environment by reducing the temperature and humidity, which inhibits the growth of mold.” — Library of Congress Preservation
Cleaning and Rinsing Your Collection
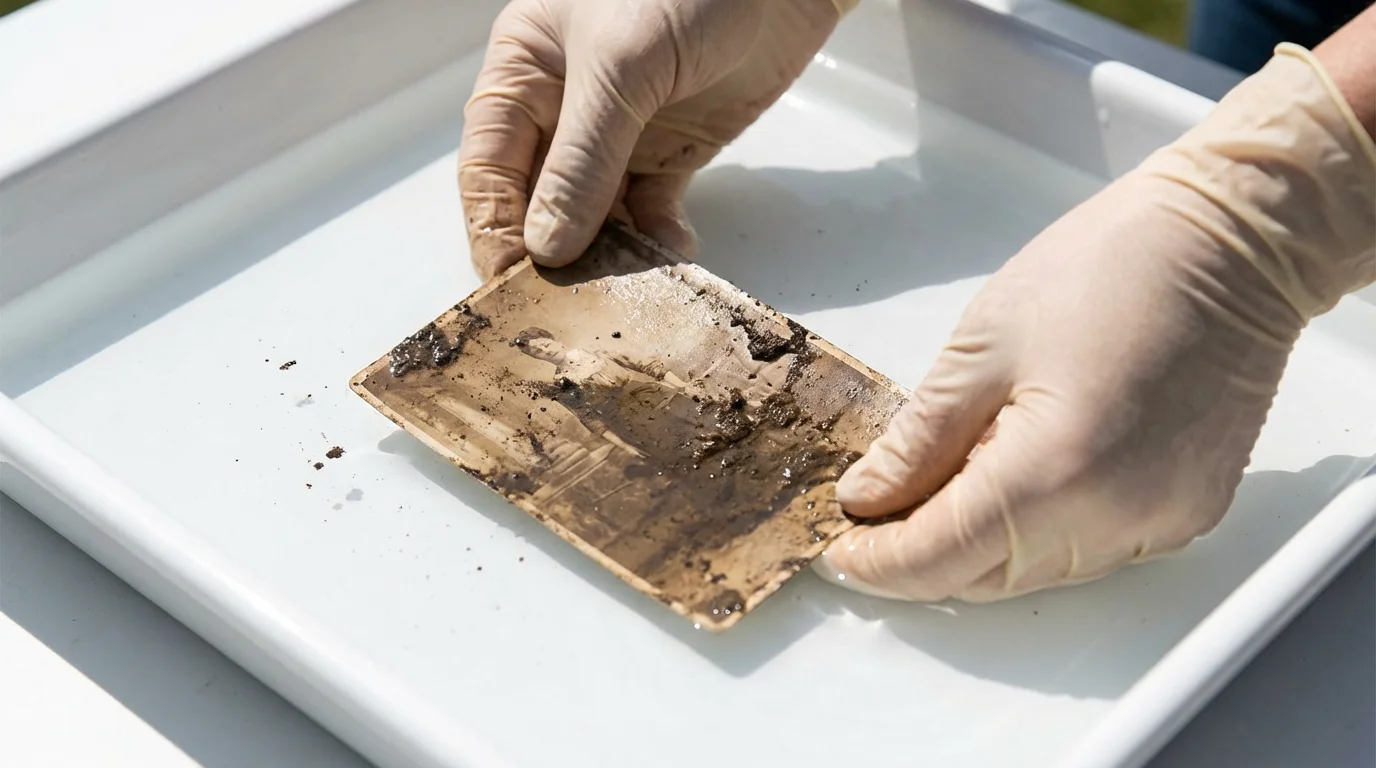
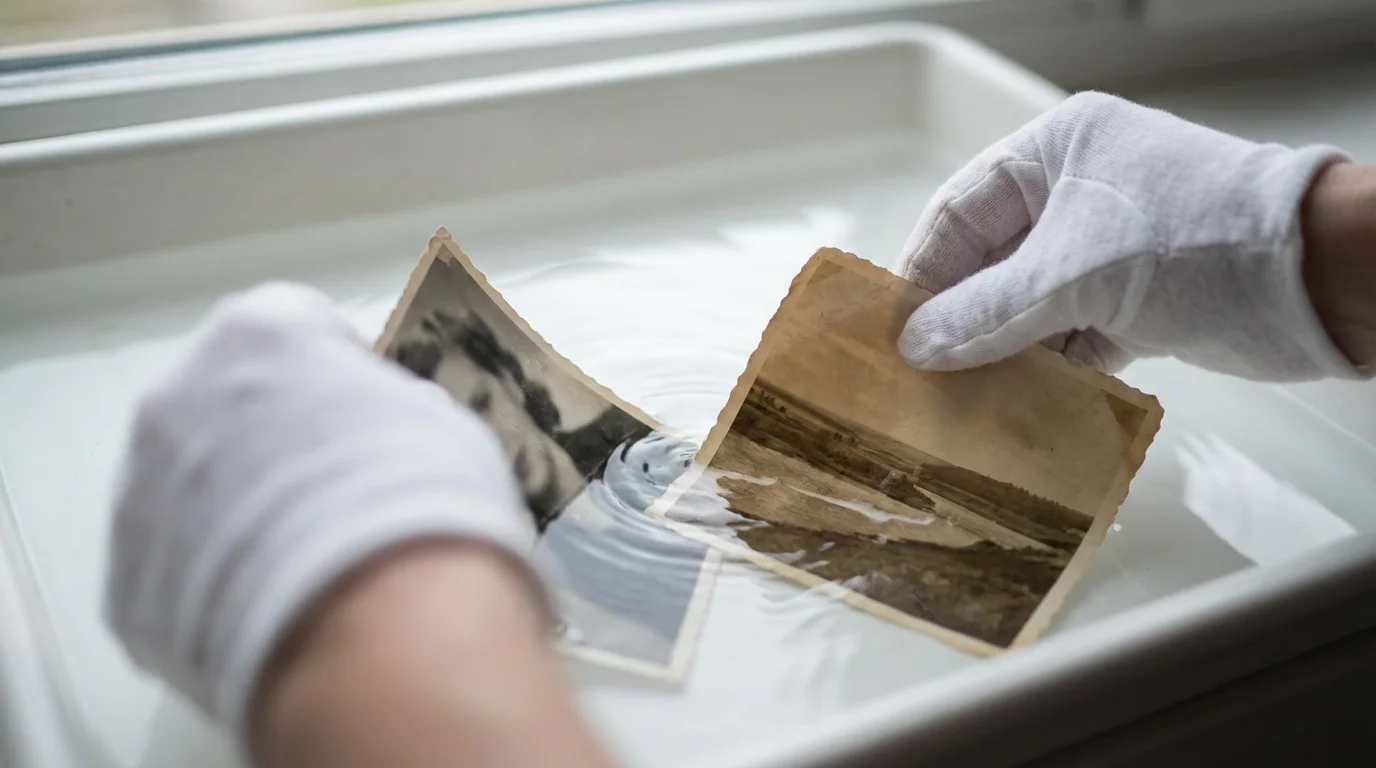
Often, water damage involves more than just moisture. Floodwaters carry silt, mud, and sewage, while even a simple leak can bring down plaster dust or insulation fibers. You must remove these contaminants before the photo dries, or they will become a permanent part of the image surface. However, you must never rub the surface of a wet photograph. Wet gelatin is incredibly soft; a single swipe of a finger or cloth can wipe the image right off the paper base.
If the water has caused minor staining, you can often use AI photo restoration tools to fix the digital version of your images once they are dry.
Once your items are free of debris, you can prepare your photos for scanning to create a permanent digital safety net.
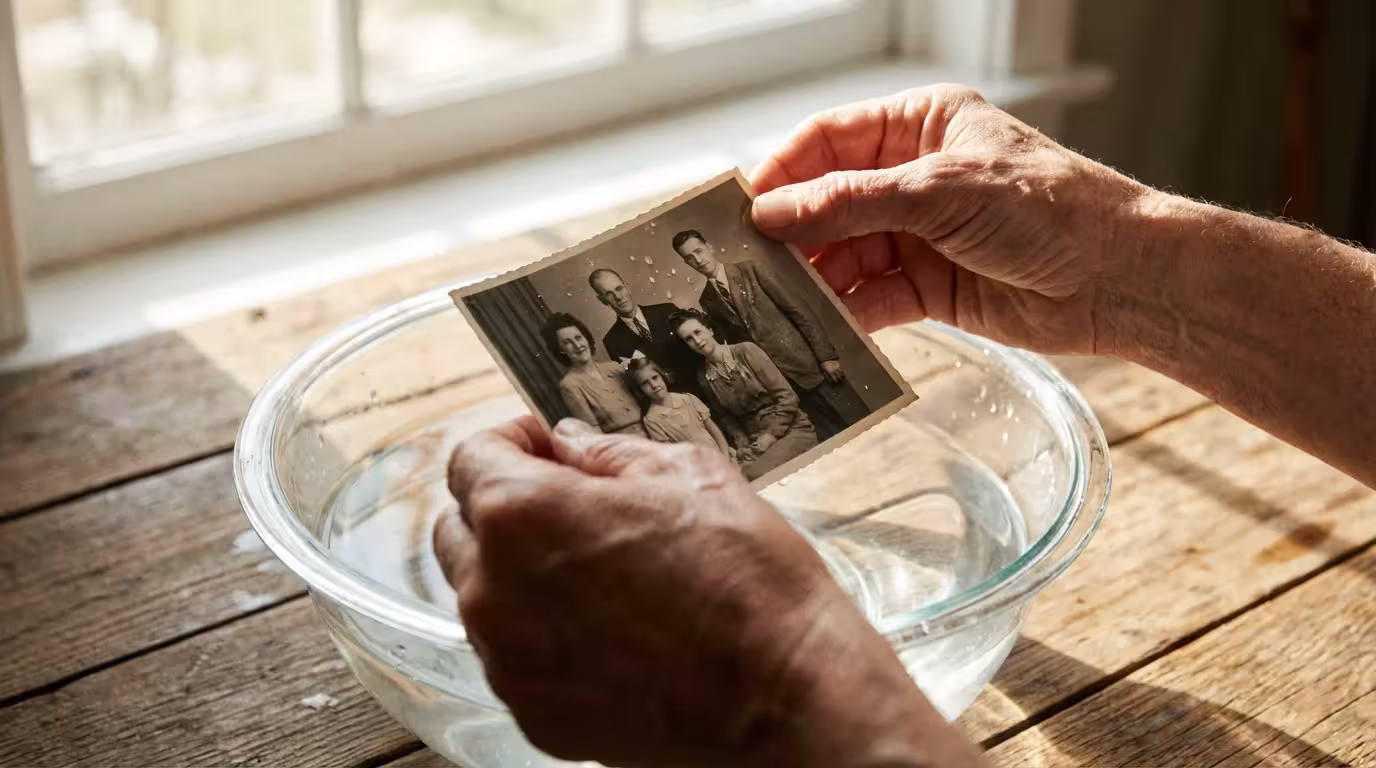
To clean your photos, fill a clean plastic bin with cool, clear water. If your tap water is hard or heavily chlorinated, use distilled water instead. Gently submerge the photo and move it back and forth to dislodge debris. If mud persists, use a very soft stream of water from a spray bottle or a surgical syringe to rinse it away. Avoid using soaps or detergents, as these can react with the photo’s chemistry and cause long-term yellowing or fading.
If the photos were exposed to saltwater, rinsing is even more critical. Salt is corrosive and hygroscopic, meaning it will continue to pull moisture from the air and damage the photo long after you think it is dry. For saltwater damage, perform three consecutive rinses in fresh distilled water to ensure all salt crystals have dissolved and washed away.
Drying Techniques for Every Photo Type
Once your photos are clean, you must dry them thoroughly. The method you choose depends on the space you have available and the type of photo. Regardless of the method, always work in a clean, dust-free area with good air circulation but away from direct sunlight.
The safest DIY method is air drying. You can lay photos flat on clean, absorbent material with the image side facing up. Do not use newspapers or brown paper bags, as the ink can transfer to your wet photos. Instead, use unprinted paper towels or plain white blotting paper. Change the paper towels frequently as they become saturated to keep the drying process moving. To prevent curling, you can use a small desk fan to circulate air in the room, but do not point it directly at the photos.
| Drying Method | Best Used For | Pros | Cons |
|---|---|---|---|
| Air Drying (Flat) | Standard prints, snapshots | Cheap, safe, easy to monitor | Requires significant table space |
| Clothesline Drying | Negatives, plastic-coated prints | Saves space, prevents sticking | Risk of “clips” marking the edges |
| Freezing | Large volumes of photos | Stops mold growth instantly | Requires professional follow-up |
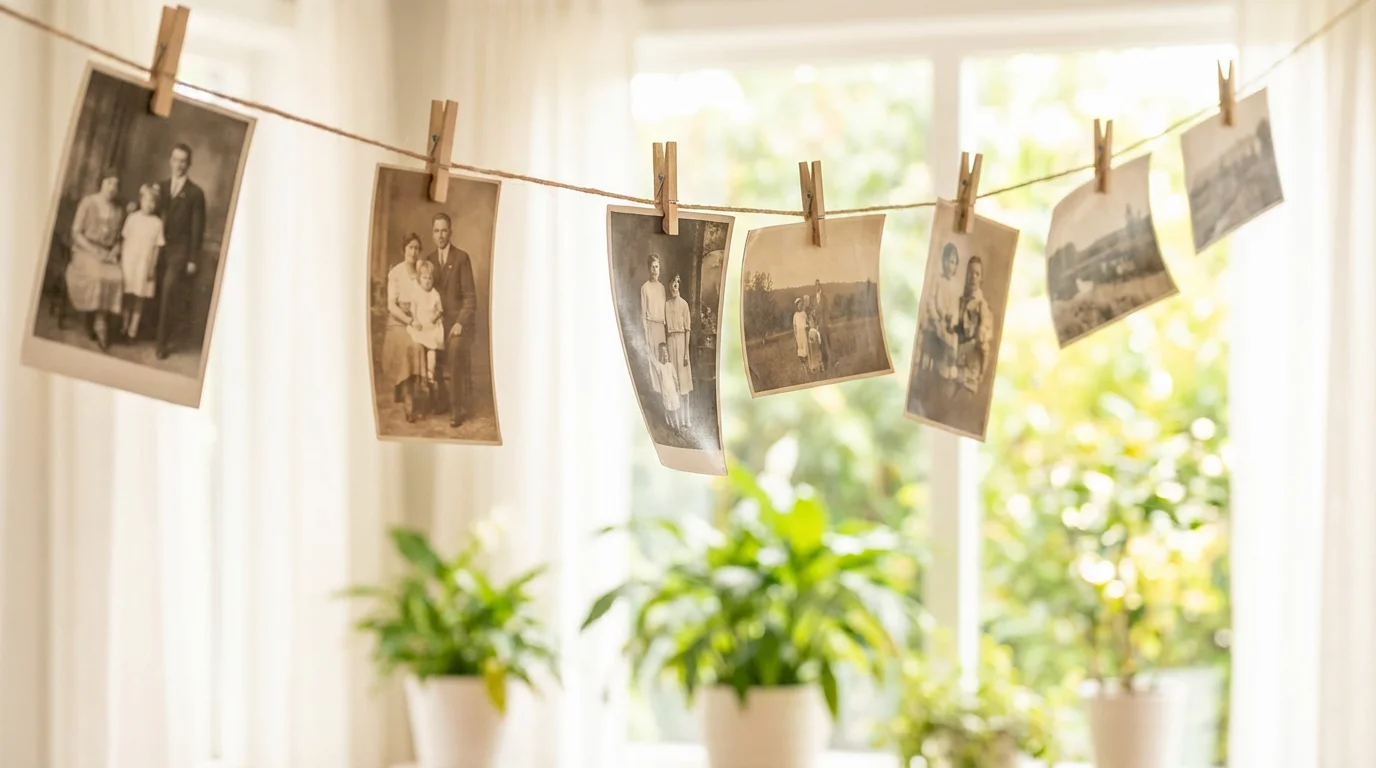
For modern “RC” (resin-coated) photos, which feel plastic-like, you can hang them from a clothesline using plastic clothespins. Clip the photos by a corner or a blank margin area to avoid damaging the central image. Hanging allows air to reach both sides of the photo, which significantly speeds up the drying time and reduces the chance of the paper base warping.
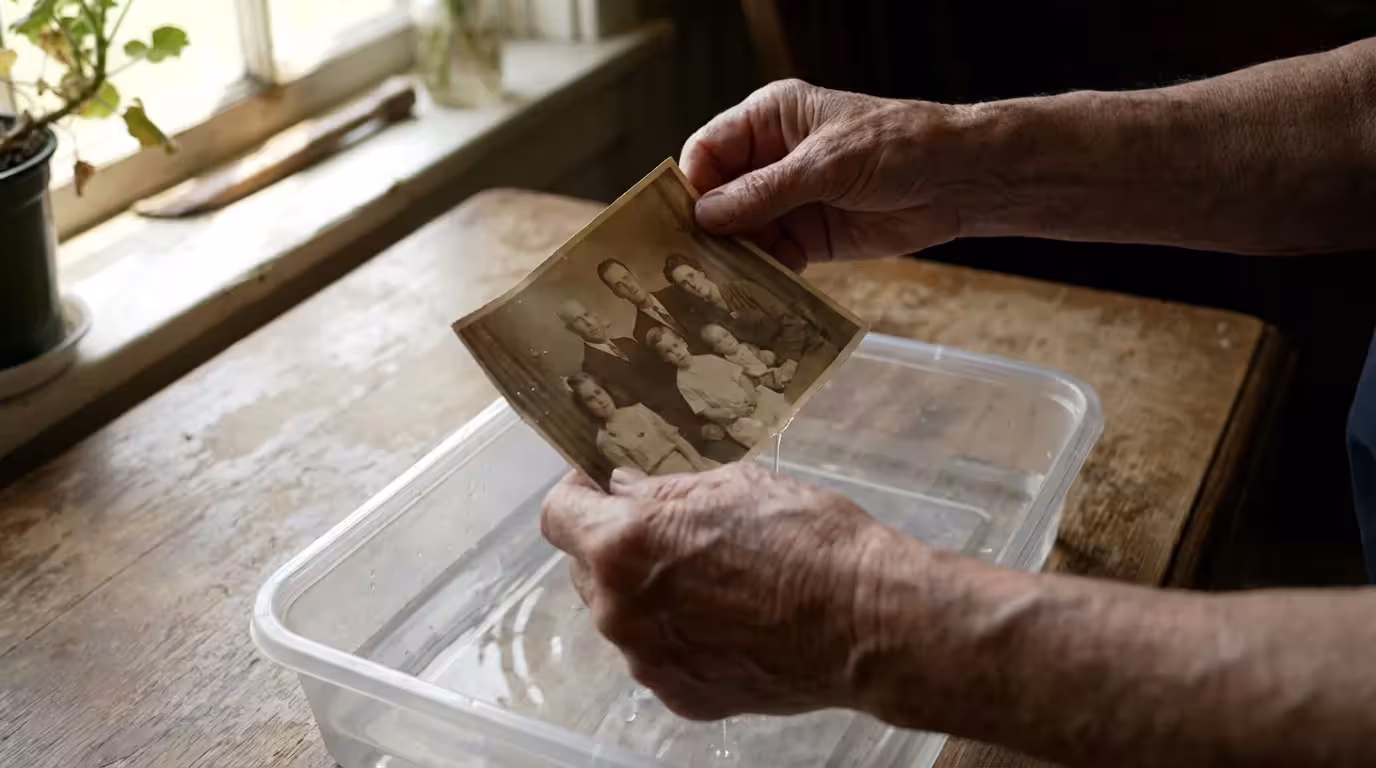
How to Separate Stuck Photographs
Finding a block of photos that have fused together into a solid brick is a common nightmare. This happens because the gelatin in the photo emulsion acts as a powerful adhesive when it gets wet and then begins to dry. Your first instinct might be to peel them apart like a deck of cards. You must resist this urge. If you peel them while they are dry or partially dry, you will tear the image off one photo and leave it stuck to the back of the other.
If your photos are fused within an old album, you should follow specific steps for removing photos from magnetic albums to avoid surface tearing.
To separate stuck photos, you must re-wet them. Submerge the entire block in a tray of room-temperature distilled water. Let them soak for 30 to 60 minutes. As the water penetrates the layers, the gelatin will soften. Periodically check the edges of the stack. When you feel the photos start to give, gently slide the top photo off the one beneath it. Do not pull upward; slide horizontally. If you encounter resistance, stop and let them soak for another 15 minutes.
If the photos were stuck together for a long time or were exposed to heat while wet, they may be fused beyond the point of DIY recovery. In these cases, the chemical bonds have become too strong for water alone to break. If your “soak and slide” method fails after an hour, it is time to dry the block as it is and consult a professional who uses specialized freeze-drying or chemical separation techniques.
Handling Specialized Formats: Negatives, Slides, and Polaroids
Not all photographic materials react to water in the same way. Knowing how to fix water damage on specialized formats requires a slightly different approach than handling standard paper prints. Negatives, for instance, are the “master copies” of your images. If you save the negative, you can always create a new print, even if the original photo is destroyed.
Once your salvaged photos are dry and stable, follow a complete guide to scanning photos at home to create high-resolution digital backups.
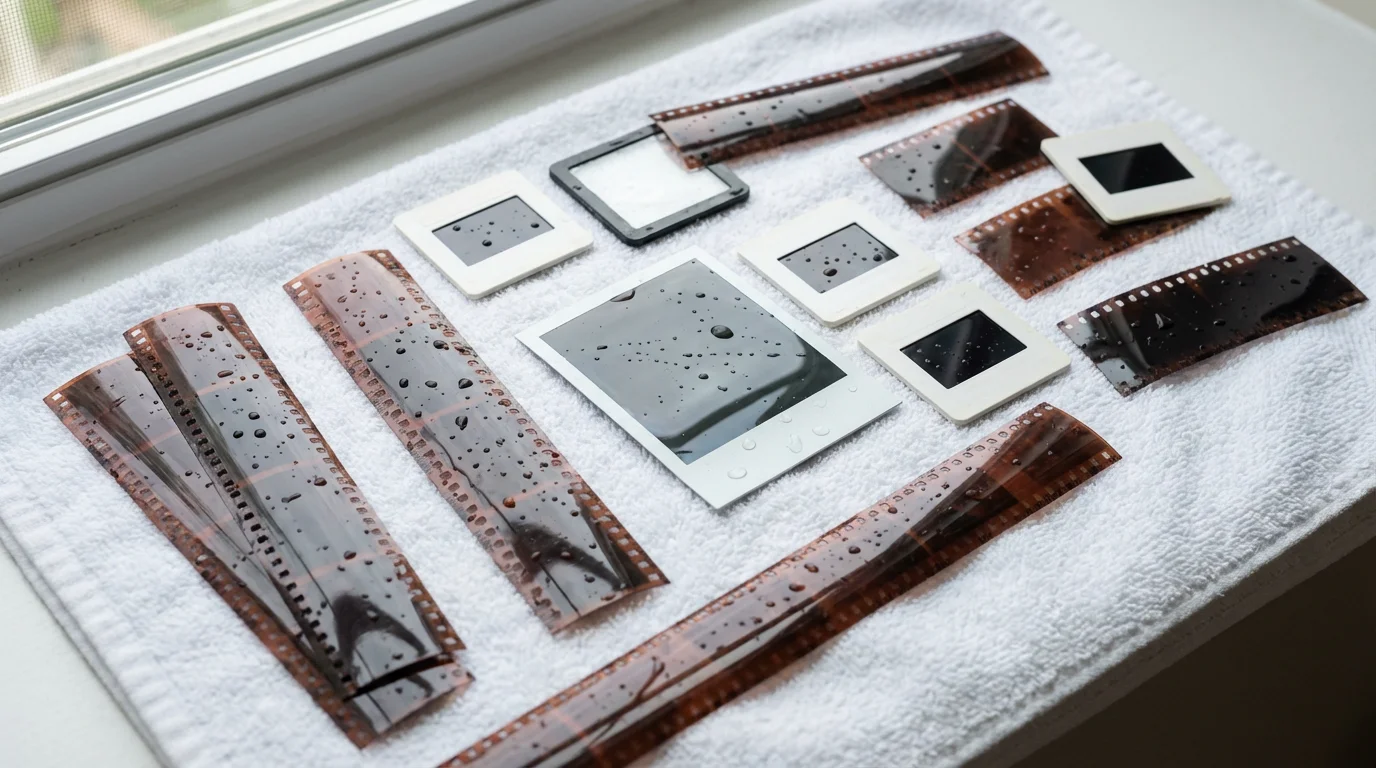
Negatives and Slides: Handle these only by the edges. If they are dirty, rinse them in cool distilled water. For 35mm film or negatives, you can use a very dilute solution of Photoflo (a wetting agent) if you have access to it, which prevents water spots. Hang them vertically to dry. For slides, the cardboard mounts will likely warp and mold. You will need to carefully remove the film from the cardboard mount, dry it, and eventually place it in a new plastic slide mount.
Polaroids and Instant Prints: These are the most difficult to save. Because they consist of multiple layers of plastic and chemicals, water can seep into the edges and cause “tunneling” or chemical separation. If a Polaroid is submerged, it is often a total loss within hours. Your best bet is to gently rinse the exterior, pat it dry, and immediately scan it at the highest possible resolution to capture the image before the chemicals continue to react and blur the scene.
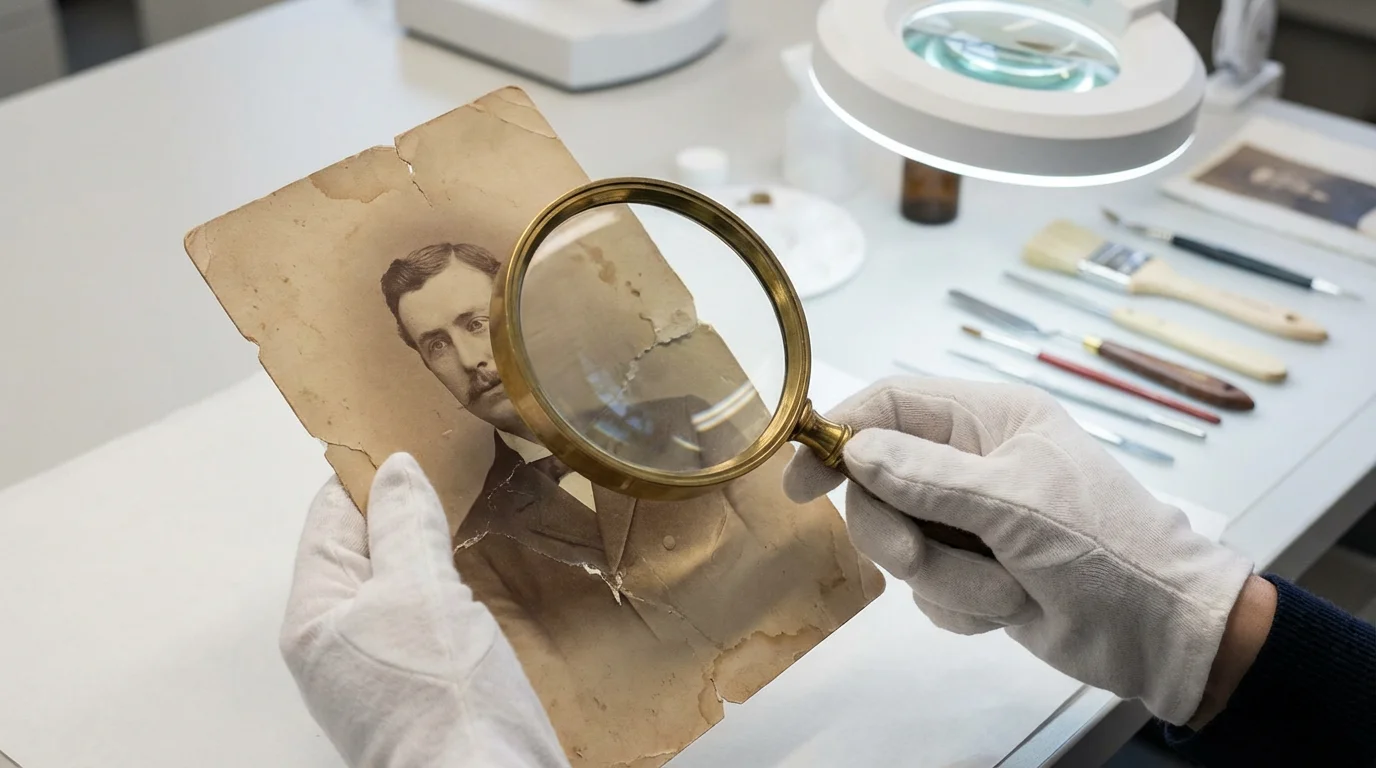
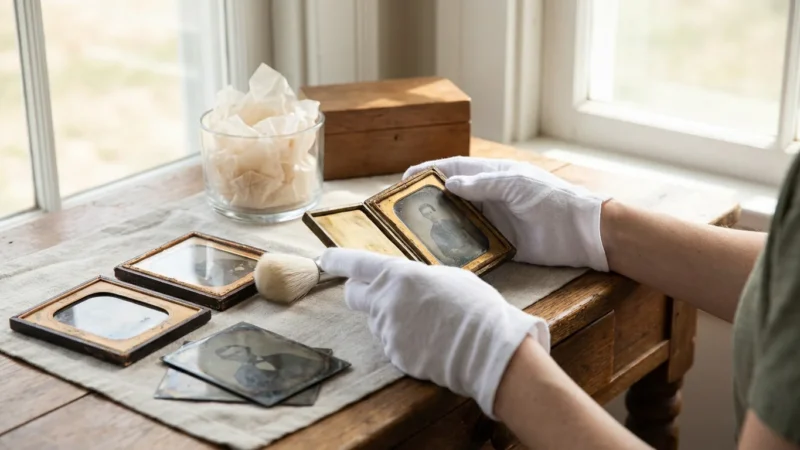
Vintage Formats: If you have 19th-century photos like daguerreotypes (on silver-plated copper) or ambrotypes (on glass), do not attempt to clean them yourself. These items are incredibly fragile and often have unique chemical coatings that react poorly to modern water or air drying. Keep them in a cool, dry place and seek help from the American Institute for Conservation to find a specialist in historic processes.
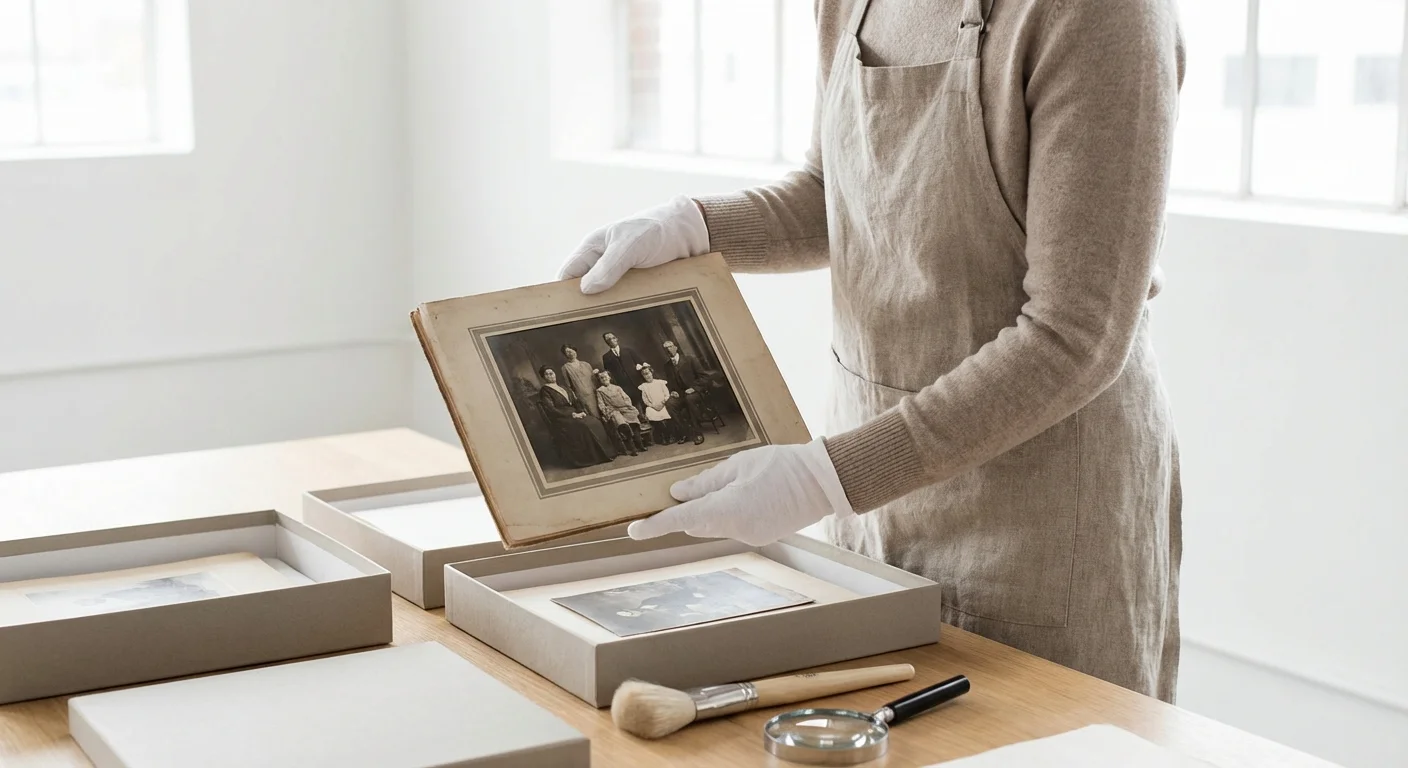
When to Call a Professional Conservator
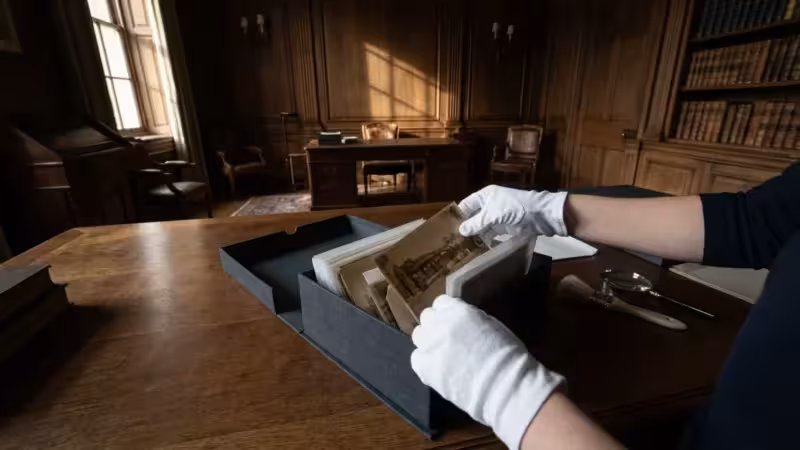
While DIY methods work for many modern snapshots, some situations demand professional expertise. If the water damage involves precious, one-of-a-kind heirlooms from the 1800s, professional conservation is the only way to ensure their survival. A conservator has access to tools that you do not, such as vacuum freeze-dryers, which can remove moisture from large volumes of photos without the warping that occurs with air drying.
To avoid future heartaches during floods or storms, consider creating a photo emergency go-bag to keep your most precious originals safe.
You should also call a professional if you see evidence of “active” mold—fuzzy growth that is smeary or colorful. Mold is a health hazard, and attempting to clean it without proper equipment can spread spores throughout your home. Furthermore, if your photos have been soaked in contaminated floodwater or sewage, professionals can use specialized sanitization methods that are safe for the photographic emulsion but lethal to bacteria.
Consider the value of the memory versus the cost of the service. Professional conservation can be expensive because it involves painstaking manual labor. However, for a portrait of a great-grandparent who died young or a unique historical record of your town, the investment is often worth it. You can find qualified professionals through the National Archives or the American Institute for Conservation.
“The longevity of a photograph is determined by its environment. Even after water damage, returning an item to stable, low-humidity storage is the most effective way to prevent further decay.” — Image Permanence Institute
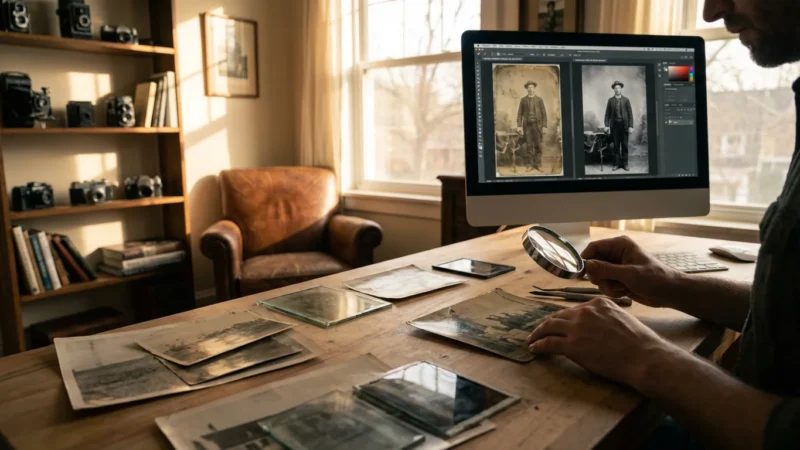
Digitization and Modern Photo Restoration
Physical restoration focuses on the object, while digital restoration focuses on the image. Even if your physical photo remains stained, cracked, or slightly blurry after it dries, all is not lost. Modern digital technology allows you to restore photos to their former glory—sometimes making them look even better than they did before the water damage.
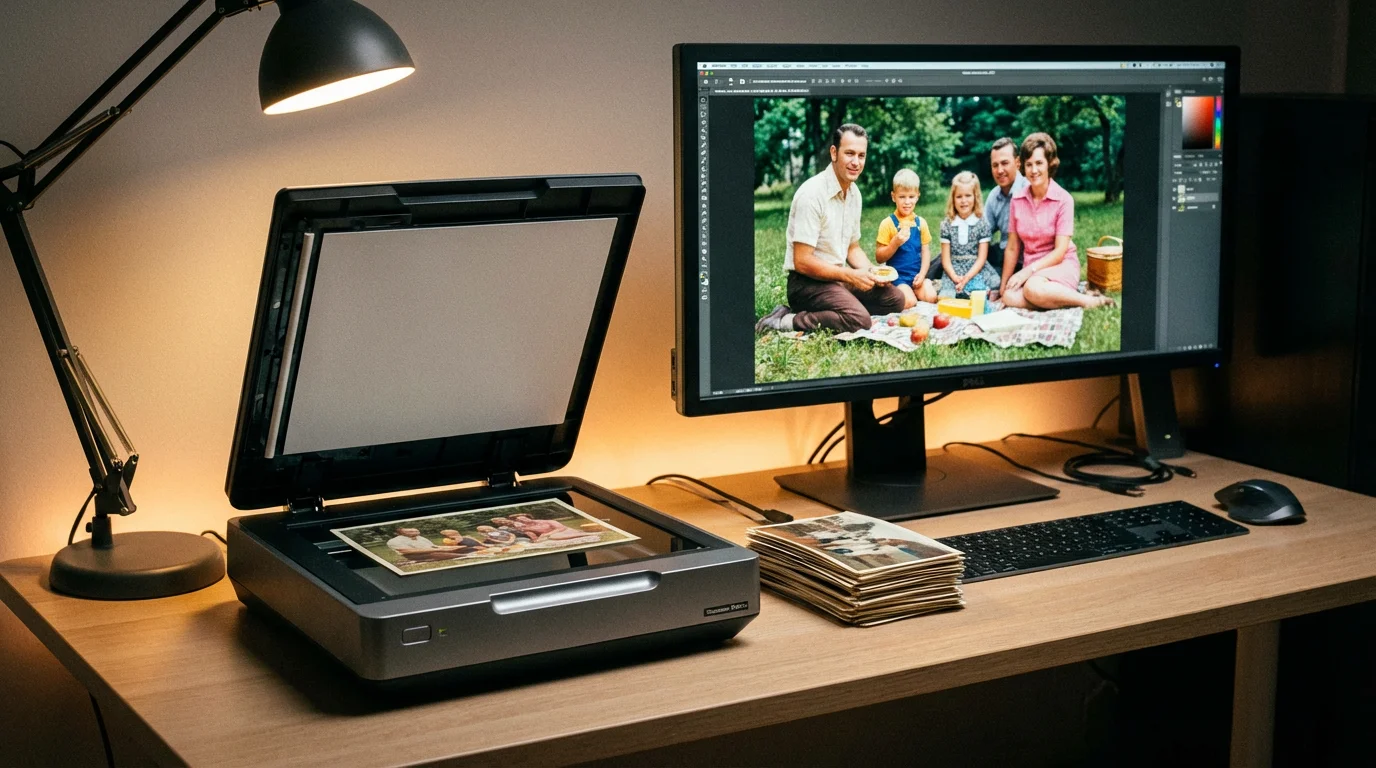
Once your photos are completely dry and flat, use a high-quality flatbed scanner to create a digital backup. Scan at a minimum of 600 DPI (dots per inch) for standard prints and at least 2400 DPI for negatives or slides. This high resolution captures enough data for a restoration artist to work with. If the photo is too fragile for a flatbed scanner, use a tripod-mounted digital camera with a macro lens to photograph the image in soft, indirect light.
Professional photo restoration services use software like Adobe Photoshop to digitally “paint” back missing details, remove water stains, and correct color shifts caused by moisture. They can bridge the gap between a salvaged physical object and a beautiful, shareable memory. By digitizing your collection immediately after saving it from water damage, you create a permanent “insurance policy” against any future accidents.
Preventing Future Water Damage
The best way to save water damaged photos is to prevent the damage from happening in the first place. Many families store their most precious memories in the two most dangerous places in a house: the basement and the attic. Basements are prone to flooding, pipe leaks, and high humidity, while attics suffer from extreme heat and roof leaks. Both environments accelerate the chemical breakdown of your photos.
Building a resilient home photo archive involves organizing both your physical and digital copies for long-term security.
Storing your most important originals in a fireproof and waterproof safe provides an extra layer of defense against environmental disasters.
Store your photos in the “living” areas of your home where the temperature and humidity remain relatively stable. A closet in a hallway or a bedroom is far safer than a garage. Use archival-quality storage materials. Look for boxes and sleeves that have passed the Photographic Activity Test (PAT). These materials are acid-free and lignin-free, meaning they won’t turn your photos yellow over time.
For maximum protection, follow the “3-2-1 rule” of photo preservation:
- Keep 3 copies of every important photo.
- Store them on 2 different types of media (e.g., physical prints and a hard drive).
- Keep 1 copy in a different geographic location (e.g., a safe deposit box or a cloud storage service).
By placing your physical photos in water-resistant plastic bins inside your home’s living areas, you give them the best chance of survival. Even if a pipe bursts, the bin provides a crucial layer of protection that a cardboard box cannot offer. Your photographic heritage is a bridge to the past; with the right care and quick action, you can ensure that bridge remains standing for the next generation.
Frequently Asked Questions
Can you save photos that have been stuck together by water?
Yes, but you must proceed with extreme caution. The gelatin emulsion on the surface of photos acts like glue when wet. You can often separate them by soaking them in room-temperature distilled water for 30 minutes and gently sliding them apart. If they do not budge, stop immediately and consult a professional conservator, as forcing them will tear the image layer.
Should I use a hairdryer to speed up the drying process?
No, you should never use a hairdryer or any direct heat source on water damaged photos. Heat causes the photo paper to curl aggressively and can crack the delicate emulsion. It may also bake dirt or contaminants into the surface. Air drying in a cool, shaded area with good circulation is the safest DIY method.
Is it better to dry photos or freeze them if I have a large collection?
If you have hundreds of photos and cannot dry them all within 48 hours, freezing is the better option. Freezing stops the clock on mold growth and prevents further degradation. Wrap small stacks in wax paper, place them in freezer bags, and store them until you can properly air-dry them or send them to a restoration expert.
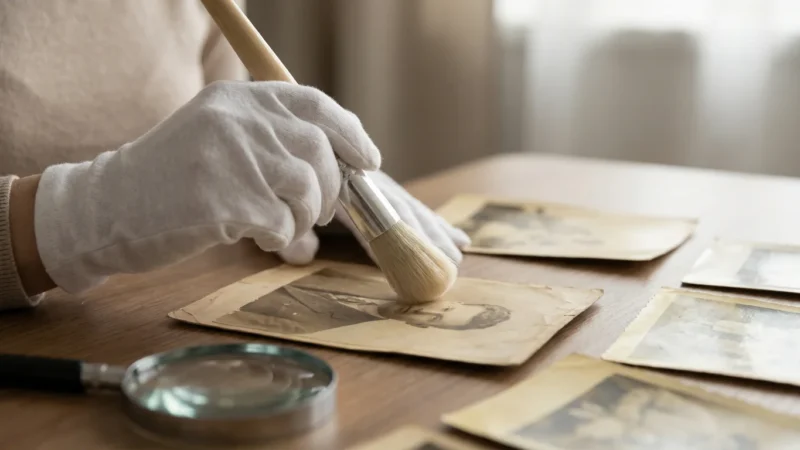
How do I handle moldy photographs?
Handle moldy photos with gloves and a mask to protect your health. If the photos are still wet, separate them and air dry them completely. Once dry, you can use a soft, dry brush to gently whisk away surface mold outdoors. If the mold has eaten into the image, professional photo restoration is necessary to digitally repair the damage.
Disclaimer: This article is for informational purposes only. When handling valuable or irreplaceable photographs, consider consulting a professional conservator. Always test preservation methods on non-valuable items first.


Leave a Reply