You carry a powerful creative tool in your pocket every single day. Modern smartphones possess imaging capabilities that rival professional cameras from just a decade ago. However, owning a high-end device does not automatically result in gallery-worthy images. Just as a high-quality paintbrush requires a skilled hand, your smartphone camera requires a fundamental understanding of light, composition, and technical settings to truly shine. Whether you want to capture the candid laughter of your children or document heirlooms for future generations, mastering mobile photography allows you to preserve these moments with clarity and artistry.
Many people feel frustrated when their photos look grainy, dark, or cluttered. This frustration often stems from relying too heavily on the phone’s automatic settings. While software algorithms are impressive, they cannot replace your creative eye. By taking manual control of a few key elements, you transform your device from a simple point-and-shoot tool into a sophisticated instrument for storytelling. These 10 practical hacks will help you elevate your mobile photography skills immediately, ensuring your digital heritage remains as vibrant as your memories.

Master Manual Focus and Exposure
Your smartphone camera constantly tries to guess what you want to highlight in a frame. Most of the time, it looks for faces or the largest object in the foreground. However, the camera’s “guess” might not align with your creative vision. To take control, tap your screen exactly where you want the focus to land. This simple action tells the software to prioritize that specific area for both sharpness and light measurement.
If you find yourself shooting in dimly lit rooms, understanding camera settings for indoor photos can provide additional clarity beyond simple exposure adjustments.
Once you tap to focus, look for the small sun icon or slider that appears next to the focus box. Sliding your finger up or down adjusts the exposure, or the brightness, of the image. This is a critical phone photography lighting tip. If you are shooting a person against a bright window, the camera might make the person look like a dark silhouette. By manually sliding the exposure up, you can ensure their face is properly lit. Conversely, if you are capturing a sunset, lowering the exposure will deepen the colors and prevent the sky from looking “blown out” or white.
For more advanced situations, try the AE/AF Lock feature. On most phones, pressing and holding the screen for a second or two locks the focus and exposure. This prevents the phone from refocusing if someone walks through the background or if the lighting shifts slightly as you recompose your shot. This stability is vital when you are trying to capture specific details in a busy environment.

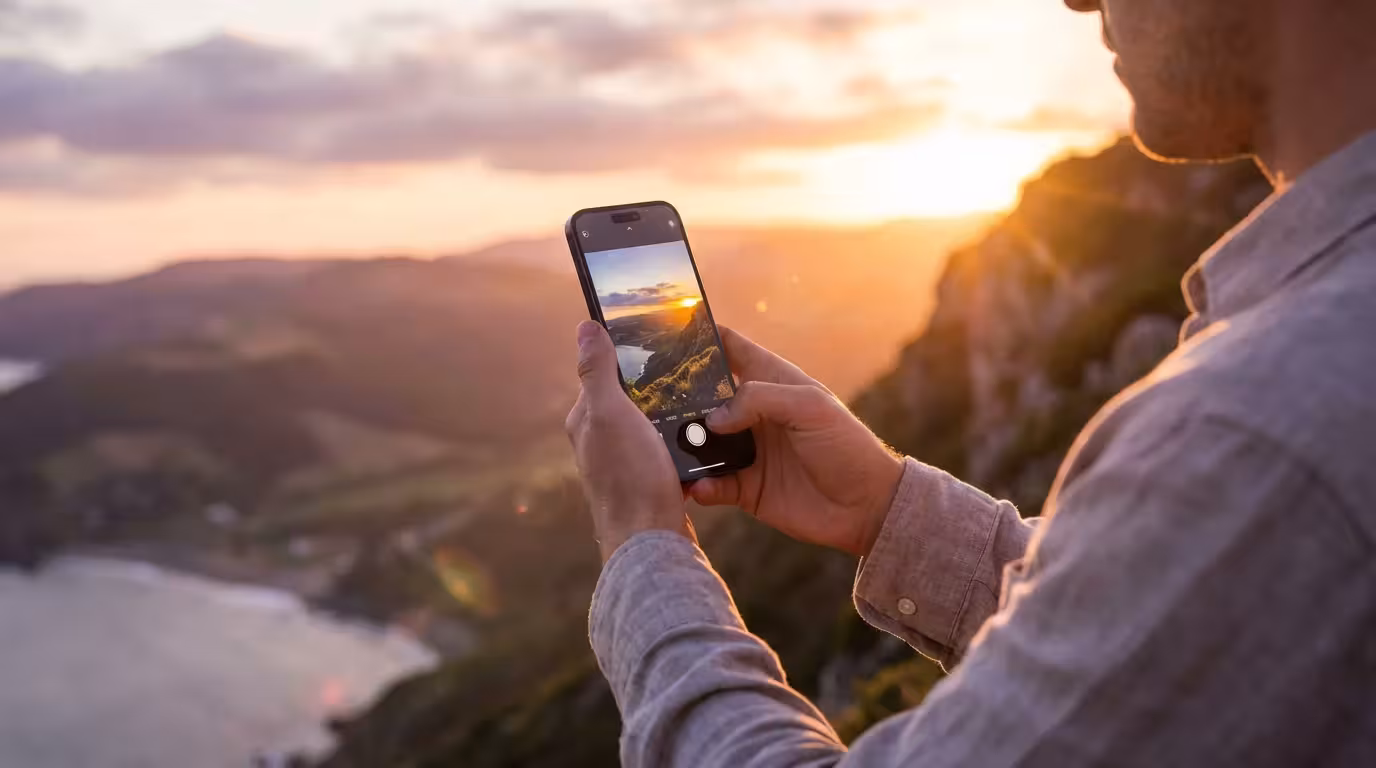
Harness the Power of Natural Light
Lighting is the most important element of any photograph. Smartphone sensors are much smaller than those in professional DSLRs, which means they require more light to produce a clean, noise-free image. Whenever possible, seek out natural light sources. Avoid using your phone’s built-in flash; it often creates harsh shadows, “red-eye,” and an artificial look that flattens your subject. For a deeper understanding of how light interacts with camera sensors, Cambridge in Colour provides excellent technical tutorials on the physics of photography.
When natural sources are unavailable, mastering low light photography without a flash will ensure your images remain atmospheric rather than grainy.
The “Golden Hour”—the hour after sunrise and the hour before sunset—provides the most flattering light for portraits and landscapes. During this time, the sun is lower in the sky, creating a soft, warm glow and long, artistic shadows. If you are shooting indoors, move your subject closer to a window. North-facing windows provide a steady, diffused light that minimizes harsh highlights on the skin. If the sunlight is too direct, hang a thin white sheet over the window to act as a giant softbox.
Consider how the direction of light changes the mood of your photo:
| Light Direction | Visual Effect | Best Used For |
|---|---|---|
| Front Lighting | Minimizes shadows and textures; very flat. | Simple portraits and record-keeping. |
| Side Lighting | Creates shadows; emphasizes texture and depth. | Artsy portraits, food, and architecture. |
| Backlighting | Creates a glow around the edges; can result in silhouettes. | Dramatic, ethereal outdoor shots. |
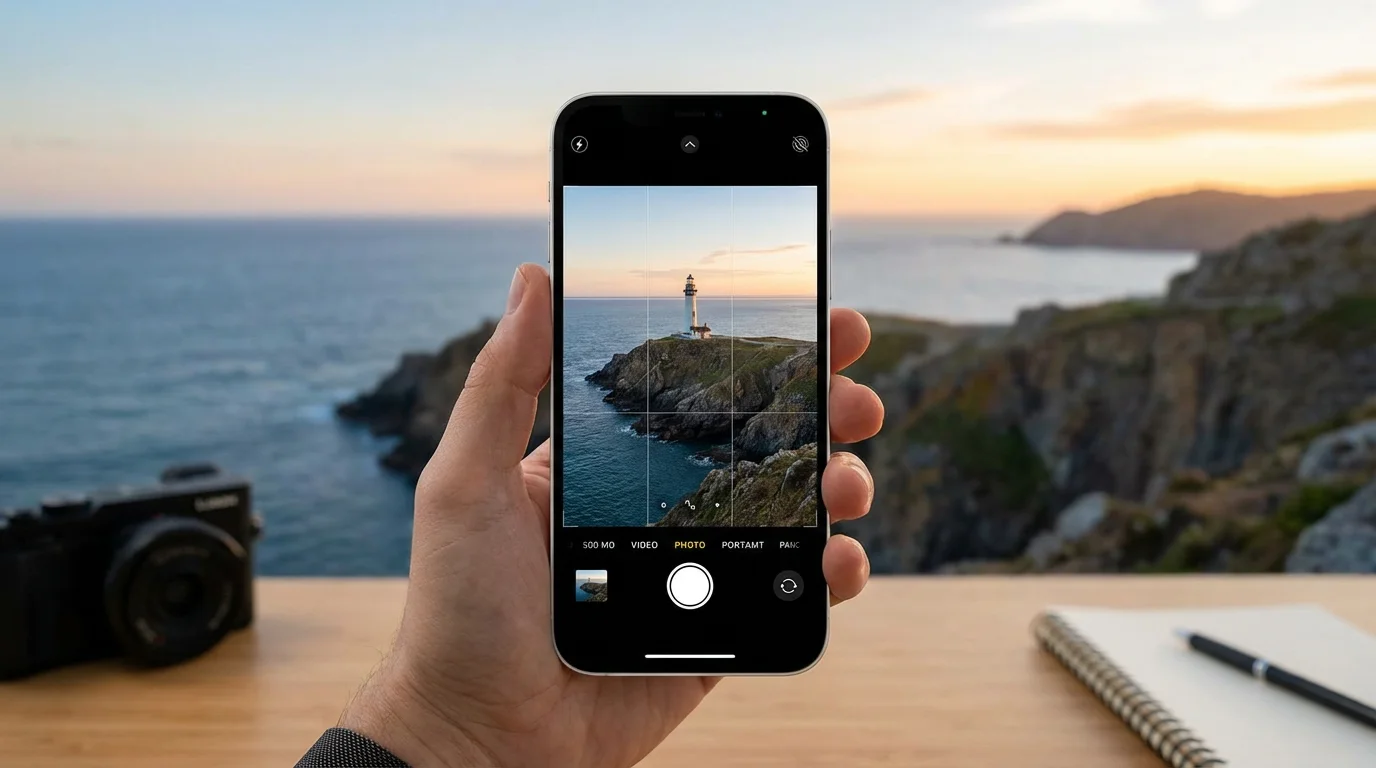
Implement the Rule of Thirds
Composition separates a snapshot from a photograph. One of the easiest ways to improve smartphone photography skills is to use the rule of thirds. Imagine your frame is divided into a nine-part grid by two horizontal lines and two vertical lines. Instead of placing your subject directly in the center of the frame, place them along one of these lines or at the points where the lines intersect.
These composition guidelines are also extremely effective when learning how to take great group photos during festive family occasions.
You don’t have to visualize this grid in your head. Most smartphones have a built-in grid setting. On an iPhone, navigate to Settings > Camera > Grid and toggle it on. On Android, check your Camera app’s settings for “Grid lines.” Using this grid helps you create balance and interest. If you are photographing a horizon, place the land-sky transition along the bottom or top horizontal line rather than splitting the image exactly in half. This creates a more dynamic and professional-looking perspective.
“The rule of thirds is a powerful guideline for creating balance and interest in your photographs, drawing the viewer’s eye into the scene naturally.”

Clean Your Lens for Instant Clarity
This is perhaps the simplest “hack,” yet it is the one most people overlook. Throughout the day, your phone lives in your pocket, on your desk, or in your hand. Your fingers leave oily smudges on the glass covering the camera lens. These smudges act like a physical filter, scattering light and creating a “hazy” or “dreamy” look that ruins sharpness and contrast.
Before you take any important photo, get into the habit of wiping the lens. Use a microfiber cloth if you have one, but even a clean cotton t-shirt will work in a pinch. Avoid using your thumb, as you will likely just add more oils. You will notice an immediate improvement in the clarity of your images and the richness of the colors. This is especially important for night photography, where smudged lenses cause streetlights to “streak” across the frame.
Avoid Digital Zoom at All Costs
When you “pinch to zoom” on your phone screen, you are likely using digital zoom. Unlike optical zoom, which uses physical lens movement to get closer to a subject, digital zoom simply enlarges the pixels of the existing image. This results in a significant loss of detail, making the photo look grainy and pixelated. Even the best AI-upscaling software currently available cannot perfectly recreate the lost data.
In cases where a shot still turns out slightly soft, there are specialized techniques to sharpen blurry photos during the editing phase.
Instead of zooming, try “zooming with your feet.” Physically move closer to the subject. If you cannot get closer, take the photo at the standard 1x magnification and crop it later during editing. Taking a high-resolution photo and cropping it often yields a much sharper result than using the digital zoom feature at the time of capture. If your phone has multiple lenses (Wide, Ultra-Wide, and Telephoto), use the dedicated Telephoto button (usually marked as 2x or 3x) to engage the optical zoom lens rather than manually pinching the screen.
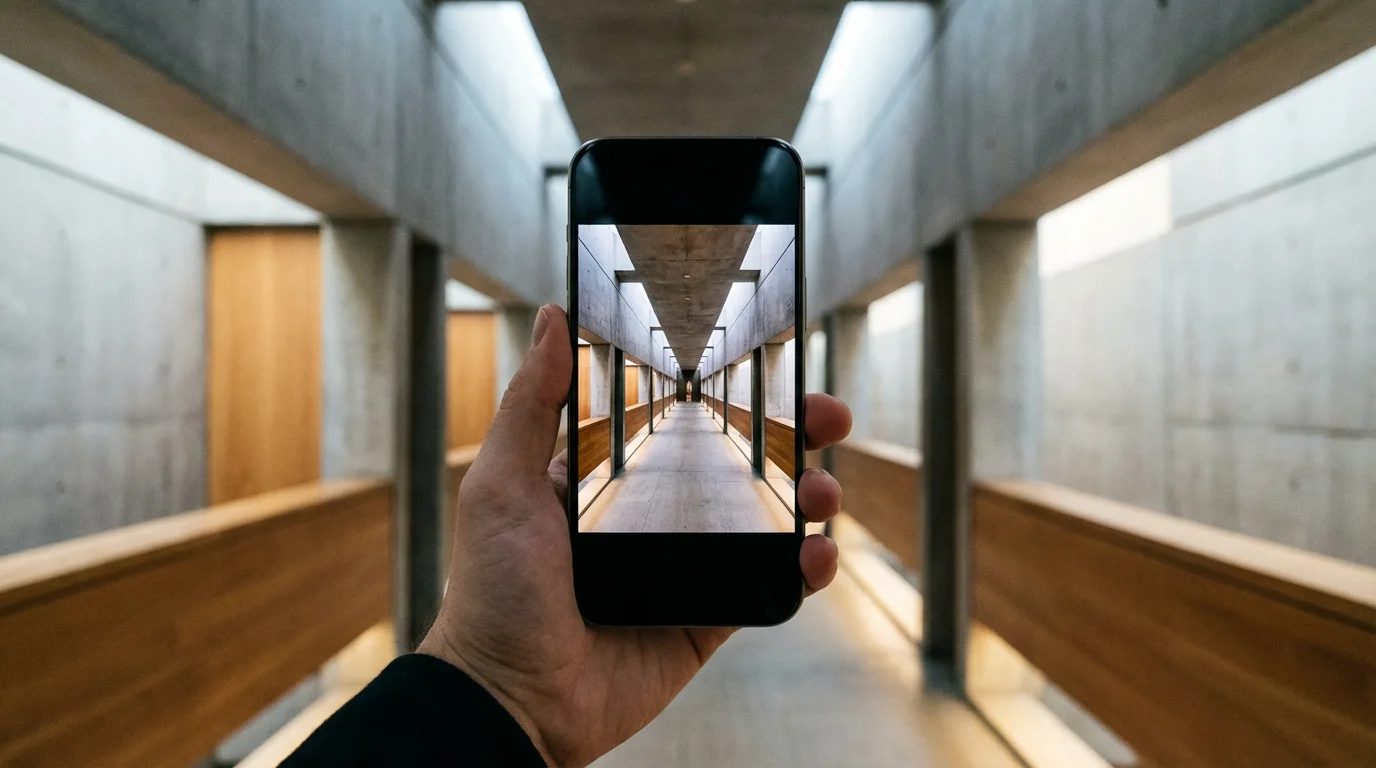
Use Leading Lines and Symmetry
Leading lines are elements within your photo that pull the viewer’s eye toward the main subject or through the scene. They add a sense of depth and motion to an image. Look for roads, fences, shorelines, or even shadows that point toward what you want the viewer to see. By aligning your camera so these lines start at the bottom of the frame and move inward, you create a 3D effect on a 2D screen.
Symmetry is another powerful compositional tool. Centering a subject can be boring, but centering a perfectly symmetrical subject—like a reflection in a puddle or a long hallway—creates a sense of calm and order. Your smartphone’s wide-angle lens is particularly good at capturing these architectural perspectives. When shooting for symmetry, ensure you are holding the phone perfectly level. Even a slight tilt can throw off the balance and make the photo feel “crooked.”
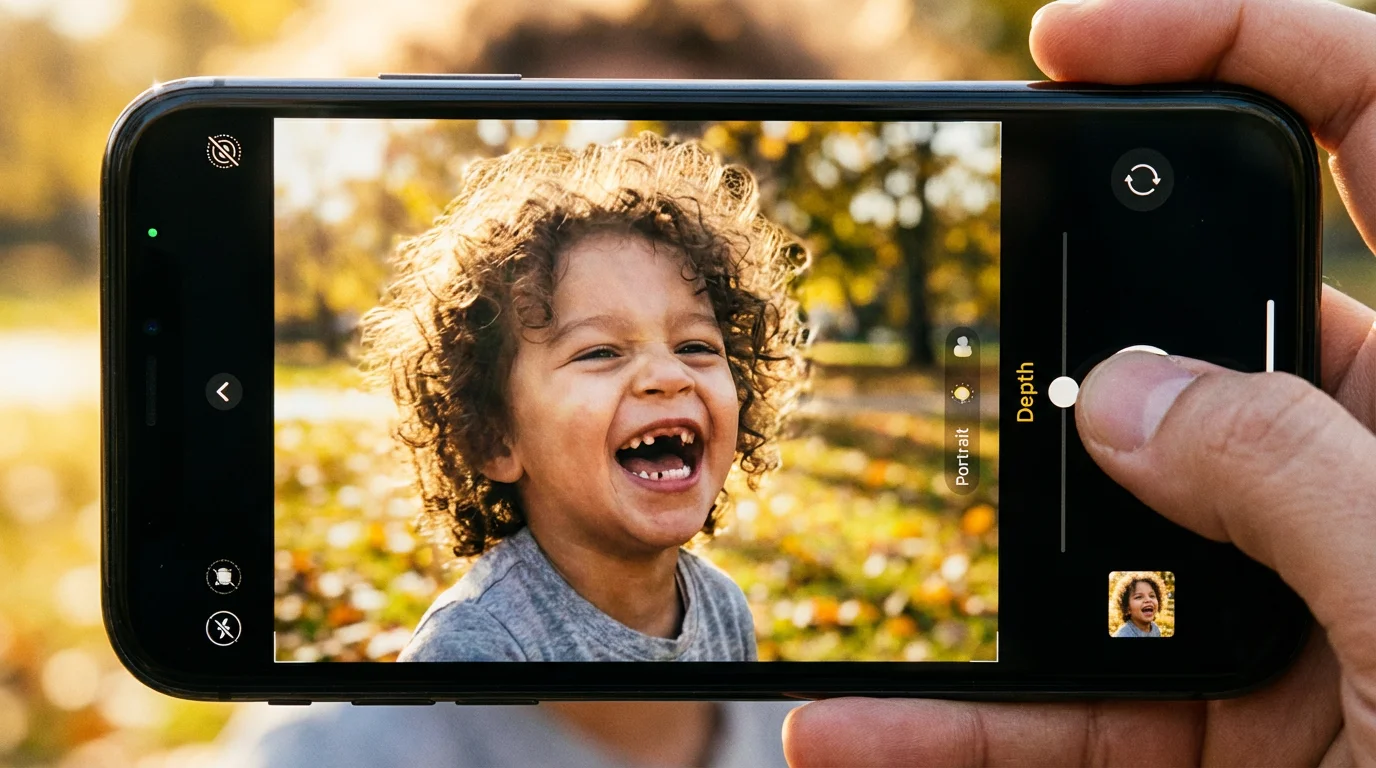
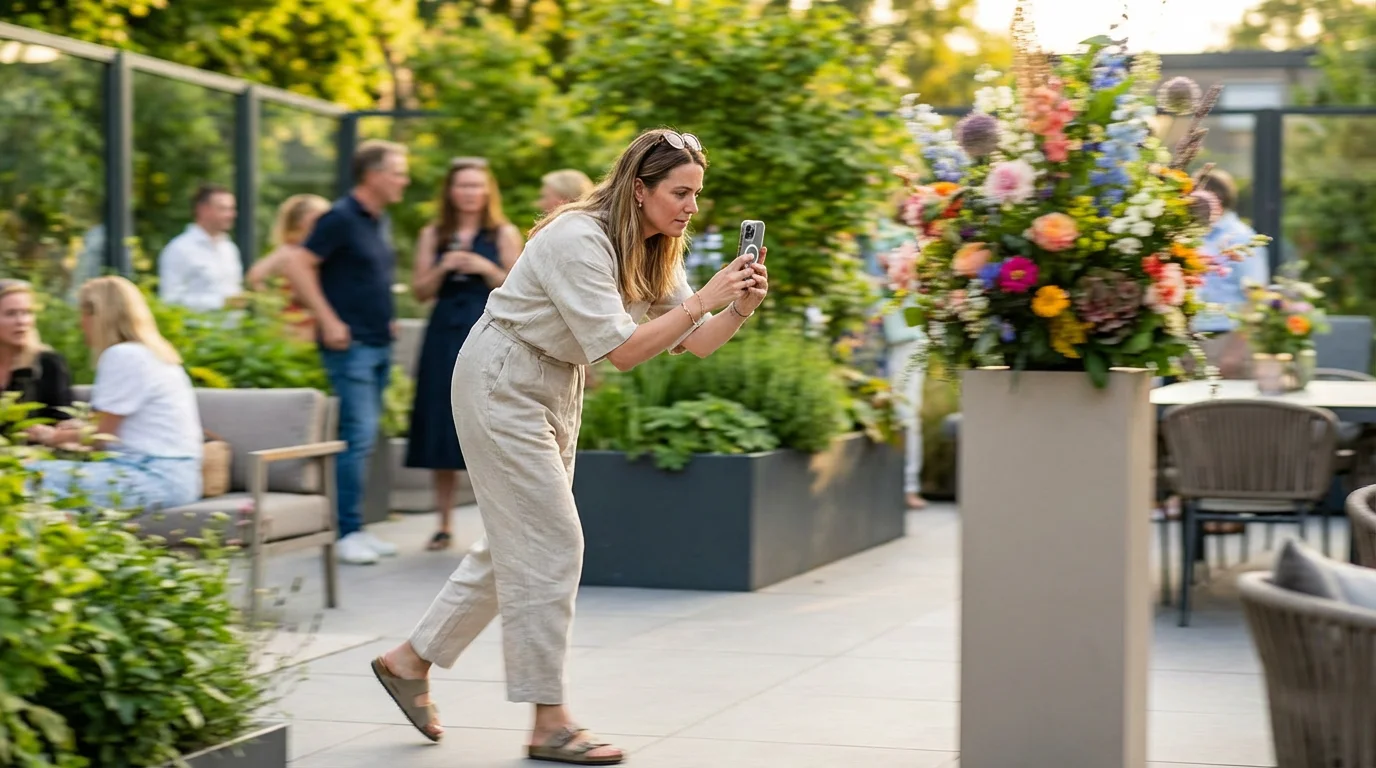
Explore Portrait Mode and Depth Control
One of the biggest differences between a phone photo and a professional camera photo is the “bokeh,” or the blurred background. Professional cameras achieve this with large sensors and wide-aperture lenses. Smartphones simulate this effect using “Portrait Mode” software. This mode identifies the edges of your subject and artificially blurs everything else, making the subject “pop.”
To use Portrait Mode effectively, ensure you are between two and eight feet away from your subject. The software needs this distance to calculate depth accurately. Don’t limit Portrait Mode to people; use it for flowers, pets, or small heirlooms you wish to document. Many modern phones also allow you to adjust the “Depth” after the photo is taken. Look for an “f” icon in your edit settings to increase or decrease the blur. Be careful not to overdo it; if the background is too blurred, the edges of the subject (like hair or glasses) may look unnaturally cut out.
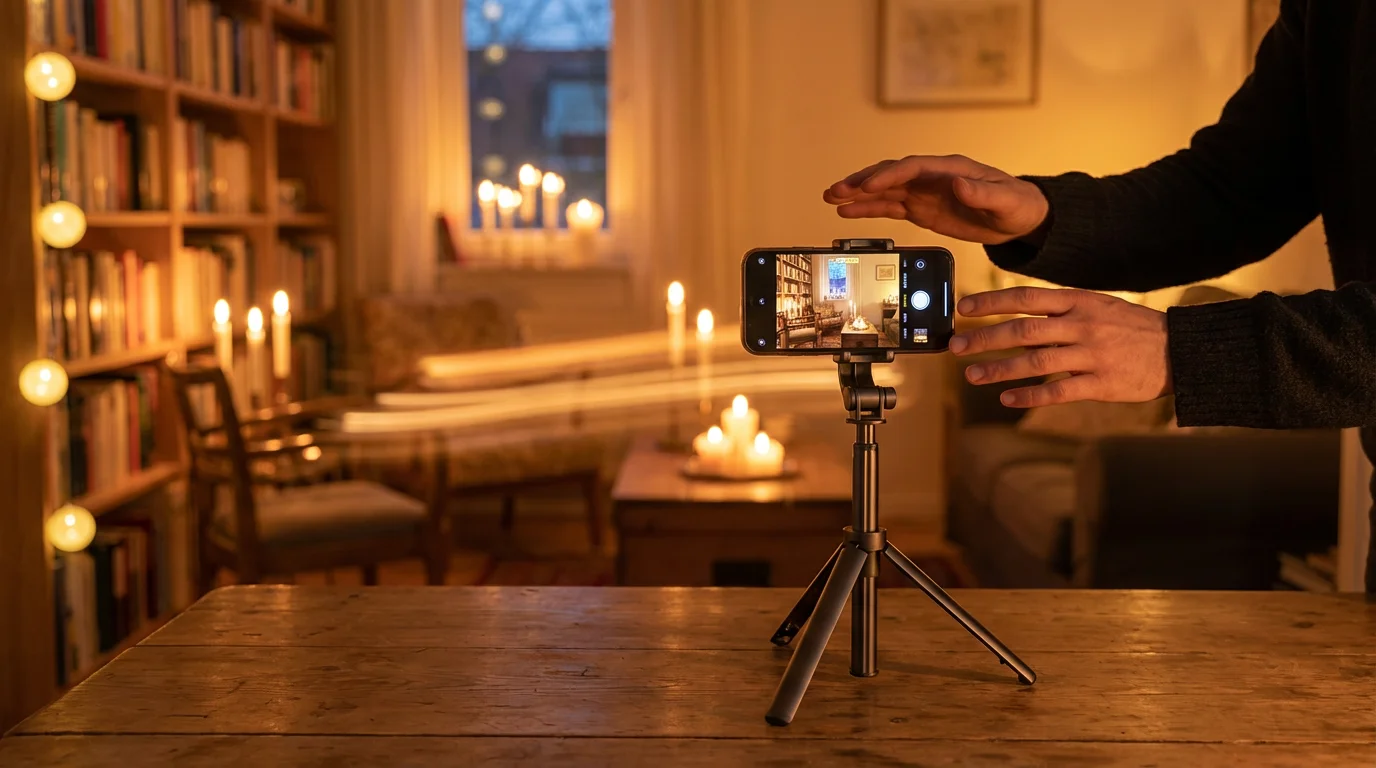
Stabilize Your Shots for Maximum Sharpness
Camera shake is the primary cause of blurry photos, especially in low-light conditions when the shutter stays open longer to let in light. When you tap the on-screen shutter button, you often move the phone slightly. To mitigate this, hold your phone with both hands and tuck your elbows into your sides. This turns your body into a human tripod.
Physical stability is the foundation of image quality, helping you take sharp photos every time regardless of the lighting conditions.
After capturing a steady shot, you can further enhance its impact by exploring the best mobile apps for photo editing to fine-tune color and clarity.
Another helpful tip is to use the volume buttons on the side of your phone as a physical shutter release. This feels more like a traditional camera and allows for a firmer grip. If you are taking a group photo or a long exposure of the stars, consider a small, portable tripod. You can also use your phone’s built-in timer (set to 3 or 10 seconds). By setting the timer and placing the phone on a steady surface, you eliminate the vibration caused by your hand touching the device entirely.
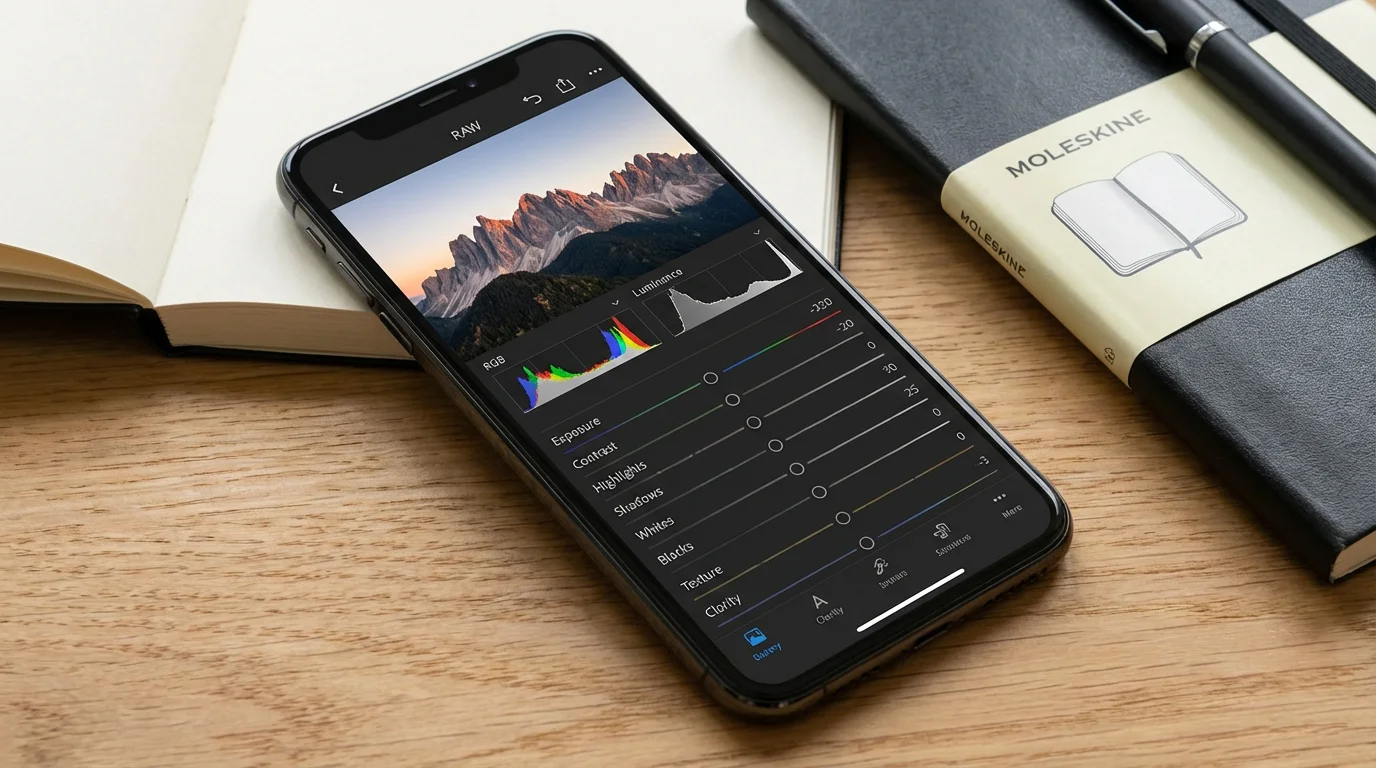
Shoot in RAW for Editing Flexibility
If you plan to edit your photos later, check if your phone supports RAW format (such as Apple ProRAW or Android DNG). Standard JPEG files are compressed, which means the phone’s software makes permanent decisions about color, contrast, and brightness, then throws away the “extra” data to save space. A RAW file, however, preserves all the information captured by the sensor.
While RAW files take up more storage space, they offer unparalleled control during post-processing. If a photo is too dark, you can “recover” details from the shadows in a RAW file that would simply be black in a JPEG. For families preserving photo memories, shooting in RAW for important events ensures you have the highest quality digital “negative” for future restoration or large-format printing. You can find more about high-end mobile sensor data and file formats at Digital Photography Review.

Practice Mindful Post-Processing
Editing should enhance the memory, not rewrite it. Use mobile editing apps like Adobe Lightroom Mobile or Snapseed to refine your images. Start with basic adjustments: straighten the horizon, crop out distracting elements on the edges, and adjust the “Blacks” and “Whites” to give the image more punch. Avoid the temptation to use heavy filters that distort natural skin tones or make the colors look “neon.”
Exploring the best mobile photo editing apps allows you to fine-tune colors and details directly on your device.
When you edit, aim for a natural look that honors the original moment. If you are digitizing an old physical photo by taking a picture of it with your phone, use your editing tools to gently correct the fading without losing the vintage character. Remember to save your edited photos as a “copy” rather than overwriting the original file. This allows you to go back to the original version if your editing style changes in the future.
Frequently Asked Questions
How can I take better photos at night?
Use “Night Mode” if your phone has it. Keep your phone as still as possible—propping it against a tree or wall helps. Avoid using the flash, as it will likely only illuminate dust in the air or create a harsh foreground while leaving the background pitch black.
What is the best way to back up my phone photos?
Use a “3-2-1” strategy: Keep three copies of your photos, on two different types of media, with one copy stored off-site. For most people, this means keeping photos on the phone, syncing them to a cloud service (like iCloud, Google Photos, or Dropbox), and periodically downloading them to a physical external hard drive.
Should I use third-party camera apps?
The native camera app is usually the fastest and best-integrated with your phone’s hardware. However, third-party apps like Halide or Manual Camera provide more granular control over shutter speed and ISO, which is useful for experienced photographers who want to push their phone’s limits.
How do I make my subjects feel comfortable?
Talk to them! Don’t just hide behind the screen. Give gentle directions, tell a joke, or ask them to walk toward you. Candid photos where people are moving or laughing often feel more authentic than stiff, posed portraits. Use “Burst Mode” (holding down the shutter) to capture a series of shots, so you can choose the one where no one is blinking.
By implementing these smartphone photography hacks, you move beyond basic snapshots and begin creating intentional, beautiful images. Your phone is more than a communication device; it is a gateway to documenting your family history and personal journey. Take the time to clean your lens, find the light, and compose with care. Your future self will thank you for the clarity and beauty of the memories you preserve today.
Disclaimer: This article is for informational purposes only. When handling valuable or irreplaceable photographs, consider consulting a professional conservator. Always test preservation methods on non-valuable items first.


Leave a Reply