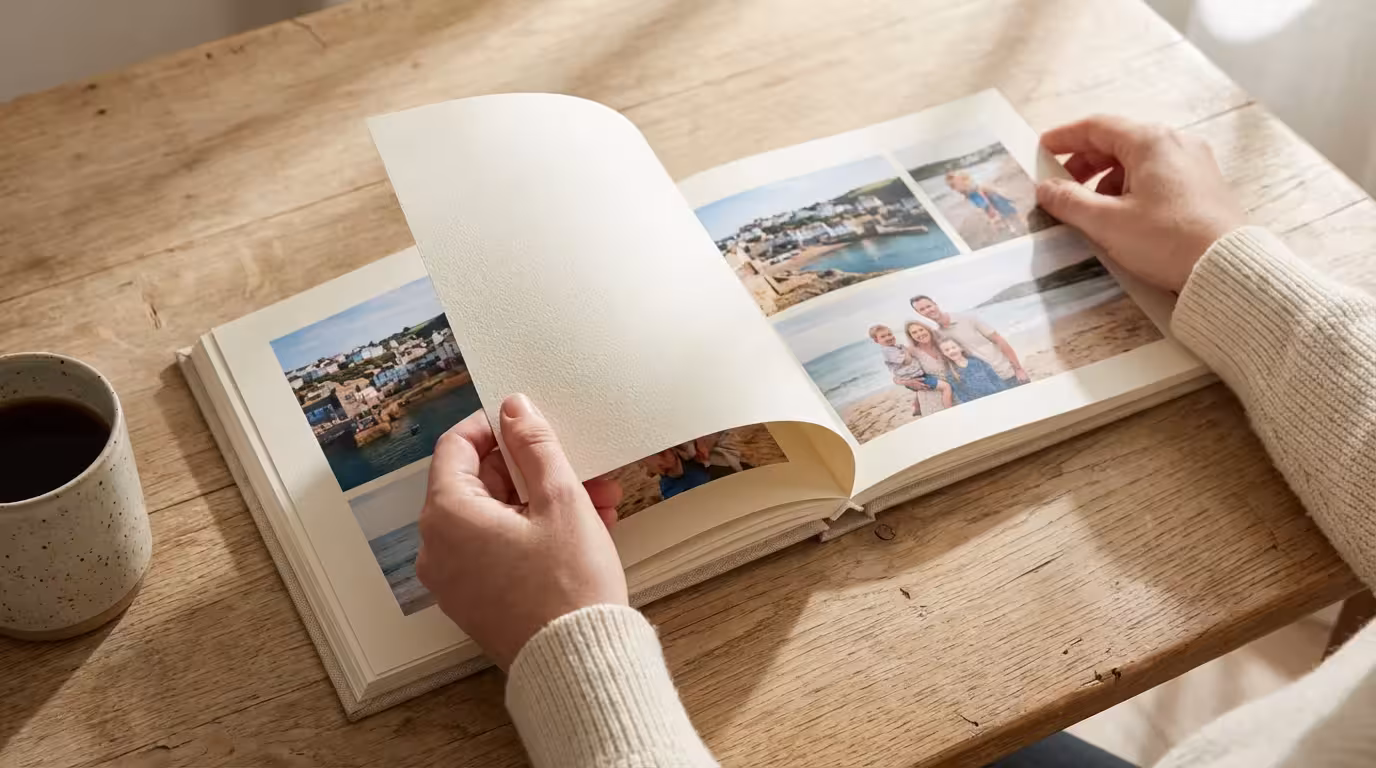
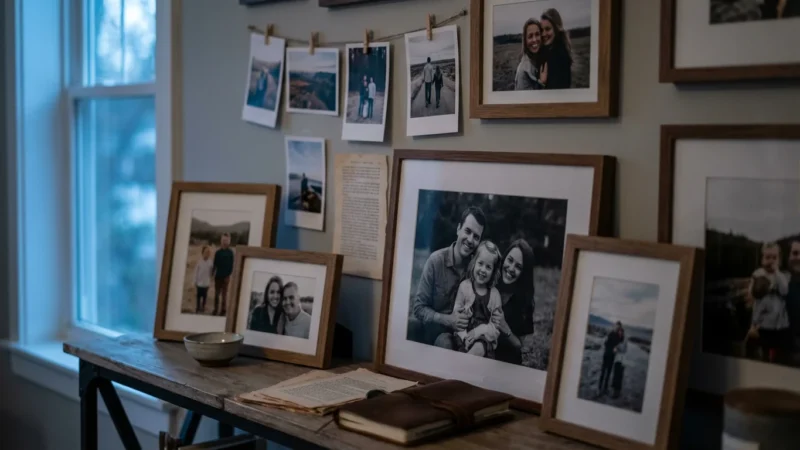
You likely have thousands of digital images sitting in cloud storage or buried in your smartphone’s camera roll. Perhaps you also have several shoe boxes filled with physical prints from decades ago, slowly losing their luster. While digital convenience is undeniable, nothing replaces the tactile experience of flipping through a physical photo book. These curated volumes serve as modern-day heirlooms; they bridge the gap between fleeting digital files and lasting family legacies.
Because these curated volumes make such personal keepsakes, they are also among the most popular DIY photo gifts for weddings or birthdays.
Creating a photo book allows you to take control of your narrative. By selecting the best images and arranging them with intention, you transform a chaotic collection of snapshots into a structured story. Whether you want to document a specific journey, celebrate a child’s growth, or preserve your family’s ancestral history, the right approach makes the process rewarding rather than overwhelming.

Mastering the Art of Curation
The biggest obstacle to finishing a photo book is the sheer volume of choices. You do not need to include every photo you took; in fact, doing so often dilutes the emotional impact of the project. Effective curation requires a critical eye and a focus on storytelling. You must decide what the “heart” of the book is before you even open your design software.
If you are starting from a disorganized mess, learning how to create a photo organization system will make selecting your ‘best of’ shots much easier.
Start by creating a “Best Of” folder on your computer. Aim to select images that represent different aspects of the experience: wide landscape shots to set the scene, medium shots for action, and close-ups for detail. If you are working with older, physical prints, you must first digitize them properly. When scanning, ensure your settings are at least 300 to 600 DPI to maintain clarity during the printing process. For high-end archival projects, you may want to consult the Image Permanence Institute for guidance on how different digital printing methods affect the longevity of your images.
Consider the emotional weight of each photo. Does it capture a specific feeling? Does it show a candid moment that would otherwise be forgotten? Avoid repetitive shots—three nearly identical photos of a sunset take up valuable space without adding new information. Choose the single most evocative image and let it shine.
The best photo books don’t just show what happened; they evoke how it felt to be there. Focus on the expressions and the environment rather than just the milestones.
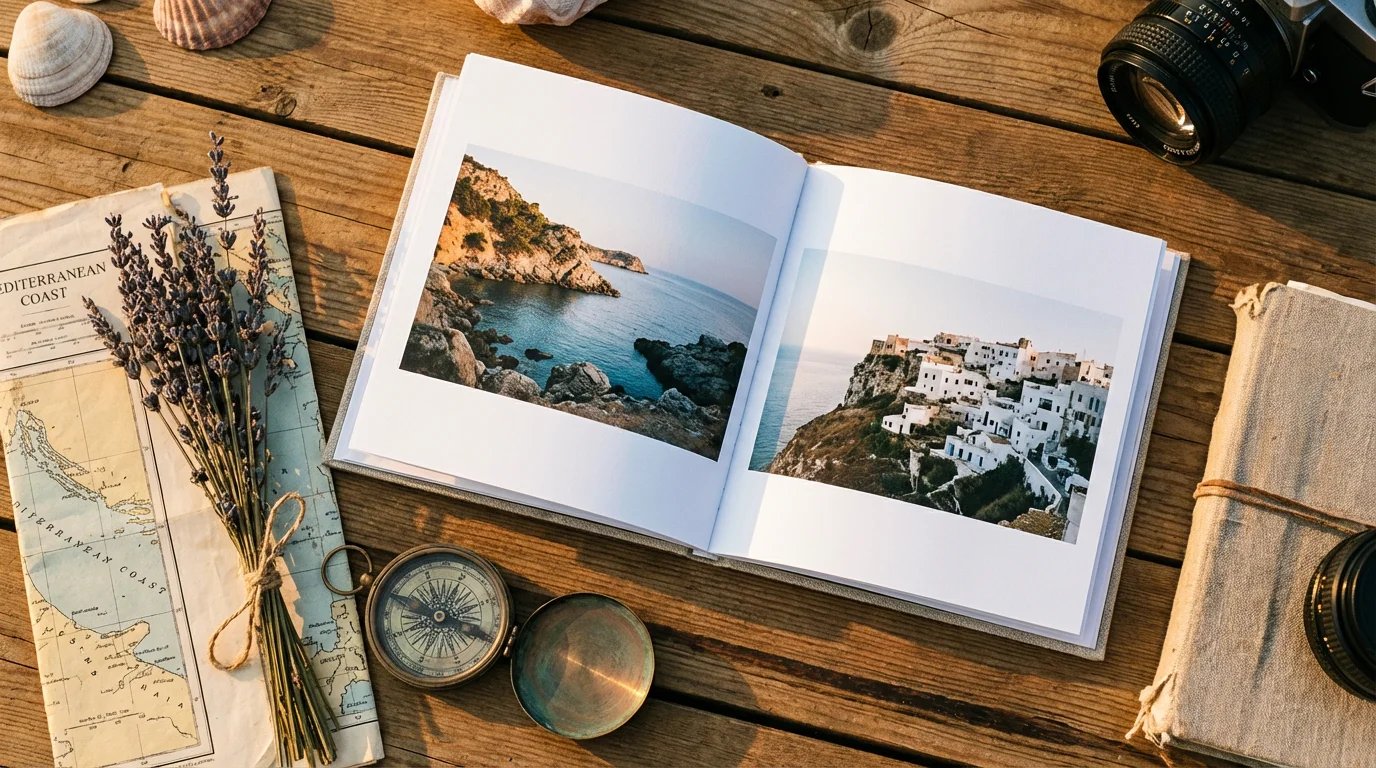
Transforming Travel Memories into Visual Journeys
Travel photo books are among the most popular projects, but they often fall into the trap of being a chronological “log” rather than a compelling narrative. To make your travel album stand out, try a themed approach. Instead of simply going from Day 1 to Day 10, consider organizing your book by experiences or colors.
One effective strategy is the “Culinary Journey” theme. If you spent your time in Italy exploring local markets and trattorias, dedicate sections of your book to the food, the chefs, and the table settings. Mix photos of your meals with shots of the city streets where you found them. Another unique idea is the “Color Story.” Group photos by a dominant hue—the blue of the Mediterranean, the terracotta of the rooftops, or the vibrant greens of a tropical jungle. This creates a visually stunning flow that feels more like an art book than a vacation album.
Do not forget to include the small details. Photos of ticket stubs, local currency, or a handwritten menu add a scrapbook-like charm when scanned and placed alongside your high-resolution photography. These elements provide context that a standard landscape shot cannot achieve on its own. If you need technical help with lighting or composition for your future trips, Cambridge in Colour offers excellent tutorials on mastering the technical aspects of digital photography.

Building the Ultimate Family Yearbook
A family yearbook captures the “in-between” moments that usually get lost in the shuffle. While you likely have plenty of photos from birthdays and holidays, the mundane Tuesday mornings and weekend soccer practices often tell the truest story of your life. A yearbook project gives these quiet moments a permanent home.
To keep this project manageable, work on it in monthly increments. Every four weeks, select your top 10 to 15 photos and place them in a dedicated folder. By the end of the year, you will have a curated selection ready for layout. This prevents the “December panic” when you are faced with a year’s worth of unorganized data.
Use the following table to help structure your yearbook content so you don’t miss any key themes:
| Theme | What to Include | Creative Tip |
|---|---|---|
| The Everyday | Morning routines, messy playrooms, favorite toys. | Include a “current favorites” list for each child. |
| Growth & Milestones | Height marks on a wall, first tooth, new skills. | Place a “Then and Now” photo side-by-side. |
| Seasonality | First snowfall, autumn leaves, summer pool days. | Use color-coded backgrounds for each season. |
| The “Bloopers” | Failed baking projects, funny faces, muddy clothes. | Dedicated “Expectation vs. Reality” pages add humor. |
Incorporating quotes or short anecdotes is vital for a family yearbook. Years from now, you might remember the photo, but you might forget the funny thing your toddler said while wearing that cape. Type those memories directly into the layout to ensure they are preserved alongside the image.
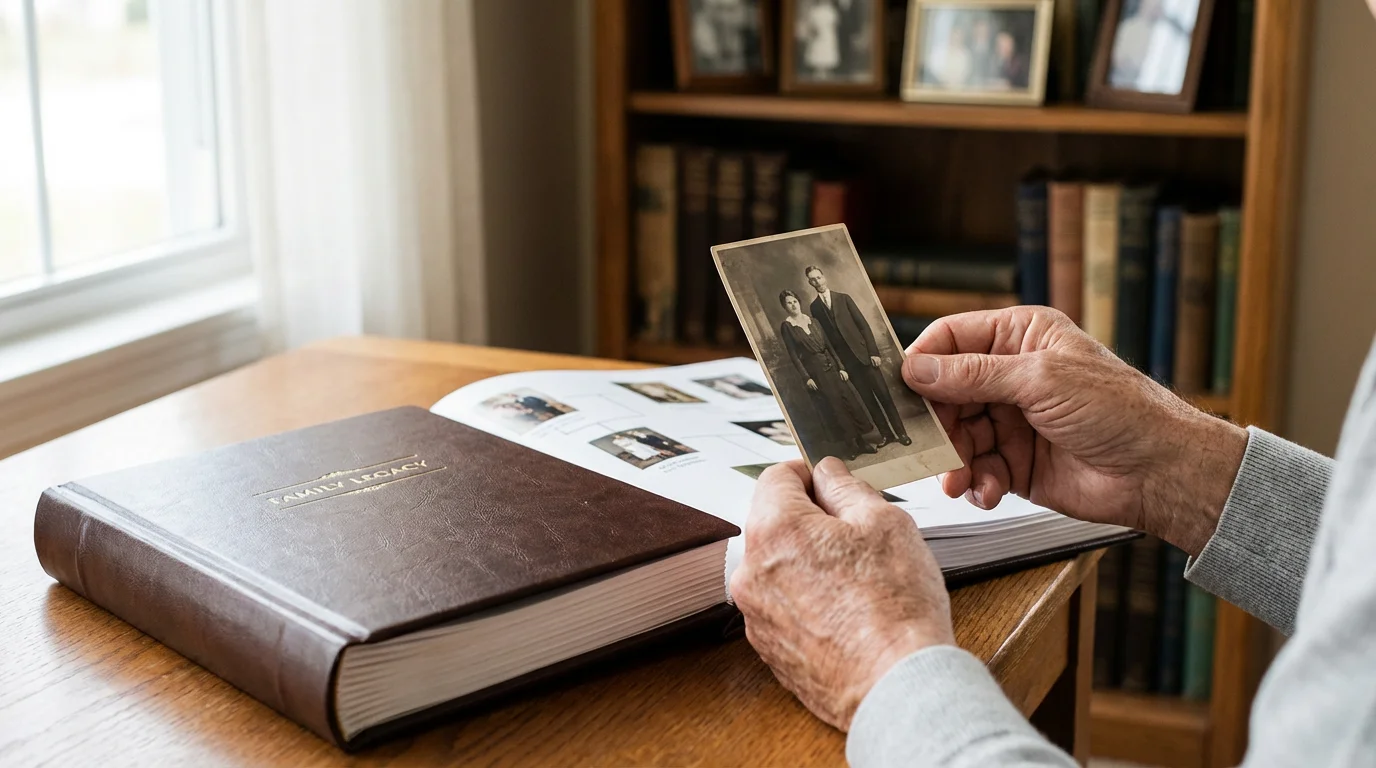
Preserving Heritage with Genealogy Books
When you inherit a collection of old family photos, you are holding a piece of history. A heritage photo book is the perfect way to share that history with the rest of your family without risking the original prints. These books can combine genealogical data, scanned documents, and restored photographs into a cohesive narrative.
Start by identifying the people in the photos. If you have elderly relatives who can still identify faces, record their stories immediately. When you scan these old photos, treat them as the precious objects they are. Use a flatbed scanner rather than a document feeder to avoid physical damage. For those handling particularly fragile or historic items, the Library of Congress Preservation site provides essential standards for handling and storing original materials.
In your layout, try to recreate a family tree. Dedicate a section to each branch of the family, including photos of their homes, ships they may have immigrated on, and even scans of their handwriting from old letters. Using a sepia or black-and-white color palette for the entire book can help unify images from different eras. These books make incredible gifts for reunions, ensuring that every family member has access to their shared past.

Celebrating Milestones and Special Events
Big events like weddings, graduations, and 50th anniversaries deserve their own dedicated volumes. Unlike the family yearbook, which is broad and chronological, a milestone book should be focused and thematic. You want to highlight the significance of the achievement or the depth of the relationship.
Beyond books, you can also explore different photo wall ideas to display these milestones throughout your home.
For a wedding book, consider a “Guest Perspective” section. Collect photos taken by friends and family on their phones to supplement the professional shots. These often capture candid, emotional moments that the official photographer might have missed. For a graduation book, include scans of the diploma, the commencement program, and perhaps a list of the graduate’s accomplishments or goals for the future.
Anniversary books are particularly powerful when they tell a “through the years” story. You can pair a photo from the wedding day with a photo from the 50th-anniversary celebration, showing the progression of a life built together. This contrast creates a profound sense of time and legacy that a single-event book cannot match.
Design Principles for Professional Results
You do not need to be a graphic designer to create a beautiful photo book, but following a few basic principles will significantly elevate the final product. The most common mistake beginners make is overcrowding the page. White space—the empty areas around your photos—is your friend. It gives the viewer’s eyes a place to rest and draws focus to the images that matter most.
To ensure your layout translates perfectly to paper, choose from the best photo printing services to achieve high-quality physical results.
For a more interactive experience, you can even incorporate QR codes into your photo book to bridge the gap between your physical pages and digital video clips.
Consistency is key to a professional look. Choose a small set of fonts (one for headings, one for body text) and stick with them throughout the book. Likewise, maintain consistent margins and spacing between images. If you use a border on one photo, use the same border style on all photos within that section.
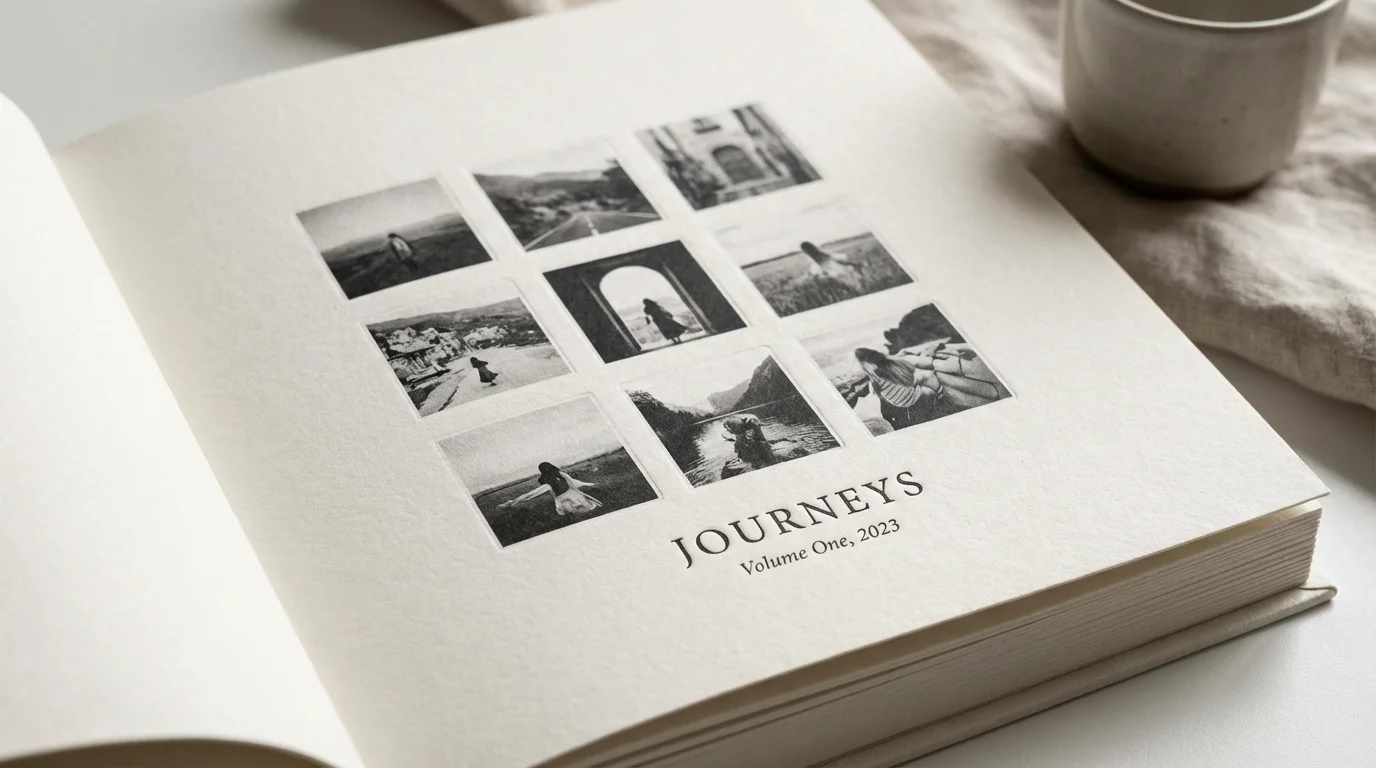
Use “hero images” to create impact. A hero image is a single, high-quality photograph that takes up an entire page or even a full two-page spread. This technique works best for breathtaking landscapes or deeply emotional portraits. By varying the number of photos on each page—some with a grid of four, others with a single hero shot—you create a dynamic rhythm that keeps the reader engaged.
- The Rule of Thirds: When placing photos on a page, try to align the subjects along the imaginary lines that divide the page into thirds.
- Color Coordination: Group photos with similar color palettes on the same spread to create a cohesive visual feel.
- Typography: Ensure your text is legible. Avoid light-colored fonts on light backgrounds; high contrast is essential for readability.
- Margins: Keep important elements (like faces or text) away from the “gutter” (the center fold) and the edges to avoid them being cut off during binding.

Selecting the Best Online Photo Book Service
Your choice of a printing service will determine the final quality and longevity of your book. While price is always a factor, you should prioritize the quality of the paper and the durability of the binding. A book that falls apart after two years is not a good investment.
When searching for the best online photo book service, look for providers that offer archival-grade materials. Acid-free paper is a must; it ensures your photos won’t yellow or become brittle over time. If you have many panoramic shots or photos that span across two pages, look for “layflat” binding. This specialized binding allows the book to open perfectly flat without losing part of the image in the center fold.
Consider the software provided by the service. Some offer simple “drag and drop” interfaces, while others provide sophisticated design tools for total customization. Many services now use AI to help group your photos by date, location, or even the people in them, which can significantly speed up the initial curation process. Check for “proofing” options—the ability to see a digital preview of your book before it goes to print is essential for catching typos and layout errors.
Remember that the photo book is more than just paper and ink; it is a vessel for your most precious memories. Investing a little extra in premium paper and a sturdy cover ensures that your memory book will withstand the test of time.
Frequently Asked Questions
What is the best resolution for photos in a printed photo book?
For high-quality printing, aim for a resolution of 300 dots per inch (DPI) at the size the image will appear on the page. While many modern smartphones capture high-resolution images, aggressive cropping can reduce quality; always check for low-resolution warnings in your photo book software before finalizing the order.
How do I choose between layflat and standard binding?
Layflat binding uses a specialized technique that allows the book to open completely flat without a gutter or break in the middle. Choose layflat binding if you plan to feature large panoramic shots across two pages; choose standard glue-based binding for thicker yearbooks or casual projects to save on cost.
What paper type is best for preserving family history books?
Select archival-grade, acid-free paper to prevent yellowing and deterioration over time. Lustre or matte finishes are generally preferred for heritage books as they resist fingerprints and provide a timeless look without the glare of high-gloss finishes.
How many photos should I include in a single photo book?
A well-designed photo book typically features 2 to 4 images per page to avoid a cluttered look. For a standard 20-page book, aim for 50 to 80 carefully curated photos. Quality always trumps quantity when telling a compelling visual story.
Creating a photo book or photo album is a deeply personal journey. By moving your images from the digital cloud to the physical page, you ensure that your stories remain accessible and protected. Start small, choose a theme that excites you, and begin the rewarding process of preserving your life’s most beautiful moments.
Disclaimer: This article is for informational purposes only. When handling valuable or irreplaceable photographs, consider consulting a professional conservator. Always test preservation methods on non-valuable items first.


Leave a Reply