
You probably have a box. It might be a tattered shoebox in the attic, a plastic bin in the basement, or a forgotten folder on an old laptop. Inside that box lives your history—the faces of ancestors you never met, the squinting smiles of a summer vacation from 1984, and the candid moments that define your family identity. Without a plan, these memories face an inevitable decline. Physical prints fade and crack; digital files become corrupt or trapped in obsolete formats. By creating a family photo archive, you transform a chaotic pile of images into a structured legacy that will survive for decades.
If you are starting with a large inherited collection, a structured approach can prevent you from feeling overwhelmed during the initial discovery phase.
Preserving family history photos requires more than just keeping them; it demands a systematic approach to protection, organization, and accessibility. This guide provides the technical steps and practical wisdom you need to curate a collection that remains vibrant for your children and grandchildren. You are not just a family member; you are the designated historian for your bloodline.
Gathering and Assessing Your Collection
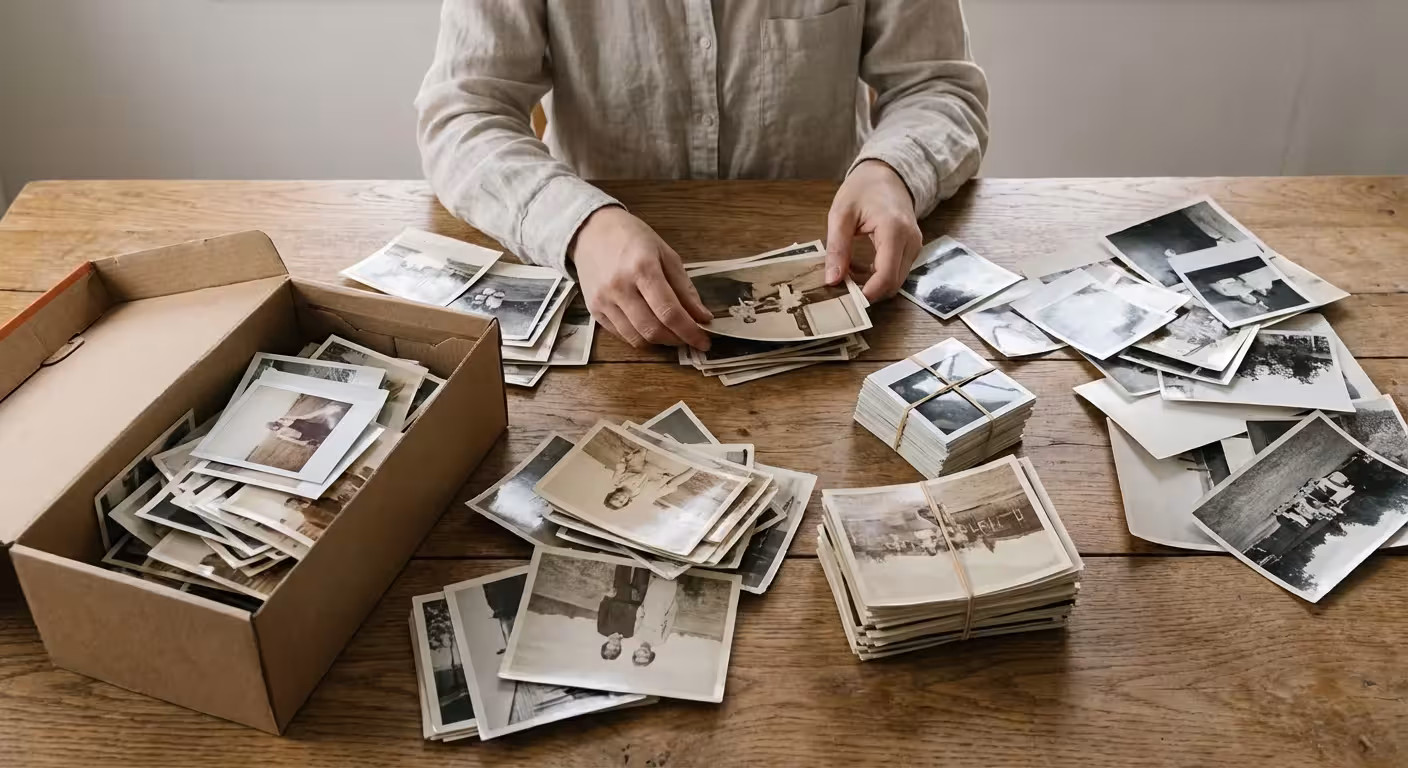
Before you buy a single archival box, you must understand the scope of what you own. Start by gathering every photo-related item in your house. Look beyond the obvious albums. Check the back of desk drawers, the envelopes tucked into books, and the frames hanging on the walls. Many people discover their most valuable “finds” are the loose snapshots tucked behind formal portraits in old frames.
Once you have gathered the materials, perform a triage. Not every photo deserves a place in your permanent archive. If you have ten nearly identical shots of a blurry landscape, keep the best one and discard the rest. Focus your energy on images that capture people, significant events, or historical context—like the family car or the interior of a childhood home. This process reduces the “noise” in your collection, making the truly important memories stand out.
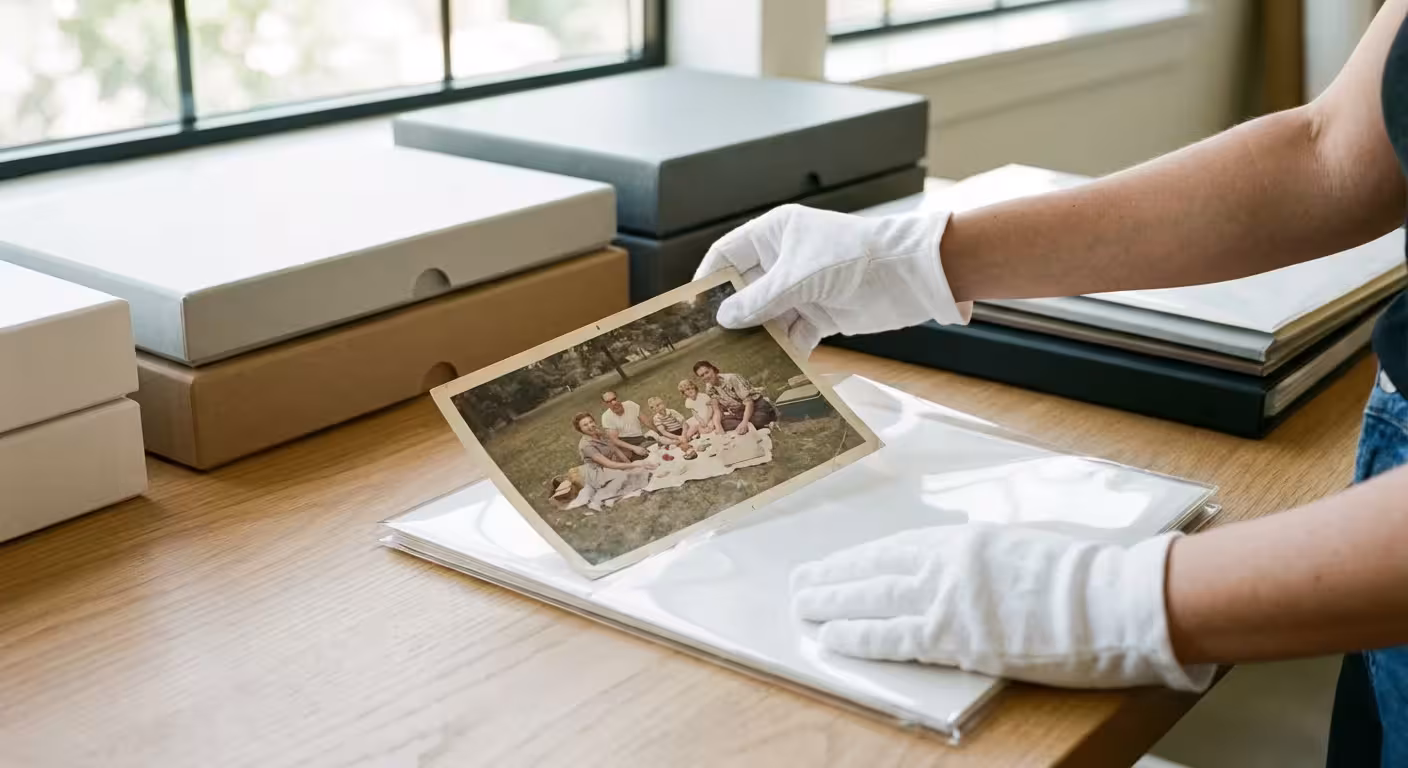
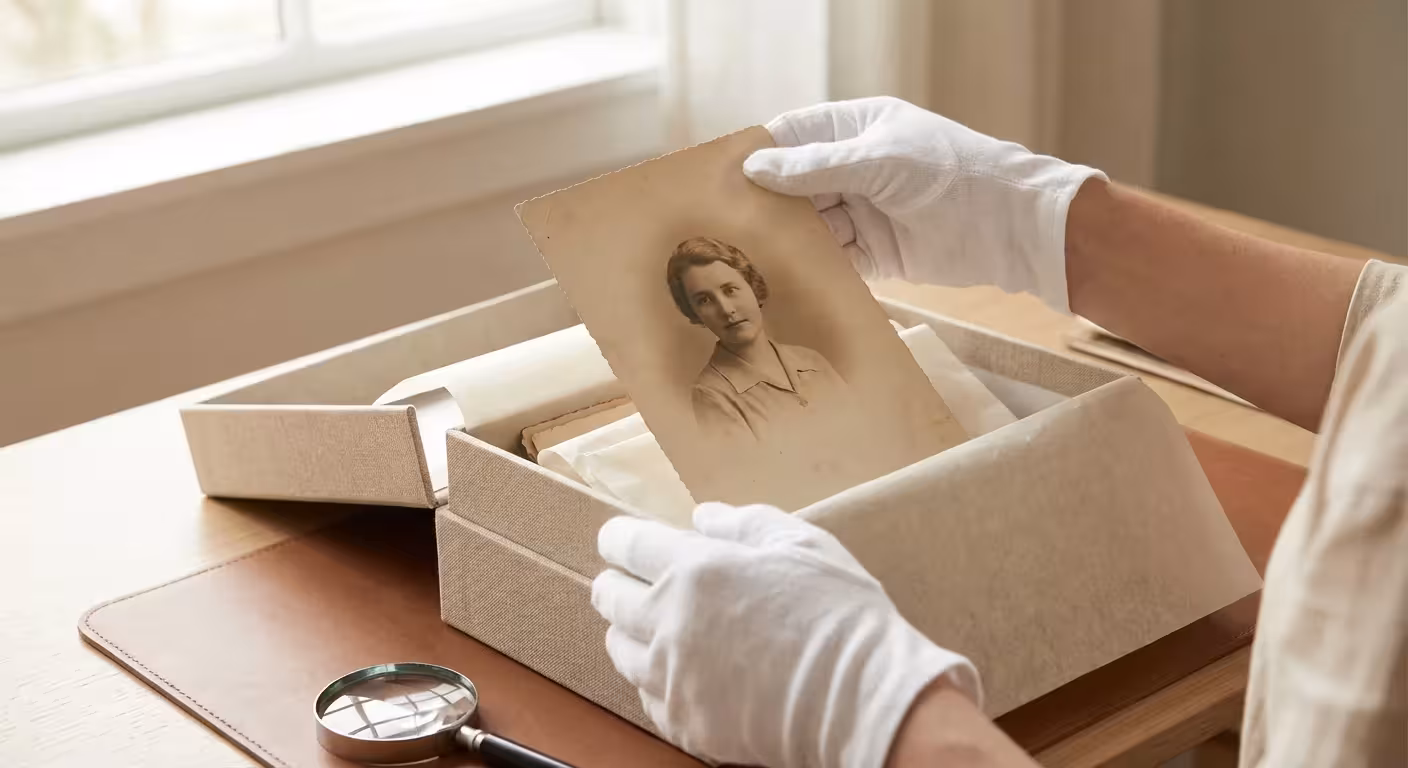
Create a dedicated workspace for this assessment. Use a large, clean table and avoid eating or drinking nearby. Wear white cotton gloves or clean nitrile gloves when handling negatives and older prints. The oils and salts on your skin act as slow-acting poisons to silver-based photographic emulsions. By keeping your hands clean and your environment controlled, you prevent fingerprints that would otherwise become permanent stains over the next twenty years.
Archival Storage Standards for Physical Media
The enemy of photo preservation is environmental instability. Heat, humidity, light, and acidity are the primary factors that destroy physical prints. To protect your collection, you must adopt professional archival standards. Traditional “magnetic” photo albums—the ones with the sticky pages and plastic overlays—are incredibly destructive. The adhesives in these albums turn yellow and brittle, often bonding permanently to the back of the photo and staining the image from behind.
If you ever need to relocate your collection, it is vital to know how to safely pack and transport these delicate materials to prevent physical damage.
Proper storage is the single most important factor in the longevity of a photographic collection; environmental control can extend the life of a print by centuries.
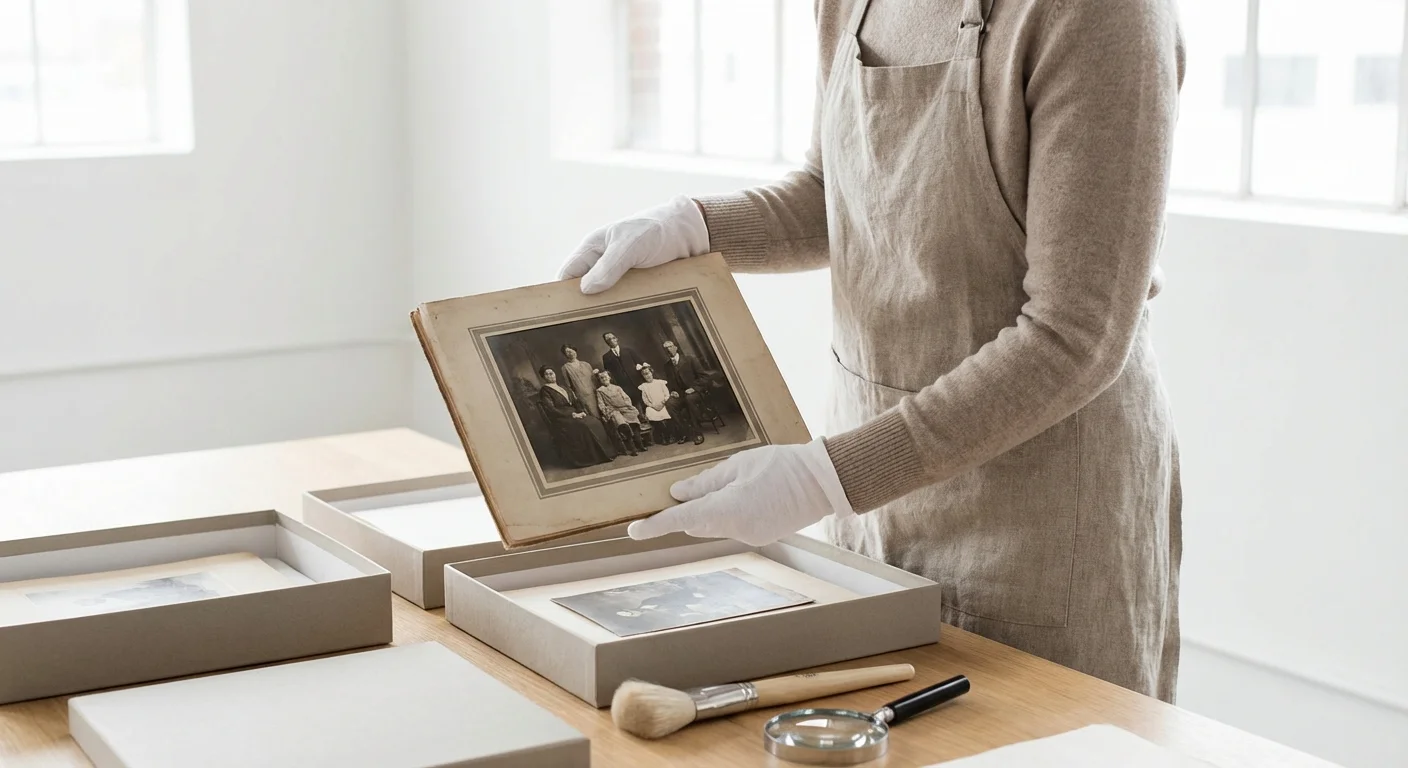
When purchasing supplies, look for materials that have passed the Photographic Activity Test (PAT). This international standard ensures that the storage material will not react chemically with your photographs. You should prioritize the following materials:
- Acid-Free and Lignin-Free Boxes: These containers provide a buffered environment that neutralizes harmful acids.
- Polyester, Polypropylene, or Polyethylene Sleeves: These clear plastics are chemically stable. Avoid PVC (polyvinyl chloride), which smells like a new shower curtain and releases hydrochloric acid as it degrades.
- Buffered vs. Unbuffered Tissue: Most black-and-white photos benefit from buffered paper, but certain processes, like cyanotypes or some color prints, require unbuffered materials to maintain their chemical balance.
Where you store these boxes matters as much as what is inside them. Avoid the “two As”—the Attic and the Archive-killing Basement. Attics subject photos to extreme heat, which accelerates chemical breakdown. Basements expose them to dampness, leading to mold and silver mirroring. Store your archive in a “human-friendly” environment, such as a closet in the main living area of your home, where temperatures remain relatively stable throughout the year. For more specific guidelines on environmental standards, the National Archives Preservation resources provide detailed climate benchmarks used by professional curators.

The Art of Identification and Context
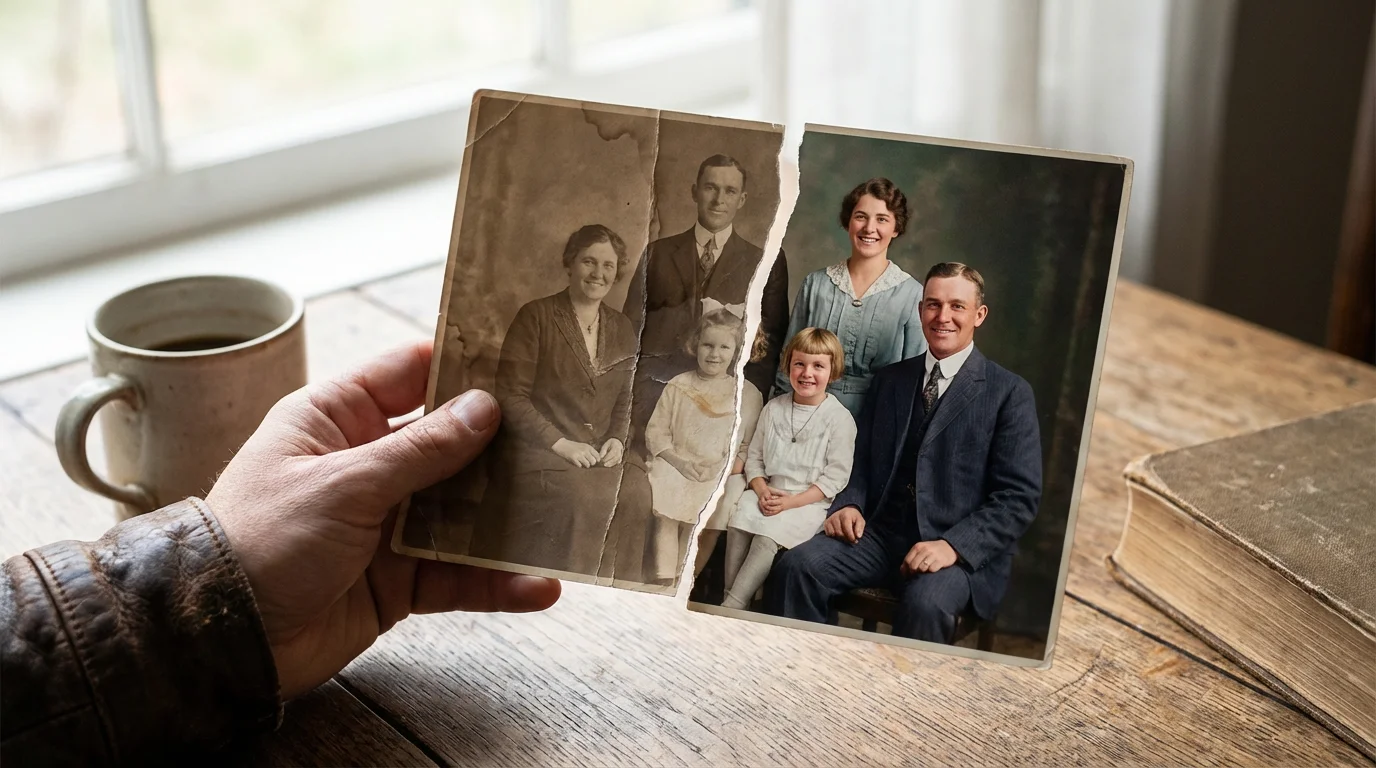
A photograph without a story is a riddle that future generations may not be able to solve. You have likely seen old photos of people who look vaguely familiar, yet no one knows their names. To create a family photo archive that truly matters, you must bridge this information gap. Identification is the heartbeat of photo preservation.
Once you have successfully identified the subjects in your best images, you might consider creative photo display ideas to share your family history with guests.
Use a soft lead pencil (6B or softer) to write lightly on the back of prints. Never use ballpoint pens or felt-tip markers, as the ink can bleed through or “ghost” onto the photo stacked on top of it. If you are working with modern resin-coated (RC) prints that won’t take pencil, use a specialized archival marking pen designed for photographs. Write the names of everyone in the photo, the date, and the location. Even an approximate date, such as “circa 1955,” is better than nothing.
Consider conducting “photo identification sessions” with the oldest members of your family. Record these conversations using your smartphone or a digital recorder. As you show them a photo, ask open-ended questions: “Who took this picture?” “What was the occasion?” “What do you remember about this house?” This metadata—the data about your data—turns a simple image into a narrative. You can later transcribe these notes into a digital database or include them in the metadata of your scanned files.

A Professional Digitization Strategy
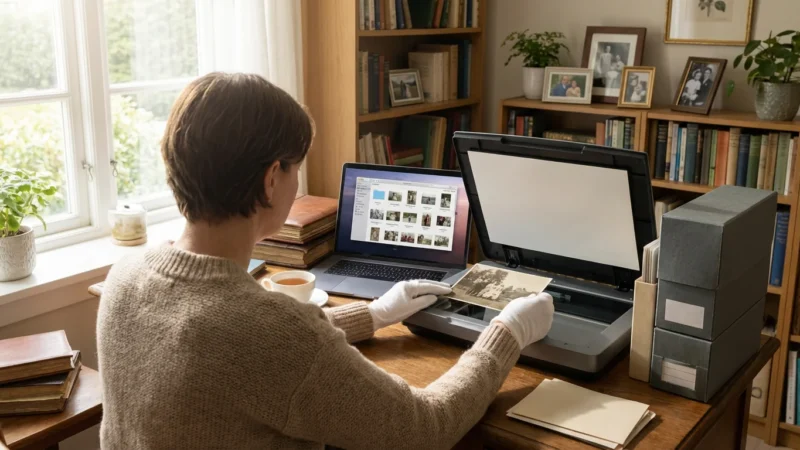
Digital archiving serves two purposes: it creates a backup in case the physical original is lost, and it makes the images easy to share with relatives across the globe. However, poor-quality scans are a waste of time. If you are going to do the work, do it to a standard that won’t need repeating in five years.
For standard photographic prints, a flatbed scanner is usually your best tool. Set your resolution to at least 600 DPI (dots per inch). While 300 DPI is sufficient for a 1:1 print, 600 DPI allows you to crop or enlarge the photo later without it looking “pixelated.” For 35mm slides and negatives, you need much higher resolutions—typically between 2400 and 4800 DPI—because the original source is so small.
| Media Type | Recommended DPI | Recommended File Format |
|---|---|---|
| Standard Prints (4×6, 5×7) | 600 DPI | TIFF (Master), JPEG (Sharing) |
| 35mm Slides / Negatives | 3000+ DPI | TIFF |
| Large Documents / Maps | 400 DPI | TIFF or PDF/A |
Always save your master scans as TIFF files. Unlike JPEGs, TIFFs are “lossless,” meaning they do not lose quality every time you open and save them. A TIFF file is your “digital negative.” Use JPEGs only for sharing on social media or emailing to cousins. Furthermore, disable any “auto-fix” or “auto-color” settings on your scanner software during the initial capture. You want a raw, honest digital copy of the photo’s current state; you can always perform restoration on a copy of the file later using software like Adobe Lightroom or Photoshop.

Digital Archiving and Long-Term Security
Digital files are paradoxically more fragile than paper. A 100-year-old photo can survive a fall, but a hard drive failure can erase ten thousand photos in a millisecond. To create family photo archive security, you must implement a robust backup system. The industry standard is the 3-2-1 rule.
First, maintain three copies of your archive. Second, store these copies on two different types of media (for example, one on an external solid-state drive and one on your computer’s internal drive). Finally, keep one copy off-site. Cloud storage services like Backblaze, Google Photos, or iCloud serve as excellent off-site backups, protecting your history from local disasters like fire or flood.
Organization is the final piece of the digital puzzle. Use a consistent naming convention that allows for easy searching. A folder structure based on chronology or family branches works best. For example, a file named 1962-07-04-Smith-Family-Barbecue-01.tif is infinitely more useful than IMG_8422.tif. By including the date (in YYYY-MM-DD format) at the start of the filename, your computer will automatically sort your archive in chronological order.
Consult the Library of Congress Preservation department for the latest advice on file formats. They currently recommend formats that are open and well-documented to ensure that future software will still be able to read your files. Avoid proprietary formats that belong to a single software company, as those companies may not exist in thirty years.

Legacy and Succession Planning
The greatest threat to a family archive is the “orphan” phase—the period after the curator passes away and before the next generation takes over. If no one knows how to access your digital archive or understands the value of those acid-free boxes, your hard work may end up in a dumpster during a house cleanout. You must include your family in the process now.
For more detailed advice on maintaining your collection, explore our home photo archive best practices to ensure your system remains professional-grade.
Create a “Legacy Letter” that accompanies your archive. This document should explain where the physical photos are stored, provide the location of digital backups, and list the passwords for cloud accounts. More importantly, it should express why these photos matter. Tell your children why you spent hundreds of hours scanning these images. When they understand the emotional value, they are much more likely to assume the role of the next steward.
Consider “activating” the archive by creating tangible products. Print high-quality photo books, create a private family website, or frame a “heritage wall” in your home. When people see the photos regularly, the images remain part of the living family culture rather than being buried in a closet. The goal of preserving family history photos is not just to keep them safe, but to keep them alive in the hearts of your relatives. For deeper technical research on how materials age over time, the Image Permanence Institute offers scientific data on the longevity of various photographic processes.
Frequently Asked Questions
Should I remove photos from old “sticky” albums even if they are stuck?
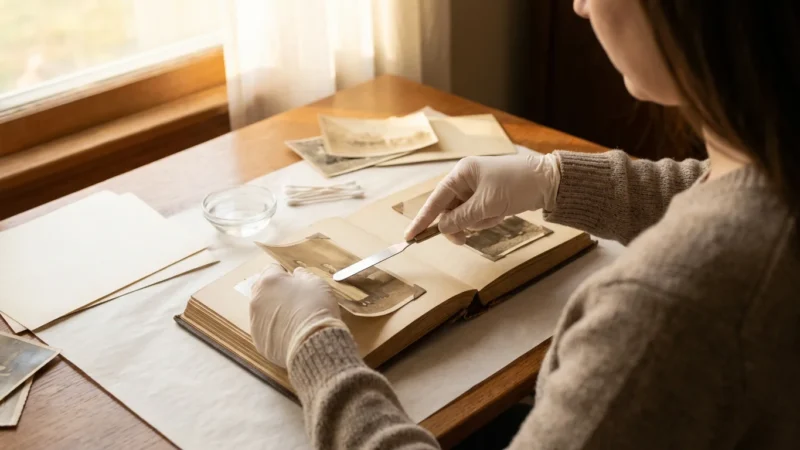
If the photos are firmly stuck, do not pull them. You risk tearing the paper fibers or the emulsion. Instead, try using a piece of thin dental floss to gently “saw” behind the photo to break the adhesive bond. If that doesn’t work, it is safer to leave the photo in place, scan the entire page, and then place archival tissue between the pages to prevent further damage.
Can I use a phone app to scan my photos?
Phone apps are excellent for quick sharing, but they are rarely sufficient for an archival master. They often introduce glare, perspective distortion, and lower resolution than a dedicated flatbed scanner. Use your phone to “preview” and organize, but use a high-quality scanner for your permanent digital archive.
What should I do with “mystery” photos of people I can’t identify?
Don’t throw them away immediately. Create a “Mystery” folder and share the images on social media or family genealogy forums. You might be surprised when a distant cousin recognizes a great-aunt or a specific local landmark. If after a few years they remain unidentified, you can decide whether the artistic or historical value of the photo warrants keeping it.
How do I handle photos that already have mold?
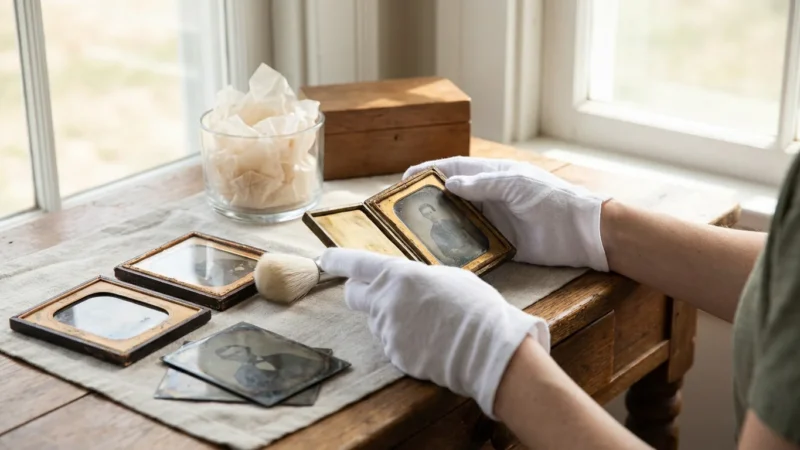
Handle moldy photos with extreme caution. Wear a mask (N95) and gloves to avoid inhaling spores. If the photos are damp, dry them in a well-ventilated area away from direct sunlight. Once dry, you can gently brush away loose mold with a soft brush outdoors. For valuable moldy items, professional conservation is highly recommended, as mold can continue to eat the gelatin in the photo emulsion.
Disclaimer: This article is for informational purposes only. When handling valuable or irreplaceable photographs, consider consulting a professional conservator. Always test preservation methods on non-valuable items first.


Leave a Reply