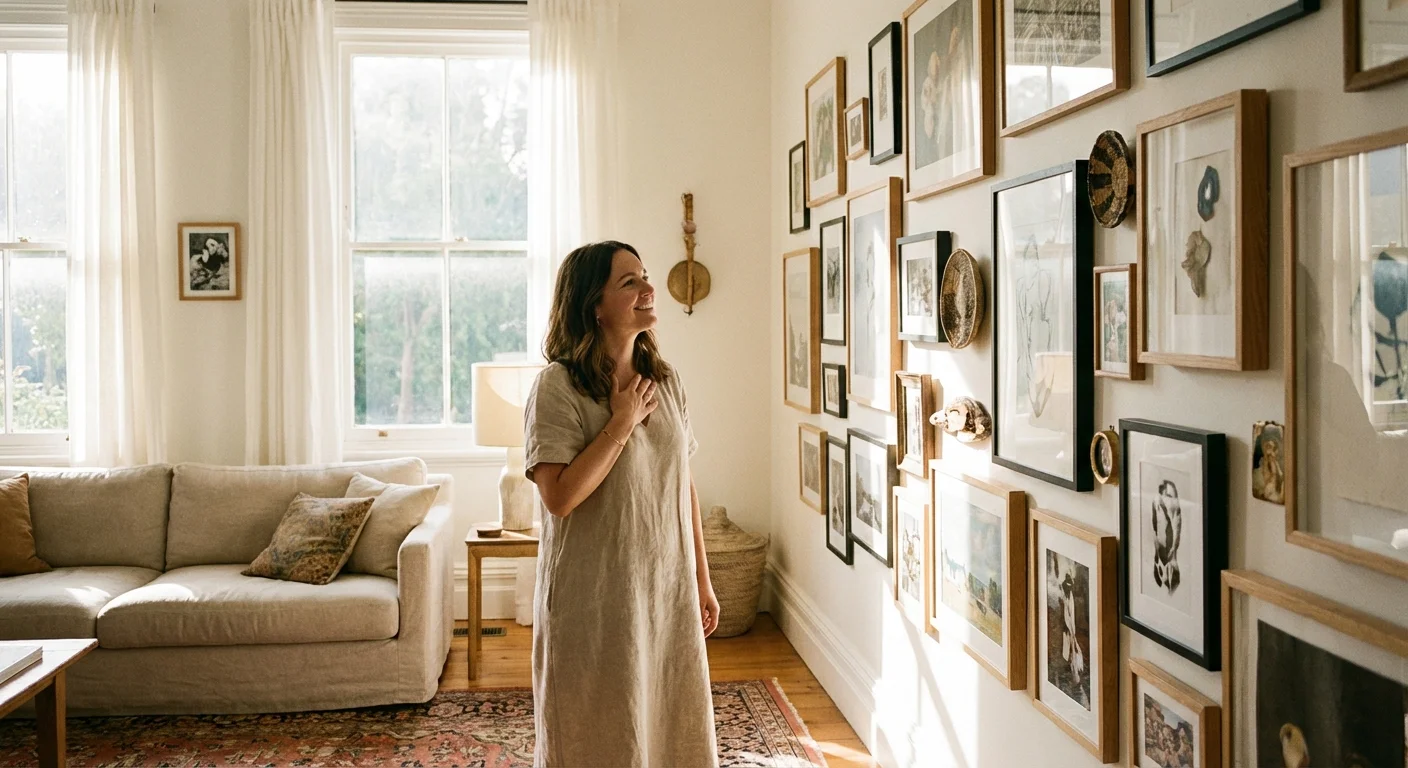
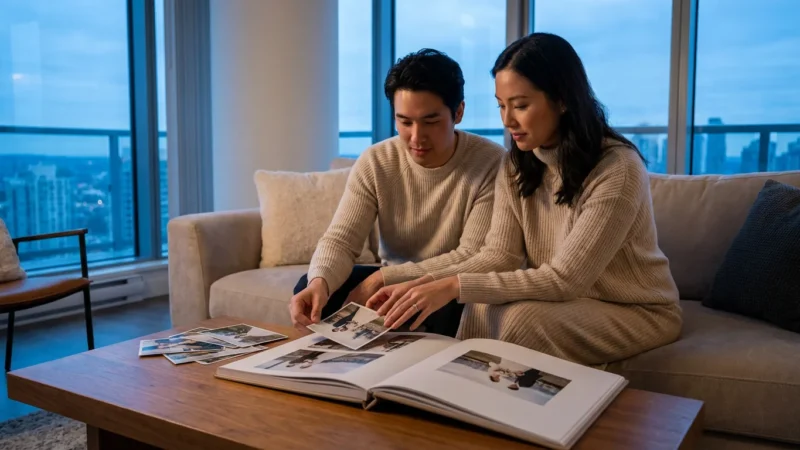
Your most precious memories likely reside in two distinct, cluttered locations: a dusty cardboard box in the back of a closet or a digital cloud account buried under thousands of screenshots and blurry landscape shots. Neither of these places allows you to appreciate the history your family has built. Photos act as visual anchors; they ground your home in a sense of identity and shared experience. However, the transition from a disorganized “photo dump” to a curated home gallery often feels overwhelming. You might worry about damaging an heirloom or feel paralyzed by the sheer volume of choices available for modern wall decor.
Long-term preservation starts with creating a home photo archive to catalog your collection before selecting individual display pieces.
This guide moves you past that hesitation. You will learn how to curate your collection, choose the right materials to ensure your photos last for generations, and implement unique photo wall display strategies that turn your house into a living narrative. By following these steps, you transform static images into dynamic parts of your daily life.
Curating Your Collection for Visual Impact
Before you hammer a single nail into the wall, you must act as an editor. A common mistake in home photo display is trying to show everything at once. When a wall becomes too crowded, the individual stories within the photos get lost in the noise. To create a unique photo wall display, start by grouping your images into cohesive themes. These themes might be chronological, such as a family timeline, or categorical, such as “Travel Adventures” or “The Generations Before Us.”
For those with decades of backlog, learning how to organize 20 years of digital photos is a crucial first step in the curation process.
Before you begin, consider decluttering your photo collection to ensure you are only highlighting your most meaningful and high-quality images.
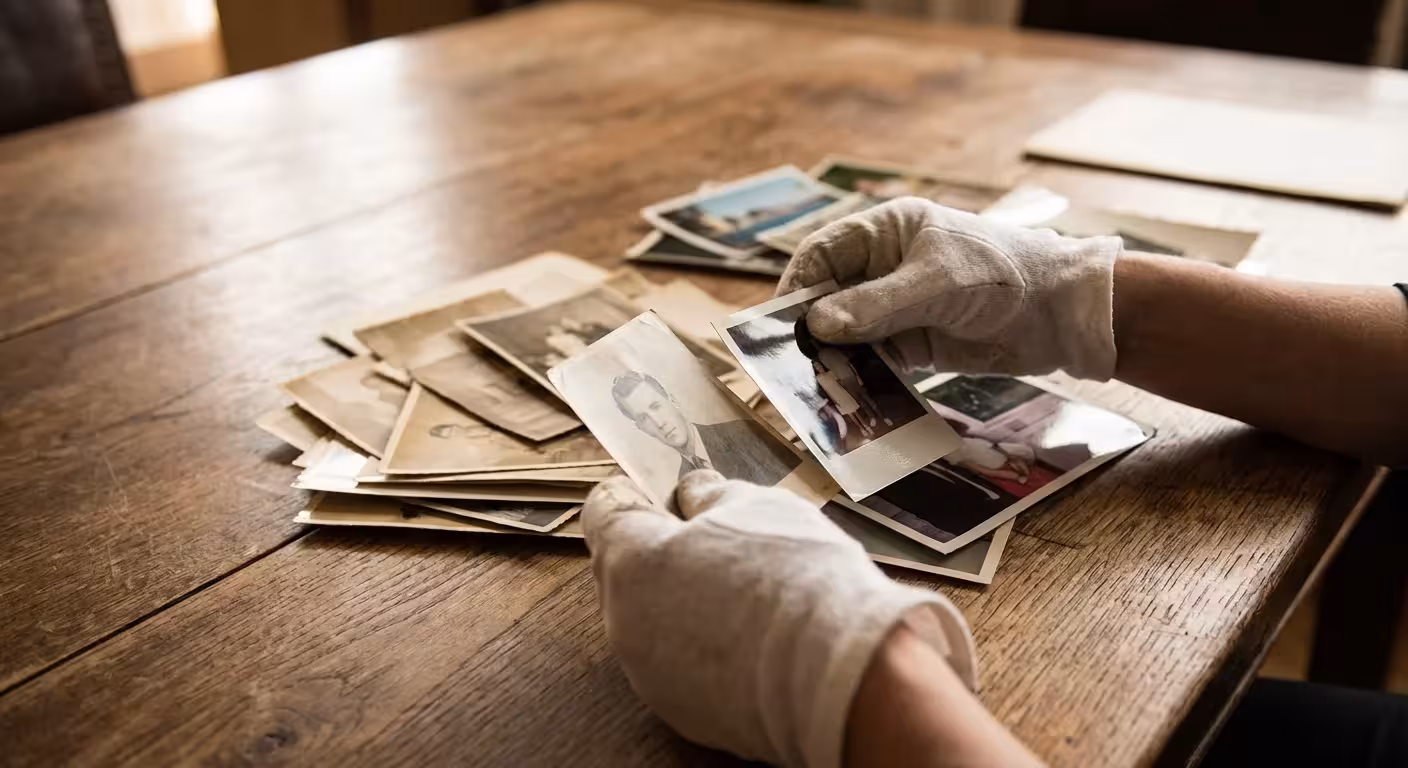
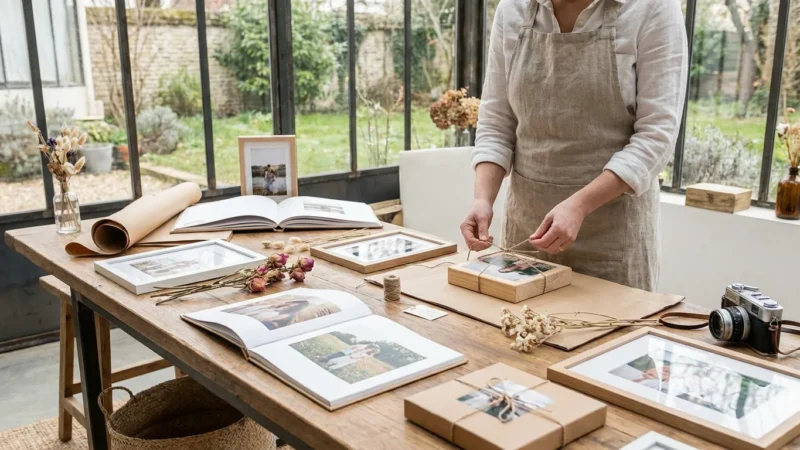
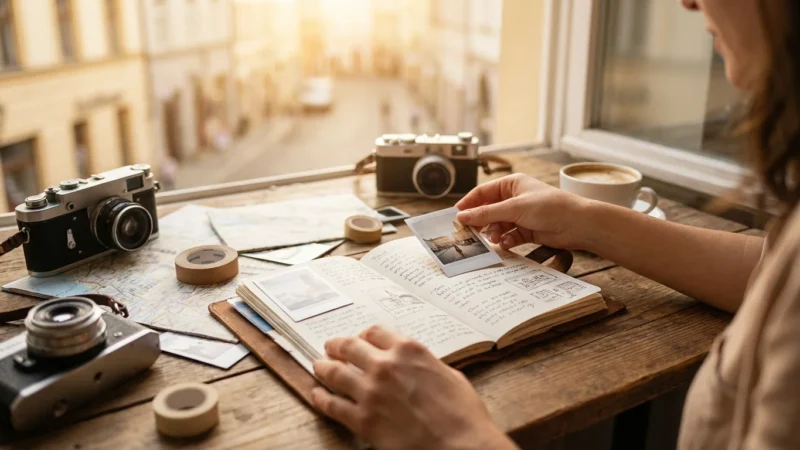
Lay your physical photos out on a large table or create a digital folder for your candidates. Look for the “hero” shots—those images that capture a specific emotion, a significant milestone, or a striking visual composition. If you are working with heritage photos, look for those that tell a story beyond just the faces; a photo of your grandfather’s first car or your grandmother’s childhood kitchen provides context that enriches the portraits. Research from the Getty Conservation Institute emphasizes that the longevity of an image often depends on its handling during this curation phase; always wear lint-free cotton gloves when touching older prints to prevent skin oils from causing permanent staining.
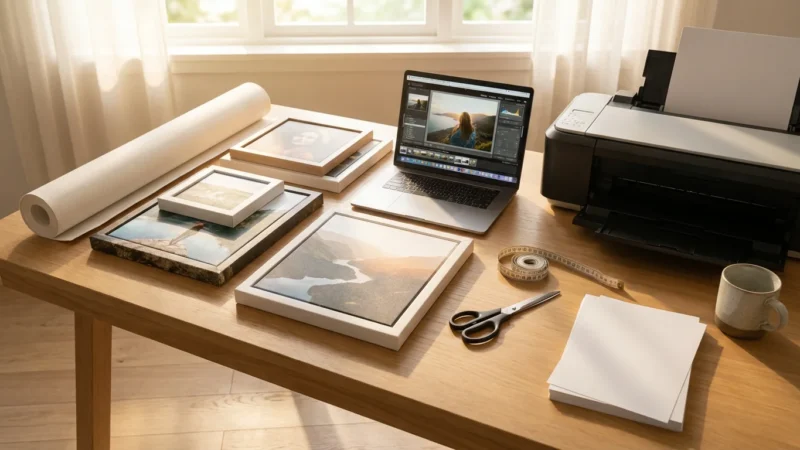
Once you have selected your top contenders, evaluate their quality. If an original print is too small, damaged, or fading, do not display the original. Instead, scan the image at a high resolution (at least 600 DPI for prints) and have a professional lab create a high-quality reproduction. This allows you to display a large, vibrant version of the memory while keeping the fragile original safe in a climate-controlled storage environment.
The Science of Archival Framing Essentials
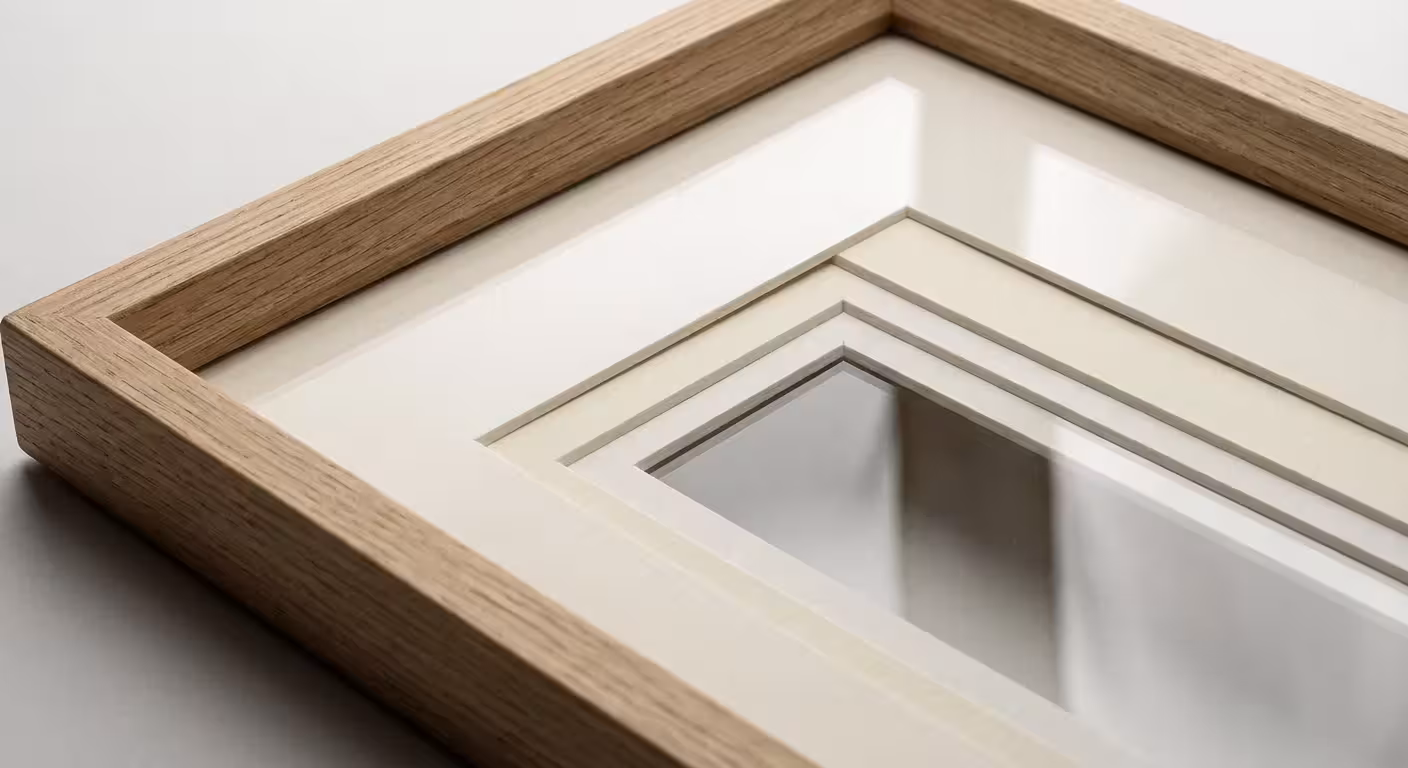
When you place a photograph behind glass, you are creating a micro-environment. If that environment contains acidic materials or traps moisture, you are inadvertently accelerating the destruction of your memory. Choosing the right photo frames involves more than just picking a style that matches your sofa; it requires attention to the chemistry of the materials.
If you are working with sensitive family heirlooms, it is vital to handle and display antique photographs safely to avoid oil transfer or structural damage.
Standard, inexpensive frames often use wood-pulp mats and cardboard backings. These materials contain lignin, which produces acid as it breaks down. This acid is what causes photos to turn yellow and become brittle. To protect your collection, you must insist on archival or “museum-quality” materials. Look for mats labeled as “acid-free and lignin-free” or “100% cotton rag.” These materials remain chemically stable over time, ensuring the photo remains pristine.
| Component | Standard Material (Avoid) | Archival Material (Recommended) |
|---|---|---|
| Mat Board | Buffered wood pulp | 100% cotton rag or alpha-cellulose |
| Glazing | Standard window glass | UV-filtering acrylic or museum glass |
| Backing | Cardboard or MDF | Acid-free foam core or Coroplast |
| Adhesive | Pressure-sensitive tape | Acid-free linen tape or archival photo corners |
The glass, or glazing, is your first line of defense against light damage. Ultraviolet (UV) rays from both sunlight and interior lighting cause the chemical dyes in photographs to break down, leading to fading. UV-filtering glass or acrylic can block up to 99% of these harmful rays. While it is a larger upfront investment, it is a fraction of the cost of professional photo restoration later. Ensure that the mat creates a small gap between the photo and the glass; if the photo touches the glass directly, changes in humidity can cause the emulsion to stick to the surface, making it nearly impossible to remove without tearing.
Designing Your Gallery Wall Strategy
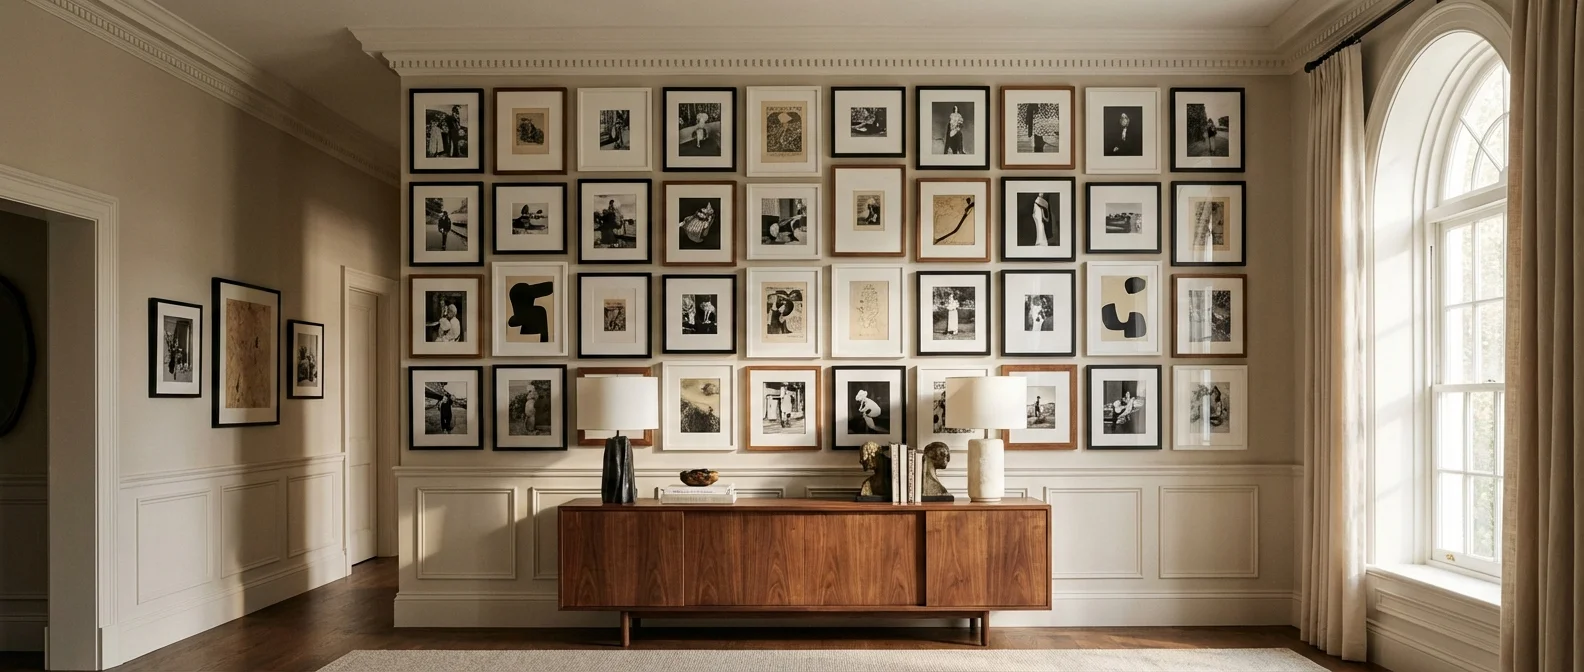
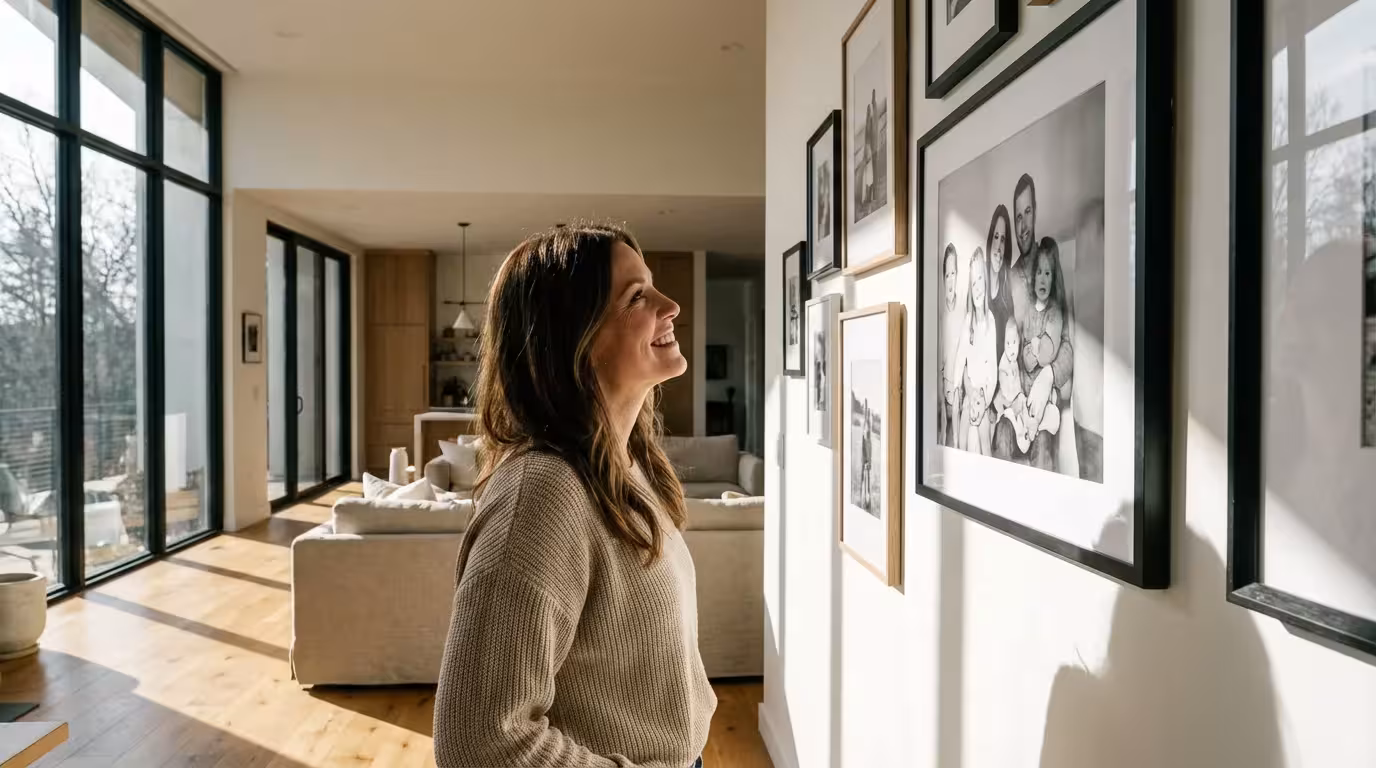
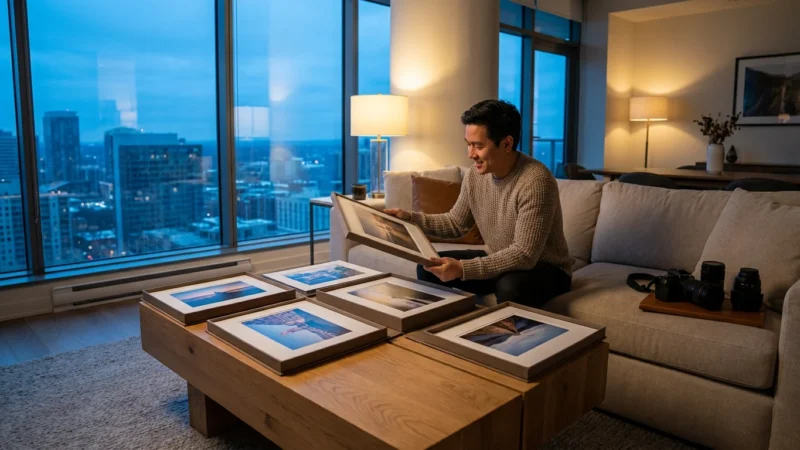
A gallery wall is a curated grouping of images that works as a single unit of wall decor. There are two primary schools of thought when it comes to layout: the Grid and the Salon Style. The Grid is formal and symmetrical, using identical frames and uniform spacing. This works exceptionally well for a series of portraits or a set of black-and-white architectural shots. To achieve this, you must be precise. Use a level and a measuring tape to ensure exactly two inches of space between every frame.
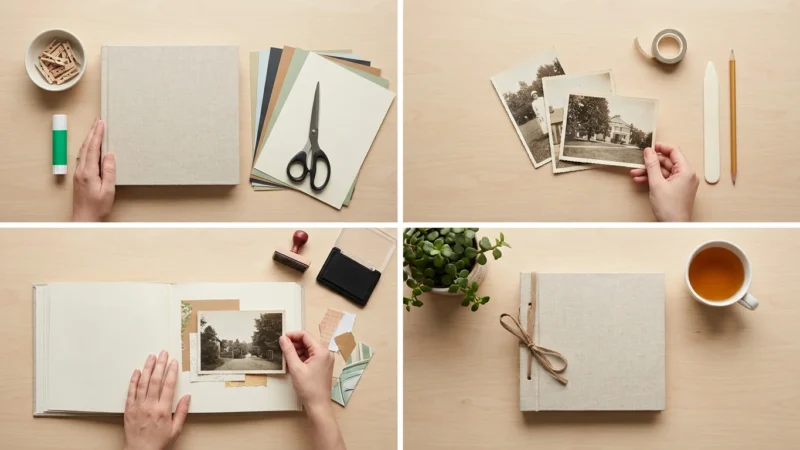
If you prefer a portable display over a wall-mounted one, consider designing a custom photo book that can sit on your coffee table.
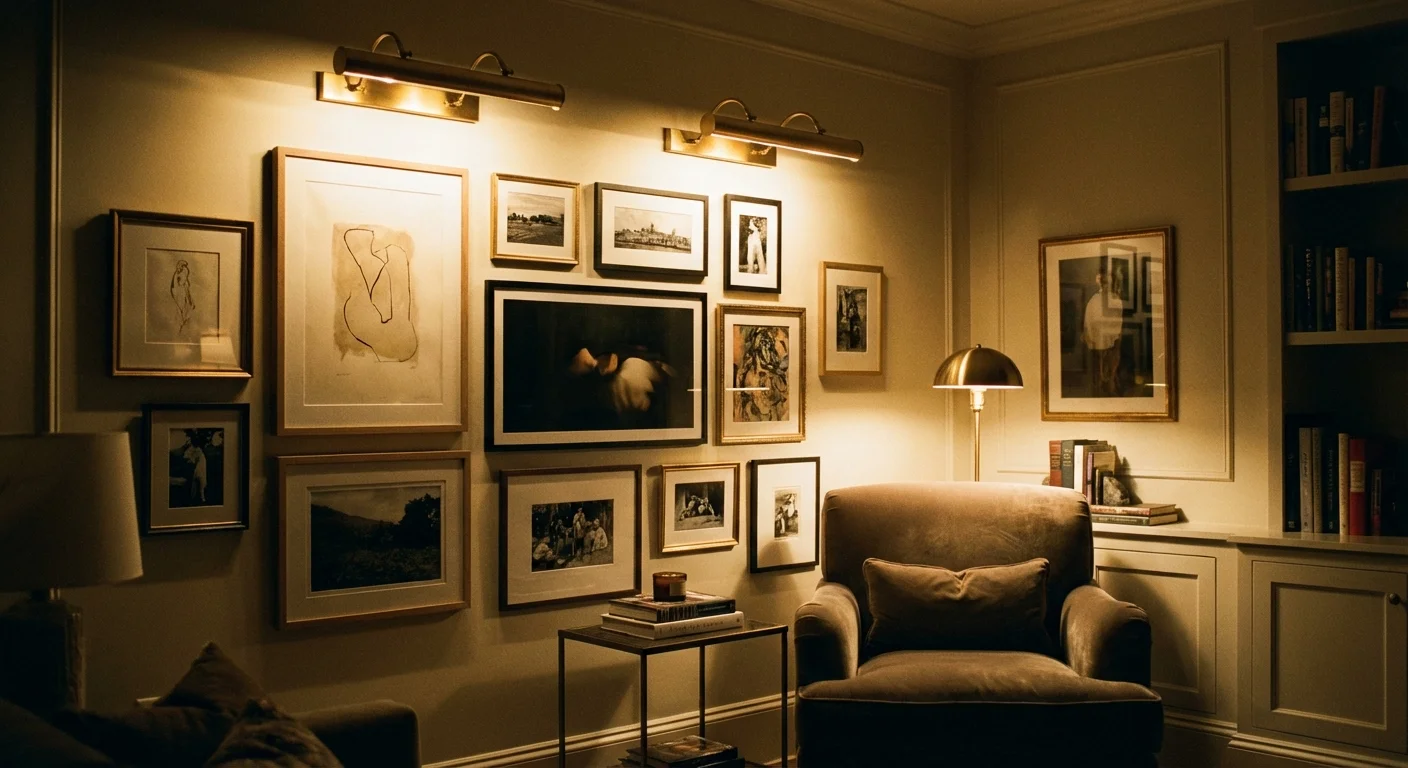
The Salon Style, often called a “cloud” layout, is more organic. It uses frames of different sizes, colors, and textures to create a more relaxed, collected-over-time aesthetic. This is the perfect approach for a mix of old family tintypes, modern candid shots, and even framed ephemera like wedding invitations or travel maps. To design a Salon Style wall without making dozens of unnecessary holes in your drywall, follow this proven method:
- Trace each of your frames onto brown craft paper and cut out the shapes.
- Label each paper template with a description of the photo.
- Use painter’s tape to arrange the templates on your wall.
- Step back and view the arrangement from different angles of the room.
- Adjust the templates until the visual weight feels balanced (e.g., don’t put all the large frames on one side).
- Drive your nails directly through the paper templates, then pull the paper away and hang your frames.
“The key to a successful gallery wall isn’t the frames themselves, but the consistent spacing between them. Whether your layout is rigid or random, maintaining a uniform distance—typically two to three inches—creates a sense of intentionality.”
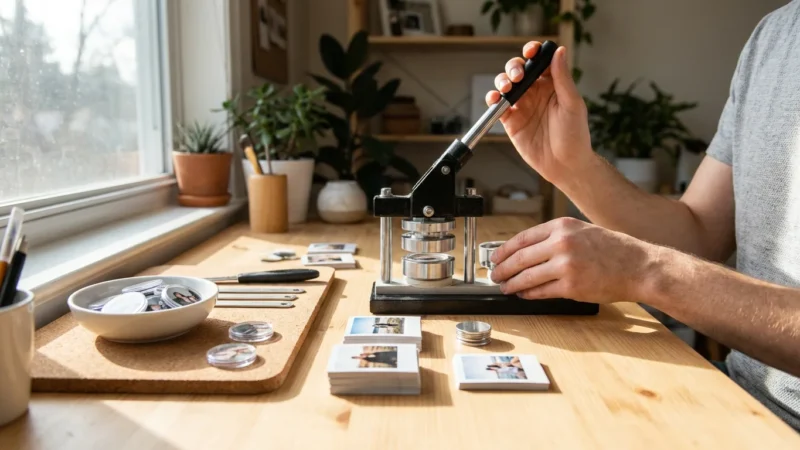
DIY Photo Display Ideas for a Modern Home
Not every photo needs to be behind a heavy frame and glass. Sometimes, a more casual diy photo display idea fits the energy of a room, especially in home offices, nurseries, or creative studios. These methods are excellent for rotating collections where you might want to swap images frequently.
A room-by-room approach to organizing physical prints can help you decide which images deserve a spot on your walls versus a storage box.
One popular method is the “Floating Clothesline.” You can use a decorative wire or twine stretched across a wooden frame or directly on the wall. Use mini wooden clothespins or magnetic clips to hang your photos. This works best with square-format prints or Polaroid-style shots. However, because these photos are exposed to the air and light, never use original family heirlooms for this method. Use modern prints or high-quality copies. If you want a more industrial look, use a copper grid panel. These metal grids allow you to clip photos, notes, and even small dried flowers in a modular arrangement that grows with your collection.
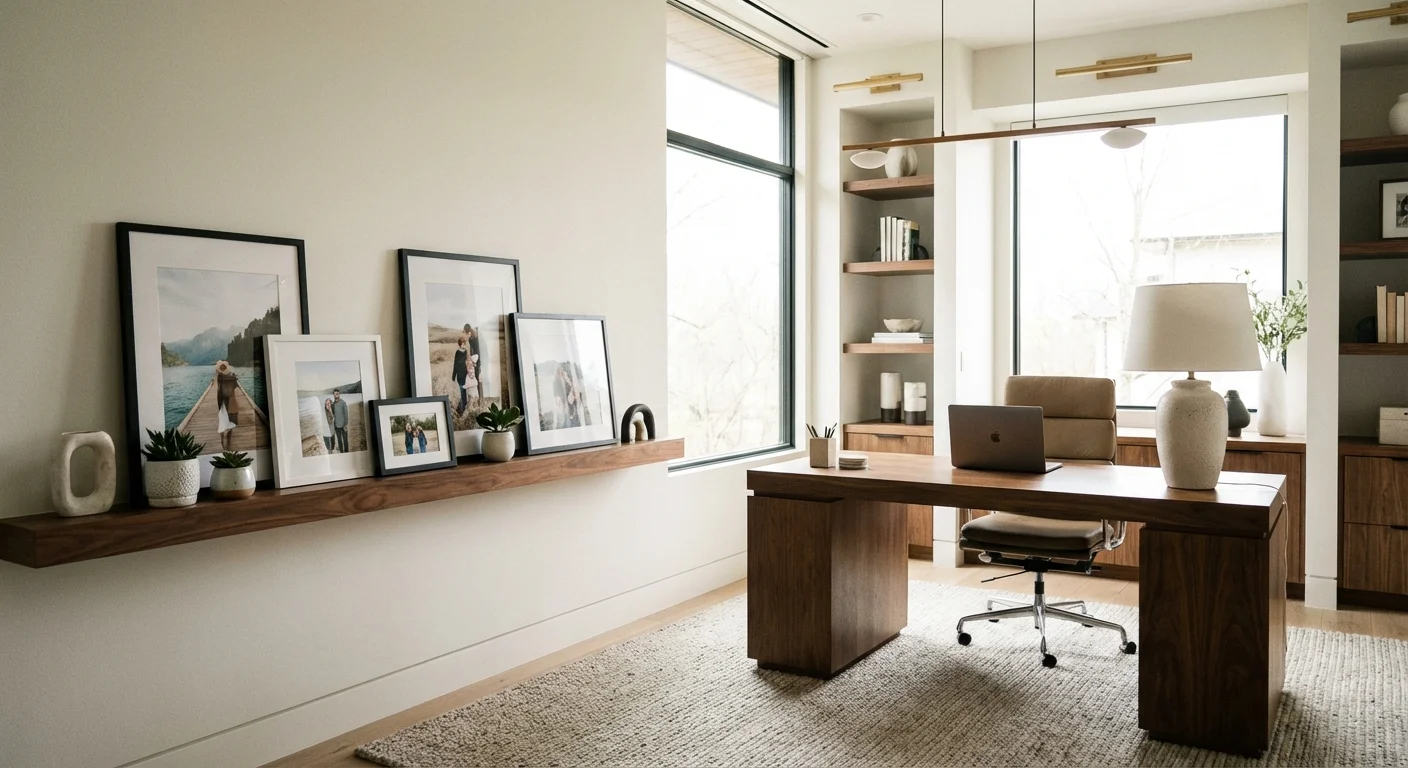
Another unique idea is the “Wooden Hanger Display.” You can repurpose old wooden trousers hangers by clipping a large-format photo (such as an 11×14 or 16×20 print) into the clamp. This creates a minimalist, vintage aesthetic that looks stunning in modern interiors. For a more permanent but creative approach, consider a photo ledge. Installing two or three thin picture ledges allows you to overlap frames of different heights. This removes the stress of perfectly aligning nails and allows you to change the entire look of the wall in seconds by simply shuffling the frames.
Environmental Safety: Lighting and Placement
Where you hang your photos is just as important as how you hang them. Light, heat, and moisture are the primary enemies of photographic materials. According to the National Archives Preservation guidelines, photographs should be kept in a stable environment with a temperature below 75 degrees Fahrenheit and relative humidity between 30% and 50%.
For any images not currently on display, be sure to store old photographs to prevent fading by using climate-controlled, dark storage environments.
Avoid hanging your most precious images on walls that receive direct afternoon sunlight. Even with UV-filtering glass, the heat buildup from direct sun can cause “outgassing” of the materials inside the frame, leading to a hazy residue on the inside of the glass. Likewise, avoid “exterior walls” in older homes that may not be well-insulated. These walls can experience significant temperature swings and moisture condensation, which may lead to mold growth on the back of your frames.
For lighting, choose LED bulbs over incandescent or halogen. LEDs emit significantly less heat and almost no UV radiation. If you are using dedicated picture lights, ensure they are placed far enough away from the frame to prevent heat transfer. If you have a particularly valuable collection, consider using a dimmable lighting system. Keeping the light levels lower when you aren’t in the room will significantly extend the life of your prints.

Bridging the Gap: Digital and Physical Hybrids
We live in a digital age, and for many, the idea of printing and framing hundreds of photos is neither practical nor desired. However, you can still bring your digital library into your physical space using hybrid solutions. High-resolution digital frames have evolved significantly; some now feature matte screens that mimic the look of paper and automatically adjust their brightness based on the room’s ambient light.
A creative way to bridge this gap is to use QR codes within your physical photo display. Imagine a gallery wall of your ancestors’ portraits. Small, discreetly printed QR codes on the corner of the mat can link to a private website or a cloud folder containing audio recordings of that person’s voice, a video of them, or a typed transcription of their life story. This turns your wall into an interactive museum, providing a depth of experience that a single image cannot offer.
For those who love the look of physical objects but have too many photos to choose from, consider the “Photo Book Library.” Instead of framing every shot from a vacation, frame one “hero” shot and place it on a shelf next to a professionally printed photo book containing the rest of the series. This keeps your walls clean while making the full story easily accessible to guests and family members. By combining the tactile beauty of framed prints with the storage capacity of digital tools and books, you ensure that no memory is left behind in the closet.
Frequently Asked Questions
How can I display old photos without damaging them?
To protect original photographs, use archival-grade mounts and UV-filtering glass. Avoid using glue, standard tape, or any adhesive that touches the image. If you want a more casual display, such as a clothesline with clips, make high-quality color copies and keep the originals safely stored in an acid-free environment.
What is the ideal height for hanging a photo gallery?
The standard rule for art and photography is to hang the center of the image or the center of the grouping at eye level, which is approximately 57 to 60 inches from the floor. If you are hanging a display above furniture, leave about 6 to 10 inches of space between the bottom of the frame and the top of the furniture piece.
Can I display photos in a bathroom or kitchen?
It is generally discouraged to display valuable or original photos in bathrooms or kitchens due to high humidity and temperature fluctuations. Moisture can cause the photo paper to ripple or stick to the glass, while grease and heat can accelerate chemical breakdown. For these areas, use framed digital copies that you can easily replace if they degrade.
What is the difference between acid-free and archival mats?
While often used interchangeably, “archival” usually refers to materials made from 100% cotton rag, which is naturally acid-free. Some “acid-free” mats are actually made of wood pulp that has been chemically treated (buffered) to neutralize acid. Over time, that buffer can wear out. For long-term preservation, cotton rag is the gold standard used by institutions like the Library of Congress.
Disclaimer: This article is for informational purposes only. When handling valuable or irreplaceable photographs, consider consulting a professional conservator. Always test preservation methods on non-valuable items first.

Leave a Reply