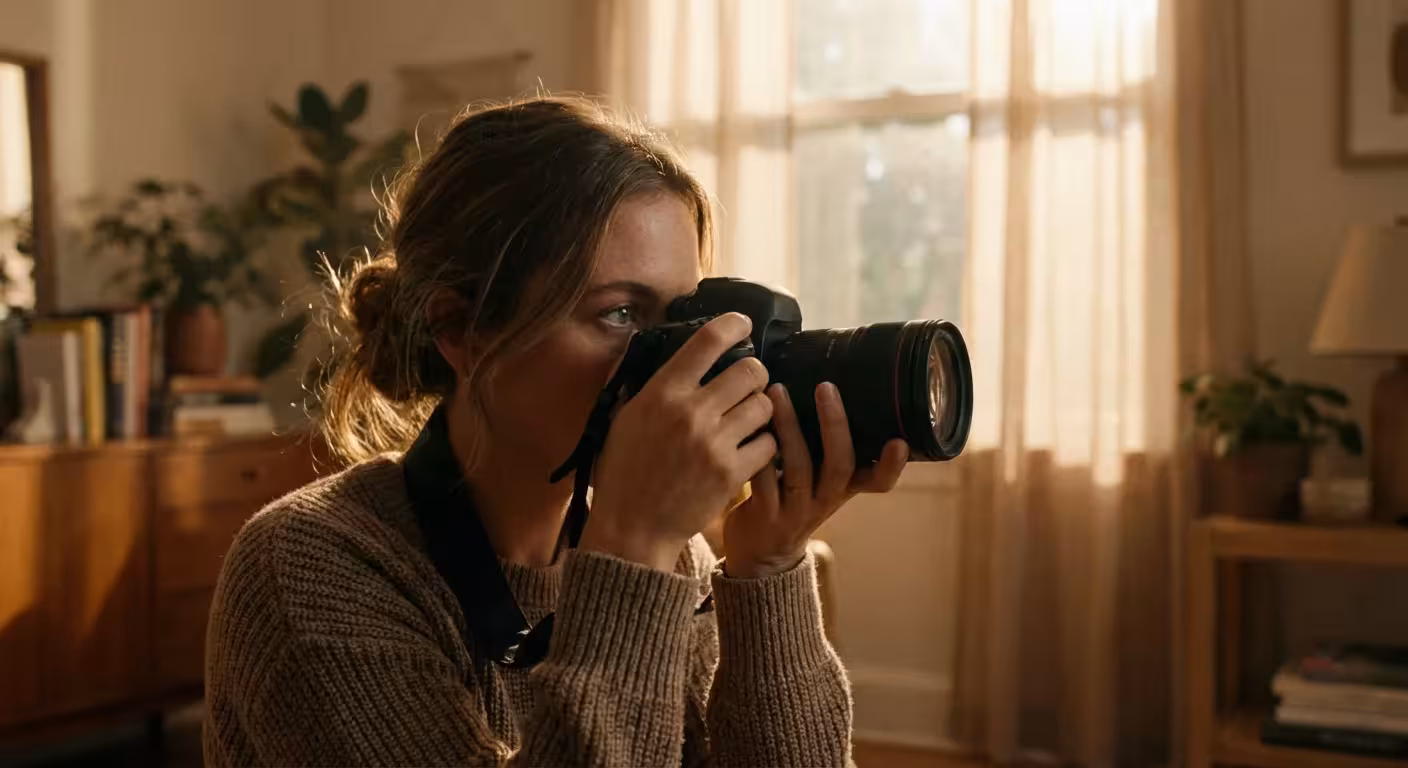
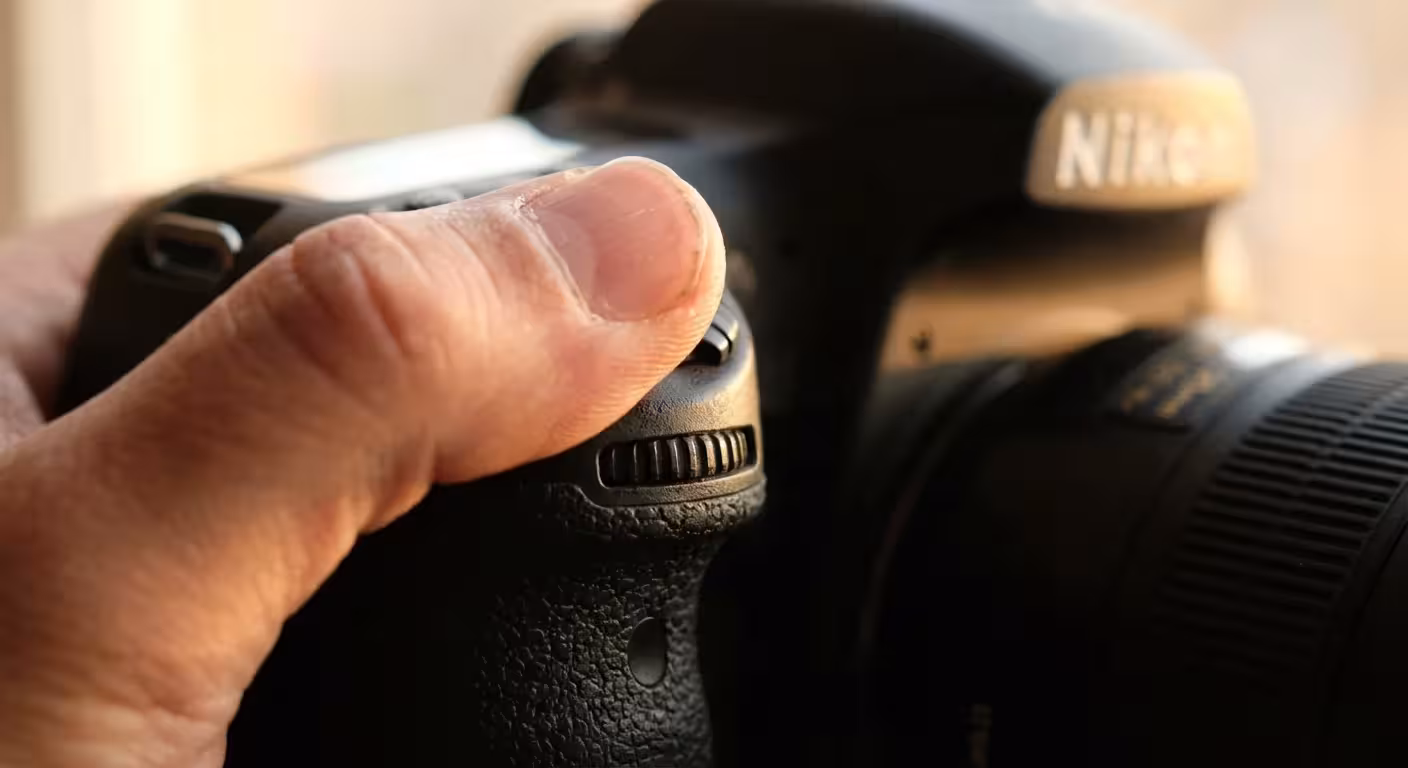
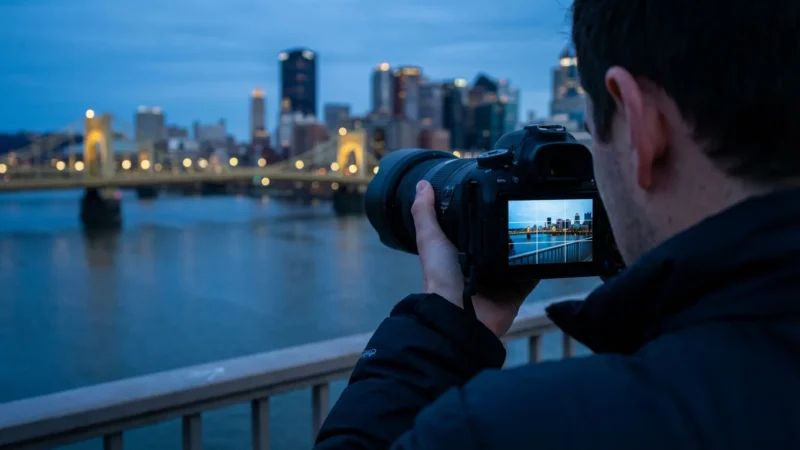
You likely remember the feeling of holding a heavy, high-quality DSLR for the first time. The weight of the glass, the textured grip, and the satisfying click of the shutter suggest a level of craftsmanship that a smartphone simply cannot replicate. However, if you keep that dial set to the green “Auto” icon, you are essentially using a powerful computer to make artistic decisions for you. Your camera is an incredible tool, but it lacks your eyes and your heart. It cannot know that you want the birthday candles to glow softly against a dark room or that you want to blur the background to make your grandmother’s smile the sole focus of a portrait. To truly capture your family’s heritage with the clarity and emotion it deserves, you must learn to command the machine. Manual mode photography represents the bridge between taking a snapshot and creating a photograph that will stand the test of time.
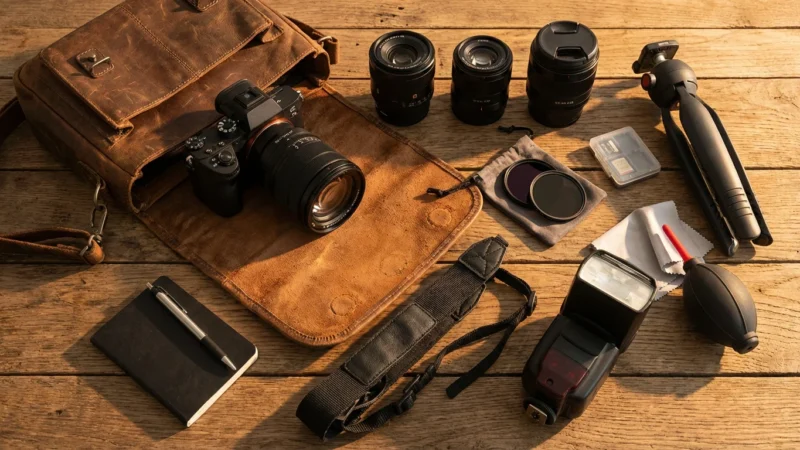
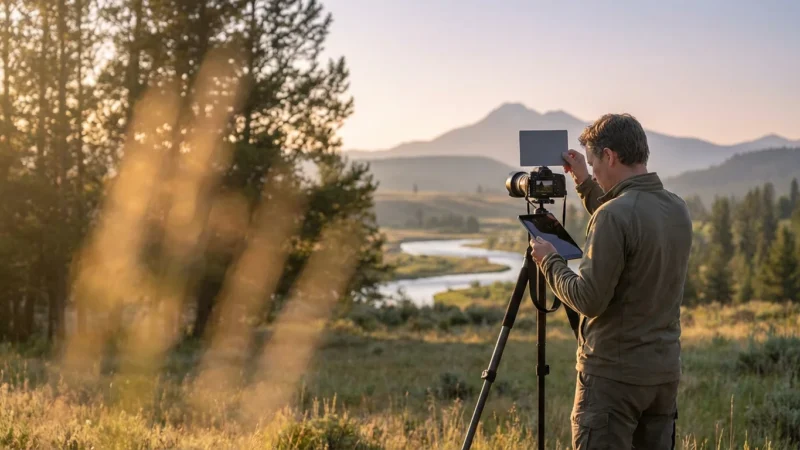
To support your transition to manual shooting, investing in essential camera accessories like a steady tripod can make a significant difference in your image quality.
Demystifying the Exposure Triangle
Every photograph you take relies on three fundamental pillars: aperture, shutter speed, and ISO. These three elements work in a delicate dance known as the Exposure Triangle. If you change one, you must adjust one or both of the others to maintain the same level of brightness. Think of your camera sensor like a window with shutters. Aperture is how wide you open those shutters; shutter speed is how long you keep them open; and ISO is how sensitive the glass itself is to the light passing through. Understanding this relationship is the core of dslr photography.
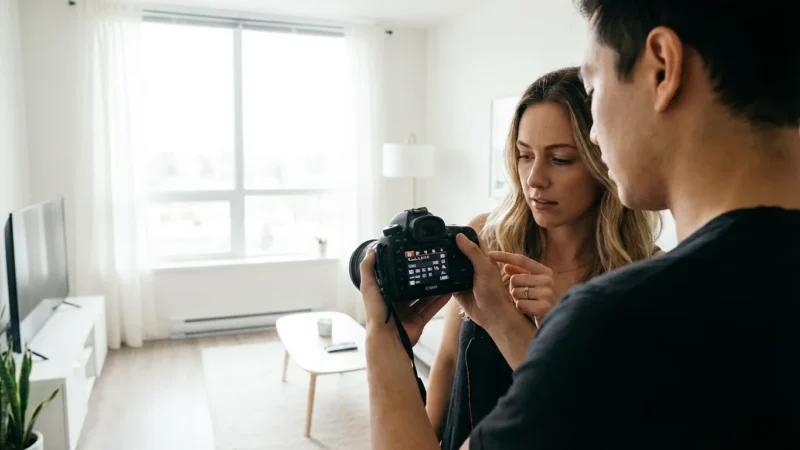
When you master manual mode photography, you stop thinking about “brightness” as a single setting and start seeing it as a combination of choices. For example, if you are photographing a family reunion indoors, you might find that your images come out dark. In Auto mode, the camera might pop up a harsh, unflattering flash. In manual mode, you have choices. You could open your aperture wider, slow down your shutter speed, or increase your ISO. Each choice carries a different visual consequence, and as the artist, you get to decide which trade-off serves your memory best.
Manual mode isn’t about following a set of rules; it’s about making intentional choices that prioritize the story you want to tell over the technical limitations of the camera.

Aperture: Controlling Depth and Light
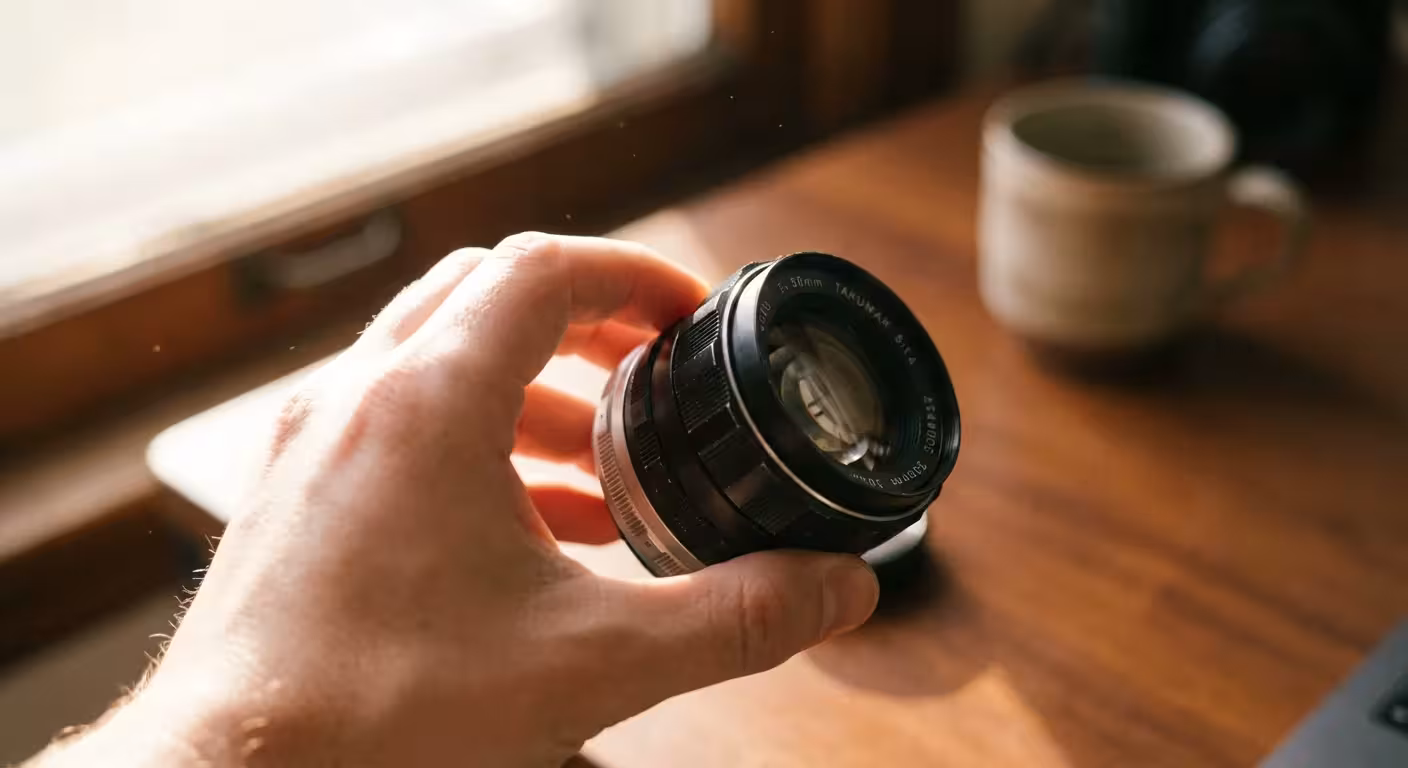
Aperture refers to the opening in your lens that allows light to reach the sensor. Measured in “f-stops,” aperture is often the most confusing setting for beginners because the numbers work inversely. A small f-number, like f/1.8 or f/2.8, means the aperture is wide open. A large f-number, like f/16 or f/22, means the opening is very small. This setting performs two vital roles: it controls the volume of light entering the camera and determines the “depth of field.”
Depth of field is the amount of your image that appears in sharp focus. If you want a beautiful portrait of your child where their eyes are crystal clear but the messy playroom in the background is a soft, creamy blur, you need a wide aperture (a low f-number). This is often referred to as a “shallow” depth of field. Conversely, if you are capturing a wide landscape of the family farm where you want the flowers in the foreground and the distant barn to both be sharp, you need a narrow aperture (a high f-number), which provides a “deep” depth of field.
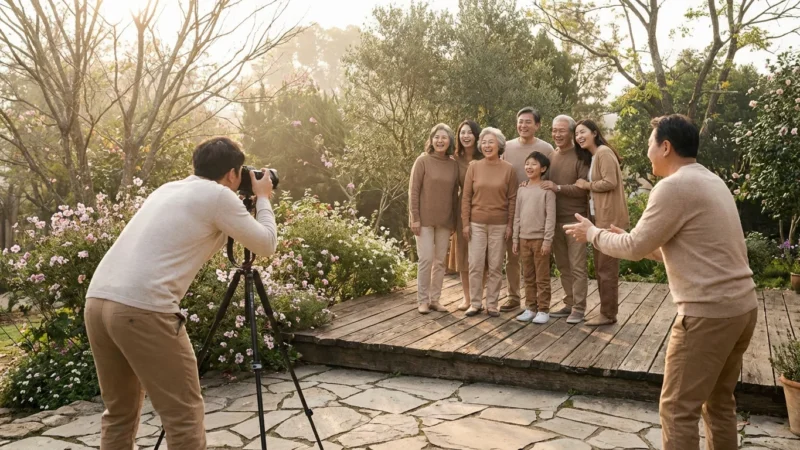
When you learn manual mode photography, you realize that aperture allows you to direct the viewer’s eye. Data from professional portrait photographers suggests that apertures between f/1.4 and f/4.0 are most effective for isolating subjects. However, be cautious; at f/1.8, the depth of field is so thin that if your subject tilts their head, one eye might be in focus while the other is blurred. For family group photos, a safer bet is f/5.6 or f/8 to ensure everyone’s face remains sharp.
Shutter Speed: Mastering the Moment
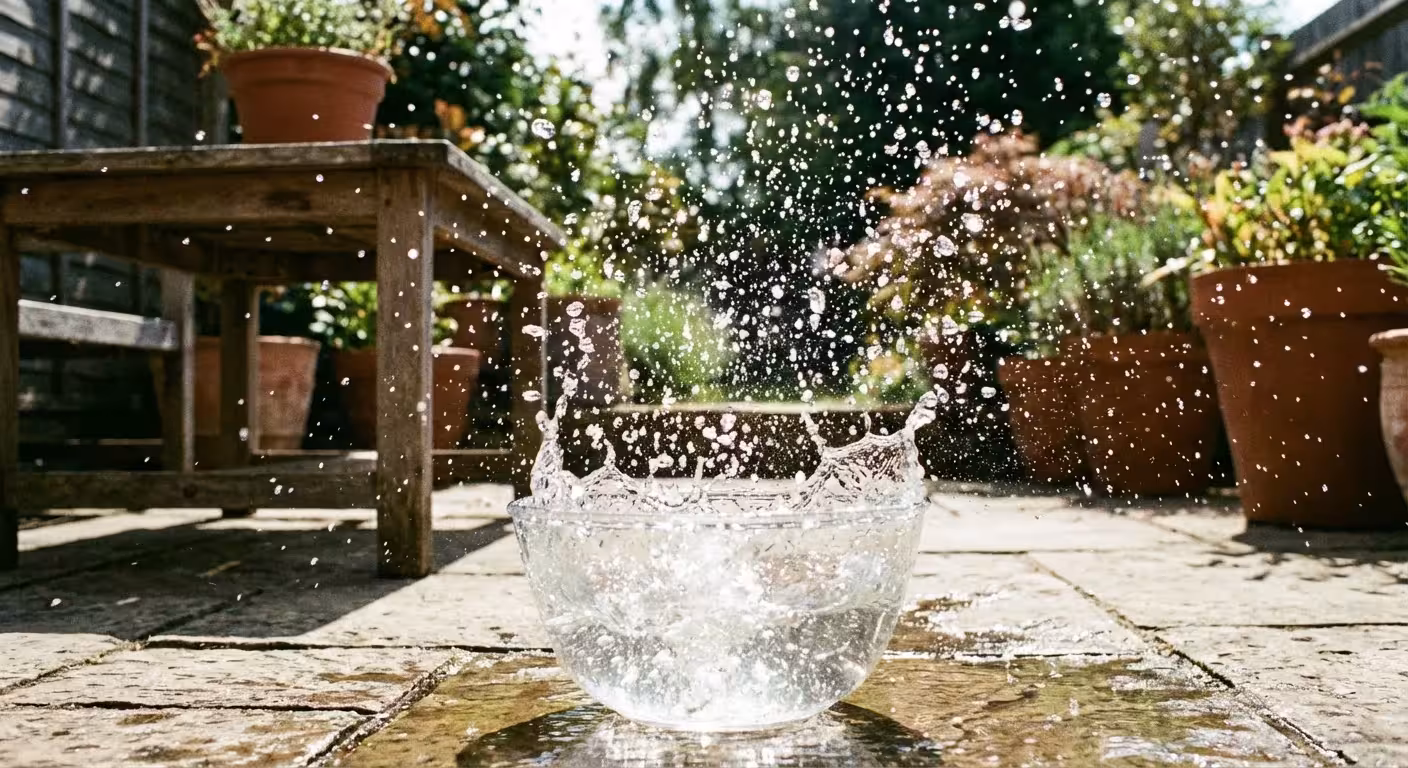
Shutter speed is exactly what it sounds like: the amount of time the camera’s shutter remains open to expose the sensor to light. This is measured in fractions of a second. A fast shutter speed, such as 1/1000 of a second, freezes time. This is essential for capturing a toddler running through the sprinkler or a bird in flight. A slow shutter speed, such as 1/15 of a second or several seconds, allows motion to blur. You might use this creatively to make a waterfall look silky or to capture the movement of sparklers on the Fourth of July.
The primary challenge with shutter speed is “camera shake.” If you hold the camera in your hands and use a shutter speed that is too slow, the natural micro-movements of your body will create a slight blur throughout the entire image. A good rule of thumb—often called the reciprocal rule—is to never shoot handheld at a shutter speed slower than your lens’s focal length. If you are using a 50mm lens, you should keep your shutter speed at 1/50 or faster. If you are using a 200mm zoom lens, you need at least 1/200 to ensure a sharp shot.
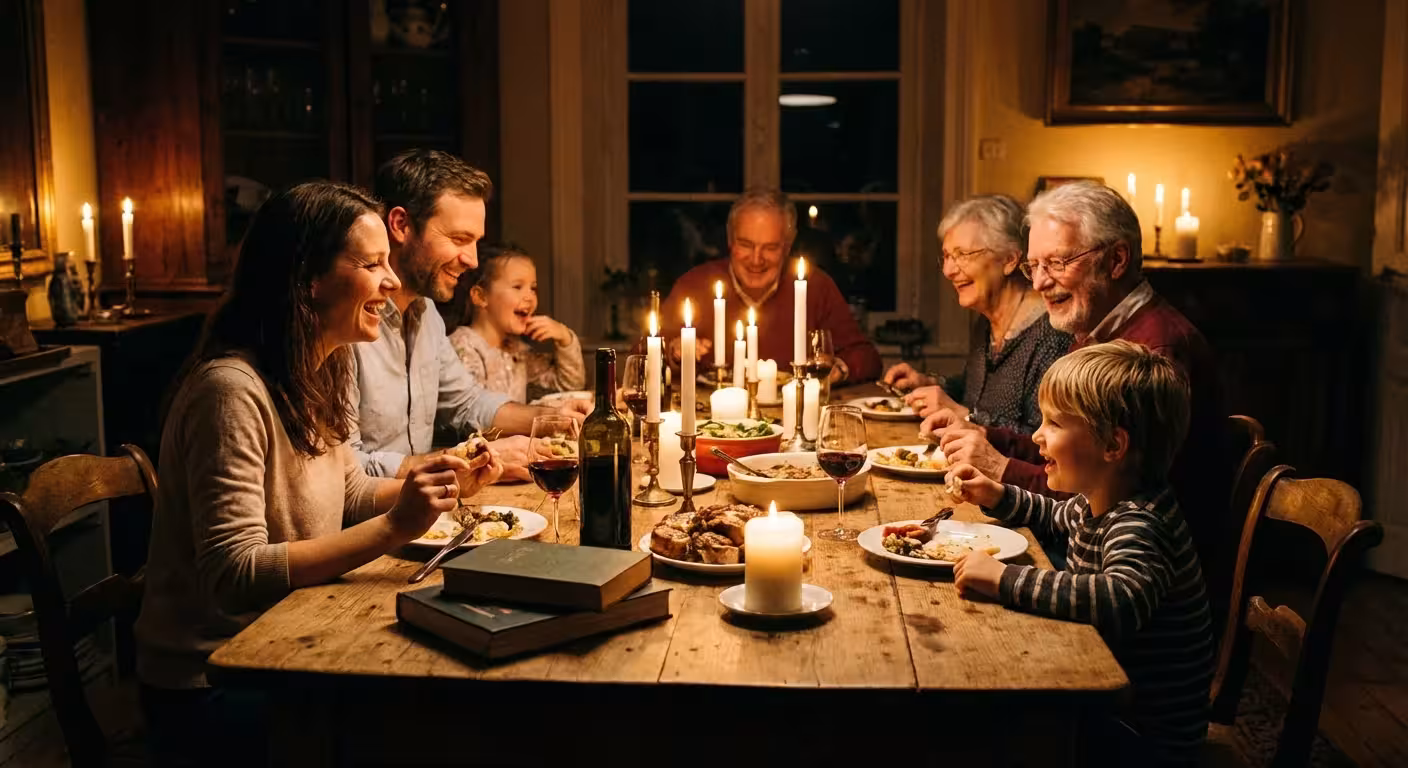
For those looking to preserve family history, shutter speed is your best friend during events. Candids are often the most cherished photos, but they are also the hardest to capture because people move. Setting your shutter speed to at least 1/250 will help you freeze those fleeting smiles and gestures, ensuring the resulting photo is a sharp, clear record for the future. You can find more technical breakdowns of sensor response times at Cambridge in Colour, which offers excellent visual tutorials on diffraction and motion blur.
ISO: Managing Light and Digital Noise
ISO measures the sensitivity of your camera’s sensor to light. In the days of film, you would buy a roll of “100 speed” or “400 speed” film depending on the lighting conditions. With your DSLR, you can change this sensitivity for every single shot. A low ISO (like 100 or 200) produces the cleanest, highest-quality images with no visible grain. As you increase the ISO to 3200 or 6400, the sensor becomes much more sensitive, allowing you to take photos in very dark environments without a flash.
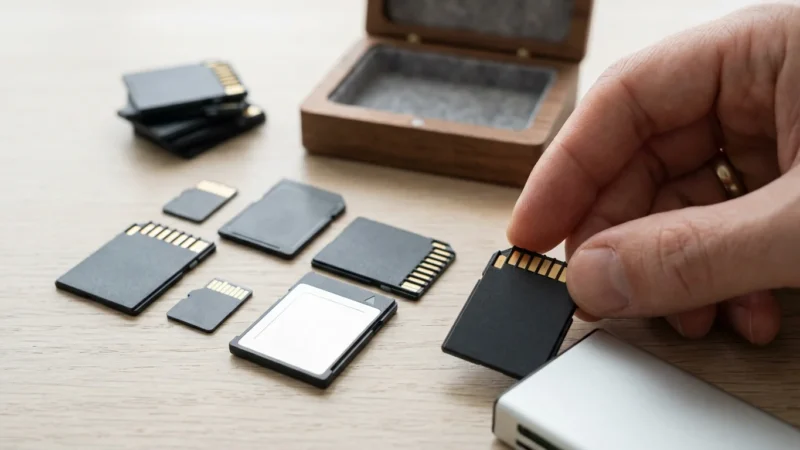
When shooting in high-stress environments or low light, having high-speed memory cards is essential to prevent the camera from slowing down during capture.
The trade-off for this sensitivity is “noise.” Digital noise looks like tiny colored speckles or graininess, particularly in the dark areas of your photo. While noise can sometimes add a vintage, film-like feel to a photo, it generally reduces the overall detail and makes the image harder to enlarge for printing. When dslr camera settings are explained, the advice is usually “keep ISO as low as possible.” However, you should not be afraid to raise it if it means getting a sharp photo. A grainy photo is a memory preserved; a blurry photo from a slow shutter speed is often a memory lost.
Modern sensors have improved drastically. Ten years ago, shooting at ISO 1600 would result in a muddy mess. Today, many mid-range DSLRs can produce beautiful images at ISO 3200 or even 6400. If you are digitizing old family slides or prints by photographing them, always use a tripod and set your ISO to the lowest native setting (usually ISO 100) to ensure the maximum amount of detail is preserved without any digital interference.
Reading the Internal Light Meter
Once you switch your camera dial to “M,” you are in charge of balancing the three settings mentioned above. But how do you know if you have the right balance? Your camera has a built-in light meter that you can see through the viewfinder. It looks like a small scale with a “0” in the middle, negative numbers on the left, and positive numbers on the right.
When you point your camera at a subject, a little marker will move along this scale. If the marker is at 0, the camera believes you have a “correct” exposure. if it is in the negative, your photo will be underexposed (too dark). If it is in the positive, it will be overexposed (too bright). While “0” is a great starting point, remember that the meter can be fooled. If you are photographing a person in the snow, the camera will see all that white and think the scene is too bright, causing it to underexpose the person’s face. In this case, you might intentionally move your meter to +1 to make the snow look white rather than grey.
Mastering this meter is the secret to learn manual mode photography. You start by choosing the setting most important for the “look” of your photo. If you want a blurred background, set your aperture first. Then, adjust your shutter speed until the meter hits 0. If your shutter speed becomes too slow for you to hold the camera still, increase your ISO until the meter balances out. This systematic approach takes the guesswork out of the process.

Using the Histogram for Perfect Exposure
While the light meter is your guide while shooting, the histogram is your proof after you take the shot. Many photographers fall into the trap of looking at the photo on the back of the LCD screen and assuming it looks good. However, screen brightness can be deceiving; a photo might look bright on your screen but actually be too dark when you open it on your computer. The histogram is a mathematical graph of every pixel in your image.
Beyond just exposure accuracy, understanding RAW vs JPEG file types is essential for ensuring you retain enough data for future preservation work.
The left side of the graph represents the blacks and shadows, while the right side represents the whites and highlights. The height of the peaks shows how many pixels are at that specific brightness level. A “well-exposed” photo usually has a bell-shaped curve in the middle. If the graph is all scrunched up against the left side, your photo is underexposed, and you are losing detail in the shadows. If the graph is hitting the right wall, your highlights are “clipped,” meaning they are pure white with no detail—something that is almost impossible to fix later in editing.
For those focused on photo preservation, clipping your highlights is a cardinal sin. If you are photographing an old wedding dress or a document with faint writing, losing those highlights means losing the history. Always check your histogram to ensure the “mountain” stays within the boundaries of the graph. For more technical details on how sensors interpret these light values, check out the gear and sensor reviews at Digital Photography Review.
A Step-by-Step Manual Mode Workflow
Switching to manual mode can feel overwhelming at first. To help you build muscle memory, follow this consistent workflow every time you prepare to take a photograph. With practice, these steps will become second nature, and you will find yourself adjusting settings without even thinking about them.
Beyond setting your exposure, you should also learn about white balance to ensure the colors in your photographs are rendered accurately.
- Check your ISO: Start by setting your ISO based on your environment. If you are outdoors in the sun, set it to 100. If you are indoors, try 800 or 1600.
- Choose your Aperture: Decide how much of the scene needs to be in focus. Use a low f-number (like f/2.8) for a portrait or a high f-number (like f/11) for a group shot or landscape.
- Adjust your Shutter Speed: Look through the viewfinder and adjust your shutter speed until the light meter sits at 0.
- Evaluate the Shutter Speed: Is the shutter speed fast enough? If you are shooting handheld and the speed is 1/15, it is too slow. You must either open your aperture more or increase your ISO.
- Take a Test Shot: Capture the image and immediately check your histogram.
- Fine-tune: If the histogram shows the image is too dark, slow the shutter speed or increase the ISO and try again.
Think of this process as a conversation with your camera. You tell the camera what is most important (the depth of field), and the camera tells you what it needs (more light or more sensitivity) to make that happen. This level of dslr photography control allows you to handle difficult lighting situations, like a sunset or a dimly lit church, where Auto mode would almost certainly fail.
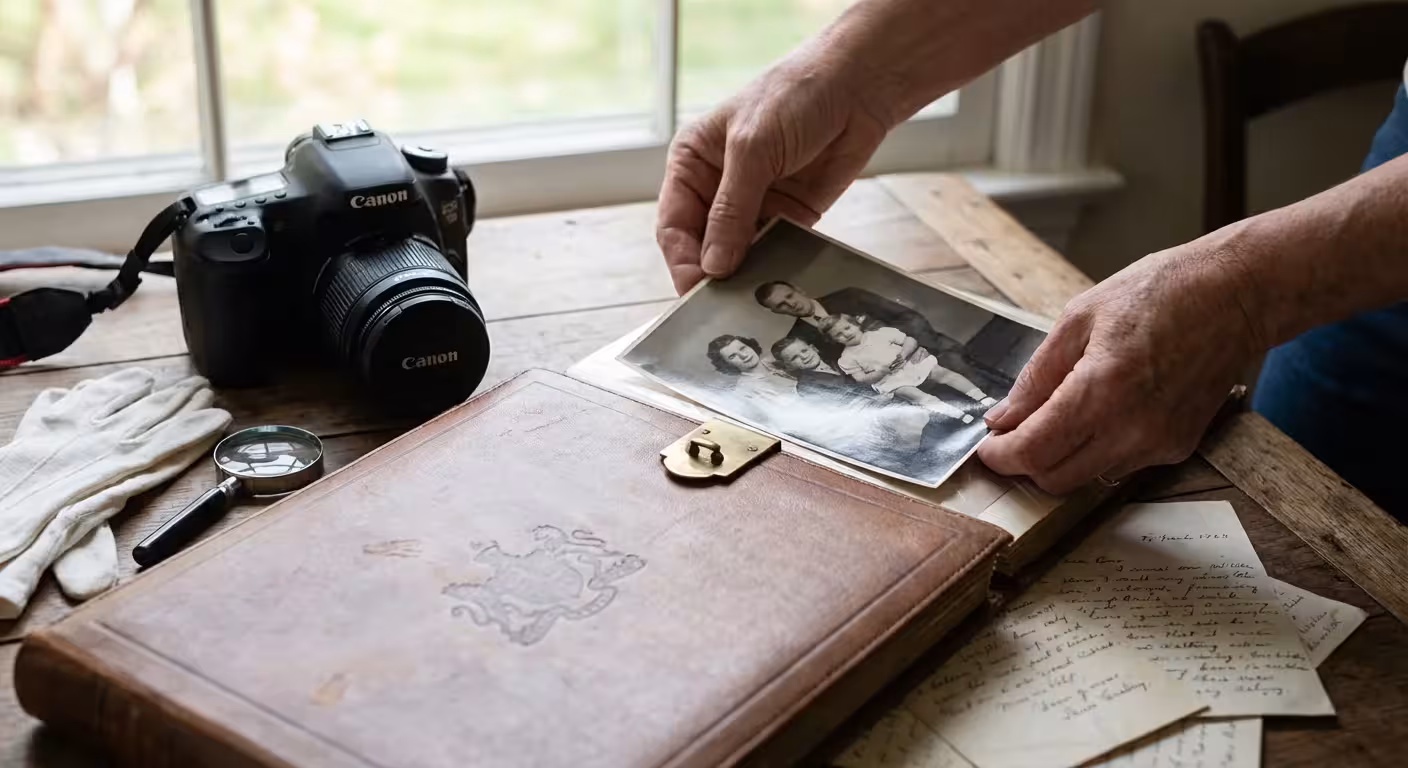
Capturing for Long-Term Preservation
When you use manual mode, you aren’t just taking better pictures today; you are creating better assets for your family’s future. High-quality photography techniques are a form of digital preservation. A properly exposed image contains more data, which gives you more flexibility if you ever need to restore or edit the photo years down the line. If you capture a photo with the wrong settings—perhaps it’s too dark or too grainy—you are limited in how much you can improve it later.
One of the most important steps in preservation-focused photography is shooting in RAW format. While JPEGs are convenient, the camera “bakes in” your settings and throws away extra light data to save space. A RAW file captures everything the sensor sees. In manual mode, if you slightly underexpose a RAW file, you can often recover that detail perfectly in editing software. This ensures that the delicate details of a family heirloom or the subtle colors of an heirloom quilt are preserved exactly as they are.
| Setting | Action | Effect on Image | Preservation Benefit |
|---|---|---|---|
| Aperture | Wide (f/2.8) | Blurred background | Focuses attention on the subject/person. |
| Aperture | Narrow (f/11) | Everything in focus | Captures all details in a document or landscape. |
| Shutter Speed | Fast (1/500) | Freezes motion | Ensures sharpness in active family moments. |
| Shutter Speed | Slow (1/30) | Blurs motion | Allows for creative light effects but requires a tripod. |
| ISO | Low (100) | Clean, no grain | Provides the highest resolution for large prints. |
| ISO | High (3200) | Grainy/Noisy | Allows capture in low light when flash is forbidden. |
By understanding these dslr camera settings explained in the context of preservation, you become the archivist of your own life. You are no longer hoping for a good shot; you are intentionally constructing one. This mastery transforms your DSLR from a confusing gadget into a powerful legacy-building tool. Take the time to practice in low-stakes environments—like your backyard or living room—so that when the big moments happen, you are ready to capture them with precision and artistry.
Frequently Asked Questions
Why should I use manual mode instead of auto mode?
Manual mode gives you total creative control over how your camera captures light and motion. While auto mode makes a best guess, manual mode allows you to intentionally blur backgrounds for portraits or freeze fast-moving subjects at a family reunion, ensuring your memories look exactly how you envisioned them.
What is the most important setting in manual mode?
No single setting is most important; rather, the balance between aperture, shutter speed, and ISO—known as the Exposure Triangle—is key. However, many photographers start by choosing their aperture to control depth of field, then adjust shutter speed and ISO to reach the correct exposure.
Will using a high ISO ruin my photos?
High ISO settings can introduce “noise” or graininess, but modern DSLR cameras handle high ISO much better than older models. It is often better to have a slightly grainy, sharp photo than a clean photo that is blurry due to a slow shutter speed. For preservation purposes, a sharp image is always easier to restore later.
How do I know if my manual exposure is correct?
You should use your camera’s built-in light meter, visible through the viewfinder or on the LCD screen. Additionally, learning to read a histogram—a graphical representation of light distribution—will help you ensure you aren’t losing detail in the brightest or darkest parts of your image.
Disclaimer: This article is for informational purposes only. When handling valuable or irreplaceable photographs, consider consulting a professional conservator. Always test preservation methods on non-valuable items first.

Leave a Reply