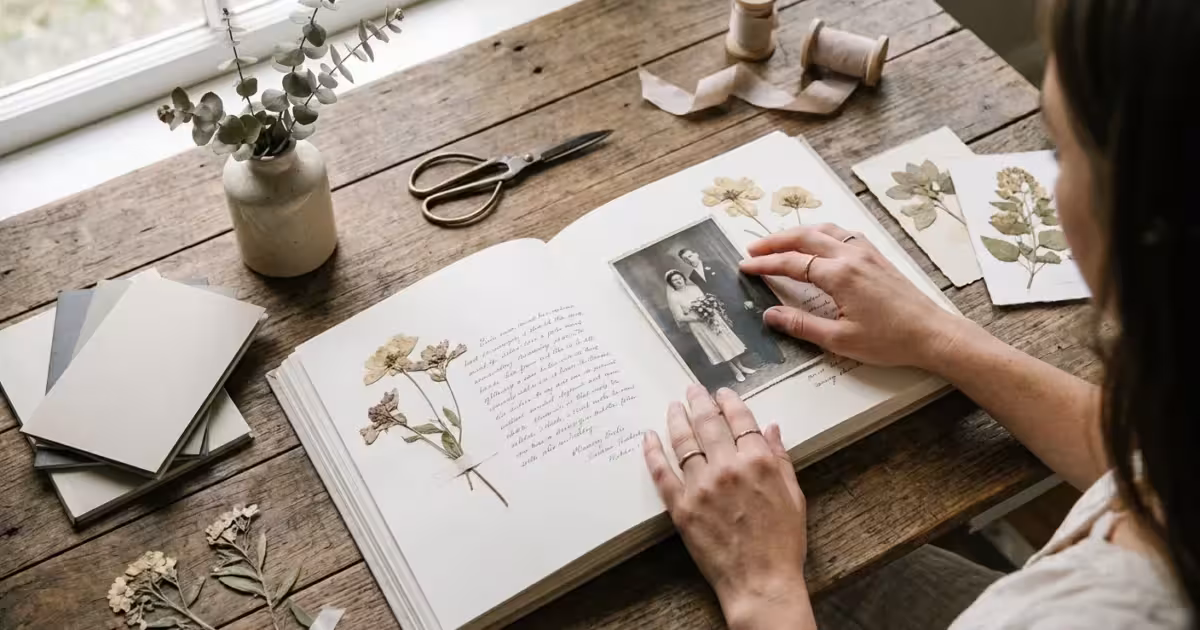
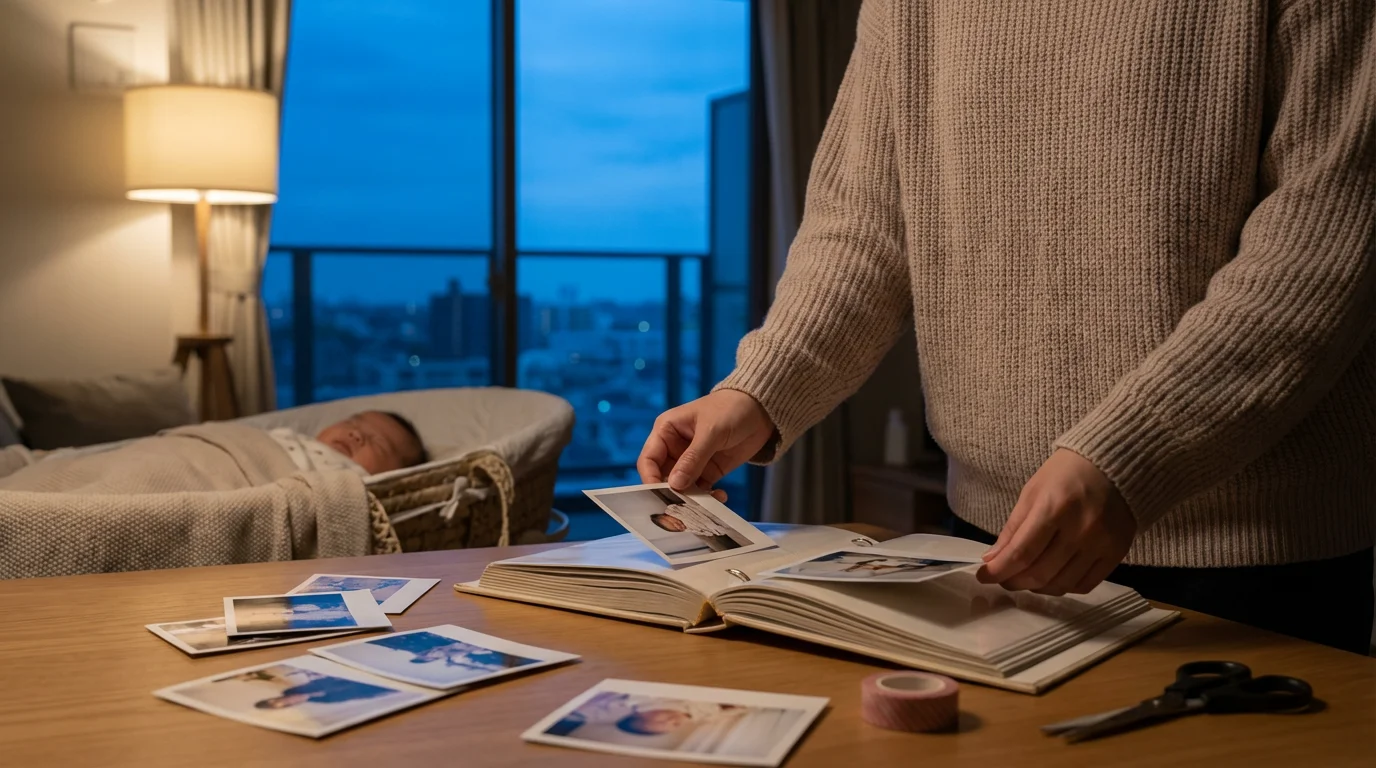
You hold a box of loose photographs—glossy snapshots of a summer vacation, sepia-toned portraits of ancestors you never met, and perhaps a few blurry polaroids of a childhood birthday party. These images represent more than just paper and ink; they are the visual record of your family legacy. Scrapbooking transforms these scattered fragments into a cohesive, enduring narrative. It allows you to protect your history while expressing your unique creativity. By following professional preservation standards and applying foundational design principles, you can create a masterpiece that speaks to future generations.
The Foundations of Archival-Safe Scrapbooking
When you start a scrapbooking project, your first priority is the survival of the images. Traditional albums from the 1970s and 80s—often called “magnetic” albums—featured acidic adhesive strips and plastic overlays that have destroyed millions of family photos. To avoid this fate, you must choose materials based on chemistry. The primary enemies of your photographs are acid and lignin. Lignin is a natural polymer found in wood pulp that gives paper its strength; however, as it breaks down, it produces acid that turns photos yellow and brittle.
Before mounting your originals, consider how to scan and preserve old photo albums to create a digital safety net for your work.
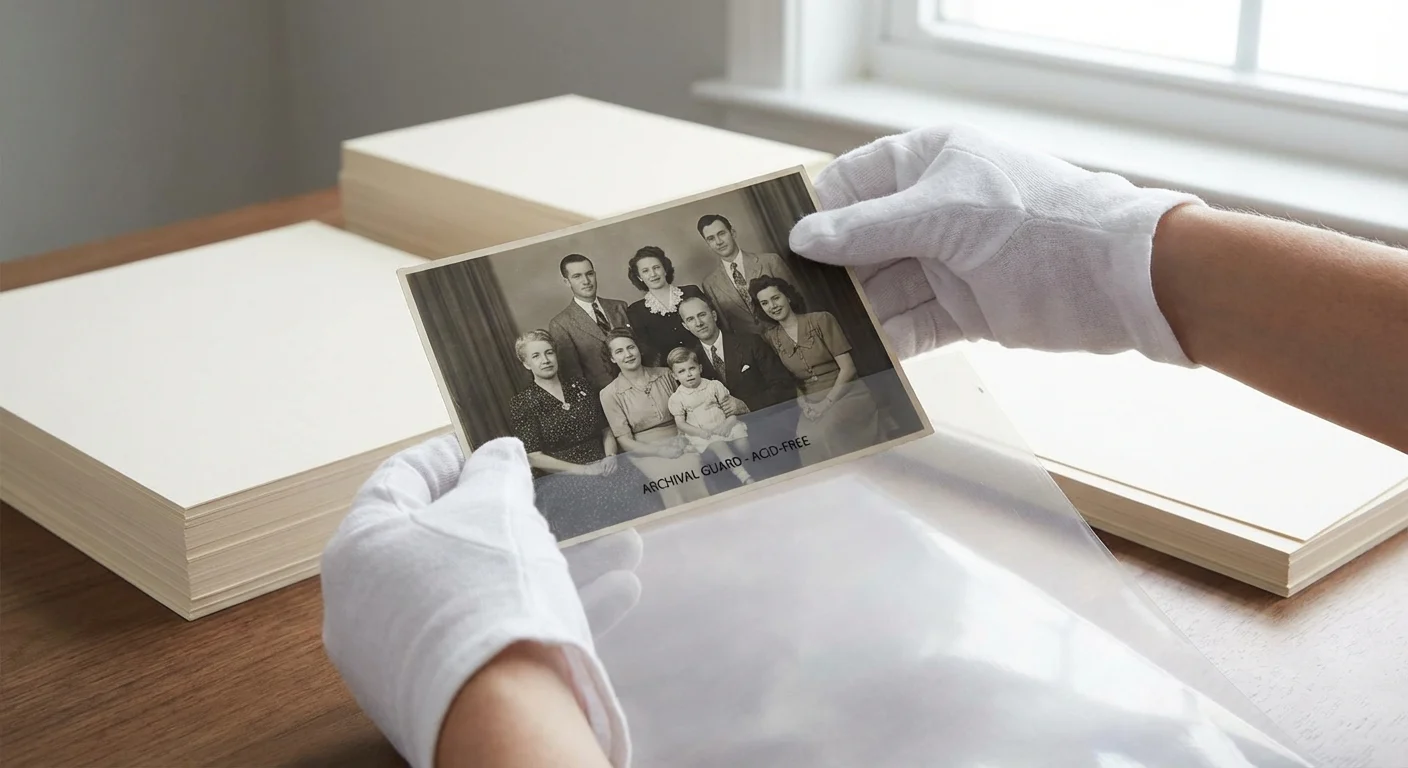
You should only purchase paper, cardstock, and albums explicitly labeled as acid-free and lignin-free. These materials undergo a chemical process to remove harmful compounds or are buffered with calcium carbonate to neutralize future acid development. For professional guidance on long-term storage, the Library of Congress Preservation department offers extensive resources on choosing safe materials for your home archives. By selecting archival-grade products, you ensure that the vibrant colors of your daughter’s graduation or the sharp details of a wedding portrait remain clear for a century or more.
“Preservation is not just about keeping something; it is about keeping it in a way that remains accessible and meaningful for the future.”
Temperature and humidity also play a massive role in photo health. Store your completed scrapbooks in a “people-friendly” environment. If you are uncomfortable in a room because it is too hot, too damp, or too dry, your photos are likely suffering as well. Avoid attics and basements; instead, choose an interior closet or a shelf in a climate-controlled room. The Image Permanence Institute provides data showing that even a ten-degree drop in storage temperature can significantly extend the life of color photographs.
Essential Tools for Your Memory-Keeping Kit
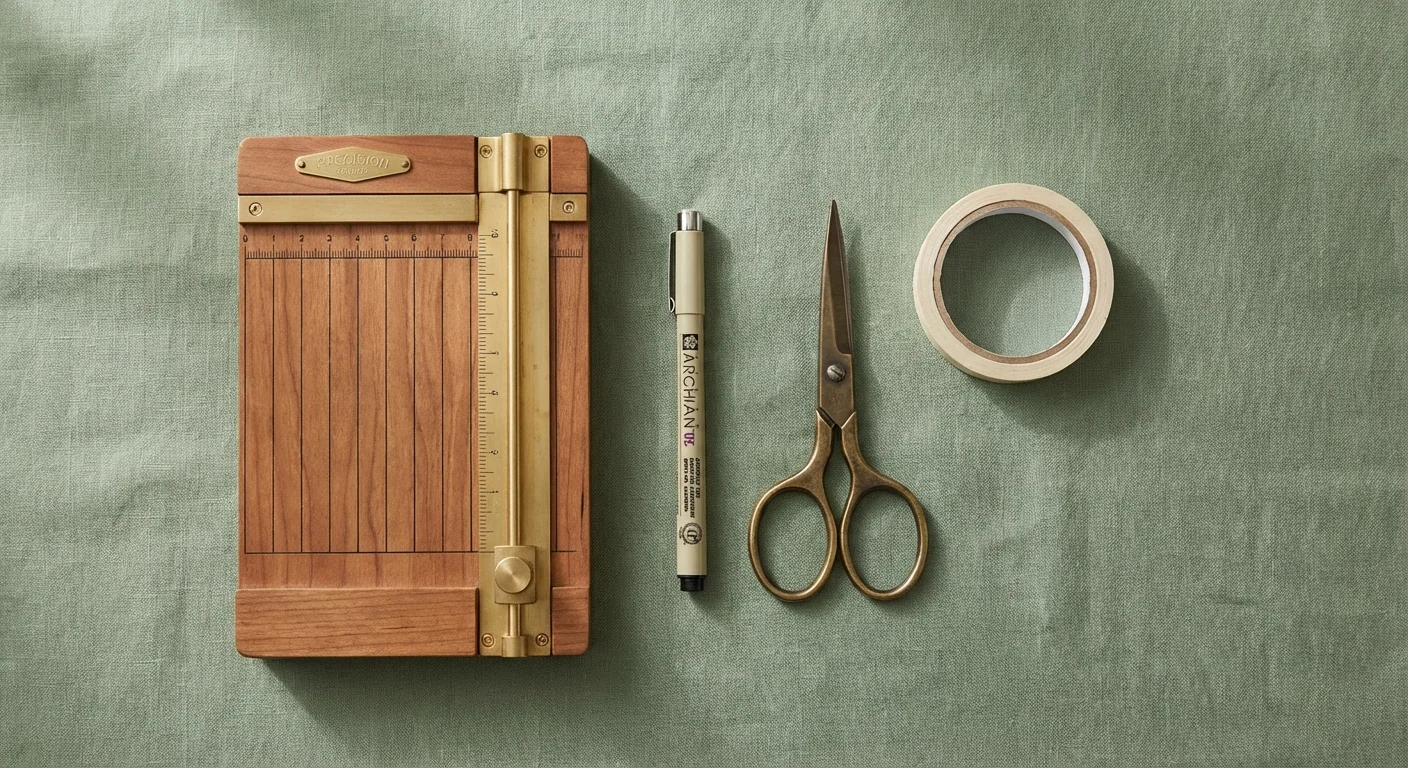
You do not need a massive craft room to begin scrapbooking, but a few high-quality tools make the process more enjoyable and the results more professional. Investing in the right equipment prevents frustration and ensures your layouts look polished. Consider the following table as a checklist for your primary kit:
| Tool Category | Recommended Items | Why You Need It |
|---|---|---|
| Adhesives | Double-sided archival tape, photo corners, glue dots. | Secures photos without damaging the image surface or leaking chemicals. |
| Cutting Tools | Paper trimmer with a rotary blade, micro-tip scissors. | Ensures perfectly straight edges and allows for intricate detail cutting. |
| Writing Instruments | Pigment-based ink pens (Pigma Micron), acid-free markers. | Ink will not fade or bleed through the paper over time. |
| Albums | 12×12 or 8.5×11 D-ring or post-bound albums. | D-ring albums allow for easy page reorganization and expansion. |
| Organization | Acid-free folders or plastic bins. | Keeps photos sorted by event or date before you start the layout. |
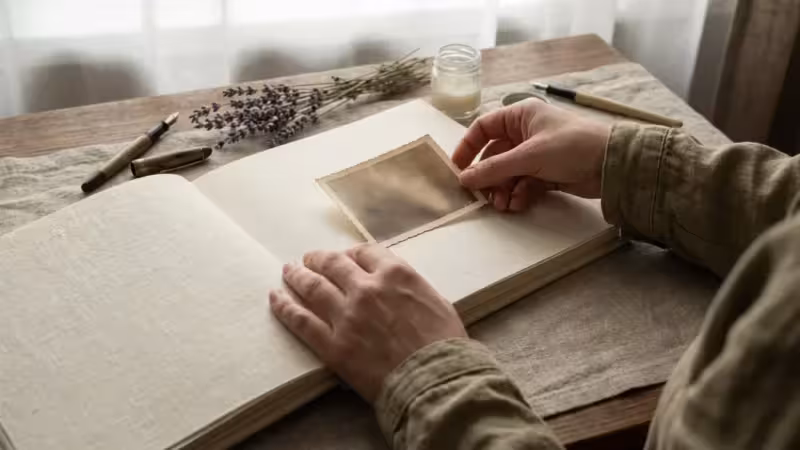
When selecting adhesives, consider reversibility. Photo corners are the gold standard for preservation because the adhesive never touches the photo itself—the photo simply slides into the corners. If you ever need to remove the photo for professional scanning or restoration, you can do so without tearing the back of the print. If you prefer tape runners, choose those marked “repositionable” so you can adjust the photo if you place it slightly crookedly.
Organizing Your Story Before You Glue
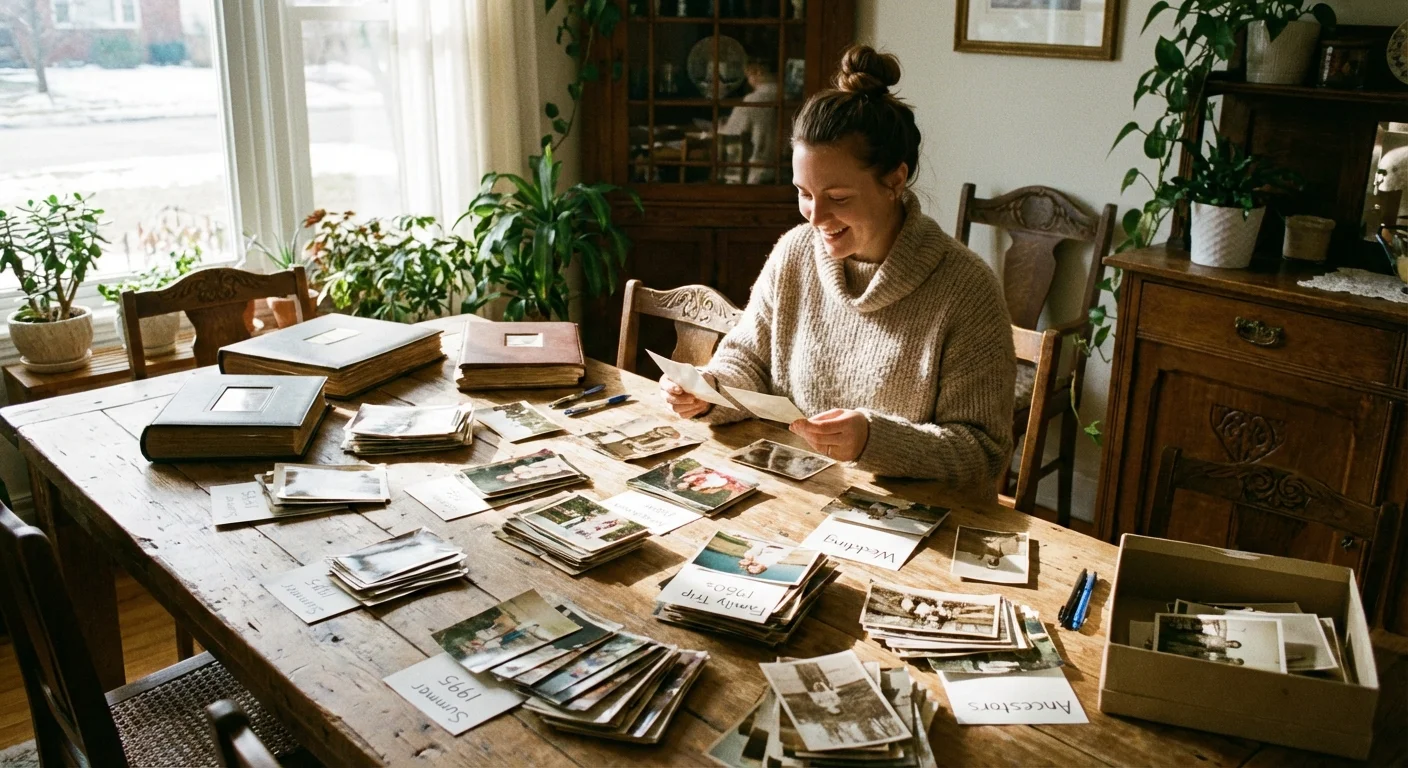
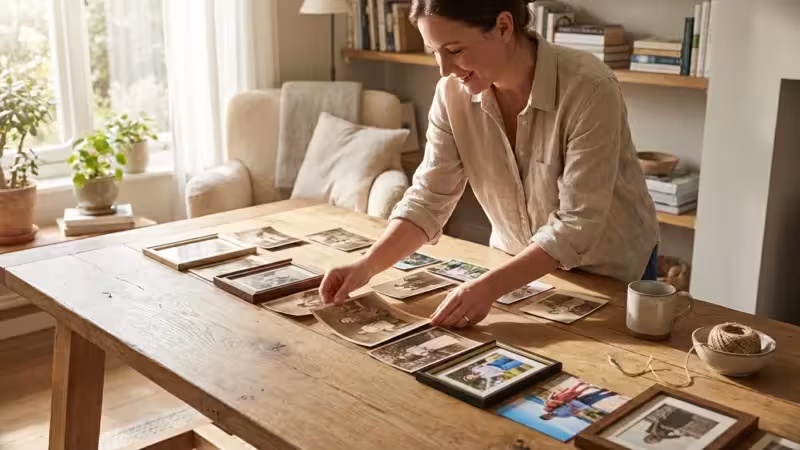
The most common reason people abandon scrapbooking is feeling overwhelmed by the sheer volume of photos. To combat this, you must categorize your collection before you even open an album. Start by sorting your photos into broad themes or chronological periods. Use large, acid-free envelopes to group photos from specific events, such as “Christmas 2023” or “Trip to the Grand Canyon.”
This editing process is also essential when creating a year-in-review photo album to ensure the final book remains focused and engaging.
As you sort, practice “ruthless editing.” You do not need to scrapbook every single photo from a 200-shot vacation. Choose the images that tell the story best—the ones that capture emotion, action, or a specific sense of place. Look for the “hero shot” for each page; this is the one photo that serves as the centerpiece. If you have five nearly identical shots of a sunset, pick the sharpest one and move the others to a standard photo box for safe keeping. This focused approach makes your scrapbook ideas more impactful and keeps your project manageable.
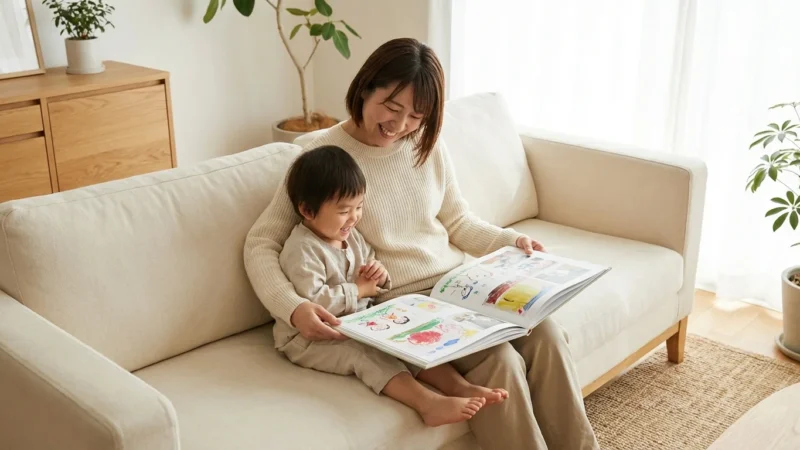
Consider the narrative arc of your album. Are you telling the story of a person’s life, a single year, or a specific trip? Establishing this framework early helps you determine how much space to allocate to each section. If you are creating a “Baby’s First Year” book, you might dedicate four pages to each month. For a general family heritage book, you might organize pages by family branch or decade.

Creative Layout Ideas for Visual Impact
A well-designed page guides the eye and emphasizes the story. You don’t need a degree in graphic design to master creative scrapbook layout ideas; you simply need to apply a few visual rules. One of the most effective techniques is the Rule of Thirds. Imagine your page divided into a 3×3 grid. By placing your focal point (the hero photo) at one of the intersections of these lines rather than dead center, you create a more dynamic and interesting composition.
If you are working with a high volume of images, creating photo collages can help you group related moments without overcrowding the page.
White space—or “negative space”—is another critical design element. Do not feel compelled to cover every square inch of the page with stickers or patterned paper. Leaving areas of plain background allows the viewer’s eyes to rest and keeps the focus where it belongs: on your memories. If your background paper is busy with a floral or geometric pattern, use a solid-colored cardstock to “mat” your photos. A thin border of solid color between a photo and a patterned background acts as a frame, making the image pop.
Color theory can help you set the mood for your layouts. For a heritage page featuring black-and-white photos of your grandparents, use a palette of creams, sepias, and deep forest greens to evoke a vintage, timeless feel. For a high-energy layout about a child’s birthday party, embrace vibrant primary colors or bright pastels. Use a color wheel to find complementary colors (opposites, like blue and orange) or analogous colors (neighbors, like blue and teal) to create harmony across the spread.
The Art of Meaningful Journaling
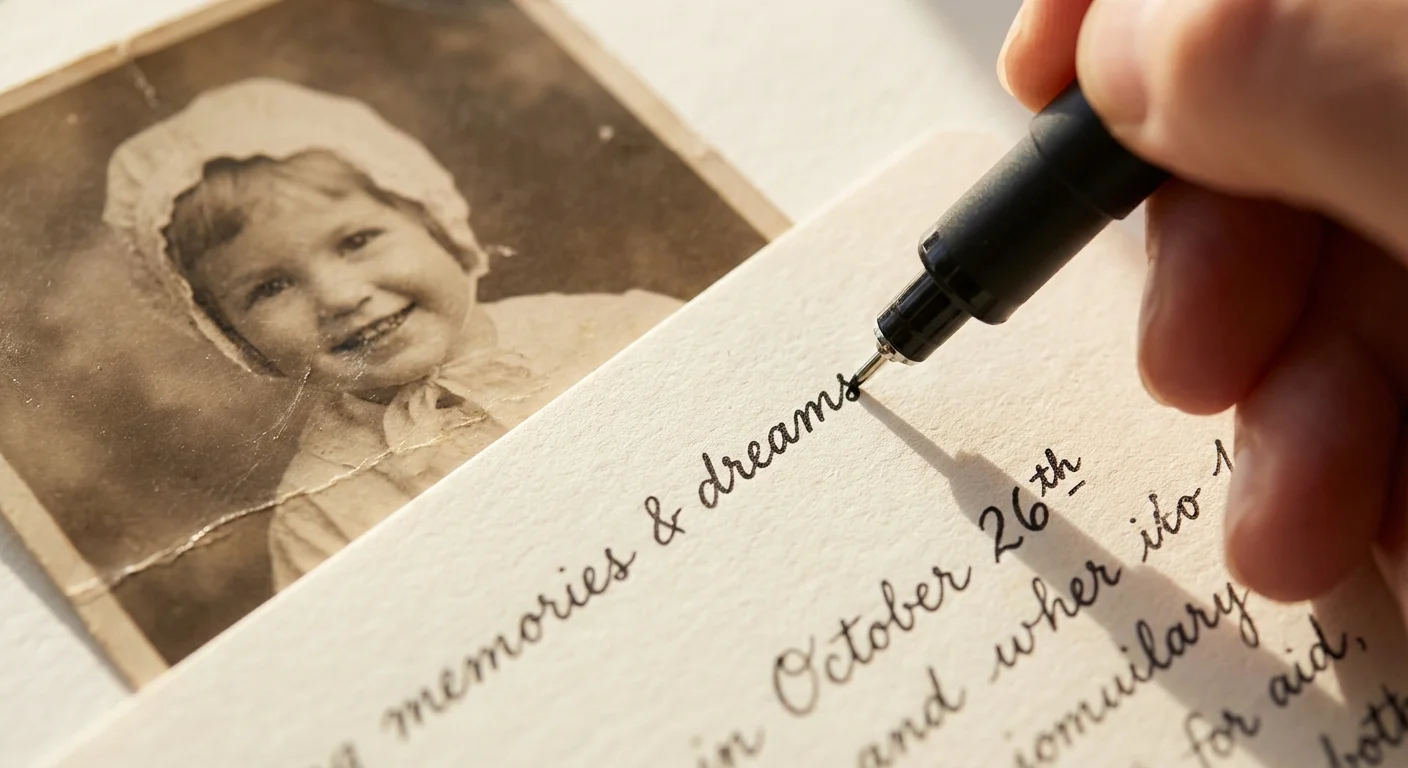
A scrapbook without words is just a photo album. Fifty years from now, your descendants will look at a photo of a woman standing in front of a blue house and ask, “Who is this, and why was this moment important?” Journaling provides the context that transforms an image into a history. You should always include the “Five Ws”: Who, What, Where, When, and Why.
For those who find physical scrapbooking too time-consuming, you can create a beautiful photo book online that incorporates both your images and your stories digitally.
Your journaling can take several forms:
- The Fact-Based Approach: Concise captions listing names, dates, and locations.
- The Storytelling Approach: A paragraph describing a specific memory, a funny quote from the day, or a reflection on how you felt.
- The List Format: “Top 10 things about this trip” or “What I love about you right now.” This is an excellent way to fill space quickly and creatively.
- The Hidden Journaling: If you find your handwriting messy or the story is private, tuck a handwritten note into an envelope attached to the page.
Whenever possible, write in your own hand. While computer-printed journaling is neat and professional, your handwriting is a unique part of your identity. Future generations will cherish seeing the way you formed your letters as much as they cherish the photos themselves. Use a archival-quality pen to ensure your words do not fade or bleed into the photographs.
Safely Incorporating Non-Photo Memorabilia
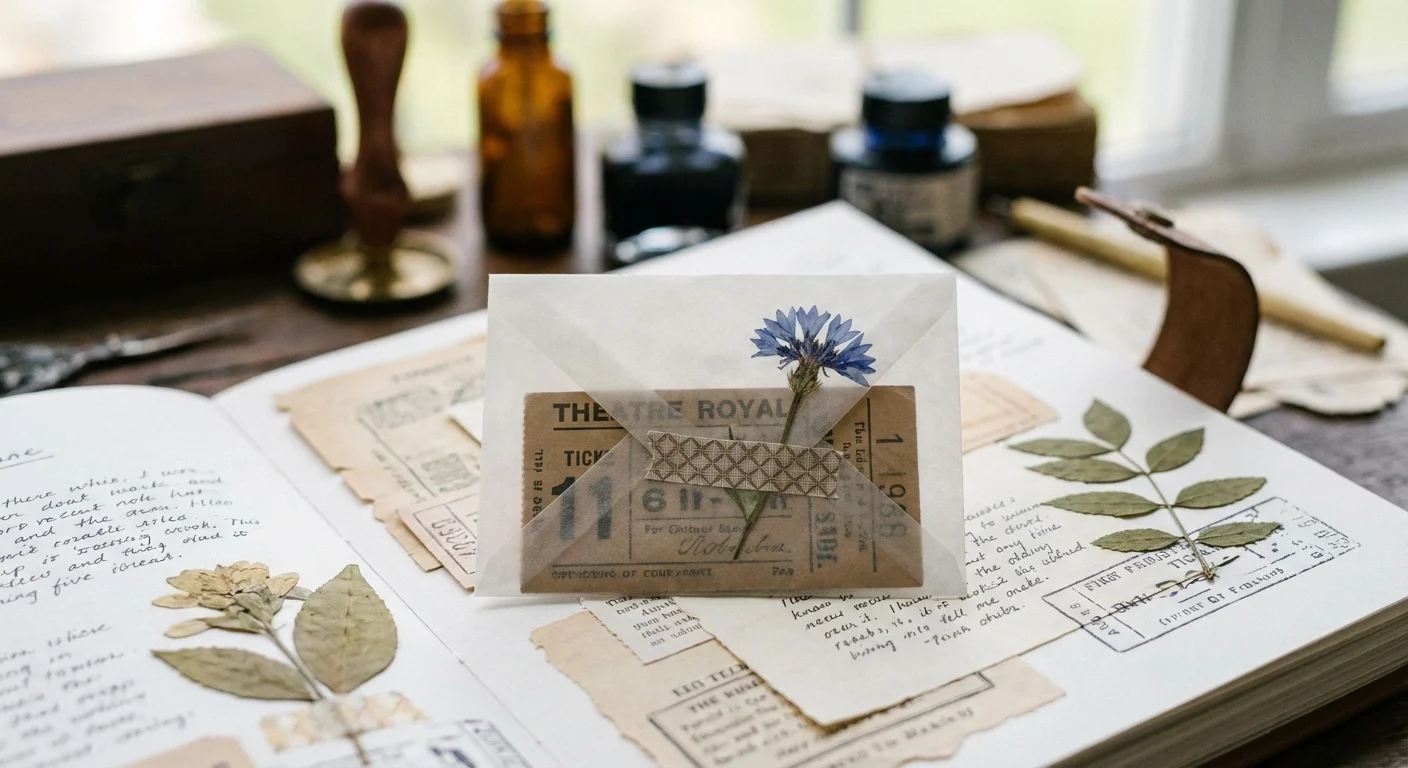
Scrapbooking allows you to include physical artifacts from your life—concert tickets, maps, locks of hair, or even dried flowers. However, many of these items are highly acidic and can damage your photos if they come into direct contact. Newspaper clippings are particularly dangerous; the cheap paper used for newsprint is designed to be temporary and will quickly turn brown and “ghost” onto anything touching it.
To safely include memorabilia, follow these protection strategies:
- Lamination is not always the answer: Heat lamination is permanent and can damage delicate items. Instead, use “cold” lamination or simple plastic sleeves.
- Archival Envelopes: Place tickets and programs inside clear, acid-free polypropylene sleeves. You can then adhere the sleeve to your page.
- De-acidification Sprays: For newspaper clippings you absolutely must include, use a specialized spray designed to neutralize the acids in the paper. Alternatively, scan the clipping and print a copy onto archival paper.
- Bulky Items: If you are including thicker items like coins or ribbons, ensure you are using a “post-bound” album or a D-ring album that can expand. Using a standard binding for thick pages will put pressure on the photos and eventually crack the spine.
By layering these items carefully, you add texture and depth to your memory keeping. A map of a city you visited provides more than just a background; it provides a sense of scale and adventure that a photo alone might miss.

A Scrapbooking for Beginners Guide: Your First Project
If you are new to the hobby, don’t attempt to scrapbook your entire life in one weekend. Start small. A “mini-album” or a specific event album is the perfect scrapbooking for beginners guide to success. Follow these five steps to complete your first layout:
- Choose 3-5 Photos: Select a small set of related photos. This keeps the layout focused and manageable.
- Pick a Color Palette: Choose one patterned paper and two coordinating solid cardstocks. This limits your choices and prevents “decision paralysis.”
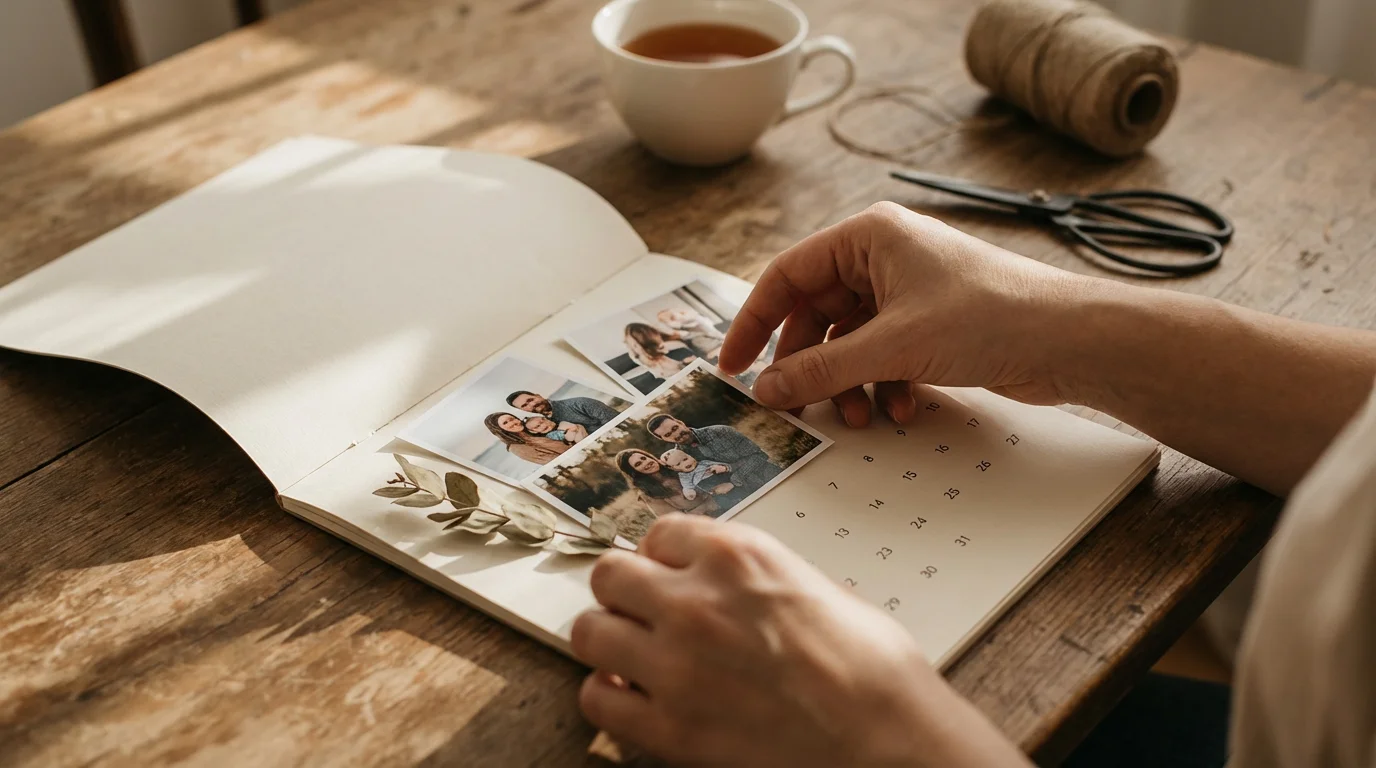
- Dry Fit Your Layout: Before applying any adhesive, move your photos and papers around on the page. Experiment with different positions until you find a balance that looks right to you.
- Adhere and Mat: Glue your photos to your matting paper, trim them, and then adhere them to the main page. Use your paper trimmer to ensure clean lines.
- Add Journaling and Embellishments: Write your captions and add 2-3 stickers or die-cuts. A common mistake is over-embellishing; remember that the photo should always be the star of the show.
Consistency is more important than perfection. Your first few pages might look simple, but as you practice, you will develop a “signature style.” Look at galleries on sites like the Smithsonian Archives to see how historical scrapbooks were constructed—they were often simple, functional, and deeply personal.

Exploring Digital and Hybrid Scrapbooking
If you find the mess of paper and glue unappealing, or if you primarily take digital photos, consider digital scrapbooking. This method uses software to create layouts that you then print as a high-quality bound book. It saves physical space and allows you to “undo” mistakes with a single click. Digital scrapbooking also makes it easy to create multiple copies of an album—perfect for giving the same memory book to three different grandchildren.
Hybrid scrapbooking offers a middle ground. You might design your layout on a computer, print it, and then add physical “flair” like ribbons, buttons, or handwritten journaling. This gives you the precision of digital design with the tactile, 3D appeal of traditional scrapbooking. For those with a large digital archive, the Digital Photography Review offers excellent advice on managing your digital files and choosing the best printers for high-quality home output.
Regardless of the medium you choose—physical, digital, or hybrid—the goal remains the same. You are the curator of your family’s history. By taking the time to organize, protect, and describe your photographs, you ensure that your memories do not fade into the digital ether or vanish in a box under the bed. You are crafting a legacy, one page at a time.
Frequently Asked Questions
How do I ensure my scrapbook lasts for decades without the photos fading?
The most critical factor in longevity is using materials labeled as acid-free and lignin-free. Avoid generic adhesives like school glue or scotch tape, which contain chemicals that turn yellow and brittle over time. Store your completed albums in a cool, dry environment away from direct sunlight.
I am not artistic; can I still make a beautiful scrapbook?
Absolutely. Scrapbooking is about storytelling, not just art. You can use pre-designed templates, sketches, or “pocket page” protectors that allow you to simply slide photos and decorative cards into slots for a clean, organized look without needing advanced drawing or layout skills.
Is it better to use original photos or copies in a scrapbook?
For rare or fragile historical family photos, always use high-quality scans and reprints. This allows you to crop and glue without fear of destroying the only existing copy of a family heirloom. Keep the originals in archival-safe sleeves or boxes for long-term preservation.
What is the best way to handle “scraps” or memorabilia like tickets and programs?
Use clear archival pockets or envelopes to secure loose memorabilia. This protects the items from sliding out and prevents the ink or paper of the memorabilia—which is often highly acidic—from touching and damaging your photographs.
Disclaimer: This article is for informational purposes only. When handling valuable or irreplaceable photographs, consider consulting a professional conservator. Always test preservation methods on non-valuable items first.


Leave a Reply