
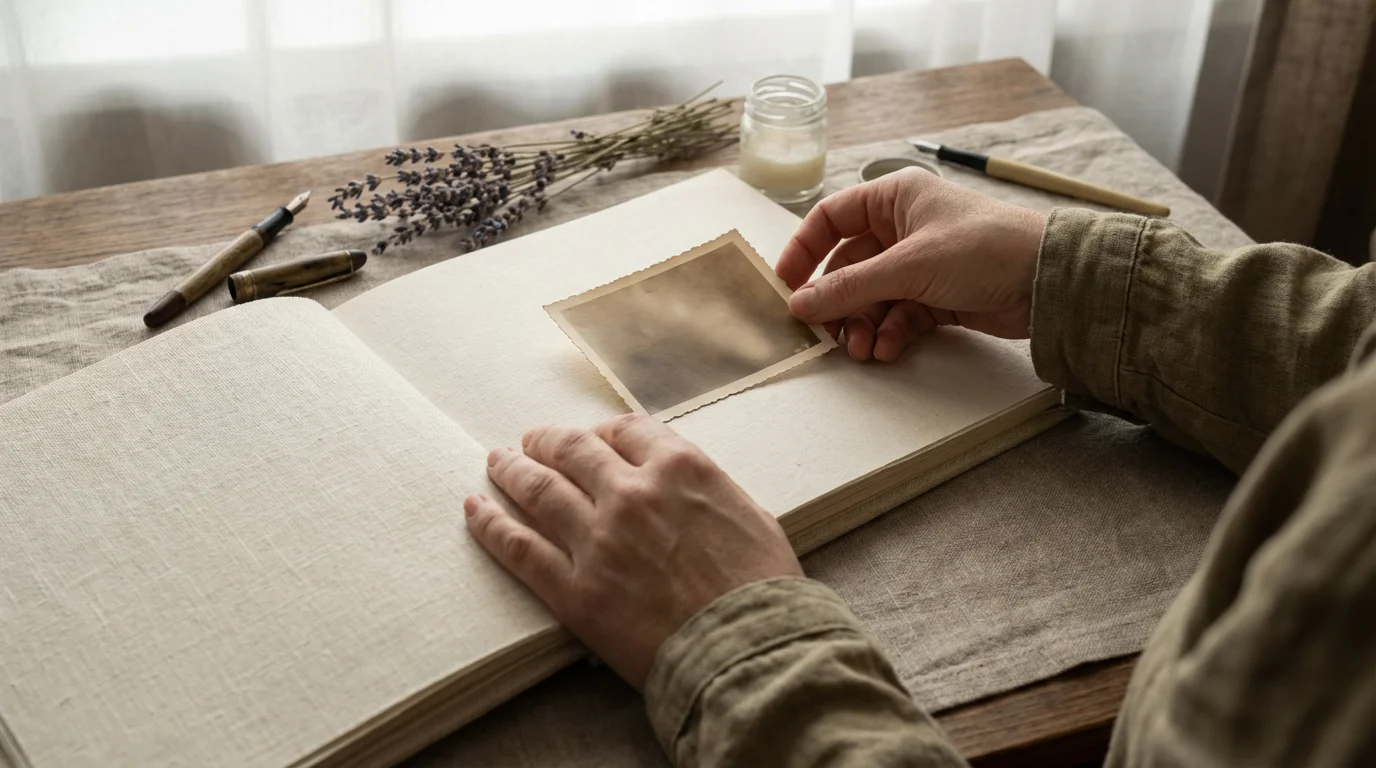
You hold a box of old family photographs in your hands. Some are black and white with elegant scalloped edges; others are the slightly faded Polaroids of your childhood. These are more than just paper and ink—they are the tangible remnants of your family’s history. While digital folders and cloud storage offer convenience, they often lack the emotional weight of a physical object you can touch, turn, and share across a kitchen table. Scrapbooking bridges the gap between simple photo storage and storytelling, allowing you to curate your legacy in a way that reflects your unique personality.
If you are looking for a detailed walkthrough on physical assembly, our guide on how to make a photo scrapbook from scratch provides additional creative guidance.
This scrapbooking for beginners guide will take you from a cluttered box of loose prints to a finished, archival-quality album. You do not need to be a professional artist to succeed. All you need is a respect for your memories and a few foundational techniques to ensure your creative work lasts for generations. By following these steps, you will transform your photos from hidden relics into a vibrant narrative that speaks to who you are and where you came from.
Why Scrapbooking Remains the Ultimate Memory Keeping Tool
In our current digital landscape, we take more photos than ever before, yet we interact with them less frequently. Digital decay is a real threat; file formats change, hard drives fail, and cloud passwords are forgotten. A physical scrapbook serves as a failsafe. It requires no electricity, no software updates, and no subscription fees to view. It is a permanent record that you can pass down through your lineage.
As you build your collection, consider creating a home photo archive to maintain your entire family history in one secure place.
Beyond the practicalities of preservation, memory keeping through scrapbooking offers a meditative, creative outlet. When you sit down to arrange a page, you are forced to slow down and reflect on the moments captured in the frame. You recall the smell of the ocean in your vacation photos or the sound of laughter at a birthday party. This process strengthens your connection to your own history. Research suggests that engaging in creative hobbies like scrapbooking can reduce stress and improve cognitive function by encouraging focused, mindful activity.
Furthermore, a scrapbook provides context that a photo album alone cannot. A standard album shows you what happened, but a scrapbook tells you why it mattered. Through the addition of ticket stubs, handwritten notes, and decorative elements, you create a multi-dimensional experience. You aren’t just looking at a picture of your grandmother; you are seeing her favorite recipe card tucked next to her portrait and reading your own memories of her kitchen.
Gathering Your Essential Scrapbooking Kit
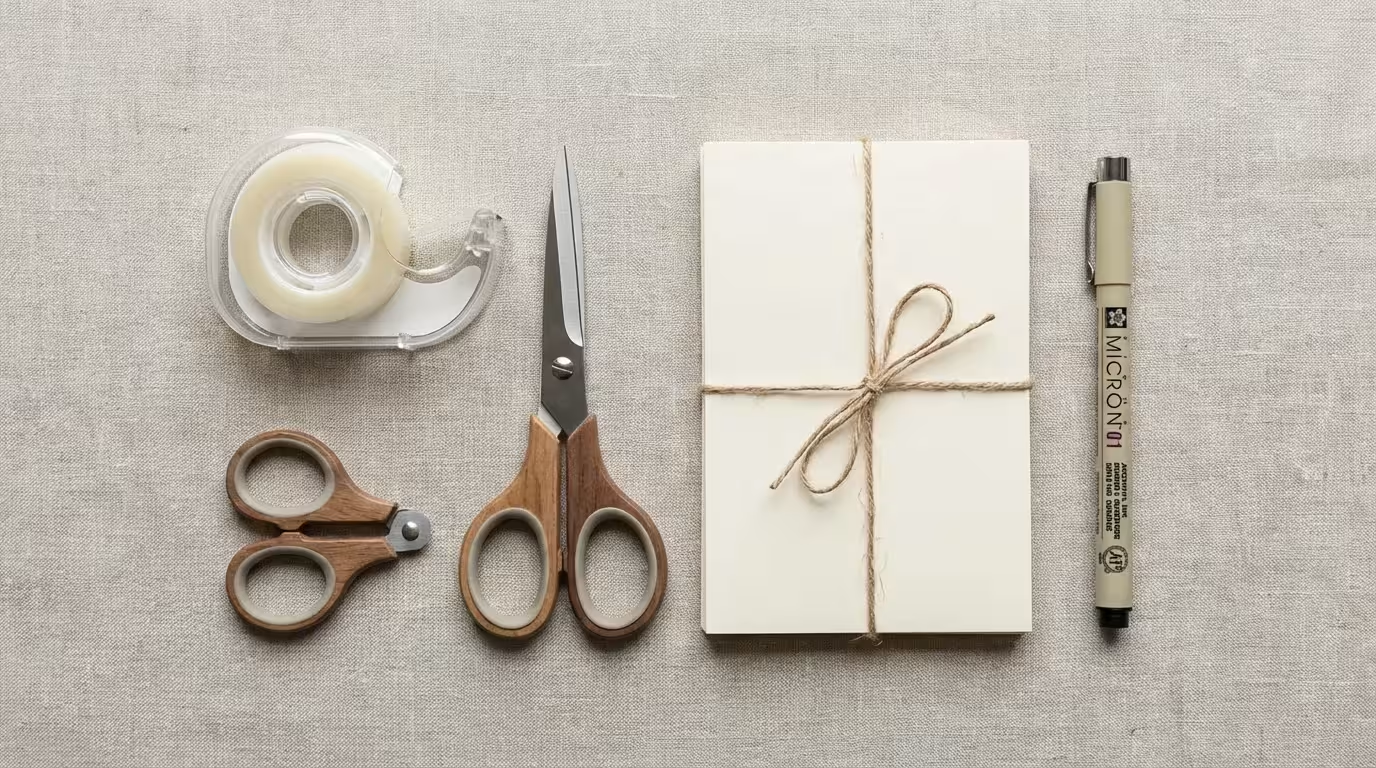
Walking into a craft store can feel overwhelming. Aisles of glitter, patterned papers, and specialized tools might make you think you need a massive budget to begin. In reality, you only need a few high-quality basics to start your scrapbooking for beginners journey. Focus on quality over quantity, especially regarding materials that touch your photographs.
Choosing a high-quality binder is essential; explore archival photo albums and sleeves to find the best fit for your project.
| Supply Category | Essential Items | Why It Matters |
|---|---|---|
| The Album | 12×12 or 8.5×11 D-ring or post-bound album | Provides the structural foundation and determines the size of your layouts. |
| Adhesives | Acid-free adhesive runner, glue dots, and foam squares | Ensures photos stay put without causing chemical damage over time. |
| Cutting Tools | Paper trimmer and micro-tip scissors | A trimmer ensures straight lines, while scissors handle detailed “fussy cutting.” |
| Paper | Cardstock (solid colors) and patterned paper packs | Forms the background and provides visual interest for your layouts. |
| Writing | Archival-quality fine-tip pens (Pigment ink) | Prevents your writing from fading or bleeding into the paper over decades. |
When selecting your first album, consider your storage space. The 12×12 inch format is the industry standard and offers the most room for multiple photos and elaborate decorations. However, if you prefer a more portable or quicker project, an 8.5×11 inch or even a 6×6 inch mini-album might feel less intimidating. Ensure the album includes clear page protectors made of polypropylene; these protect your pages from fingerprints, dust, and moisture.
The Golden Rules of Photo Preservation
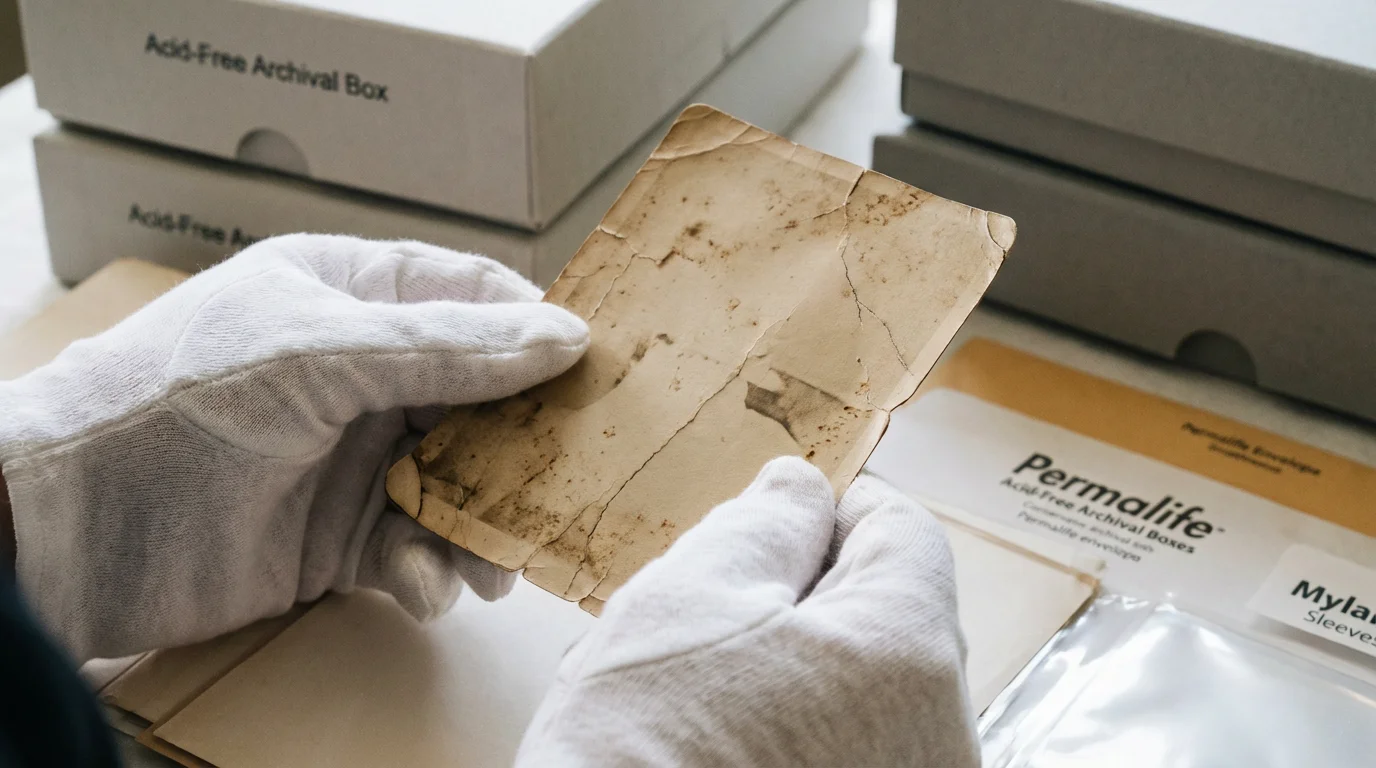
The most critical aspect of scrapbooking is ensuring that your creative efforts don’t accidentally destroy your photos. Many cheap craft supplies contain acids and lignins—natural components of wood pulp—that turn paper yellow and cause photographs to deteriorate. To protect your heritage, you must use materials that meet archival standards.
For smaller prints or ephemera that do not fit in your album, utilize the best archival boxes to ensure their long-term safety from environmental factors.
“Preservation is not just about keeping an object; it is about maintaining its integrity so that its story can be told centuries from now.”
You should always look for the “Three Pillars of Archival Safety” when purchasing supplies:
- Acid-Free: Materials with a neutral or basic pH level. Acidic materials will eventually cause your photos to develop brown spots, a process known as “foxing.”
- Lignin-Free: Lignin is the organic polymer that holds wood fibers together. It is what causes newspapers to turn yellow and brittle in sunlight. High-quality scrapbooking paper has the lignin removed during manufacturing.
- Buffered: Some papers are treated with calcium carbonate to give them a slight alkaline reserve. This helps neutralize acids that might migrate from the environment or from other non-archival items in your book.
If you are working with irreplaceable heritage photos, the Library of Congress Preservation department recommends using high-quality scans for your creative projects. This allows you to keep the original photo in a dark, cool, and dry environment while you use the reprint in your scrapbook. This is especially important if you plan to use “destructive” techniques like cropping or gluing. For more information on handling delicate historical documents, the Smithsonian Archives provides excellent resources on maintaining family papers and photographs.
Selecting and Organizing Your Photographic Narrative
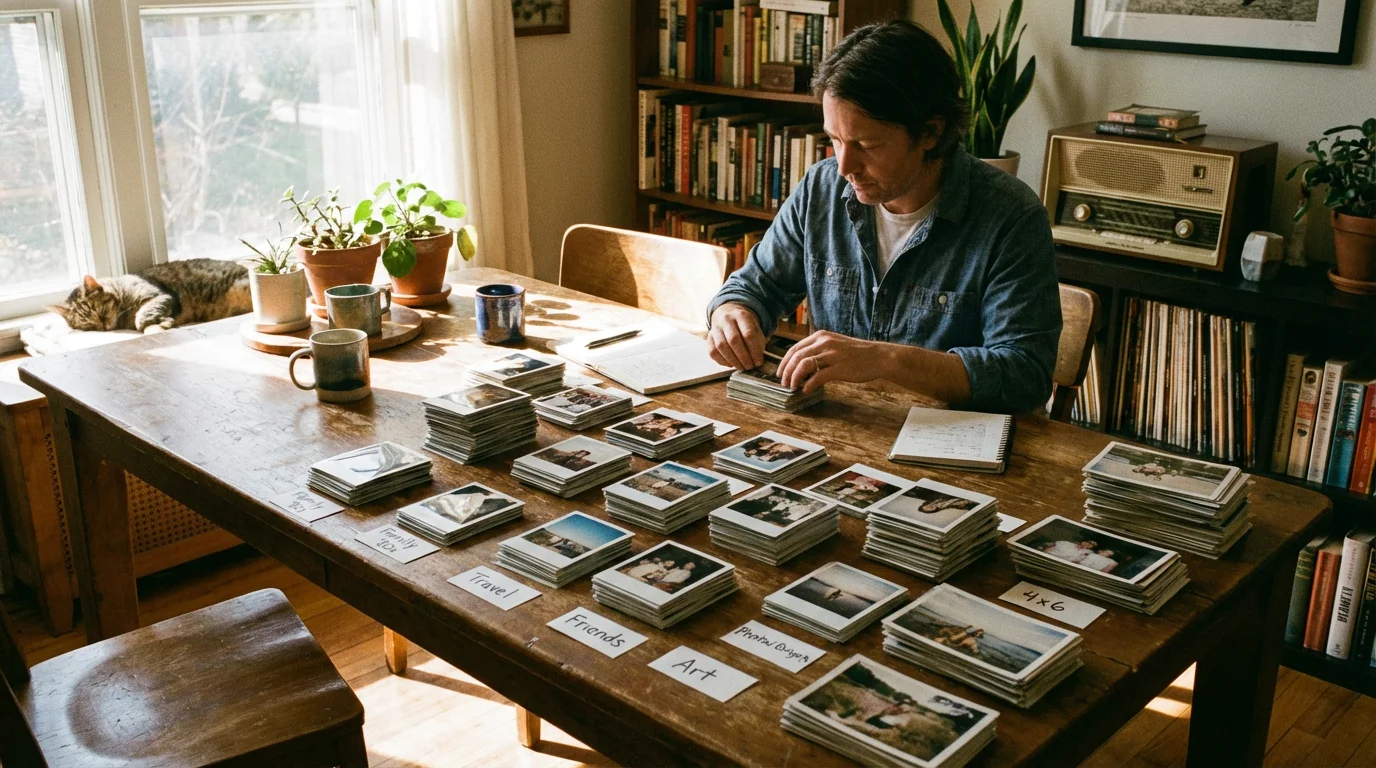
One of the biggest hurdles for beginners is the sheer volume of photos. You might have thousands of images from a single year. To avoid “analysis paralysis,” you must learn to cull your collection. You do not need to scrapbook every photo you have ever taken. In fact, a scrapbook is more effective when it features only the “highlights” that tell a cohesive story.
Once you have sorted your photos, you might decide to focus your first project on creating a year-in-review photo album to capture a full twelve months of milestones.
Before you begin, it helps to create a photo organization system to manage your physical prints effectively.
Start by choosing a theme. Are you documenting your child’s first year? A specific summer road trip? Your family’s heritage? Once you have a theme, sort your photos into three piles: The Stars, The Supporting Cast, and The Outtakes.
The Stars are the photos that evoke the strongest emotion or capture a pivotal moment. These will be the focal points of your layouts. The Supporting Cast includes photos that provide context—the scenery, the details, or group shots. The Outtakes are blurry, repetitive, or unflattering photos that should stay in a storage box or be discarded. By narrowing your selection down to 3–5 photos per layout, you create a sense of balance and prevent the page from looking cluttered.
Before you apply any glue, lay your selected photos out on a table in chronological or thematic order. This “dry run” helps you visualize how many pages you will need and ensures you don’t miss any critical parts of the story. If you find yourself with too many photos for one event, consider a “pocket page” style where you can slide several 4×6 prints into pre-divided sleeves, saving the traditional artistic layouts for your most important images.
Designing Creative Scrapbook Layouts for Beginners
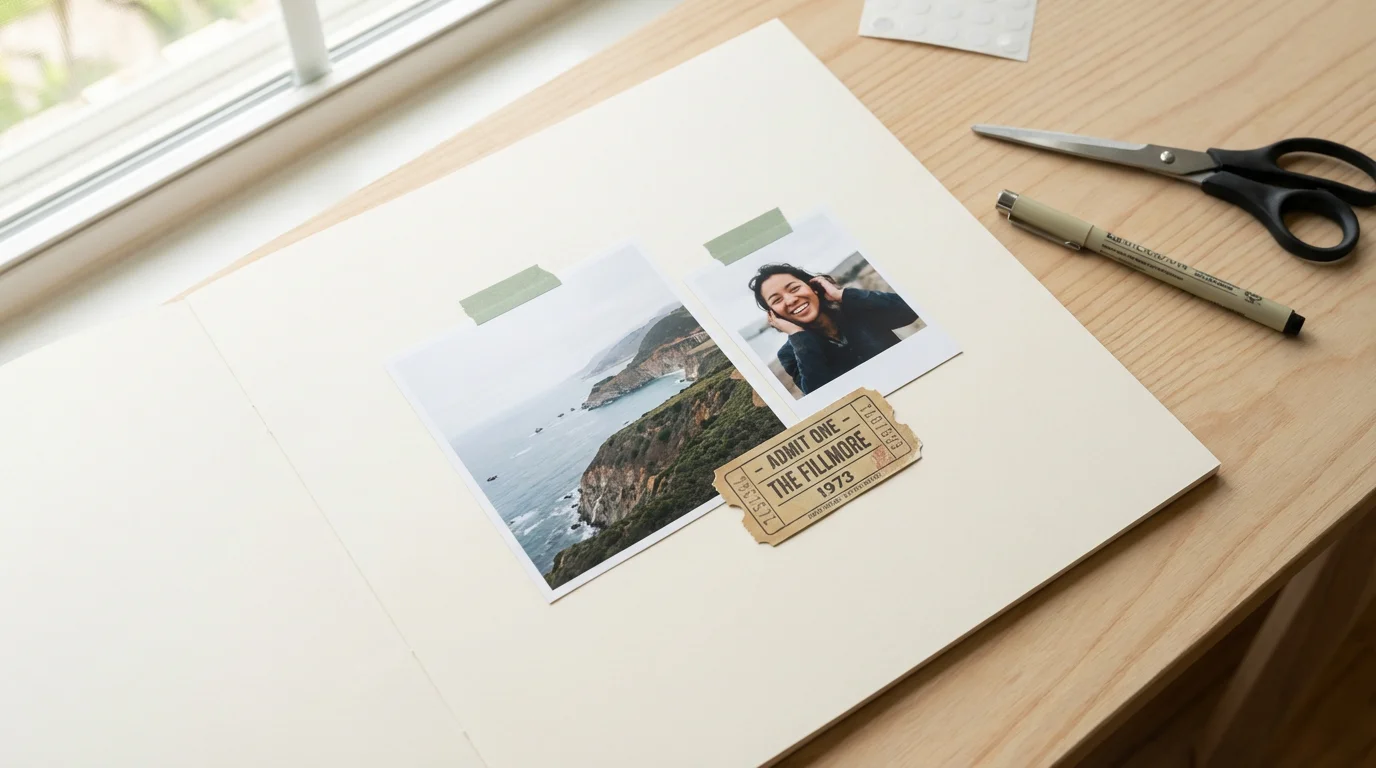
Design is where your personality shines. While there are no strict rules in art, following basic design principles will help your creative scrapbook layouts look professional and polished. A well-designed page guides the viewer’s eye to the most important element: your photo.
If you want to move beyond basic layouts, you can explore various creative photo book ideas to find inspiration for different themes and formats.
For further inspiration on advanced techniques, check out our best tips for crafting the perfect scrapbook.
Consider the Rule of Thirds. Imagine your 12×12 page is divided into a 3×3 grid. Placing your focal point photo or a major embellishment at the intersections of these lines creates a more dynamic and pleasing composition than centering everything. Use cardstock to “mat” your photos. By placing a slightly larger piece of colored paper behind your photo, you create a border that makes the image pop against a patterned background.
You should also think about color theory. If your photos feature a lot of blue—perhaps from a day at the beach—use complementary colors like orange or warm yellows for your accents to create energy. Alternatively, use analogous colors like greens and teals for a calm, harmonious feel. Do not be afraid of “white space.” You do not need to fill every square inch of the page. Empty space allows the eye to rest and keeps the focus on the memories.
Embellishments add texture and depth. For beginners, start with these simple additions:
- Washi Tape: A decorative paper tape that is easy to reposition and adds a pop of color without bulk.
- Stickers and Die-Cuts: Pre-cut shapes and words that match your theme.
- Buttons and Ribbons: These add a tactile, “homestyle” feel to heritage or baby albums.
- Stamping: Use archival ink to add dates, titles, or decorative borders.
Journaling: Giving a Voice to Your Memories
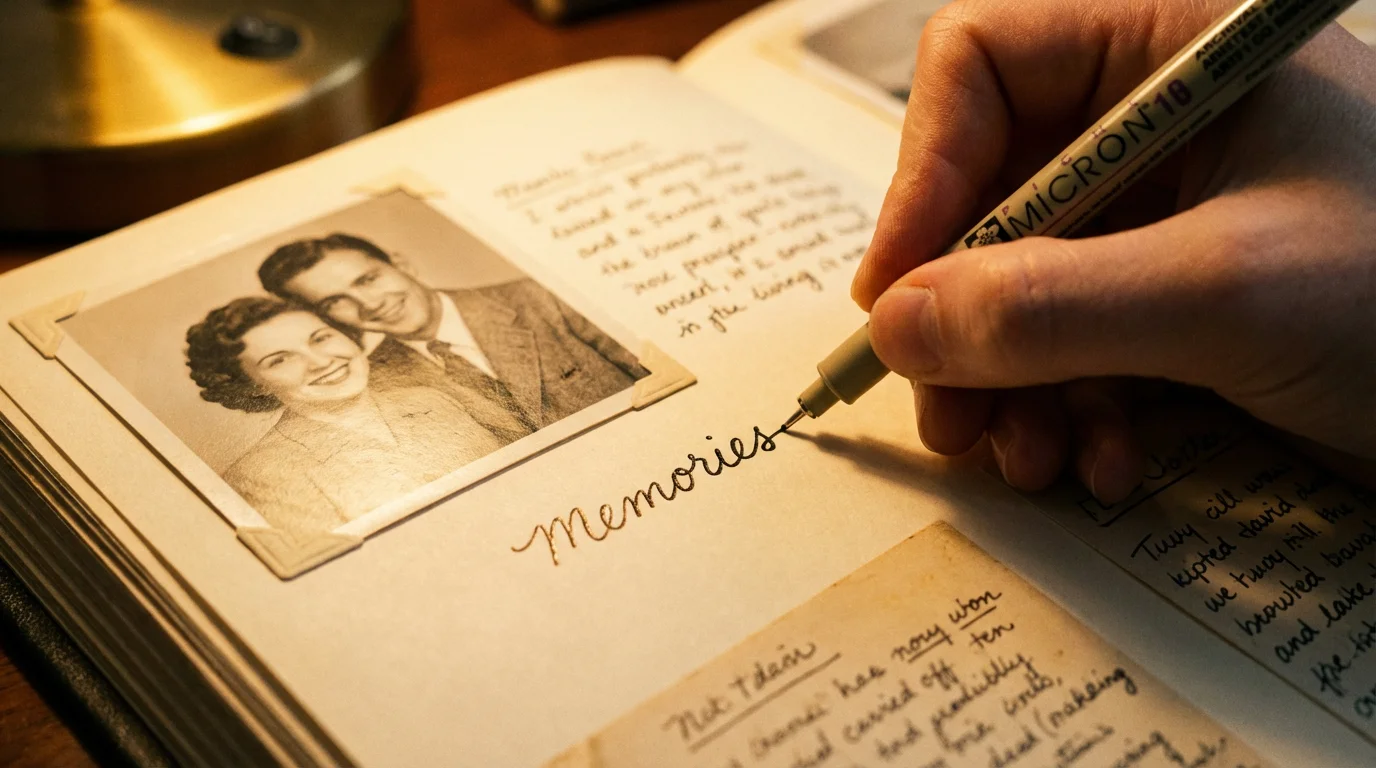
A scrapbook without journaling is just a photo album. Years from now, you or your descendants might not remember the names of the people in the photos or the specific reason a moment was special. Journaling provides the “Who, What, Where, When, and Why.” It transforms a picture of a house into a story about your first home and the dreams you had when you lived there.
Many beginners feel self-conscious about their handwriting, but your script is a precious part of your identity. Seeing your handwriting alongside your photos adds an intimate, personal touch that a typed font cannot replicate. If you truly dislike your handwriting, you can type your stories on a computer, print them onto archival cardstock, and cut them into strips or blocks to adhere to your page.
To get started with journaling, try these prompts:
- “I never want to forget the way…”
- “The best part of this day was…”
- “This photo reminds me of…”
- “At this moment, I was feeling…”
You can also include “found journaling.” This involves using the words of others to describe your feelings. A favorite poem, a song lyric that was playing at the time, or a quote from a child can be incredibly powerful. If you are documenting an older family member’s life, try to record their stories in their own voice. Ask them questions about the photo and write down their exact phrasing. This preserves their personality as much as their image.
A Step-by-Step Guide to Completing Your First Page
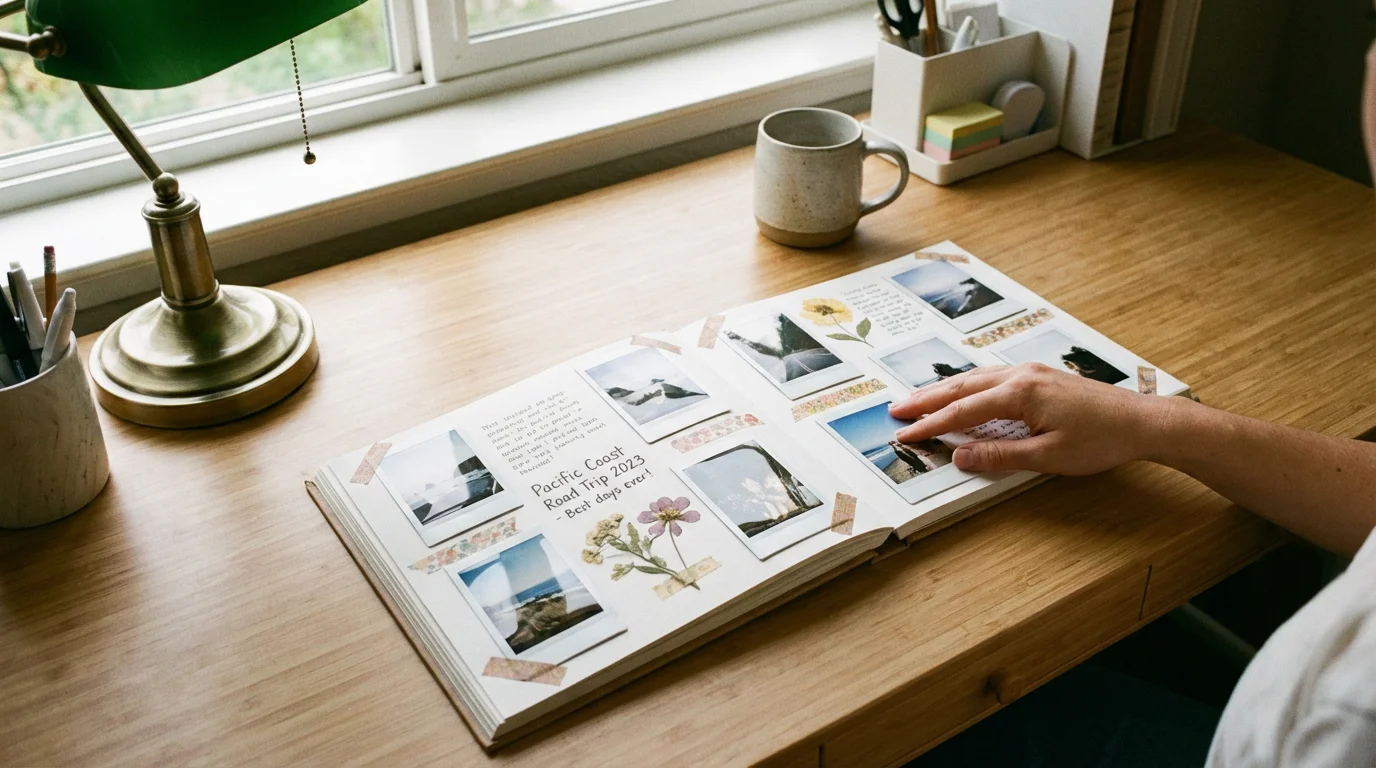
Now that you understand the materials and principles, it is time to create. Follow this process to complete your first layout with confidence.
- Select Your Photos: Pick 1 to 3 photos that tell a single story. Ensure they are well-lit and meaningful.
- Choose a Background: Select a piece of 12×12 cardstock or patterned paper. If your photos are busy, choose a solid color. If your photos are simple, a subtle pattern can add interest.
- Mat Your Photos: Cut pieces of contrasting cardstock about 1/4 inch larger than your photos. Adhere the photos to the cardstock using your adhesive runner.
- Create a Mockup: Place your matted photos on the background paper. Move them around until you like the arrangement. Leave room for a title and a block of journaling.
- Add a Title: Use letter stickers, stamps, or your own neat printing to give the page a name. This could be as simple as “Summer 2023” or as creative as “The Great Camping Fiasco.”
- Write Your Story: Use an archival pen to add your journaling. If you are nervous, write it on a separate piece of paper first to check your spacing.
- Embellish: Add a few stickers, a piece of ribbon, or a bit of washi tape. Remember the rule of three; embellishments often look best when clustered in three small groups around the page.
- Protect Your Work: Slide your finished page into a polypropylene page protector and place it in your album.
Consistency is more important than perfection. You will find that your style evolves the more you practice. Some pages will be masterpieces, and others will be simple records of daily life. Both are equally valuable. The goal is not to create a gallery-worthy work of art but to ensure that your family’s stories are not lost to time.
By investing a few hours into scrapbooking, you are performing an act of love for your future self and your descendants. You are curating a legacy that can be touched, shared, and cherished. Start with one box of photos, one album, and one story. You will be amazed at how quickly those scattered images turn into a beautiful, cohesive history of your life.
Frequently Asked Questions
Is scrapbooking an expensive hobby to start?
Scrapbooking can be as affordable or as elaborate as you choose. For beginners, a basic kit including an acid-free album, a high-quality adhesive runner, a pair of sharp scissors, and a few sheets of cardstock typically costs between $30 and $50. You can save money by using digital templates or repurposing household items like ribbon and buttons, provided they are archival-safe.
How do I know if my supplies are safe for my old photos?
Look for labels that explicitly state “acid-free,” “lignin-free,” and “buffered.” For plastics like page protectors, ensure they are “PVC-free” and made from polypropylene rather than vinyl. These certifications mean the materials will not chemically react with your photographs or cause yellowing and brittleness over time.
Should I use original old photos or copies in my scrapbook?
For irreplaceable or fragile heritage photos, it is best to use high-resolution reprints. Scan your originals at 600 DPI or higher, then print the copies for your scrapbook. This allows you to crop and glue the images without guilt while keeping the original safely stored in a dark, climate-controlled archival box.
What is the best way to fix a mistake on a scrapbook page?
If you make a mistake in journaling, you can cover the area with a new piece of cardstock, a decorative sticker, or a small embellishment. If you used an adhesive runner, many brands allow you to gently rub the adhesive away if caught quickly. For permanent errors, “layering” is your best friend—simply build a new design element over the top.
Disclaimer: This article is for informational purposes only. When handling valuable or irreplaceable photographs, consider consulting a professional conservator. Always test preservation methods on non-valuable items first.


1 Comment