
Every family holds a unique narrative, yet these stories often remain locked in blurry digital files or fading prints at the bottom of a closet. You likely have a smartphone filled with thousands of snapshots, but few of them truly capture the essence of your loved ones. Elevating your family photography does not require a studio full of expensive gear; it requires a shift in how you observe light, manage moments, and organize your legacy. By mastering a few fundamental techniques, you transform a standard “point and shoot” habit into a meaningful practice of preservation.
Once you have captured these moments, consider exploring creative photo display ideas to bring them out of storage and onto your walls.
If your digital library is already overwhelmed, learning to conquer photo chaos will make finding those special shots much easier.
This guide provides the technical and creative roadmap you need to capture professional-quality images of your family. You will learn how to manipulate natural light, compose shots that draw the eye, and handle the technical settings that often frustrate beginners. Beyond the shutter click, we will explore how to protect these digital assets so they become the heirlooms of the next generation.

Mastering the Art of Natural Light
Light serves as the most critical ingredient in any photograph. Beginners often struggle because they rely on the harsh, artificial flash built into their cameras or phones, which flattens features and creates “red-eye.” To improve your family photos immediately, prioritize natural light. The most coveted light occurs during the “Golden Hour”—the short window just after sunrise or before sunset. During these times, the sun sits lower in the sky, casting a warm, soft glow that minimizes harsh shadows on faces.
To ensure the warm glow of sunset doesn’t turn into a strange blue or orange tint, understanding white balance is highly recommended.
If you move away from the window, finding the right camera settings for indoor photos becomes essential to avoid grainy, dark images.
When you find yourself shooting in the middle of a bright, sunny day, avoid direct sunlight. High noon creates deep shadows under the eyes and nose, often referred to as “raccoon eyes.” Instead, seek out “open shade.” This is an area—perhaps under a large tree or in the shadow of a building—where the subject is shielded from direct sun but still receives plenty of reflected light from the surroundings. This produces an even, flattering illumination that makes skin tones look creamy and eyes sparkle.
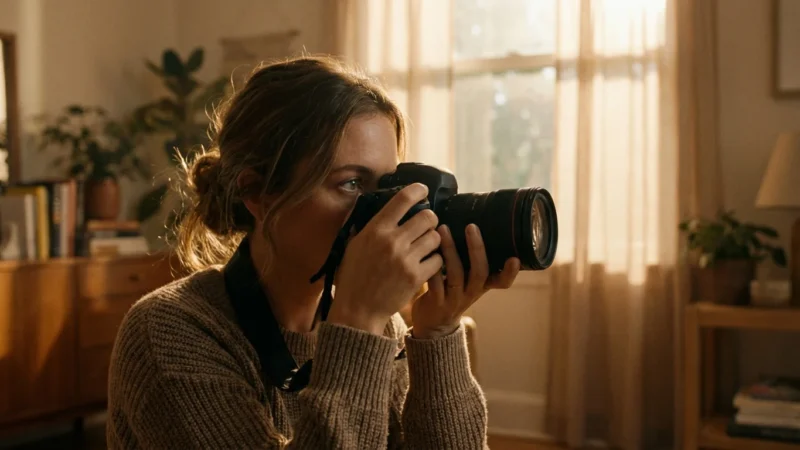
Indoors, your best friend is a large window. Position your family members so they face the window at a slight angle. This creates a soft transition between light and shadow on their faces, adding depth and dimension to the portrait. If the light feels too bright or “stabby,” hang a thin, white sheer curtain to diffuse the rays. This simple household item acts as a professional-grade softbox, making your indoor snapshots look like studio portraits.
Professional photographers often say that light is the language of photography; if you learn to read the light, you can tell any story you want.

Composition Strategies for Dynamic Portraits
Composition refers to how you arrange the elements within your frame. Many beginners instinctively place their subject directly in the center of the photo. While this can work for formal portraits, it often feels static and uninteresting. To create more dynamic images, employ the “Rule of Thirds.” Imagine your frame divided into a nine-box grid by two horizontal and two vertical lines. Place the most important part of your image—usually your subject’s eyes—along these lines or at the points where they intersect.
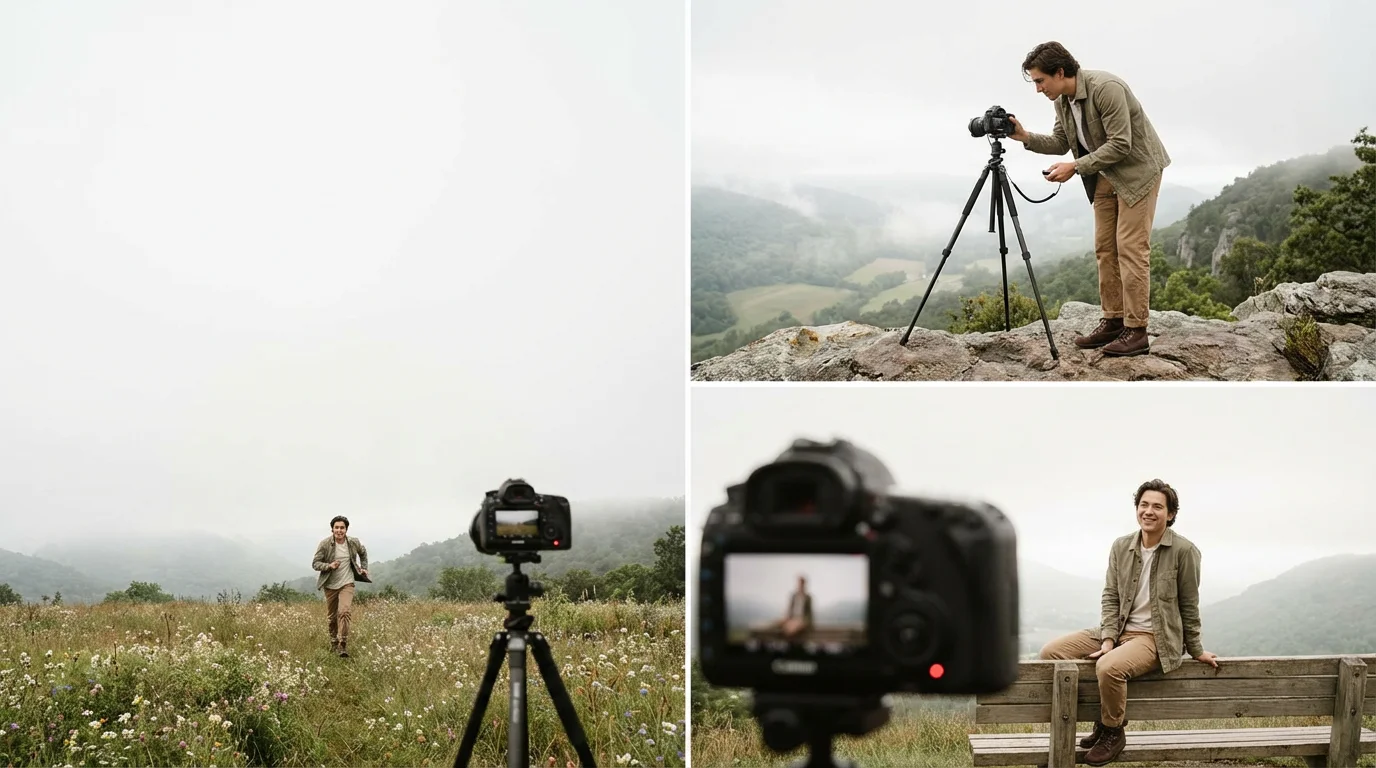
Another powerful technique involves changing your physical perspective. We usually view the world from adult eye level. When you photograph children, you must get down on their level. Squat, kneel, or even lie on the grass. Seeing the world from a child’s height creates a sense of intimacy and allows the viewer to connect with the child’s experience. Conversely, shooting from a high angle can make a subject look smaller and more vulnerable, while a low angle can make them appear more heroic and powerful.
Look for “leading lines” in your environment. A garden path, a fence, or even a row of trees can lead the viewer’s eye directly toward your family. Use “framing” to add depth—this involves using objects in the foreground, such as overhanging branches or a doorway, to create a border around your subjects. This technique isolates the family and makes the photo feel like a captured window into their lives.

Capturing Authentic Connection Over Forced Poses
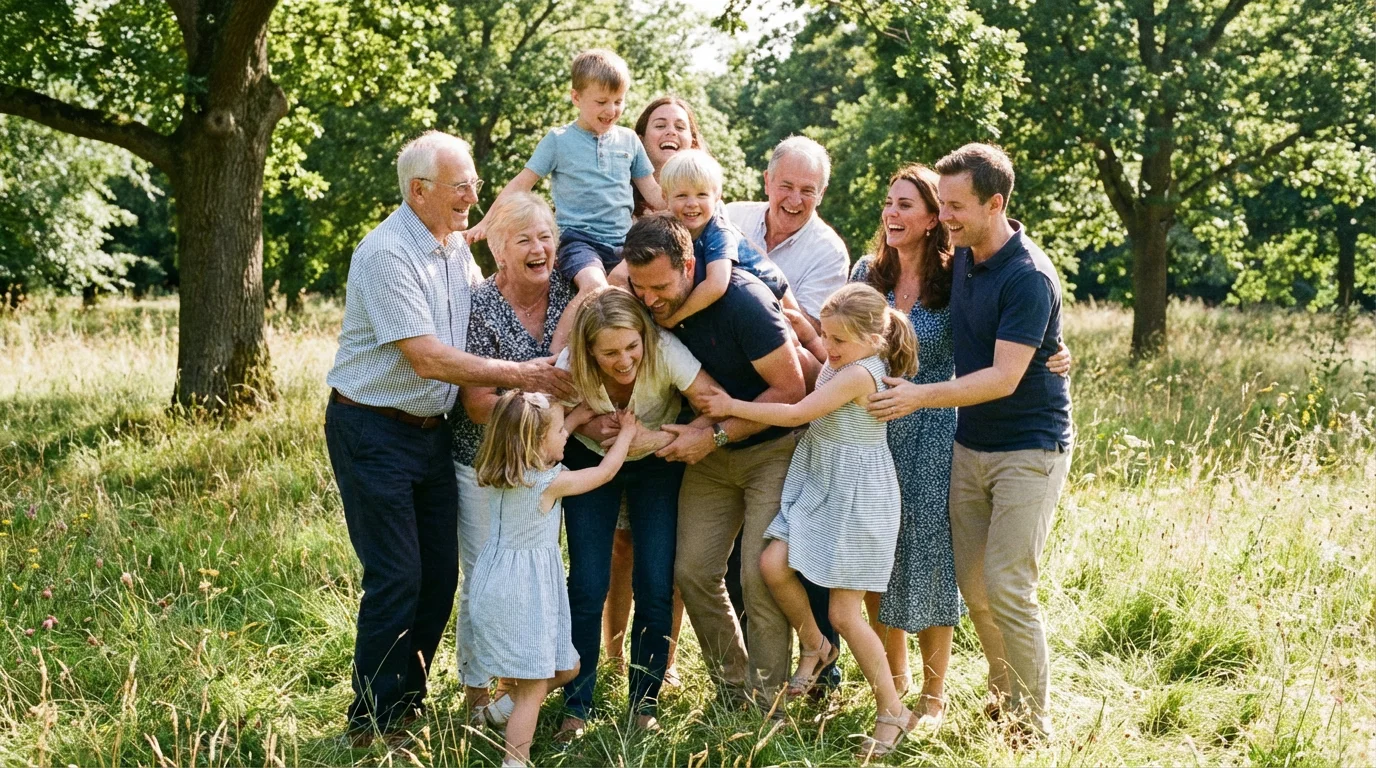
The phrase “everyone say cheese” often results in stiff bodies and fake, strained smiles. To capture the true spirit of your family, you must prioritize interaction over posing. Instead of telling your family to sit still and look at the lens, give them an activity. Ask the kids to tell a secret to their grandmother, or have the parents walk hand-in-hand while looking at each other rather than the camera. These prompts trigger genuine emotions—laughter, tenderness, or curiosity—that look far better in a frame than a forced grin.
Candid photography requires patience. You must become an observer, waiting for the moments between the poses. Often, the best shot happens right after you tell everyone you are finished. The collective sigh of relief, the shared joke, or the child leaning into a parent’s shoulder provides a much more honest representation of family life. Keep your camera ready during these transitions.
Focus on the “details of the era.” Don’t just take headshots. Capture the way your toddler’s small hand grips your thumb, or the messy pile of shoes by the front door. These environmental portraits tell a richer story than a standard portrait ever could. According to historical preservation standards at the Smithsonian Archives, the context surrounding a subject is often as valuable as the subject itself for future generations trying to understand a specific point in time.

Technical Essentials: Understanding the Exposure Triangle
While “Auto” mode is convenient, understanding the three pillars of exposure—Aperture, Shutter Speed, and ISO—gives you total creative control. This “Exposure Triangle” determines how bright or dark your image is and how it feels artistically.
When the sun goes down, mastering low light photography without a flash will help you preserve the cozy atmosphere of evening gatherings.
| Setting | Function | Visual Effect |
|---|---|---|
| Aperture (f-stop) | Controls how wide the lens opens. | A low number (like f/2.8) creates a blurry background (bokeh), making the subject pop. |
| Shutter Speed | Controls how long the sensor is exposed to light. | Fast speeds (1/500s) freeze motion; slow speeds (1/30s) can cause blur but allow more light. |
| ISO | Controls the sensor’s sensitivity to light. | Low ISO (100) is for bright light; high ISO (3200+) is for dark rooms but adds “noise” or grain. |
For family photography, your priority is often the Aperture. If you want that beautiful, professional-looking blurry background, set your camera to “Aperture Priority” mode (usually ‘A’ or ‘Av’ on the dial) and choose the lowest f-number your lens allows. For group shots where you need everyone’s face to be sharp, you might need to increase that number to f/5.6 or f/8.0.
If your children are running around, Shutter Speed becomes your most important variable. To freeze a child mid-jump, you need a speed of at least 1/500th of a second. If you are shooting in a dimly lit living room, you may need to increase your ISO to 1600 or higher to keep the shutter speed fast enough to avoid “hand-shake” blur. For a deep dive into the physics of how these settings interact, Cambridge in Colour offers excellent visual tutorials on sensor behavior.
Managing Large Groups and Energetic Children
The larger the group, the harder it is to get everyone looking good at the same time. The “staggered” approach works best for family reunions. Avoid standing everyone in a single straight line, which looks like a police lineup. Instead, create triangles. Have some people sit, some stand, and some lean. This breaks up the horizontal lines and makes the composition feel more natural and artistic.
Using burst mode will quickly fill your storage, so getting in the habit of decluttering your photo collection is essential to keep only the best smiles.
For more help with maintaining crisp details on fast-moving subjects, refer to our guide on how to take sharp photos.
When working with toddlers, the “Burst Mode” is your secret weapon. Kids move fast, and their expressions change in milliseconds. By holding down the shutter button, you take a rapid sequence of photos. Out of ten shots, you are much more likely to find one where the toddler isn’t blinking or looking away. Also, remember to keep the session short. Children have a “cooperation window” of about 15 to 20 minutes before they become restless. Make it a game, not a chore.
For large groups, use a “closing eyes” trick. Ask everyone to close their eyes and relax their faces. On the count of three, tell them to open their eyes and look at the camera. This ensures that everyone’s eyes are open at the same moment and helps prevent the “frozen” or “scared” look people often get when staring at a lens for too long. Ensure you use a smaller aperture (higher f-number) for large groups so that the people in the back row are just as sharp as the people in the front.

Choosing the Right Lens and Perspective
The lens you choose significantly impacts the “vibe” of your family photos. If you are using a smartphone, you likely have a “wide” lens and perhaps a “telephoto” lens. For portraits of individuals, the telephoto lens (the 2x or 3x zoom) is usually more flattering. Wide-angle lenses, when used up close, can distort features, making noses look larger or foreheads look stretched.
If you are using an Apple device, practicing with iPhone Portrait Mode is a fantastic way to mimic professional shallow depth of field without carrying a heavy camera.
For those using interchangeable lens cameras, the “nifty fifty” (a 50mm prime lens) is a classic choice for family photography. It approximates the human eye’s perspective and often features a wide aperture (f/1.8), which is perfect for low-light indoor shots and creating blurry backgrounds. If you are shooting in a small apartment, a 35mm lens provides a wider field of view, allowing you to capture more of the room and the “environment” around your family.
Perspective also includes the distance between you and your subjects. Don’t be afraid to step back. “Environmental portraits” show the family within their home or a favorite park, providing a sense of place. Then, move in close for “tight” shots that focus on expressions and emotions. A mix of wide, medium, and close-up shots will make a photo album feel professional and well-paced. You can find detailed reviews of lenses for specific camera bodies on Digital Photography Review to help you decide which gear fits your family’s needs.
Digital Organization and Long-Term Preservation
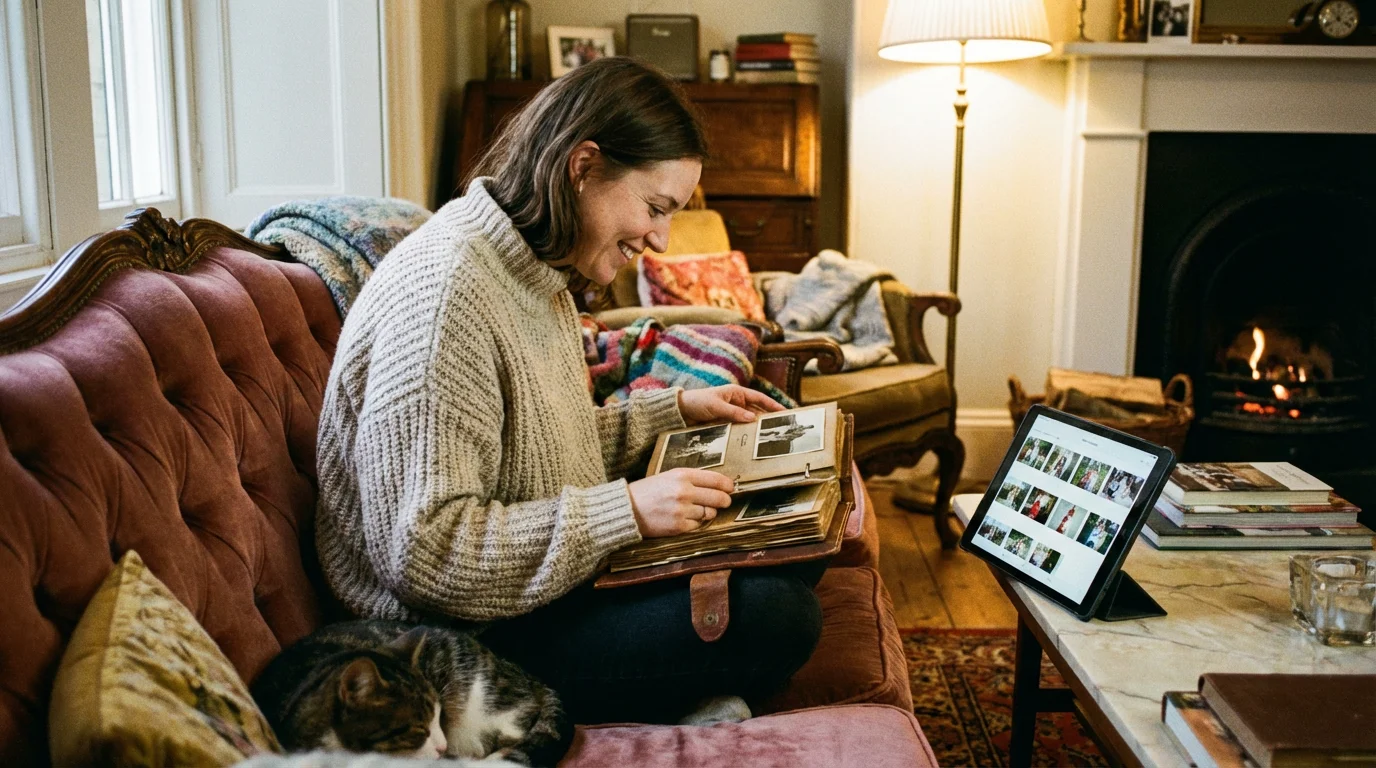
Taking the photo is only half the battle; preserving it is the other. We live in an era of “digital rot,” where photos are lost because of failed hard drives, lost phones, or forgotten cloud passwords. To ensure your children can see these photos thirty years from now, you must implement a rigorous organization and backup system.
Start by “culling” your photos immediately after a session. Delete the blurry ones, the ones where someone has their eyes closed, and the near-duplicates. Keeping 10 amazing photos is better than keeping 500 mediocre ones. Once you have your “keepers,” name the files descriptively. Instead of “IMG_4582.jpg,” use “2023-10-12-Smith-Family-Thanksgiving-01.jpg.” This makes them searchable years later.
Follow the 3-2-1 backup rule advocated by the Library of Congress. Keep three copies of your data. Store them on two different types of media (e.g., your computer’s internal drive and a dedicated external hard drive). Keep one copy off-site, such as in a cloud storage service like Google Photos, iCloud, or Backblaze. This protects your memories against physical disasters like fire or flood.
Finally, don’t forget the power of the physical print. Digital files are convenient, but a high-quality photo book or a framed print on archival paper is a tangible legacy. When printing, choose “acid-free” paper and “pigment-based” inks, which resist fading for up to 200 years. Handling a physical photo creates a visceral connection to the past that a screen simply cannot replicate.
A photograph is a pause button on life; it allows you to hold a moment in your hands forever, provided you take the steps to protect it from the elements of time and technology.
Frequently Asked Questions
Is it better to take photos in color or black and white?
Always shoot in color. You can easily convert a color photo to black and white during editing, but you cannot accurately “re-color” a black and white photo later. Black and white is excellent for photos with distracting backgrounds or high-contrast lighting, as it focuses the viewer’s attention on emotion and texture.
How do I stop my photos from looking grainy?
Grain, or “noise,” is usually caused by a high ISO setting. This happens when your camera tries to “see” in the dark. To reduce grain, increase the amount of light in the room (open the blinds) or use a wider aperture (lower f-stop). If you are using a tripod, you can use a slower shutter speed to let in more light without raising the ISO.
What is the most common mistake beginners make in family photography?
The most common mistake is “clutter.” Beginners often focus so much on the person that they don’t notice the trash can, the messy wires, or the telephone pole “growing” out of someone’s head in the background. Before you click the shutter, do a quick “scan” of the edges of your frame to ensure the background is clean and doesn’t distract from your family.
Should I edit my family photos?
Light editing can significantly improve a photo. You don’t need to change how people look, but adjusting the “Exposure” to make the photo brighter or the “Contrast” to make the colors pop can make a huge difference. Use a light hand; the goal is to enhance the memory, not to make it look artificial.
Disclaimer: This article is for informational purposes only. When handling valuable or irreplaceable photographs, consider consulting a professional conservator. Always test preservation methods on non-valuable items first.


Leave a Reply