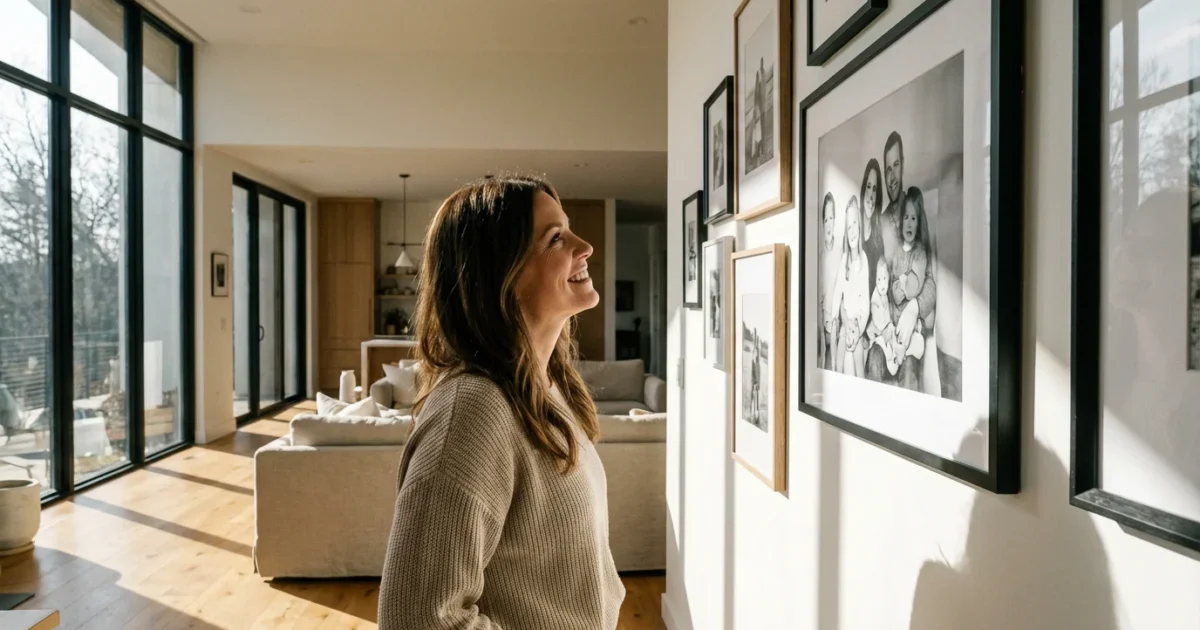
Your most precious memories deserve better than a life spent hidden in a dusty shoebox or trapped behind the glass of a smartphone screen. While digital storage offers convenience, it lacks the tactile presence and daily joy that a physical photo provides. Transforming your personal photography into custom wall art bridges the gap between a digital file and a tangible legacy; it turns your home into a living gallery of your family’s history. Whether you want to showcase a breathtaking landscape from a recent vacation or a restored portrait of your great-grandparents, the way you choose to display these images defines the atmosphere of your living space.
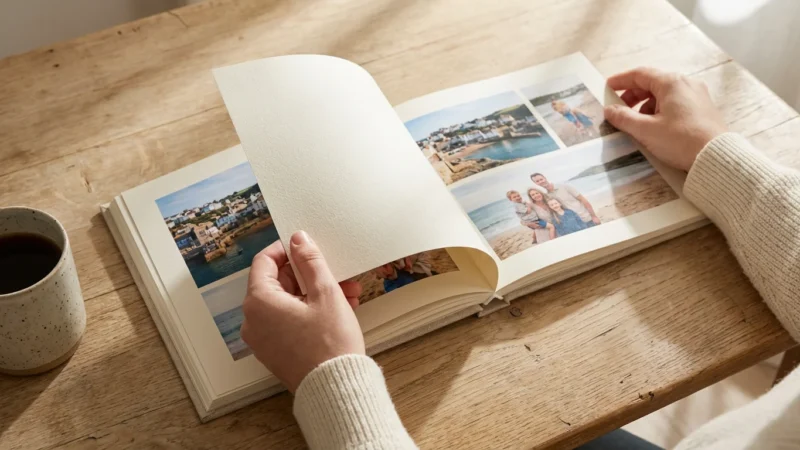
If you find that some of your favorite images do not fit your wall space, you might consider creating a beautiful photo book online to keep those memories close at hand.
If you are starting with a large, unorganized collection, taking the time for organizing physical photo prints first will make selecting your best images much easier.
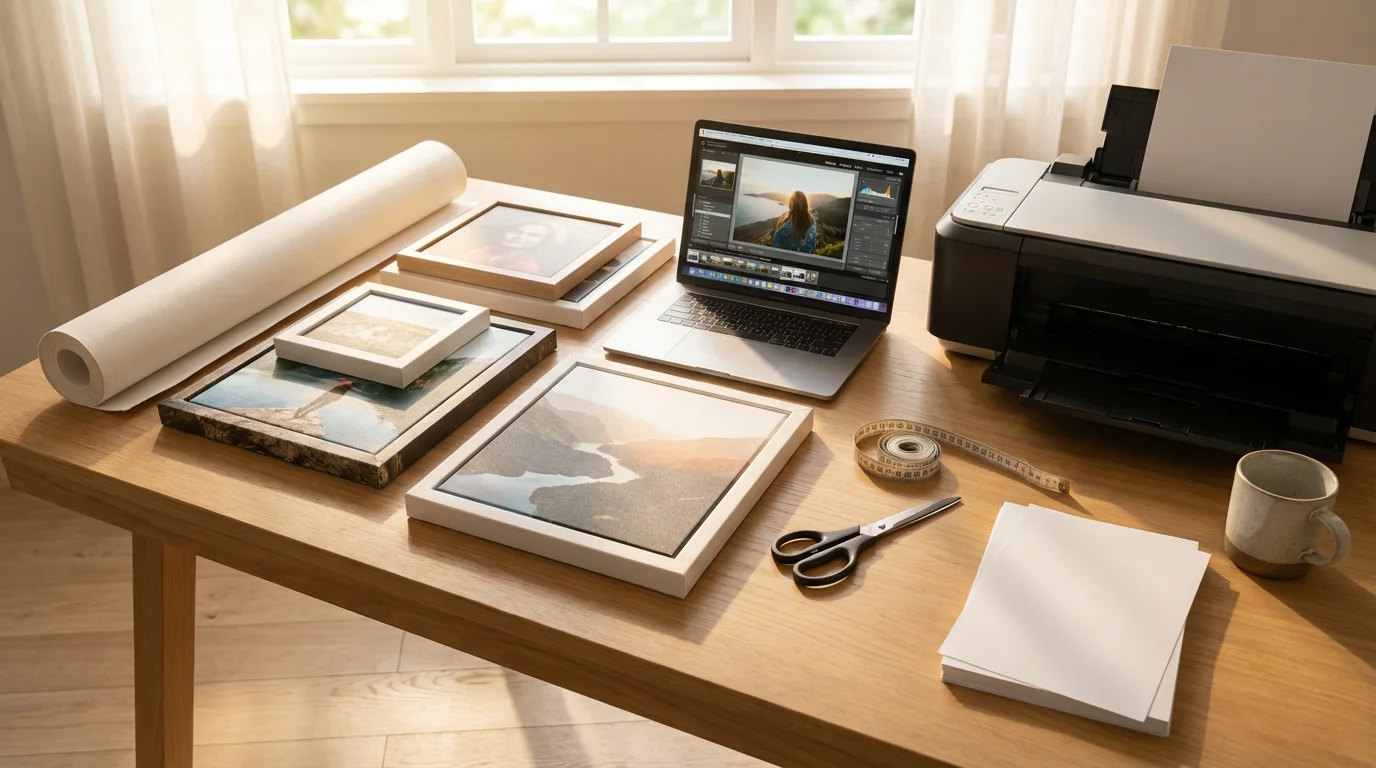
Creating impactful photo wall art requires a blend of curation, technical preparation, and interior design. You must consider how a specific image interacts with the light in your hallway, how the texture of a canvas compares to the sleekness of metal, and how to protect those images for decades to come. This guide explores the diverse world of photo displays—from traditional framing to modern acrylic mounts—providing you with the practical steps needed to turn your favorite snapshots into professional-grade home decor.
Selecting High-Impact Images for Your Home
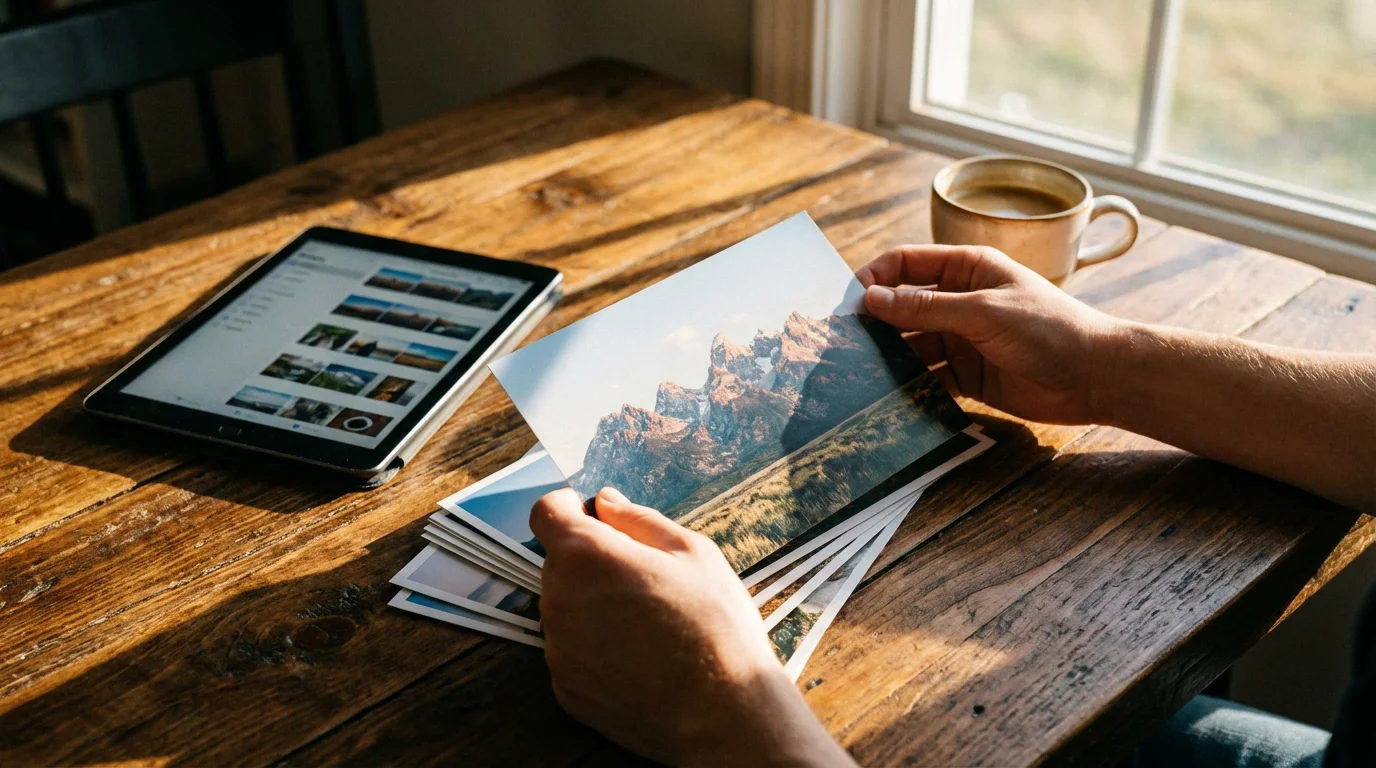
Not every photo in your collection is a candidate for a 24×36-inch enlargement. To select the right images, look for photos that evoke a strong emotional response or possess a compelling composition. Consider the mood of the room where the art will hang; a serene, high-key beach photo might suit a bedroom, while a vibrant, energetic street scene could invigorate a home office. You should also look for “visual anchors”—images with a clear focal point that can draw the eye from across the room.
For older family heirlooms, a proper photo scanning process ensures you have a high-resolution digital file capable of being enlarged without losing detail.
If you have thousands of digital files to sort through first, decluttering your photo collection will help you isolate the true highlights.
This chronological approach is highly effective, and you can expand on this narrative by creating a family photo timeline on a prominent wall in your home.
When curating for a photo display, think in themes. A series of black-and-white portraits of your children throughout the years creates a cohesive chronological narrative. Alternatively, a collection of architectural details from different cities you have visited can form a sophisticated abstract arrangement. If you are working with heritage photos, prioritize those that capture character—the subtle smile of a grandfather or the candid laughter at a 1950s garden party. These images tell a story that goes beyond a simple likeness.
You must also evaluate the technical “bones” of the image. Check for sharpness in the areas that matter most, typically the eyes in a portrait. While modern software can fix many issues, a severely out-of-focus shot will likely disappoint when enlarged. Look for photos with a balanced histogram—no blown-out highlights or muddy, detail-free shadows—to ensure the print looks rich and professional. For technical insights on how camera sensors capture this data, you can explore the detailed testing at Digital Photography Review.
Understanding Print Mediums: From Canvas to Metal
The material you print on significantly influences the final look and feel of your wall art. Traditional paper remains a favorite for its versatility, but modern alternatives offer unique aesthetic benefits. Choosing the right medium allows you to match the artwork to your existing home decor style.
To ensure your images are reproduced with professional-grade color accuracy, it pays to research the best photo printing services before submitting your order.
Before opting for a canvas wrap, it’s helpful to learn the best practices for printing photos on canvas to ensure your image details remain sharp.
| Medium | Best For | Aesthetic Vibe | Durability |
|---|---|---|---|
| Luster/Matte Paper | Fine art and portraits | Classic, sophisticated, low-glare | Requires framing for protection |
| Canvas Wraps | Candid family shots, oil-painting styles | Warm, textured, casual | Sturdy; no frame or glass needed |
| Metal (Aluminum) | High-contrast landscapes, modern art | Vibrant, sleek, high-gloss | Waterproof and scratch-resistant |
| Acrylic Prints | Architectural shots, deep colors | Luminous, 3D effect, ultra-modern | Heavy; provides high UV protection |
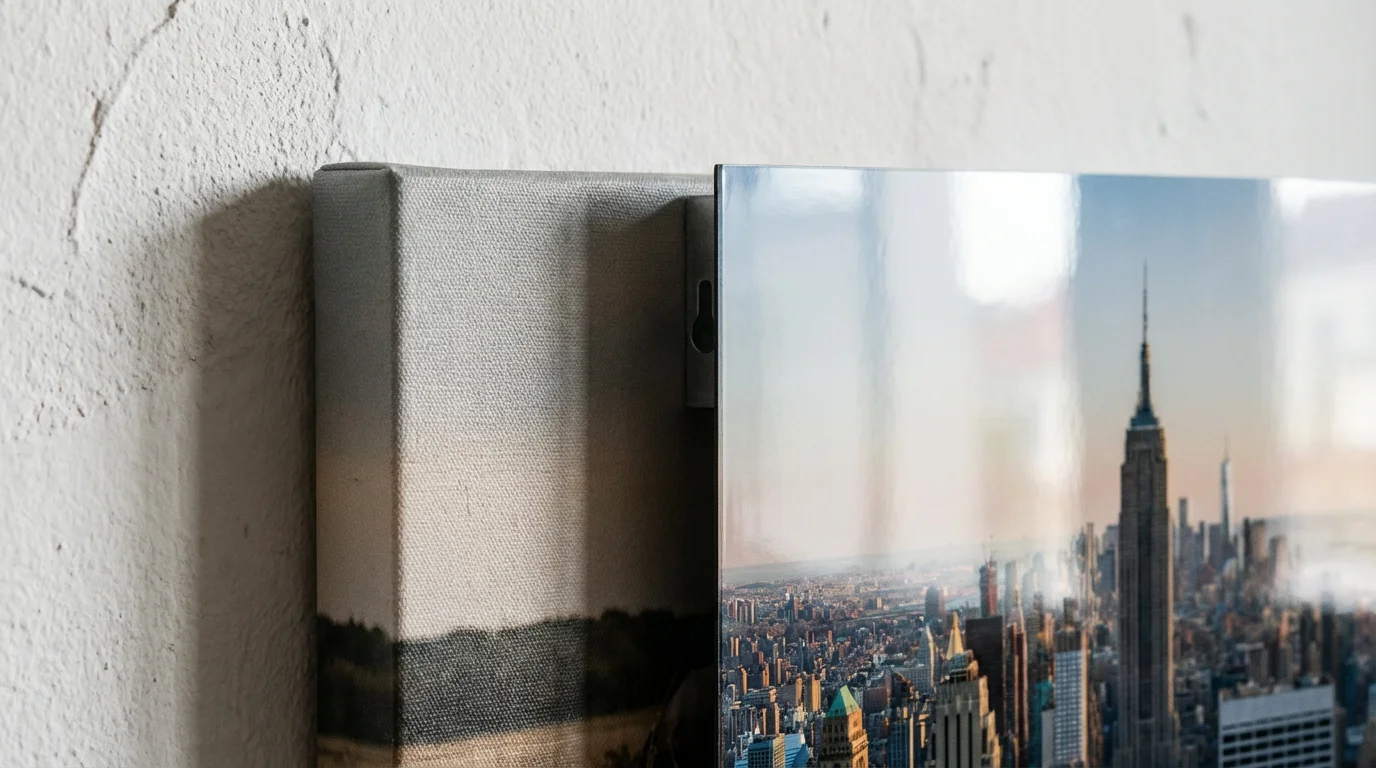
Canvas is a forgiving medium. The natural weave of the fabric can hide slight imperfections in image resolution, making it an excellent choice for smartphone photos or older digital captures. However, it lacks the razor-sharp detail found in metal or acrylic. Metal prints involve infusing dyes directly into a specially coated aluminum sheet. This results in an image with staggering depth and luminescence—colors seem to pop off the wall. Metal is also remarkably durable, making it the perfect choice for high-traffic areas or even bathrooms where humidity might damage traditional paper prints.
Acrylic prints involve face-mounting a high-quality photo print to a thick sheet of clear acrylic. This creates a “floating” effect when hung and adds a sense of luxury to the image. Because the light refracts through the acrylic, the colors appear more saturated and the blacks deeper. This medium is heavy, so ensure your wall can support the weight of a large acrylic piece before ordering.
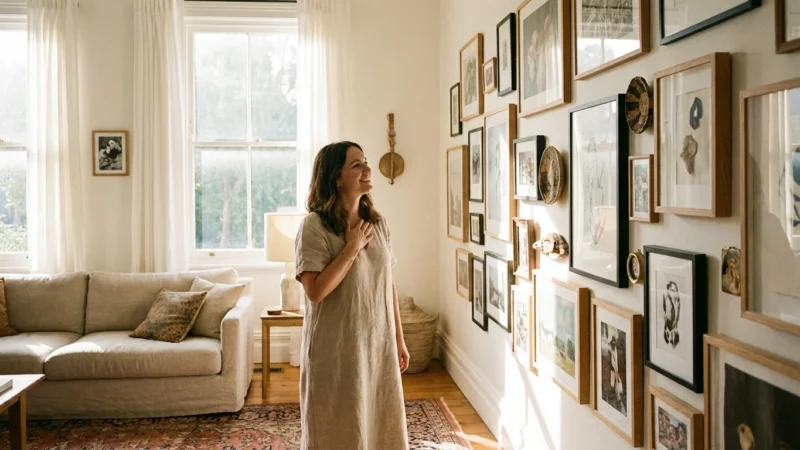
Designing the Perfect Gallery Wall
A gallery wall allows you to display multiple photo display ideas for home in a single, unified space. The challenge lies in making diverse images look like they belong together. You can achieve this through “visual threads”—similar frame styles, a consistent color palette, or a shared subject matter. For a formal look, use a grid layout with identical frame sizes and even spacing. This works exceptionally well for a series of portraits or a collection of botanical prints.
For those with too many favorite moments to display individually, creating photo collages is an excellent way to group multiple snapshots into a single, cohesive frame.
If you need visual inspiration for your layout, exploring different photo wall ideas can help you choose between modern grids and eclectic, organic shapes.
If you are concerned about cost, you can find inspiration in these options for photo display on a budget that still look professional.
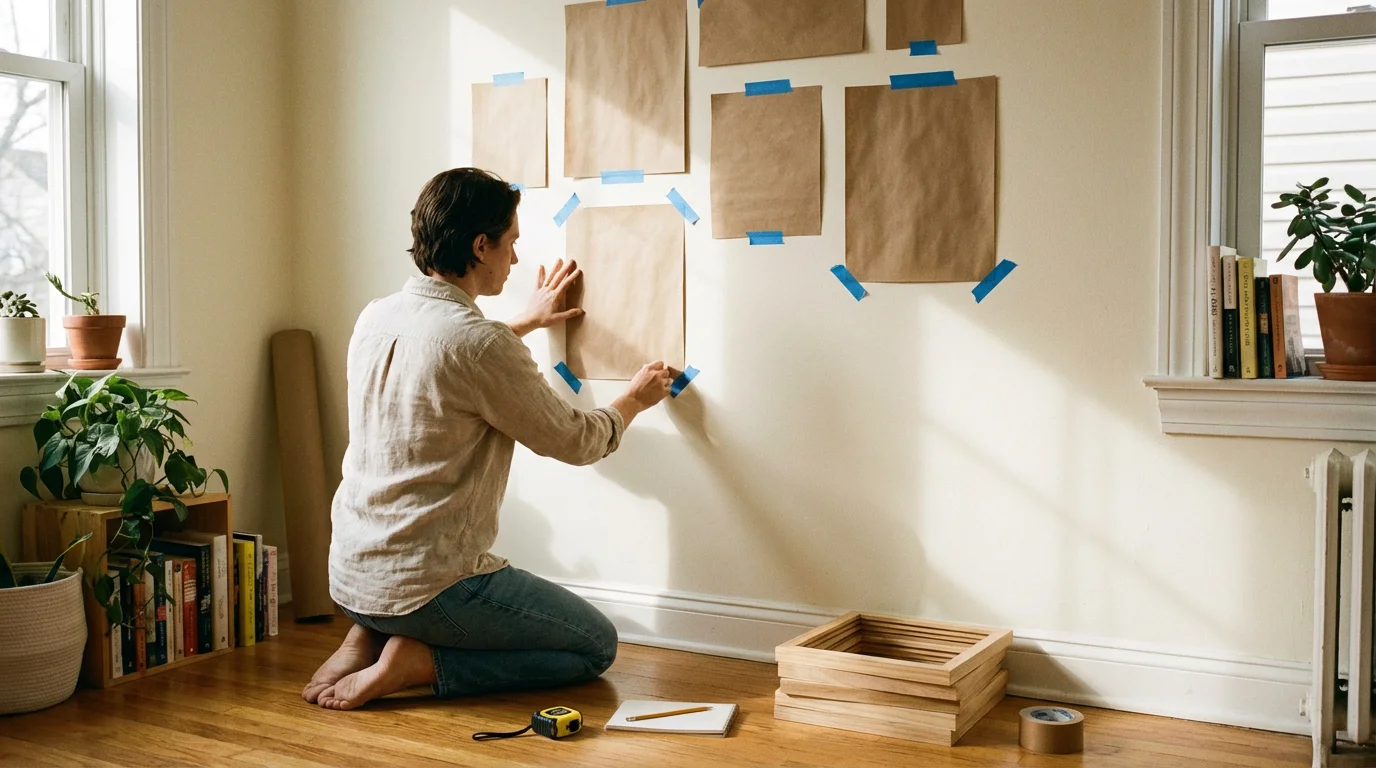
If you prefer a more relaxed, organic feel, try the “salon-style” hang. This involves grouping frames of different sizes and styles around a central focal point. To plan this without putting dozens of holes in your wall, trace your frames onto kraft paper, cut them out, and tape them to the wall with painter’s tape. Move the templates around until the balance feels right; aim for roughly 2 to 3 inches of space between each frame to maintain a sense of intention rather than clutter.
Do not feel restricted to photographs alone. Mix in other elements like vintage maps, framed letters, or small mirrors to add texture and depth to your photo wall art. This “mixed media” approach makes the display feel like a curated collection built over time. Remember to keep the heaviest or largest pieces toward the center or bottom-left of the arrangement to provide a visual anchor for the entire composition.
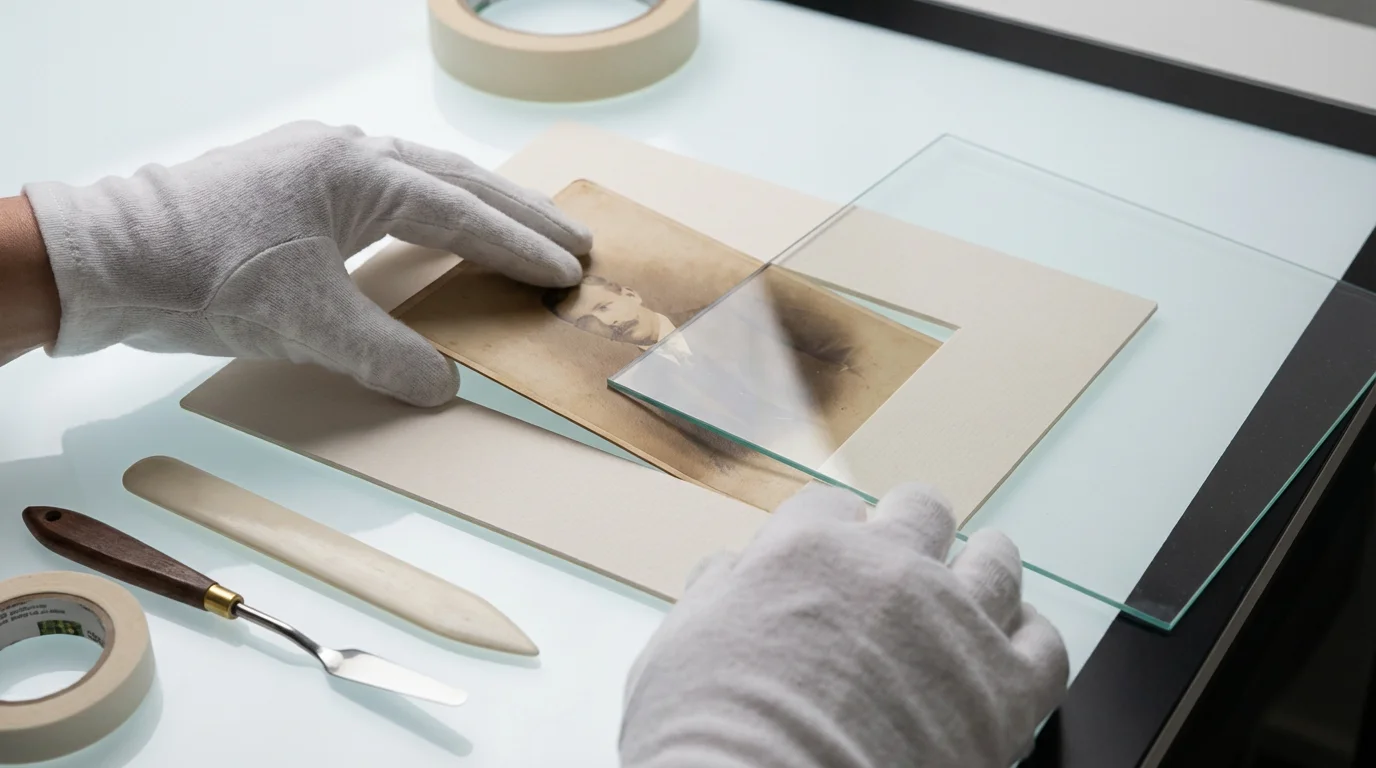
Preservation-First Framing Techniques
When you create photo wall art using irreplaceable family heirlooms, preservation is your top priority. Traditional framing can actually damage a photo if you use acidic materials. Over time, acids in cheap cardboard backing or wood-pulp mats will leach into the photograph, causing yellowing, brittleness, and “foxing”—those small brown spots often seen on old paper. To prevent this, always specify archival-grade, acid-free, and lignin-free mounting boards and mats.
If you are assembling ancestral images, learning how to build a heritage wall can help you create a secure, archival display for your family history.
“Preserving your family’s photographic history requires an understanding of how light and chemistry interact with paper. Using archival materials isn’t just a luxury; it’s a necessity for ensuring your memories survive for the next century.”
Another critical factor is the glazing—the glass or acrylic covering the photo. Standard glass provides almost no protection against ultraviolet (UV) light, which causes colors to fade and paper to deteriorate. Opt for “Museum Glass” or UV-filtering acrylic, which can block up to 99% of harmful UV rays. Also, ensure the photo is not touching the glass directly. Changes in temperature and humidity can cause the photo to stick to the glass, making it nearly impossible to remove without tearing the emulsion. A mat provides the necessary air gap to prevent this condensation trap. For detailed standards on archival storage and display, you can refer to the American Institute for Conservation.
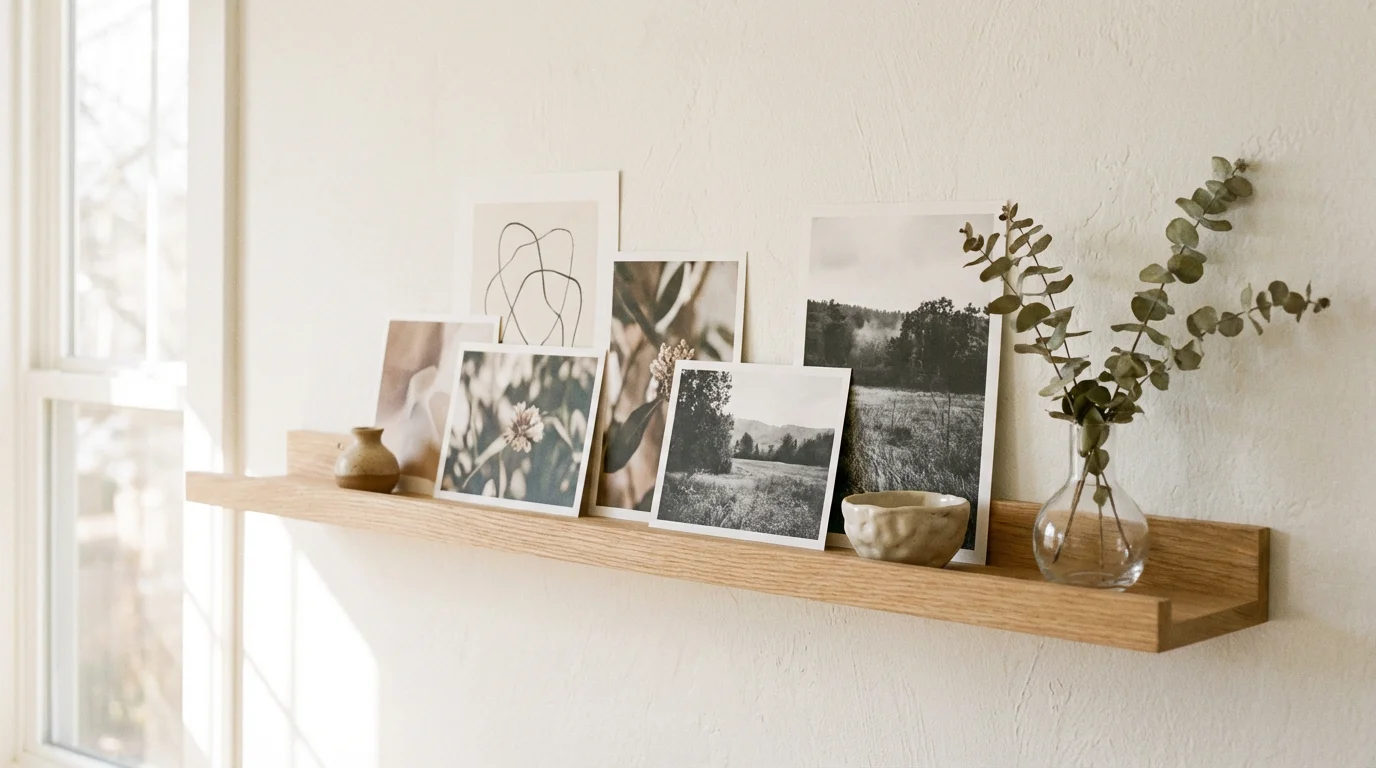
Creative Display Ideas Beyond the Frame
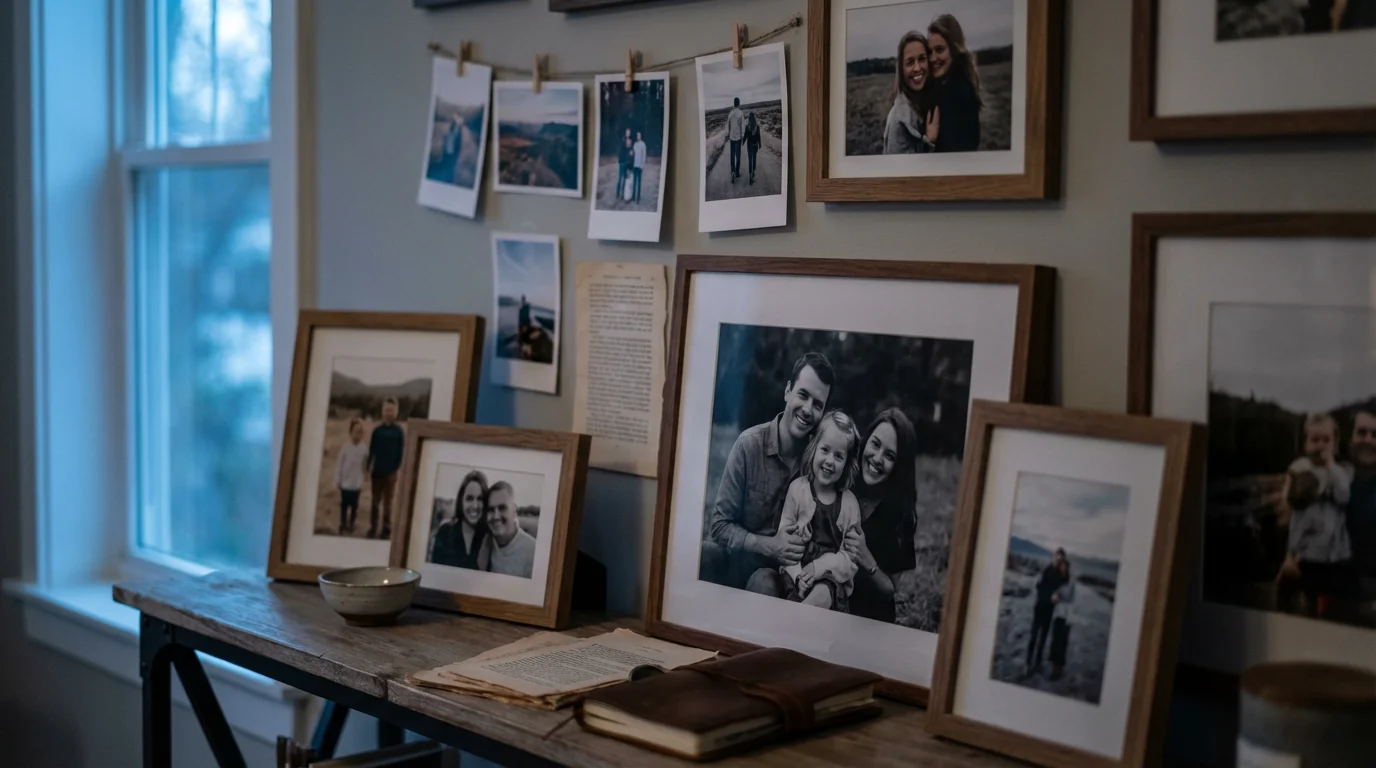
Framing isn’t the only way to showcase your work. If you want a more dynamic or temporary photo display, consider using picture ledges. These long, narrow shelves allow you to lean and layer frames of different sizes. The beauty of a ledge is its flexibility; you can swap out photos or rearrange the composition in seconds without picking up a hammer. This is ideal for showcasing seasonal photos or your children’s latest school portraits.
For smaller, everyday accents around your kitchen or office, you might also enjoy making photo magnets and keepsakes to keep your favorite snapshots within daily view.
For a minimalist or “boho” aesthetic, try a clip-and-wire system. String a thin wire across a wooden frame or directly on the wall and use small timber clips to hang individual prints. This works beautifully for a collection of square, Polaroid-style prints or travel postcards. It encourages a tactile relationship with your photos, though you should avoid hanging precious originals this way as they are exposed to the environment and potential physical damage.
You can also turn your photos into functional art. Custom-printed room dividers, photo-infused wood blocks, or even large-scale wall murals are now widely available. A wall mural, which involves printing a high-resolution image onto adhesive-backed fabric or vinyl, can transform an entire room into an immersive environment—imagine a floor-to-ceiling forest scene from your favorite hike or a zoomed-in detail of a vintage family map.
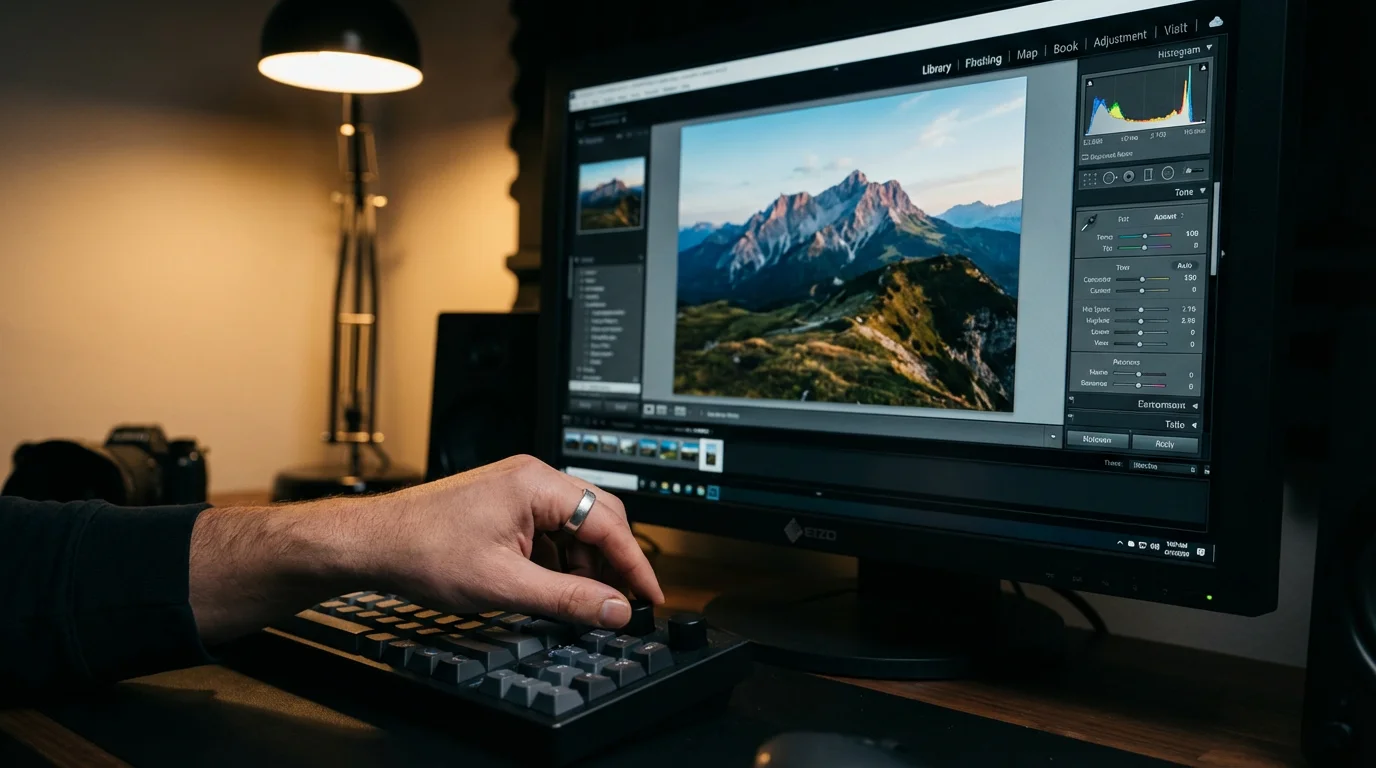
Technical Prep: Resolution, Aspect Ratios, and Color
Before you hit the “print” button, you must ensure your digital file is ready for the transition to the physical world. The most common pitfall is low resolution. Most professional labs recommend a resolution of 300 DPI (dots per inch) for high-quality prints. If you have a 3000×2000 pixel image, it will print beautifully at 10×6.6 inches. If you try to stretch that same image to a 30×20-inch poster, the resolution drops to 100 DPI, which may result in visible pixelation or “softness.”
To avoid any unexpected results when sending your files off, make sure you choose from the best photo printing services known for high color accuracy.
Aspect ratios also play a major role in your design. Most digital cameras shoot in a 3:2 ratio, while many smartphones use 4:3. If you order an 8×10-inch print (a 5:4 ratio) for a 3:2 image, the lab will be forced to crop the edges. Always preview your crop before finalizing the order to ensure you don’t accidentally cut off someone’s head or a vital part of the landscape. Many online printing services provide a “drag-and-drop” interface that shows exactly where the crop lines fall.
Finally, consider color management. What you see on your backlit phone screen often looks brighter and more vibrant than what appears on a matte piece of paper. If accuracy is paramount, use a calibrated monitor or order a small “proof” print before committing to a large, expensive piece of wall art. This allows you to check for color shifts or exposure issues in your specific lighting environment. For more on the physics of light and color in photography, Cambridge in Colour offers excellent tutorials for photographers of all levels.
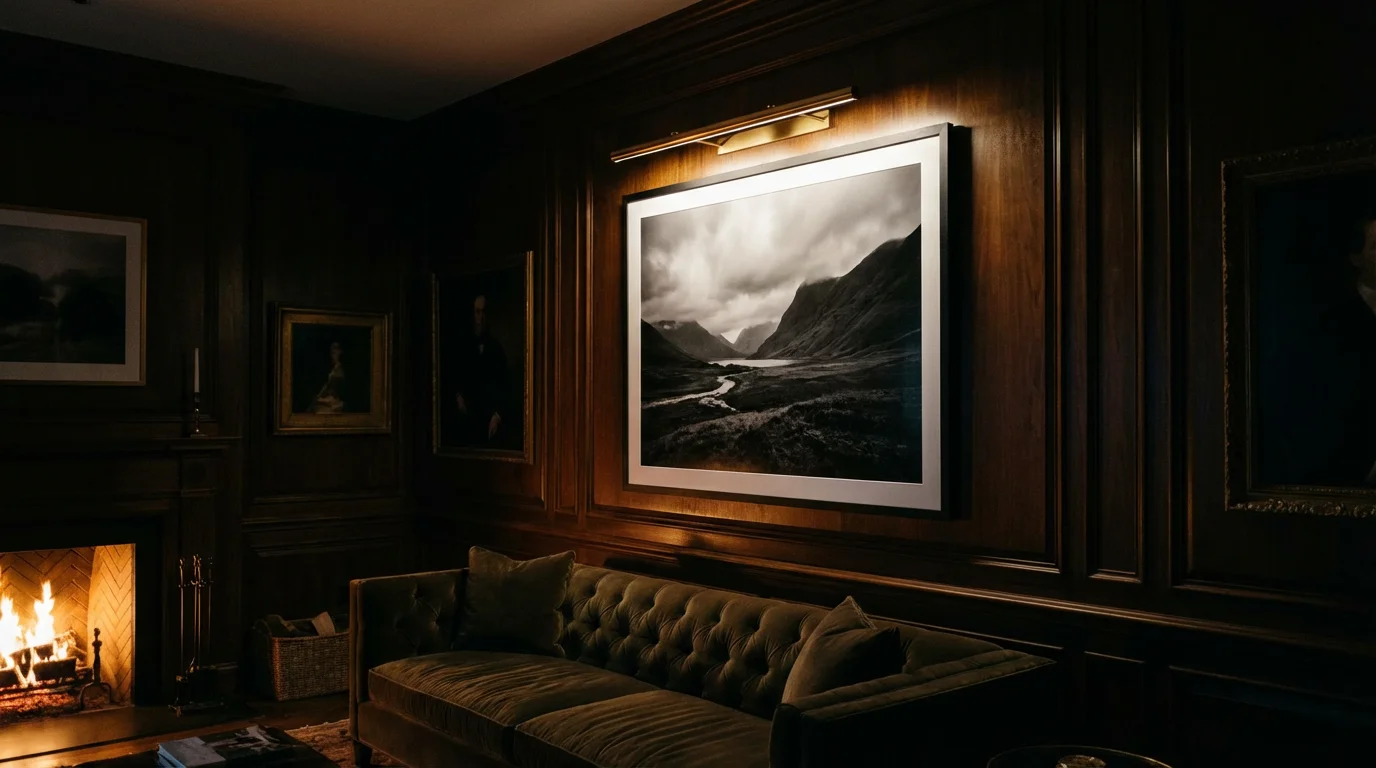
Lighting Your Photographic Masterpieces
Proper lighting can elevate a simple photo to the status of a gallery masterpiece. Avoid hanging your art directly opposite a large window; the glare can make the image difficult to see and the UV exposure will accelerate fading. If you have a dedicated gallery wall, consider installing track lighting or adjustable LED spotlights. Aim the light at a 30-degree angle toward the center of the artwork to minimize glare while highlighting the textures and colors.
For a more subtle approach, use “picture lights” that attach directly to the top of the frame. These provide a warm, intimate glow that is perfect for hallways or dining rooms. When choosing bulbs, look for those with a high Color Rendering Index (CRI)—ideally 90 or above—which ensures the colors in your photo appear as intended. Modern LEDs are preferred because they produce very little heat and no UV radiation, making them much safer for long-term photo preservation than older incandescent or halogen bulbs.
Don’t forget the impact of ambient light. During different times of the day, the shifting sun will change how your wall art looks. A metal print that looks stunning in the morning light might become a mirror of reflections by the afternoon. Take a day to observe the light patterns in your room before deciding on the final placement and medium for your display. This extra step ensures that your photo wall art remains a source of beauty and inspiration regardless of the hour.
Frequently Asked Questions
What is the best resolution for printing photos as wall art?
To achieve a sharp, professional look, aim for a resolution of 300 dots per inch (DPI) at the final print size. While you can sometimes get away with 150 DPI for large canvases, higher density ensures your memories remain crisp when viewed up close.
How do I protect my photo prints from fading?
Protect your prints by using UV-protective glass or acrylic and hanging them away from direct sunlight. Additionally, ensure all mounting materials—like mats and backing boards—are acid-free and lignin-free to prevent yellowing over time.
What is the ideal height to hang wall art?
The general rule of thumb is to hang the center of the artwork at eye level, which is approximately 57 to 60 inches from the floor. If you are hanging a photo above furniture, leave 6 to 12 inches of space between the top of the furniture and the bottom of the frame.
Can I turn low-resolution smartphone photos into wall art?
Yes, you can use AI-powered upscaling software to increase the pixel count of older or lower-resolution digital photos. Alternatively, choosing a textured medium like canvas can help mask minor pixelation that would be obvious on smooth glossy paper.
Disclaimer: This article is for informational purposes only. When handling valuable or irreplaceable photographs, consider consulting a professional conservator. Always test preservation methods on non-valuable items first.


Leave a Reply