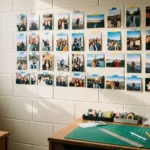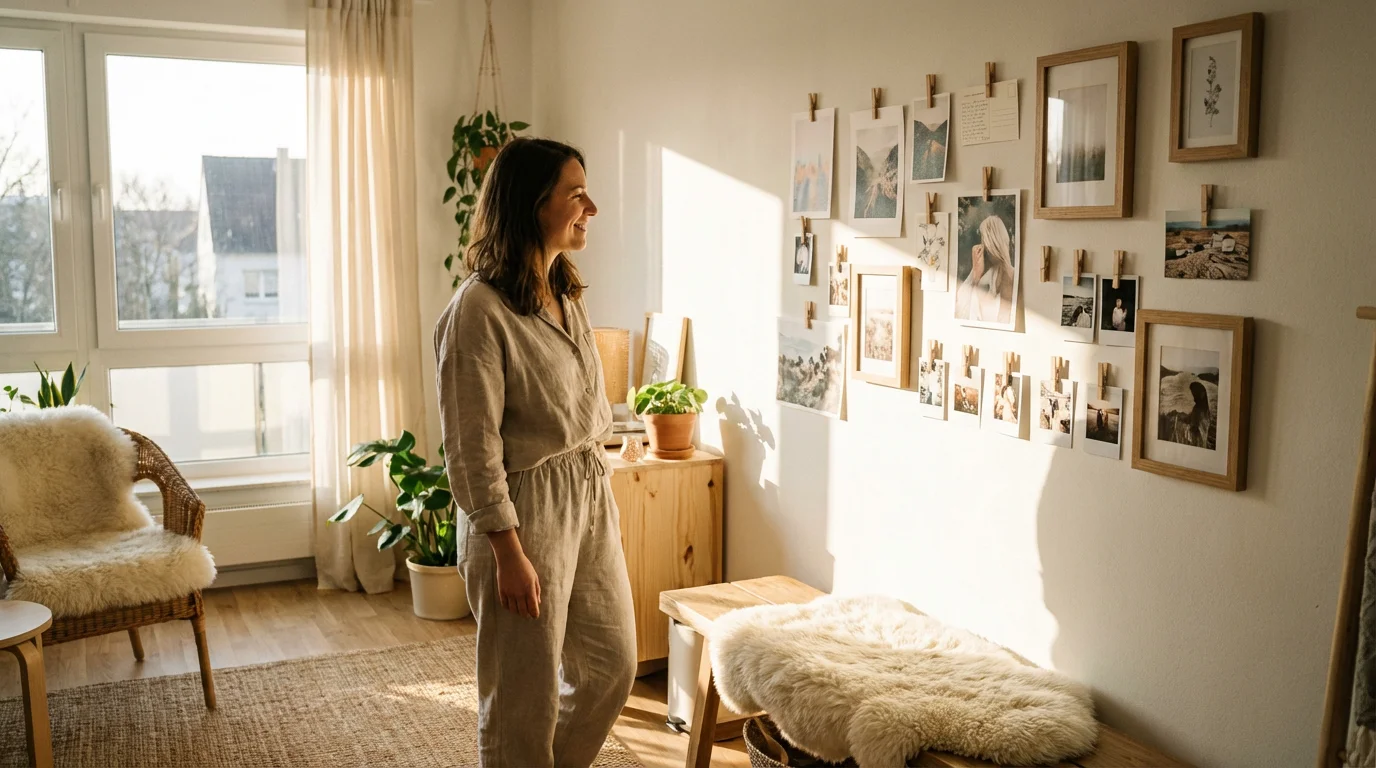
You likely have a treasure trove of memories sitting in shoeboxes or buried deep within your smartphone’s camera roll. These images represent the milestones of your life—the first steps of a child, the quiet beauty of a sunset on vacation, or the weathered faces of ancestors you never met. Bringing these photos into your living space turns a house into a home, but professional framing and custom gallery installations often carry a price tag that feels inaccessible. You do not need a massive budget to create a stunning, meaningful display; you simply need a bit of creativity and a strategic approach to your decor.
Before diving into decor, establishing a reliable photo organization system will ensure you can always find the perfect image for your next project.
For more inspiration on taking your images from storage to the living room, explore creative photo display ideas for your home.
Designing a wall decor system that honors your history while respecting your wallet requires a shift in perspective. Instead of viewing home decor as a series of expensive purchases, look at it as an opportunity for curation and repurposing. By using items you already own and selecting smart printing options, you can celebrate your heritage without financial strain. This guide provides actionable steps to help you transform your space into a living gallery of your most precious moments.
Strategic Photo Selection and Curation
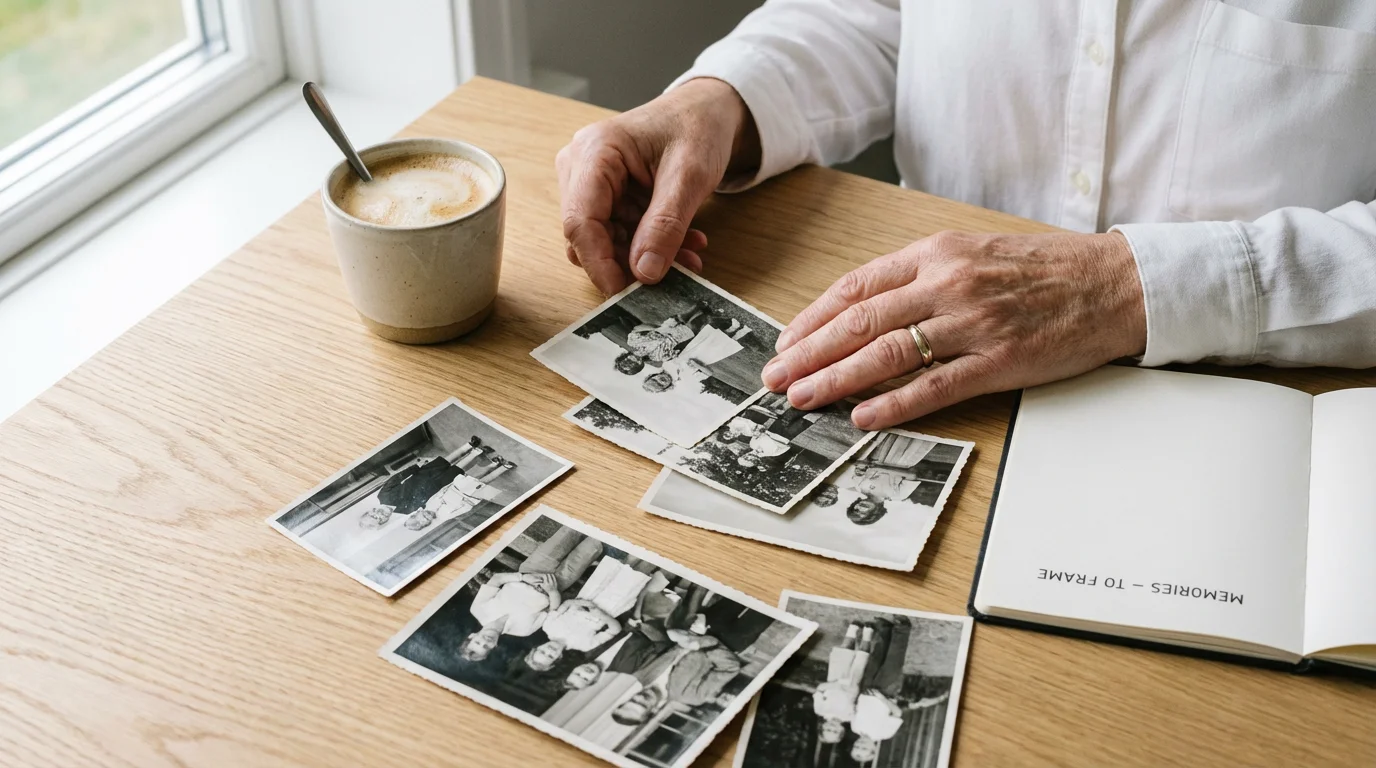
Before you spend a single dollar on frames or prints, you must curate your collection. A common mistake in home decor is trying to display everything at once. This often leads to a cluttered aesthetic that overwhelms the eye and diminishes the impact of individual images. Start by selecting a theme for your display—this could be a specific color palette, a chronological journey of your family, or a collection of landscapes from your travels. Curation creates a sense of intentionality that makes even the cheapest display look professional.
If you have too many favorites to choose just one, explore various design ideas for photo collages to group related memories together beautifully.
Properly organizing your physical photo prints makes the selection process significantly easier.
When choosing photos for a budget friendly photo display, consider the quality of the image. You do not necessarily need high-resolution professional shots; sometimes the grainy, candid photos of a family dinner carry more emotional weight. However, you should look for images with strong compositions or striking lighting. If you are working with digital files, use free editing software to adjust the contrast or convert a group of mismatched color photos into a cohesive black-and-white series. This uniformity acts as a visual anchor, allowing you to use different frame styles while maintaining a polished look.
Think about the physical size of the space you wish to fill. A massive wall requires larger prints or a denser arrangement of smaller items. To plan your layout without making unnecessary holes in your wall, cut out pieces of kraft paper or newspaper to the size of your planned prints. Tape these templates to your wall using painter’s tape; this allows you to visualize the flow and balance of the gallery wall before you commit to a single nail or adhesive strip.
Repurposing Household Items for Unique Displays
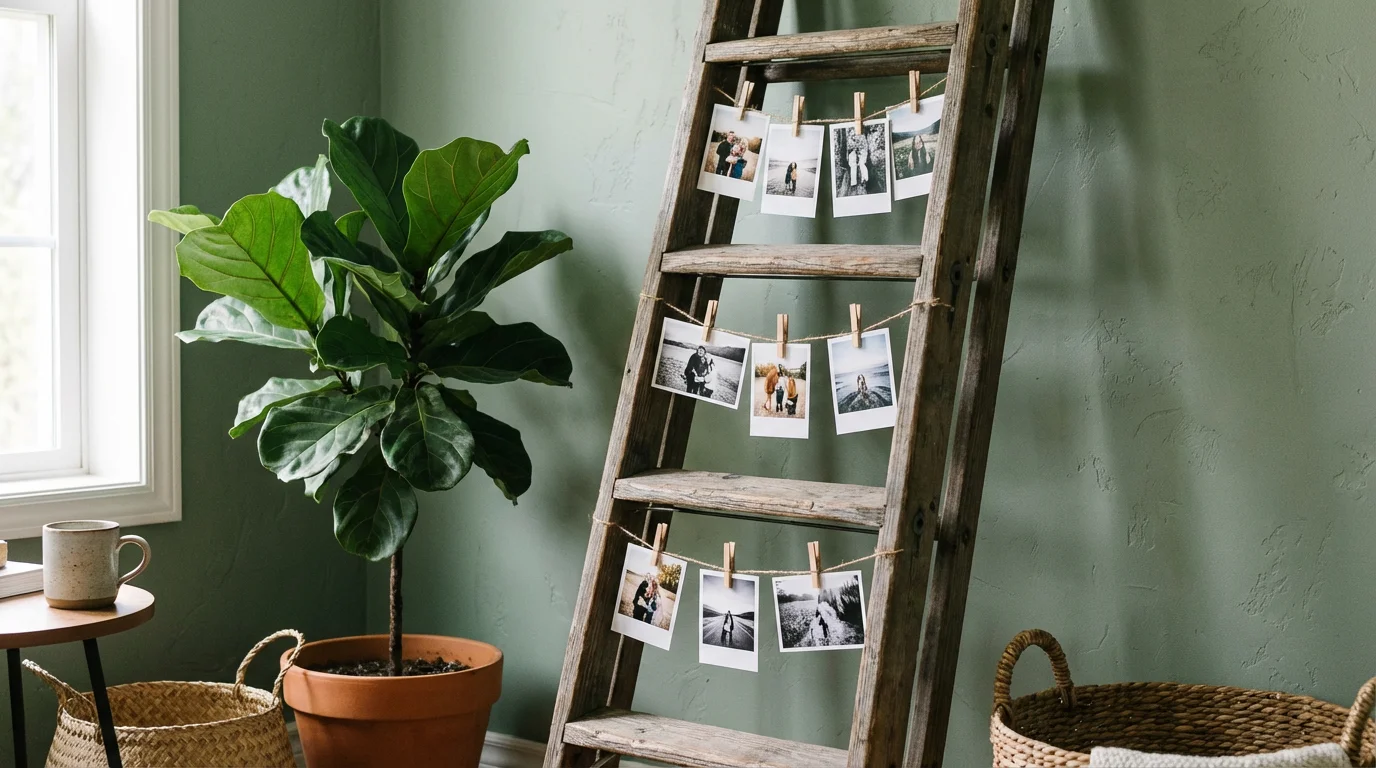
Your home is likely full of objects that can be transformed into creative photo displays. Repurposing not only saves money but also adds a layer of texture and personality to your wall decor that store-bought frames cannot replicate. One of the most effective and low-cost methods involves using wooden clipboards. You can purchase these in bulk for a few dollars each or find them at office supply clearances. Mount a grid of clipboards on your wall—six or nine usually create a strong visual impact—and use the clips to hold your photos. This method allows you to swap out images in seconds, making it ideal for displaying the ever-changing artwork of children or recent vacation snapshots.
During the holidays, you can even adapt these hanging methods to create DIY photo ornaments for a personalized tree display.
Many of these repurposing techniques also work wonderfully when crafting DIY photo gifts for friends and family.
Another excellent resource is the natural world. A sturdy, interesting branch found during a walk can become a rustic photo mobile. Clean the branch, perhaps apply a light stain or a coat of white paint, and hang it horizontally on your wall using two small hooks. Tie lengths of twine or fishing line to the branch at varying intervals and use small wooden clothespins to attach your photos. This creates a floating, ethereal effect that works beautifully in bedrooms or nurseries. The organic lines of the wood contrast sharply with the geometric shapes of the photos, drawing the eye immediately.
Old windows and shutters are also iconic choices for cheap photo display ideas. If you have access to a salvaged window, you can clean the glass and use photo corners to mount images directly onto the panes. The natural dividers of the window frame act as a built-in grid for your gallery. For shutters, you can slide the edges of your photos into the slats. These larger pieces serve as “anchor” decor, filling significant wall space for the price of a thrift store find or a bit of garage cleaning.
The Art of the Thrift Store Find
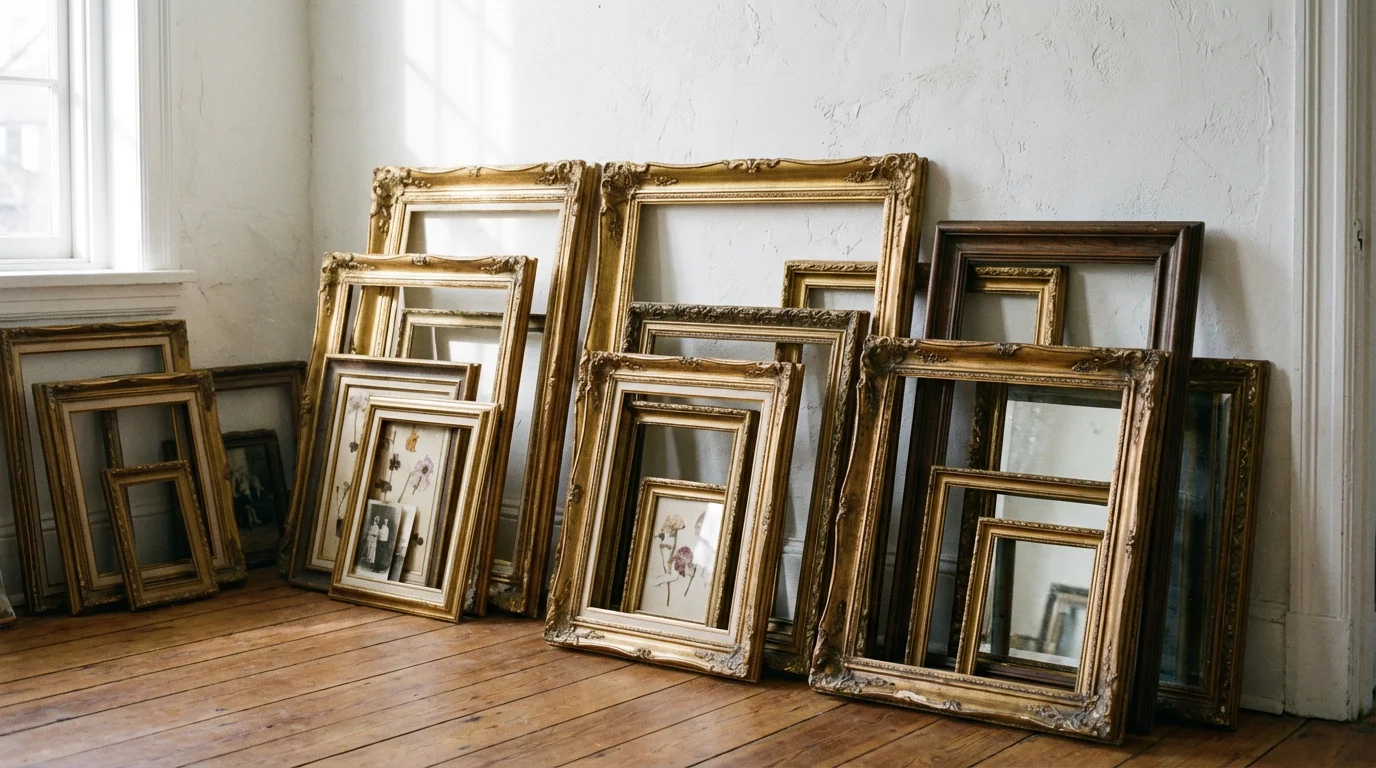
Thrift stores, garage sales, and estate auctions are the best places to find high-quality frames on a budget. Look for frames made of solid wood or metal rather than cheap plastic; even if the current color is hideous or the glass is missing, the structure is what matters. You can often find large, ornate frames for under five dollars. Do not worry about whether the frames match; in fact, a variety of textures and sizes can make a gallery wall feel more curated and “collected” over time.
To unify a collection of mismatched frames, use the “monochrome method.” Select a single color—matte black, crisp white, or even a bold gold—and spray paint all the frames. This simple step bridges the gap between different eras and styles, making a 1980s plastic frame look perfectly at home next to a Victorian-style wooden one. Before painting, remove the glass and any backing. Lightly sand wooden frames to help the paint adhere, and apply several thin coats for a smooth, professional finish.
If you find a great frame but the matting is stained or the wrong color, do not discard it. You can easily create your own mats using acid-free cardstock or even fabric-covered cardboard. For a modern look, try a “floating” mount by using thick adhesive foam squares to lift the photo off the backing, creating a shadow effect within the frame. This technique adds depth and makes a simple print look like a custom piece of art.
Budget-Friendly Printing Strategies
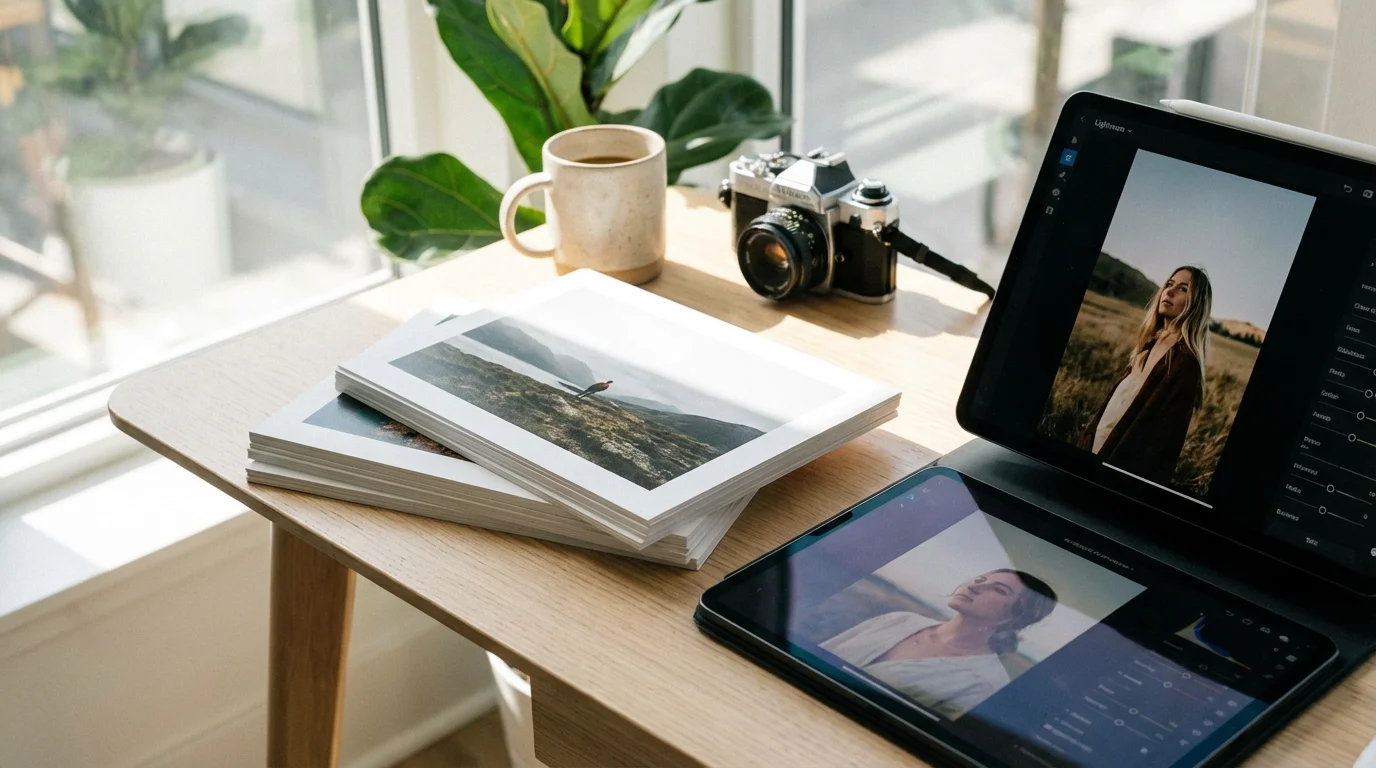
The cost of printing can quickly escalate, especially if you opt for canvases or metal prints. For those seeking budget friendly photo display options, standard paper prints are your greatest ally. However, the type of paper and the place of purchase make a significant difference in both cost and appearance. While convenience stores offer quick 4×6 prints for pennies, these are often printed on thinner paper with dyes that may fade more quickly than professional-grade prints.
Consider the following table to help you decide which printing format fits your budget and display goals:
| Print Type | Average Cost | Best Use Case | Longevity |
|---|---|---|---|
| Standard 4×6 Glossy | $0.10 – $0.35 | Large gallery walls, clipboards, clotheslines. | Moderate (requires protection from light). |
| 8×10 Matte Print | $2.00 – $5.00 | Feature frames, desk displays, gifting. | High (if using archival paper). |
| Engineer Prints | $5.00 – $15.00 | Massive, statement-piece wall decor. | Lower (thin paper, black & white only). |
| Square Mini Prints | $0.40 – $0.60 | Grid layouts, washi tape displays. | Moderate. |
For a high-impact, low-cost statement piece, look into “engineer prints.” These are large-scale architectural blueprints typically printed in black and white on thin paper. Many office supply stores offer these for very little money. While they are not “photo quality” in the traditional sense, the slightly grainy, high-contrast look is incredibly stylish for large portraits or landscape shots. Because the paper is thin, you can mount them to a piece of lightweight plywood using spray adhesive for a sleek, frameless look.
DIY Hanging Methods for Modern Spaces
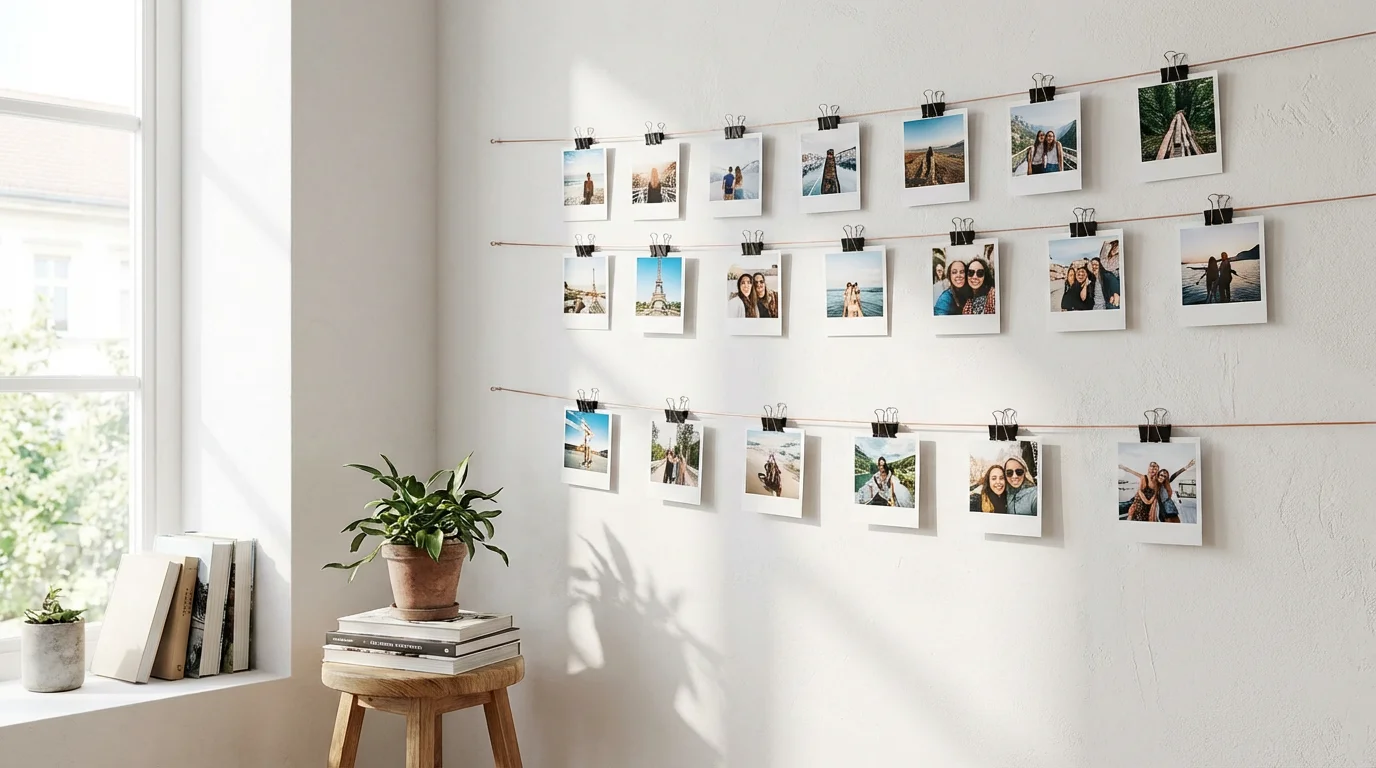
If you prefer a minimalist aesthetic, you might want to ditch traditional frames altogether. This is particularly helpful for renters who want to avoid wall damage. Washi tape is a fantastic tool for creating a “faux frame” look. This Japanese masking tape comes in hundreds of colors and patterns and is designed to be removed without leaving residue or peeling paint. You can tape your photos directly to the wall and then create a geometric border around them with the tape. This allows you to play with shapes—try creating a hexagon pattern or a simple rectangular border—to give the display more visual weight.
For those who prefer a dynamic tech solution over physical prints, creating a digital photo frame slideshow is an excellent way to display hundreds of photos in a single spot.
Magnet boards are another versatile option for a home decor refresh. You can buy a large sheet of galvanized steel at a hardware store for a low price. Mount it to your wall and use small, powerful neodymium magnets to hold your photos. This creates a sleek, industrial look and makes it incredibly easy to rearrange your collection whenever the mood strikes. For a more “hidden” magnetic look, you can apply magnetic paint to a section of your wall. After a few coats, you can paint over it with your standard wall color; the wall will look normal, but photos will stick to it with magnets as if by magic.
For a more formal but still affordable hanging system, consider using a picture rail or a simple tension rod. You can mount a thin rod high on the wall and use “S” hooks and chains to drop frames down at different levels. This allows you to change the height and arrangement of your gallery without ever hammering a second nail into the wall. It mimics the hanging systems found in professional galleries and museums, giving your home an air of sophistication on a shoestring budget.
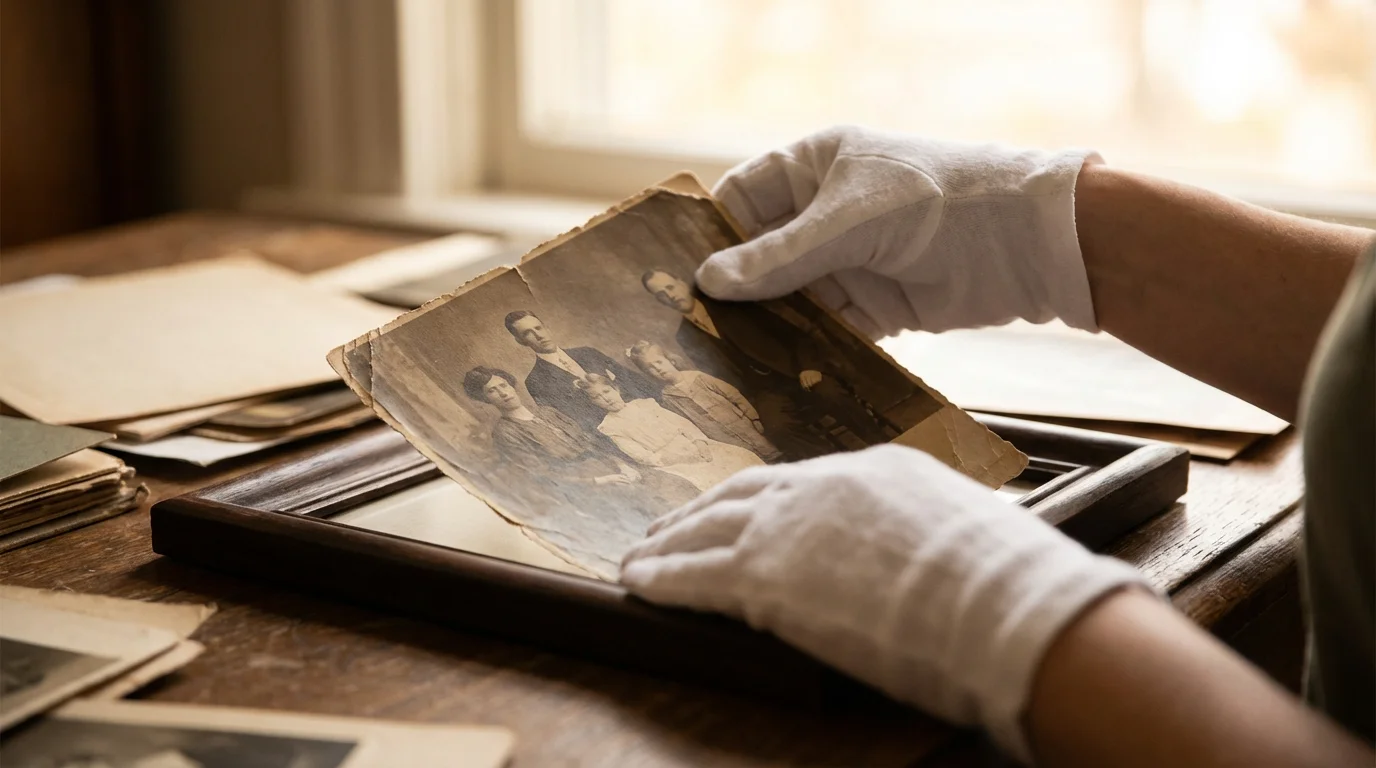
Protecting Your Heritage While on Display
When you display your photos, you expose them to environmental stressors that can cause irreversible damage. Light—particularly ultraviolet (UV) light—is the primary enemy of photographic emulsions. Over time, UV rays break down the chemical bonds in the dyes, leading to fading and color shifts. According to the Image Permanence Institute, temperature and humidity also play critical roles in the deterioration of photographs. High heat can accelerate chemical decay, while high humidity can encourage the growth of mold or cause the photo to stick to the glass of a frame.
It is often wise to display high-quality copies while keeping the originals safe within a dedicated home photo archive.
To ensure your family legacy lasts for generations, follow a comprehensive guide to photo preservation when handling older, fragile originals.
The most important rule of photo preservation is to never display an original, one-of-a-kind photograph if you can avoid it. Always work from a high-quality copy.
If you are displaying original family heirlooms, ensure they are mounted using reversible, archival-safe materials. Avoid standard “sticky” photo albums or acidic tapes, which can yellow the paper and eat through the image over time. Use acid-free photo corners instead; these hold the photo in place by its corners without any adhesive touching the image itself. If you are framing an original, invest in UV-filtering glass or acrylic. While more expensive than standard glass, it is a fraction of the cost of professional restoration. For more detailed guidance on handling precious materials, the Library of Congress Preservation department offers extensive resources on long-term storage and display standards.
Keep your displays away from direct sunlight, radiators, and humid areas like bathrooms or poorly ventilated kitchens. If you notice a photo beginning to curl or fade, move it to a darker, cooler location immediately. By rotating your display every few months—storing some photos in archival boxes while others are on the wall—you limit the cumulative light exposure for any single image, significantly extending its lifespan.
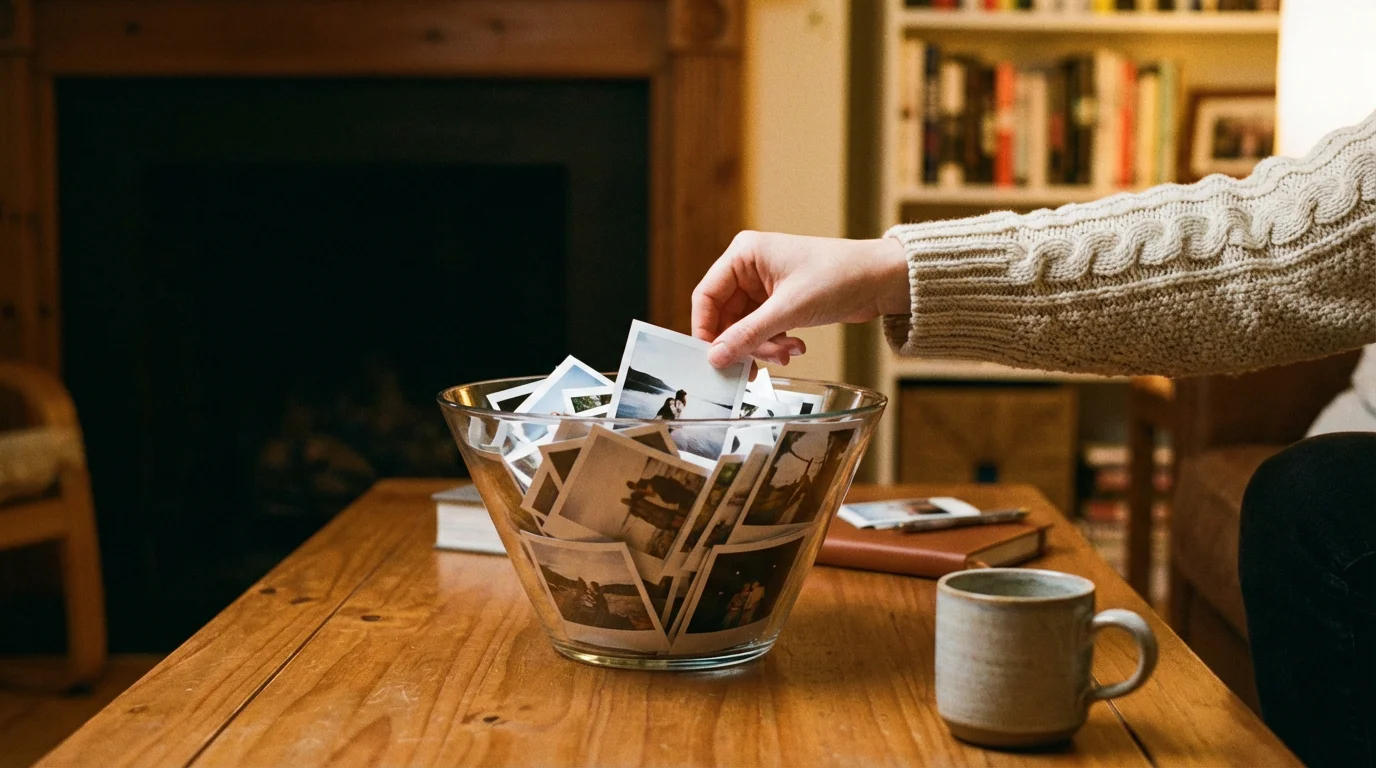
Creating Interactive Memory Stations
Photo displays do not always have to be static. Some of the best budget friendly photo display ideas involve making the images part of your daily interaction. Consider creating a “memory jar” or a “memory table.” A large glass jar filled with small, loose prints allows guests and family members to reach in and pull out a memory to discuss. This tactile experience often sparks better conversations than a fixed gallery wall. You can find beautiful jars at discount home stores or repurpose large food jars after a thorough cleaning.
If you have an old coffee table with a glass top, you can create a rotating collage underneath the glass. Simply lay your photos out in an overlapping pattern on the table surface and place the glass back on top. No glue or tape is required, as the weight of the glass holds everything in place. This turns a functional piece of furniture into a centerpiece of your family history. You can change the theme of the table for holidays, birthdays, or family reunions, keeping the decor fresh and relevant.
For those with a large digital collection, consider repurposing an old tablet or iPad as a dedicated digital photo frame. While new digital frames can be pricey, an older device that may no longer be fast enough for modern apps can still run a simple slideshow perfectly. Buy a cheap wooden stand for the tablet, plug it in, and set it to cycle through a cloud-based photo album. This gives you a high-tech display for the “cost” of a device you already owned, allowing you to see thousands of memories in a single corner of your room.
Frequently Asked Questions
How can I display photos without damaging the walls of my rental?
Use washi tape or specialized adhesive strips designed for easy removal. Washi tape offers a decorative touch and comes in various patterns, while command-style strips provide a stronger hold for framed pieces without requiring nails or screws. These options allow you to personalize your space without risking your security deposit.
Are cheap prints worth the money for home decor?
Standard 4×6 or 5×7 prints from local labs are highly cost-effective for rotating displays. While they may not have the longevity of museum-grade archival prints, they work perfectly for gallery walls when kept out of direct sunlight. They allow you to update your decor frequently without a significant financial commitment.
What is the best way to protect old family photos on display?
Always use copies of your original photos for display. Scan the originals at a high resolution and print reproductions to prevent the primary historical artifacts from fading due to light exposure or environmental changes. This ensures the original remains safe in archival storage while the memory lives on your wall.
Where can I find affordable frames that still look high-quality?
Thrift stores and estate sales are goldmines for unique, sturdy frames. You can unify a mismatched collection by using a single color of spray paint, which provides a cohesive, high-end look on a minimal budget. Look for frames with interesting textures or solid wood construction for the best results.
Disclaimer: This article is for informational purposes only. When handling valuable or irreplaceable photographs, consider consulting a professional conservator. Always test preservation methods on non-valuable items first.