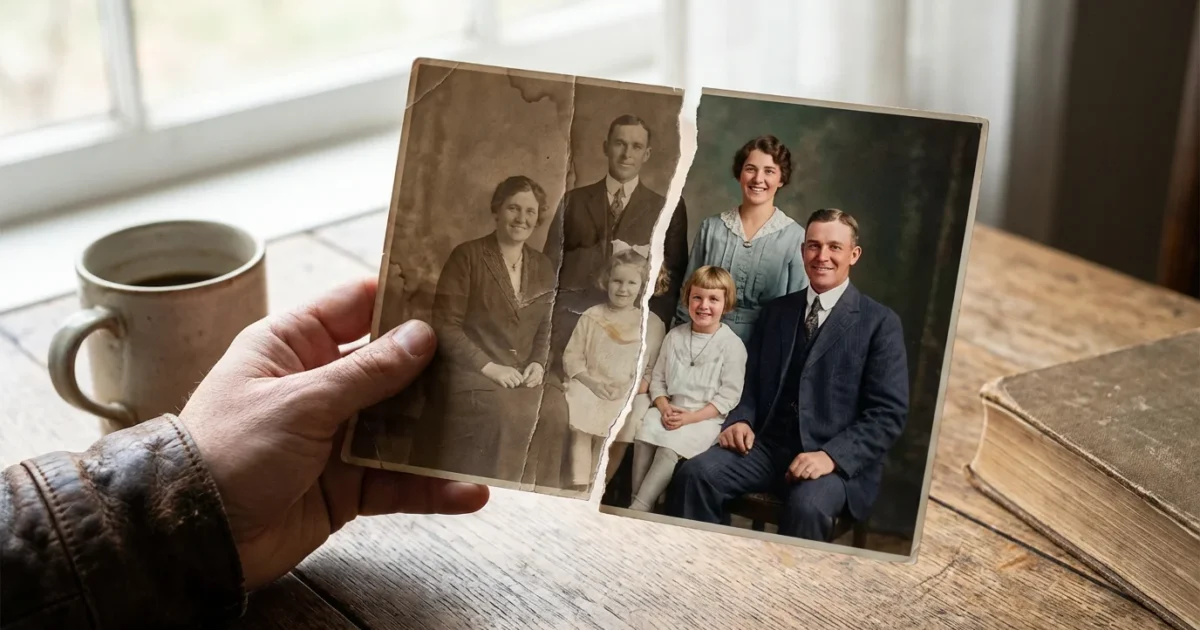
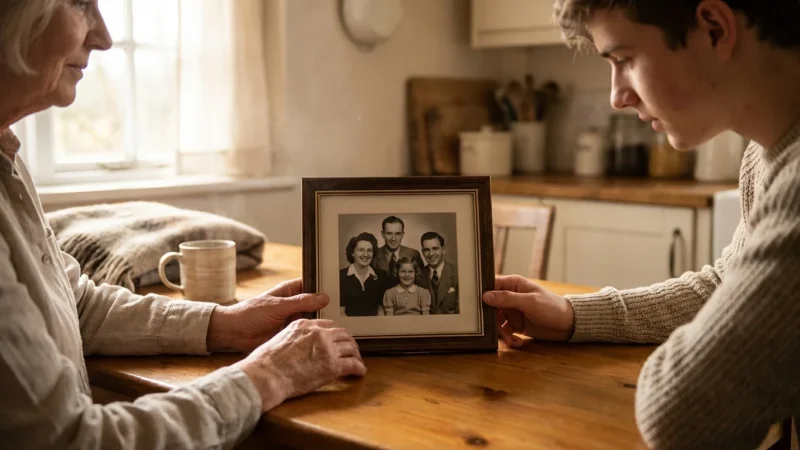
You hold a piece of history in your hands—a snapshot of a grandparent’s wedding, a childhood vacation, or a long-lost family home. But the vibrant colors have shifted to a dull sepia, or perhaps the image has vanished into a ghostly haze. Fading is the natural enemy of the printed photograph; it results from a complex chemical dance involving light exposure, humidity, and the inherent instability of early photographic dyes. You do not have to accept this loss as permanent. With modern digital tools and proper preservation techniques, you can reclaim those lost details and ensure your family’s legacy survives for the next century.
Restoring a photo involves more than just clicking an “auto-fix” button. It requires an understanding of how the original was made and how to carefully extract the remaining visual information without causing further damage to the physical artifact. This guide walks you through the entire journey, from safe handling and high-resolution scanning to advanced digital color correction and long-term archival storage. Whether you are looking to fix faded photos free using open-source tools or investing in professional-grade software, the goal remains the same: bringing those precious memories back to life.
Understanding Why Photos Fade and Decay
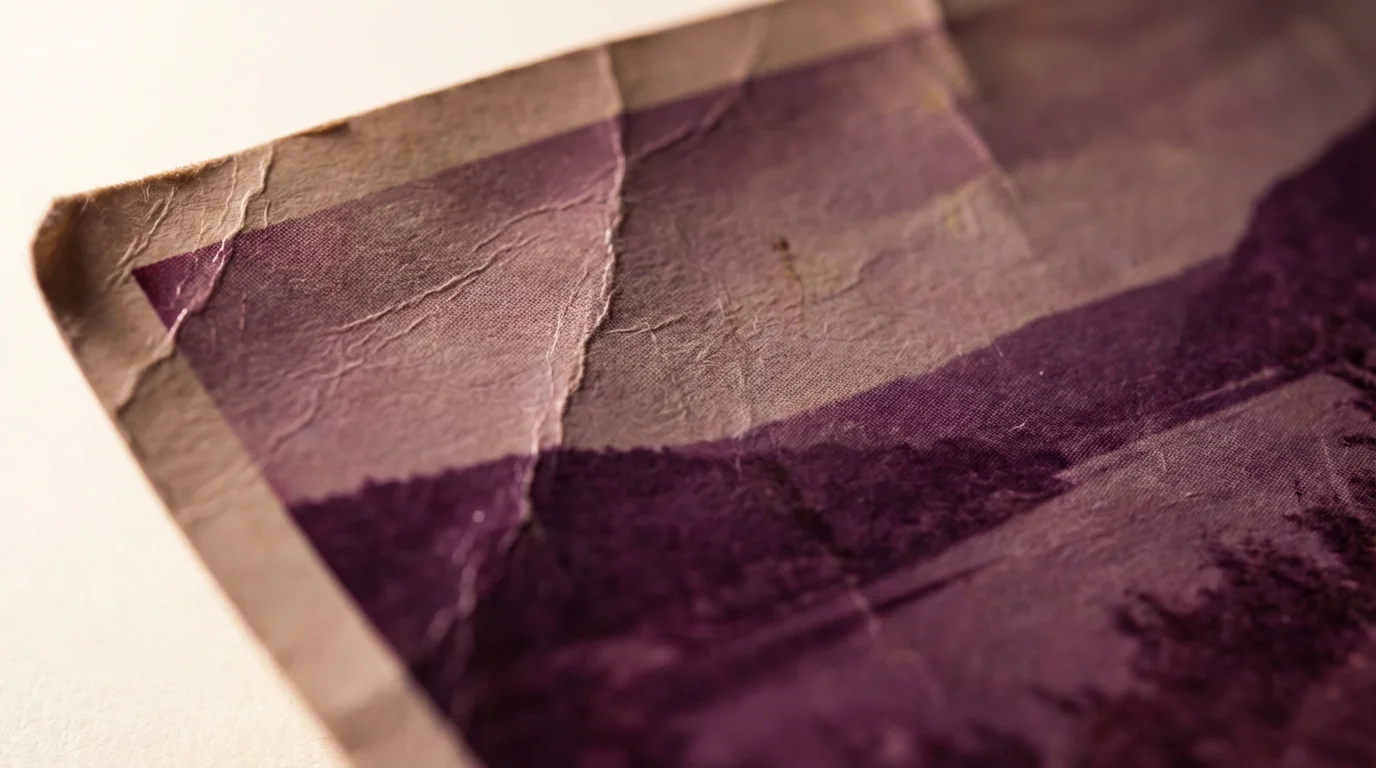
Before you begin the repair process, you must understand what you are fighting. Most color photographs from the 1960s through the 1990s used chromogenic processes. These photos consist of layers of cyan, magenta, and yellow dyes. Unfortunately, these dyes are not equally stable. In many cases, the cyan dye fades the fastest, leaving you with an image that looks unpleasantly orange or red. In other instances, the yellow fades, resulting in a cold, blue-tinted memory.
For images that have suffered extreme discoloration over the decades, we have a detailed guide on saving yellowed and discolored photographs to help you handle advanced paper degradation.
Environmental factors accelerate this breakdown. Ultraviolet (UV) light acts as a catalyst for photo-oxidation, literally bleaching the dyes out of the paper. High humidity encourages the growth of mold and causes the gelatin emulsion to soften, making it sticky and prone to peeling. Even the wood-based paper of the original print can be its own undoing; unless it is acid-free, the paper will eventually turn brittle and yellow, affecting the overall tone of the image. By recognizing these patterns, you can better target your restoration efforts—for example, knowing that a red-tinted photo needs a significant boost in the cyan channel to restore balance.
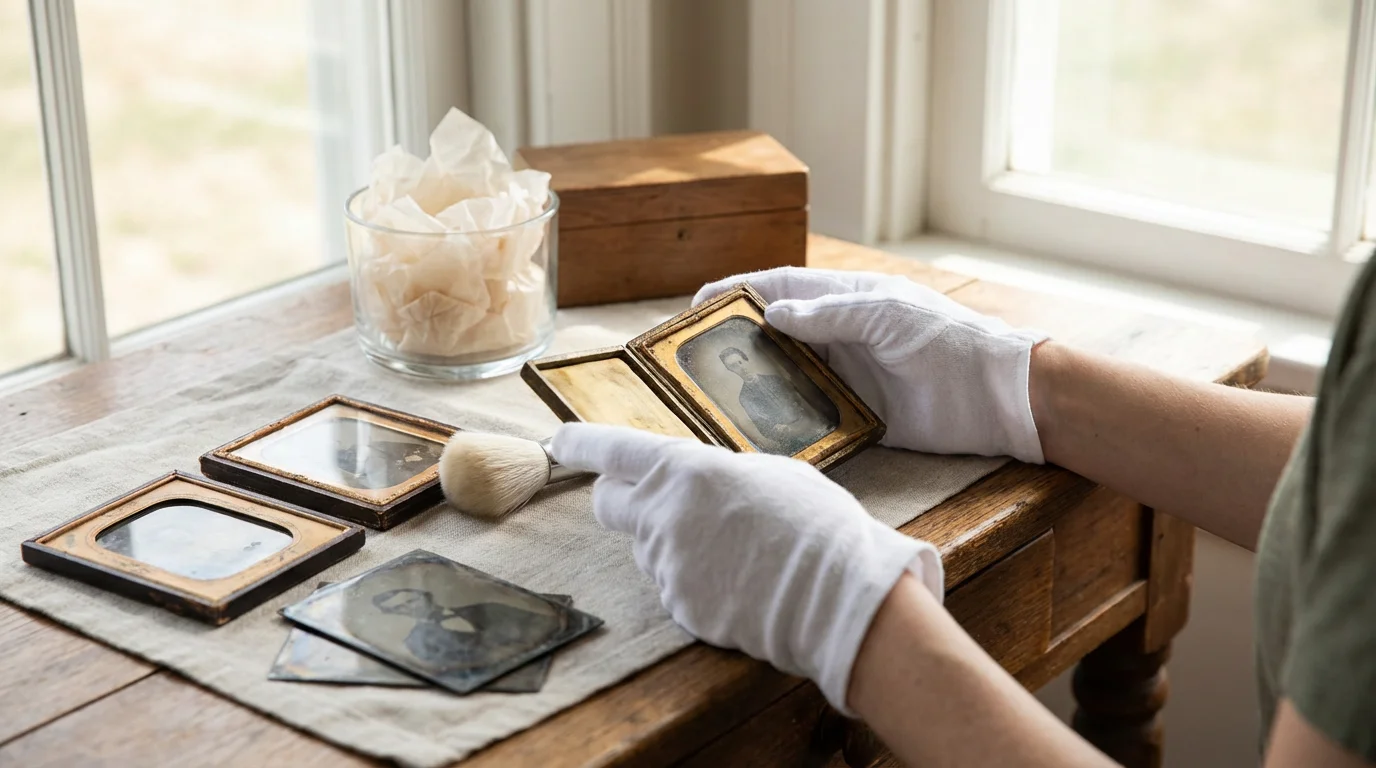
Safe Handling and Preparation for Restoration
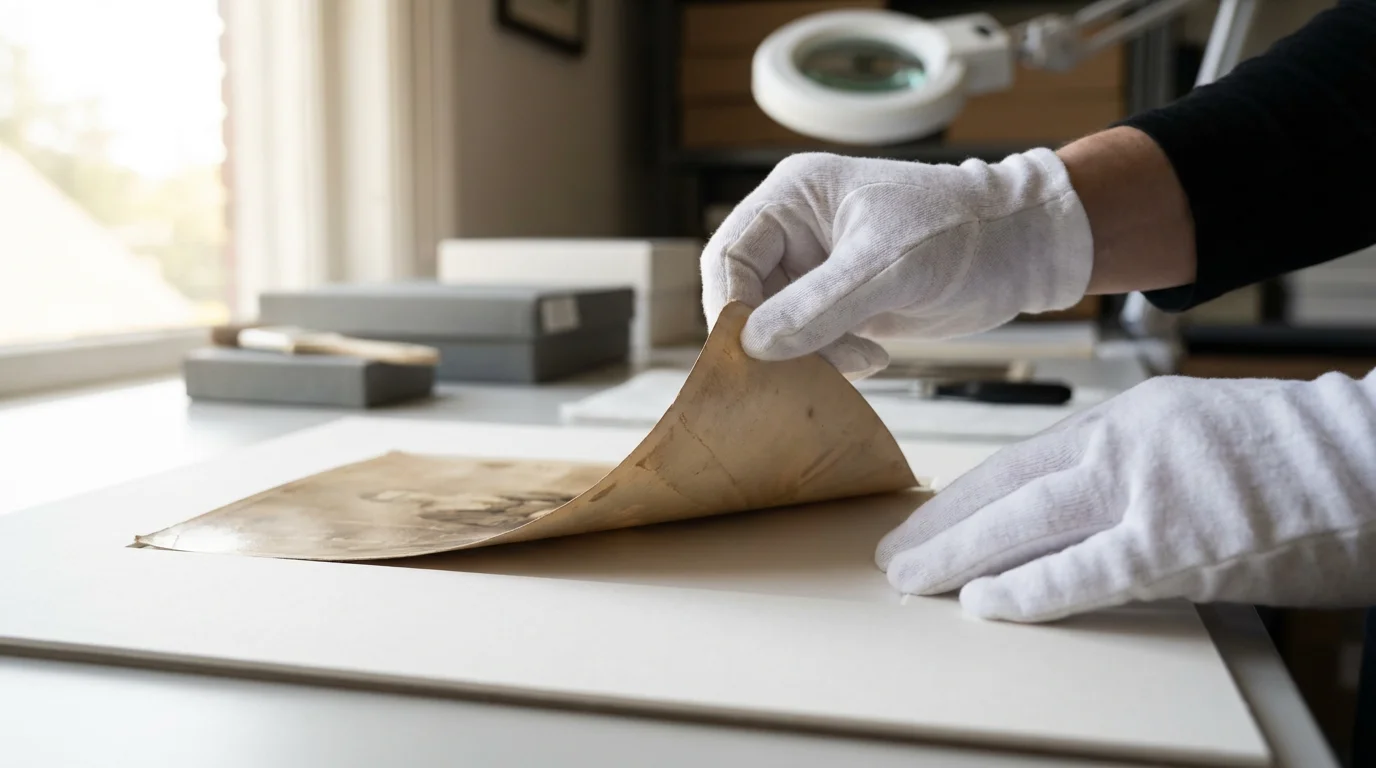
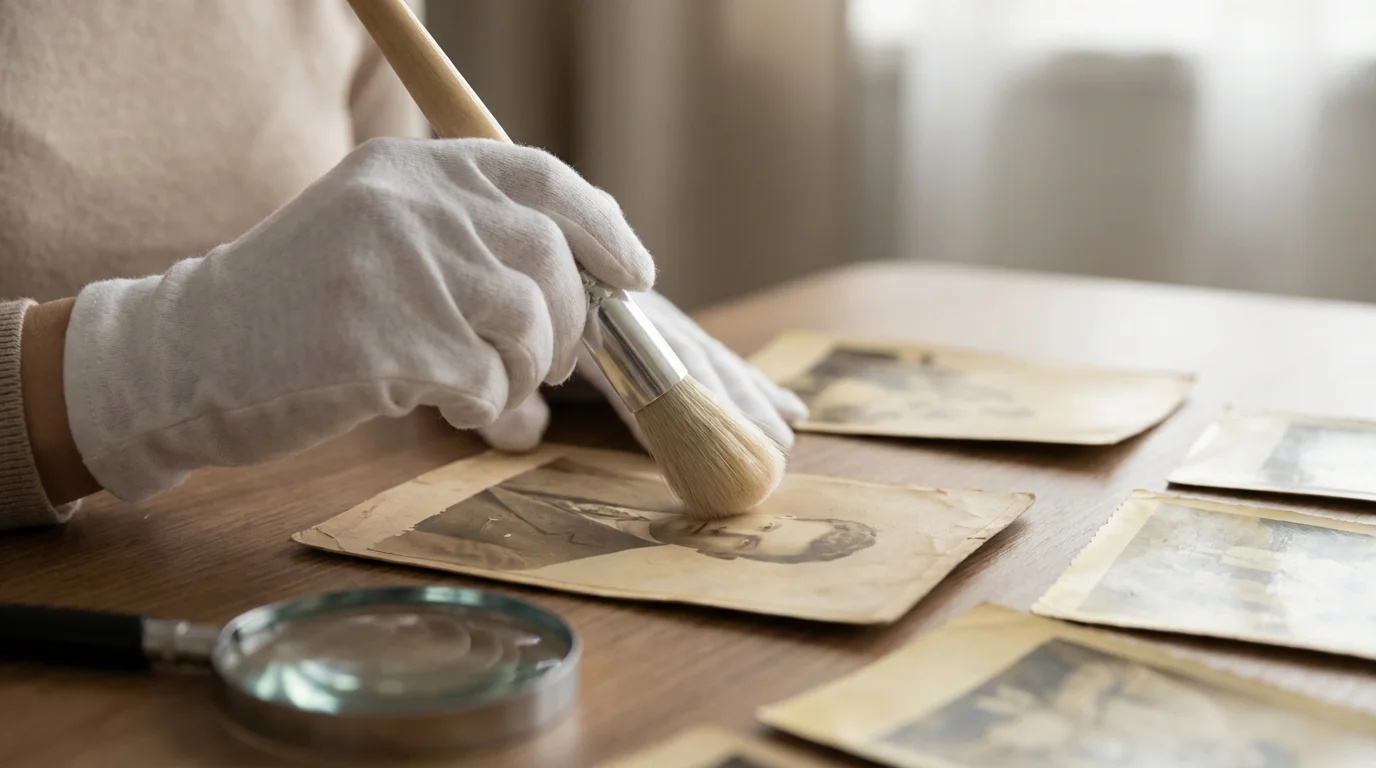
Your first priority is the physical safety of the original photograph. Every time you touch a vintage print, the natural oils and salts on your fingertips transfer to the surface. Over time, these substances can cause permanent staining or “silver mirroring,” where the metallic silver in the image migrates to the surface and creates a distracting metallic sheen. Always wear clean, lint-free cotton or nitrile gloves when handling your collection.
Beyond temporary handling, organizing your archives correctly is crucial, so be sure you understand how to store old photographs to prevent fading over the long term.
To learn more about displaying your vintage collection without causing light damage, read our guide on how to handle and display antique photographs safely.
Prepare a clean, flat workspace. Remove any food, drinks, or sharp objects that could spill or scratch the delicate emulsion. If the photo is stuck to the glass of a frame, do not attempt to peel it off forcefully. Sudden temperature or humidity changes can cause the emulsion to fuse with the glass. In these cases, it is often better to scan the photo through the glass rather than risking a tear. If you must clean the surface of a photo, use only a soft, dry camel-hair brush to gently whisk away loose dust. Avoid all liquids, as they can cause the paper to swell or the dyes to bleed.
Digitization: The Foundation of Digital Photo Repair
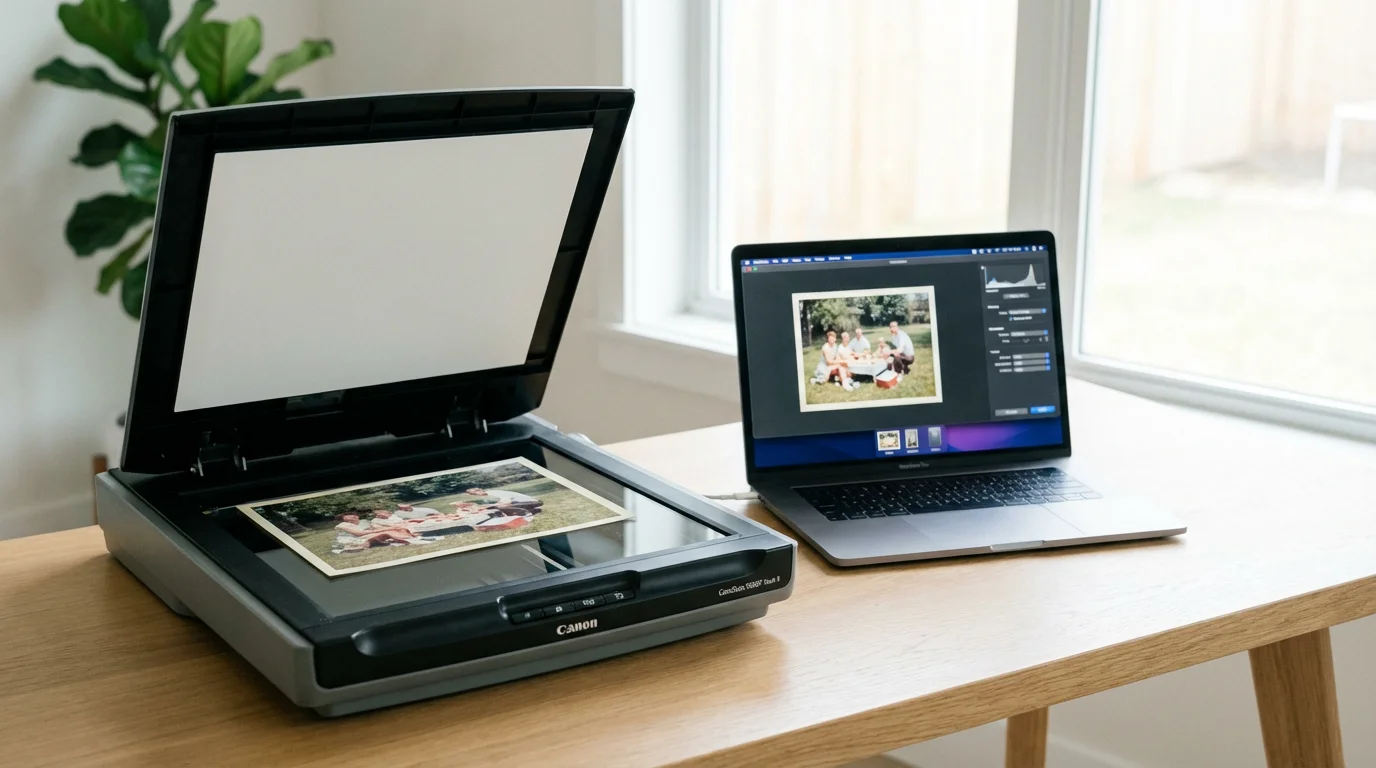
You cannot effectively restore a photo on the paper itself without specialized chemical training. Instead, you create a high-fidelity digital surrogate. This allows you to perform extensive photo repair without ever touching the original again. The quality of your restoration depends entirely on the quality of your scan. If you start with a low-resolution, compressed image, you limit how much detail you can recover.
If your pictures are stuck in vintage binders, you can follow our detailed guide on how to scan and preserve old photo albums page by page to digitize them without causing damage.
For step-by-step equipment recommendations and software settings, check out our tutorial on how to scan old photos at home.
| Scan Setting | Recommended Value | Why It Matters |
|---|---|---|
| File Format | TIFF (Uncompressed) | Preserves all data without adding digital artifacts. |
| Resolution | 600 to 1200 DPI | Allows for enlargement and captures fine grain detail. |
| Bit Depth | 16-bit (or 48-bit Color) | Provides more “levels” of color for smoother transitions during editing. |
| Color Space | Adobe RGB or ProPhoto RGB | Captures a wider range of colors than standard sRGB. |
When you scan, disable all “auto-enhance” or “dust removal” features in the scanner software. These features often smudge fine details, like the texture of clothing or strands of hair. You want the rawest, most honest version of the photo possible. If a photo is significantly curled, use a flatbed scanner and gently apply pressure to the lid to flatten it against the glass. For exceptionally fragile or large items, consider using a digital camera on a tripod with “copy stand” lighting—two lights positioned at 45-degree angles—to minimize glare and shadows.

Essential Tools for Photo Restoration
Once you have a high-quality scan, you need the right software to fix faded photos. Professional-grade software like Adobe Photoshop remains the industry standard due to its powerful “Curves” adjustments and “Content-Aware” fill capabilities. However, you do not need a subscription to achieve excellent results. GIMP is a free, open-source alternative that offers many of the same powerful tools, including layer masks and healing brushes.
In recent years, Artificial Intelligence (AI) has revolutionized the ability to restore old photos online. Tools like Remini or MyHeritage’s Photo Enhancer use deep learning to reconstruct faces and sharpen blurry details. While these tools are impressive, use them with caution. AI can sometimes “hallucinate” details that weren’t in the original, such as changing the shape of a nose or the color of eyes. For the most authentic results, use AI for a base layer of sharpening and noise reduction, but rely on your own manual adjustments to preserve the true likeness of your subjects.
“Digital restoration is a bridge between the past and the future; it requires the precision of a technician and the soul of an artist to ensure the person in the frame remains recognizable to those who loved them.”

Step-by-Step Guide to Color Correction and Detail Recovery
Open your scanned TIFF file in your chosen editor. Your first step is to address the overall tonal range. Open the Levels or Histogram tool. You will likely see that the data is bunched in the middle, with no true blacks or whites. Slide the black point and white point markers toward the edges of the data “mountain.” This immediately adds contrast, making the image pop. Be careful not to “clip” the data—if you push the markers too far, you lose detail in the shadows or highlights.
If you want to go beyond fixing damage and add realistic color to monochrome prints, learn how to colorize black and white photos digitally using modern software.
For a deeper dive into adjusting shadows, midtones, and highlights, explore our advanced color correction tips for scanned photos.
Next, tackle the color cast. Use the Curves tool for the most control. Instead of adjusting the entire image at once, select individual color channels (Red, Green, and Blue). If your photo is too yellow, go to the Blue channel and pull the curve upward to add blue (the opposite of yellow). If it is too red, go to the Red channel and pull it down to introduce cyan. This manual balancing often yields much more natural skin tones than any automatic white balance tool can provide.
For photos with “silver mirroring” or surface haze, the Dehaze tool (found in Lightroom or Photoshop’s Camera Raw filter) is an incredible asset. It analyzes local contrast to cut through the fogging effect caused by aging chemicals. Once the colors and contrast are balanced, use the Clone Stamp or Healing Brush to meticulously remove dust specks, scratches, and small tears. Work on a separate layer so you can always revert to the original if you make a mistake.
Advanced Techniques for Damaged Photos
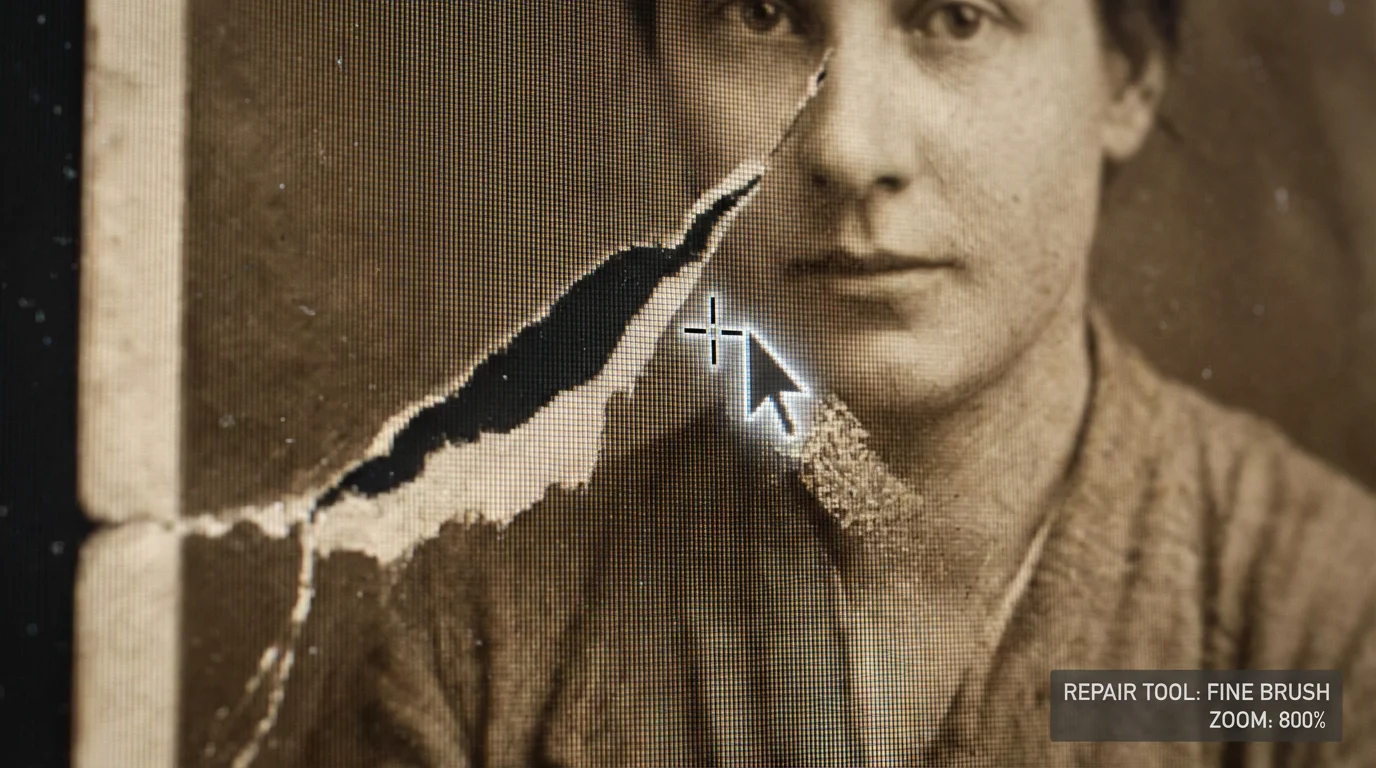
Sometimes, a photo suffers from more than just fading. You might encounter missing corners, deep creases that cut through faces, or heavy water stains. To fix these damaged photos, you must master the art of “sampling.” If the left eye of a subject is damaged, you can often copy the right eye, flip it horizontally, and use a low-opacity eraser to blend it into the damaged area. This technique, known as “mirroring,” works for many symmetrical features.
If the physical damage is too severe for home scanning, you may want to learn about what to expect when hiring professional photo restoration services to repair the original.
When dealing with large missing areas, look for textures elsewhere in the photo. If a piece of a suit jacket is missing, sample a clean patch of the same fabric and “paint” it over the gap. Pay close attention to the direction of the light and the “grain” of the original paper. If your digital patch is too smooth, it will look fake. You can add a small amount of “Digital Noise” to your repair layers to match the natural graininess of the vintage film. This subtle touch makes the restoration look like a physical photograph rather than a digital painting.
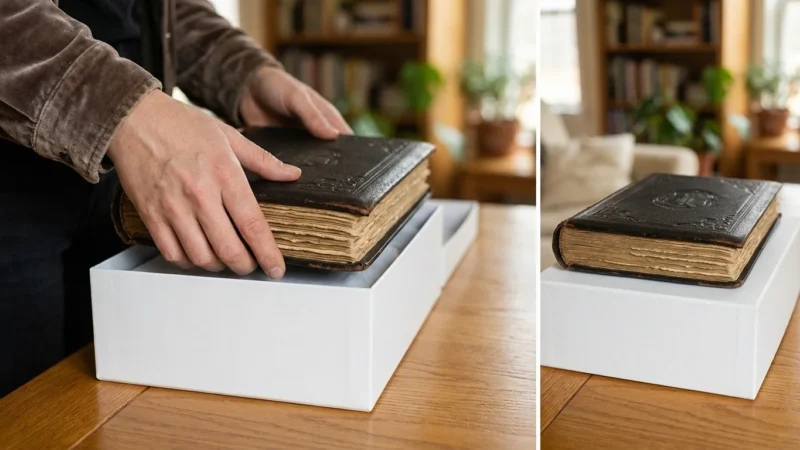
Archival Storage: Preventing Future Fading
Once you have restored the digital image, you must protect the original. Digital copies are essential, but the physical object remains the primary source. To stop the fading process, you must control the environment. The Image Permanence Institute emphasizes that temperature and humidity are the biggest drivers of chemical decay. Aim for a storage area that is cool (below 70°F) and dry (30-50% relative humidity). Avoid attics and basements, as these areas fluctuate wildly in temperature and are prone to pests.
For a comprehensive plan on setting up a climate-controlled home environment, see our guide on how to store old photographs to prevent fading and damage.
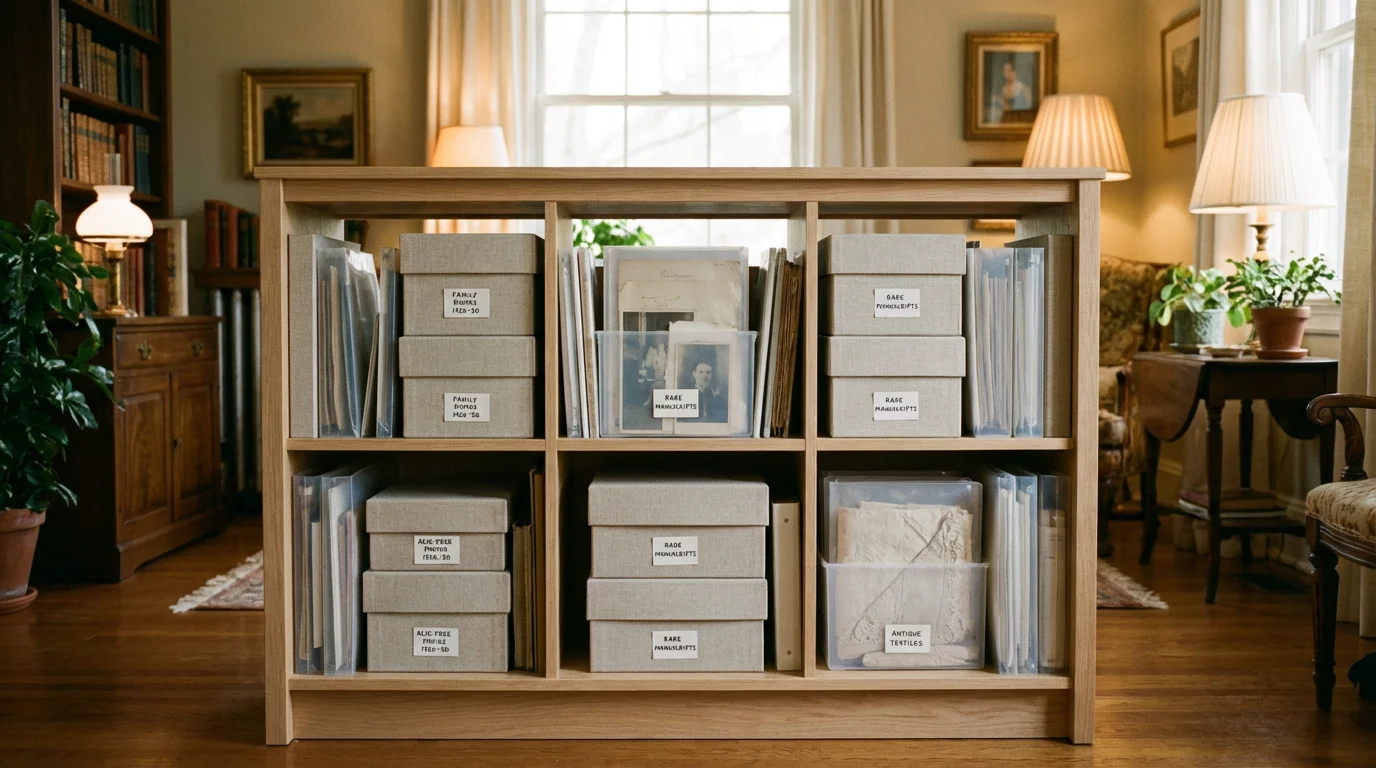
Invest in archival-grade storage materials. Look for products labeled “Acid-Free” and “Lignin-Free.” More importantly, ensure they have passed the Photographic Activity Test (PAT), an international standard (ISO 18916) that guarantees the material will not react chemically with your photos. Use polyester (Mylar) sleeves for individual photos, which allow you to view the image without touching it. Place these sleeves into archival boxes. For more information on identifying stable materials, the Library of Congress Preservation department provides detailed specifications for long-term housing of photographic prints.
When to Consult a Professional Conservator
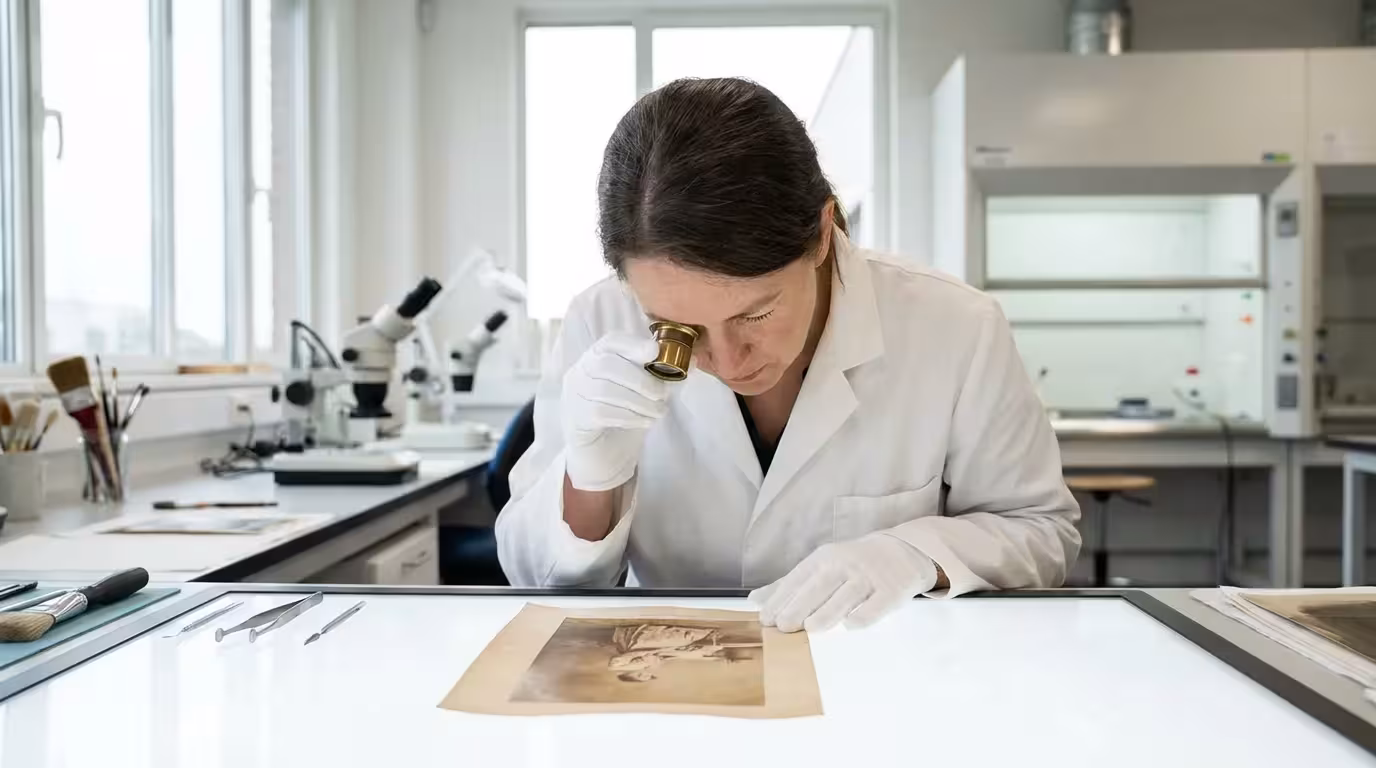
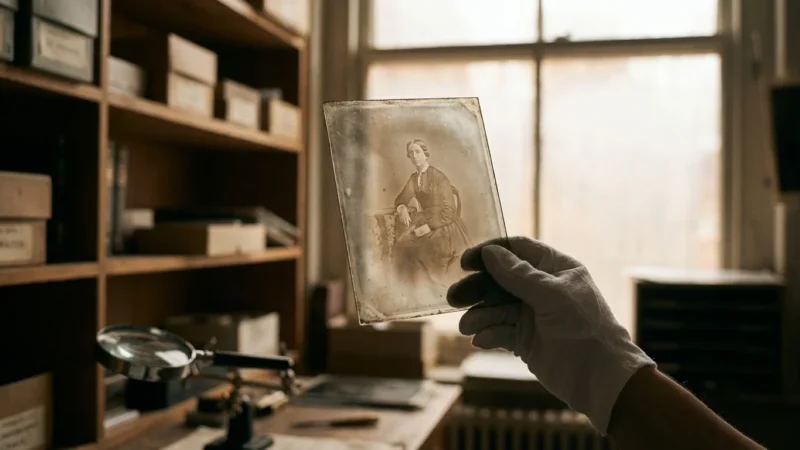
Not every photo is a candidate for a “do-it-yourself” project. If you have an extremely rare 19th-century daguerreotype, a tinted ambrotype, or a severely brittle glass plate negative, stop. These items are delicate chemical sandwiches that can be destroyed by a single mistake. Physical restoration—actually repairing the paper or stabilizing the chemistry—requires a professional conservator. You can find qualified professionals through the American Institute for Conservation.
Professional restorers have access to specialized tools like suction tables, chemical solvents, and microscopic repair kits. They can safely remove tape residues that have turned yellow and gummy, or flatten a photo that has been tightly rolled for 50 years. While their services are an investment, they are the best choice for heirlooms of significant historical or sentimental value. For standard family snapshots, digital restoration is usually sufficient, but for the “crown jewels” of your family archive, professional intervention is the safest path.
“Preserving a photograph isn’t just about the image; it’s about honoring the moment someone felt was important enough to capture forever.”
Frequently Asked Questions
Can I restore a photo that is almost completely white?
While extreme fading is difficult to reverse, digital scanners can often pick up trace amounts of data invisible to the naked eye. By scanning at a high bit depth and using ‘Levels’ or ‘Curves’ adjustments in photo editing software, you can often pull remaining contrast out of a seemingly blank image. However, if the silver or dye is physically gone, you may need to use AI-assisted reconstruction to fill in the missing details.
Is it safe to use physical chemicals to clean old photos at home?
No, you should never use household cleaners or water on vintage photographs. Many photo emulsions are water-soluble or highly sensitive to pH changes. Physical cleaning often leads to permanent surface damage. Stick to digital restoration—scan the photo as it is and perform all ‘cleaning’ using software like Photoshop or GIMP to ensure the original remains untouched.
What is the best file format for scanning photos for restoration?
Always scan your photos as TIFF files. Unlike JPEGs, TIFFs are a ‘lossless’ format, meaning they preserve all the data captured by the scanner without compression artifacts. This provides the highest quality foundation for color correction and detail recovery. Once you finish the restoration, you can save a copy as a JPEG for easy sharing, but keep the TIFF as your master file.
How do I prevent my restored photos from fading again?
To prevent future fading, store the original in a cool, dark, and dry environment using acid-free, lignin-free enclosures that pass the Photographic Activity Test (PAT). For your digital restorations, keep multiple backups on different devices and in the cloud. If you print the restored version, use pigment-based inks and archival-quality paper to ensure the new print lasts for decades.
Disclaimer: This article is for informational purposes only. When handling valuable or irreplaceable photographs, consider consulting a professional conservator. Always test preservation methods on non-valuable items first.


Leave a Reply