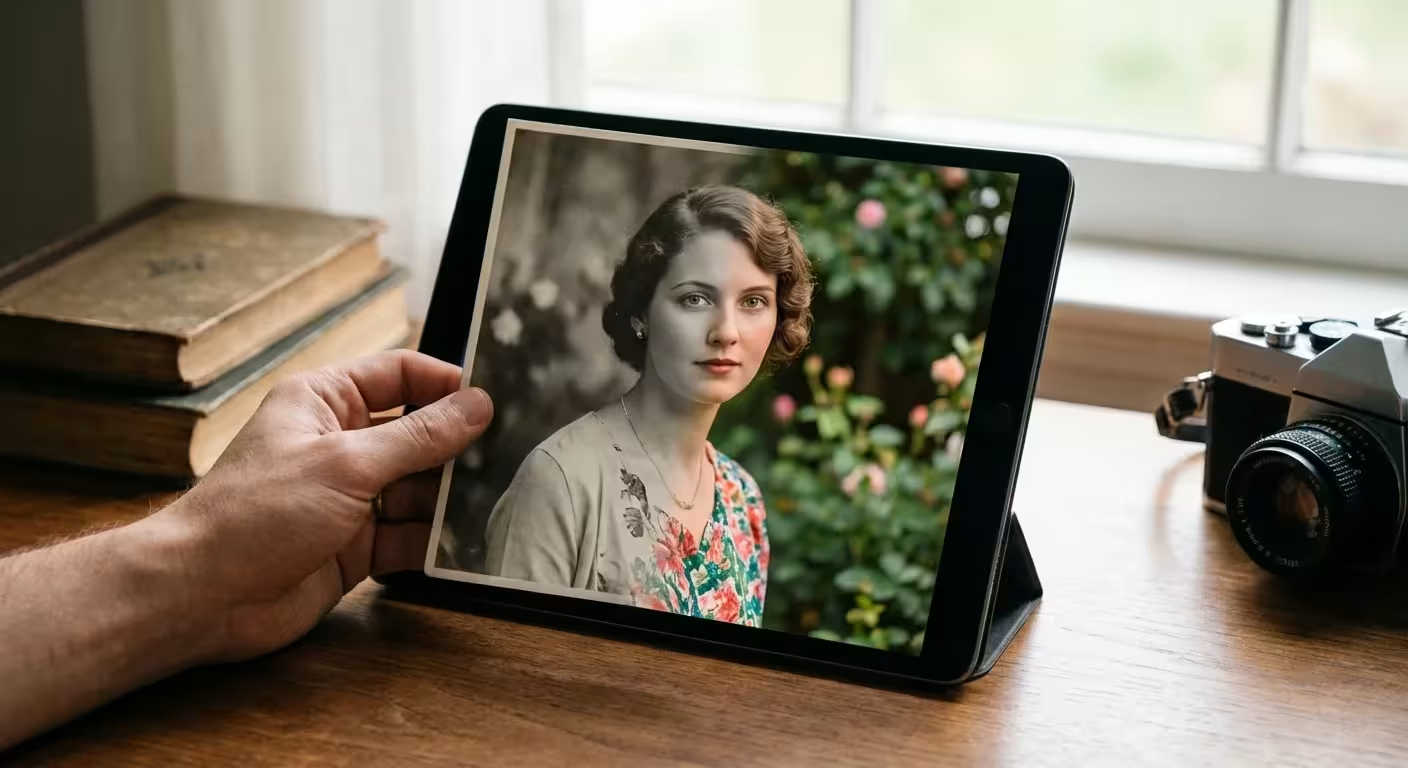
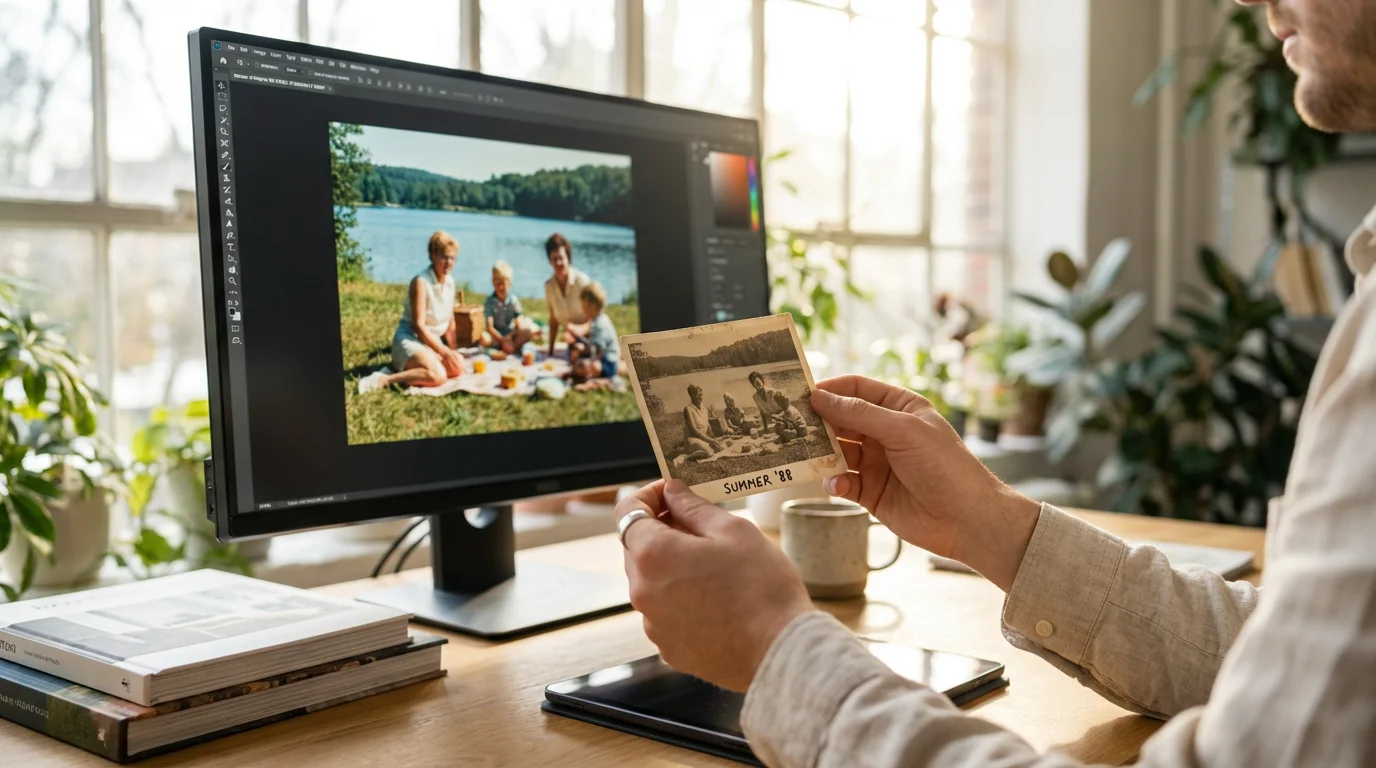
You probably have a shoebox tucked away in a closet or an attic filled with monochromatic memories. These black and white photographs capture the essence of your ancestors, yet they often feel like they exist in a different world—a distant, colorless era. When you colorize these images, you bridge that gap. Adding color transforms a historical document into a living moment; it allows you to see the vibrant blue of a grandmother’s eyes or the specific hue of a vintage car that has long since vanished. Digital colorization provides a powerful way to connect with your family heritage while ensuring the original physical prints remain safe and untouched.
Beyond adding color, you may first need to address physical aging by saving yellowed and discolored photographs to improve the final scan quality.
If you have recently inherited a photo collection, digital colorization is a fantastic way to begin revitalizing your family’s visual narrative.
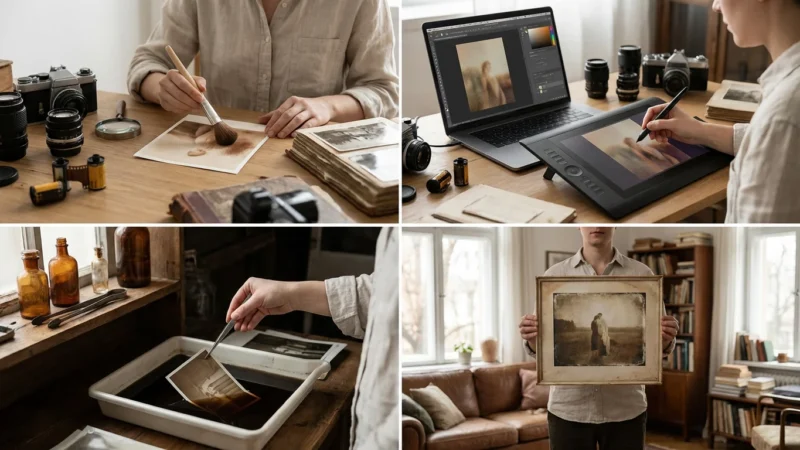
The process of colorizing black and white photos has evolved from a tedious, frame-by-frame manual art form into a sophisticated digital workflow. Today, you can leverage artificial intelligence to handle the heavy lifting while using professional editing software to fine-tune the artistic details. This guide walks you through every step of the journey, from high-quality scanning to choosing the right software and refining the final product for a realistic finish.
Preparing Your Digital Canvas
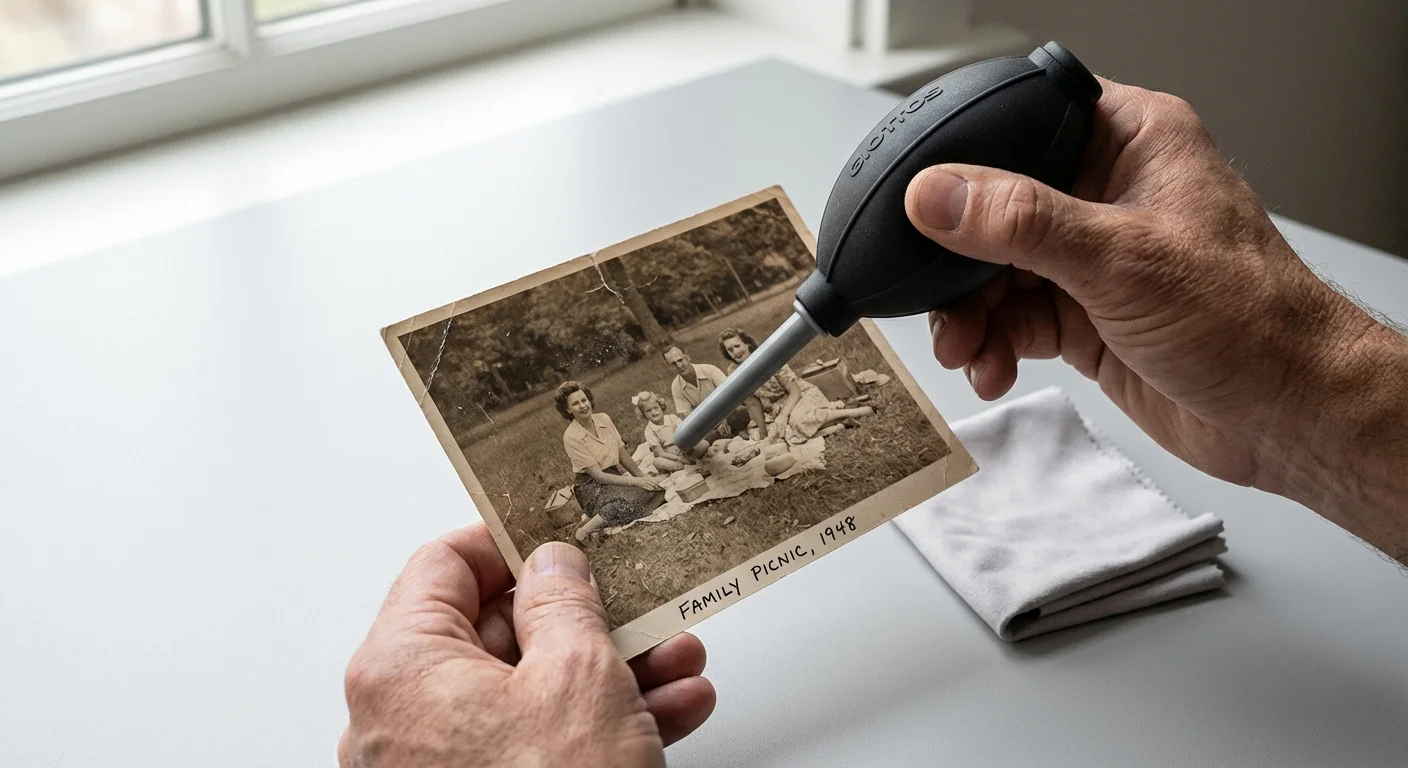
Before you can apply a single drop of digital pigment, you must create a high-quality digital foundation. The success of your colorization project depends entirely on the quality of your scan. If you start with a low-resolution, blurry, or dusty image, the colorization tools—especially AI-driven ones—will struggle to define edges and textures accurately. You want to provide the software with as much data as possible.
If you have a massive collection, batch scanning can save you hours of work during the initial digitization phase.
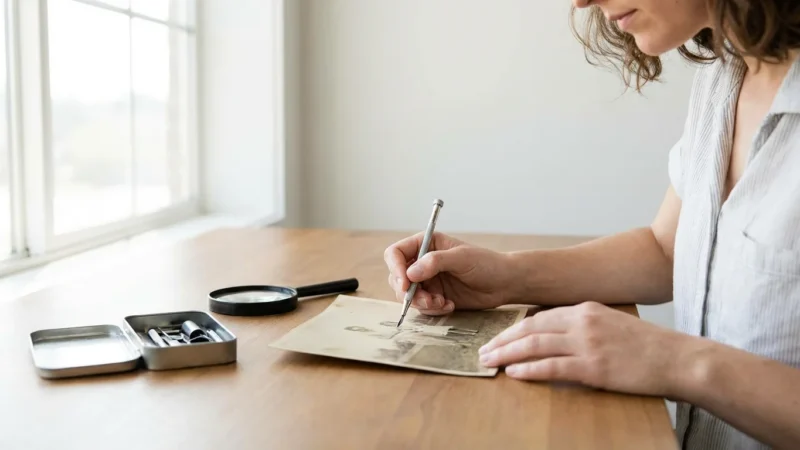
Begin by cleaning your physical photos gently. Use a soft, lint-free microfiber cloth or a specialized photographic air blower to remove surface dust. Avoid using any liquid cleaners unless you are a trained professional, as these can cause permanent chemical damage to the emulsion. Once clean, use a flatbed scanner rather than a smartphone camera whenever possible. Flatbed scanners provide consistent lighting and eliminate the perspective distortion often found in handheld photos.
Set your scanner to at least 600 DPI for standard 4×6 prints. If you are working with smaller photos, such as wallet-sized images or 35mm slides, increase the resolution to 1200 DPI or higher. Save your files in a lossless format like TIFF. While JPEGs are convenient for sharing, they compress data and create “artifacts” that can interfere with the colorization process. A TIFF file preserves every bit of detail from the original print, giving you a clean, robust canvas to work on.

Choosing the Best Software to Colorize Photos
The landscape of photo editing software is vast, ranging from one-click mobile apps to professional desktop suites. Your choice depends on your budget, your technical comfort level, and the amount of control you want over the final image. Many users find that a combination of automated AI tools and manual editing produces the most lifelike results.
| Software Option | Best For | Cost | Key Advantage |
|---|---|---|---|
| Adobe Photoshop | Professionals & Hobbyists | Subscription | Unmatched manual control and “Neural Filters.” |
| Palette.fm | Quick results | Free / Paid Tiers | Excellent AI color palettes with artistic options. |
| MyHeritage InColor | Genealogy enthusiasts | Subscription | Integrated with family tree research. |
| DeOldify (Open Source) | Tech-savvy users | Free | State-of-the-art AI models for realistic tones. |
| GIMP | Budget-conscious editors | Free | Powerful manual layering and masking tools. |
If you are looking for the absolute best software to colorize photos with professional precision, Adobe Photoshop remains the industry leader. Its “Neural Filters” feature uses Adobe Sensei AI to analyze a black and white image and apply color automatically in seconds. However, if you prefer a simpler approach, web-based tools like Palette.fm allow you to upload a photo and choose from various color profiles without installing any software. For those who want to colorize black and white photos free of charge, open-source projects like DeOldify offer impressive results, though they may require a bit more technical setup.
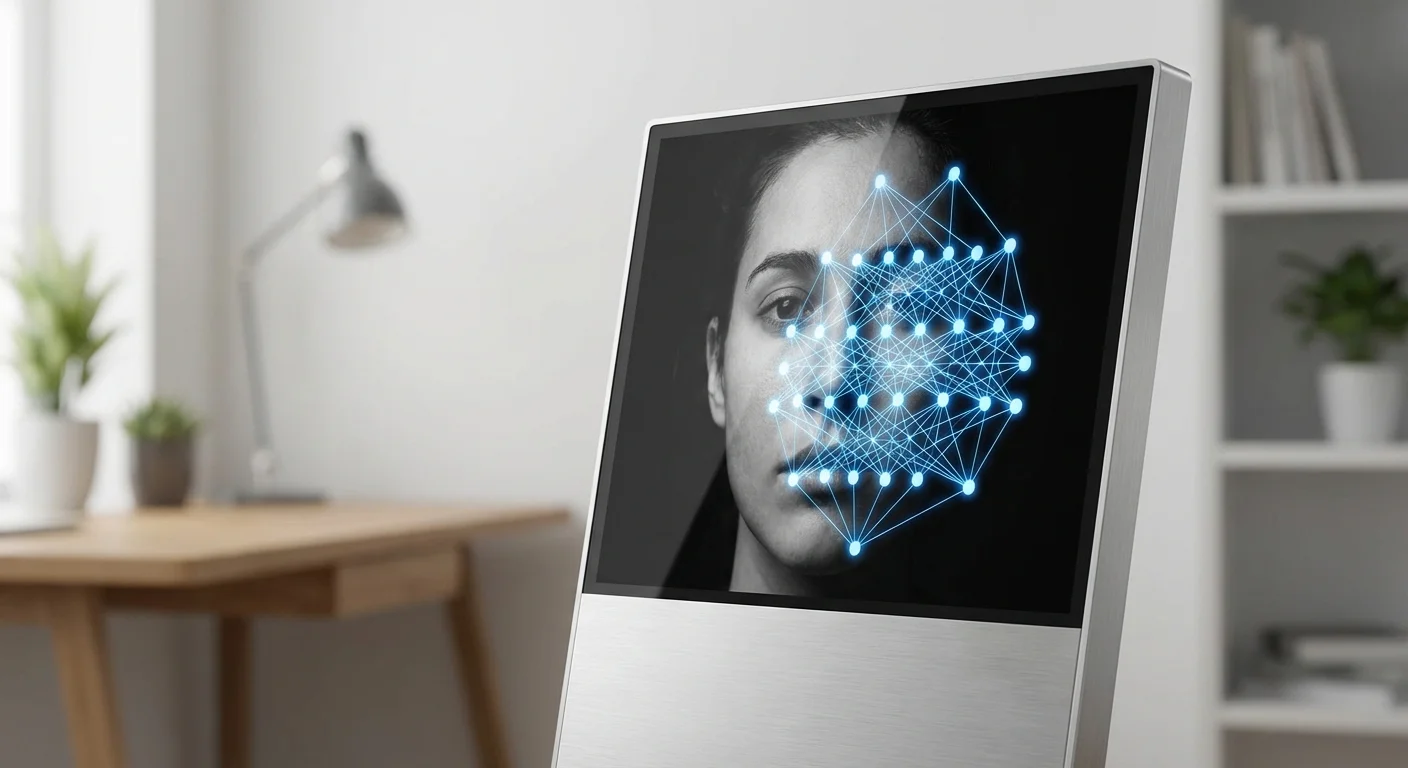
Understanding the Mechanics of AI Colorization
It is helpful to understand that AI does not “see” color in the way humans do. Instead, it uses deep learning models trained on millions of color photographs. When you upload a black and white photo, the AI looks at the gray values (luminance), textures, and shapes. It recognizes that a specific texture is likely grass and assigns it a green hue. It identifies a human face and applies a skin tone based on the lighting and shadows present in the original.
Before applying new hues, it can be beneficial to restore faded photos that have lost their tonal contrast over the decades.
Beyond adding color, you can also use AI photo restoration tools to automatically identify and repair structural damage like tears or missing pieces before you begin the coloring process.
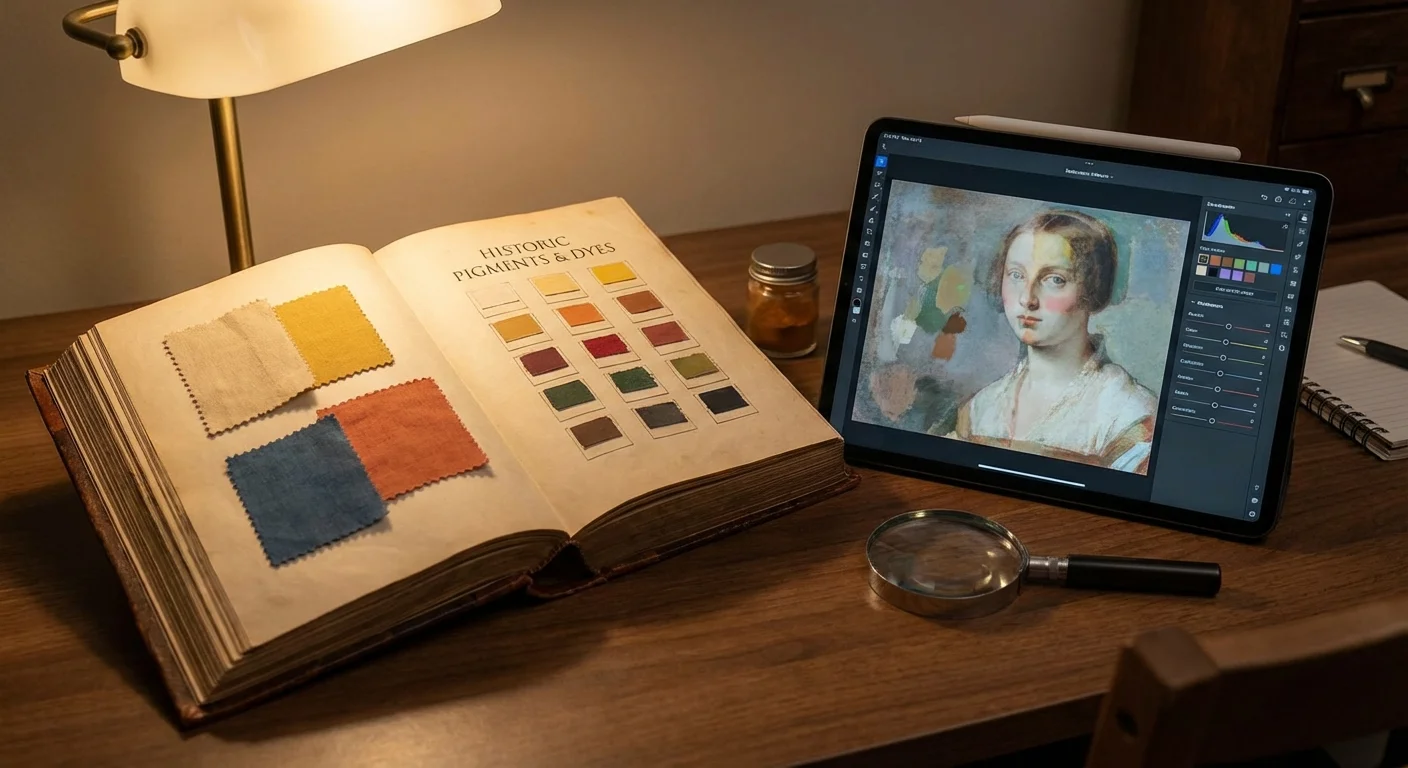
“AI colorization is an informed guess based on statistical probability, not a historical absolute. It provides a stunning visual interpretation, but manual intervention is often required to correct historical inaccuracies.”
Because AI relies on patterns, it can sometimes make mistakes. It might turn a red brick wall gray or fail to distinguish between different types of fabric. This is why the best results come from a “hybrid” approach: let the AI do the initial coloring, and then use your human eye to refine the details. You should look for software that allows you to adjust the “strength” of the AI or provides manual “color brush” tools to override the computer’s decisions.

A Step-by-Step Digital Colorization Workflow
Follow these steps to ensure a smooth transition from a monochrome original to a vibrant, colored masterpiece. This workflow prioritizes preservation and quality at every stage.
For those working with dozens of images from the same era, batch editing can ensure consistent color results across the whole set.
Once you have finished the basic coloring, applying professional color correction tips can help ensure the final hues look natural and balanced.
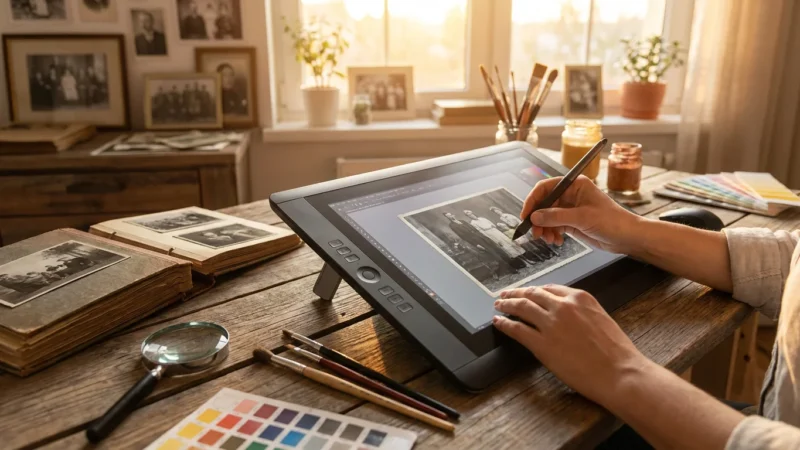
- Digital Restoration: Before adding color, fix the “bones” of the photo. Use a healing brush or clone stamp tool to remove scratches, fold lines, and silvering. A clean black and white base leads to a much cleaner colorized result.
- Adjust Contrast and Levels: AI performs better when the image has a full range of tones. Adjust your levels so that the blacks are deep and the whites are crisp without losing detail in the highlights.
- Initial AI Colorization: Run your image through your chosen AI tool. If you are using Photoshop, go to Filter > Neural Filters > Colorize. Experiment with different presets or “styles” if the software offers them.
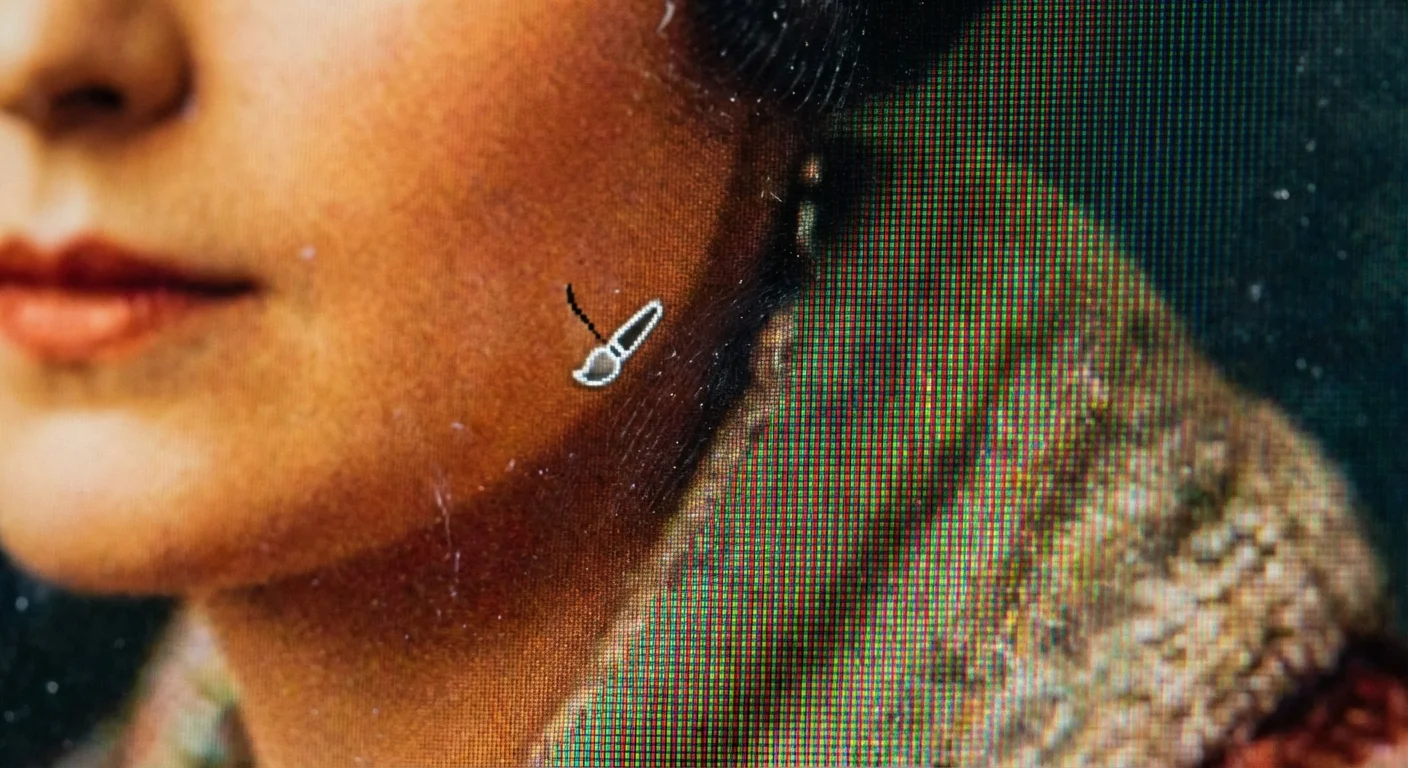
- Create Layers: If you are using advanced software, always work on separate layers. This allows you to adjust the opacity of the color without affecting the underlying black and white structure.
- Manual Overlays: Identify areas where the AI failed. For example, if a uniform should be a specific shade of olive drab but the AI made it blue, create a new layer set to “Color” mode and manually paint in the correct hue.
- Final Color Grading: Use adjustment layers like Hue/Saturation or Color Balance to unify the image. Often, AI colorization can look a bit “patchy.” A slight warming or cooling of the overall image can make it feel more cohesive.
Mastering Skin Tones and Environmental Textures
The most difficult part of colorizing black and white photos is achieving realistic skin tones. Human skin is not a single flat color; it is a complex map of reds, yellows, and blues reflecting the blood vessels and light beneath the surface. To make a portrait look alive, you must avoid “mannequin skin”—where the face looks like it was painted with a single shade of peach or brown.
When working with older flash-photography portraits, it may be necessary to remove red eye to maintain the realism of the colorized subject.
Look for references. If you are colorizing a photo of a family member, look at color photos of their descendants. Genetics often dictate skin undertones and hair color. When editing, add a slight blush to the cheeks and warmth to the ears and knuckles. These small touches of “subsurface scattering” are what make a photo look like it was taken yesterday rather than 1920.
Environmental textures also require attention. Foliage should not be a uniform “clover green.” Natural landscapes contain various shades of emerald, lime, and dried brown. Similarly, sky colors should fade from a deeper blue at the zenith to a lighter, hazier tone near the horizon. By varying the saturation and hue in these areas, you provide the depth that the human eye expects to see in the real world.
Ethical Considerations and Historical Accuracy
When you colorize a historical photograph, you are effectively creating an interpretation of the past. It is important to approach this with respect for the original artist and the subject. Historians and archivists often debate the merits of colorization, as it can sometimes obscure the original intent of the photographer who chose black and white for its tonal qualities and composition.
If you are working with a highly sensitive historical heirloom that requires expert precision, it may be worth investigating professional photo restoration services to ensure the highest standard of accuracy.
To stay ethically sound, perform research before choosing colors for specific items. If the photo features a military veteran, look up the specific branch of service to find the correct uniform and medal colors. If the photo shows a city street, research the local architecture or common car colors of that era. This attention to detail transforms your project from a simple “coloring book” exercise into a meaningful act of historical preservation. For deep dives into photographic history and archival standards, the Smithsonian Archives provides excellent resources on understanding historical context.
Always keep your colorized version separate from the original. Label it as “Colorized” in the filename. This ensures that future generations know which version is the historical record and which is the modern artistic interpretation. Respecting the original work is the hallmark of a true preservationist.
Preserving Your Original Photographic Legacy
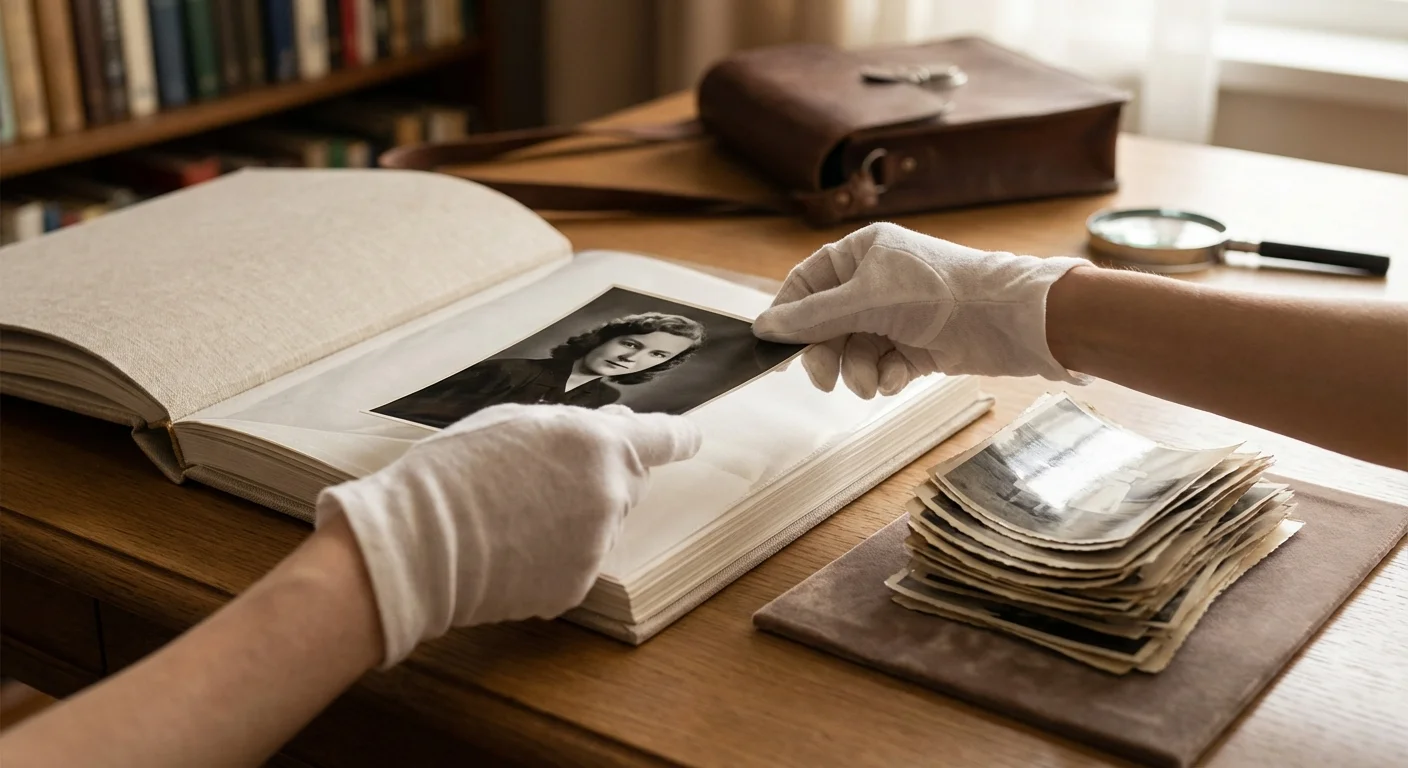
While the digital version of your photo is now vibrant and full of life, you must not neglect the physical print. The digital file is a supplement, not a replacement. Physical photographs are susceptible to light, humidity, and chemical breakdown. To ensure the original lasts for another century, you should store it in an archival-safe environment.
Once your images are restored and vibrant, consider building a family photo archive to keep your heritage organized for the next generation.
Use acid-free and lignin-free folders or sleeves. Avoid “magnetic” photo albums from the 1970s and 80s, as the adhesive in these albums is highly acidic and will eventually destroy the paper. Keep your collection in a cool, dry place with stable temperatures—meaning the basement and attic are the worst places for your memories. For comprehensive guidelines on the long-term care of physical media, refer to the Library of Congress Preservation website, which offers expert advice on safeguarding national and personal treasures.
Finally, consider the “3-2-1” rule for your digital colorized files: Have 3 copies of your data, on 2 different media types (like an external hard drive and the cloud), with 1 copy stored offsite. This ensures that your hard work in restoring and colorizing these precious memories won’t be lost to a computer crash or a lost thumb drive.
Frequently Asked Questions
Is it possible to colorize black and white photos for free?
Yes, several high-quality tools allow you to colorize black and white photos for free. Open-source projects like DeOldify and web-based platforms like Palette.fm offer free tiers or community versions. While some free tools may apply a watermark or limit the resolution, they provide a great starting point for hobbyists.
Does colorizing a digital copy damage the original photo?
Colorizing a digital scan does not affect the physical photograph in any way. Always maintain the original black and white digital scan as your master file and work on a copy. This ensures you preserve the historical integrity of the original while experimenting with modern digital enhancements.
What is the best resolution for scanning photos before colorization?
For the best results during the colorization process, scan your photos at a minimum of 600 DPI (dots per inch). This provides enough detail for AI algorithms and manual editing tools to distinguish textures and edges, leading to a much more realistic and sharp color application.
Can I colorize a photo that is heavily damaged or scratched?
You should perform digital restoration before colorization. Use tools like Photoshop’s Spot Healing Brush or dedicated AI restoration software to remove scratches, dust, and tears. Colorizing over a damaged area often highlights the flaws rather than hiding them.
Disclaimer: This article is for informational purposes only. When handling valuable or irreplaceable photographs, consider consulting a professional conservator. Always test preservation methods on non-valuable items first.


Leave a Reply