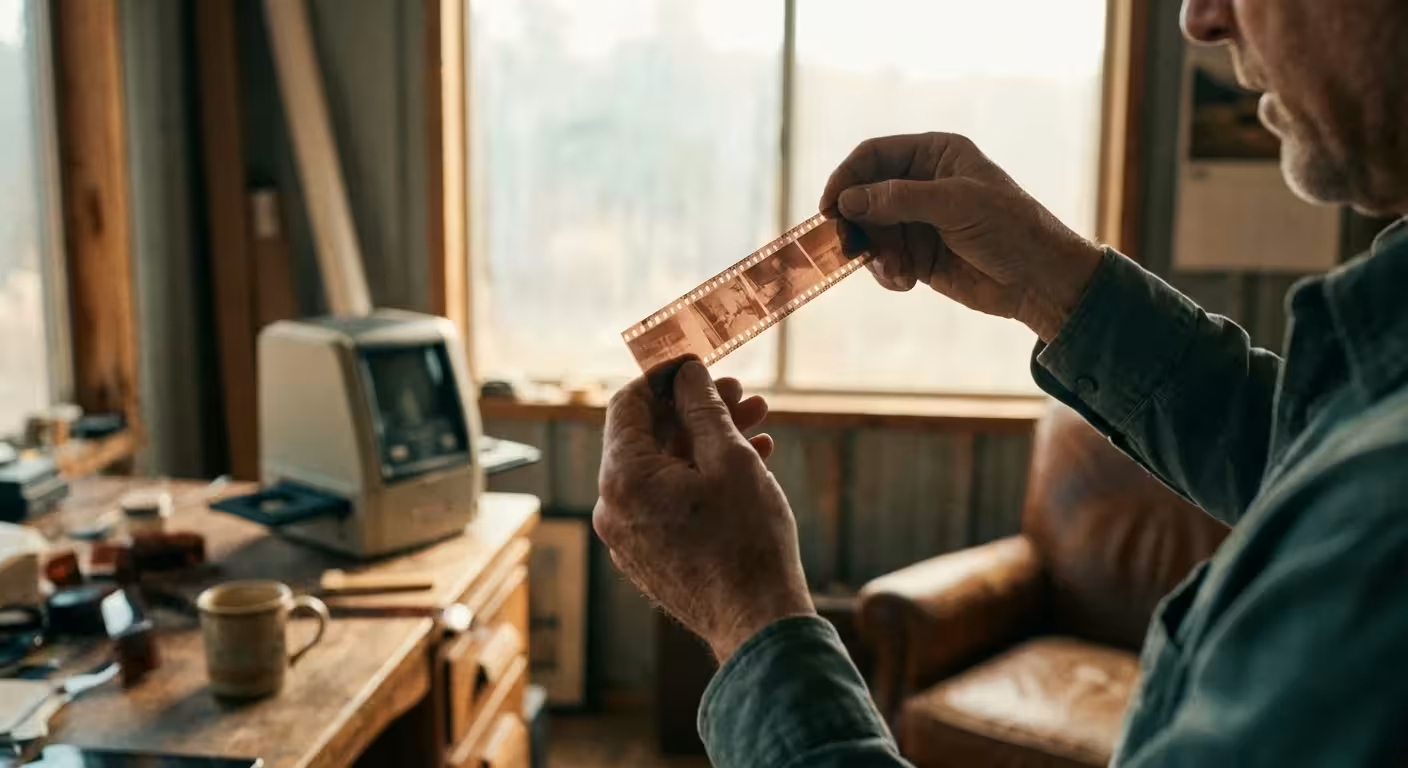
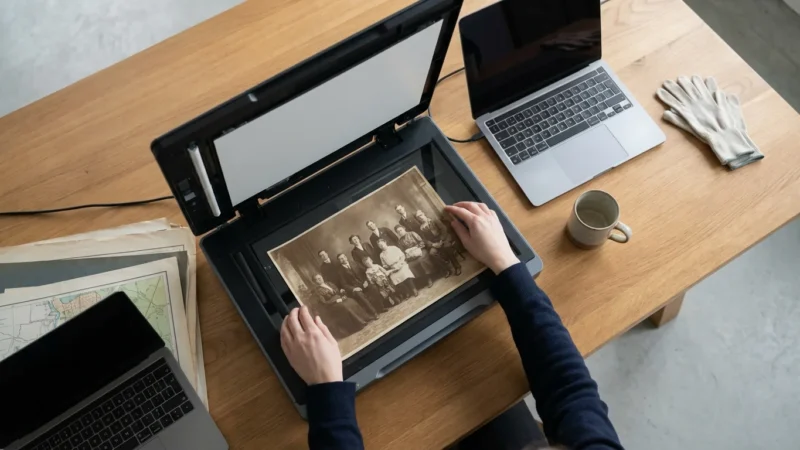
Your old film negatives hold a treasure trove of detail that often surpasses the original prints tucked away in your photo albums. While prints fade and crack over time, a well-preserved negative contains the raw data of your family’s history. Learning how to scan negatives at home allows you to reclaim these memories, providing higher resolution and better color control than any commercial lab service typically offers for a bulk price. Whether you found a shoebox of 35mm strips in the attic or inherited a collection of medium-format family portraits, digitizing them is the most effective way to ensure they survive for the next generation.
While this guide focuses on film strips, the workflow for creating digital copies of photo negatives and slides share many similar technical principles.
The process of digital conversion might seem technical, but modern tools have made it accessible for everyone. By following a structured workflow, you can transform those translucent strips of plastic into vibrant, high-definition digital files. This guide walks you through every stage, from selecting the right negative scanner to the final digital touch-ups, ensuring you achieve professional-grade results on a home budget.
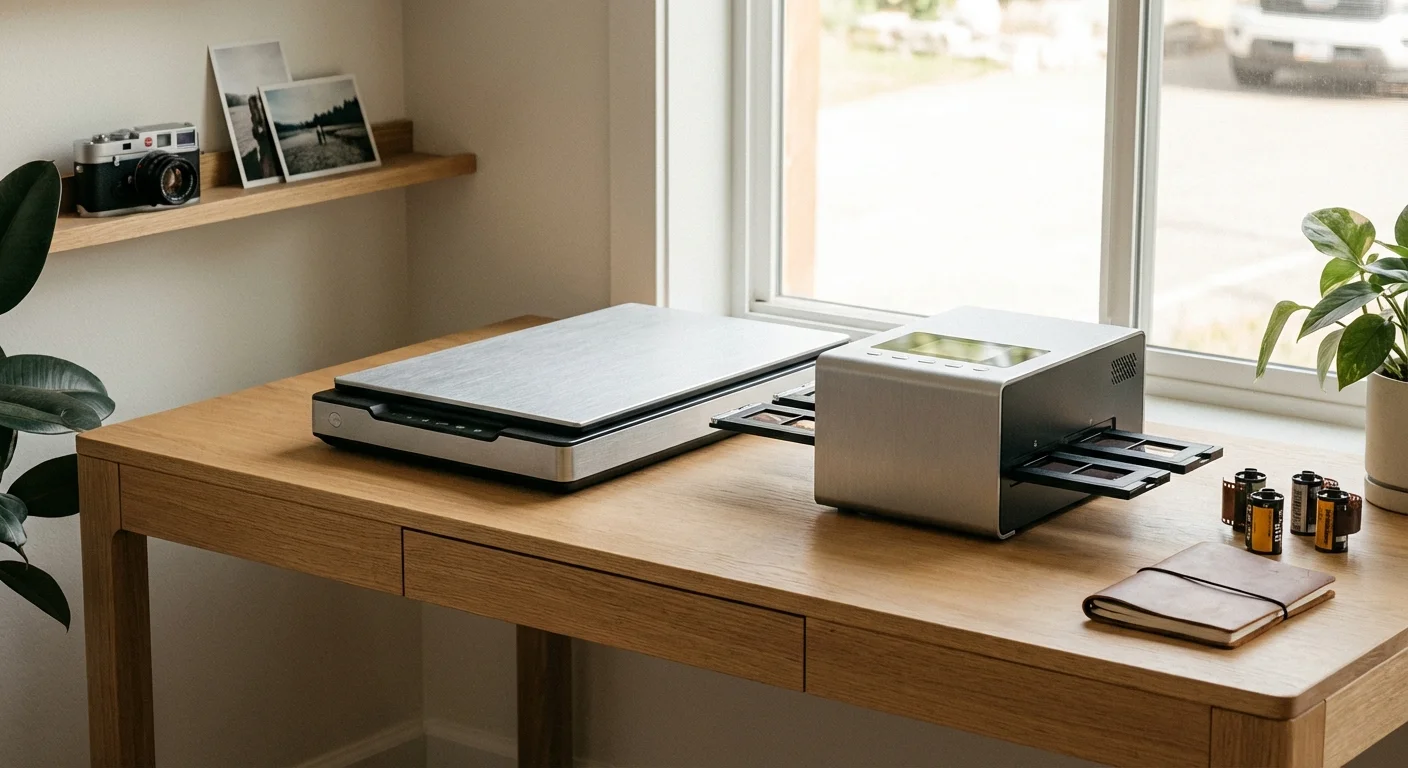
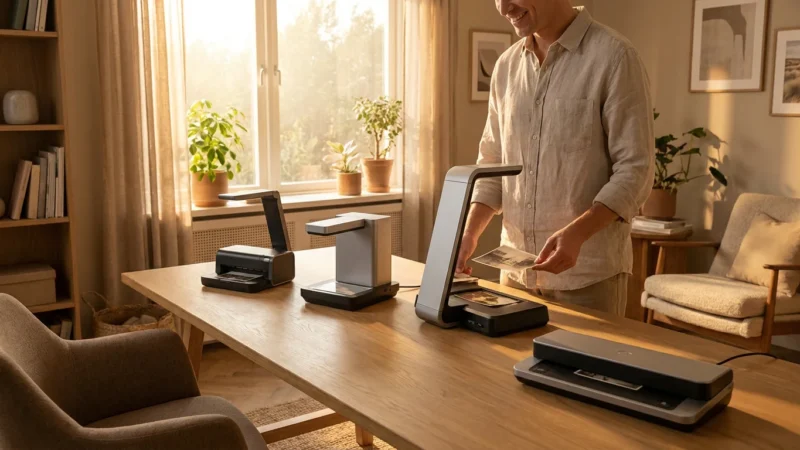
Selecting the Right Equipment for Your Collection
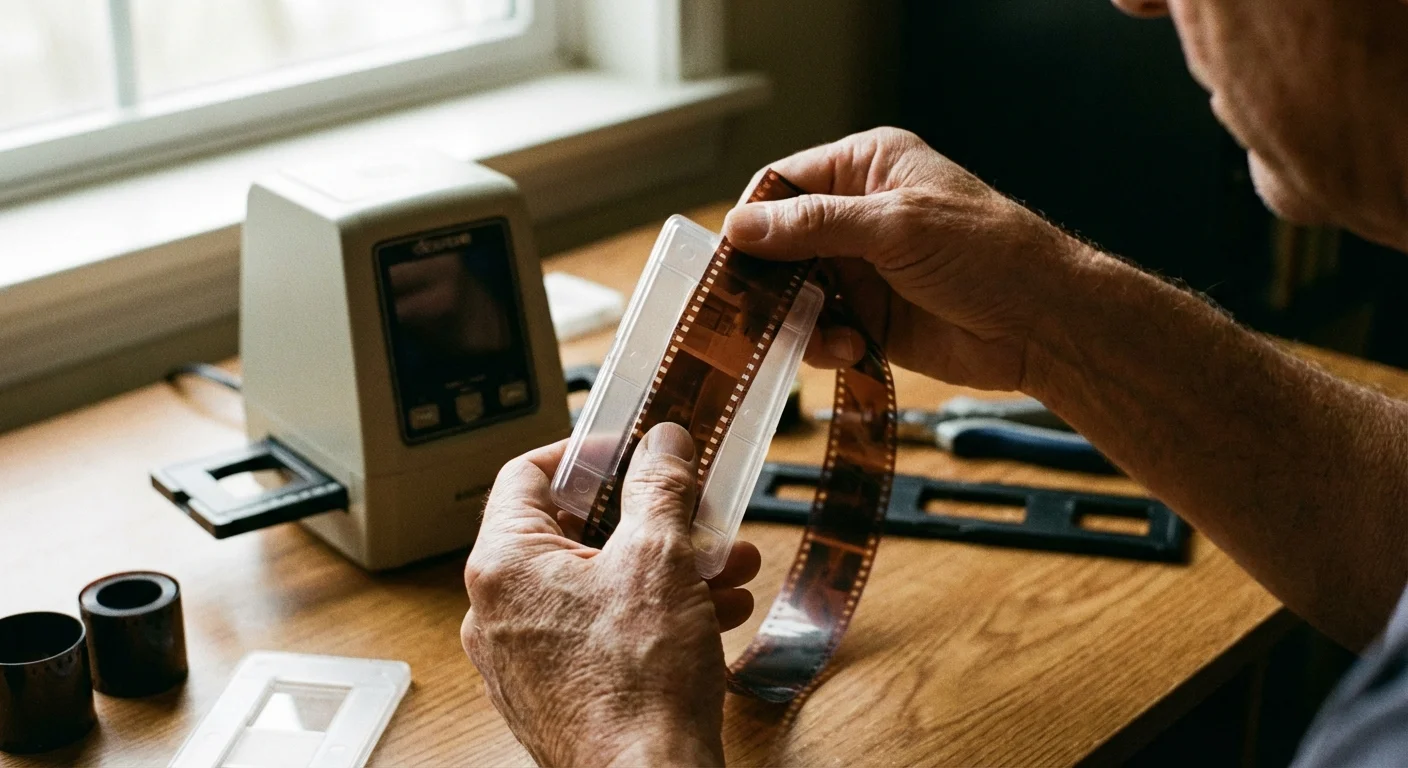
The best way scan negatives depends heavily on your budget and the volume of your collection. You generally have three main paths to choose from: flatbed scanners, dedicated film scanners, or digital camera scanning. Each method offers a different balance of speed, quality, and ease of use.
If you find that your collection includes specialized vintage sizes, you may need a specific guide for digitizing 110, 126, and 127 format film.
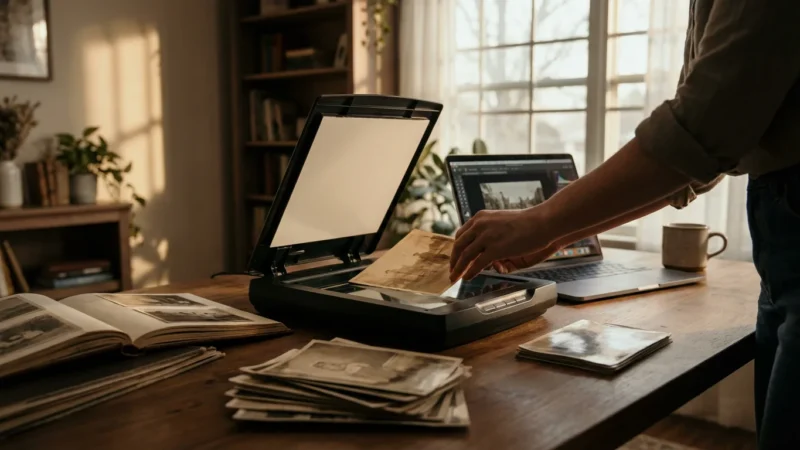
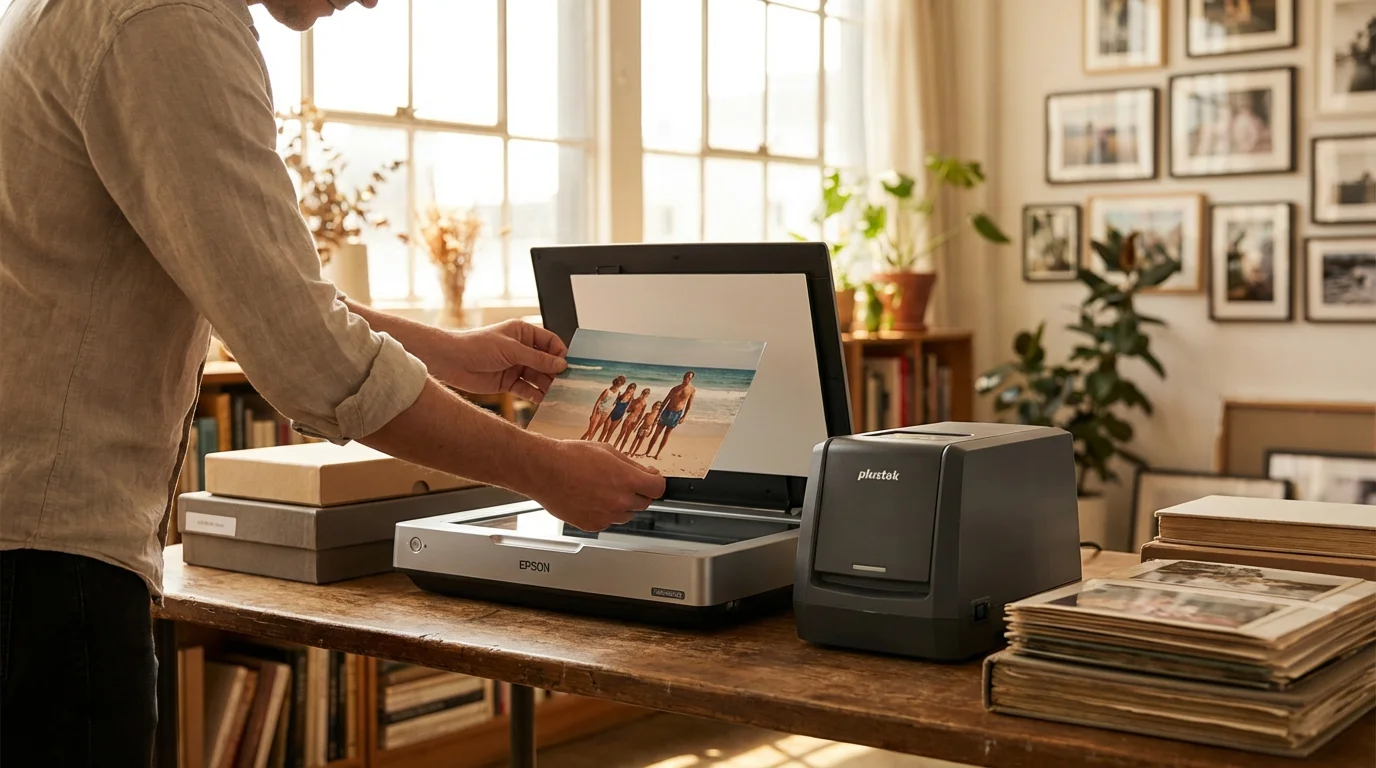
Flatbed scanners, such as the Epson Perfection series, are the most popular choice for beginners. These devices feature a transparency unit in the lid that shines light through the film. They are versatile because they handle both prints and various film sizes, including 35mm, 120 (medium format), and even large format negatives. While they are slightly less sharp than dedicated units, the convenience of scanning multiple strips at once makes them ideal for large family archives.
Dedicated film scanners are specialized devices designed solely for 35mm or medium format film. Brands like Plustek or Pacific Image produce these units, which often provide higher optical resolution and better dynamic range than flatbeds. If your primary goal is to digitize negatives with the highest possible clarity for large-scale printing, a dedicated scanner is a worthy investment. However, they usually require you to feed film manually, which slows down the process considerably.
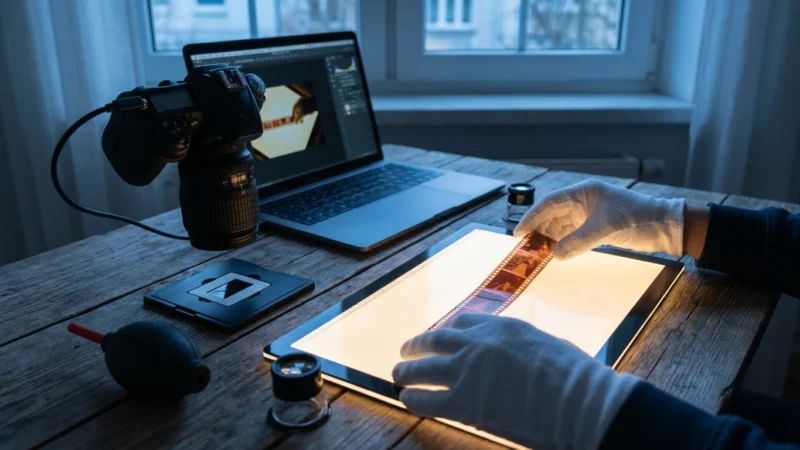
A third, increasingly popular method is “camera scanning.” This involves using a high-resolution DSLR or mirrorless camera, a macro lens, and a light table to take a photograph of the negative. This method is incredibly fast once set up and delivers professional results, but it requires more technical knowledge regarding lighting and focus. For more in-depth reviews on hardware performance, Digital Photography Review offers comprehensive tests on the latest scanning equipment and digital cameras.
| Scanner Type | Best For | Pros | Cons |
|---|---|---|---|
| Flatbed Scanner | Large mixed collections | Versatile, scans multiple frames | Lower sharpness than dedicated units |
| Dedicated Film Scanner | High-quality 35mm work | Excellent resolution and detail | Slow, usually 35mm only |
| Camera Scanning | Speed and professional quality | Extremely fast, high DR | High setup cost and learning curve |
Preparing Your Negatives for Digitization
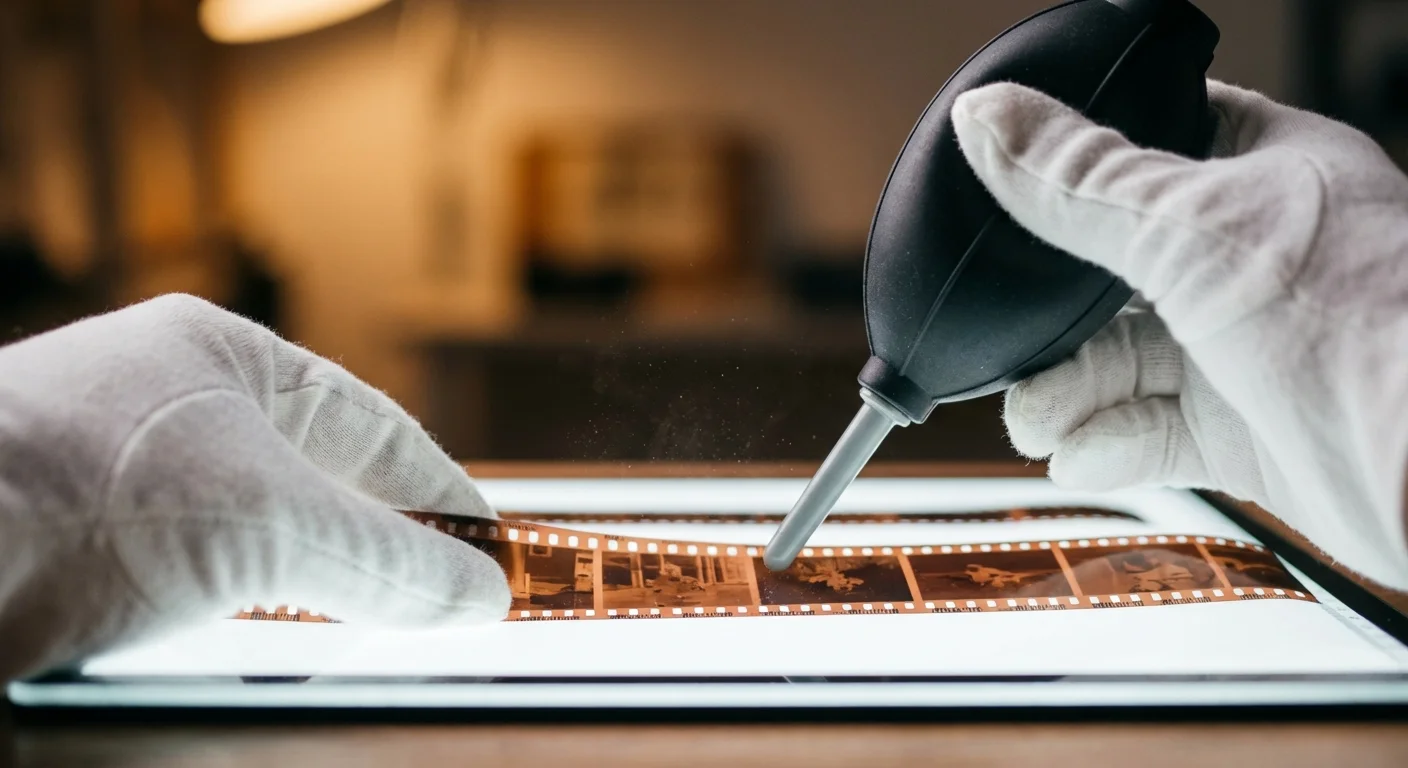
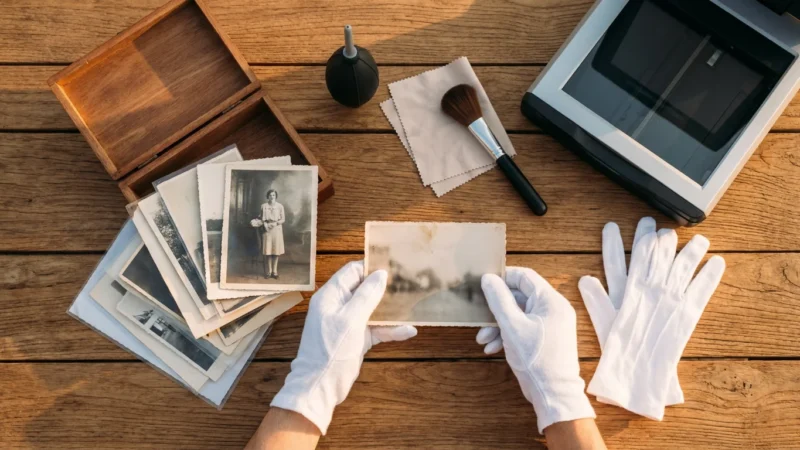
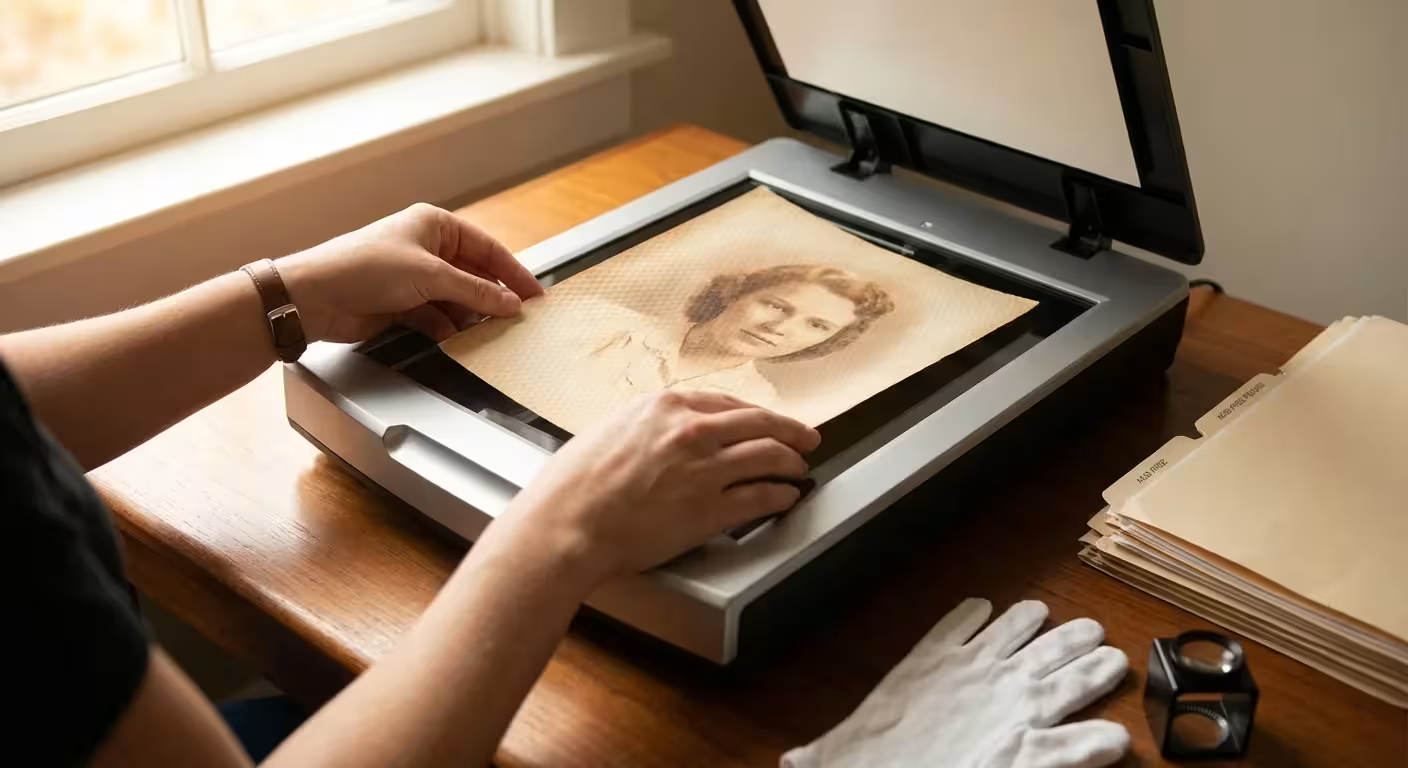
Before you even turn on your equipment, you must handle your negatives with the respect they deserve. Dust is your greatest enemy during this process. A single speck of lint on a 35mm negative will appear as a massive white blotch on your digital image. To scan negatives at home tips often emphasize cleanliness above all else.
Properly cleaning and handling your film ensures you don’t introduce new scratches or oils during the process.
Wear lint-free cotton gloves or anti-static nylon gloves whenever you touch the film. Oils from your skin can cause permanent damage to the emulsion and attract more dust over time. If the negatives are currently in old, acidic paper sleeves, prepare new archival-quality polyethylene or Mylar sleeves to house them after scanning. The Image Permanence Institute provides extensive data on how different storage materials affect the longevity of film emulsions.
Use a manual rocket blower to remove loose dust. Avoid using “canned air” or compressed air canisters, as they can sometimes spray liquid propellant onto the film, leaving stubborn spots. For more persistent dust, a high-quality anti-static brush designed for film is effective. If you encounter negatives with heavy grime or mold, do not attempt to scrub them. Instead, consult a professional or use a dedicated film cleaner fluid and a specialized PEC-PAD, applying very gentle pressure.
Setting Up Your Scanning Environment
Your workspace significantly impacts the quality of your scans. Choose a room with minimal dust—avoid carpeted areas if possible, as they trap and release fibers into the air. A hard surface like a wooden or laminate desk is much easier to keep clean. You should also control the lighting; while you do not need a darkroom, bright overhead lights can cause reflections on the scanner glass or the film itself, leading to “Newton rings” (distracting rainbow patterns caused by interference).
Clean the scanner glass thoroughly using a microfiber cloth and a small amount of glass cleaner. Apply the cleaner to the cloth, not the glass, to prevent liquid from seeping into the scanner housing. Ensure the glass is completely dry before placing any film down. Static electricity often builds up on the glass, attracting dust the moment you set the negative strips down. An anti-static cloth can help neutralize this charge.
“The key to a successful digitization project is 90% preparation and 10% execution. A clean workspace saves hours of digital repair later.”
The Step-by-Step Scanning Workflow
Once your negatives and equipment are ready, follow this repeatable workflow to ensure consistency across your entire collection. Using a consistent method prevents you from having to re-scan images later because of a missed setting.
- Load the Film: Place your negatives into the film holder. Most holders have pins or rails to keep the film flat. Ensure the “emulsion side” (the duller, non-shiny side) is facing the correct direction according to your scanner’s manual. Usually, the film is placed with the emulsion side up toward the light source.
- Preview Scan: Run a low-resolution “Prescan” or “Preview.” This allows you to see the frames on your screen. Use the software’s cropping tool to select only the image area of each frame. Avoid including the clear film borders, as this can confuse the scanner’s auto-exposure settings.
- Adjust Exposure and Contrast: Look at the histogram in your scanning software. Ensure that the highlights aren’t “clipped” (cut off at the right side) and the shadows aren’t lost in total blackness. Most modern software, like VueScan or SilverFast, does an excellent job of auto-adjusting, but manual tweaks often reveal more detail in dark areas.
- Set Color Parameters: If you are scanning color negatives, select the appropriate film profile if your software supports it (e.g., Kodak Portra or Fuji Superia). This helps the software accurately neutralize the orange mask inherent in color negative film.
- Final Scan: Once you are satisfied with the preview, hit the “Scan” button. Let the machine work without interruption; vibrations from bumping the desk can cause blurriness in high-resolution scans.
Understanding Resolution and File Formats
Choosing the right settings is critical for future-proofing your work. Many beginners make the mistake of scanning at too low a resolution to save time, only to realize years later that the files are too small for high-quality printing. For 35mm film, your target should be at least 2400 to 3200 DPI. This creates a file large enough to print at 8×10 inches or larger without seeing pixels.
When it comes to file formats, always choose TIFF for your master files. TIFF is a “lossless” format, meaning it preserves every bit of data the scanner captures. JPEGs, while smaller, use “lossy” compression that discards data every time you save the file. You can easily generate JPEGs from your TIFFs later for sharing on social media or via email, but your archival master should always be a TIFF.
Another important setting is “Bit Depth.” Most scanners offer 8-bit or 16-bit options. If you plan on doing any significant color correction or editing in software like Adobe Photoshop, choose 16-bit (or 48-bit for color). This provides a much wider range of colors and tones, preventing “banding” or jagged transitions in gradients like the sky or skin tones.
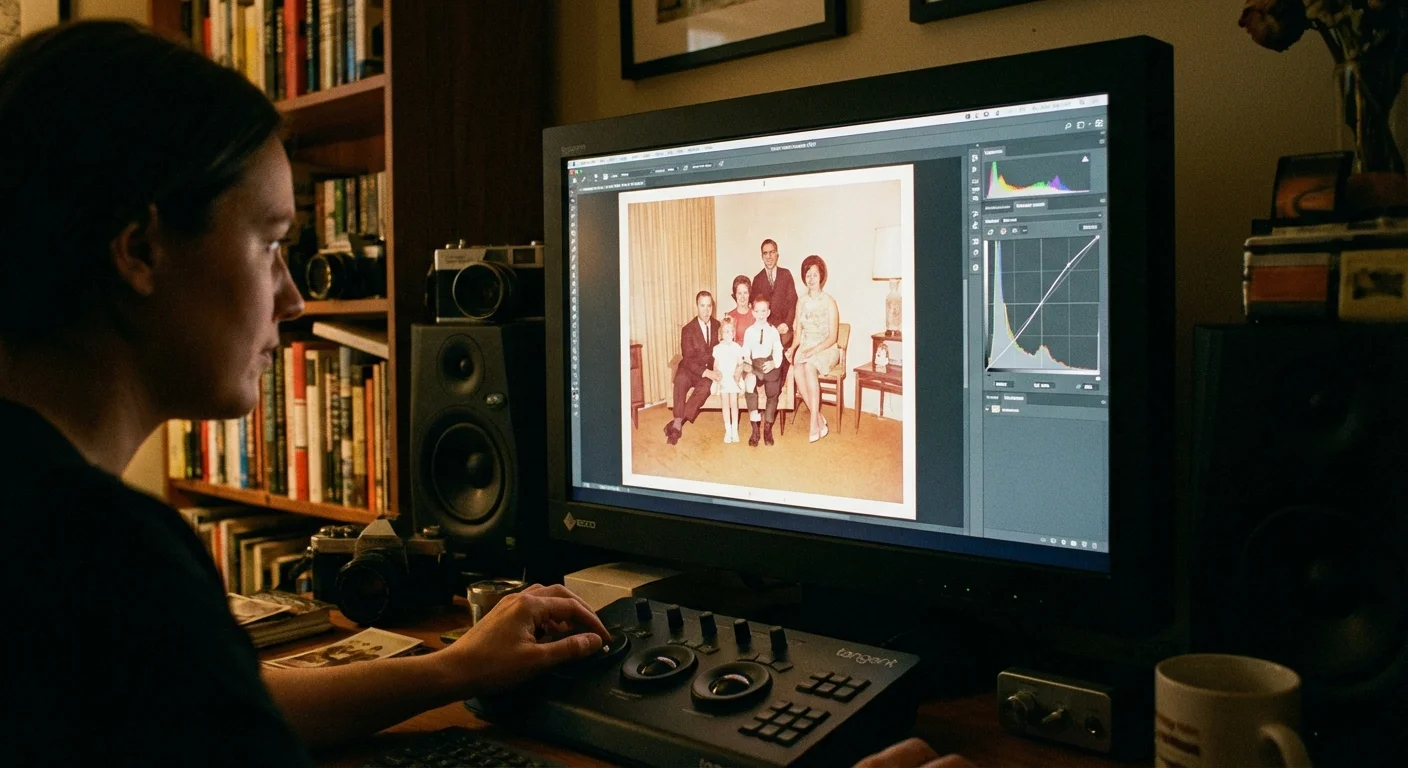
Post-Processing and Color Correction
Even the best scan usually requires some “digital darkroom” work. Raw scans from negatives often look flat or have a slight color cast. This is normal. Your goal in the scanning phase is to capture as much data as possible; your goal in post-processing is to make the image look like your memory of the event.
If your scans reveal deep physical damage, you may need a specialized guide for repairing scratched photos in post-production.
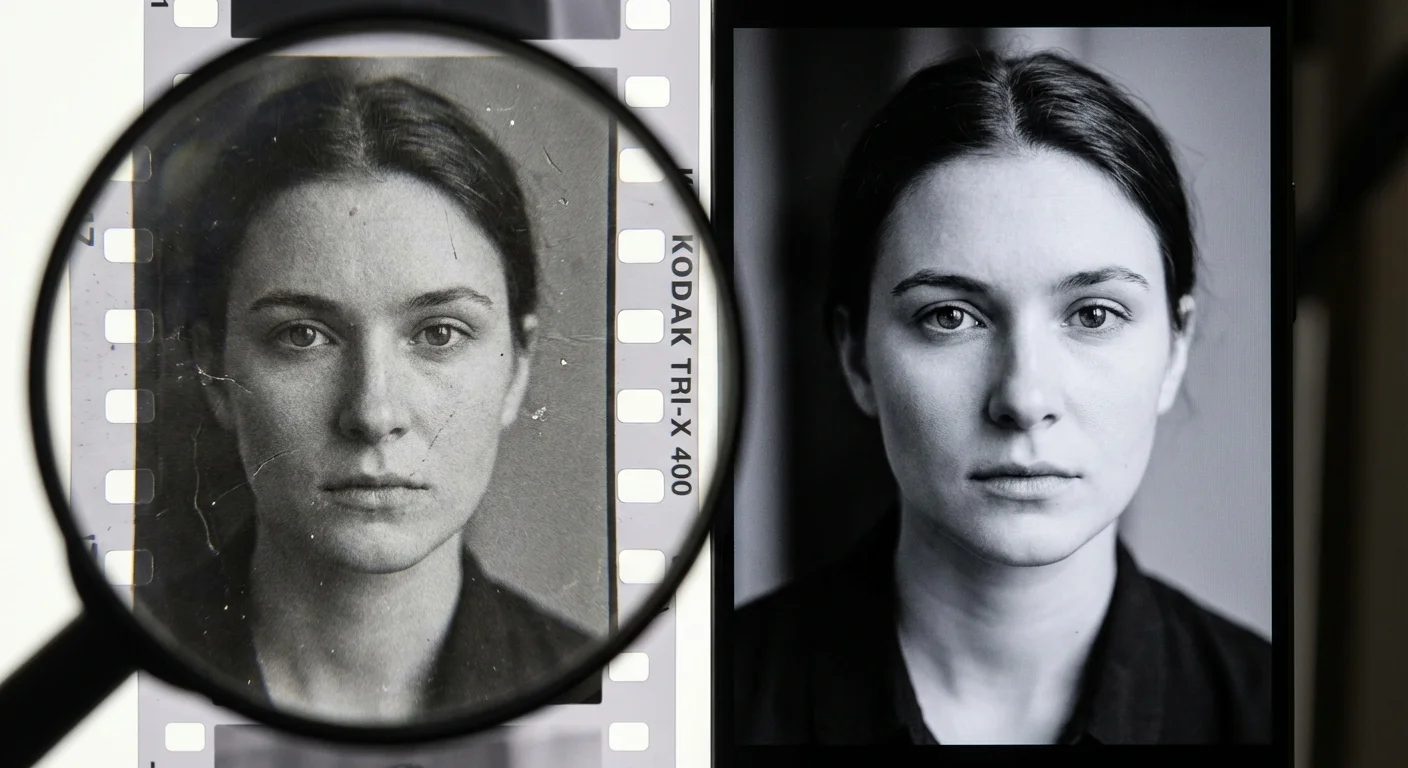
One of the most powerful tools in your arsenal is “Digital ICE” or infrared dust removal. Many scanners have a secondary infrared lamp that detects dust and scratches on the film surface and automatically removes them. This works miracles for color film, but be aware that it typically does not work on traditional black-and-white film because the silver particles in the film block the infrared light, causing the software to mistake the entire image for dust.
For color correction, use the “Levels” or “Curves” tool in your editing software. Find a point in the image that should be neutral—like a white shirt or a grey stone—and use the eyedropper tool to set the white balance. This often snaps the colors into place instantly. If you are digitizing older negatives from the 1960s or 70s, you may notice significant color shifting (usually toward magenta or red). These can be corrected by adjusting the individual Red, Green, and Blue channels in your software.
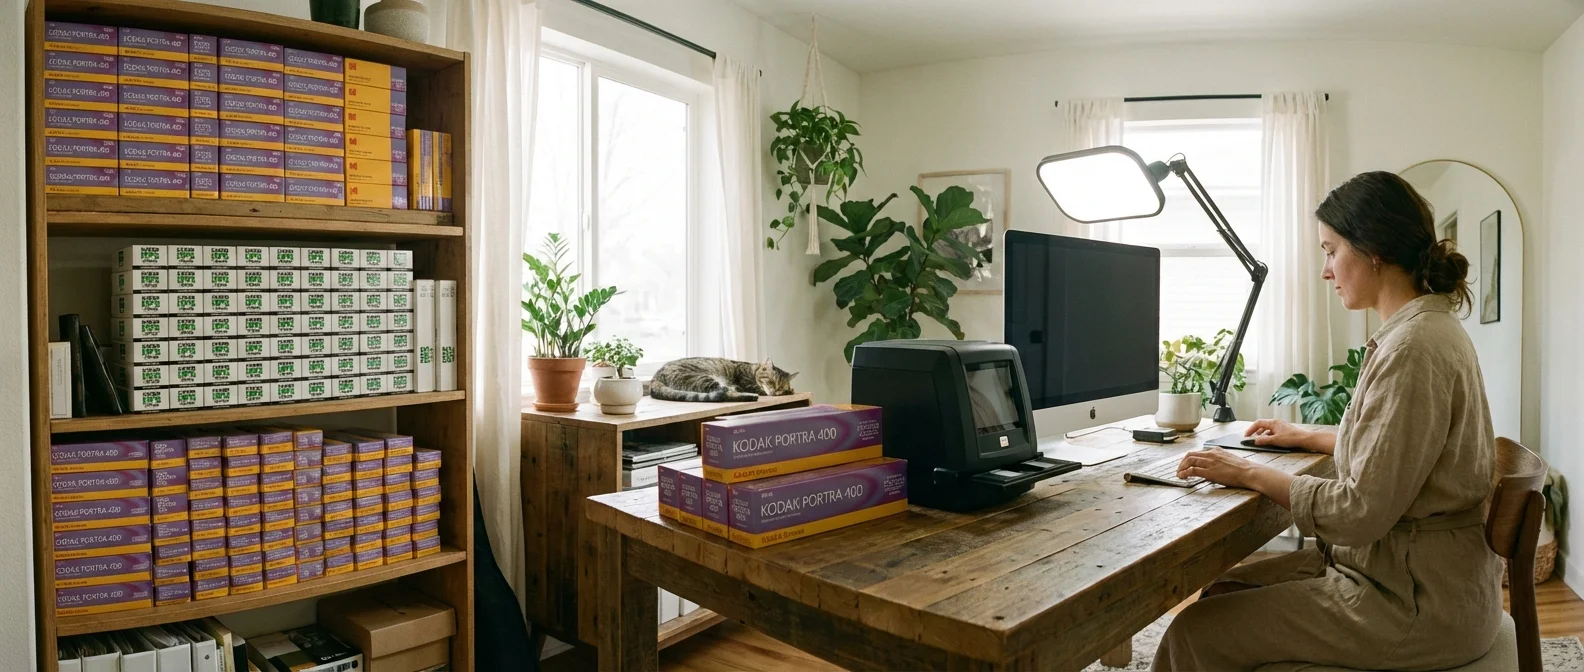
Archiving Your Physical and Digital Assets
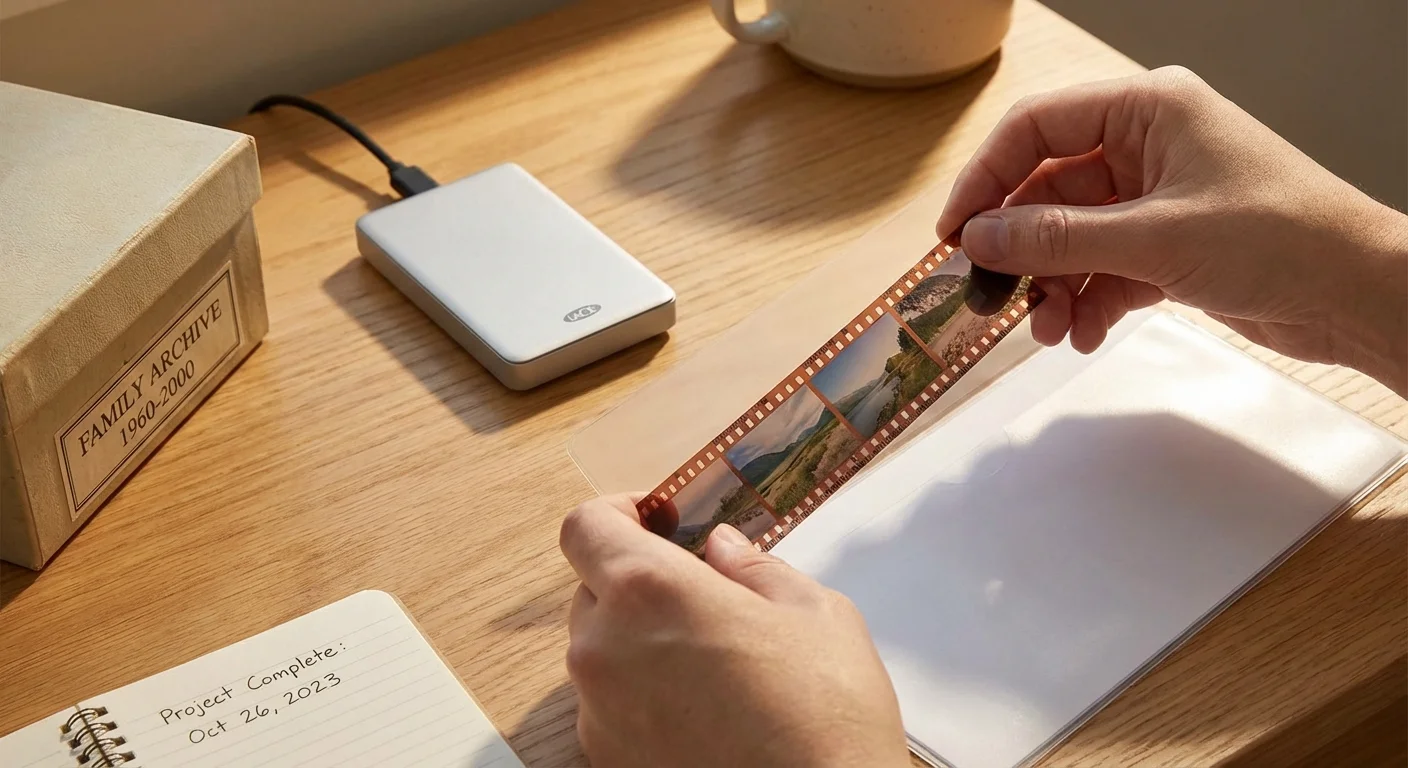
Preservation does not end once the scan is complete. You must treat both your physical negatives and your new digital files with care. Now that the negatives are digitized, they are your “analog backup.” Place them in archival-safe sleeves and store them in a cool, dry, and dark place. Avoid basements or attics, as extreme temperature fluctuations and humidity can accelerate chemical breakdown.
As you save your files, using a standardized filenaming system will ensure your digital archive remains searchable and organized for decades to come.
For your digital files, follow the “3-2-1 rule” of backup:
- Keep 3 copies of your files.
- Store them on 2 different media types (e.g., an internal hard drive and an external SSD).
- Keep 1 copy off-site (e.g., a cloud storage service or a drive at a relative’s house).
Organize your files with a clear naming convention. Instead of “IMG_001.tif,” use a format like “YYYY-MM-Event-Description-001.tif.” This makes your collection searchable and ensures that your descendants will know exactly who and what they are looking at decades from now. Creating a simple spreadsheet to track which boxes or strips correspond to which digital folders can also save hours of frustration later.
“Digital files are fragile in their own way. A hard drive crash can wipe out decades of work in a millisecond. Diversify your storage to protect your legacy.”
Frequently Asked Questions
Is it cheaper to scan negatives at home or send them to a lab?
If you have more than 200–300 negatives, scanning at home is significantly more cost-effective. Professional labs charge between $0.50 and $2.00 per frame. A high-quality flatbed scanner costs between $200 and $600, meaning it pays for itself very quickly. Home scanning also gives you total control over the quality and privacy of your images.
How long does it take to scan a roll of film?
On a flatbed scanner, you can typically scan a strip of four to six frames in about 5–10 minutes, depending on the resolution and whether you use dust-removal features. A full 36-exposure roll usually takes about an hour of active work. Camera scanning is much faster, often taking less than five minutes per roll once the setup is calibrated.
Can I scan negatives that are curled or warped?
Yes, but it is more difficult. Curled film causes focus issues because the scanner expects the film to be perfectly flat. You can flatten negatives by placing them inside archival sleeves and putting them under a heavy, flat object (like a large book) for several days. Some high-end film holders also feature “tensioners” that help pull the film flat during the scan.
Do I need expensive software like Photoshop?
Not necessarily. While Photoshop is the industry standard, there are excellent free or low-cost alternatives. GIMP is a powerful free editor, and software specifically designed for scanning, like VueScan, includes many built-in correction tools. For organizing and basic color work, Adobe Lightroom is highly recommended due to its non-destructive editing capabilities.
Disclaimer: This article is for informational purposes only. When handling valuable or irreplaceable photographs, consider consulting a professional conservator. Always test preservation methods on non-valuable items first.

Leave a Reply