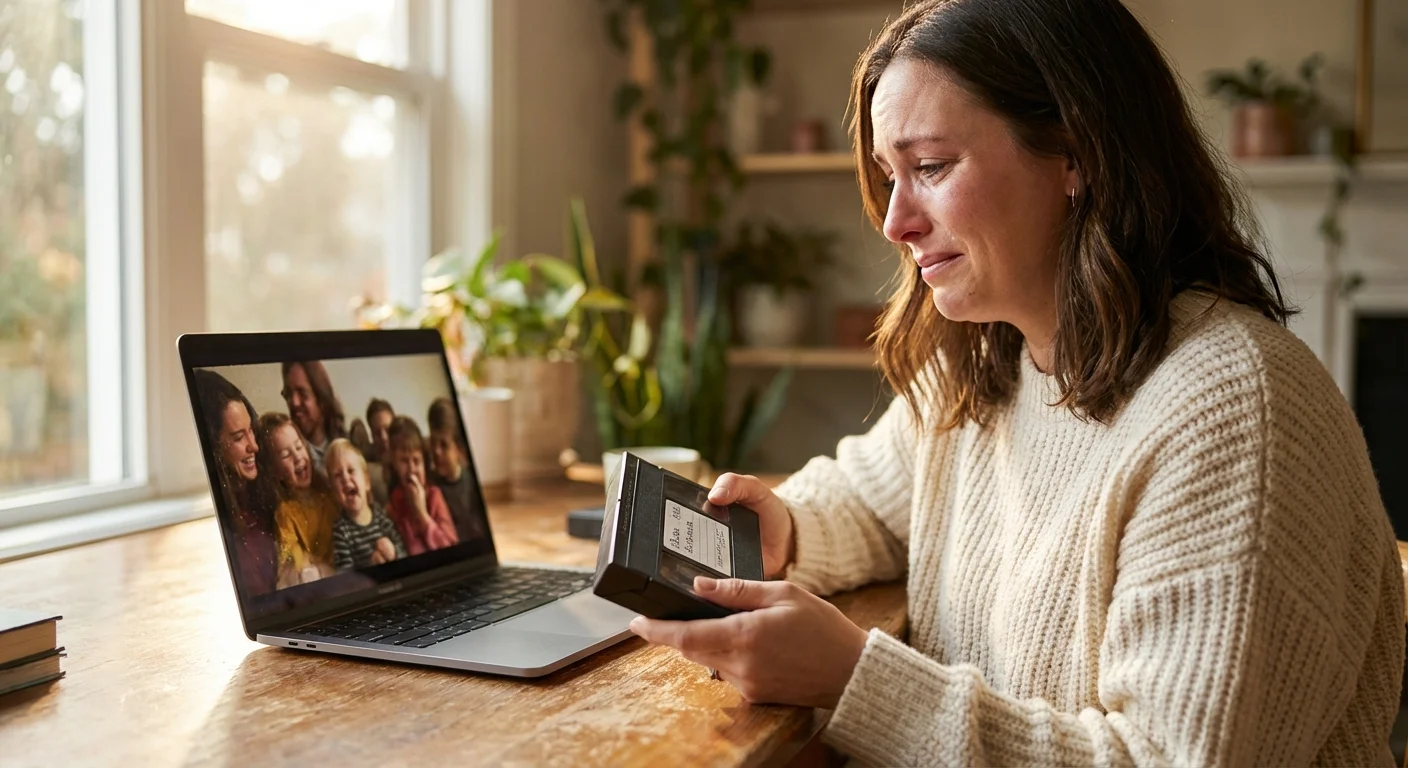
Those dusty cardboard boxes in your attic hold more than just plastic shells and spools of brown ribbon; they contain your family’s history. From the grainy footage of your parents’ wedding to the flickering colors of your own first steps, these recordings are irreplaceable windows into the past. However, time is not on your side. Magnetic tape, the primary medium for home movies from the 1970s through the early 2000s, has a limited lifespan of roughly 15 to 30 years before significant degradation occurs. If you haven’t viewed your tapes in a decade, they may already be suffering from signal loss, mold, or “sticky shed syndrome.”
If you have recently inherited a photo collection along with your videos, having a clear plan can prevent the project from becoming overwhelming.
Converting your home movies to digital is no longer a luxury—it is a race against chemical decay. By digitizing your collection now, you stop the clock on physical deterioration and unlock the ability to share these moments instantly with relatives across the globe. This guide provides a comprehensive roadmap to help you navigate the technical hurdles of video digitization, whether you choose to tackle the project yourself or hire a professional service. You will learn how to identify your formats, choose the right equipment, and implement a storage strategy that ensures your memories survive for another hundred years.

The Fragility of Analog Media
Analog media, including VHS tapes and celluloid film, is inherently unstable. Magnetic tape consists of a plastic base coated with a binder that holds magnetic particles. Over time, humidity and temperature fluctuations cause the binder to absorb moisture, leading to a condition known as “sticky shed syndrome.” When you attempt to play a compromised tape, the magnetic coating can literally peel off and gum up your playback heads, permanently destroying the recording. According to the National Archives Preservation guidelines, maintaining a stable, cool, and dry environment is the only way to slow this process, but it cannot be stopped entirely.
Film reels face different threats. 8mm and Super 8 film are susceptible to “vinegar syndrome,” a chemical reaction in acetate film base that causes it to shrink, become brittle, and emit a pungent vinegar smell. Once this process reaches an advanced stage, the film becomes too fragile to run through a projector. By prioritizing home movie conversion today, you are performing a vital act of historical preservation for your family’s unique narrative.
Identifying Your Video Formats
Before you can begin the video digitization process, you must know exactly what you are holding. Different formats require specific playback hardware and capture methods. Use the following guide to inventory your collection.
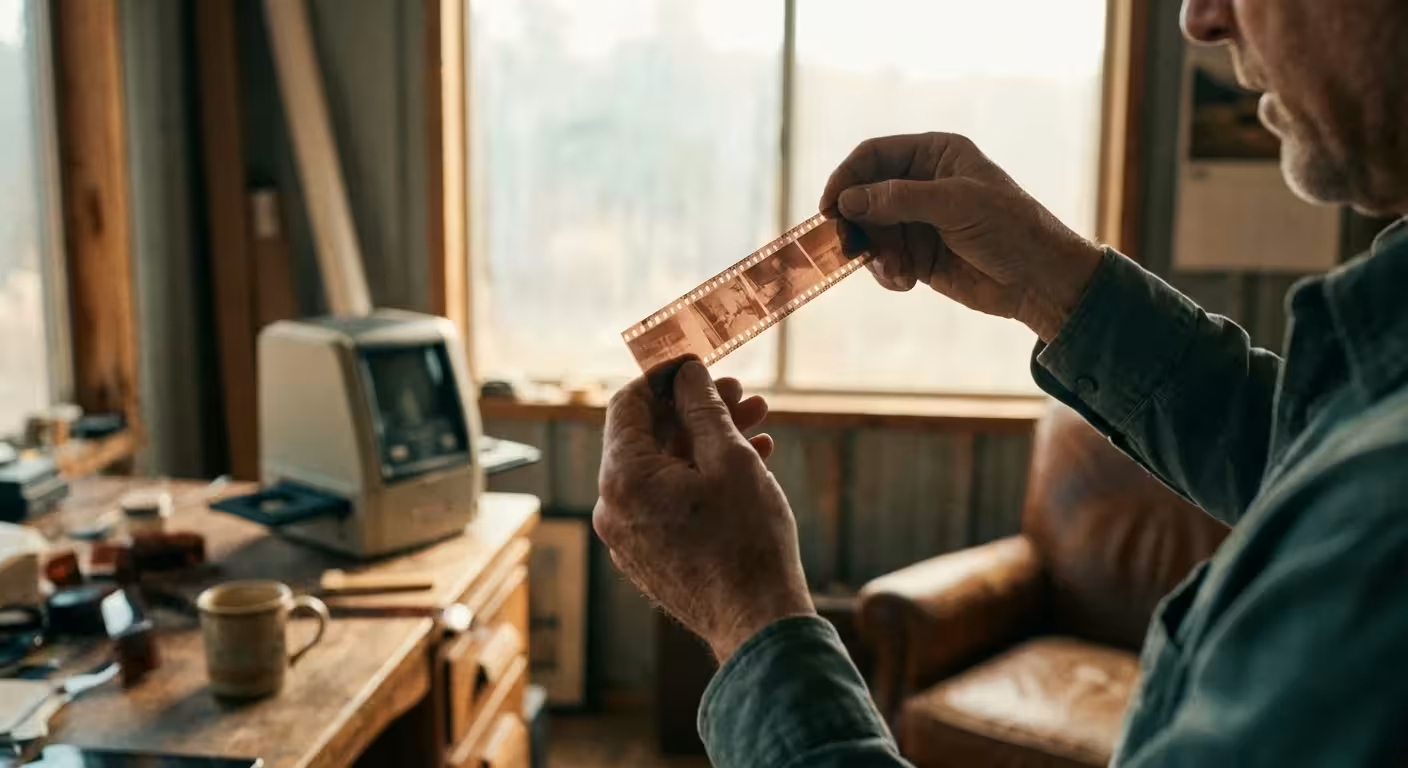
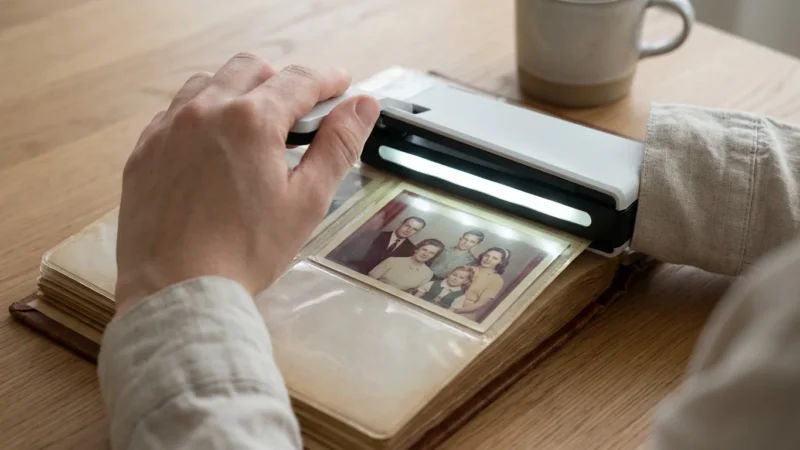
For those who also find still-image strips in their collection, learning how to digitize 35mm film negatives is an essential step toward a full digital restoration.
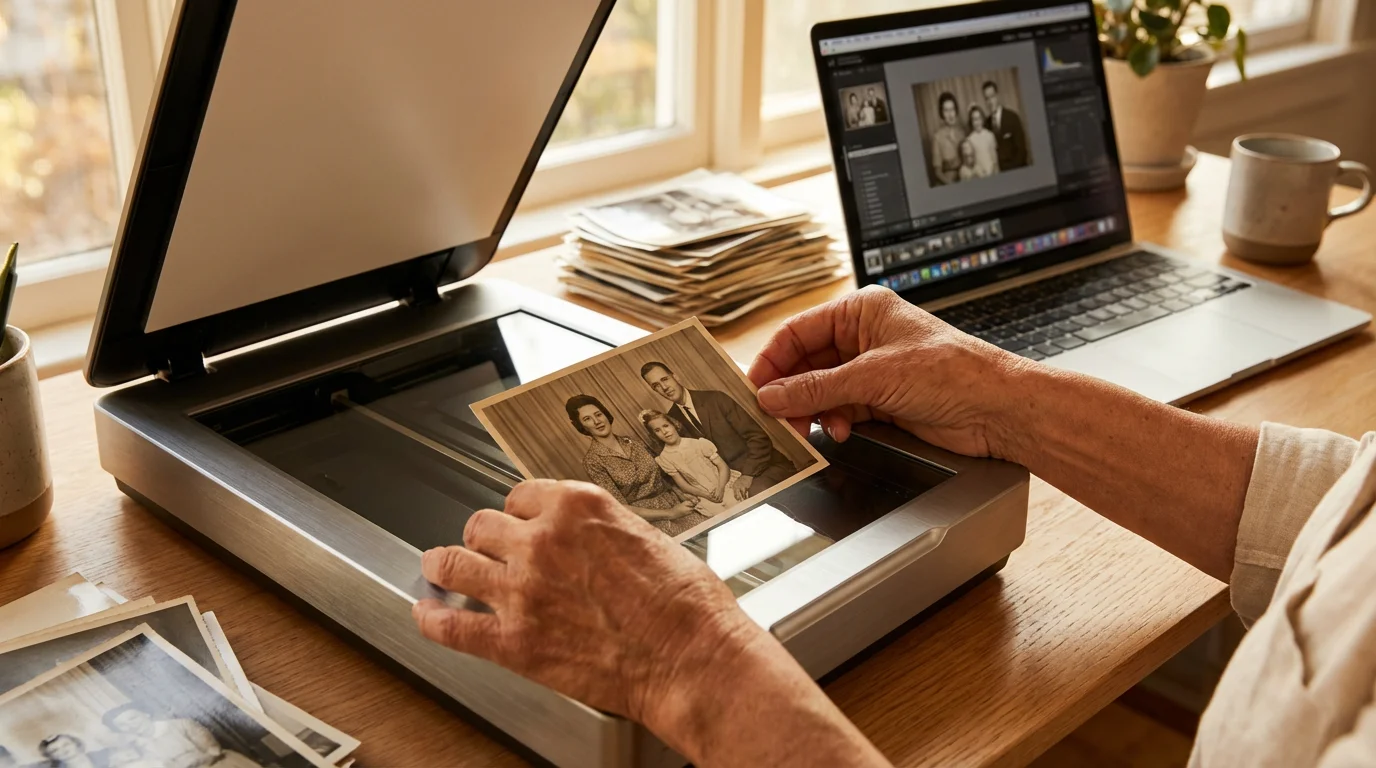
While sorting through your media bins, you may also encounter loose transparencies; creating digital copies of photo negatives and slides is a vital parallel step in preserving your visual heritage.
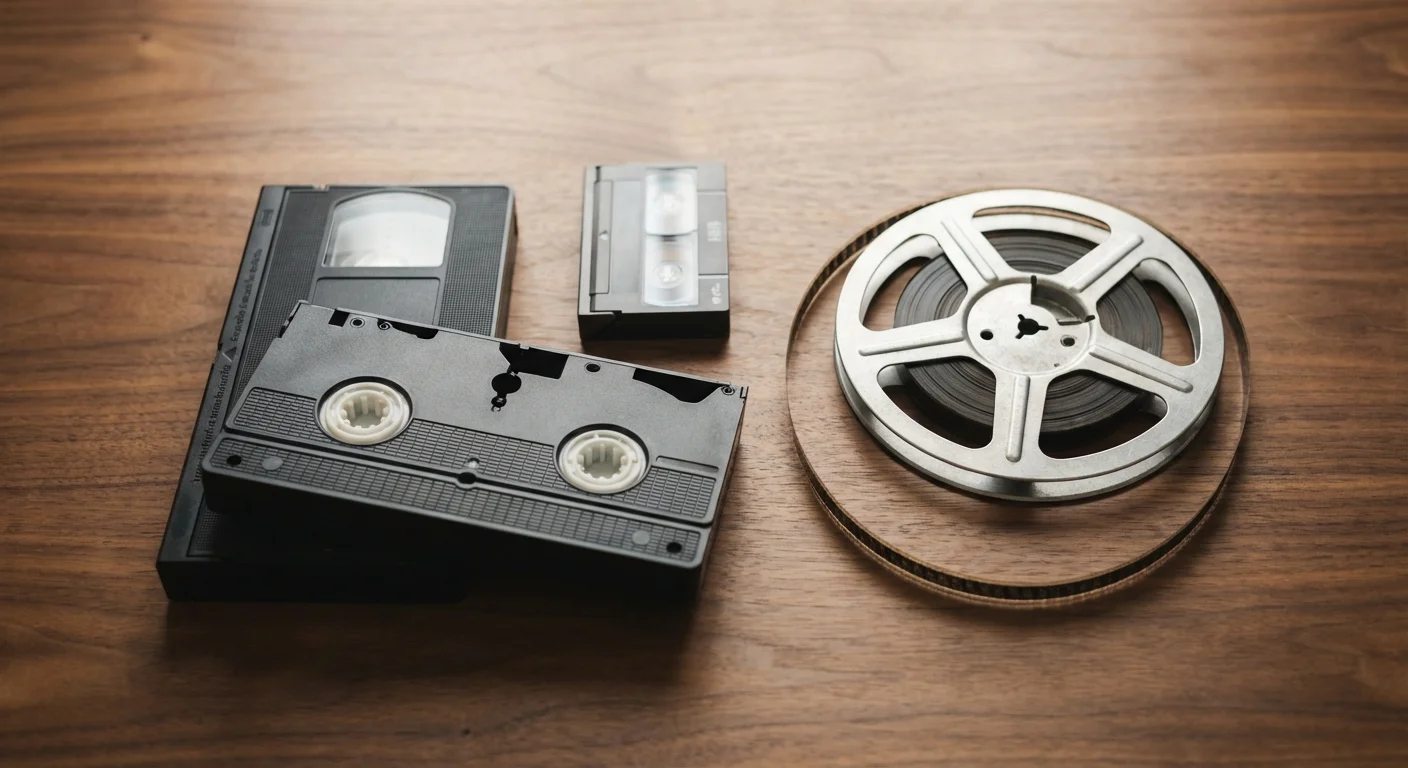
- VHS and VHS-C: The standard 1/2-inch tape. VHS-C is the compact version used in camcorders; it requires a motorized adapter to play in a standard VCR.
- Video8, Hi8, and Digital8: These 8mm cassettes are smaller than VHS. While Video8 and Hi8 are analog, Digital8 records digital data onto the tape. You generally need the original camcorder or a dedicated Sony EVO deck to play these.
- MiniDV: A small digital tape format. Because the data is already digital, you can often “transfer” it rather than “convert” it, preserving 100% of the original quality.
- 8mm, Super 8, and 16mm Film: These are reels of actual film, not tape. They do not have magnetic ribbons (unless they have a rare sound stripe) and require a frame-by-frame scanner for high-quality results.
DIY vs. Professional Services
Deciding between the best way to convert home movies yourself or outsourcing the work depends on three factors: your budget, your technical comfort level, and the size of your collection. Each path has distinct advantages and drawbacks that you should weigh carefully before starting.
| Factor | DIY Conversion | Professional Service |
|---|---|---|
| Cost | Higher upfront (equipment), lower per-tape. | No equipment cost, but $15–$35 per tape. |
| Time | Labor-intensive; tapes must play in real-time. | Saves your time; usually 2–6 week turnaround. |
| Quality | Variable based on your gear and skill. | Consistently high; use professional-grade decks. |
| Control | Total control over naming and editing. | Limited control; standard output formats. |
If you have five tapes, a professional service is likely more cost-effective. However, if you have a crate of 50 tapes, investing $200 in a high-quality DIY setup will save you over $1,000 in service fees. DIY also allows you to handle your memories personally, ensuring that no precious footage is accidentally cut or mislabeled by a technician who doesn’t know your family members.
The DIY VHS Conversion Masterclass
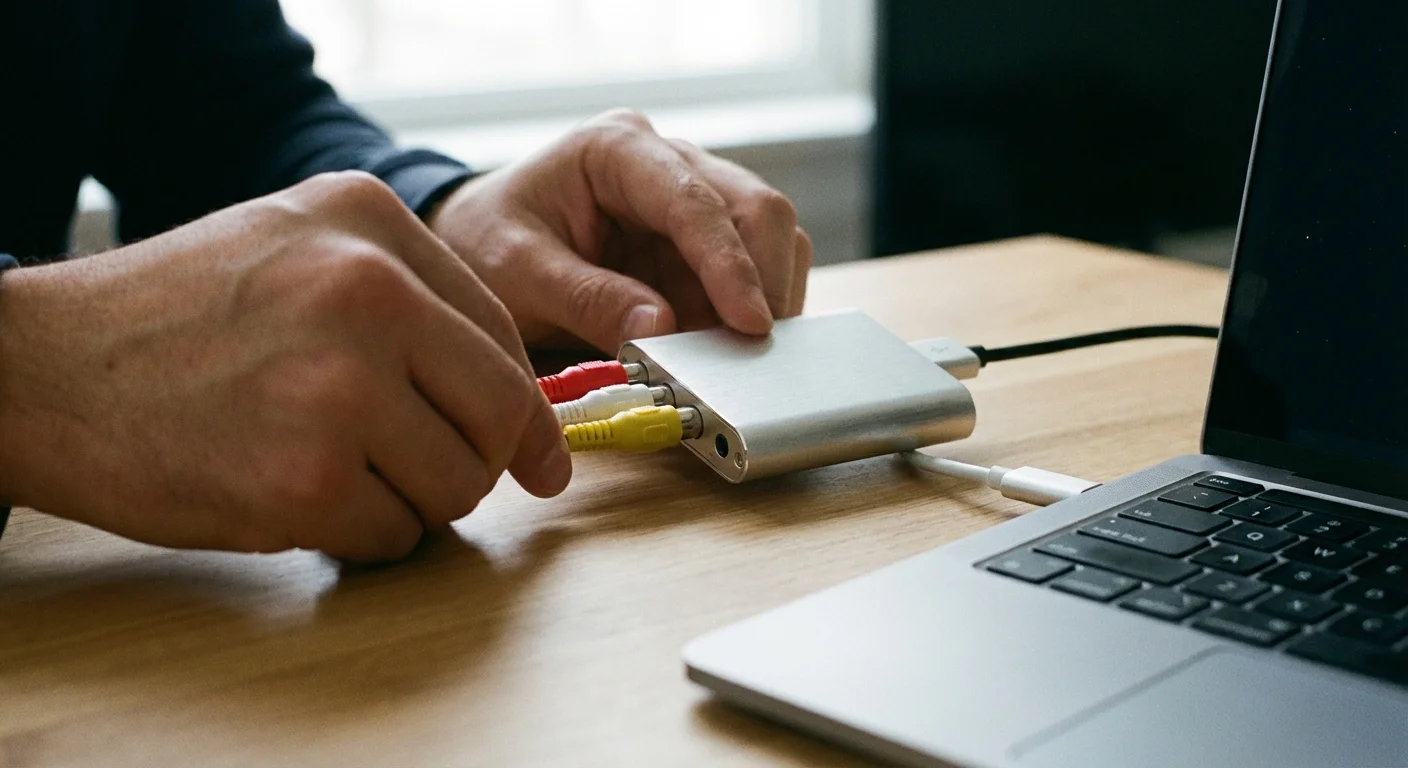
To convert VHS to digital at home, you need more than just a VCR and a cable. The quality of your digital file depends entirely on the signal chain. If you use a cheap $15 USB capture “dongle” from a discount site, you will likely experience dropped frames, audio lag, and “ghosting” in the image.
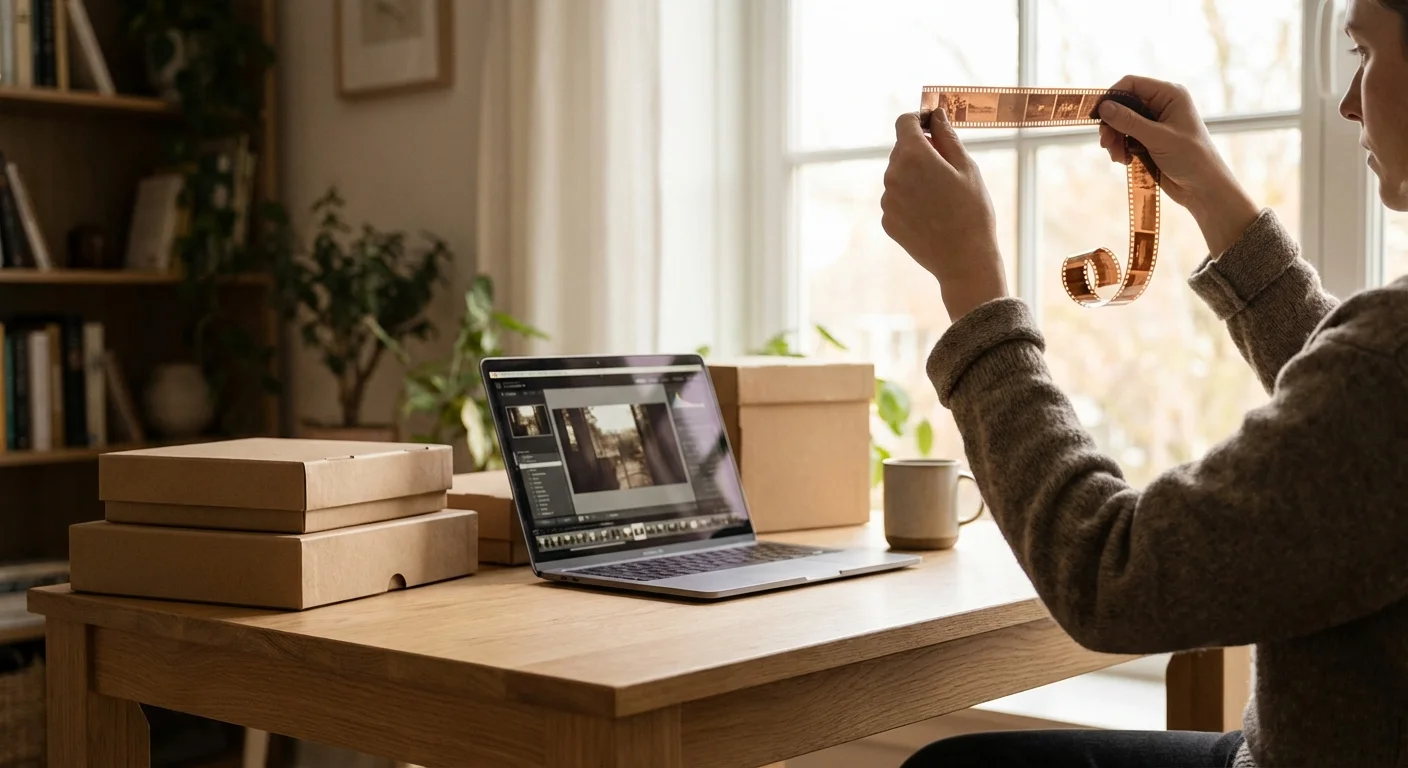
During this process, you may also find it helpful to scan and preserve old photo albums that often document the same events seen in your home movies.
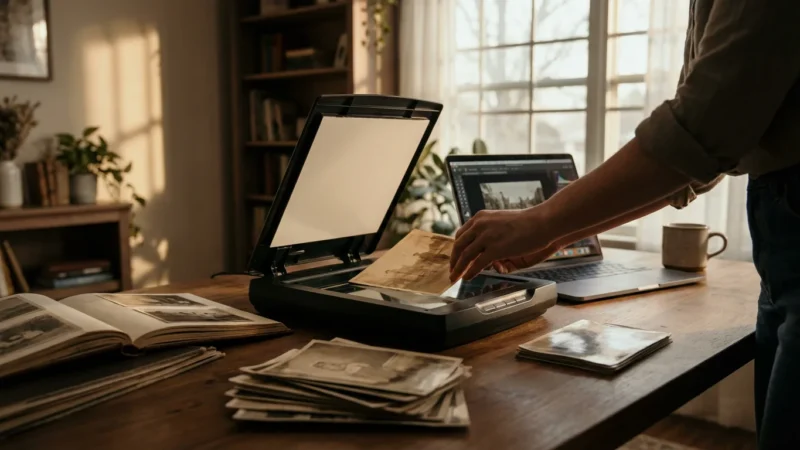
If your archive includes more than just tapes, mastering how to scan old photos at home will allow you to consolidate your entire family history into a single digital collection.
Step 1: Source a High-Quality VCR. Do not use the VCR that has been sitting in your garage for a decade without cleaning it first. Ideally, look for a S-VHS (Super VHS) player with a built-in Time Base Corrector (TBC). A TBC stabilizes the “shaky” signal inherent in old tapes, ensuring your computer can capture a steady image. Brands like JVC and Panasonic produced high-end “prosumer” decks that are highly sought after for digitization projects.
Step 2: Choose Your Capture Device. For the best results, use a dedicated video capture card or a high-quality external device like the Elgato Video Capture or the Diamond Multimedia VC500. These devices bridge the gap between your VCR’s analog RCA (Red, White, Yellow) or S-Video outputs and your computer’s USB port.
Step 3: Software and Settings. Use software like OBS Studio (free and powerful) or the software bundled with your capture device. Set your capture resolution to 720×480 (for NTSC/North America) or 720×576 (for PAL/Europe). Do not try to “upscale” to 1080p or 4K during capture; this creates artificial pixels and often makes the video look worse. Capture in an H.264 MP4 format with a high bitrate (at least 5,000 kbps) to preserve detail.
Step 4: The Cleaning Pass. Before playing a precious tape, fast-forward and rewind it once to re-tension the ribbon. If you see white specks on the tape through the clear window, that is mold. Stop immediately. Playing a moldy tape can destroy your VCR and the tape itself. Moldy tapes require professional cleaning in a specialized vacuum chamber.
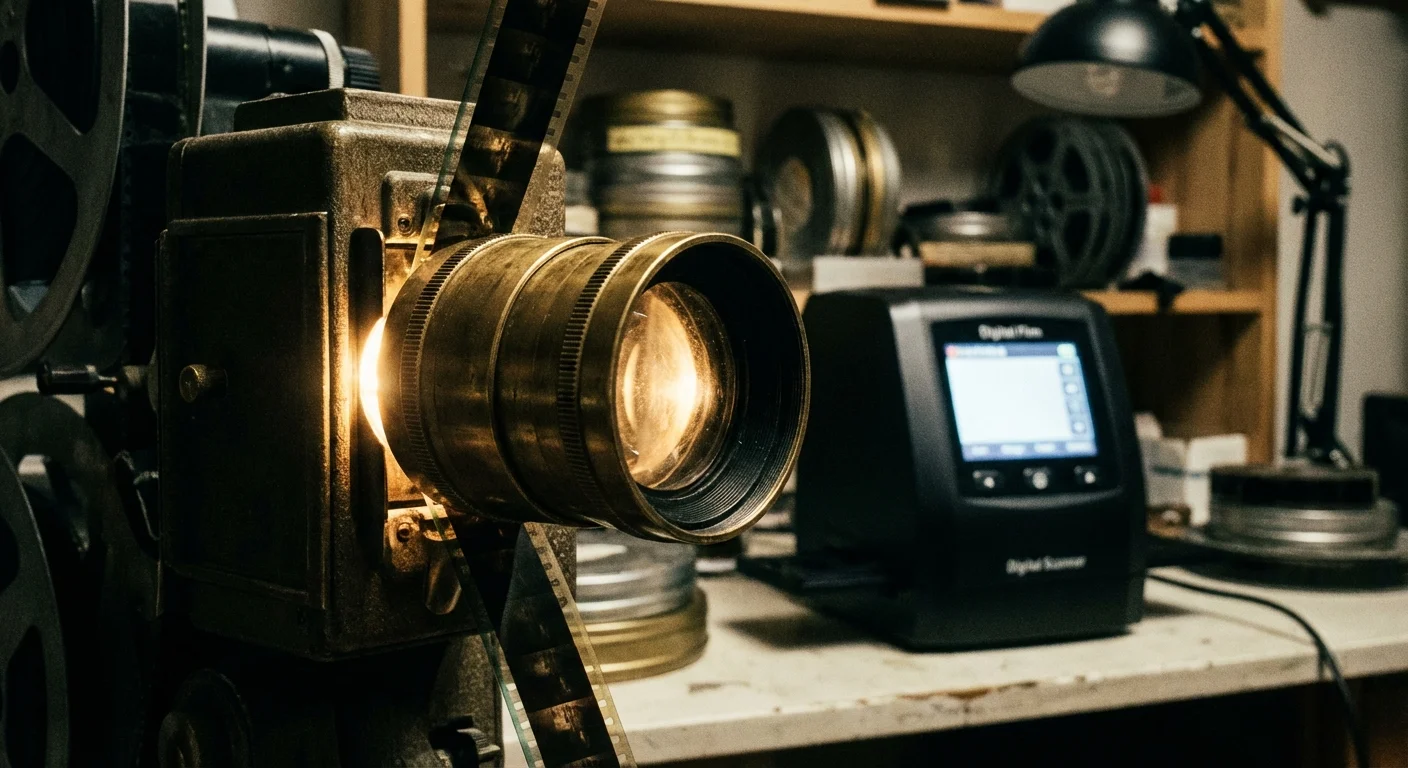
Digitizing 8mm and 16mm Film Reels
Film is a different beast than tape. Because film is a series of individual photographs, the “best” way to digitize it is through frame-by-frame scanning. In the past, people used “telecine” methods—essentially pointing a camcorder at a projector screen. This results in terrible quality, flickering, and hot spots in the center of the frame.
Today, affordable consumer film scanners (like those from Wolverine or Kodak) allow you to digitize 8mm and Super 8 reels at home. These machines take a digital photo of every single frame and stitch them into an MP4 file. While these consumer scanners are excellent for most families, they lack the dynamic range and “wet-gate” technology (which hides scratches) found in professional lab scanners. If your film contains once-in-a-lifetime historical events, the Smithsonian Archives suggests that professional-grade scanning is always the safest bet for celluloid preservation.
“When digitizing film, the goal is not just to see the image, but to capture the maximum amount of detail present in the emulsion before the physical media becomes unplayable.”

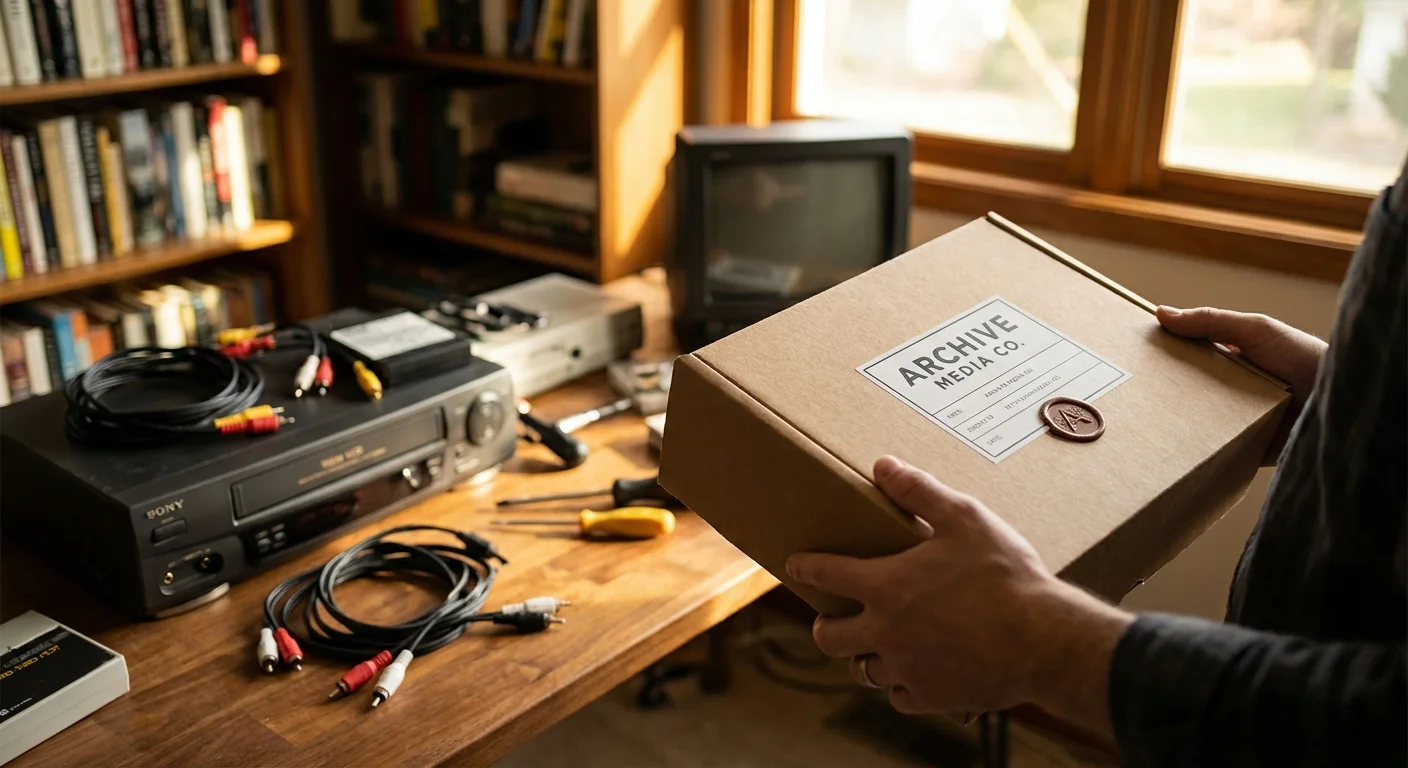
Choosing a Professional Conversion Service
If you decide that the DIY route is too technical or time-consuming, you must find a reliable convert VHS to digital service. Avoid “big box” retail photo labs that ship your tapes to a third-party mass-processing facility. These facilities often use automated systems that don’t account for tracking issues or tape damage.
Look for a “white-glove” boutique service. A quality service provider should offer:
- Direct Communication: You should be able to speak with the technician handling your tapes.
- Cleaning and Repair: They should offer splice repair and mold remediation as part of their intake process.
- Output Options: You should be able to choose between MP4 files on a USB drive, cloud delivery, or even “pro” formats like Apple ProRes if you plan on professional editing.
- Safety Protocols: Ask if they perform the work on-site or ship it elsewhere. Your tapes are most vulnerable when they are in the hands of a shipping carrier.
Remember that the “cheapest” service often ends up being the most expensive if they lose or damage your only copy of a family memory. Check reviews specifically for “home movie conversion” to see how they handle delicate older media.

Organizing and Archiving Your Digital Library
Digitizing your movies is only half the battle. If you end up with 50 files named “FILE001.mp4,” you haven’t truly preserved your memories; you’ve just moved the clutter from the attic to your hard drive. A digital archive is only useful if it is searchable and secure.
To safeguard your hard work, implement the 3-2-1 backup strategy to ensure your digital memories are protected against hardware failure.
Implement a Naming Convention. Use a standardized format like YYYY-MM-DD-Event-Description.mp4. For example: 1985-12-25-Christmas-Grandmas-House.mp4. This ensures your files remain in chronological order regardless of which computer or operating system you use to view them.
Follow the 3-2-1 Backup Rule. Digital files are famously fragile. A single hard drive failure or a spilled cup of coffee can wipe out your entire collection in seconds. To prevent this, follow the industry standard for digital preservation:
- 3 Copies: Keep at least three copies of your data.
- 2 Different Media: Store those copies on different types of hardware (e.g., one on a mechanical hard drive, one on a flash drive).
- 1 Offsite: Keep one copy in a different physical location, such as a cloud storage provider or a relative’s house, to protect against fire or theft.
Consult the Library of Congress for more advanced strategies on long-term digital storage. They recommend checking your digital files every few years to ensure the hardware hasn’t failed and that the file formats are still widely supported.
Frequently Asked Questions
How long does it take to convert a VHS tape to digital?
Because VHS is an analog format, it must be captured in real-time. If you have a two-hour tape, it will take exactly two hours to record it into your computer, plus the time required for setup and file rendering. Professional services usually have a turnaround time of 2 to 4 weeks depending on their current volume.
Will the digital version look better than the original tape?
Generally, no. Digitization is a “faithful transfer,” not a magic restoration. However, using a high-quality VCR with a Time Base Corrector (TBC) can stabilize the image and reduce flickering. While you can use video editing software to sharpen the image or adjust the color, the primary goal of conversion is to stop further quality loss from chemical degradation.
What is the best file format for saving my home movies?
For most users, the H.264 MP4 format is the best choice. It offers an excellent balance between high visual quality and manageable file size. Furthermore, MP4 files are “universal,” meaning they will play on almost any device, including smart TVs, iPhones, and Windows computers, without needing special software.
Can I convert tapes that have mold on them?
Yes, but you should never put a moldy tape into a standard VCR. The mold spores can spread to your equipment and other tapes. Moldy tapes require a professional “wet-cleaning” process where the tape is run through a specialized machine with cleaning solution. Once cleaned, the tape can usually be digitized successfully.
Disclaimer: This article is for informational purposes only. When handling valuable or irreplaceable photographs, consider consulting a professional conservator. Always test preservation methods on non-valuable items first.

Leave a Reply