
Opening a dusty cardboard box filled with decades of family history feels like stepping into a time machine. You might find a portrait of a great-grandmother you never met; perhaps you discover a candid shot of your parents’ first home or a forgotten vacation from 1954. While these discoveries bring joy, they also carry a heavy sense of responsibility. You are now the custodian of your family’s visual legacy—a role that can feel overwhelming when you are staring at thousands of loose prints, brittle negatives, and unorganized slides.
The transition from “person who inherited a box” to “family historian” does not have to happen overnight. Managing an inherited photo collection requires patience, a systematic approach, and the right tools. By breaking the process down into manageable daily tasks, you can transform a chaotic pile of paper into an organized, protected, and searchable archive. This seven-day plan guides you through the essential steps of photo collection management, ensuring your photographic heritage survives for the next century.

Day 1: Set Up Your Preservation Station
Before you touch a single photograph, you must prepare a workspace that protects both you and the images. Most inherited photos have spent years in attics or basements—environments that are notoriously hostile to delicate paper and emulsions. Heat, humidity, and pests are the primary enemies of longevity. According to the Image Permanence Institute, every 10-degree Fahrenheit decrease in storage temperature can double the life of a color photograph.
If your collection is currently stored in a hazardous location, learn how to safely pack and transport your archive to a climate-controlled environment first.
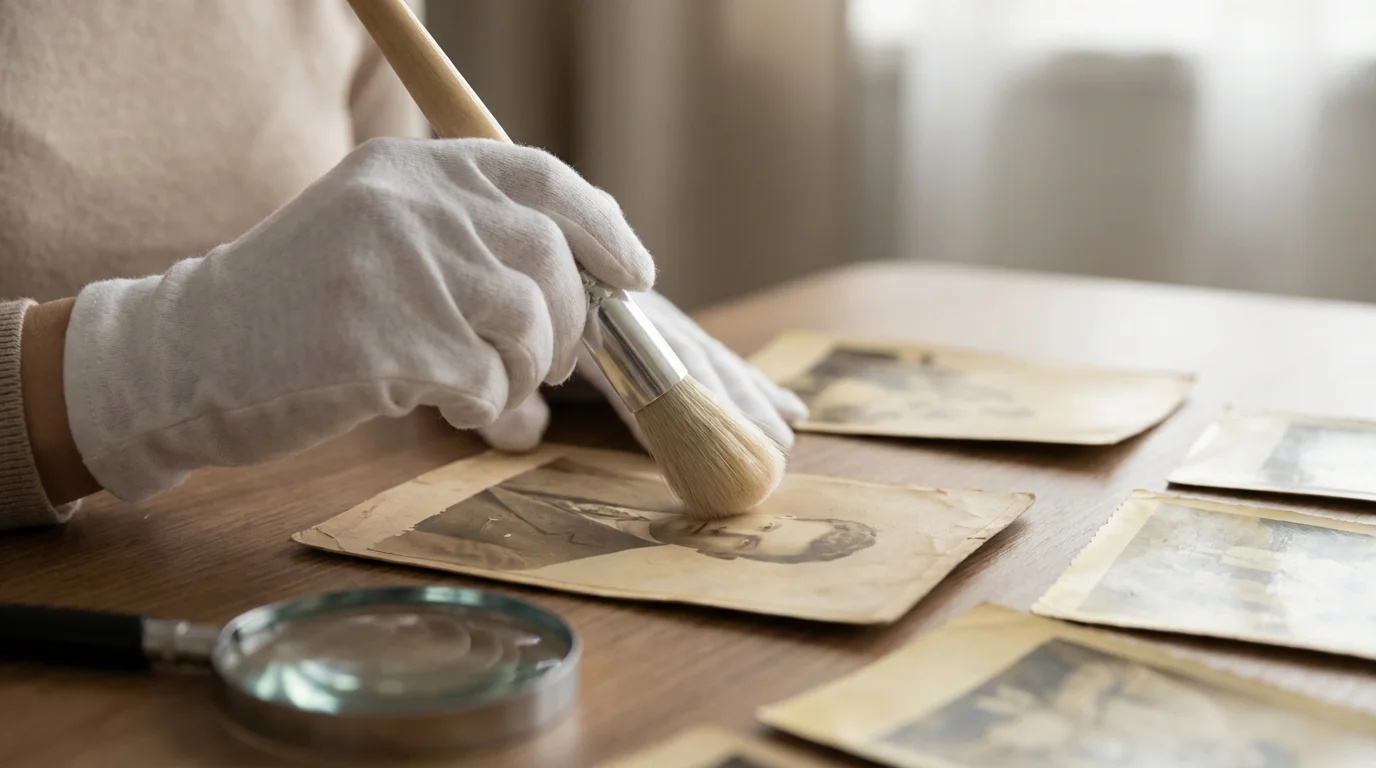
Find a large, flat surface in a climate-controlled part of your home. Avoid the kitchen table where food and drinks might spill. A dedicated folding table in a spare room or a clean desk works best. Cover the surface with a clean, white sheet or large sheets of acid-free paper to provide a neutral, soft background. Gather your essential toolkit: nitrile gloves (to prevent skin oils from causing permanent fingerprints), a soft-bristled brush for dusting, a #2 pencil (never use ink or felt-tip pens near original photos), and archival-safe index cards for labeling.
Take a baseline inventory on this first day. Do not try to organize everything yet. Simply look at the volume of what you have. Count the boxes, note the different formats—prints, slides, negatives, or tintypes—and assess the condition. If you smell vinegar or a strong chemical odor, you may be dealing with “vinegar syndrome,” a sign that acetate film is degrading. Isolate these items immediately to prevent the gases from damaging the rest of the collection.
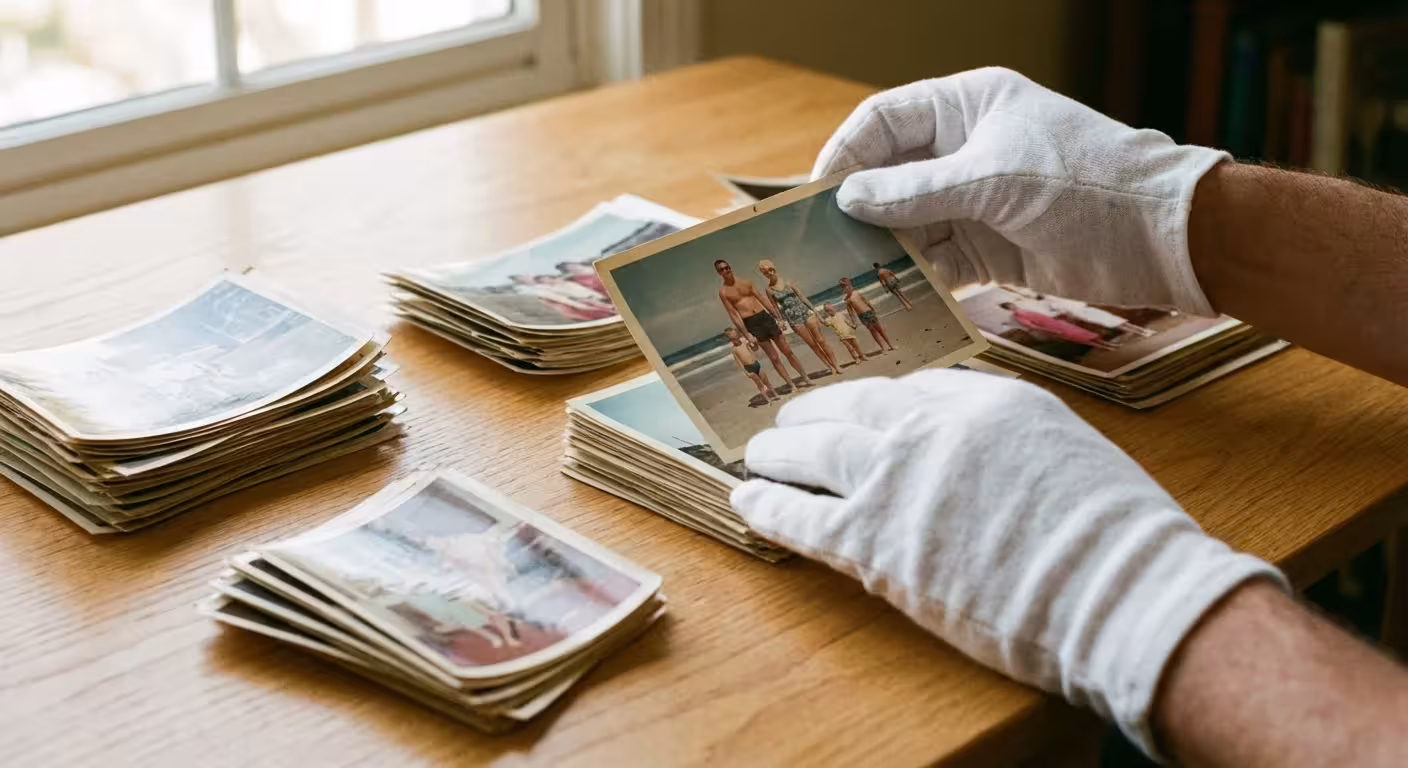
Day 2: The Fast Sort and General Grouping
The biggest mistake beginners make is getting “stuck” in the memories on the first day. You see a photo of your childhood dog and spend twenty minutes reminiscing. To succeed, you must adopt the mindset of a curator during this phase. Your goal today is a “fast sort.” Do not look at individual faces or try to remember names. Instead, group items by their broadest possible categories.
When you eventually reach the point of digitizing these items, learning how to scan and preserve old photo albums properly is essential to maintaining their layout and story.
Establishing this initial workflow is the first step toward creating a photo organization system that sticks for years to come.
Create piles based on physical format or obvious eras. Use your archival index cards to create “parking lots” on your table. Typical categories might include “The 1970s Square Prints,” “Black and White Portraits,” “Polaroids,” or “Yellow Kodak Boxes.” If the photos are already in albums, leave them there for now. Removing them prematurely can damage the photos and destroy the chronological context the original owner provided.
Focus on the “low-hanging fruit.” It is much easier to identify a pile of 1990s 4×6 glossy prints from a drugstore than it is to date 19th-century daguerreotypes. By organizing the easiest items first, you clear physical and mental space for the more complex historical puzzles. Work in short 30-to-45-minute bursts to maintain focus and prevent physical fatigue.
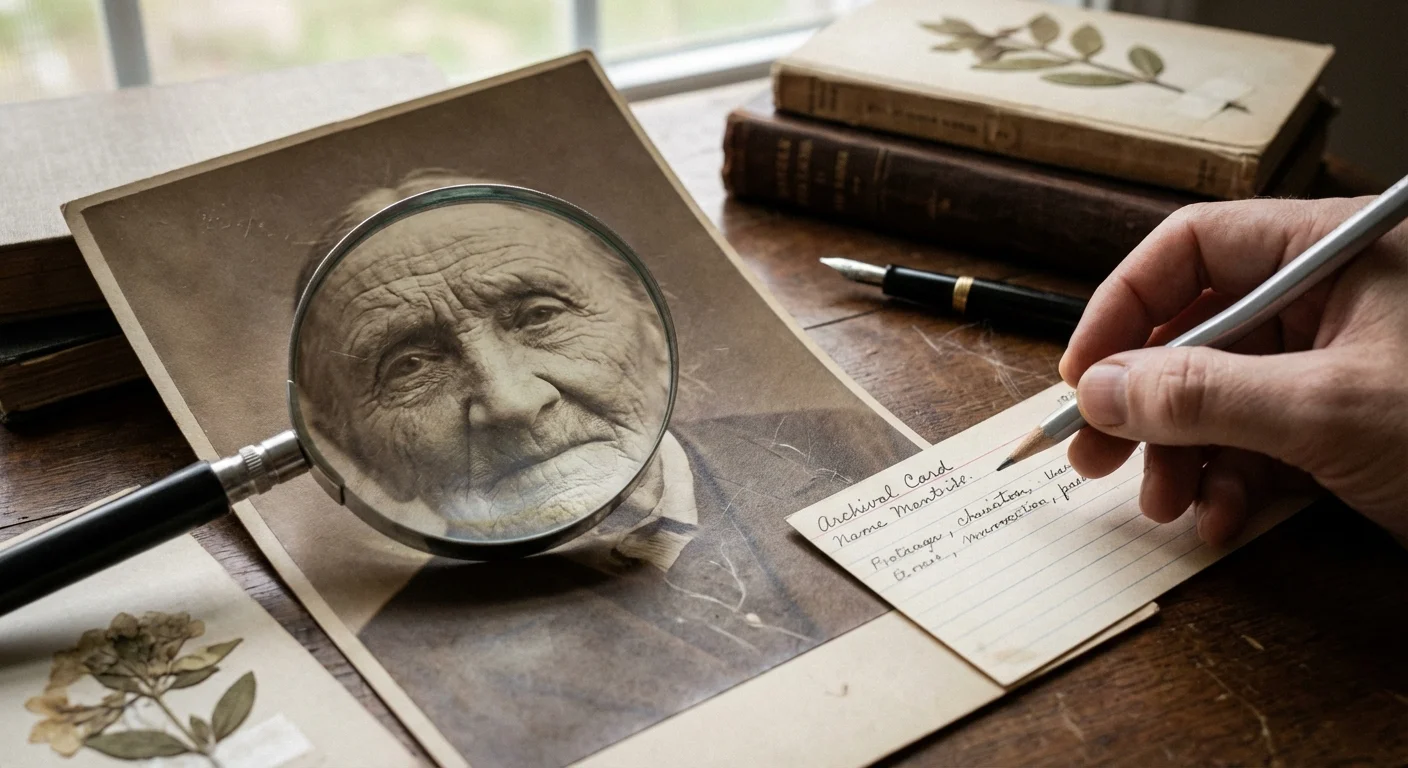
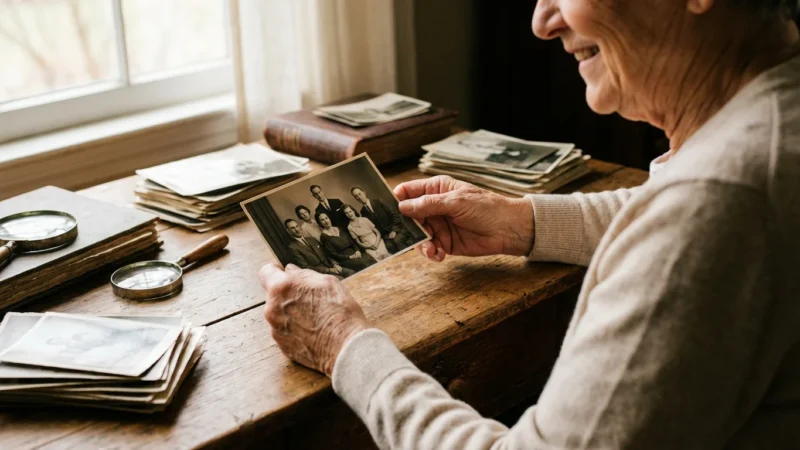
Day 3: Detective Work and Identifying Faces
Now that your collection is in broad groups, you can begin the more granular work of identification. This is where you play detective. When you encounter a photo of an unknown person, look for context clues. The style of clothing, the model of a car in the background, or even the scalloped edges of the photo paper can provide dates. For example, photos with “deckle” (zigzag) edges were extremely popular in the 1940s and 1950s.
Identifying key relatives and dates is a vital part of organizing photos for a family history project effectively.
The context provided by the back of a photograph is often as valuable as the image on the front; always check for developer dates or handwritten notes before assuming a photo is anonymous.
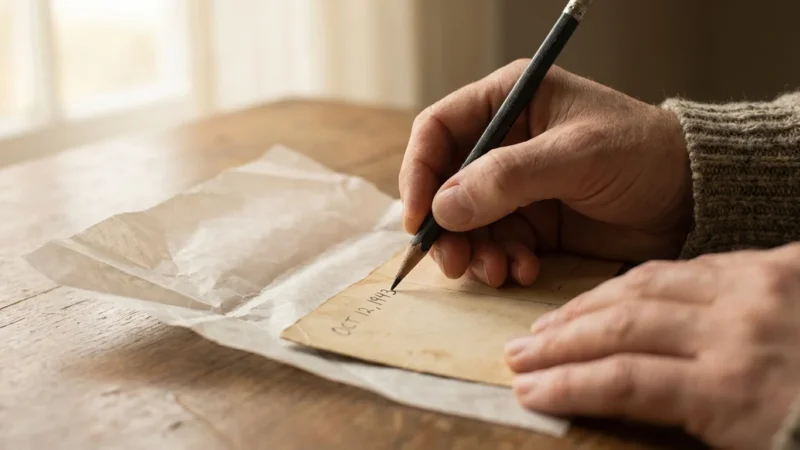
When you identify someone or a location, write the information on an archival-safe index card and place it with the group. If you must write on the photo itself, use a soft lead pencil on the back, near the edge. Apply very light pressure to avoid embossing the front of the image. Refer to the Library of Congress Preservation guidelines which emphasize that information should be recorded in a way that does not physically alter the primary object. If you are unsure about a person’s identity, set the photo aside in a “Mystery” folder. You can crowdsource these identities later by sending digital copies to older relatives who may have better memories of the era.

Day 4: Culling and Making Tough Choices
Not every photograph in an inherited collection is a masterpiece or a vital historical record. You will likely find dozens of blurry landscapes, duplicates of the same group shot, and photos of people no one in the family can identify despite your best efforts. Culling is the act of removing the “noise” so the “signal”—the truly meaningful photos—can shine. This is often the most emotionally difficult day, but it is necessary for effective photo collection management.
Establish a criteria for what stays and what goes. You might decide to keep only one version of a nearly identical series. You might discard photos where the subject is out of focus or the composition is so poor that the person is unrecognizable. Be ruthless but respectful. If you feel guilty about throwing photos away, create a “Secondary” box. This box contains photos that aren’t high priority but you aren’t ready to destroy. Store this box separately from your curated archive.
Consider the “Storytelling Rule.” Ask yourself: “Does this photo tell a story about my family?” A photo of a generic beach from 1982 tells no story. A photo of your grandmother standing on that same beach, laughing as a wave hits her, tells a story. Keep the laughter; discard the empty sand. Reducing the volume of your collection makes the next steps of storage and digitization far more affordable and manageable.
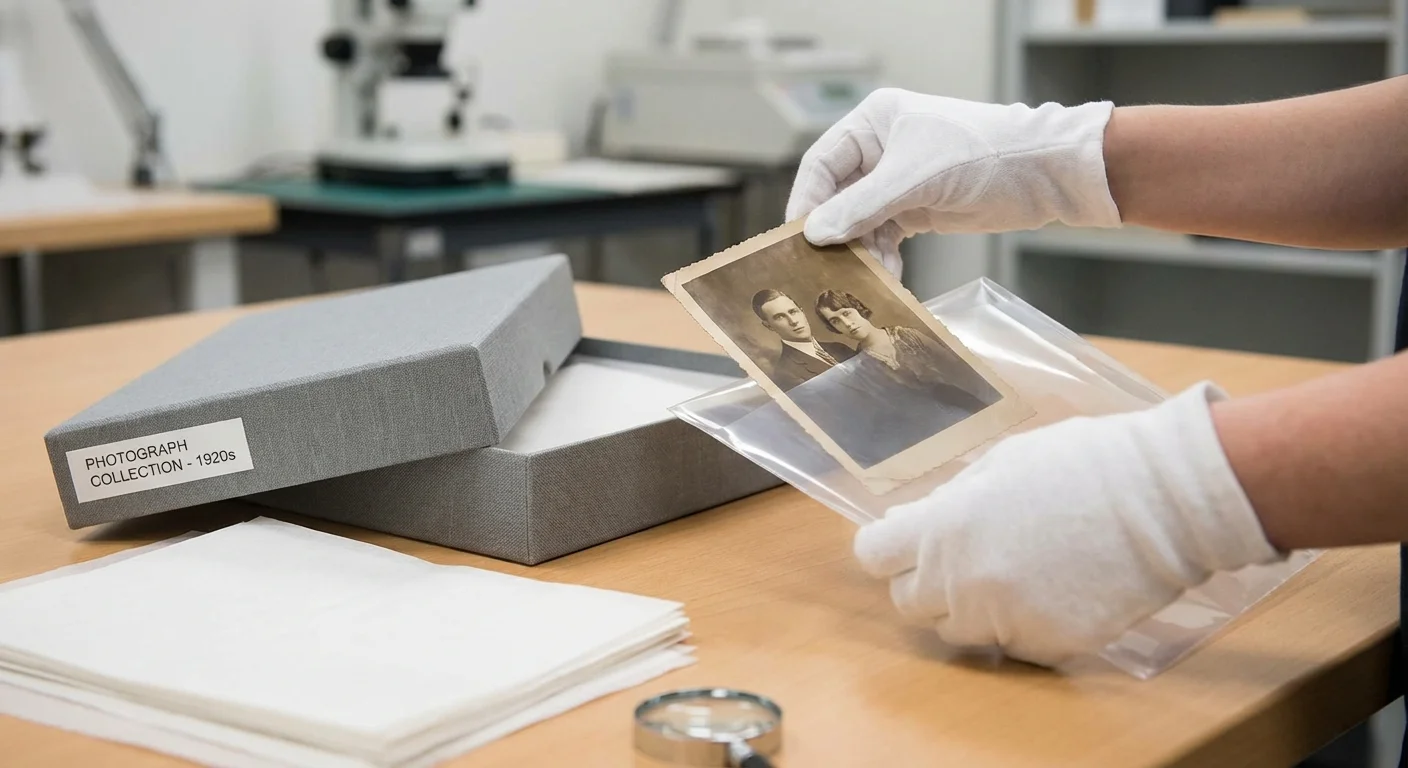
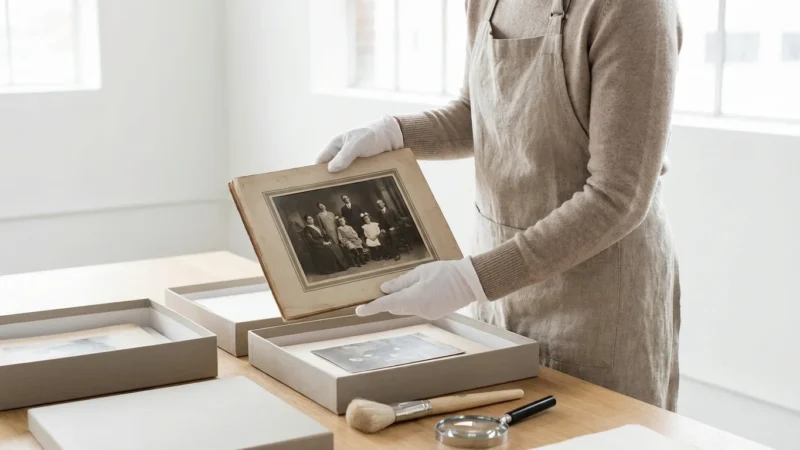
Day 5: Implementing Archival Storage Solutions
Cardboard shoeboxes and plastic bags are death traps for old photos. The acids in wood-pulp paper and the off-gassing of certain plastics will cause your photos to yellow, brittle, and fade. Today, you move your organized and culled collection into their permanent, archival-safe homes. Look for materials that have passed the Photographic Activity Test (PAT). This is an international standard (ISO 18916) that ensures a material will not chemically react with your photographs.
Use the following table to choose the right materials for your specific items:
| Item Type | Recommended Storage Material | Key Benefit |
|---|---|---|
| Loose Prints | Acid-free, lignin-free paper envelopes or Mylar sleeves | Prevents acid migration and physical scratches. |
| Negatives and Slides | Polypropylene or Polyester (Mylar) pages | Chemically inert; prevents sticking and moisture damage. |
| Fragile/Brittle Prints | Four-flap enclosures or rigid archival folders | Provides structural support without the need for adhesives. |
| Whole Collections | Metal-edge archival boxes | Provides a secondary barrier against light and dust. |
The National Archives Preservation standards recommend a “cool, dry, and dark” environment. Once your photos are in their archival boxes, store them in a closet on an upper floor—never on the floor where flooding could occur, and never in an uninsulated attic. The goal is to minimize fluctuations in temperature and humidity, which cause the paper fibers to expand and contract, eventually leading to cracks in the photo’s surface.

Day 6: Creating a Digital Backup Strategy
Digitization is your insurance policy. While the physical print is the original “artifact,” a digital copy ensures that even if a fire or flood strikes, the memory remains. Do not feel pressured to scan every single item in the collection today. Focus on the “Top 100” or the most fragile items first. High-quality digitization requires more than just a smartphone camera.
Don’t forget to implement standardized filenaming immediately so you can find specific memories easily in the future.
For larger projects, you might need to look into batch scanning techniques to digitize your legacy collection more efficiently.
If you are new to this technology, follow a complete guide on how to scan old photos at home to ensure professional-quality results.
Use a flatbed scanner for the best results. Set your resolution to at least 300 DPI (dots per inch) for a 1:1 copy, or 600 DPI if you want to be able to enlarge the photo later. Save your files in a “lossless” format like TIFF for your master archive. While JPEG files are smaller and easier to share, they lose data every time you edit and save them. Once you have a master TIFF file, you can create smaller JPEG versions for social media or email.
Follow the 3-2-1 backup rule. Maintain three copies of your digital archive, stored on two different types of media (such as an external hard drive and a cloud service), with one copy located off-site. This redundant system protects your hard work from hardware failure or local disasters. Organize your digital folders to mirror your physical boxes, using a naming convention that includes dates and keywords, such as 1955-Smith-Family-Reunion-001.tiff.

Day 7: Sharing the Stories and Celebrating Your Progress
Preservation is not about locking memories in a vault; it is about making them accessible. Now that your collection is organized, culled, housed in archival materials, and partially digitized, it is time to share the results. An inherited collection is a gift that grows in value when it is shared with the rest of the family. Use your newly digitized images to create meaningful projects that bring the history to life.
You might create a digital photo book for your siblings, a family history calendar for the holidays, or a private Facebook group where relatives can help identify those remaining “mystery” photos from Day 3. Sharing these images often triggers “dormant memories” in older relatives, leading to stories you might never have heard otherwise. Recording these stories—the oral history behind the images—is the final piece of the preservation puzzle.
Look back at that overwhelming box you started with seven days ago. By dedicating a few hours each day to a structured plan, you have successfully rescued your family’s history from decay and obscurity. You are no longer just an “inheritor”; you are a historian. Keep your archival boxes organized, update your digital backups annually, and continue to treat these objects with the respect they deserve. Your ancestors’ stories are now safe in your hands.
Frequently Asked Questions
How should I handle very old or brittle photographs?
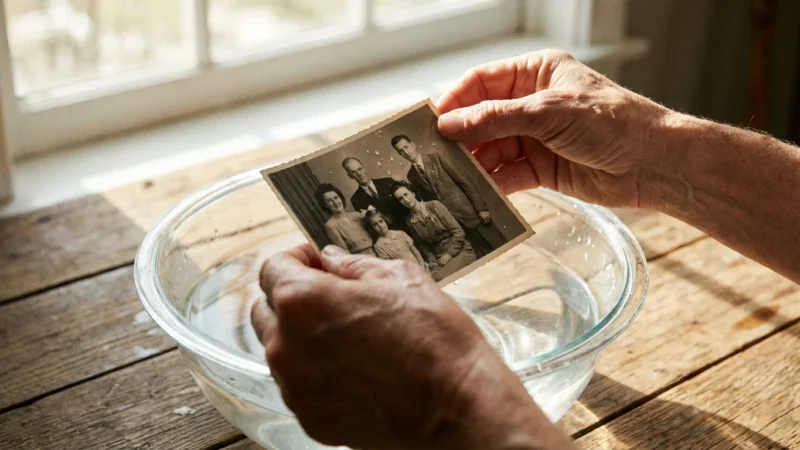
Always wash and dry your hands thoroughly or wear nitrile gloves to avoid transferring oils. Use a flat spatula or a thin piece of cardstock to lift brittle photos rather than using your fingers at the edges, which can cause snapping or tearing. If a photo is severely curled, do not force it flat, as the emulsion may crack; instead, consult a professional about humidification techniques.
What is the best resolution for scanning old family photos?
For standard prints, scan at a minimum of 300 DPI for 1:1 reproduction. However, if you plan to enlarge the image or want to capture fine detail for preservation, 600 DPI is the industry standard. For small items like 35mm slides or negatives, you need at least 2400 to 3200 DPI to capture enough detail for a quality print later.
Should I remove photos from old “sticky” magnetic albums?
Yes, but proceed with extreme caution. The adhesives in those albums are often acidic and will eventually destroy the photo. If a photo is stuck, do not pull it. Try using a piece of dental floss to gently “saw” behind the photo, or consult a professional if the image is highly valuable. If you cannot remove them safely, scan the entire page as a high-resolution image to preserve the visual record.
What should I do with photos that have writing on the front?
Never try to erase or remove ink from the front of a photograph, as you will almost certainly damage the emulsion. Instead, accept the writing as part of the photo’s history. When you digitize the image, you can use photo editing software to create a “clean” version while keeping the original scan with the writing as your master record.
Disclaimer: This article is for informational purposes only. When handling valuable or irreplaceable photographs, consider consulting a professional conservator. Always test preservation methods on non-valuable items first.


Leave a Reply