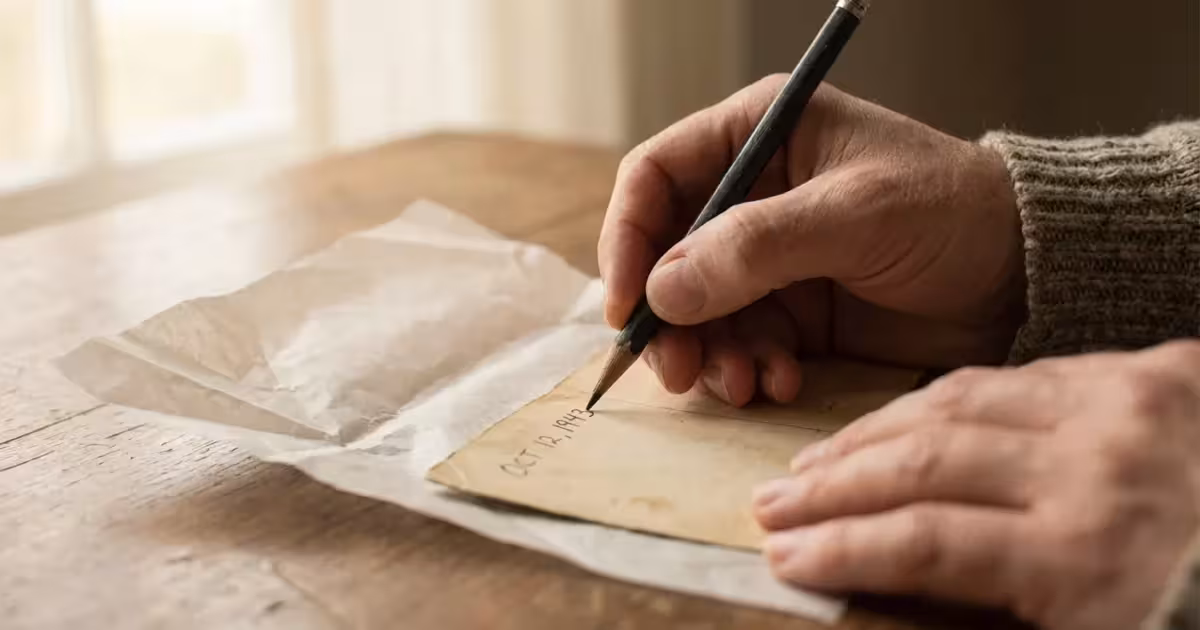
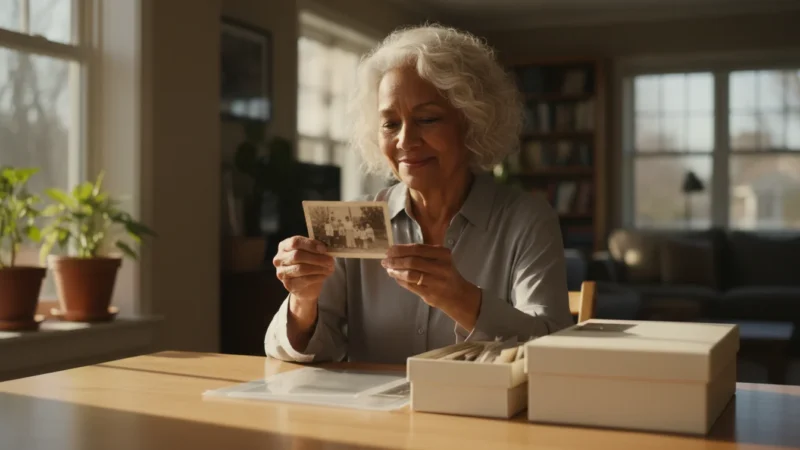
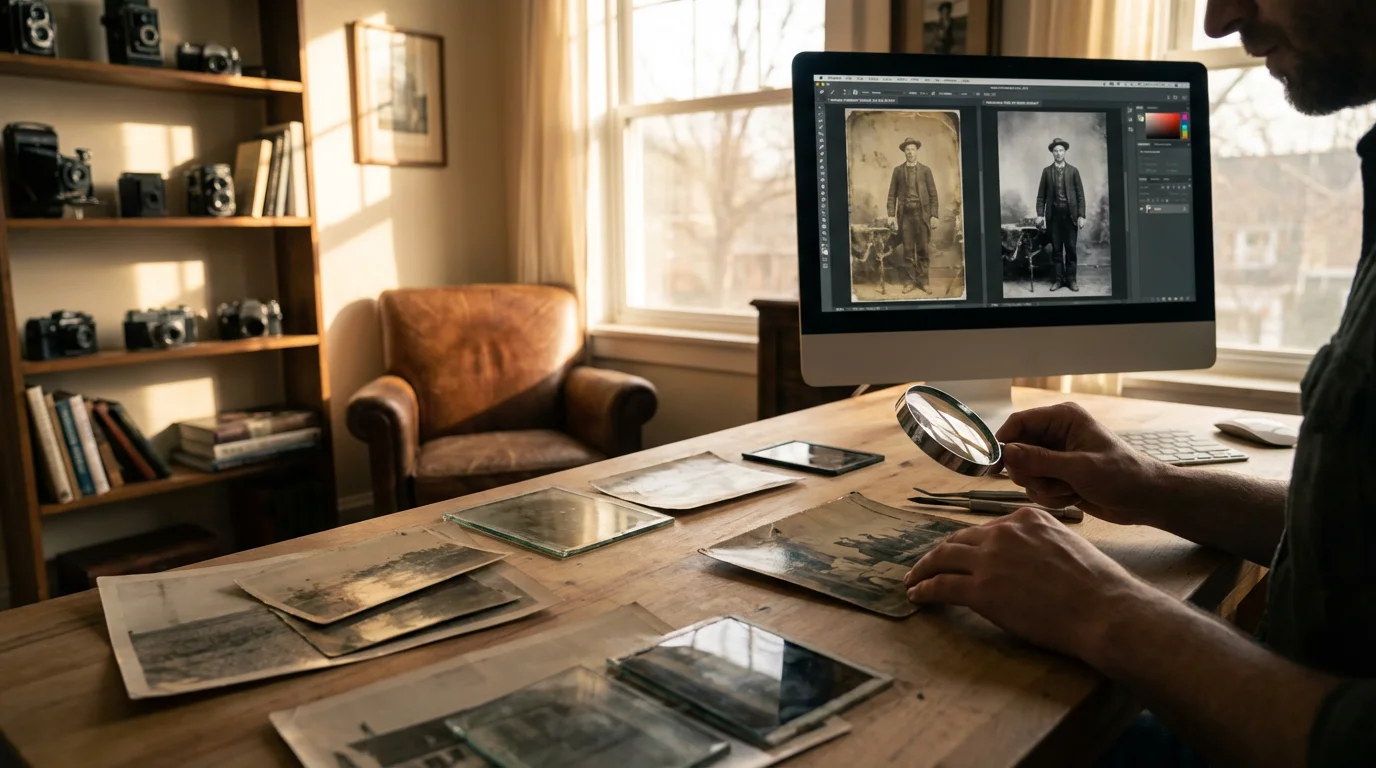
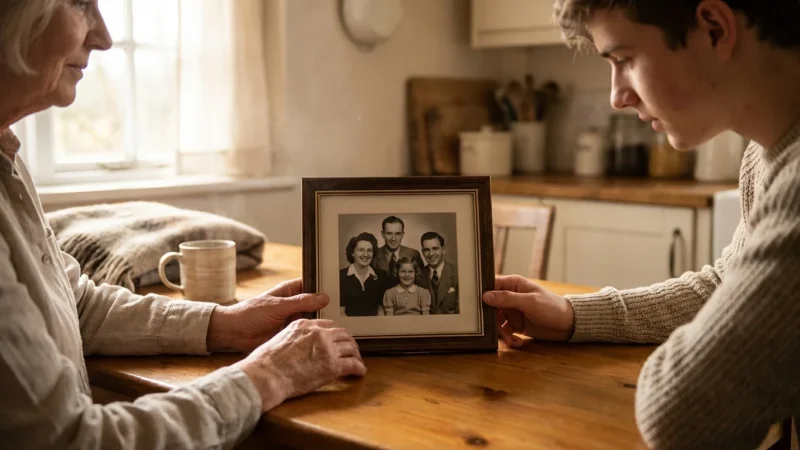
You hold a box of memories in your hands—faded sepia prints of ancestors, vibrant Polaroids from the 1970s, and glossy prints from your childhood vacations. Each image tells a story, but without names and dates, those stories eventually disappear. Labeling your photographs is one of the most important acts of preservation you can perform; however, using the wrong tool can destroy the very history you are trying to save. Acidic inks, sharp points, and heavy-handed writing have ruined countless photographic treasures over the decades.
When creating a home photo archive, organizing by name and date ensures your family history remains accessible for generations.
Preserving your photographic heritage requires a balance between documenting information and maintaining the physical integrity of the print. When you write on the back of a picture, you are introducing foreign chemicals and physical pressure to a delicate object. To ensure your labels last as long as the images themselves, you must choose tools that are chemically inert, lightfast, and gentle on the paper fibers. This guide explores the science behind safe labeling and provides you with actionable recommendations for the best pens and pencils to protect your family legacy.
Understanding the Risks of Improper Labeling
Every time you touch a photograph, you interact with its complex chemistry. Photographs are not just paper; they consist of multiple layers, including a base, a binder (usually gelatin), and the light-sensitive image material (like silver or dyes). Standard writing instruments pose three primary threats to these layers: chemical migration, physical mechanical damage, and “ghosting.”
Beyond chemical migration, environmental factors like humidity and temperature also play a significant role in how quickly these chemical reactions occur.
Understanding these chemical and physical risks is the first step toward learning how to store old photographs to prevent fading and damage for generations to come.
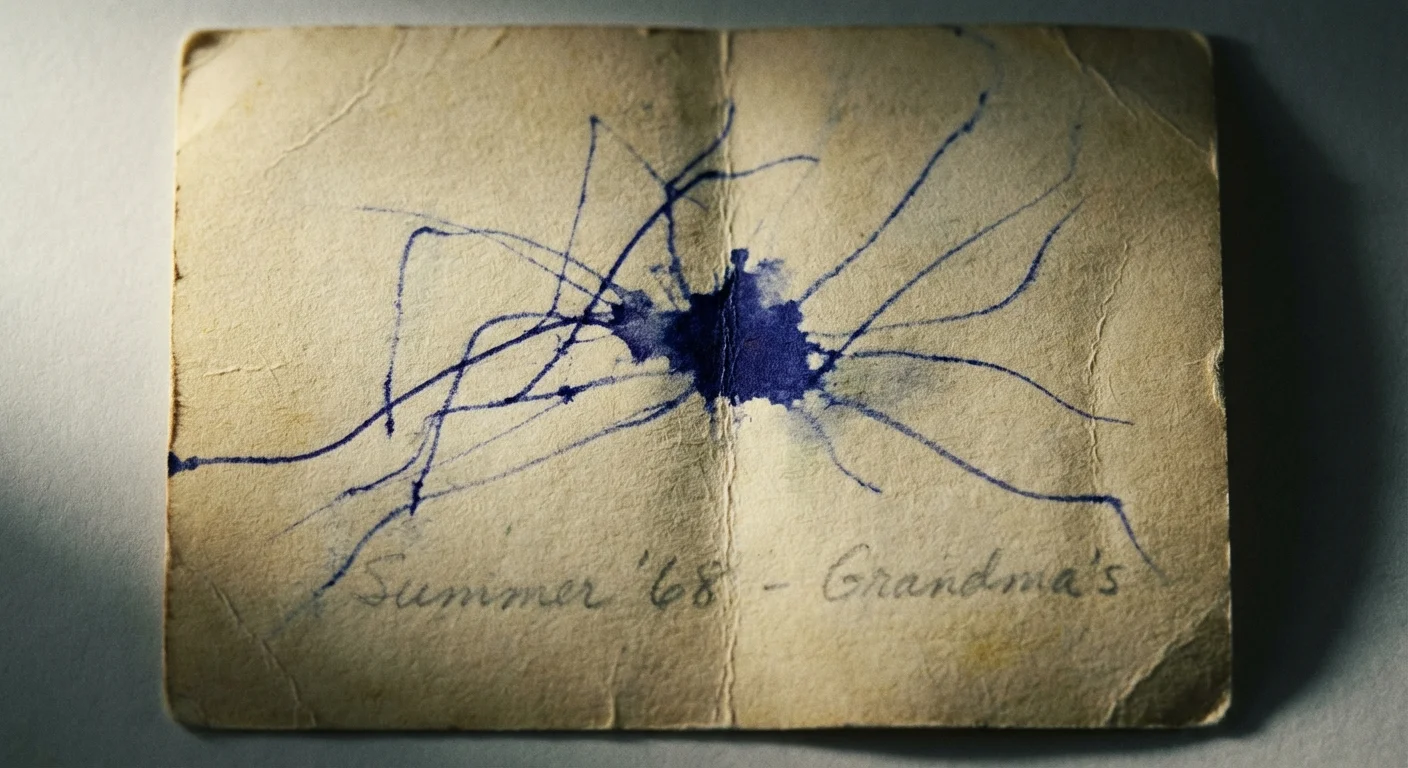
Chemical migration occurs when the solvents or acids in common ink seep through the paper base and react with the image layer. You might have seen old photos where the writing from the back is visible on the front as a brown or yellow stain. This is often the result of using ballpoint pens or cheap felt-tip markers. These inks contain dyes that are not lightfast and acids that break down the paper fibers over time. As the paper degrades, the ink literally eats its way to the surface.
Physical damage is equally destructive. If you use a hard-lead pencil or a ballpoint pen, you must apply significant pressure to make a mark. This pressure creates indentations that are visible on the front of the photograph, permanently scarring the emulsion. Even if the ink itself is safe, the physical act of writing can ruin the aesthetic value of the image. Finally, ghosting occurs when you stack photos before the ink is fully dry. The ink from the back of one photo transfers to the front of the photo beneath it in the stack, creating a messy, often permanent smudge on the image you want to see.
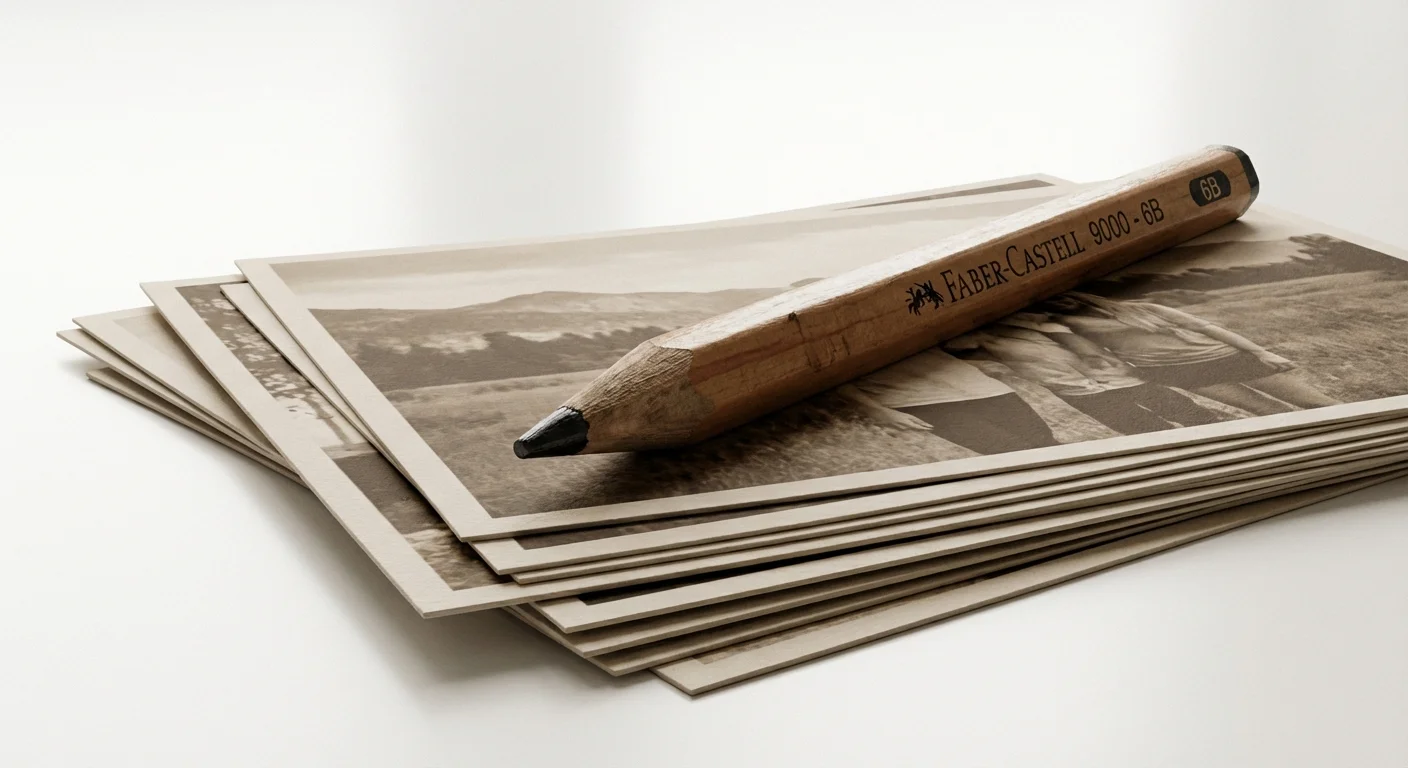
The Gold Standard: Soft Graphite Pencils for Paper Prints
When you are dealing with traditional fiber-based photographs—the kind common before the 1970s—the soft graphite pencil remains the champion of preservation. Organizations like the Library of Congress recommend pencils because graphite is naturally carbon-based and chemically stable. It will not fade, it does not contain harmful solvents, and it remains reversible if you make a mistake.
While soft pencils work for paper, you will need a different approach when learning how to care for tintype and daguerreotype photos due to their metallic surfaces.
However, you cannot use just any pencil from your desk drawer. Standard #2 pencils (HB grade) are often too hard for delicate vintage prints. To label photos safely, you should use “B” grade pencils, specifically 4B, 6B, or 8B. The “B” stands for blackness and indicates a softer lead. These pencils glide across the paper with almost zero pressure, depositing a dark, legible mark without indenting the surface. Because the lead is soft, the graphite particles sit on top of the paper fibers rather than being forced into them.
The most critical rule for photo labeling is to avoid physical pressure. If you can feel the writing from the front of the photo, you are using the wrong tool or too much force.
When using a soft pencil, keep the tip relatively dull. A needle-sharp point is more likely to scratch the paper. A 4B pencil is usually the perfect middle ground—soft enough to be safe but firm enough that the writing doesn’t smudge excessively. If you are worried about smudging in a storage box, you can place a piece of acid-free tissue paper between the photos, though a properly applied graphite label on fiber paper is generally very stable.

Archival Markers for Resin-Coated and Glossy Photos
Starting in the late 1960s and 1970s, the industry shifted toward resin-coated (RC) papers. These photos have a plastic-like coating that makes them more durable and faster to process. If you try to use a pencil on an RC photo, the lead will simply slide across the surface without leaving a mark. For these modern prints, you need a specialized archival marker.
Once labeled and dried, these prints are ready to be placed in archival photo albums and sleeves for secure long-term storage.
An archival marker differs from a standard permanent marker in two key ways: it uses pigmented ink rather than dye-based ink, and it is acid-free (pH neutral). Pigments are microscopic solid particles that sit on the surface and resist fading from light exposure. Dyes are liquid-based and tend to spread and fade over time. Look for markers that meet the “P.A.T.” (Photographic Activity Test) standard, which ensures the product will not react chemically with your photos.
When selecting a marker, choose a fine-tip or ultra-fine-tip version to keep your handwriting legible and small. Write your labels on the back, near the edge of the photo. Crucially, you must allow the ink to dry completely—usually 30 to 60 seconds—before you stack the photos. If you are working with very high-gloss prints, test the marker on a tiny corner first to ensure it doesn’t “bead up” or smear. High-quality archival pens like the Pigma Micron or specialized photo-labeling pens from archival suppliers are your best options here.
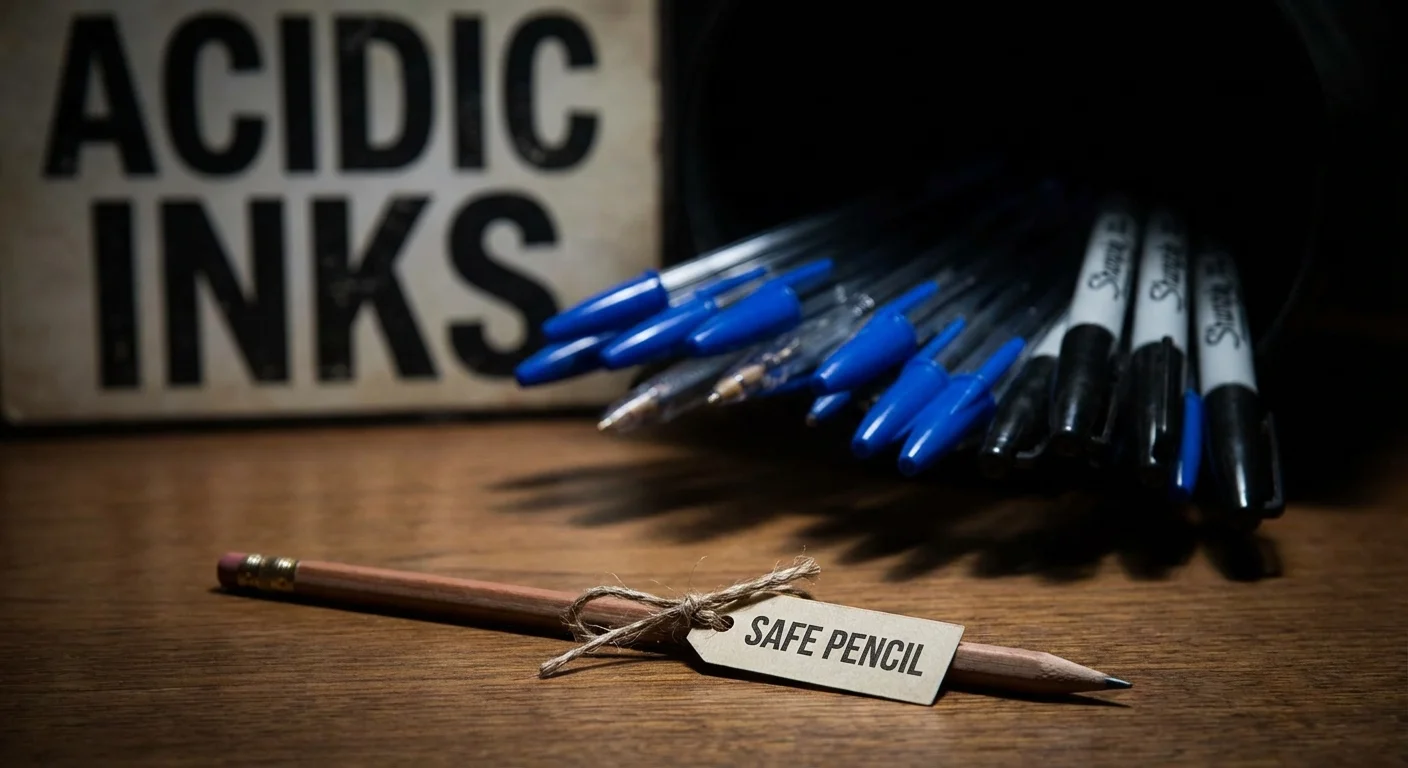
The Wall of Shame: Tools You Should Never Use
To protect your collection, you must banish certain items from your photo-organizing kit. The most common offender is the standard ballpoint pen. The oil-based ink in ballpoints is highly acidic and contains dyes that turn yellow or brown as they age. Furthermore, the metal ball requires significant pressure to function, which almost guarantees a permanent indentation on the front of your photo. If you find old photos labeled with ballpoint, do not attempt to remove the ink; instead, scan the photo immediately to preserve a digital copy before the ink migrates further.
If you are feeling overwhelmed by a large collection, consider organizing physical photo prints using a systematic, room-by-room approach.
Standard permanent markers, while convenient, are another high-risk tool. Many contain alcohol-based solvents and aggressive chemicals designed to bite into surfaces. These solvents can travel through the paper layers with alarming speed. Even if a marker claims to be “permanent,” that does not mean it is archival. Permanent markers are designed for industrial use, not for 100-year preservation.
You should also avoid gel pens and liquid ink rollerballs. Gel inks take a very long time to dry and can remain tacky for hours, leading to disastrous smearing. Additionally, the chemistry of gel ink is often proprietary and rarely tested for long-term archival stability. Finally, stay away from “grease pencils” or wax crayons. While they write on glossy surfaces, they can melt in warm environments, smudging the information and potentially sticking photos together in a solid block.
How to Identify Your Photograph Type Before Labeling
Choosing the right tool starts with knowing what you are holding. You can generally categorize your prints into two groups: fiber-based and resin-coated (RC). If you use a marker on fiber paper, it might bleed. If you use a pencil on RC paper, it won’t write. Here is how you can tell the difference easily.
| Feature | Fiber-Based (Older Prints) | Resin-Coated (Modern Prints) |
|---|---|---|
| Texture | Feels like high-quality paper; has a slight “tooth” or texture. | Feels smooth, plastic-like, or slick. |
| Curl | Edges may curl toward the image side over time. | Lies very flat; does not curl easily. |
| Water Test | Absorbs moisture (do not actually wet your photos!). | Water would bead off the back. |
| Best Tool | 4B or 6B Graphite Pencil. | Archival Pigment-Based Marker. |
For mid-century photos, the distinction can sometimes be tricky. If you aren’t sure, try a soft pencil very gently in the bottom corner of the back. If it leaves a clear mark without you having to press down, you are dealing with a paper-based print. If the pencil just slides around and leaves a faint, silvery scratch, the photo is resin-coated or has a heavy gelatin layer that requires a marker.
Step-by-Step Best Practices for Labeling Photos
Once you have the right tools, your technique becomes the final safeguard for your memories. Follow these steps to ensure your labeling is both informative and safe:
Properly identifying individuals in your physical prints is the first step in a broader strategy to tag and label photos for easy searching in the future.
Once your prints are properly identified, placing them in the best archival boxes will ensure they remain protected from light and dust.
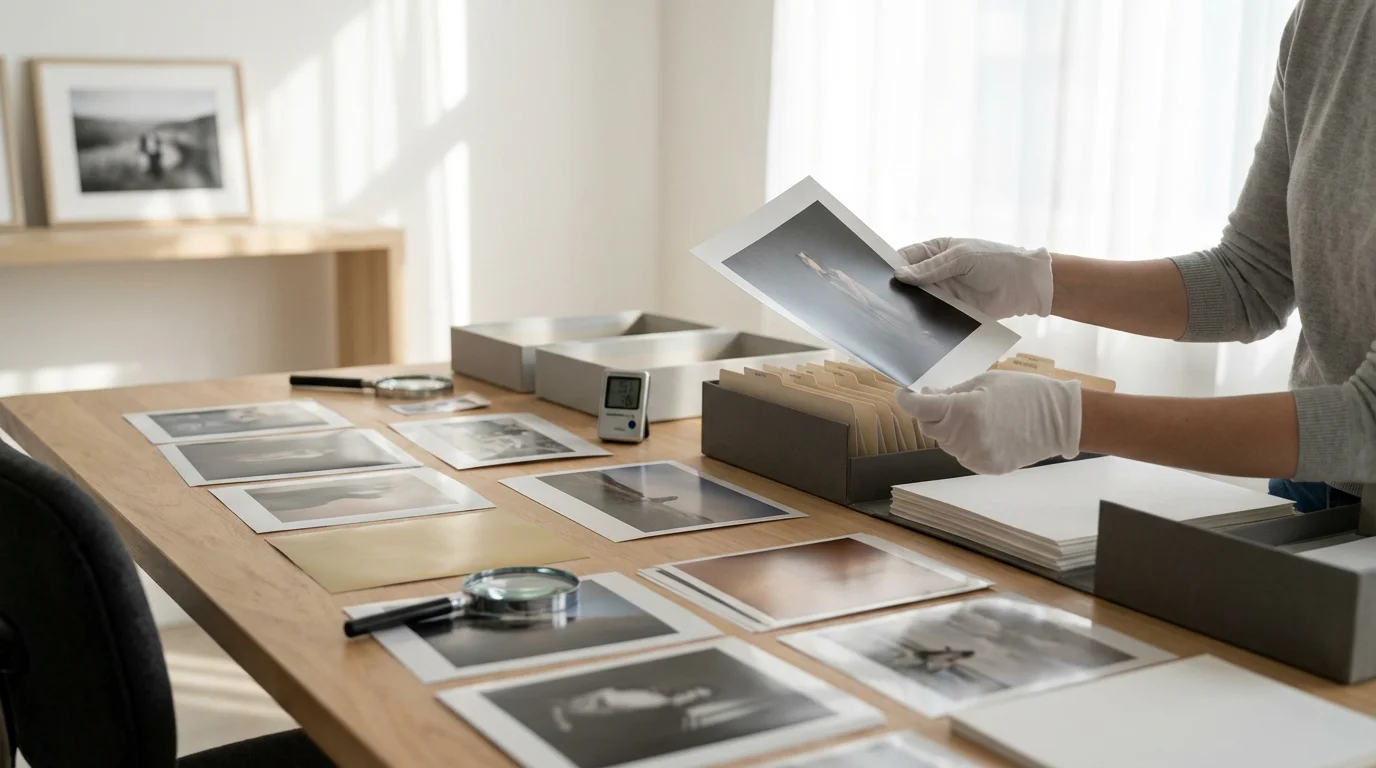
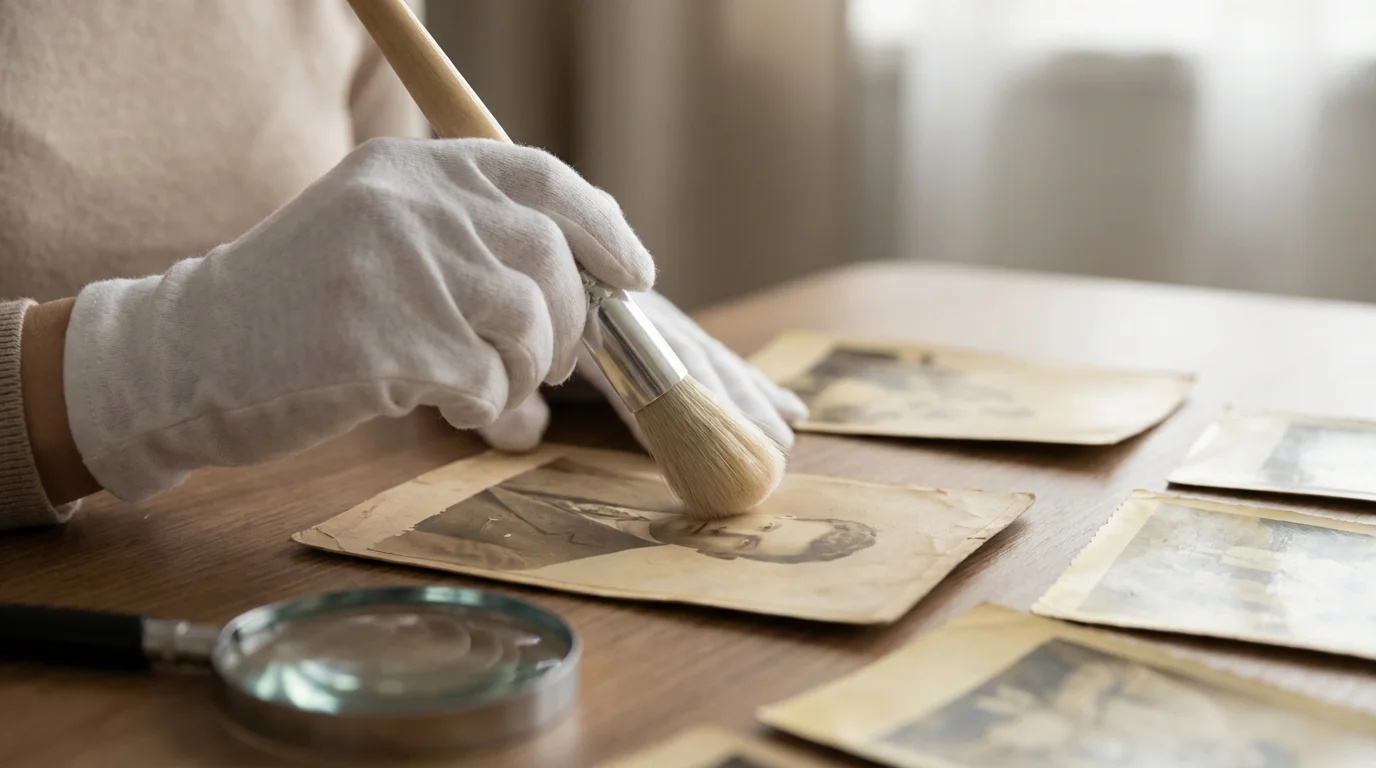
- Work on a Hard, Clean Surface: Never write on a photo while it is sitting on a soft surface like a tablecloth or a bed. This increases the risk of the tool poking through or indenting the paper. Use a clean, flat desk or a piece of glass.
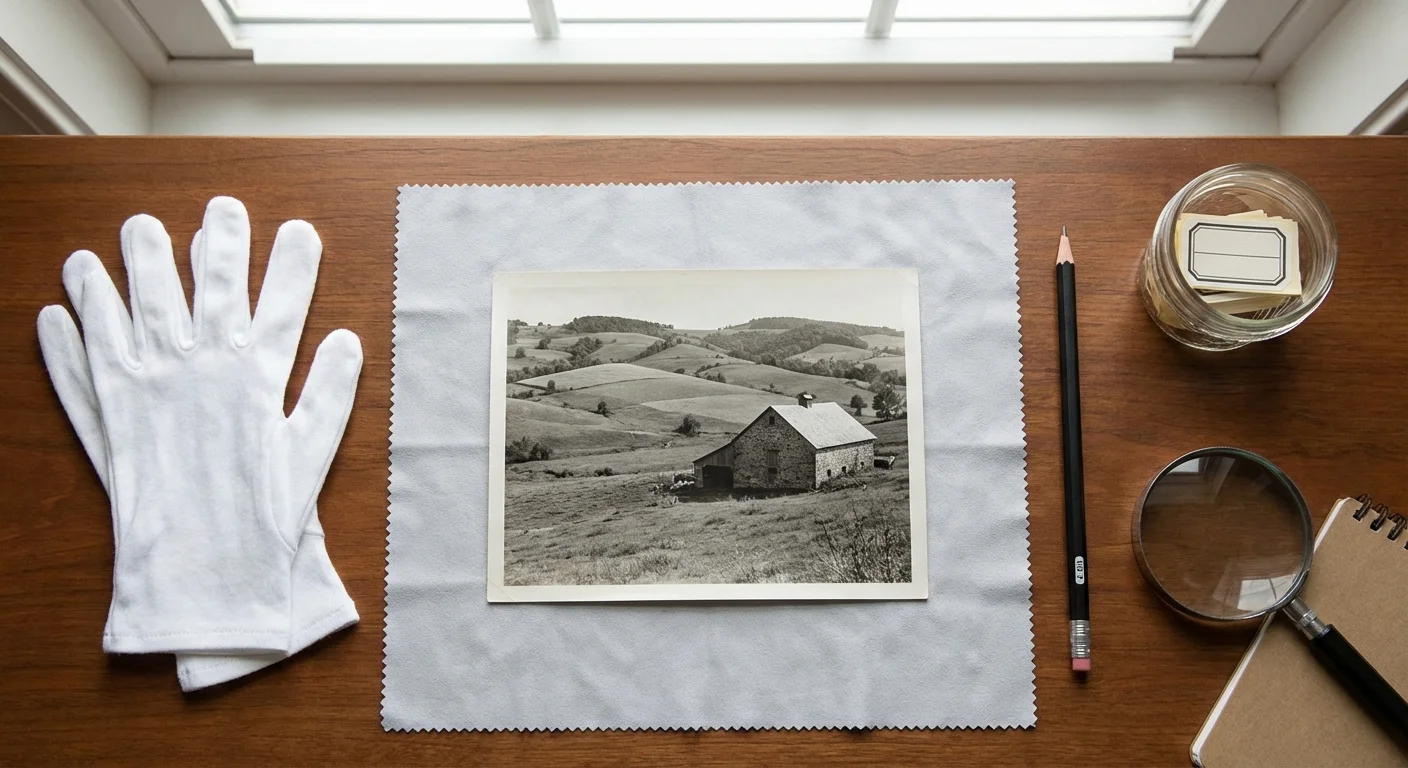
- Clean Your Hands: Oils and acids from your skin can damage photos. Wash and dry your hands thoroughly, or better yet, wear lint-free cotton or nitrile gloves while handling the prints.
- Write Near the Edges: Place your information along the bottom or side edges of the back. This ensures that if any minor bleed-through or indentation occurs, it is less likely to obscure a face or a central part of the image.
- Be Brief but Precise: Use full names. Writing “Grandma” is helpful to you, but it won’t help your great-grandchildren who may have four different grandmas to choose from. Write “Mary Elizabeth Smith (née Jones)” for clarity.
- Include the Date and Location: If you don’t know the exact date, use “Circa 1945” or “Summer 1945.” Even a rough estimate is better than no information at all.
- Let It Dry: If using a marker, give it at least a full minute before moving the photo. If you are working on a large batch, lay them out on a table like a deck of cards rather than stacking them immediately.
If you are labeling very thin paper or historical documents that are especially fragile, consider writing the information on an archival-quality envelope or sleeve instead of the photo itself. This eliminates all risk of physical or chemical damage to the original item.

Modern Alternatives: Digital Metadata and Enclosures
Sometimes, the best way to label a photo is not to write on it at all. If you are dealing with a particularly valuable or fragile original, consider using a “secondary labeling” method. This involves placing the photograph in an acid-free, lignin-free paper sleeve or a polyester (Mylar) pocket. You can then write your identification information on the sleeve itself using any pen you like, or use a specialized archival label on the outside of the pocket.
The National Archives frequently uses protective enclosures to manage large collections. This method ensures that the original object remains untouched while the information remains physically attached to it. Just ensure that any adhesive labels you use are also archival-grade, as the adhesives in standard office labels can off-gas and cause yellowing through the plastic.
In the digital age, you should also consider metadata. When you scan your photos for digital preservation, you can embed the “Who, What, Where, and When” directly into the image file using the “Description” or “Keywords” fields (often referred to as IPTC or EXIF data). This information stays with the file wherever it goes. While digital metadata doesn’t replace the need for physical labels on the originals, it creates a searchable, redundant system that ensures your family history survives even if the physical prints are separated from their descriptions.
Frequently Asked Questions
Is it okay to use a pencil on the front of a photo if I write in the margin?
No, you should never write on the front of a photograph, even in the white borders. Graphite or ink on the emulsion side can interfere with the chemistry of the image and is much more difficult to remove if a mistake is made. Always limit your labeling to the reverse side.
Can I use a label maker (like a Dymo or Brother) to label my photos?
Generally, no. The adhesives used in most consumer label makers are not archival. Over time, these adhesives can dry out, causing the label to fall off, or they can “bleed” through the paper, leaving a permanent oily stain. If you must use labels, only use those specifically certified as acid-free and archival-safe for photographic use.
What should I do if a photo is already labeled with a ballpoint pen?
Do not attempt to erase or chemically remove old ballpoint ink, as you will likely cause more damage to the paper. The best course of action is to place the photo in an individual archival sleeve to prevent the ink from touching other photos and scan the image at a high resolution. This preserves the information and the image before any further degradation occurs.
Is “acid-free” the same as “archival”?
Not necessarily. “Acid-free” simply means the product has a neutral pH at the time of manufacture. “Archival” is a broader, non-technical term that implies the product is designed for long-term preservation. When shopping, look for specifics: “pigment-based ink,” “pH neutral,” and “passed the P.A.T.” to ensure the highest level of safety for your photographs.
By taking the time to select the right tools and following careful labeling procedures, you are doing more than just organizing a box of pictures. You are ensuring that the people, places, and stories within those images remain connected for generations to come. Your effort today prevents your family’s history from becoming a collection of anonymous faces, preserving the legacy of your memories in their most authentic form.
Disclaimer: This article is for informational purposes only. When handling valuable or irreplaceable photographs, consider consulting a professional conservator. Always test preservation methods on non-valuable items first.


Leave a Reply