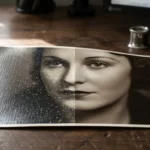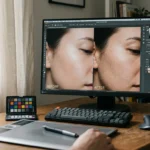
Holding a vintage photograph feels like holding a piece of history in your hands. That weathered piece of paper connects you to ancestors you never met or childhood moments that have begun to fade from memory. However, time is rarely kind to physical media; humidity, sunlight, and improper storage often leave behind a trail of silver mirroring, deep cracks, and distracting dust specks. When you look at a cherished family portrait obscured by a web of scratches, you might feel the damage is permanent. Fortunately, modern digital tools allow you to breathe new life into these artifacts without ever touching the original physical copy.
If your physical copies have been exposed to moisture or floods, consult a guide on restoring water-damaged photos before attempting digital repairs.
For images with extreme physical deterioration, it can be helpful to research professional photo restoration services before starting your digital project.
Photoshop stands as the industry standard for photo restoration because it offers surgical precision. Unlike automated mobile apps that often “smudge” details and erase the natural skin texture of your subjects, Photoshop provides a manual toolkit that respects the integrity of the original image. By following a structured restoration workflow, you can remove decades of wear while maintaining the soul of the photograph. You will transform a battered relic into a crisp, clear digital heirloom that your family can enjoy for generations to come.
The Foundation: High-Quality Digital Capture
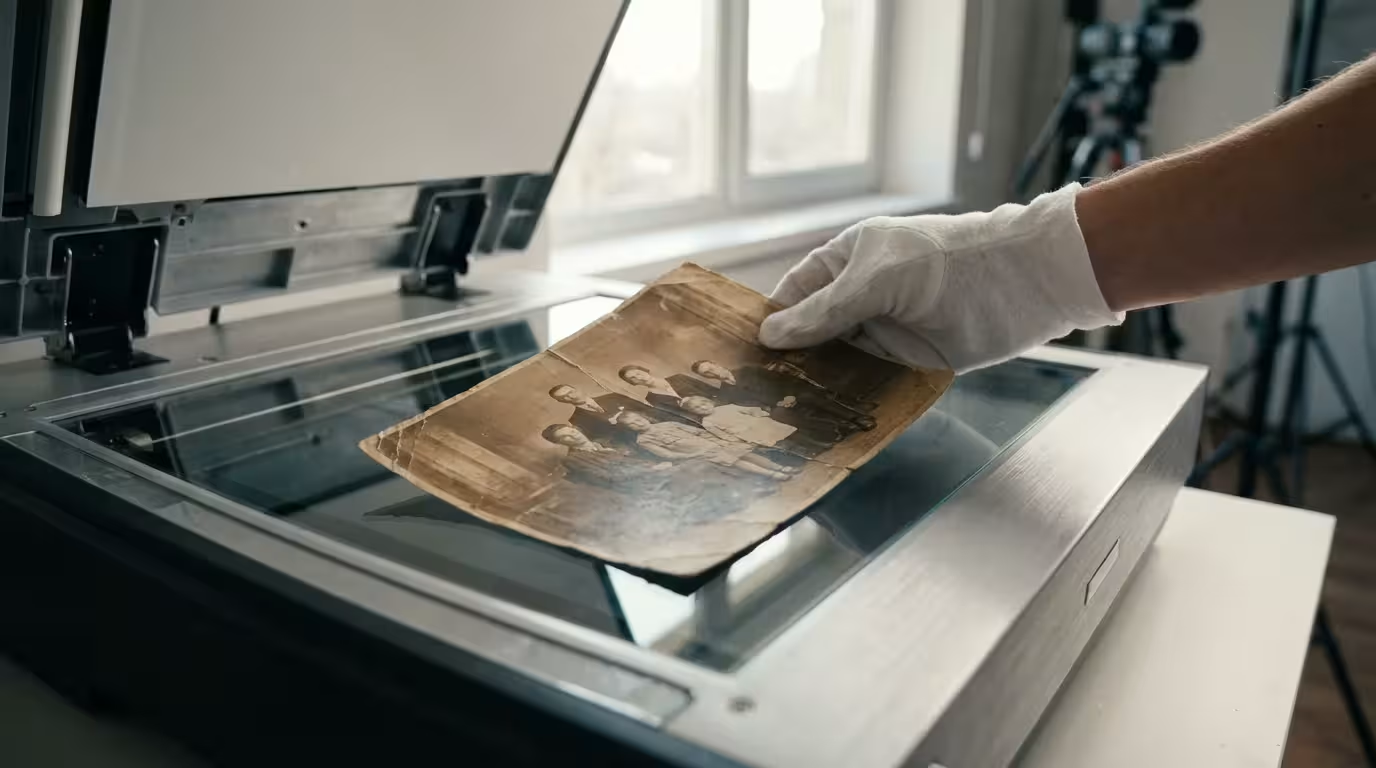
Your restoration is only as good as your initial scan. If you start with a low-resolution, compressed JPEG, you limit your ability to zoom in and fix tiny micro-scratches. Think of the scan as the “negative” for your digital work. You want to capture as much data as possible from the start. Set your scanner to at least 600 DPI (dots per inch). While 300 DPI is standard for printing, 600 or even 1200 DPI allows you to enlarge the photo later or perform detailed retouching on small faces without the image breaking down into pixels.
To ensure you don’t scan unwanted debris, follow these photo cleaning and handling tips before starting your scanner.
Always scan in 16-bit color mode if your hardware supports it—even for black and white photos. This provides a significantly wider range of tonal values, which prevents “banding” when you adjust the contrast later. Save your file as a TIFF. Unlike JPEGs, which discard data every time you hit save, TIFF files are lossless. This ensures that every hour you spend meticulously removing scratches is preserved in the highest possible fidelity. If your photo is stuck behind glass or is too fragile for a flatbed scanner, use a DSLR or mirrorless camera on a tripod with “copy stand” lighting to capture a high-resolution RAW file.

Establishing a Non-Destructive Workflow
Before you touch a single scratch, you must protect your original scan. One of the biggest mistakes beginners make is “baking” their edits directly into the background layer. If you make a mistake and realize it twenty steps later, you have no way to revert without losing all your subsequent work. Instead, adopt a non-destructive approach. Open your image and immediately create a new, blank layer (Ctrl+Shift+N on Windows or Cmd+Shift+N on Mac). Name this layer “Blemish Removal.”
Understanding this layered approach is also fundamental when learning how to restore old faded photos and correcting tonal loss.
By working on a separate layer, you keep the original pixels untouched underneath. If you over-edit a specific area, you can simply use the Eraser tool on your “Blemish Removal” layer to reveal the original image or lower the layer’s opacity to blend the fix. When using tools like the Spot Healing Brush or Clone Stamp, ensure the “Sample All Layers” box is checked in the top options bar. This tells Photoshop to look at the background layer for information while placing the “repairs” on your new, transparent layer.
The most critical rule of photo restoration is to preserve the character of the original; your goal is to remove the damage caused by time, not the life story written on the face of the subject.
Mastering the Healing Brush and Spot Healing Tools
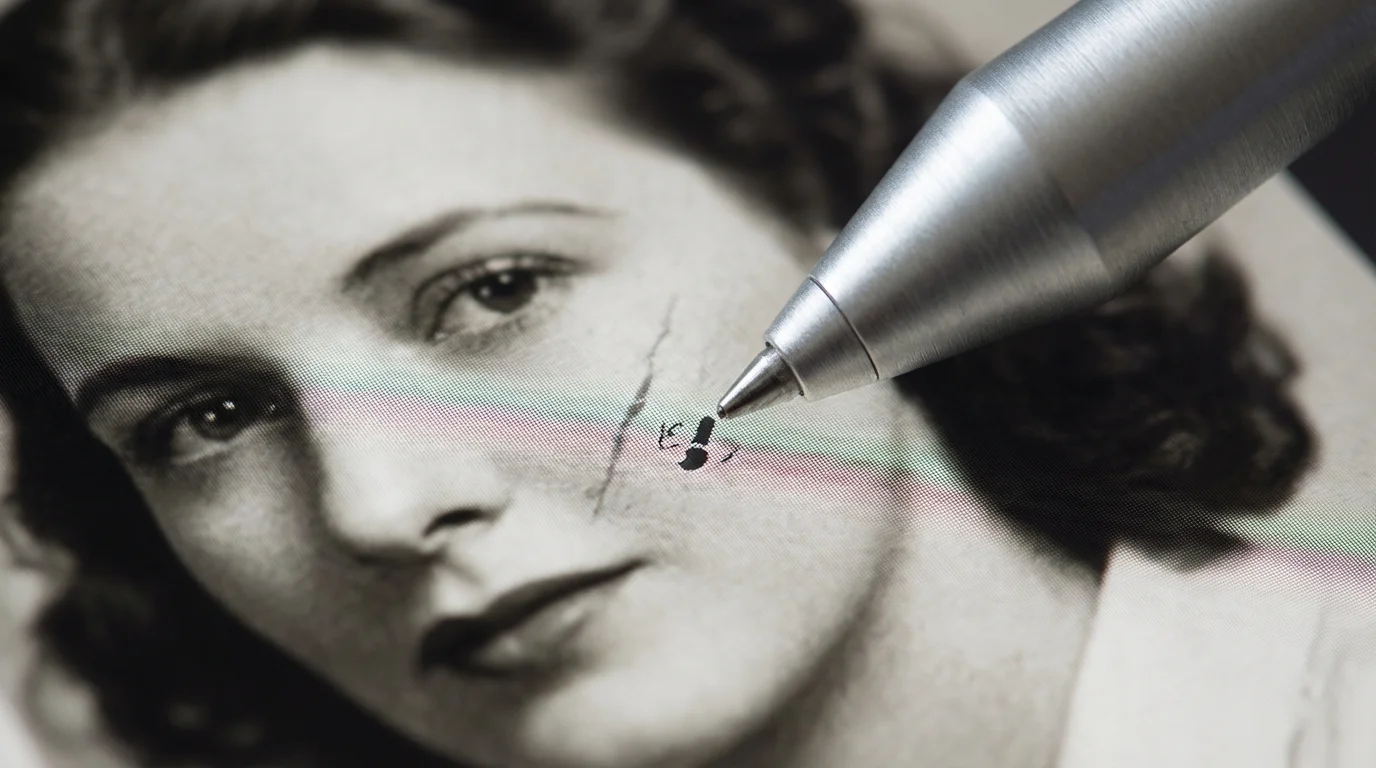
For most scratches and dust specks, the Spot Healing Brush is your fastest ally. This tool uses “Content-Aware” technology to analyze the pixels surrounding a blemish and automatically fill the gap. It works best for small, isolated problems—like a white speck on a dark coat or a thin scratch across a clear sky. Set the brush hardness to around 50% to 70%; a brush that is too soft will create blurry halos, while a brush that is too hard will leave visible circular edges.
When the Spot Healing Brush fails—usually near edges or areas with high contrast—switch to the standard Healing Brush. Unlike the “Spot” version, the Healing Brush requires you to define a source point. Hold the Alt (Windows) or Option (Mac) key and click on a clean area of the photo that has similar texture and lighting to the damaged area. When you paint over the scratch, Photoshop matches the texture from your source point to the color and lighting of the target area. This is the “magic” tool for facial restoration, as it preserves the natural skin grain while erasing creases or cracks.
Surgical Repairs with the Clone Stamp Tool
While the Healing Brush is excellent at blending, it can sometimes create a “smudged” look if you use it too close to a high-contrast edge, such as the line where a person’s shoulder meets a dark background. In these instances, you need the absolute control of the Clone Stamp tool. The Clone Stamp does not try to blend or “think” for you; it copies pixels exactly from point A to point B.
To use the Clone Stamp effectively for scratch removal, follow these guidelines:
- Use a small brush: Only cover the scratch itself, not the surrounding healthy pixels.
- Lower the Opacity: Setting your brush opacity to 50% or 75% allows you to build up the repair gradually, which looks much more natural than a 100% “stamp.”
- Change the Sample Point frequently: If you sample from the same spot repeatedly, you will create a noticeable “pattern” that gives away the edit. Keep your source point close to the area you are repairing to ensure the light direction matches.
- Align the edges: If a scratch cuts through a straight line—like a door frame or a shirt collar—use the Clone Stamp to “draw” that line back into place by sampling further down the same edge.

Advanced Texture Preservation via Frequency Separation
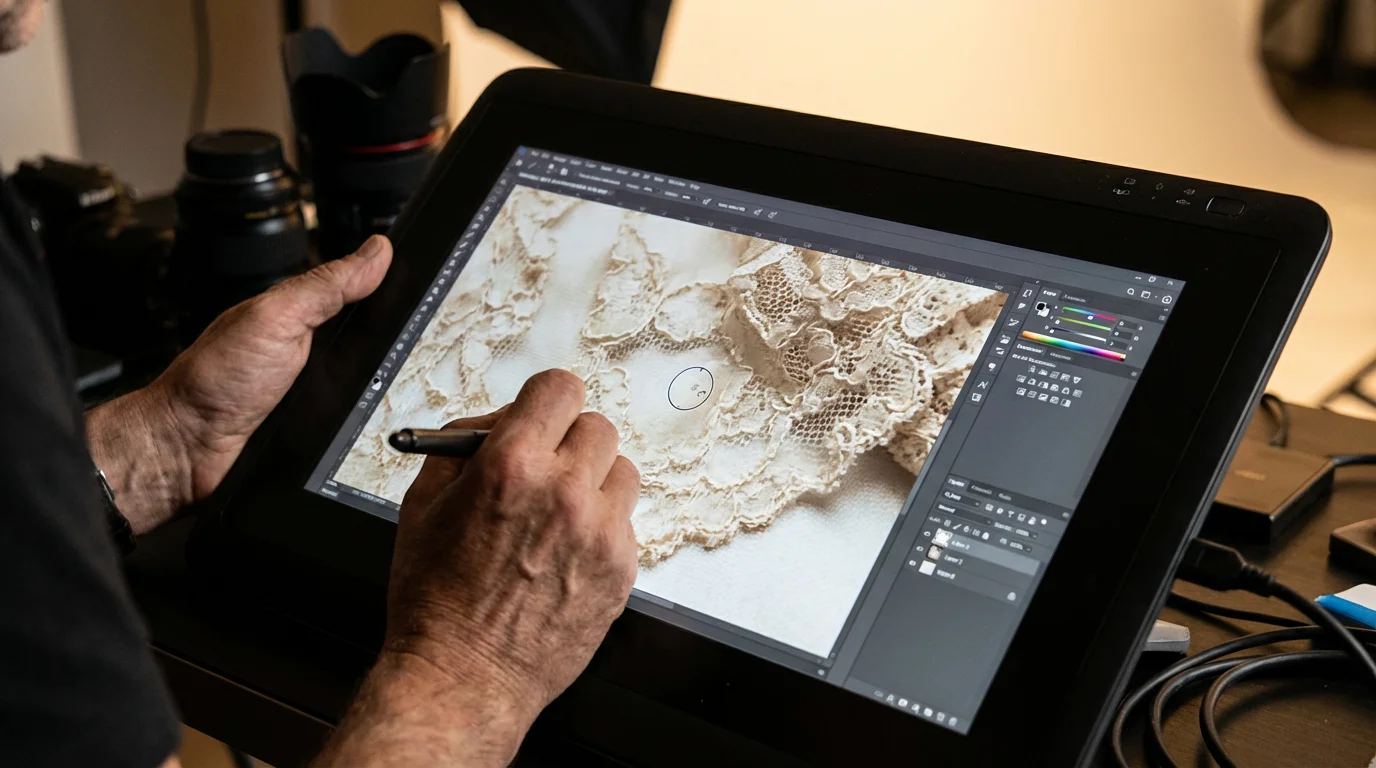
Sometimes a scratch is particularly stubborn because it sits on top of a complex texture, like a lace dress or a person’s skin. Using the standard healing tools might fix the color but destroy the texture, or vice versa. This is where “Frequency Separation” becomes your secret weapon. This technique splits your image into two layers: a “Low Frequency” layer containing the colors and tones, and a “High Frequency” layer containing the fine details and textures.
To set this up, duplicate your base layer twice. Name the bottom one “Low Frequency” and the top one “High Frequency.” Apply a Gaussian Blur to the “Low” layer until the fine details disappear but the colors remain. Then, use the “Apply Image” command on the “High” layer (using the Low layer as a source and the Subtraction blending mode). Finally, set the “High” layer’s blending mode to Linear Light. The image will look exactly like the original, but now you can fix color blotches on the Low layer without affecting the skin grain, and you can remove scratches on the High layer without shifting the color. This pro-level technique is what separates amateur edits from museum-quality restorations.
Reconstructing Missing Edges and Complex Backgrounds
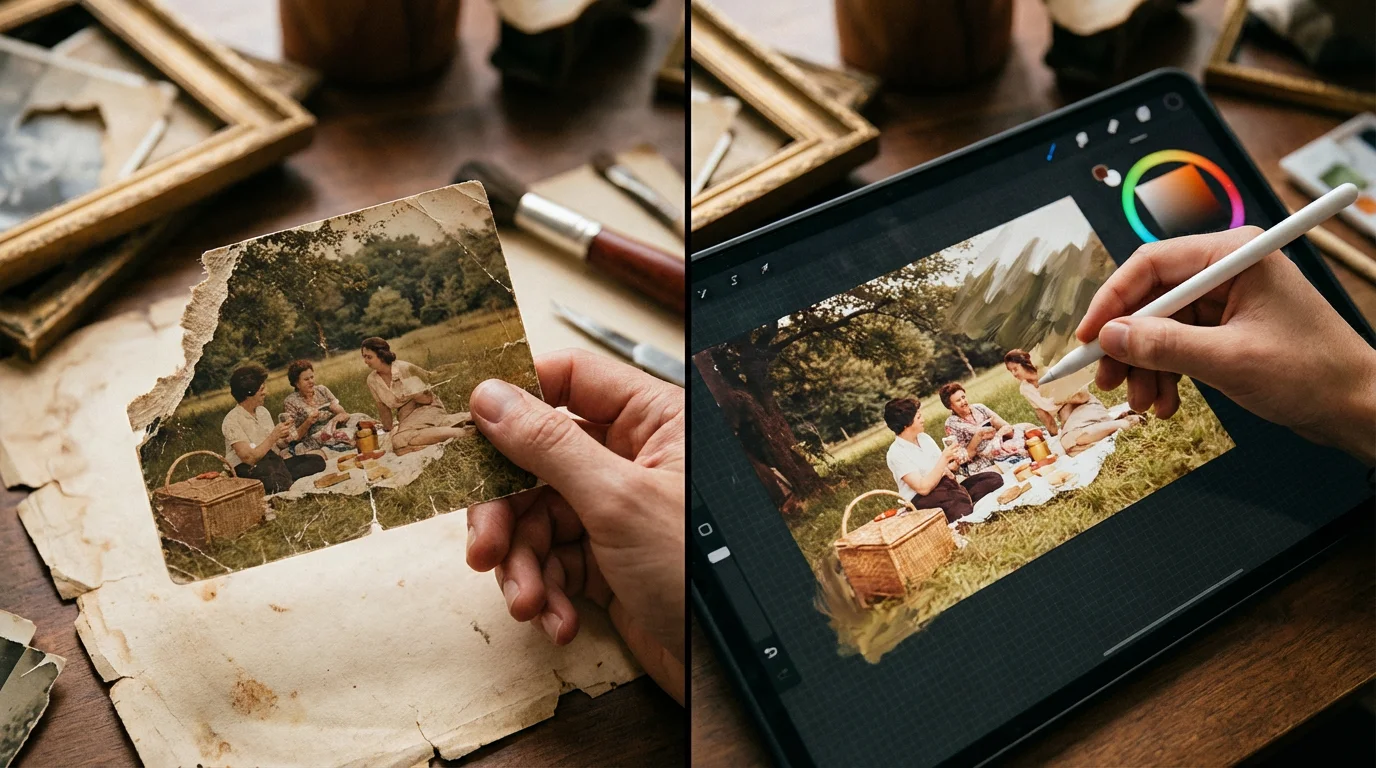
Many old photos have missing corners or large “chunks” taken out of them. You cannot “heal” what isn’t there, so you must reconstruct the scene. If a corner is missing, look for a symmetrical element in the photo. For example, if the top-left corner of a patterned border is missing, you can use the Marquee tool to select the top-right corner, copy it to a new layer, and use the Transform tool (Ctrl+T / Cmd+T) to flip it horizontally and move it into the missing space.
Once the physical structure of the image is repaired, you might consider colorizing black and white photos to bring a modern vibrance to the scene.
For more organic backgrounds, like trees or grass, use the Patch Tool. Draw a selection around the missing or heavily damaged area and drag that selection to a clean, healthy area of the background. Photoshop will blend the textures and lighting of the new area into the hole. If the damage is in a critical area like a face, you may need to zoom in significantly and use the Clone Stamp with a 1-pixel brush to “repaint” missing eyelashes or the edge of a lip. It is meticulous work, but the results are often breathtaking.
| Damage Type | Best Photoshop Tool | Strategy |
|---|---|---|
| Fine Dust / Small Specks | Spot Healing Brush | Quick taps with a brush slightly larger than the speck. |
| Long Cracks in Skin | Healing Brush | Sample from nearby skin with similar lighting; paint along the crack. |
| Missing Corners / Edges | Clone Stamp / Marquee Tool | Mirror intact sections or sample from large background areas. |
| Yellowing / Stains | Adjustment Layers (Curves/Levels) | Target specific color channels to neutralize the stain. |
| Cracked “Emulsion” Texture | Frequency Separation | Remove texture on High layer while keeping tone on Low layer. |

Final Refinements: Contrast, Grain, and Sharpening
Once you have removed the physical blemishes, the photo might look “too clean” or slightly plastic. Old photos have a natural chemical grain that is part of their aesthetic charm. If your repairs have smoothed out large areas, you can add a tiny amount of noise (Filter > Noise > Add Noise) to the repaired layer to help it blend with the rest of the original scan. Usually, a setting of 1% to 2% “Uniform” noise is enough to match the vintage feel.
If you wish to go beyond structural repairs, you can follow a separate guide on how to colorize black and white photos for a truly vibrant result.
Next, address the fading. Most old photos lose their “black point,” appearing gray and washed out. Use a Curves adjustment layer to pull the left side of the histogram inward, which deepens the blacks and brings back the “pop.” Finally, use the Unsharp Mask or Smart Sharpen filter to bring out the eyes and fine details. Be careful not to over-sharpen; you want the photo to look like a well-preserved original, not a digital recreation. When you are finished, save your work as a PSD file to keep your layers intact, then export a high-quality JPEG for sharing with your family.
True restoration isn’t about making an old photo look like it was taken today; it’s about making it look like it was perfectly preserved from the day it was captured.
Frequently Asked Questions
What is the best resolution for scanning photos I intend to restore?
For standard 4×6 or 5×7 prints, scan at a minimum of 600 DPI. If you plan to enlarge the photo or if the image contains fine details you wish to preserve, 1200 DPI is recommended. Always save your files in a lossless format like TIFF to maintain the highest quality during the editing process.
Should I use the Spot Healing Brush or the Clone Stamp tool?
The Spot Healing Brush is best for quick fixes like dust, small specks, and thin scratches because it automatically blends pixels. The Clone Stamp tool provides more control and is essential for reconstructing missing edges, patterns, or areas where the automated brush creates blurry artifacts.
Can I restore a photo that is torn into multiple pieces?
Yes. Scan each piece separately or lay them as flat as possible on the scanner bed. In Photoshop, use the Move tool to align the pieces on different layers, then use Layer Masks and the Clone Stamp tool to bridge the gaps and blend the seams together.
Is it better to fix color or scratches first?
Generally, you should address major physical blemishes, scratches, and dust first. Fixing the structural integrity of the image provides a cleaner canvas for global adjustments like color correction, contrast, and sharpening later in the workflow. For more technical guidance on long-term digital storage of these restored files, resources like the Image Permanence Institute offer excellent advice on digital longevity.
Restoring old photographs is a labor of love that requires patience and an eye for detail. By using these Photoshop techniques—from high-resolution scanning to frequency separation—you are doing more than just editing an image; you are safeguarding a legacy. Take your time, work in small sections, and remember that every scratch you remove helps bring a piece of your family history back into the light. For more information on the physical preservation of the original prints, the Library of Congress Preservation department provides comprehensive guidelines on archival storage.
Disclaimer: This article is for informational purposes only. When handling valuable or irreplaceable photographs, consider consulting a professional conservator. Always test preservation methods on non-valuable items first.