
You have likely experienced the disappointment of capturing a heartfelt family moment only to find your loved ones looking like they have glowing red eyes. This common photographic phenomenon often occurs during birthday parties, holiday gatherings, and evening events where artificial light dominates. While it can feel like a portrait is ruined, red eye is a simple byproduct of physics and biology that you can easily correct or prevent.
Whether you are looking through a box of vintage family prints or scrolling through your recent digital snapshots, understanding how to handle these glowing orbs is essential for any family historian or hobbyist photographer. You can transform these images back into the natural, warm memories they were meant to be with just a few clicks or a change in your shooting technique. This guide provides actionable steps to fix red eye in photos, ensuring your portraits remain timeless and professional.
The Biological Cause of Red Eye
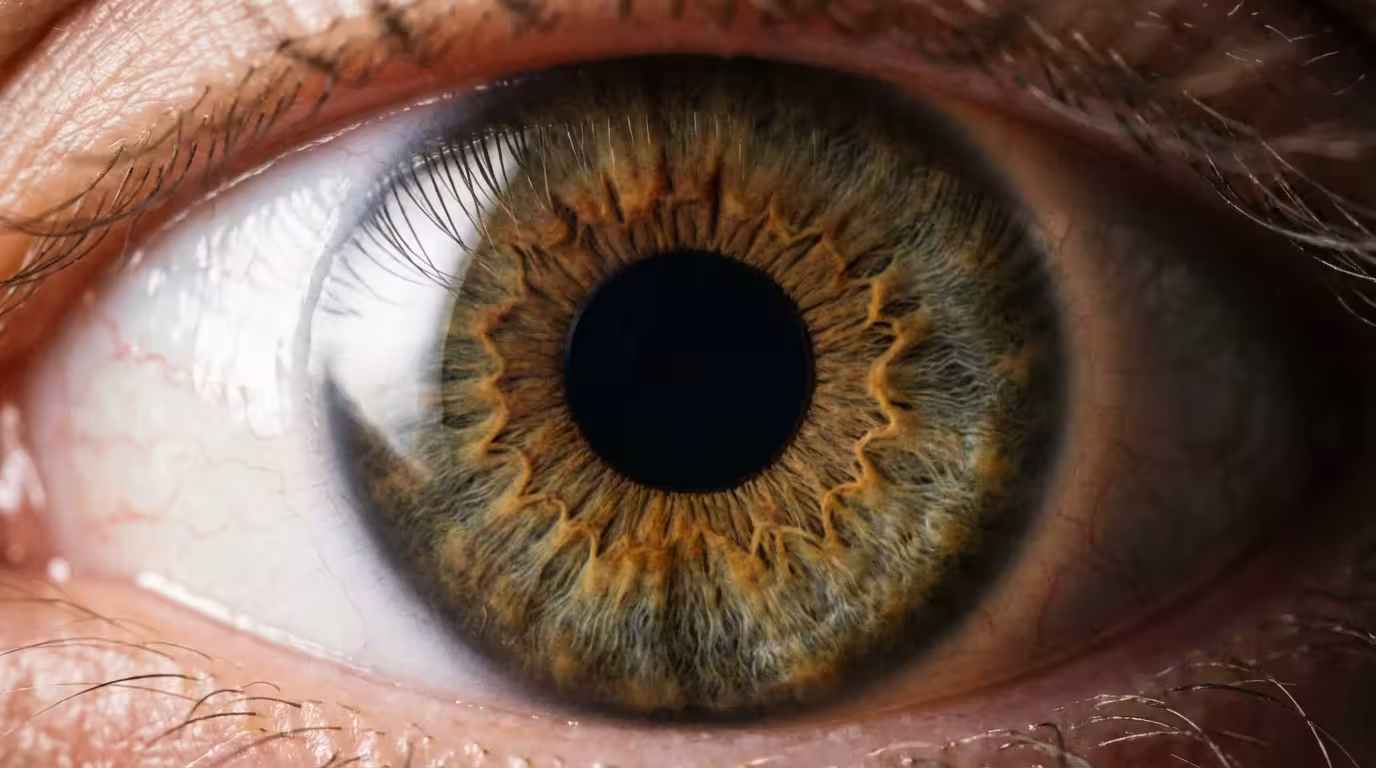
To fix red eye effectively, you should first understand why it happens. The human eye functions much like a camera. Your pupil acts as an aperture, expanding in low light to let in as much visual information as possible. When you take a photo with a flash in a dark room, your pupils are likely wide open. The extremely fast burst of light from the flash enters the eye before the pupil has time to constrict. This light hits the retina at the back of the eye, which is rich with blood vessels, and reflects directly back into the camera lens. The red color you see is literally the light reflecting off the blood in the choroid layer of the eye.
In addition to managing these reflections, ensuring you understand white balance will help maintain natural skin tones in difficult lighting.
The geometry of the camera also plays a significant role. If the flash is located very close to the lens—a common design in smartphones and compact “point-and-shoot” cameras—the angle of reflection is very narrow. This means the light travels into the eye and bounces straight back into the lens. Professional photographers often avoid this by moving the flash further away from the lens axis, which changes the angle so the reflection misses the camera.
“The red-eye effect is a direct reflection of the fundus, the interior surface of the eye, which is highly vascularized. The closer the flash is to the optical axis of the lens, the more likely you are to capture this reflection.”
Understanding this “angle of reflection” is your first step toward better photography. By changing the environment or your equipment, you can significantly reduce the occurrence of this effect without needing any software at all. You can learn more about the technical aspects of how light interacts with camera sensors and human subjects at Cambridge in Colour.
How to Prevent Red Eye Before You Shoot
Prevention is always more efficient than post-processing. If you want to avoid the tedious task of editing every single photo from a party, you can implement several simple strategies while you are taking the pictures. These techniques focus on managing the environment and the behavior of your camera’s flash.
- Increase Ambient Light: The easiest way to prevent red eye is to make the room brighter. When you turn on more lamps or overhead lights, the subject’s pupils will naturally constrict. Smaller pupils mean less light can enter and reflect off the retina, which drastically reduces the red-eye effect.
- Use “Red-Eye Reduction” Mode: Most modern cameras and some smartphones feature a red-eye reduction setting. When you enable this, the camera emits a series of quick pre-flashes or a steady light before the actual photo is taken. This “warns” the eye, causing the pupil to shrink before the final flash captures the image.
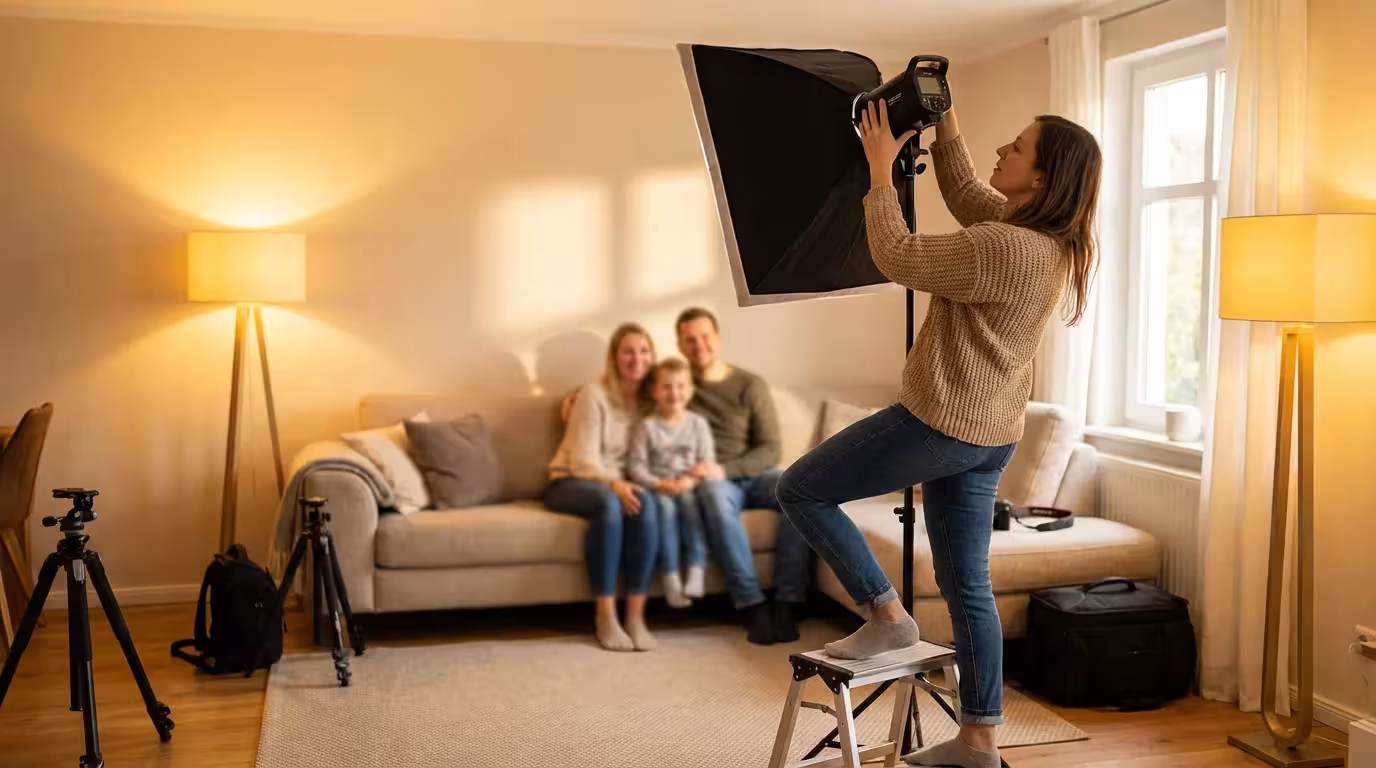
- Avoid Direct Flash: If you use a DSLR or mirrorless camera with an external flash unit, do not point the flash directly at your subject. Instead, tilt the flash head upward to “bounce” the light off the ceiling or a nearby white wall. This diffuses the light and changes the angle of reflection, resulting in natural-looking eyes and softer shadows.
- Ask Subjects to Look Away: If the subject looks slightly away from the camera lens—perhaps at your shoulder or a nearby object—the angle of reflection will change enough that the red light will not bounce back into the sensor.
For more advanced users, using a “flash bracket” or an off-camera flash cord can move the light source several inches away from the lens. This small distance is often enough to eliminate red eye entirely, even in very dark rooms. Detailed reviews of equipment that helps manage lighting can be found at Digital Photography Review.
Fixing Red Eye on Your Smartphone
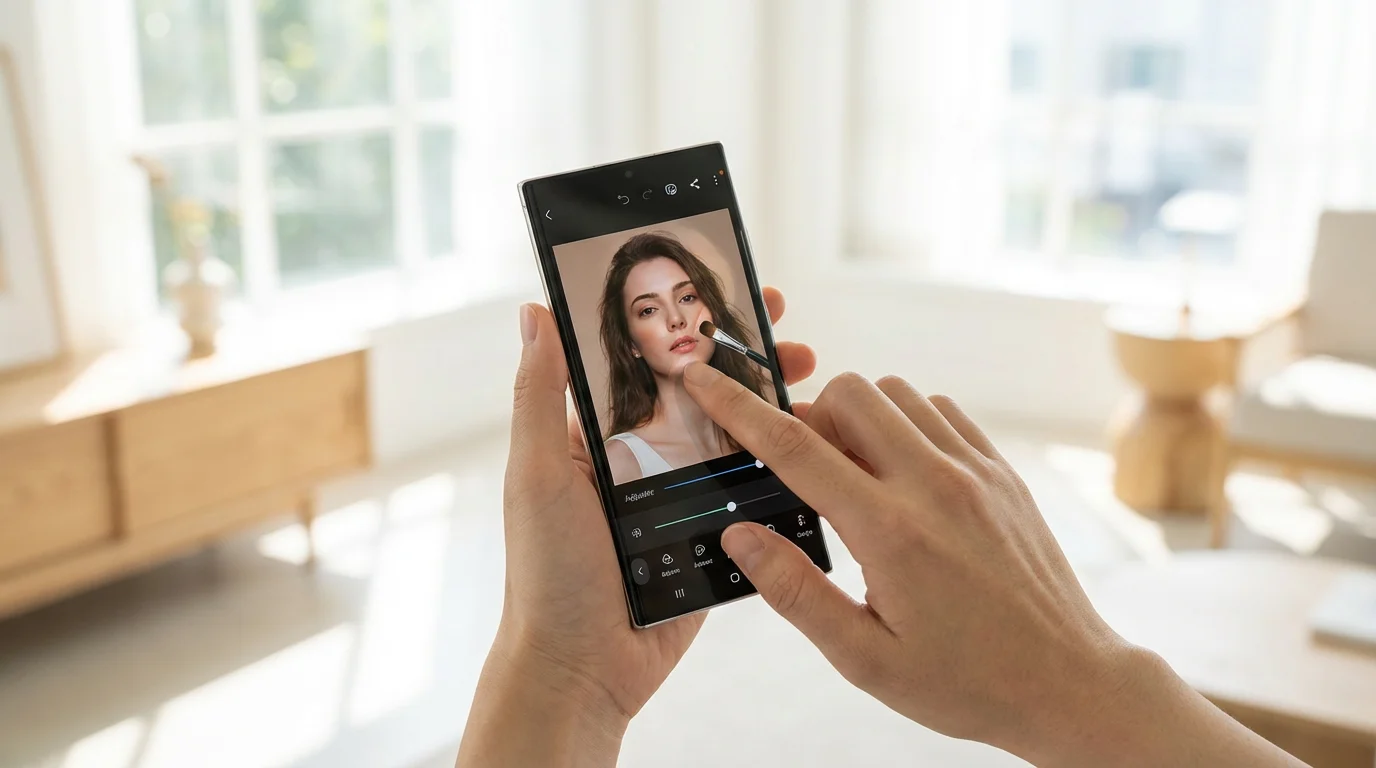
Even with the best intentions, red eye still happens. Fortunately, the device already in your pocket likely has a tool to fix red eye in photos for free. Both iOS and Android have evolved to handle these edits with impressive AI-driven accuracy.
On iPhone (iOS):
Apple includes a dedicated red-eye correction tool within the native Photos app, though it only appears when the software detects a potential issue. Open the photo you wish to fix and tap Edit. Look for an icon that looks like an eye with a line through it (usually in the top corner). Tap this icon, then tap each red eye in the photo. The AI will replace the red pixels with a natural dark tone that matches the subject’s pupil. Tap Done to save your changes. Note that this tool is non-destructive, meaning you can always revert to the original if you don’t like the result.
On Android (Google Photos):
Google Photos often handles red-eye correction automatically through its “Enhance” feature. If the auto-fix doesn’t catch it, you can use the Edit menu, navigate to Tools, and look for the specific eye correction options. Depending on your specific phone manufacturer (like Samsung or Pixel), these tools might be located in different sub-menus, but they almost always function by allowing you to tap the affected area to desaturate the red tones.
| Method | Best For | Cost | Difficulty |
|---|---|---|---|
| Smartphone Native Apps | Quick mobile snapshots | Free | Very Easy |
| Adobe Photoshop | Professional portraits and scans | Subscription | Moderate |
| Free Online Editors | Occasional desktop users | Free | Easy |
| Physical Restoration | Unique, non-replaceable prints | High | Professional Level |
Professional Desktop Tools for Precision Correction
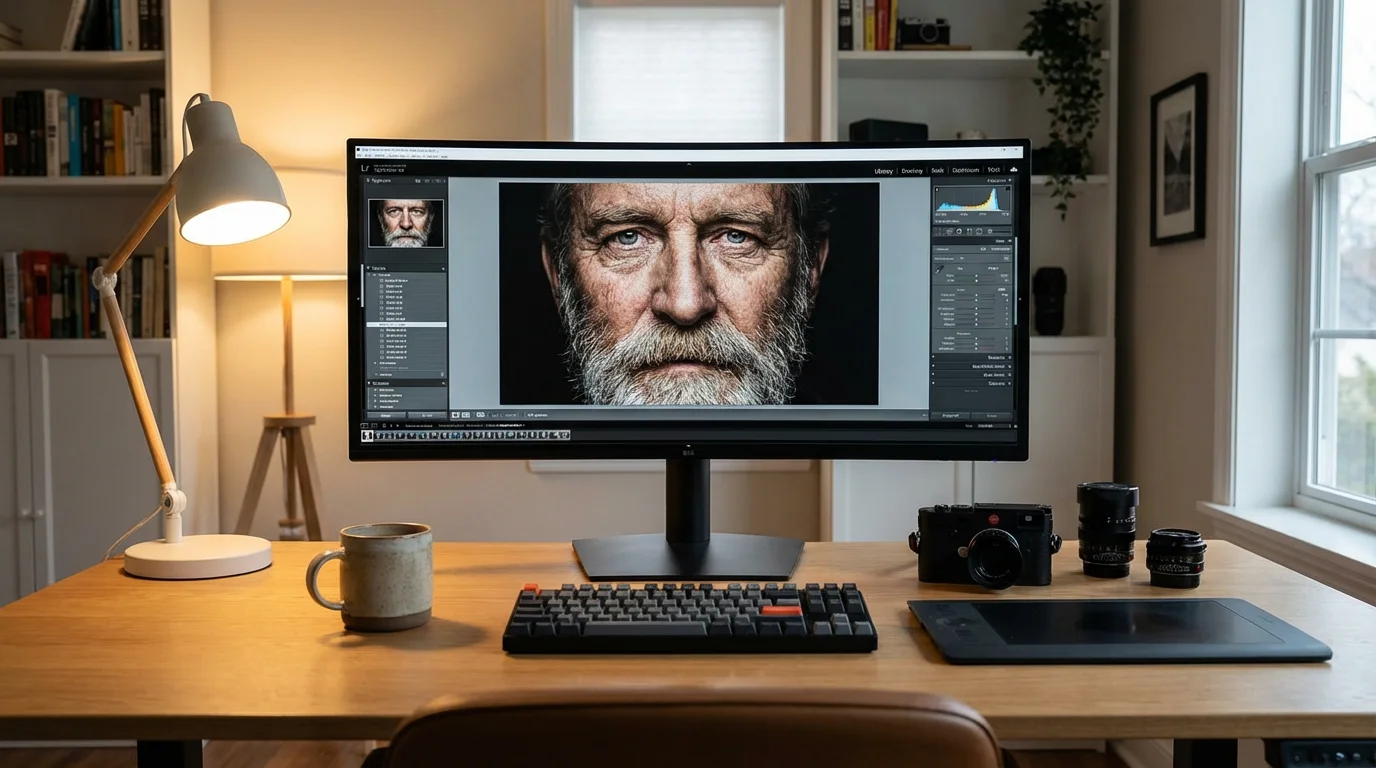
If you are working with high-resolution portraits or want the most realistic results, desktop software like Adobe Photoshop or Lightroom offers superior control. Unlike simple mobile taps, these programs allow you to adjust the size of the pupil and the darkness of the correction.
If you are working with low-resolution or heavily compressed files, you might also consider using AI photo restoration tools to sharpen details alongside your eye corrections.
In Adobe Photoshop, the Red Eye Tool is hidden under the Healing Brush group in the toolbar. Once you select it, you can adjust two settings: Pupil Size and Darken Amount. For a natural look, you should keep the darken amount around 50% to start; making the pupil pitch black can sometimes look “robotic” or unnatural. Click the center of the red area, and Photoshop will automatically sample the surrounding eye color to blend the correction seamlessly.
Adobe Lightroom offers a similar specialized tool in the Develop module. The “Red Eye Correction” tool allows you to draw a circle over the eye. You can then toggle between “Red Eye” and “Pet Eye” modes. This distinction is vital because, as we will discuss later, pets require a different type of color correction. Lightroom’s tool is particularly useful if you have a batch of photos from the same event, as you can sync basic settings across multiple images, though eye placement usually requires individual adjustment.
When using these professional tools, your goal is to preserve the “catchlight.” The catchlight is that tiny white spark of light reflected in the eye that makes a person look alive. Cheap or automated tools often paint over the entire pupil, removing the catchlight and making the subject look flat. Manual editing allows you to keep that tiny white dot while removing the red surround.
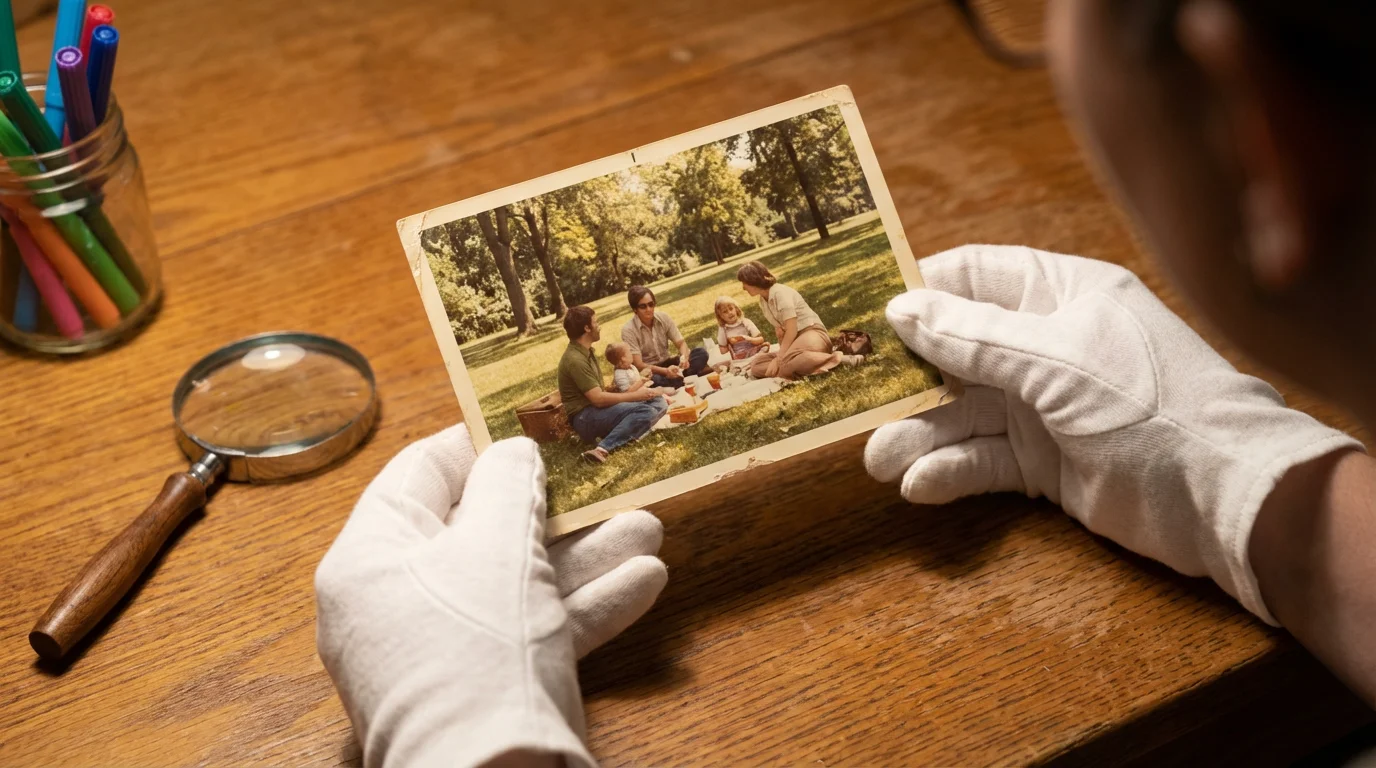
Removing Red Eye from Physical Photographs
Preserving family heritage often involves dealing with physical prints from the 1970s, 80s, and 90s—the era of the pocket camera and the powerful, close-proximity flash. Many people are tempted to use “red-eye pens” or markers directly on their precious original photos. You should avoid this at all costs. Physical markers contain dyes and acids that can eat through the photo emulsion over time or bleed into other areas of the face, causing permanent damage.
If the original print is extremely fragile, it is often safer to consult professional photo restoration services rather than attempting home repairs.
The best way to fix red eye in vintage photos is to follow these archival steps:
- Scan the Original: Use a flatbed scanner to digitize the photograph. Set the resolution to at least 600 DPI (dots per inch) for standard 4×6 prints. This ensures you have enough detail to work with without pixelation.
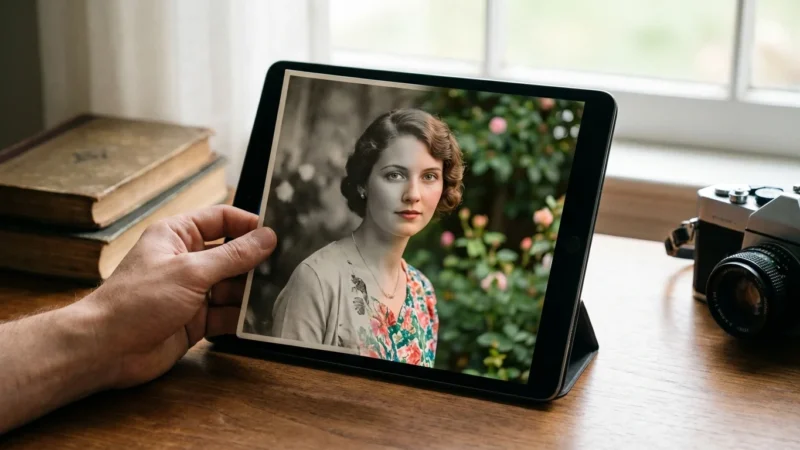
- Digital Repair: Use one of the digital tools mentioned above to remove the red eye from the scanned image. This allows you to experiment without any risk to the original heirloom.
- Color Correction: Vintage photos often have a color shift (turning yellow or orange). While you are fixing the red eye, you can also use “Auto Color” or “Levels” adjustments to restore the natural skin tones of your ancestors.
- Print a New Copy: Once you are satisfied with the digital version, print a new copy on archival-quality photo paper. Place the original photograph in an acid-free, PVC-free sleeve for long-term storage, and display the corrected copy in your home.
By using this method, you respect the integrity of the original object while still being able to enjoy a “perfect” version of the memory. This approach is recommended by major preservation institutions like the National Archives, which emphasizes non-destructive intervention for historical materials.
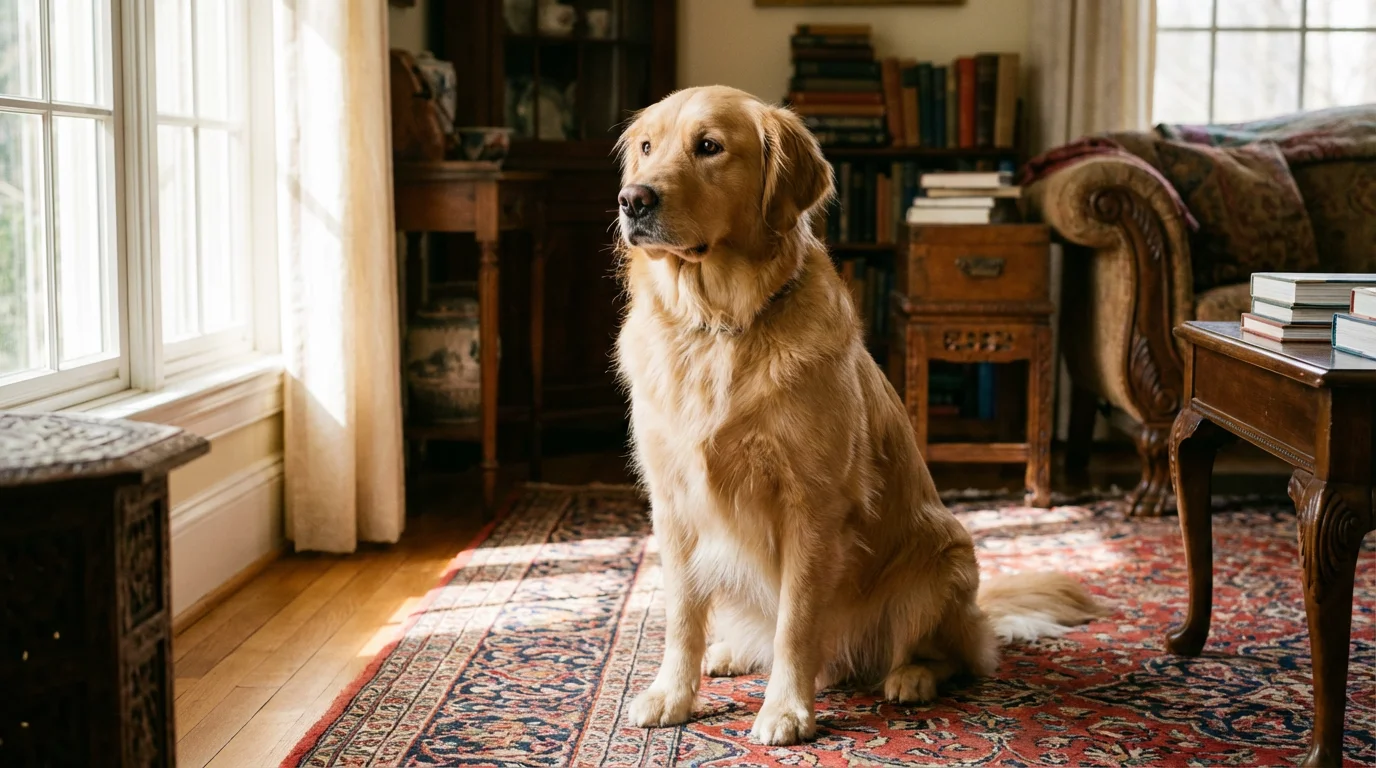
Understanding Pet Eye and Color Variations
If you have ever tried to take a photo of your dog or cat at night, you probably noticed that their eyes don’t turn red; they turn a ghostly green, bright yellow, or even vivid blue. This is not “red eye” in the traditional sense, but rather “pet eye.”
Animals possess a specialized reflective layer behind their retina called the tapetum lucidum. This act as a biological mirror, reflecting light back through the retina a second time to give them superior night vision. Because this layer is not made of blood vessels like the human choroid, it reflects different wavelengths of light depending on the animal’s species and even its coat color.
How to handle pet eye:
Standard red-eye removal tools often fail on pets because they are specifically looking for red pixels to desaturate. If you try to use a standard tool on a green reflection, nothing will happen. You must use software that specifically includes a “Pet Eye” mode (like Adobe Lightroom or specialized pet photo apps). These tools allow you to select the specific color of the glow and replace it with a dark pupil while attempting to maintain the natural catchlight. If you are using a basic editor, you may need to manually paint the pupil with a dark grey or black brush at a low opacity (30-40%) to gradually build up a natural look.
Frequently Asked Questions
What causes red eye in photographs?
Red eye is caused by the camera flash reflecting off the blood vessels in the retina at the back of the human eye. This usually happens in low-light settings where the pupil is wide open, allowing the flash to enter and exit the eye directly back into the lens.
Can you fix red eye on physical photos?
The safest way to fix red eye on physical photos is to scan them at a high resolution and use digital editing software to remove the red. Avoid using markers or pens directly on original photographs, as they can cause permanent, irreversible damage to the print.
Why do my pet’s eyes look green or blue instead of red in photos?
Pets have a reflective layer called the tapetum lucidum that helps them see in the dark. This layer reflects light in various colors like green, yellow, or blue. Standard red-eye tools won’t work on these colors; you need a specific “Pet Eye” tool or manual editing.
Is there a way to fix red eye for free?
Yes, most smartphones have built-in red-eye correction in their native photo editing apps. There are also free web-based tools like Pixlr and mobile apps like Snapseed that offer effective, free red-eye removal tools.
Does “Red Eye Reduction” mode on a camera really work?
Yes, it works by emitting a series of pre-flashes or a bright light before the photo is taken. This causes the subject’s pupils to contract, which reduces the amount of light that can reflect off the retina, thereby minimizing or eliminating the red-eye effect.
Correcting red eye is one of the most satisfying “quick fixes” in photography. By combining smart shooting habits with the right digital tools, you can ensure that the focus of your portraits remains on the expressions and emotions of your subjects rather than a technical glitch. Your family’s photographic heritage deserves to be seen clearly, and now you have the skills to make that happen.
Disclaimer: This article is for informational purposes only. When handling valuable or irreplaceable photographs, consider consulting a professional conservator. Always test preservation methods on non-valuable items first.


Leave a Reply