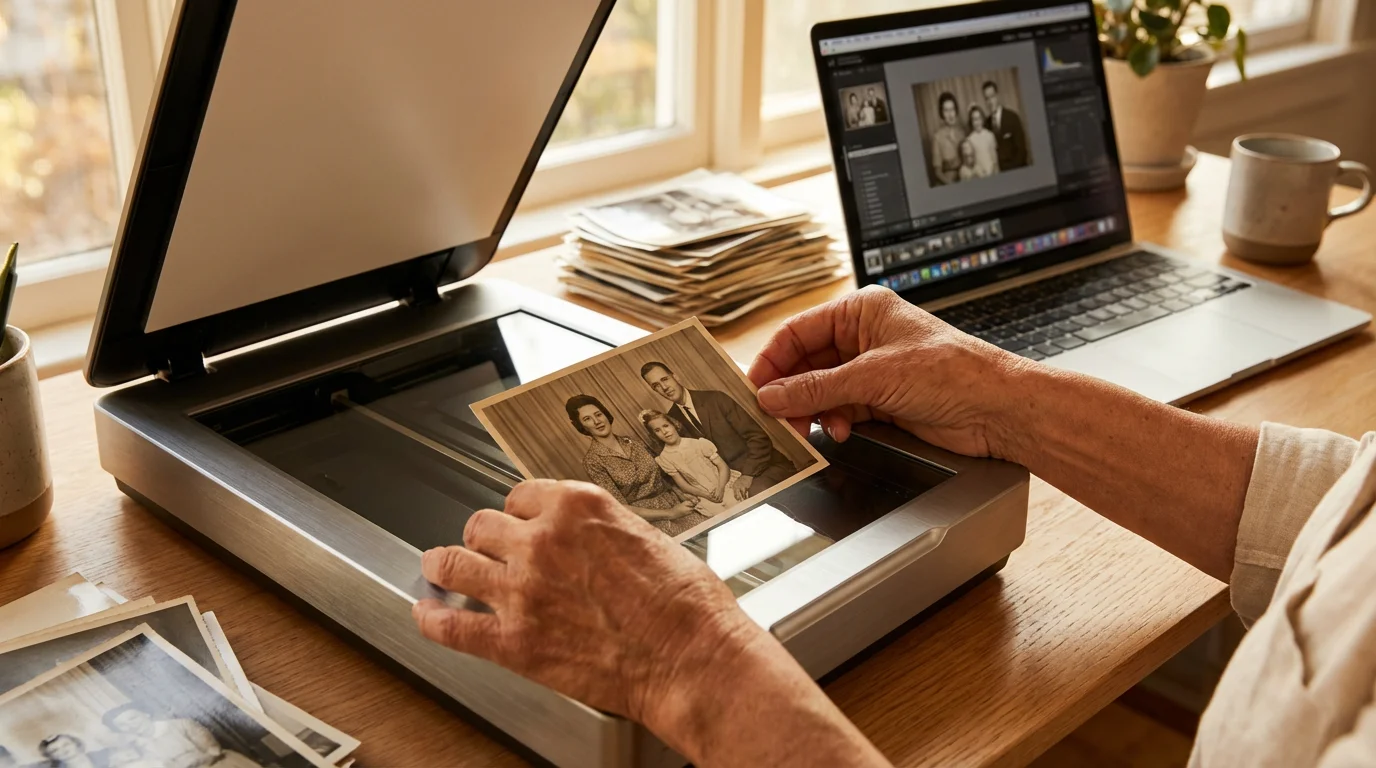
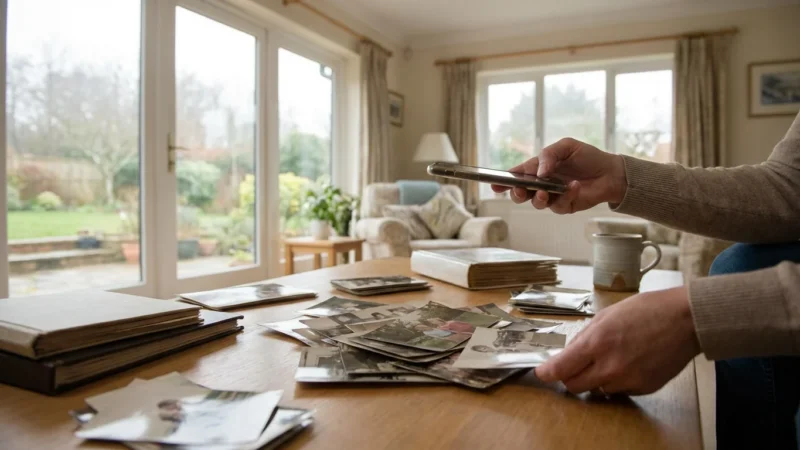
You likely have a box tucked away in a closet or attic filled with the visual history of your family. These physical prints—curled at the edges, perhaps slightly faded, and smelling of aged paper—represent a bridge to your past. However, physical photographs face constant threats from humidity, light exposure, and accidental damage. Digitizing these images ensures that your family’s legacy survives for future generations while making it possible to share memories instantly with relatives across the globe.
Embarking on a DIY photo scanning project feels like a monumental task, but you can manage it by breaking the process into logical, actionable steps. By taking control of the process yourself, you maintain total custody of your irreplaceable originals and ensure the highest quality standards that commercial services might overlook. This guide provides the technical knowledge and practical workflows you need to transform your physical archives into a pristine digital library.

Preparing Your Collection for the Digital Transition
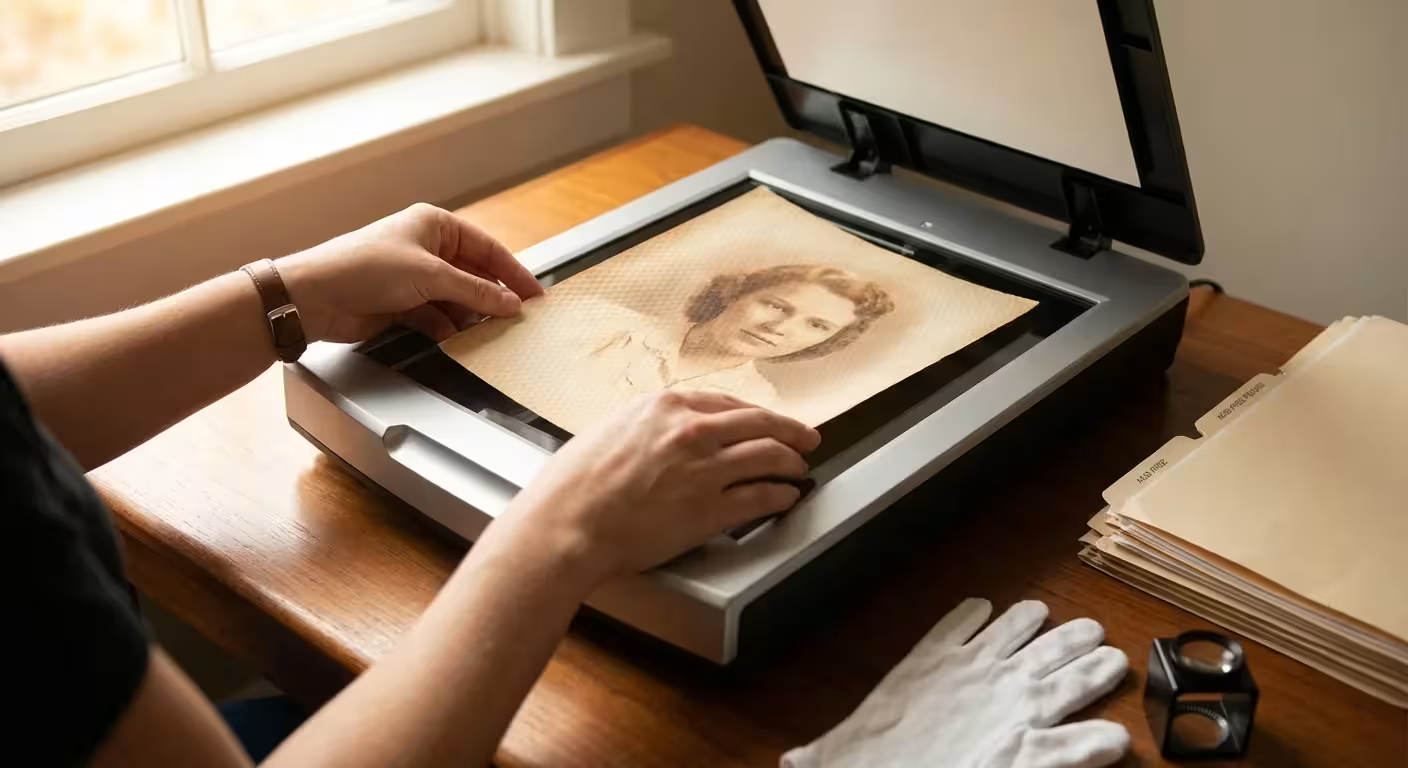
Before you ever power on a scanner, you must prepare your materials. Handling old photographs requires a level of care that prevents the transfer of oils, acids, and dirt. Start by washing and drying your hands thoroughly, or better yet, wear lint-free cotton gloves. These gloves prevent fingerprints from etching into the delicate emulsion of older prints, particularly those from the early to mid-20th century.
For a deeper dive into safe handling, consult our detailed guide on preparing photos for scanning before you begin.
Sort your photos into logical groups before you begin the scanning process. You will find that scanning is more efficient when you work through batches of similar sizes or time periods. Use soft-lead pencils to lighty note dates or names on the back of prints if the information is missing, but never use ballpoint pens or markers, which can bleed through the paper over time. As you sort, look for physical issues like surface dust or loose debris.
Cleaning the prints themselves is a delicate operation. Use a soft-bristled brush or a squeeze-bulb air blower to remove loose dust. Avoid using chemical cleaners or water on the surface of the photo, as these can cause permanent damage to the image layer. If a photo is stuck to glass or another image, do not force it apart. In these specialized cases, the American Institute for Conservation recommends consulting a professional to avoid tearing the emulsion.
Proper preparation reduces the need for digital retouching later; every speck of dust you remove from the print or the scanner glass saves you minutes of work in Photoshop.
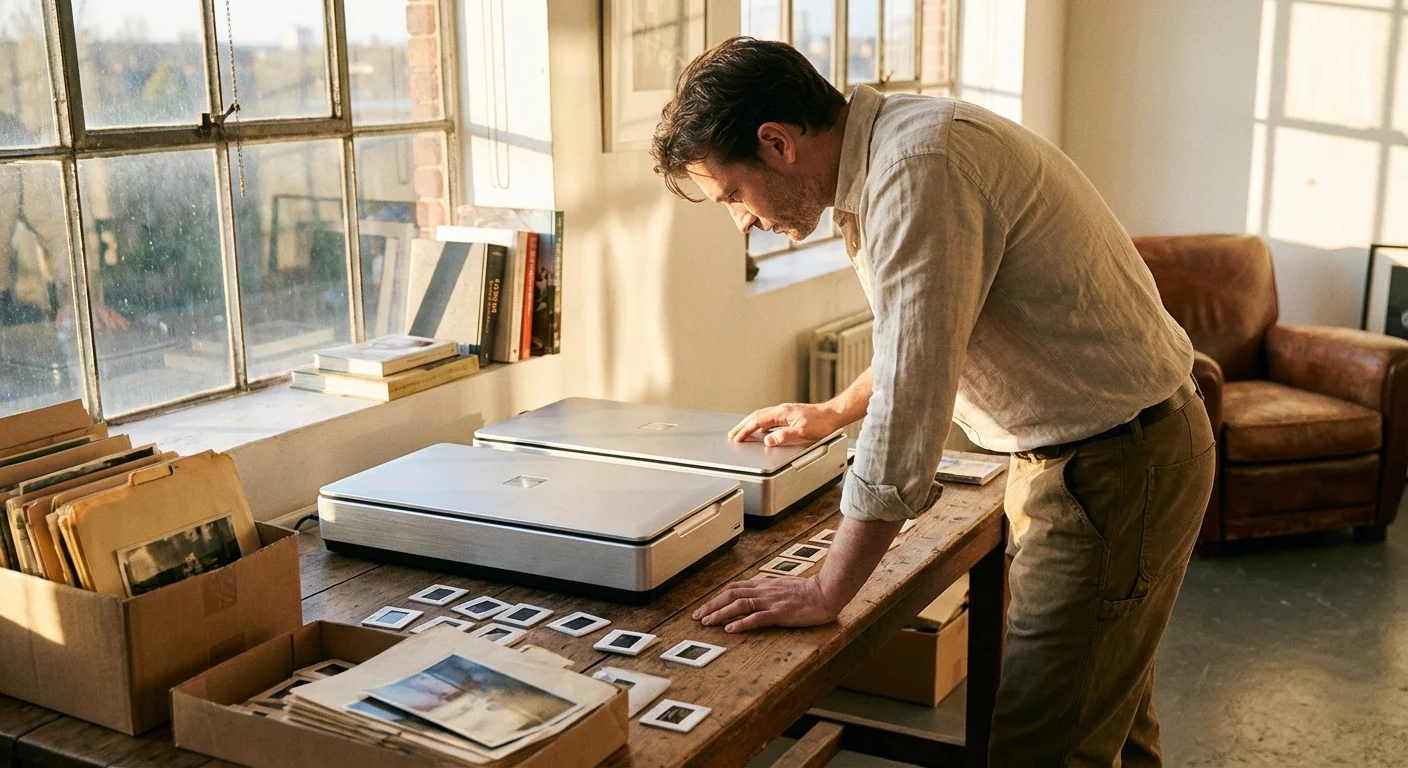
Choosing the Best Photo Scanner for Your Needs
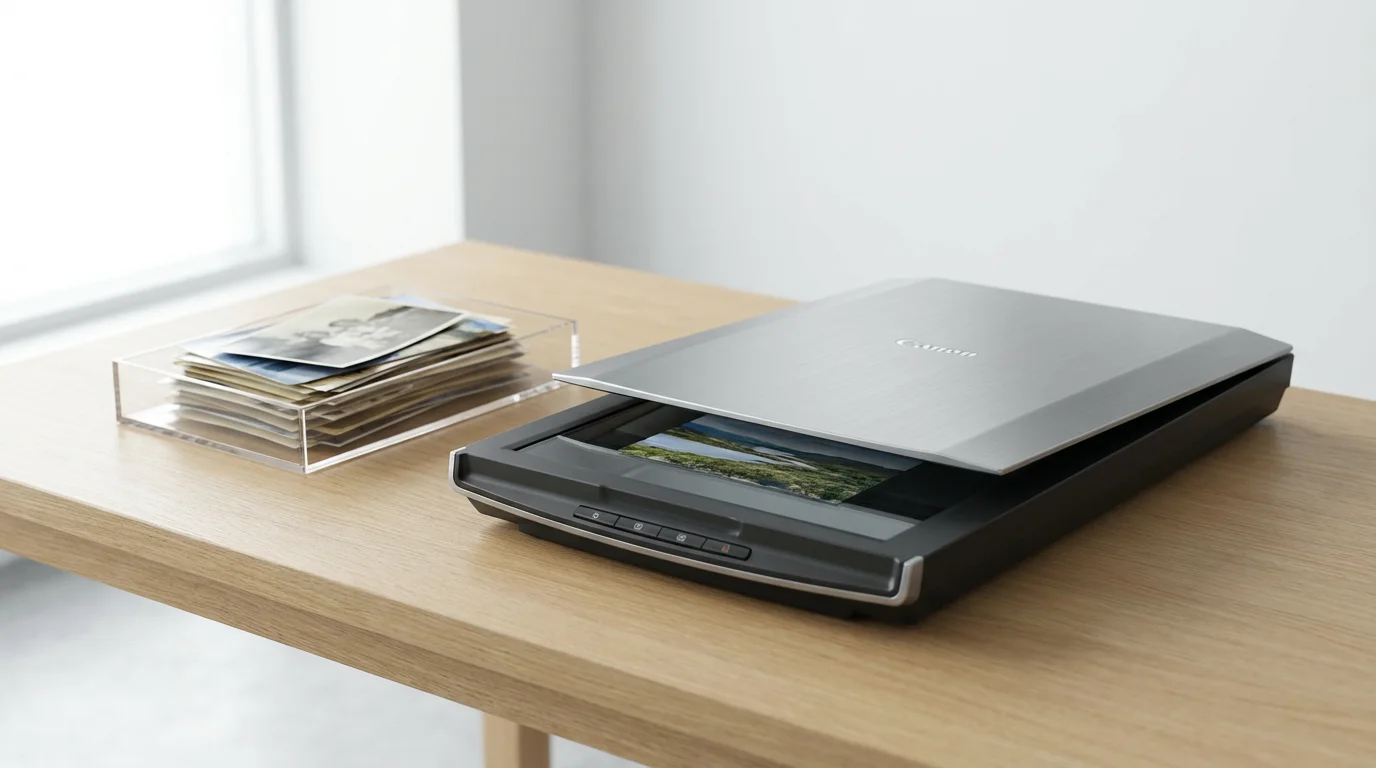
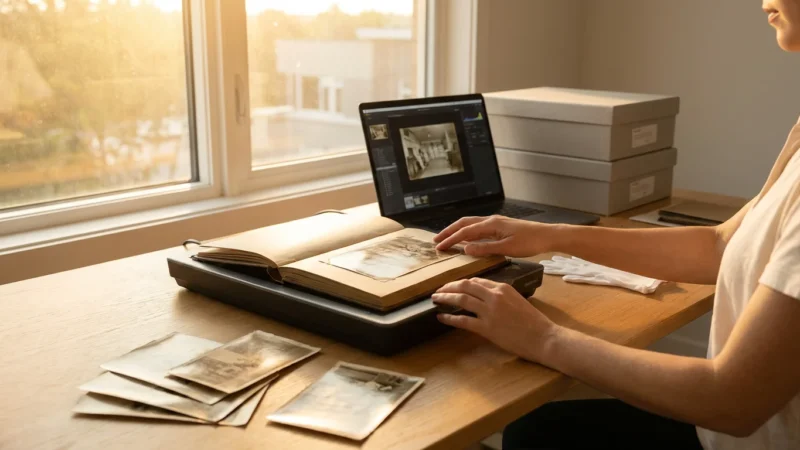
The quality of your digital archive depends heavily on the hardware you select. When looking for the best photo scanner for home use, you generally choose between three main categories: flatbed scanners, sheet-fed scanners, and digital camera scanning rigs.
If you want to go the digital camera route, learn how to build a DIY camera scanning rig to save on hardware costs.
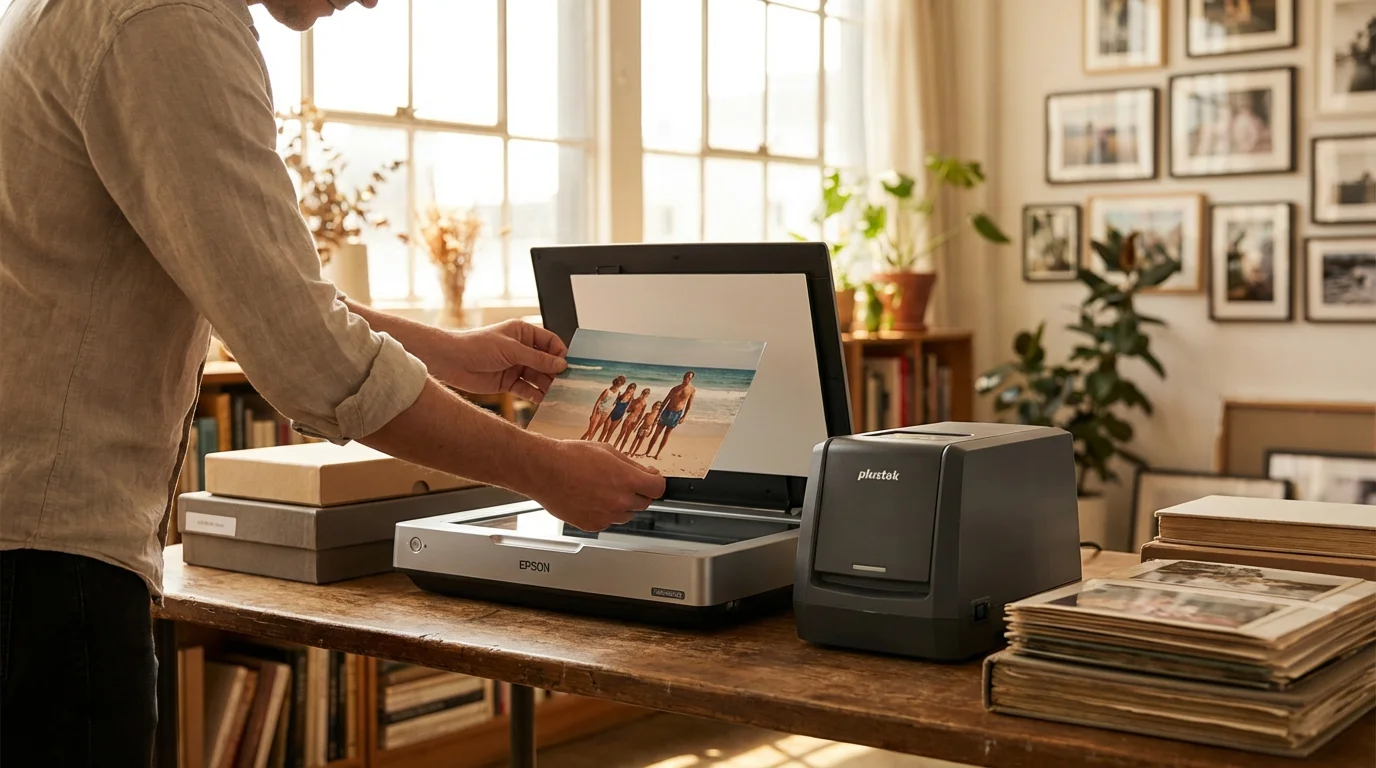
Flatbed Scanners: These are the gold standard for photo preservation. They feature a glass platen where you place the photo face down. Because the photo remains stationary, there is zero risk of mechanical damage. High-end flatbed scanners often use Charge-Coupled Device (CCD) sensors, which provide better depth of field than the Contact Image Sensor (CIS) technology found in cheaper, thinner scanners. This is crucial if your photos are slightly curled, as a CCD sensor can still keep the image in focus even if it isn’t perfectly flat against the glass.
Sheet-fed Scanners: These devices, like the Epson FastFoto series, pull photos through a roller system. They are incredibly fast, often scanning a photo per second. While excellent for modern 4×6 prints in good condition, you should avoid using them for fragile, torn, or very old “cabinet card” photos, as the rollers can cause physical stress or catch on torn edges.
Camera Scanning: Some enthusiasts use a high-resolution DSLR or mirrorless camera mounted on a copy stand with specialized lighting. While this is the fastest way to “digitize photos” at extremely high quality, it requires significant technical setup and a controlled lighting environment to avoid glare and shadows.
| Scanner Type | Best For | Pros | Cons |
|---|---|---|---|
| Flatbed (CCD) | Fragile & Vintage Photos | Highest image quality; no risk of tearing. | Slower; takes up more desk space. |
| Sheet-fed | Large volumes of modern prints | Extremely fast; automated workflow. | Risk of damage; lower optical depth. |
| Film/Slide Scanner | 35mm negatives & slides | High detail for small formats. | Very specific use case; expensive. |
Mastering Technical Settings for High-Quality Scans
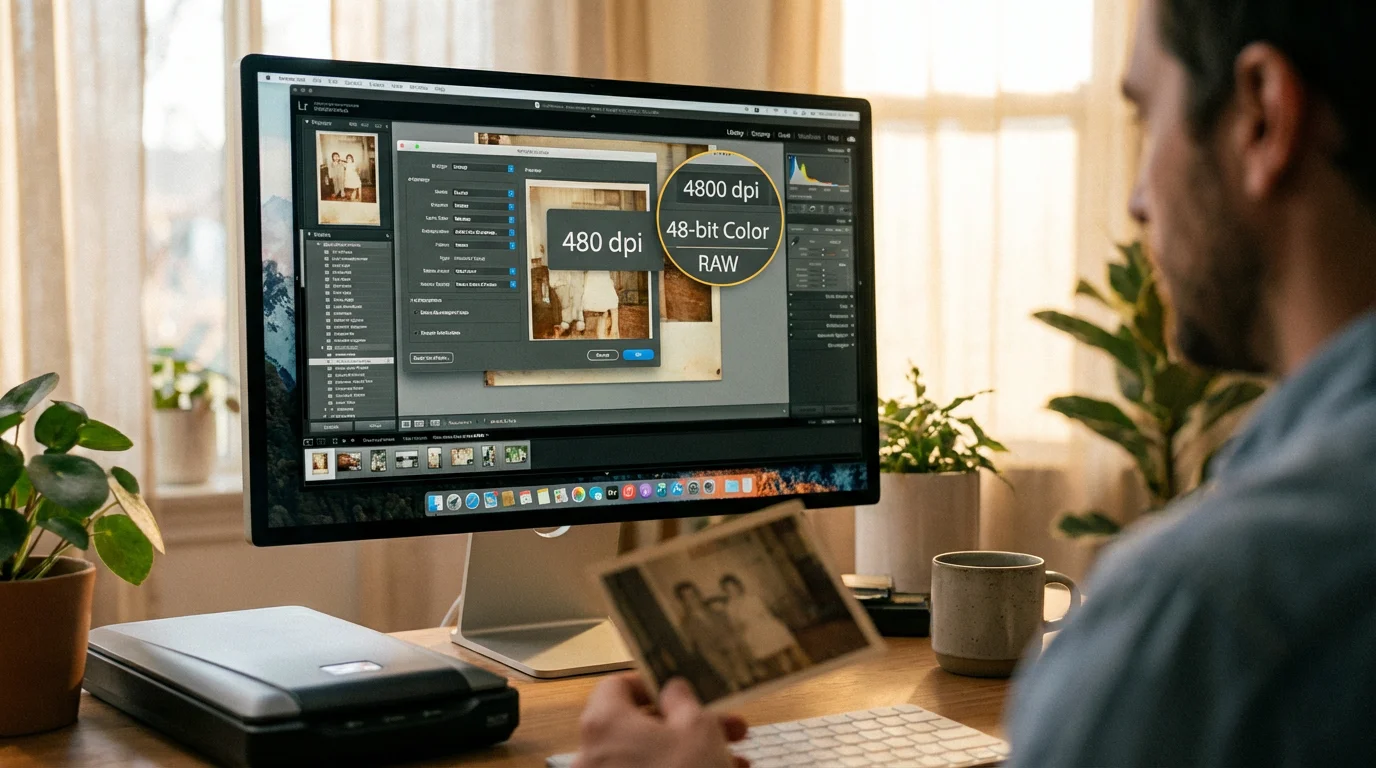
Understanding how to scan photos correctly involves more than just clicking a button. You must configure the software settings to capture the maximum amount of data from the original print. The three most critical settings are Resolution (DPI), Bit Depth, and File Format.
Resolution (DPI): Dots Per Inch (DPI) determines the level of detail captured. For a standard 4×6 print, 300 DPI is sufficient for a 1:1 digital reproduction. However, if you want the flexibility to enlarge the photo later—perhaps to print an 8×10 for a wall frame—you should scan at 600 DPI. For very small photos or postage-stamp-sized images, 1200 DPI is recommended. Avoid using “interpolated” or “software-enhanced” resolution settings; stay within the “optical” resolution limits of your hardware.
Bit Depth: Most scanners offer 24-bit or 48-bit color. While 24-bit is standard for most uses, 48-bit captures significantly more color data. This extra data is invaluable if the original photo is faded, as it gives you more “room” to adjust colors and contrast in post-processing without the image falling apart or showing “banding” in the gradients.
File Formats: Always save your “master” scans as TIFF files. TIFF is a lossless format, meaning it preserves every bit of data the scanner captured. JPEG files use “lossy” compression, which throws away data to keep file sizes small. Every time you save a JPEG, the quality degrades slightly. Save your archival master as a TIFF, and then export a JPEG copy for sharing or social media.
Executing the Perfect Scan: A Step-by-Step Workflow
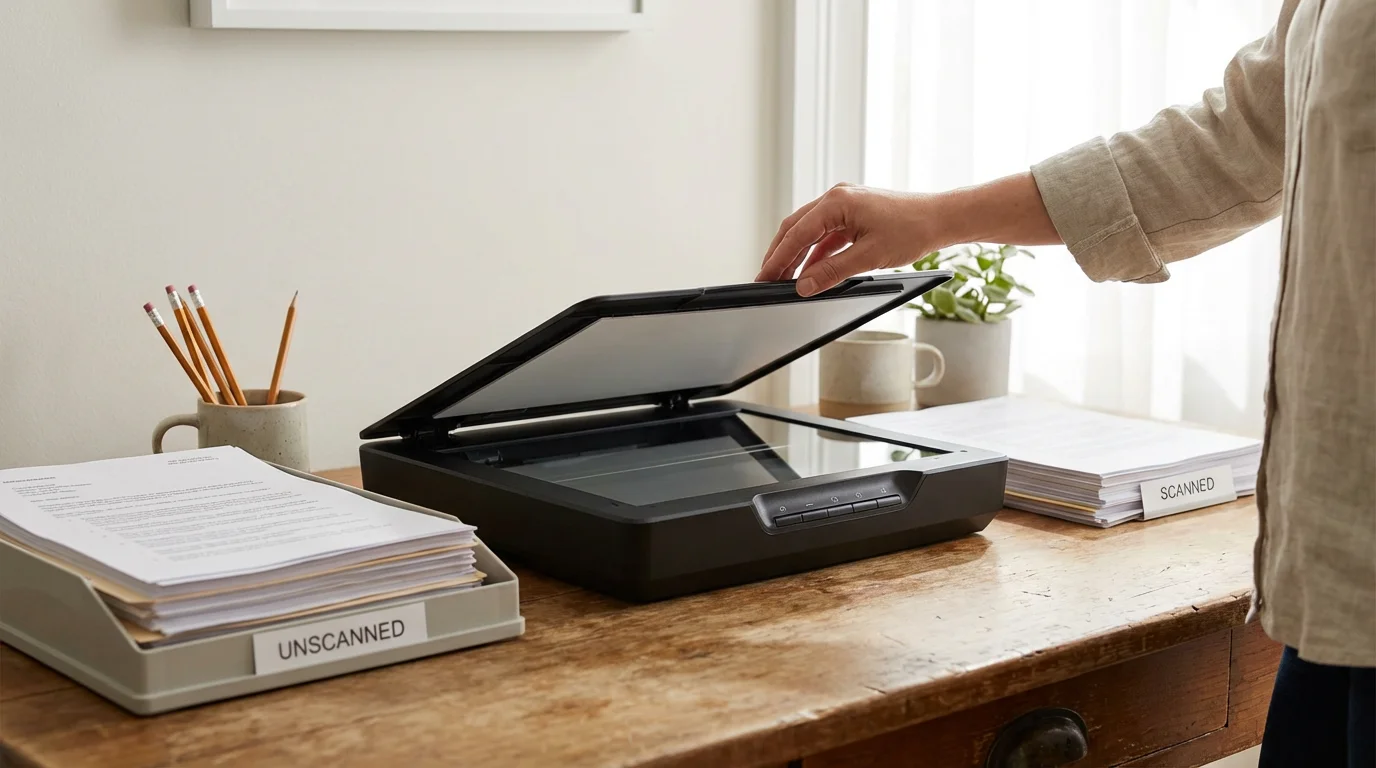
Efficiency in photo scanning comes from a consistent, repeatable workflow. Follow these steps to ensure every scan is successful:
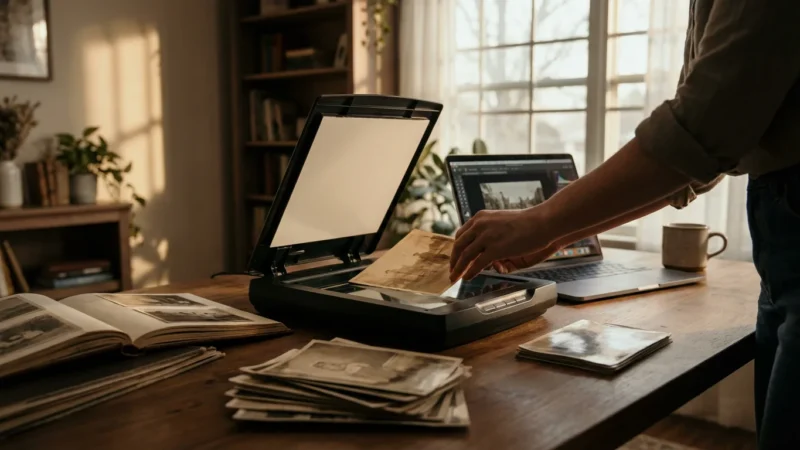
- Clean the Scanner: Wipe the glass with a microfiber cloth. Use a flashlight at a low angle to spot any streaks or dust particles that might cause vertical lines in your scans.
- Place the Photos: Lay your photos on the glass, leaving at least half an inch of space between the edges of the photos and the edge of the scanner bed. Most flatbed scanners allow you to place multiple photos at once; the software can often detect and crop them into individual files automatically.
- Perform a Pre-scan: Run a “Preview” or “Pre-scan.” This allows you to see the layout. Draw “marquees” (selection boxes) around each individual photo to ensure the scanner only processes the actual image area.
- Apply Basic Adjustments: In the scanner software, check the histogram. Ensure the highlights aren’t “blown out” (hitting the far right) and the shadows aren’t “crushed” (hitting the far left). If your software has a “Color Restoration” or “Digital ICE” (for dust removal) feature, use it sparingly. Digital ICE works wonders on film and slides but generally does not work on paper prints.
- Final Scan: Hit the “Scan” button. Listen for the steady hum of the scanner. If you hear grinding or stuttering, stop the process and check for obstructions.
You can learn more about the technical nuances of image capture and sensor performance through resources like Cambridge in Colour, which provides deep dives into digital imaging physics. Applying these principles ensures your home scanner produces professional-grade results.
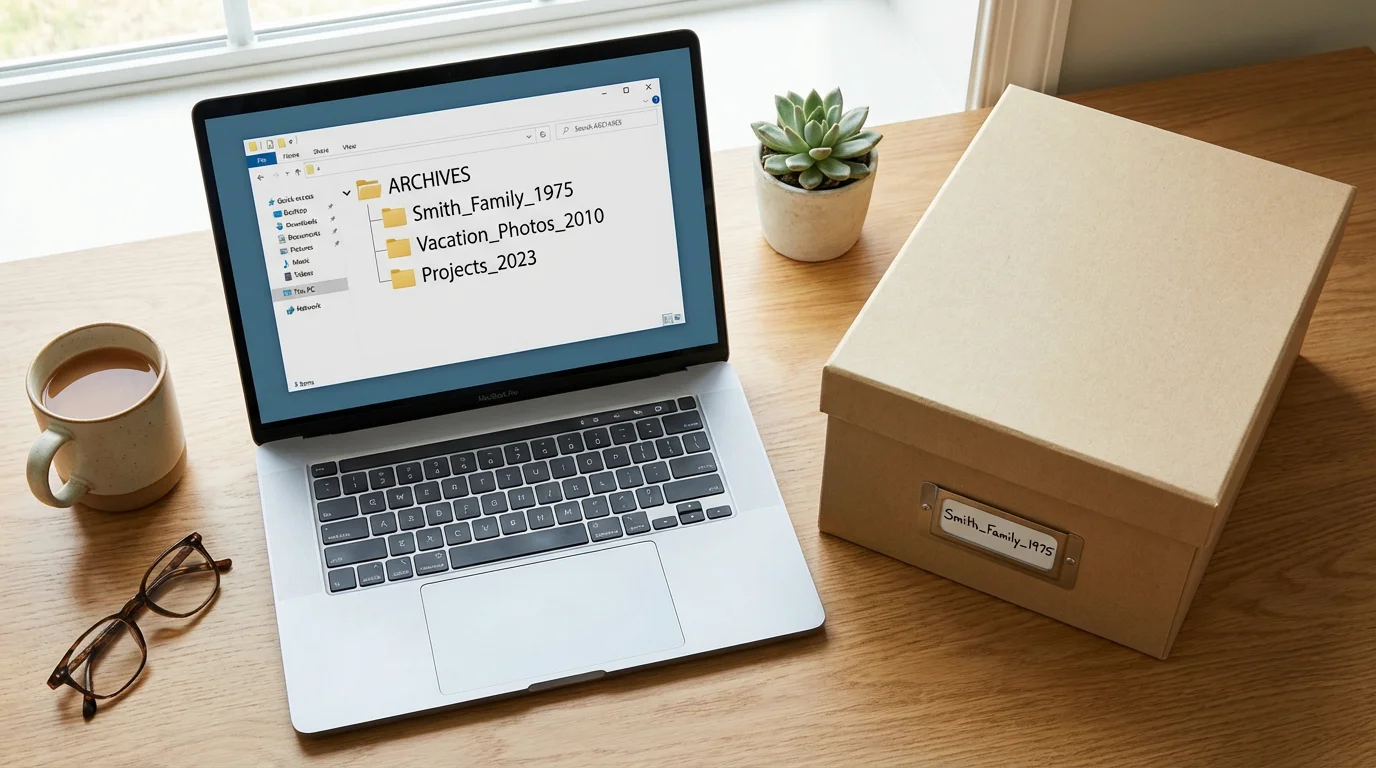
Organizing and Naming Your New Digital Archive
A digital archive is useless if you cannot find the images you need. “IMG_001.tif” tells you nothing about the contents of the photo. You must implement a naming convention and folder structure from the very first day of your project. This prevents the “digital junk drawer” syndrome that plagues many amateur collections.
Structuring your files properly is a key component of creating a home photo archive that will last for generations.
A robust naming convention often follows a format like: YYYY-MM-DD-Event-Location-Description.tif. For example, “1954-06-15-Wedding-London-Mary-and-John.tif” provides immediate context without even opening the file. If you don’t know the exact date, use “1954-00-00” or just the year “1954-Circa.”
Organize your folders by decade and then by year or event. Avoid nesting folders too deeply, as this makes navigation cumbersome. Instead, rely on “Metadata”—hidden data inside the image file. Programs like Adobe Lightroom or free alternatives allow you to add “tags” or “keywords” (like “Grandmother,” “Holidays,” or “Dogs”) to your photos. When you search for “Grandmother,” every photo of her will appear, regardless of which year-folder it lives in.
Consistent metadata is the difference between a collection of files and a searchable historical archive.
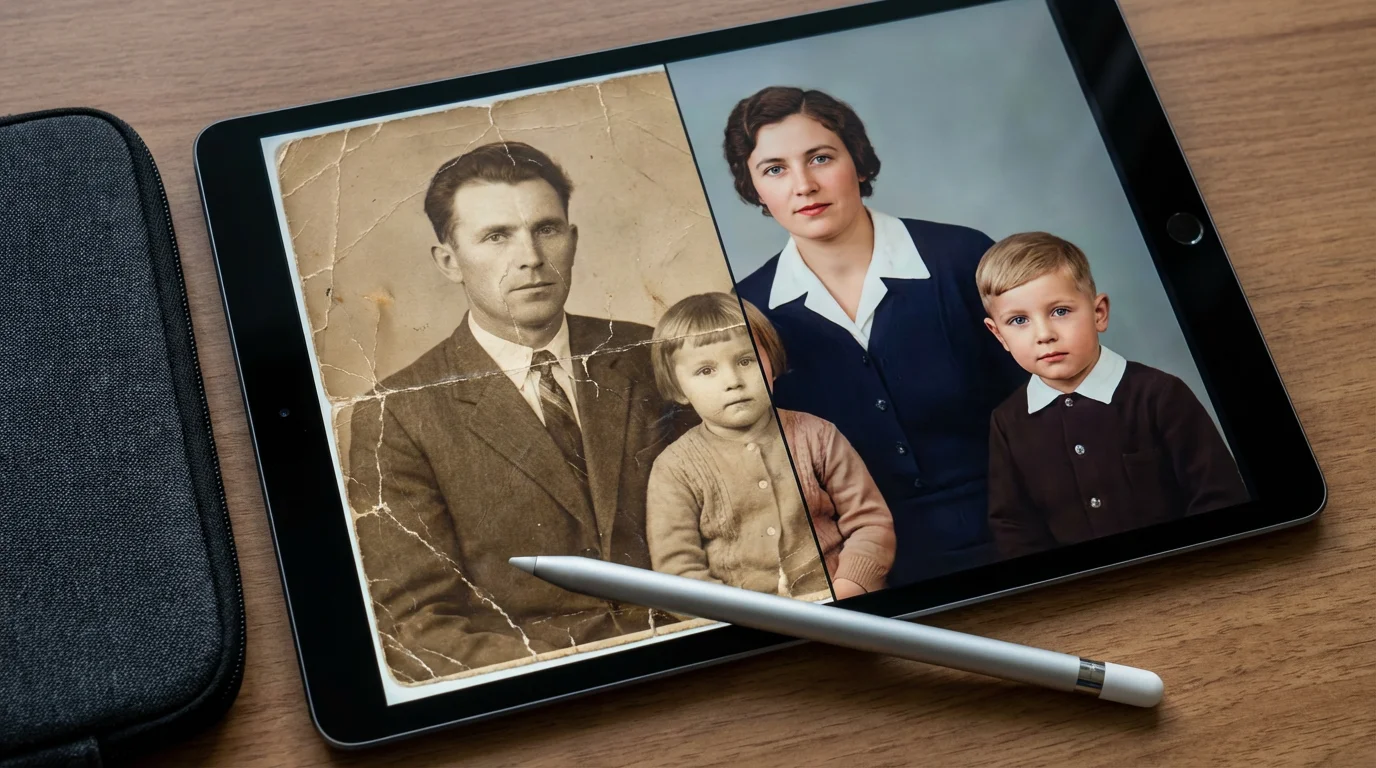
Post-Processing and Enhancing Your Digital Images
Once you digitize photos, you will likely notice imperfections that were hard to see in the physical print. Scratches, fading, and color shifts are common in images over 30 years old. Post-processing allows you to “repair” these memories without touching the original print.
If your images have physical damage, you can learn how to remove scratches and dust from scanned photos during the editing phase.
Start with basic cropping to remove any white borders or slivers of the scanner bed. Next, adjust the “Levels” or “Curves” to restore contrast. Old photos often look “washed out” because the blacks have faded to grey. By bringing the black point in, you restore the image’s original punch. If the photo has a yellow or sepia tint that wasn’t intentional, use the “White Balance” tool to find a neutral white or grey point in the image, which will often snap the colors back to a natural state.
For physical damage like creases or tears, use the “Clone Stamp” or “Healing Brush” tools found in software like Photoshop or GIMP. These tools sample nearby healthy pixels to “paint over” the damage. Be careful not to over-process; the goal is to honor the original photo, not to make a 1940s portrait look like a modern plastic-filtered smartphone selfie. Maintain the grain and the character of the era.
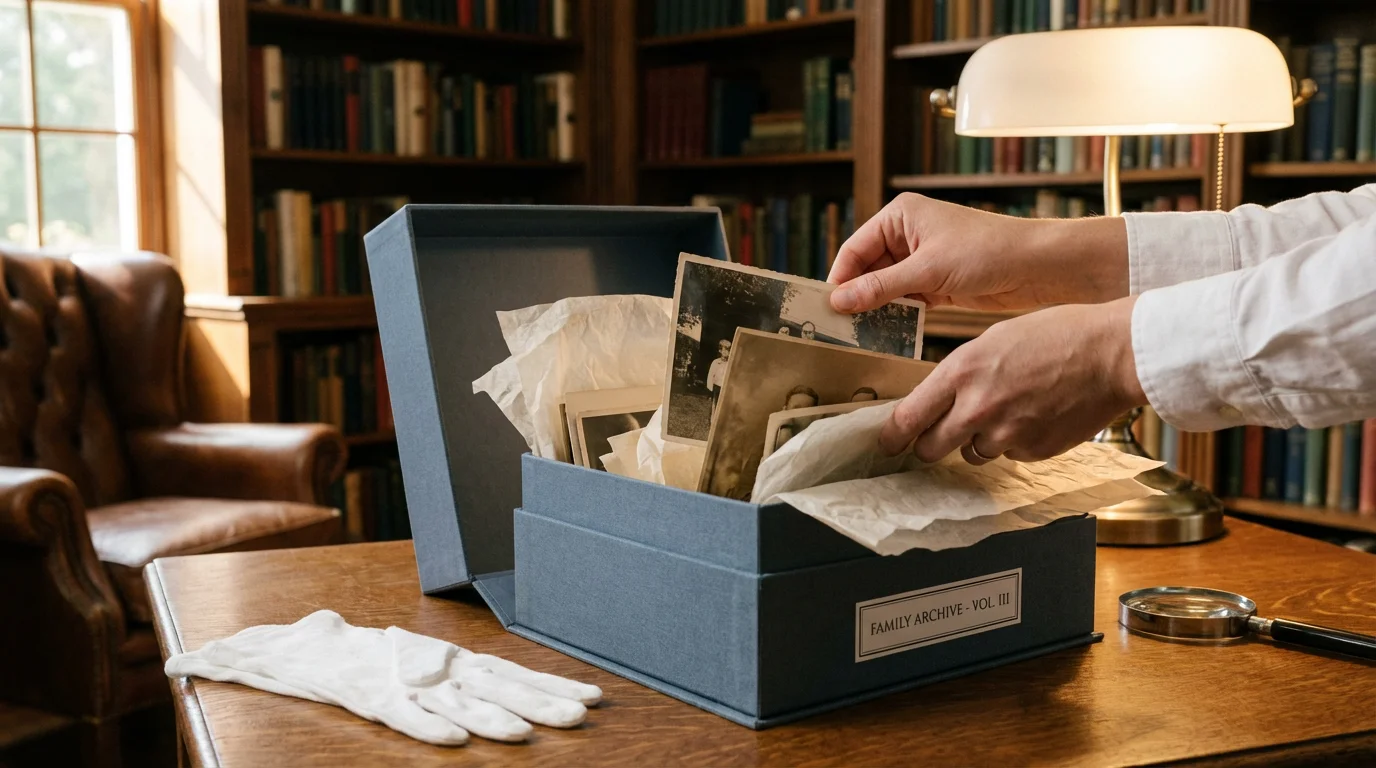
Preserving the Physical Originals After Scanning
Digitizing your photos does not mean you should discard the originals. Physical prints are the “primary source” documents of your family history. After they have been scanned, you must store them in a way that halts further degradation. This involves using “archival-quality” materials that are acid-free and lignin-free.
Avoid the “magnetic” photo albums popular in the 1970s and 80s; the adhesive in these albums is highly acidic and will eventually destroy the photo’s backing. Instead, use archival polyester (Mylar) sleeves or acid-free paper envelopes. Store these in sturdy, acid-free boxes. The Library of Congress recommends a “cool, dry, and stable” environment. This means keeping your boxes out of the attic (too hot) and the basement (too damp). A shelf in a closet inside the main living area of your home is usually the best spot.
Finally, implement a backup strategy for your digital files. Follow the 3-2-1 rule: keep 3 copies of your data, on 2 different types of media (e.g., a hard drive and a cloud service), with 1 copy located off-site. If a fire or flood affects your home, your physical photos and your local hard drive might be lost, but your cloud backup will ensure the digital legacy remains intact.
Frequently Asked Questions
What is the best resolution for scanning old photos?
For standard prints, scan at a minimum of 300 DPI for digital viewing and 600 DPI if you intend to reprint the image at its original size. If you plan to enlarge a small photo, such as a 2×3 inch print, use 1200 DPI to capture enough detail for a high-quality 8×10 expansion.
Should I save my photos as JPEG or TIFF?
You should save your primary archival scans as TIFF files because they are “lossless,” meaning they preserve all image data without compression artifacts. Use JPEGs for sharing on social media or emailing, as these files are much smaller and easier to manage.
Can I use a document scanner for old family photos?
While document scanners with automatic document feeders (ADF) are fast, they can scratch or tear fragile vintage photos. For precious or brittle heritage photos, always use a flatbed scanner to prevent physical damage to the original print.
How do I remove dust from my scanner glass?
Use a clean, dry microfiber cloth and a can of compressed air. If there are stubborn smudges, apply a small amount of residue-free glass cleaner to the cloth—never directly to the glass—and wipe gently. Ensure the surface is completely dry before placing photos down.
Disclaimer: This article is for informational purposes only. When handling valuable or irreplaceable photographs, consider consulting a professional conservator. Always test preservation methods on non-valuable items first.


Leave a Reply