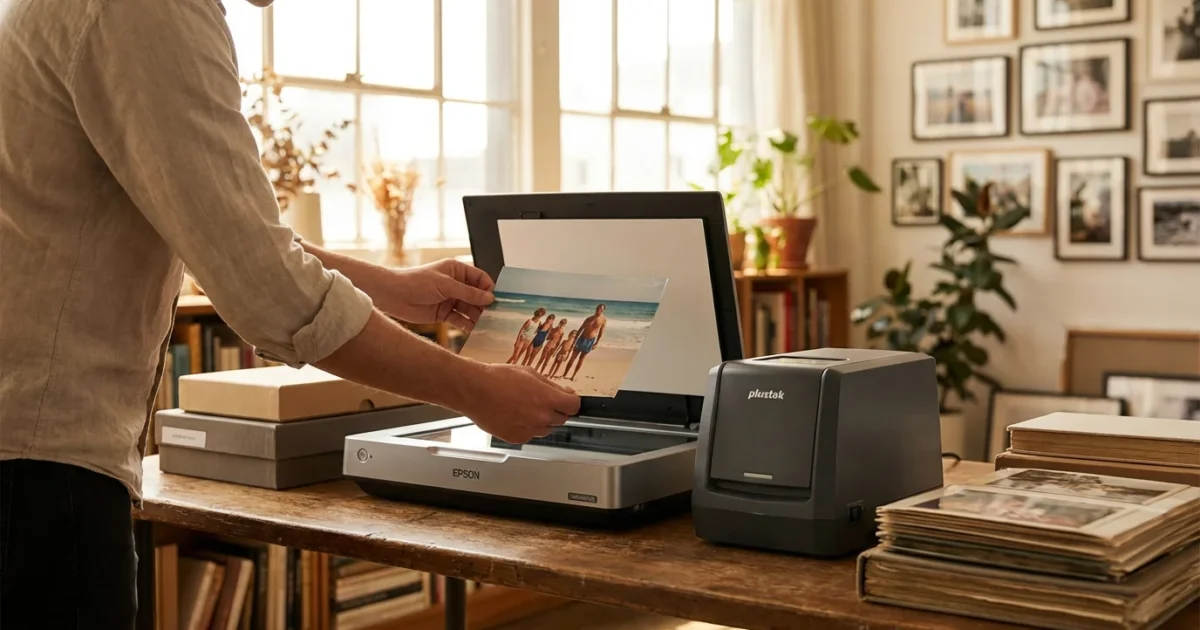
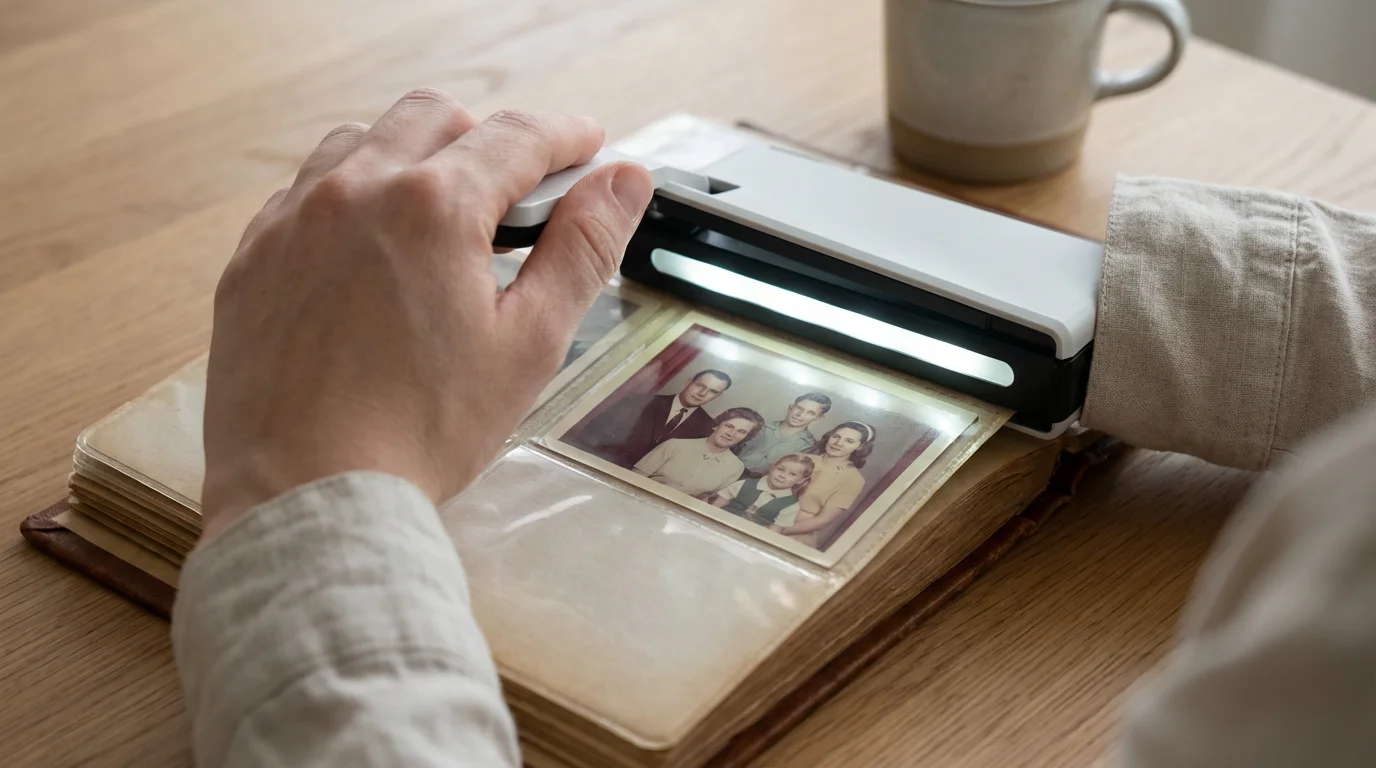
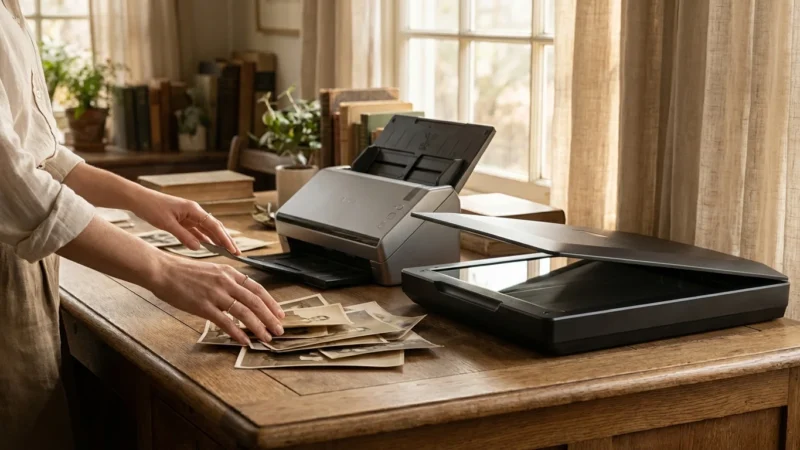
You stand before a mountain of memories—dusty shoeboxes filled with your grandmother’s polaroids, your parents’ wedding album, and those slightly faded vacation snapshots from 1985. Preserving these images is more than just a weekend project; it is a way to bridge the gap between generations and ensure your family history survives the digital age. However, the first hurdle often stops people in their tracks: choosing the right hardware. In the world of photo preservation, two names consistently rise to the top of the conversation: Plustek and Epson. Both brands offer powerful tools, but they cater to very different workflows and priorities.
If the sheer volume of your collection is overwhelming, you might consider whether professional photo scanning services are a better fit for your timeline.
To see how these brands compare to other market leaders, you can also explore our guide on the best photo scanners for home use in 2025.
Before diving into specific hardware, it is helpful to review the basics of how to scan old photos at home to ensure your preservation project starts on the right foot.
Choosing between a Plustek scanner and an Epson scanner requires you to evaluate your specific needs—the volume of your collection, the condition of your prints, and your desired level of technical control. While Epson offers a broad range of versatile flatbed and high-speed sheet-fed scanners, Plustek specializes in streamlined, dedicated devices that often punch above their weight class in terms of specific functionality. To help you navigate this decision, you should look beyond the marketing jargon and focus on how these machines handle the delicate task of digitizing your heritage.
Understanding the Technology: CCD vs. CIS
Before you invest your hard-earned money, you must understand the engine driving these devices. Scanners generally use one of two sensor types: Charged-Coupled Device (CCD) or Contact Image Sensor (CIS). This distinction significantly impacts the quality of your digital files. Epson typically utilizes CCD technology in its Perfection series, which offers a greater depth of field. This means if your old photographs are slightly curled—as many vintage prints tend to be—the CCD sensor can still keep the image in sharp focus even if it is not perfectly flat against the glass.
On the other hand, many compact or entry-level scanners, including the popular Plustek ePhoto Z300, utilize CIS technology. CIS sensors are thinner and allow for smaller, more portable designs, but they have a very shallow depth of field. If a photo isn’t perfectly flat, you may notice blurring in parts of the image. When you are digitizing precious family heirlooms, this technical detail matters. You must decide if the convenience of a slim scanner outweighs the potential for focus issues on older, warped prints. For serious archival work, CCD technology—found in many Epson models—remains the gold standard for its ability to capture fine detail and handle physical imperfections in the original material.
Furthermore, color depth is a critical metric. High-end scanners from both brands offer 48-bit color depth. This allows the scanner to recognize billions of colors, providing a smoother transition between tones and more room for post-processing. If you plan to use software to restore faded colors, starting with a 48-bit scan gives you the best foundation for a successful restoration. For more information on technical standards, Cambridge in Colour provides excellent tutorials on sensor dynamics and image resolution.
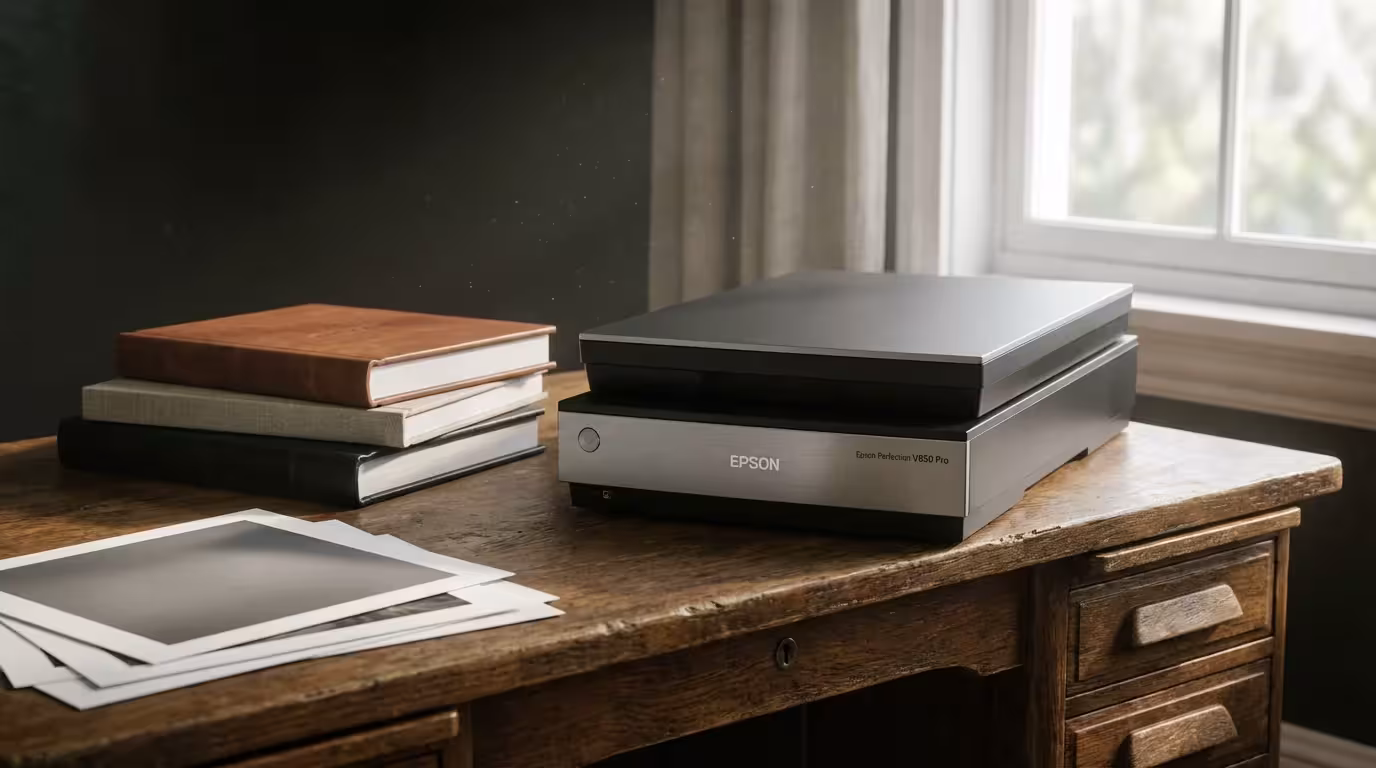
Epson Perfection: The Versatile Heavyweight
The Epson Perfection line, specifically models like the V600 and V850, has dominated the enthusiast market for years. These machines are the “Swiss Army Knives” of the scanning world. When you use an Epson V600, you aren’t just limited to scanning prints. The built-in transparency unit in the lid allows you to scan 35mm slides, negatives, and even medium-format film. This versatility makes Epson the go-to choice for individuals who have inherited a mixed bag of media.
One of Epson’s greatest strengths lies in its Digital ICE technology. This hardware-based solution uses infrared light to detect dust and scratches on the surface of film or prints. It then automatically maps out those imperfections and fills them in with surrounding pixel data. If you have ever spent hours manually “cloning out” dust specks in Photoshop, you will find this feature life-changing. It saves an immense amount of time during the restoration process, though it does significantly increase the scan time per image.
“Digital ICE is not just a luxury; it is a necessity for anyone dealing with damaged negatives or prints that have been stored in less-than-ideal conditions.”
The build quality of the Epson Perfection series is robust, designed to sit on a desk and handle thousands of scans. However, the footprint is large. You will need dedicated desk space for these units. If you prioritize image quality and the ability to handle multiple formats over speed and portability, the Epson Perfection series remains difficult to beat. It provides the control you need to pull every ounce of detail out of a vintage photograph.
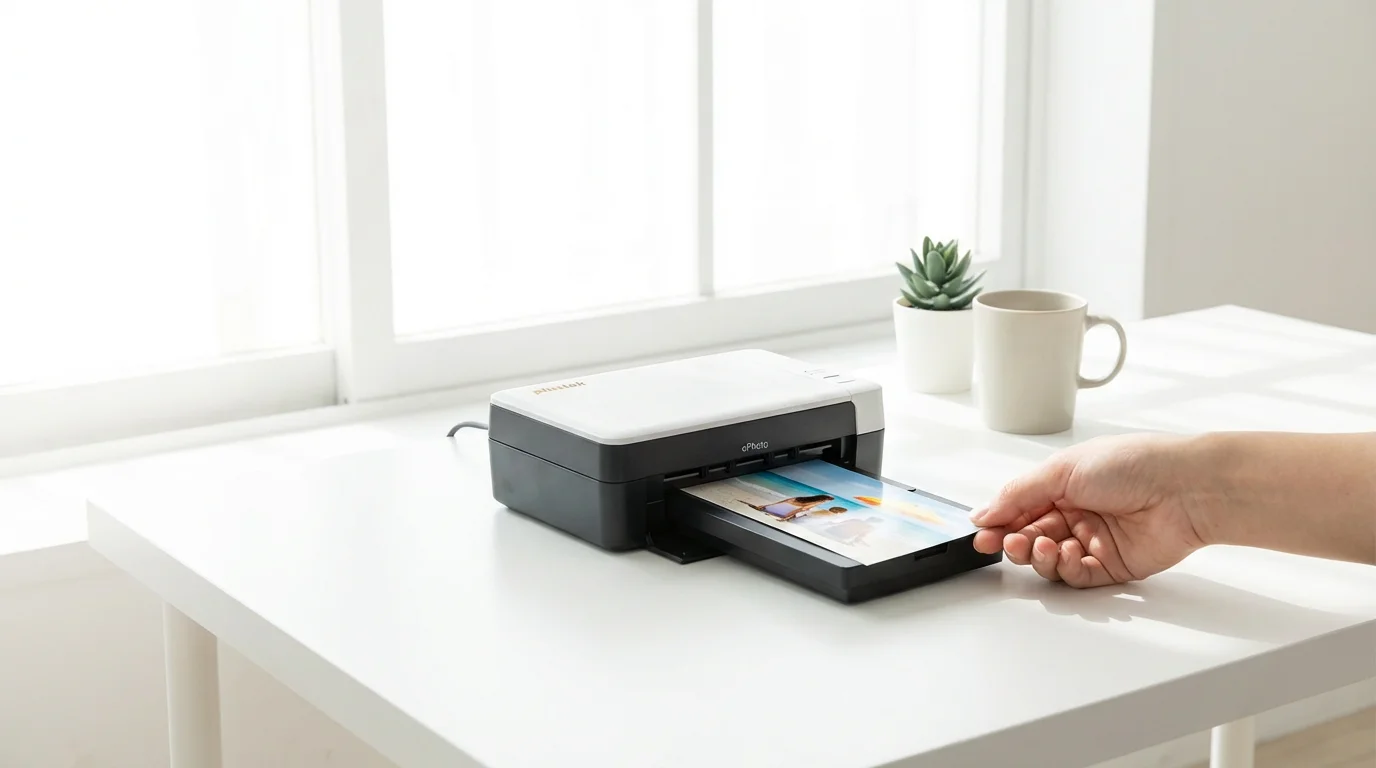
Plustek ePhoto: Efficiency and Simplicity
Plustek takes a different approach with its ePhoto Z300. Instead of a flatbed design where you place one photo at a time on glass, the Z300 is a sheet-fed scanner. You feed your photos into a slot, and the machine pulls them through at a rapid pace. For someone staring at three shoeboxes containing 2,000 photos, the thought of placing each one individually on a flatbed glass can feel like a life sentence. The Plustek ePhoto promises to liberate you from that tedium.
For those who need to scan just a few photos on the go, digitizing photos with your smartphone can be a handy supplemental method.
The beauty of the Plustek system is its “one-touch” philosophy. You don’t need to navigate complex software menus to get a decent result. The scanner detects the edges of the photo, crops it automatically, and applies basic color correction in seconds. This makes it an ideal choice for the casual archiver who wants to share photos on social media or create a digital slideshow without becoming a professional photo editor. You can scan a 4×6 print in about two seconds at 300 DPI, which is staggeringly fast compared to a flatbed.
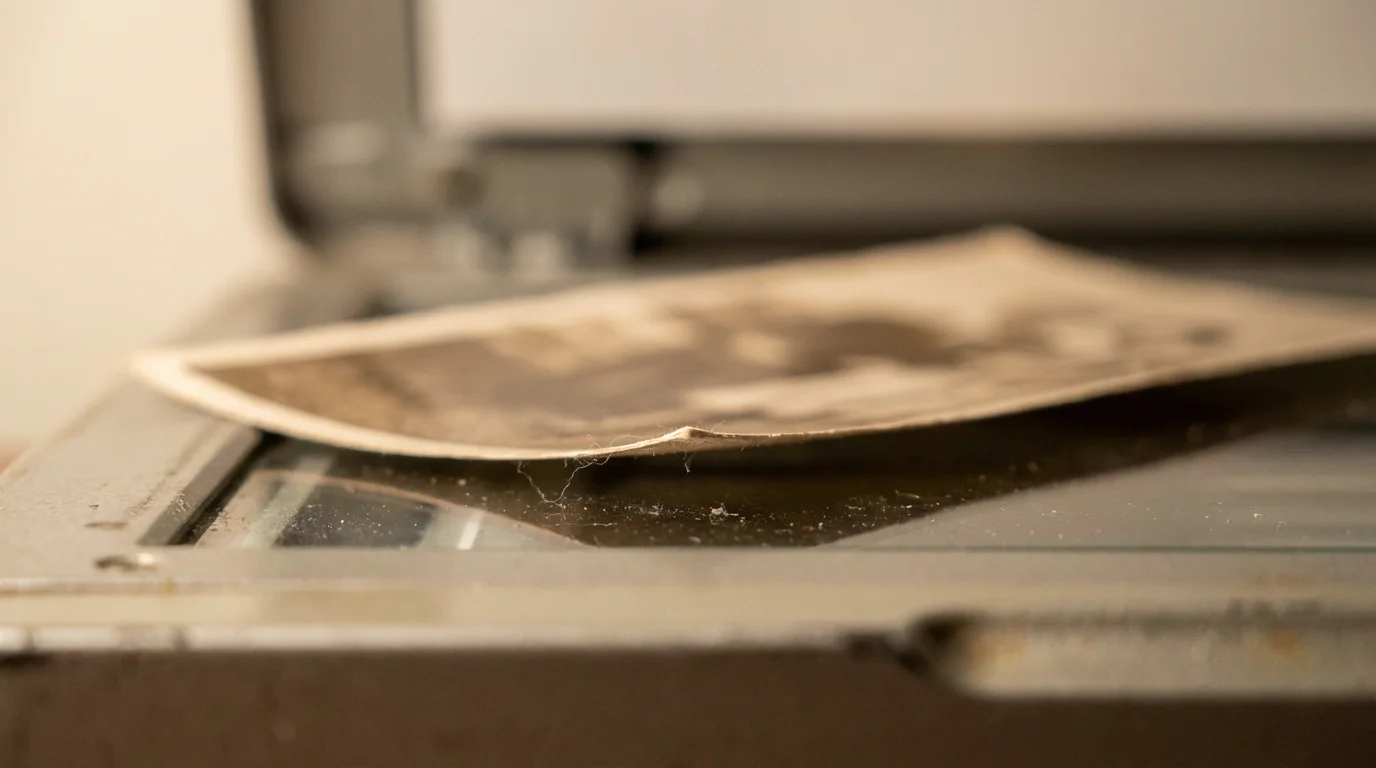
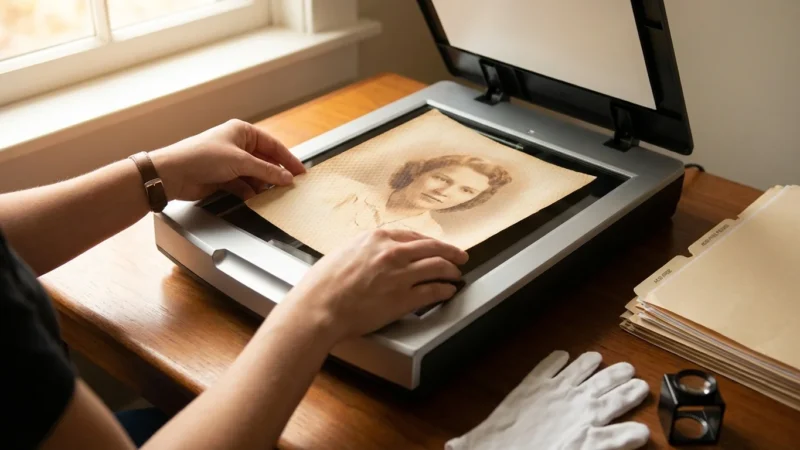
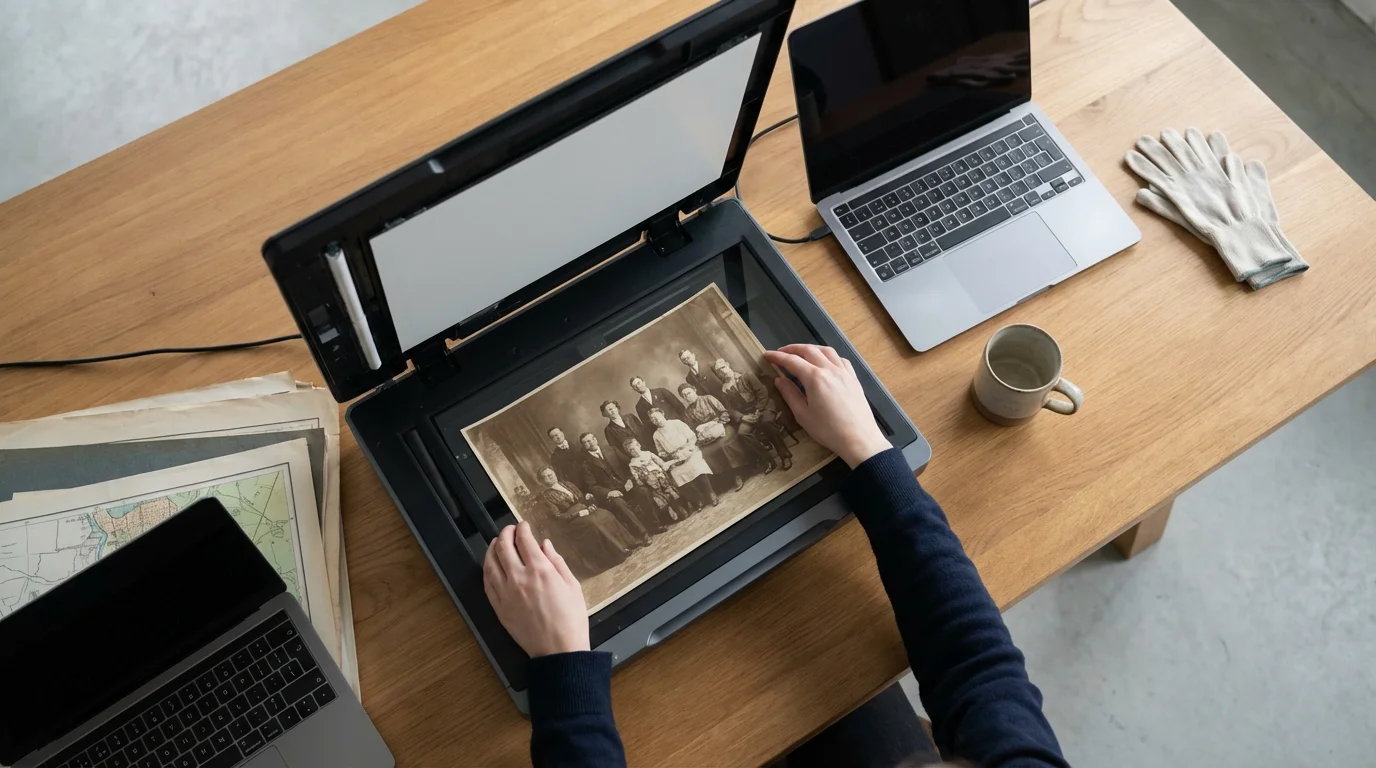
However, you must exercise caution with sheet-fed scanners. Because the photo moves across a fixed sensor, any grit or dust on the photo can scratch the delicate surface of the image or leave a streak on the scan. You should always wipe your photos with a microfiber cloth and ensure the scanner’s rollers are clean. For very fragile, torn, or flaking photographs, a sheet-fed scanner like the Plustek is not recommended. In those cases, you should use a flatbed to avoid further physical damage to the original. For further guidance on handling delicate materials, the Library of Congress Preservation site offers essential tips on physical care.

The Film Factor: Handling Negatives and Slides
If your preservation project involves more than just paper prints, the comparison takes a sharp turn. Film scanning requires significantly more optical resolution than print scanning because the source material is so small. A 35mm negative is roughly 1.4 inches wide; to print that at a standard 8×10 size, you need a high-quality scan with a high Optical Density (Dmax). Dmax refers to the scanner’s ability to “see” detail in the darkest shadows of a negative.
Epson’s V850 is a powerhouse in this category, featuring a dual-lens system that optimizes resolution specifically for film. It includes high-quality film holders that keep the negatives flat, which is crucial for sharpness. If you have thousands of slides, the Epson flatbeds allow you to load 12 slides at once, scanning them in a single batch. This is a massive advantage for bulk film projects.
Plustek, however, offers a specialized alternative: the OpticFilm series. These are not flatbeds; they are dedicated film scanners. Devices like the Plustek OpticFilm 8200i are designed solely for 35mm film. Because the sensor and optics are optimized for a single format, they often provide sharper results and better color depth than a “jack-of-all-trades” flatbed. If your collection consists almost entirely of 35mm slides and negatives, a dedicated Plustek OpticFilm might actually serve you better than a large Epson flatbed. It takes up less space and provides a level of clarity that rivals professional lab scans.
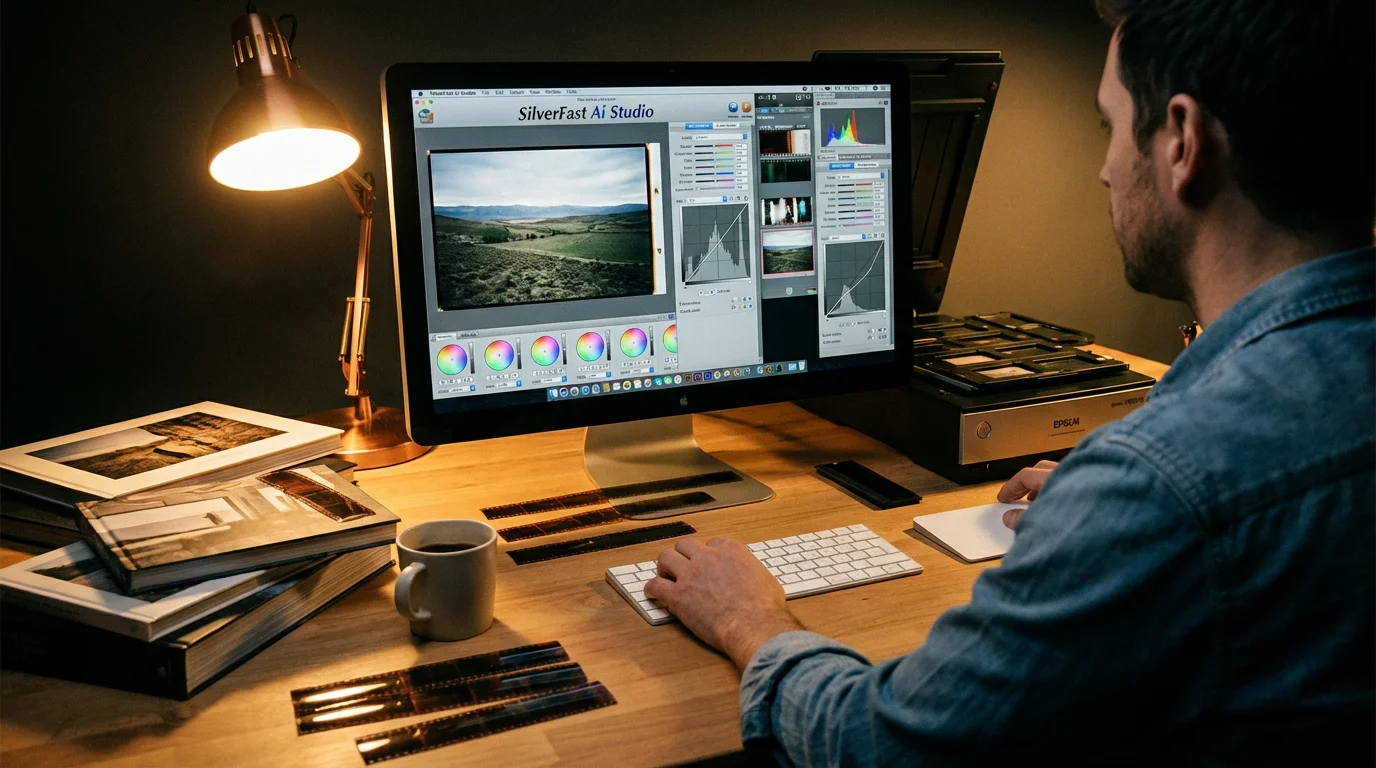
Software Battles: SilverFast vs. Epson Scan
The hardware is only half the battle; the software determines your daily experience. Most high-end Plustek scanners and Epson V850 models come bundled with SilverFast, a professional-grade scanning software. SilverFast is incredibly powerful but has a steep learning curve. It offers advanced features like Multi-Exposure, which scans a negative twice at different exposure levels to capture more dynamic range, and NegaFix, which contains profiles for hundreds of different film stocks.
Once your scanning is complete, the next step is deciding between external hard drives or cloud storage to preserve your new digital archive.
Epson also provides its own proprietary software, Epson Scan 2. This software is much more user-friendly for beginners. It features a “Full Auto Mode” that does a surprisingly good job of recognizing photos, cropping them, and correcting faded colors. For most family historians, Epson Scan 2 provides the perfect balance between control and ease of use. You can manually adjust histogram levels and tone curves if you wish, but you don’t have to be an expert to get started.
Plustek’s ePhoto software is even more simplified. It focuses on the “scan-and-go” workflow. While it lacks the deep restoration tools of SilverFast, it allows you to quickly crop, rotate, and adjust brightness before saving. When choosing between these brands, you should consider your own comfort level with technology. If you enjoy “geeking out” over technical settings and want the absolute best restoration results, a machine bundled with SilverFast is a major plus. If you just want to get the job done efficiently, Epson’s native software or Plustek’s ePhoto utility will be your best friends.

Workflow Optimization for Large Collections
Efficiency is the secret to finishing a massive photo project. If you have 5,000 photos to scan, a difference of 30 seconds per photo equates to over 40 hours of extra work. This is where your choice of scanner dictates your lifestyle for the next few months. To optimize your workflow, you should implement a system of sorting before you ever turn the scanner on.
With an Epson flatbed, you can often fit four 4×6 prints on the glass at once. The software can automatically detect the edges of each individual photo and save them as separate files. This “batch scanning” feature is a major time-saver. However, you still have to manually open the lid, place the photos, close the lid, and then remove them. It is a tactile, rhythmic process that requires your full attention.
The Plustek ePhoto or the Epson FastFoto series (Epson’s answer to Plustek’s speed) allows you to process photos in a continuous stream. You can sit with a stack of photos and feed them through while watching a movie. This “high-throughput” approach is unbeatable for sheer volume. However, you should always keep a flatbed nearby. Use the high-speed scanner for the bulk of your snapshots, but save the flatbed for the “hero” shots—the one-of-a-kind wedding photos or the fragile, deckle-edged prints from the early 20th century. For professional insights on managing large digital archives, you can refer to the National Archives Preservation guidelines.
Maintenance and Long-term Reliability
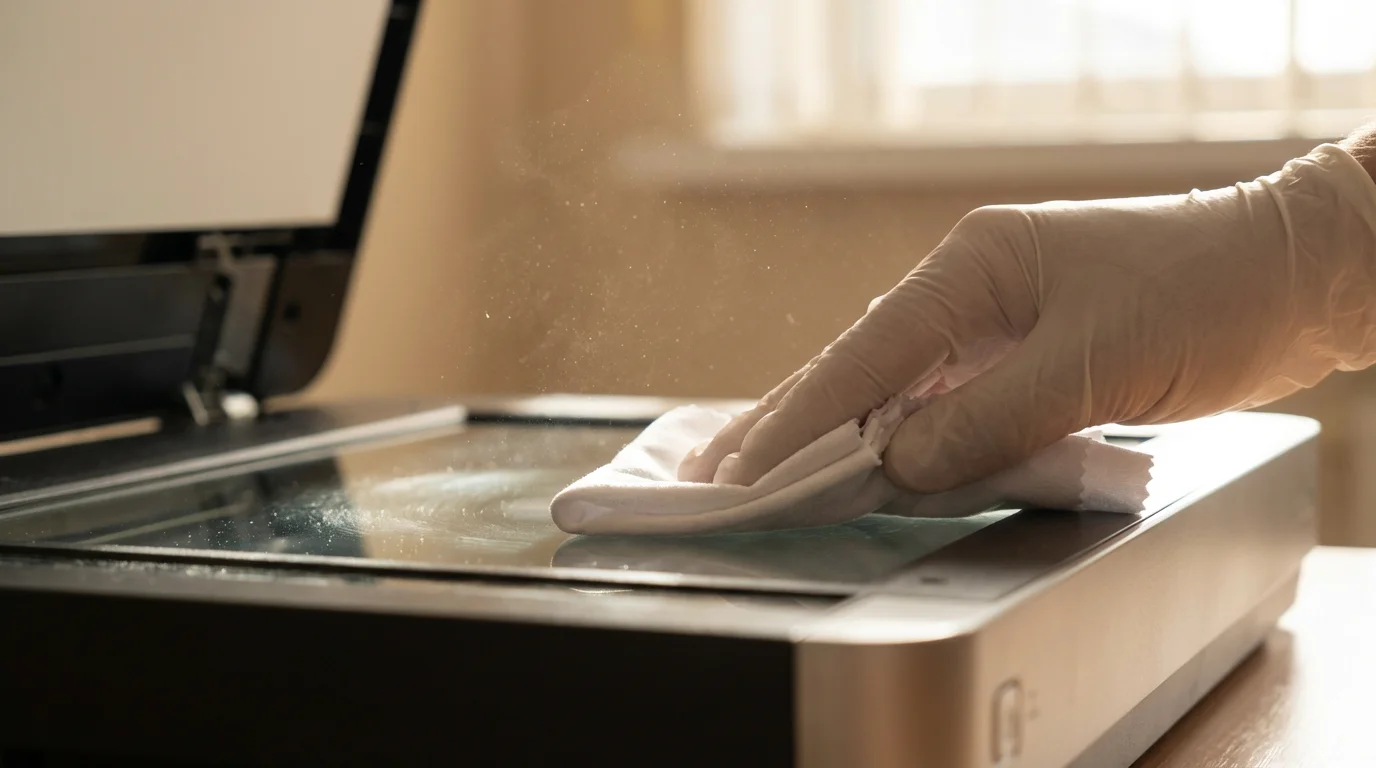
A photo scanner is a precision instrument. To keep it running smoothly, you must be diligent about maintenance. For Epson flatbeds, the primary enemy is “off-gassing.” Over time, the plastics inside the scanner can release vapors that create a hazy film on the underside of the glass. While this usually takes years to become a problem, it can eventually degrade image contrast. Keeping the exterior glass clean with a specialized scanner cleaner and a lint-free cloth is your first line of defense.
Regardless of which brand you choose, keeping up with the best photo scanners for home use will help you stay informed about the latest software updates and hardware improvements.
Plustek sheet-fed scanners require more frequent maintenance because they have moving parts in the paper path. Dust from old photos can accumulate on the rollers, causing them to slip or leave streaks. Most Plustek scanners come with a calibration sheet and a cleaning strip. You should use these regularly. If you notice a vertical line appearing in your scans, it is almost always a tiny speck of dust on the sensor glass. A quick wipe usually solves the issue.
When you consider longevity, Epson’s established service network and long history of driver support are significant advantages. You want a scanner that will still work when you upgrade to a new computer in five years. Both brands are generally good about driver updates, but Epson’s larger market share often means more community support and third-party troubleshooting guides are available online.
| Feature | Epson Perfection V600 | Plustek ePhoto Z300 | Epson FastFoto FF-680W |
|---|---|---|---|
| Scanner Type | Flatbed (CCD) | Sheet-fed (CIS) | Sheet-fed (CIS) |
| Film Scanning | Yes (Slides & Negatives) | No | No |
| Best For | High-Quality Restoration | Budget Speed | Pro-Level Batching |
| Dust Removal | Digital ICE (Hardware) | Software Only | Software Only |
| Footprint | Large | Small/Portable | Medium |
Frequently Asked Questions
Is it better to scan photos at 600 DPI or 1200 DPI?
For standard 4×6 prints, 600 DPI is the sweet spot. It provides enough detail for high-quality reprints and digital archiving without creating massive file sizes. Only use 1200 DPI if you plan to enlarge a small photo to a very large poster size, as scanning beyond the physical grain of the paper often doesn’t add more real detail.
Do I need a special computer to run these scanners?
Most modern PCs and Macs handle these scanners easily. However, scanning at high resolutions and using features like Digital ICE requires a decent amount of RAM (at least 8GB) and a fast processor to avoid long wait times while the software processes the image data. Ensure you have enough hard drive space, as high-resolution TIFF files can be 50MB to 100MB each.
Should I save my scans as JPEG or TIFF?
You should always save your “master” scans as TIFF files. TIFF is a lossless format, meaning it preserves all the data from the scan. JPEG is a compressed format that loses quality every time you edit and resave it. Save your master archive as TIFF, and then create JPEG copies for sharing on social media or emailing to family members.
Can these scanners fix faded colors?
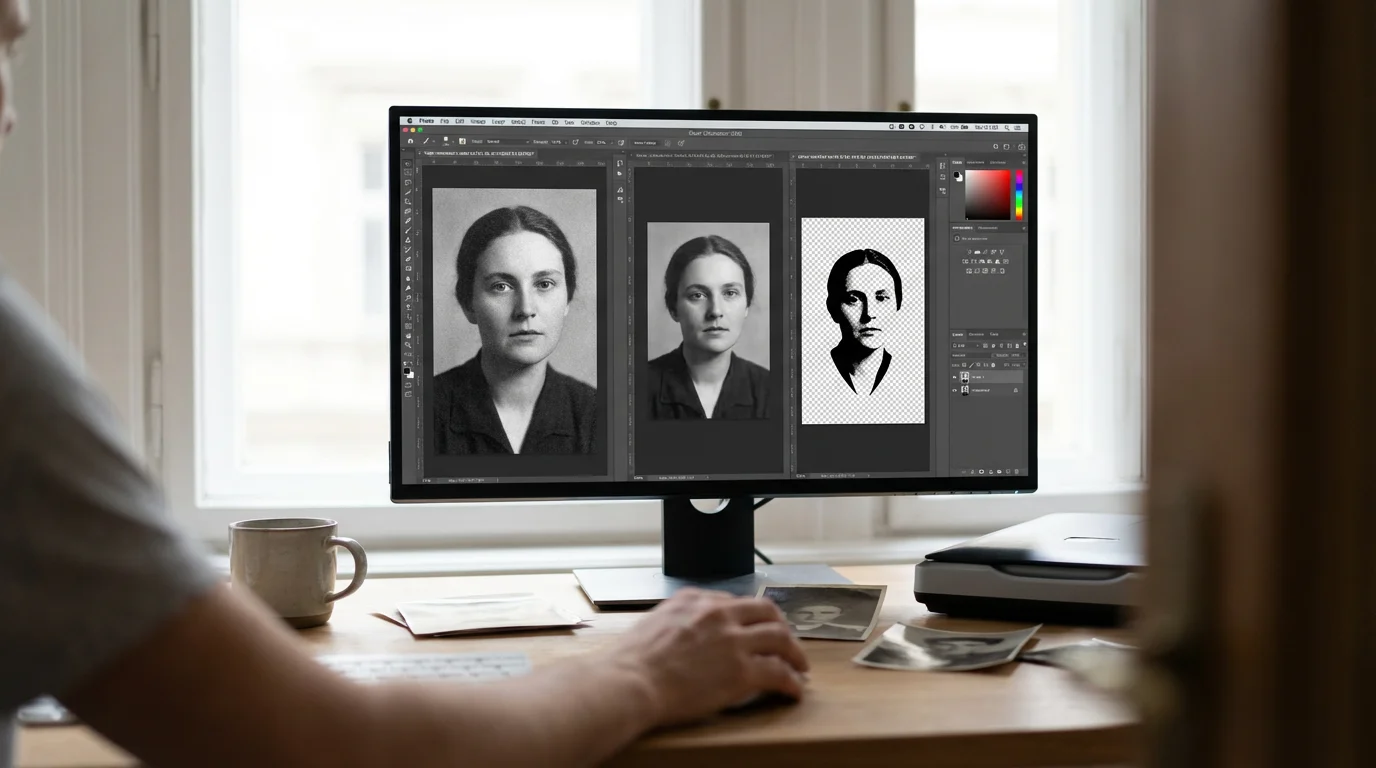
Yes, both Epson and Plustek include software features for color restoration. They work by analyzing the color channels and boosting the ones that have degraded over time (often the cyan and yellow dyes fade first). While software can work wonders, extremely faded photos may still require manual editing in a program like Adobe Lightroom or Photoshop.
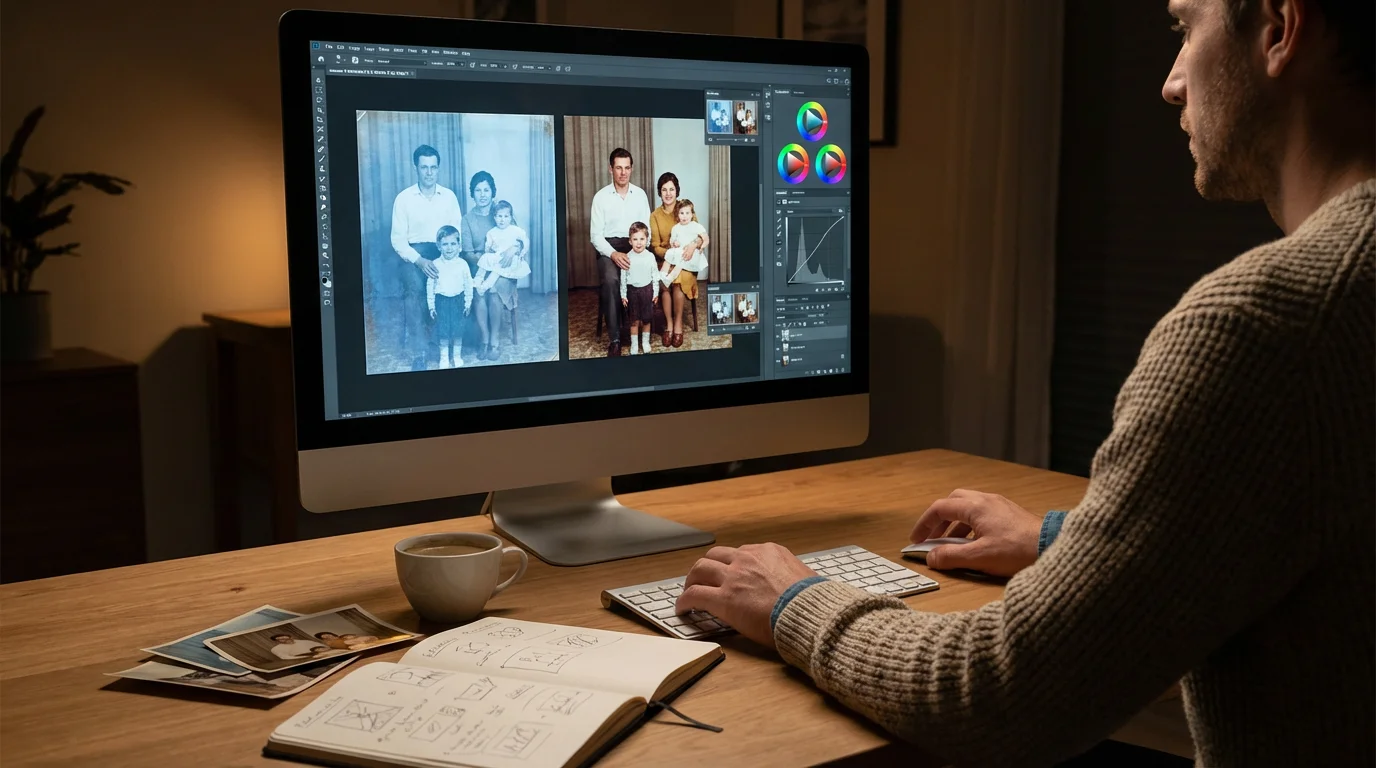
Your journey into photo preservation is a noble one. Whether you choose the meticulous, high-fidelity path of an Epson flatbed or the rapid-fire efficiency of a Plustek sheet-fed scanner, the most important step is simply to start. Every photo you digitize is a memory saved from the inevitable effects of time and environment. Assess your collection, choose the tool that fits your workflow, and begin the rewarding process of bringing your family’s history into the light of the 21st century.
Disclaimer: This article is for informational purposes only. When handling valuable or irreplaceable photographs, consider consulting a professional conservator. Always test preservation methods on non-valuable items first.


Leave a Reply