
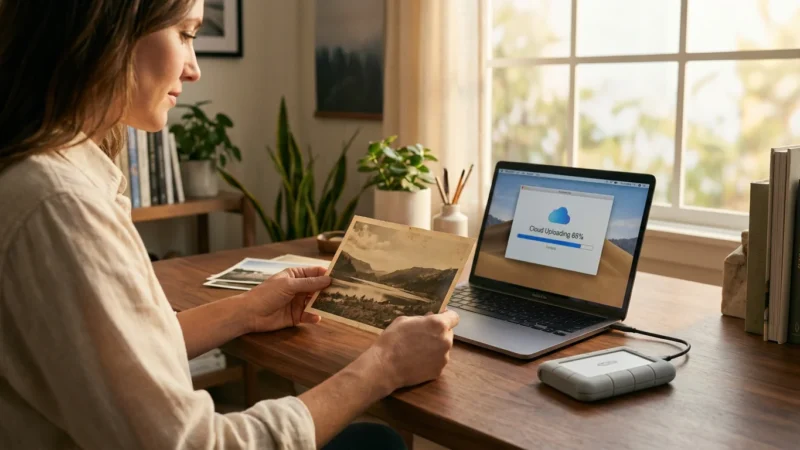
You probably have thousands of memories scattered across your phone, various old computers, and perhaps a few dozen SD cards tucked away in a desk drawer. While cloud storage services offer convenience and accessibility, they represent a fragile dependency. Service prices rise; accounts get locked; and internet connections fail. If you want true ownership and long-term security for your family heritage, you must master a local photo backup strategy. Taking control of your digital assets ensures that your great-grandchildren can view your wedding photos or your child’s first steps without needing a monthly subscription to a tech giant.
Deciding between cloud vs. external hard drives vs. NAS is the first step in building a resilient protection plan for your digital collection.

The Vital Importance of Local Photo Storage
Relying exclusively on the cloud is like renting a storage unit for your family heirlooms but letting the landlord decide when you can visit and what the rent will be next year. Local storage places the keys back in your hands. Beyond the issues of ownership, local backups provide a level of speed that the cloud cannot match. When you deal with high-resolution RAW files or 4K video clips, uploading and downloading gigabytes of data over a standard home Wi-Fi connection becomes a grueling chore. A direct connection to a local drive transfers these files in a fraction of the time.
Integrating best practices for a home photo archive ensures that your hardware works in harmony with your long-term storage goals.
Data security also involves more than just preventing theft; it involves preventing “bit rot” or data degradation. Over time, the magnetic charge on a hard drive or the electrical charge in a flash drive can leak, leading to corrupted files. When you maintain a local photo backup, you have the ability to run “scrubbing” software or integrity checks that verify your files remain identical to the day you saved them. Services like Cambridge in Colour provide excellent technical deep-dives into how digital sensors and file formats work, emphasizing that the quality of your storage directly impacts the longevity of your digital image data.
Furthermore, local storage protects your privacy. While cloud providers use encryption, they still scan your metadata for advertising or training algorithms. By keeping your most sensitive family moments on hardware you physically touch, you eliminate the risk of a third-party data breach exposing your private life to the public web. You are the curator, the technician, and the security guard of your own history.
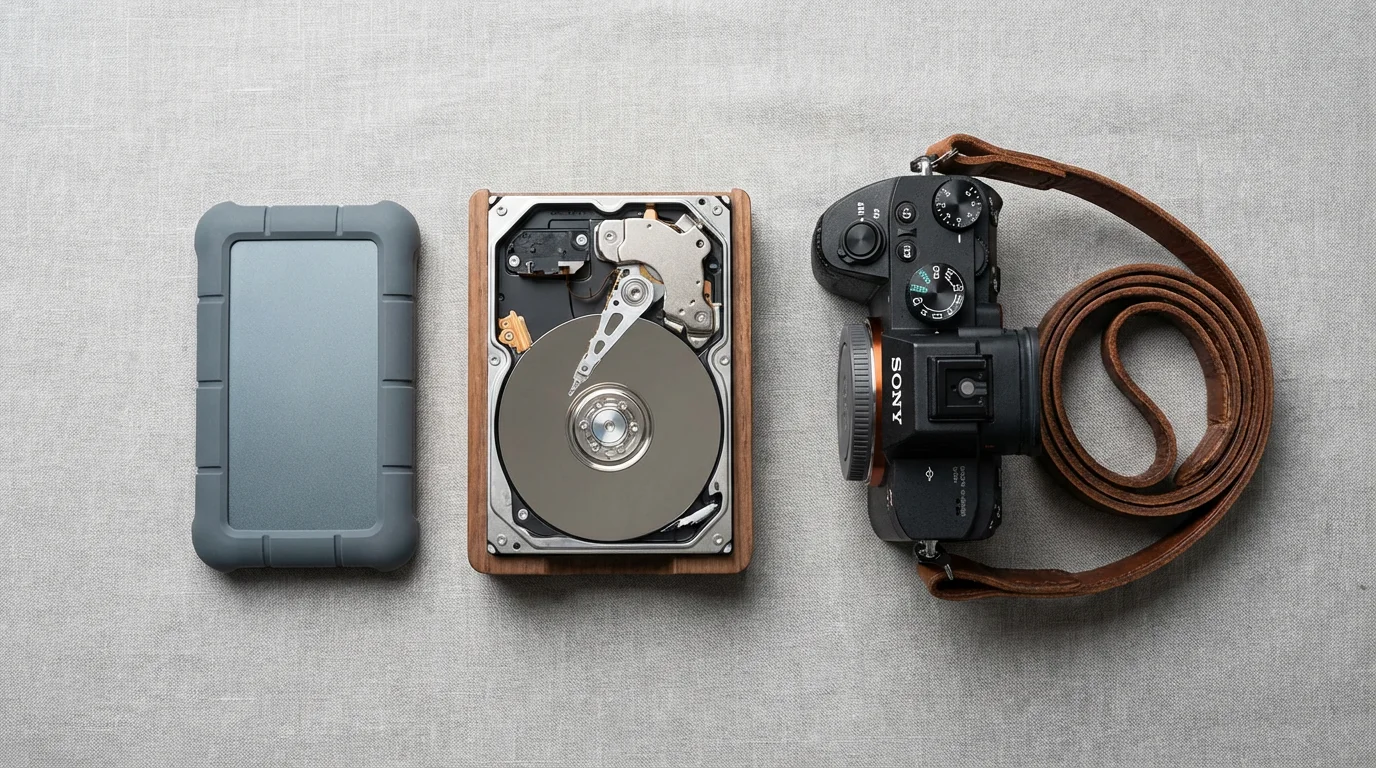
Choosing the Best External Hard Drive for Your Collection
When you start searching for the best external hard drive, the sheer volume of choices can feel paralyzing. You must first decide between a Hard Disk Drive (HDD) and a Solid State Drive (SSD). Think of an HDD as a record player: it has a spinning platter and a physical arm that reads data. This makes it slower and more fragile but incredibly cost-effective for large volumes of data. If you have 10 terabytes (TB) of scanned family photos, a large desktop HDD is your most economical choice.
An SSD, conversely, has no moving parts. It uses flash memory, making it incredibly fast and resistant to physical shocks. If you frequently travel with your laptop or need to edit photos directly from the drive, an SSD like the Samsung T7 or SanDisk Extreme series provides the performance you need. However, the cost per gigabyte remains significantly higher than traditional spinning drives. For a robust local photo backup strategy, you will likely use a combination of both: an SSD for your current “working” files and high-capacity HDDs for your long-term archives.
| Feature | HDD (Hard Disk Drive) | SSD (Solid State Drive) |
|---|---|---|
| Best Use Case | Long-term mass archiving | Daily editing and travel |
| Cost | $15 – $30 per Terabyte | $70 – $150 per Terabyte |
| Speed | Approx. 120-200 MB/s | Approx. 500-2,800 MB/s |
| Durability | Sensitive to drops/movement | High resistance to shock |
| Lifespan | 3-5 years (mechanical wear) | Varies by write cycles |
You should also consider the drive’s interface. USB-C and Thunderbolt 3 or 4 are the current standards. While a USB 3.0 drive still works, the faster interfaces will save you hours of time during your initial multi-terabyte transfer. Look for drives with “CMR” (Conventional Magnetic Recording) technology rather than “SMR” (Shingled Magnetic Recording) for your primary backup drives; CMR drives offer better sustained write speeds and are more reliable for the frequent updates required by photo management software.

The 3-2-1 Backup Strategy for Total Data Security
A single backup is not a backup; it is merely a copy. To ensure your photos survive fires, floods, or hardware failures, you must adopt the industry-standard 3-2-1 strategy. This method dictates that you maintain three copies of your data, stored on two different types of media, with one copy kept offsite. This redundancy creates a safety net that protects against almost any foreseeable disaster.
In addition to digital redundancy, it is wise to prepare a photo emergency go-bag to protect your physical drives from environmental threats.
Imagine your primary computer holds your first copy. Your second copy should live on a high-quality external hard drive or a Network Attached Storage device in your home. This allows for rapid recovery if your computer’s internal drive fails. The third copy—the offsite version—is your “break glass in case of emergency” solution. This could be a drive kept at a family member’s house, a safety deposit box, or even a cloud service. While this guide focuses on local solutions, the 3-2-1 rule acknowledges that physical locations carry risks that only geographic separation can mitigate.
You should also consider “versioning” as part of your 3-2-1 workflow. Versioning ensures that if you accidentally delete a folder or a virus corrupts your files, your backup doesn’t immediately mirror those errors. Software like Time Machine on macOS or Backblaze Personal (if using a cloud hybrid) allows you to “travel back in time” to retrieve uncorrupted versions of your library. In the world of local photo backup, your goal is to eliminate any single point of failure.

Network Attached Storage: Building Your Private Cloud
If your photo collection has grown beyond the capacity of a single external drive, or if multiple people in your household need to access the same library, a Network Attached Storage (NAS) device is the logical next step. A NAS is essentially a small, specialized computer filled with hard drives that stays connected to your home network. Unlike a simple external drive that plugs into one computer, a NAS functions like your own private Google Photos or iCloud service.
Companies like Synology and QNAP offer user-friendly NAS units that feature powerful photo management apps. These apps can automatically back up your phone’s camera roll the moment you walk through your front door and connect to your Wi-Fi. This eliminates the “I forgot to plug in my drive” excuse that often leads to data loss. Furthermore, a NAS uses a technology called RAID (Redundant Array of Independent Disks). If you have a two-bay NAS and one drive fails, the second drive still contains all your data. You simply swap the dead drive for a new one, and the system repairs itself without you losing a single pixel.
Physical hard drives are the only component of your computer guaranteed to fail eventually. The question isn’t if, but when. RAID and redundancy are your best defense against the inevitable.
Setting up a NAS requires a slightly higher initial investment and some basic networking knowledge, but the benefits are immense. You can stream your family videos to your smart TV, share specific albums with relatives via private links, and even run automated “health checks” on your drives to catch signs of failure before they become catastrophic. For the serious photo enthusiast, a NAS is the gold standard of local photo backup.

Archival Media and the Promise of the M-DISC
While HDDs and SSDs are excellent for accessibility, they are not true “archival” media. They require electricity and occasional use to maintain their integrity. For photos that you want to ensure survive for 100 years or more—such as high-resolution scans of your great-grandparents or your child’s birth photos—you should look into the M-DISC. Unlike standard DVDs or Blu-rays that use an organic dye layer that eventually rots, the M-DISC etches data into a rock-like inorganic layer.
The Library of Congress and other major preservation institutions often discuss the challenges of “digital obsolescence.” The M-DISC addresses this by being readable by any standard Blu-ray drive, while being immune to the “disc rot” that plagues traditional optical media. You can purchase an external M-DISC compatible burner for under $100 and discs that hold 25GB, 50GB, or even 100GB of data. Once you burn your most precious photos to an M-DISC, you can store it in a cool, dark place and rest easy knowing it is physically stable for decades.
To use this method effectively, you must be selective. Do not try to burn every blurry snapshot to an archival disc. Use this for your “Curated Gold” collection—the top 1% of your images that define your family’s story. Label these discs clearly using an archival-safe pen, and keep them in a fireproof safe or a high shelf where they are protected from environmental hazards. Combining M-DISC technology with your 3-2-1 strategy provides a “cold storage” layer that even a major EMP or massive hardware failure won’t destroy.

Organizing Your Vault: File Naming and Curation
A backup is useless if you cannot find the photo you are looking for. Thousands of files named “IMG_4829.JPG” create a digital haystack that discourages you from ever revisiting your memories. Before you move your files to your local storage, you must implement a naming convention that is both human-readable and computer-sortable. The most effective format is YYYY-MM-DD-Event-Description. For example: “2023-06-15-Grandma-80th-Birthday-Cake.jpg.” This ensures that when you sort by name, your photos appear in a perfect chronological sequence.
Developing a photo organization system is essential for turning a backup drive into a functional family vault.
Beyond naming files, having a consistent folder structure for your photo library helps ensure you can find any image in seconds.
You should also embrace the “Culling” phase of photo preservation. Digital photography allows us to take fifty photos of a single sunset, but you likely only need two or three. By deleting the duplicates, the out-of-focus shots, and the accidental pocket photos, you reduce the strain on your storage and make your collection more meaningful. Professional curators suggest that a smaller, well-organized collection is infinitely more valuable than a massive, chaotic one.
Consider these actionable steps for your folder structure:
- Top Level: Create a folder named “PHOTO_ARCHIVE”.
- Second Level: Organize by Year (e.g., “2022”, “2023”).
- Third Level: Organize by Month and Event (e.g., “05-Italy-Vacation”).
- Metadata: Use software like Adobe Lightroom or the free “digiKam” to add tags and keywords like names of family members or locations. These tags stay with the file and make searching a breeze even if you change storage hardware in the future.

Maintaining Your Hardware for the Next Decade
Local photo backup is not a “set it and forget it” task. To ensure your hardware lasts, you must treat it with the same respect you give to physical photo albums. Keep your external drives in a climate-controlled environment. Extreme heat and humidity are the enemies of electronics. If you live in a particularly humid area, consider storing your “cold” backup drives in a sealed container with silica gel packets to prevent internal corrosion.
You must also perform a “digital health check” at least once a year. Plug in every backup drive, ensure it still mounts correctly, and run a disk utility check to scan for errors. Many photographers use this time to “migrate” their data. Every five years, you should consider purchasing a new, larger, and faster drive and moving your entire archive to it. This process, known as “data refreshing,” ensures that you are never relying on aging hardware that is nearing its statistical failure point.
Finally, keep your software updated. Whether you use a NAS operating system or simple backup software like Carbon Copy Cloner, keeping the code current protects you from security vulnerabilities and ensures compatibility with new file formats. Remember, you are the chief preservation officer of your own history. A small amount of annual maintenance prevents the heartbreak of discovering a dead drive full of irreplaceable memories five years down the line.
Frequently Asked Questions
Which is better for photo backup, an HDD or an SSD?
For long-term cold storage of large photo libraries, a high-capacity Hard Disk Drive (HDD) offers the best value per gigabyte. However, if you are actively editing photos or need a portable drive for travel, a Solid State Drive (SSD) provides significantly faster speeds and better physical durability against drops.
How often should I update my local photo backup?
You should aim for a backup frequency that matches your shooting habits. For most hobbyists, a weekly backup is sufficient; however, professional photographers or those documenting daily family life should consider daily automated backups to ensure no new memories are lost between sessions.
Do external hard drives really only last three to five years?
While many drives function perfectly for a decade, the mechanical components in HDDs and the flash memory cells in SSDs do have finite lifespans. Industry data suggests a failure rate increase after the three-to-five-year mark, making it the ideal window to migrate your data to a newer drive.
Can I use a thumb drive for my primary photo backup?
Flash drives or thumb drives are excellent for moving files between computers but are generally unreliable for long-term primary backup. They use lower-grade flash memory compared to external SSDs and are easily lost or damaged.
Disclaimer: This article is for informational purposes only. When handling valuable or irreplaceable photographs, consider consulting a professional conservator. Always test preservation methods on non-valuable items first.


Leave a Reply