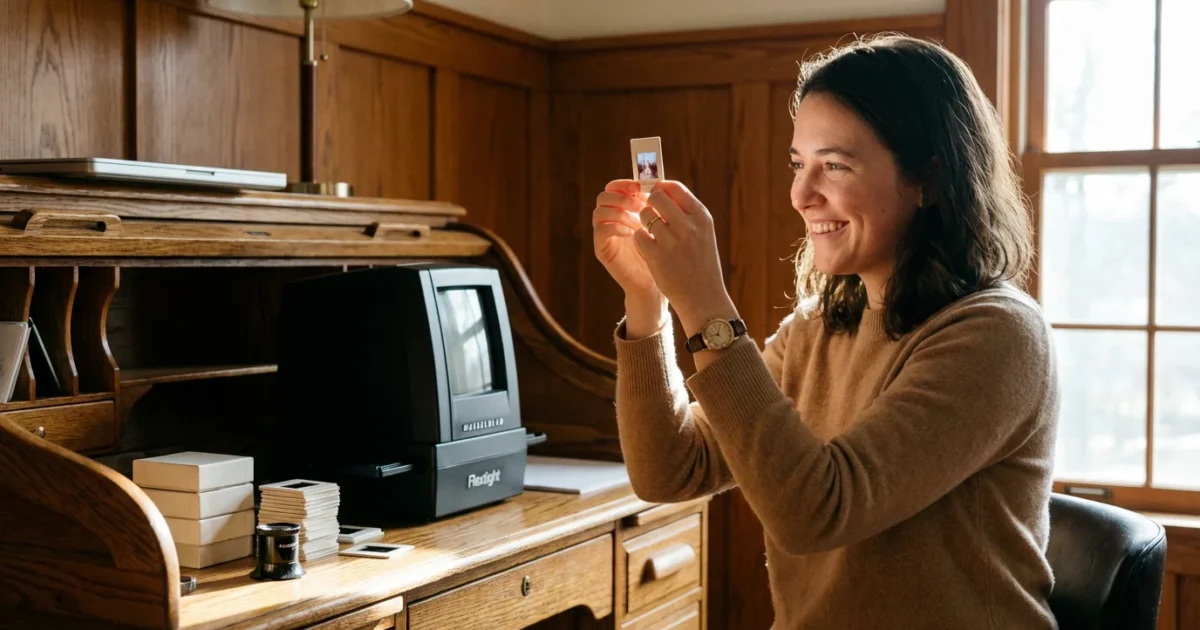
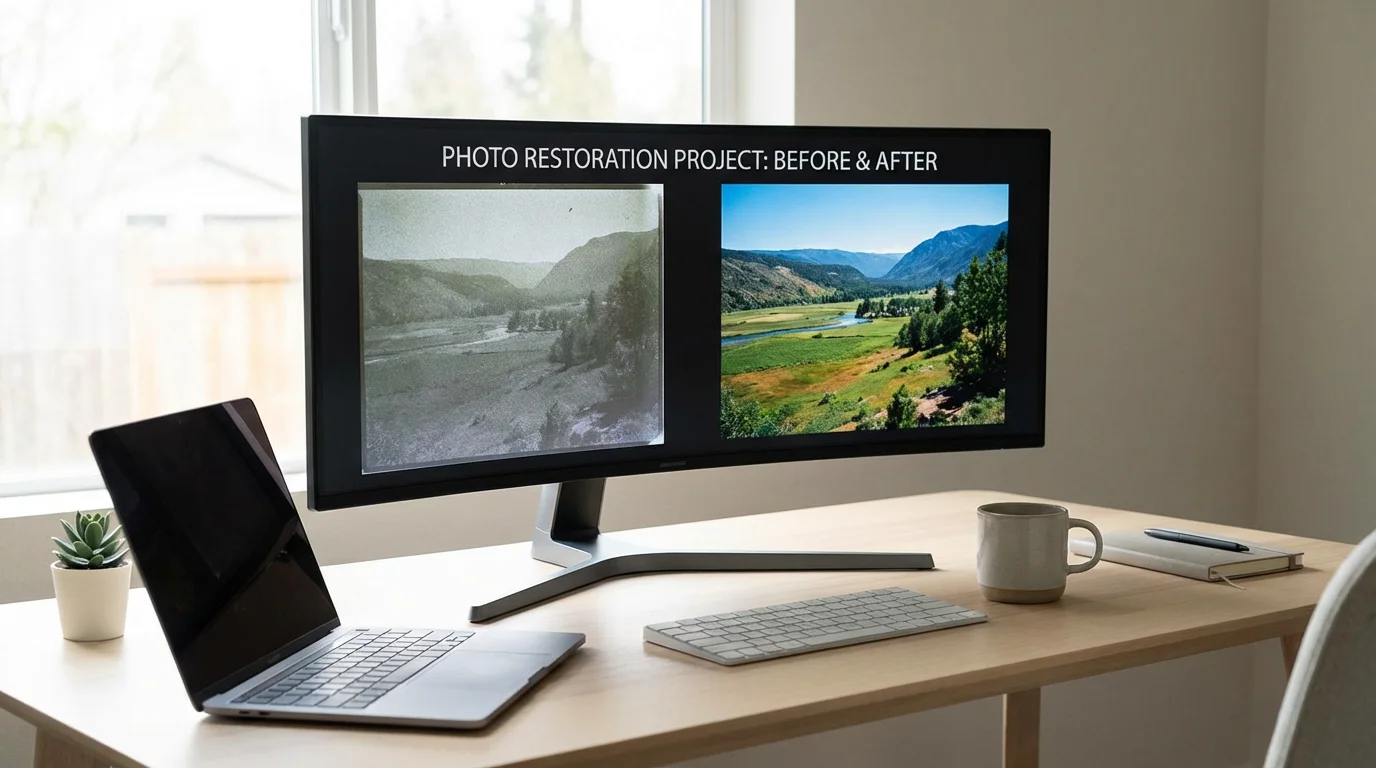
Your family’s history often lives in small, translucent rectangles tucked away in shoeboxes and carousels. These slides and negatives capture moments with a depth and color vibrance that modern digital sensors sometimes struggle to replicate. However, film is a volatile medium; it is subject to fading, fungal growth, and physical degradation over time. Converting these analog treasures into digital files ensures that your photographic heritage remains accessible for generations—allowing you to share, print, and restore images that have been hidden in the dark for decades.
For those who also have print photo collections, reading our guide on DIY photo scanning at home is a great way to start your overarching digitization project.
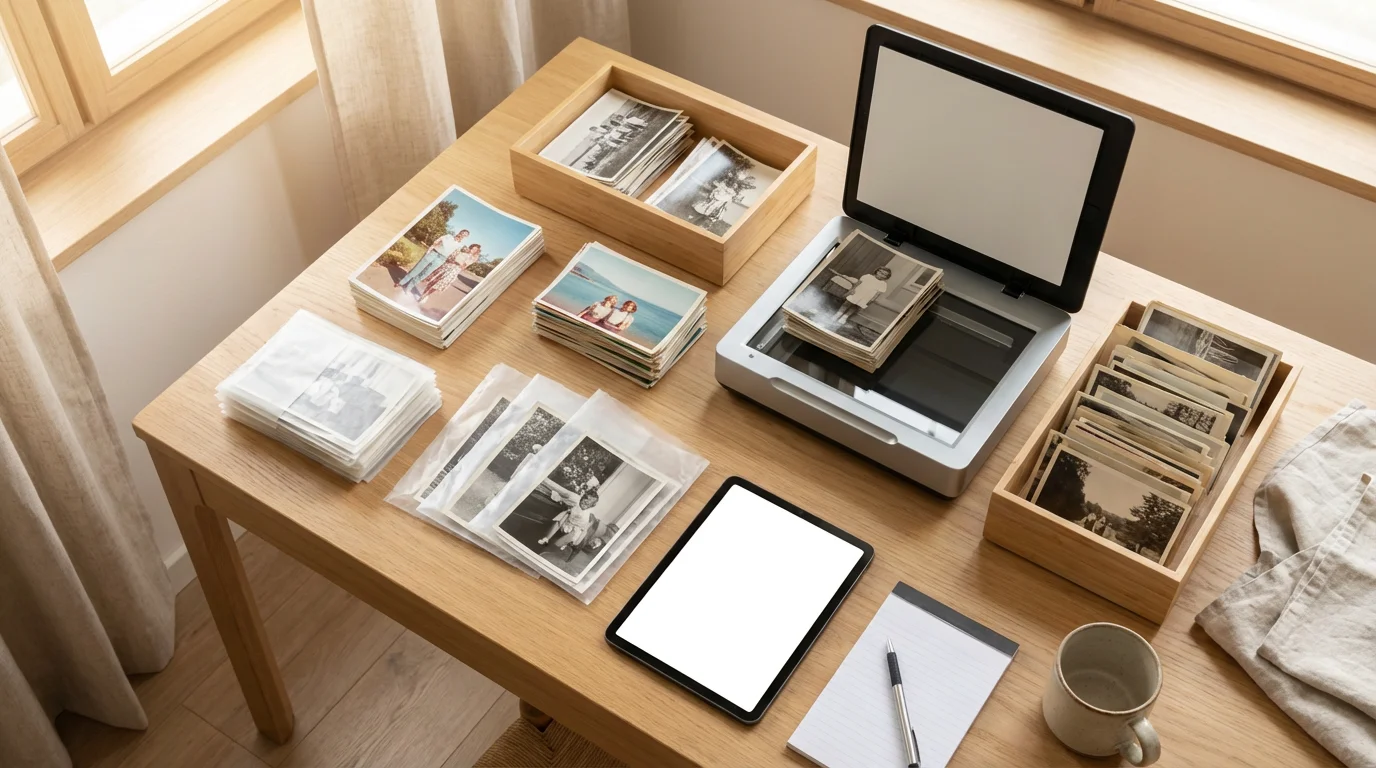
The process of photo conversion requires more than just a piece of hardware. It demands a systematic approach to cleaning, capturing, and cataloging. Whether you have inherited a collection of 35mm Kodachrome slides or a stack of medium-format negatives, this guide provides the technical roadmap you need to handle the conversion at home with professional-level results.
Decoding Your Film Formats
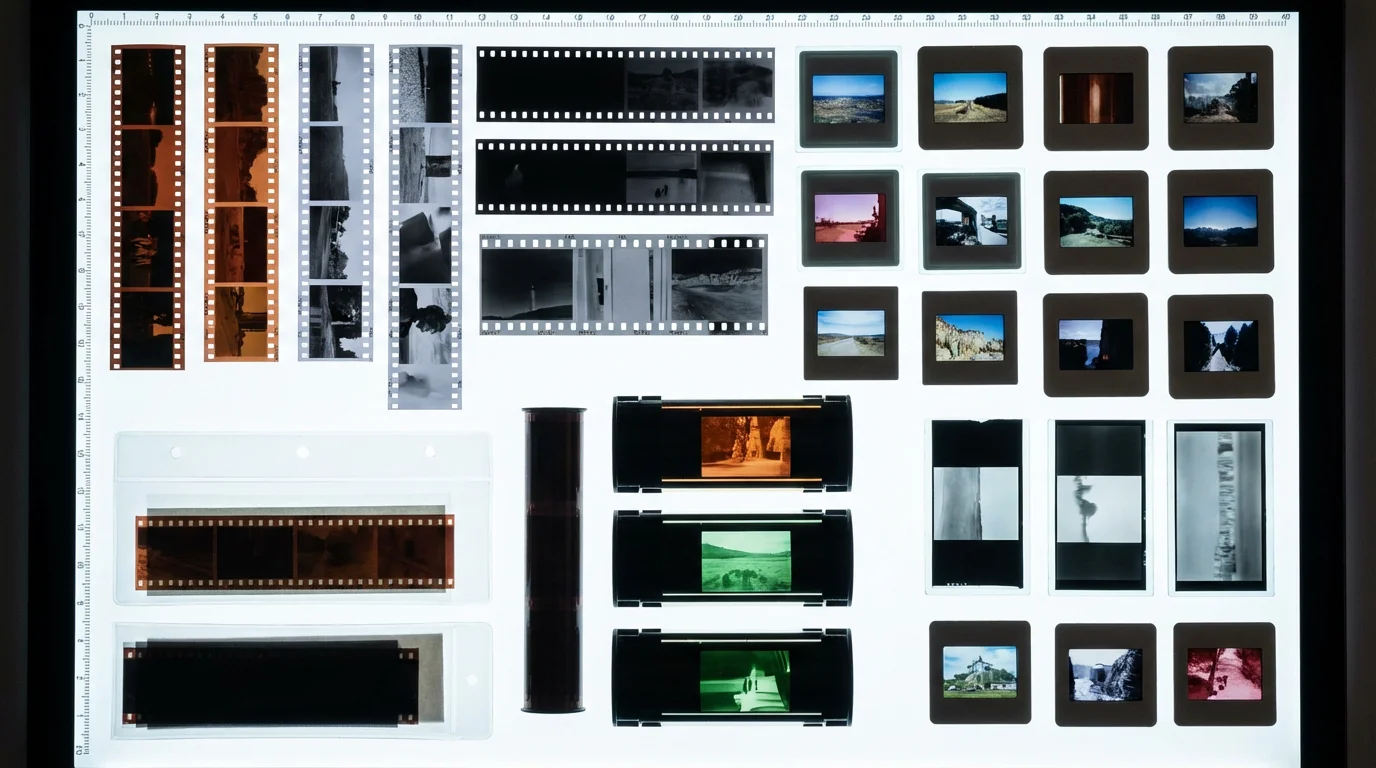
Before you purchase a slide scanner or a negative scanner, you must identify exactly what is in your collection. Film comes in various shapes and sizes, and not every scanner accommodates every format. The most common type you will encounter is 35mm film, which measures roughly 36mm by 24mm per frame. You might find these as long strips (negatives) or individually mounted in 2-inch by 2-inch plastic or cardboard frames (slides).
If your collection is dominated by mounted transparencies, utilizing professional slide conversion secrets will help you lock in the best colors and contrast.
However, many families also possess smaller formats like 110 or 126 “Instamatic” film. These require specific holders to keep the film flat during the scanning process. On the larger end, you may find medium-format film (120 or 220) or even large-format sheets. Identifying these early is critical because entry-level scanners often lack the surface area or light source to cover anything larger than a 35mm strip.
Color negatives and slides also behave differently under a scanner’s light. Most color negative film features an orange mask—a chemical layer that helps with color balance during traditional darkroom printing. Your scanning software must be able to “invert” this mask and correct the colors automatically. Slides (transparencies) are “positive” images, meaning the colors you see on the film are the colors you expect in the digital file. Kodachrome slides, in particular, are famous for their unique chemical makeup, which can sometimes fool the infrared dust-removal features of certain scanners.
Selecting the Right Hardware
The market offers three primary paths for scanning negatives at home: flatbed scanners with transparency units, dedicated film scanners, and digital camera scanning setups. Each has distinct advantages depending on your budget and the volume of your collection.
If purchasing hardware and dedicating hours of labor sounds daunting, evaluate whether outsourcing to professional photo scanning services is the right decision for your family legacy.
To help you choose the best equipment for your specific project, explore our top picks for the best photo scanners for budgets big and small.
| Scanner Type | Best For | Pros | Cons |
|---|---|---|---|
| Flatbed (e.g., Epson V600) | Mixed collections, prints, and medium format. | Versatile; can scan multiple slides at once. | Lower effective resolution than dedicated units. |
| Dedicated Film Scanner (e.g., Plustek OpticFilm) | High-quality 35mm conversion. | Excellent sharpness and dynamic range. | Usually limited to 35mm; slower per-frame speed. |
| Automated Batch Scanners | Massive collections (1,000+ slides). | Extremely fast; automated feeding. | High cost; lower control over individual frames. |
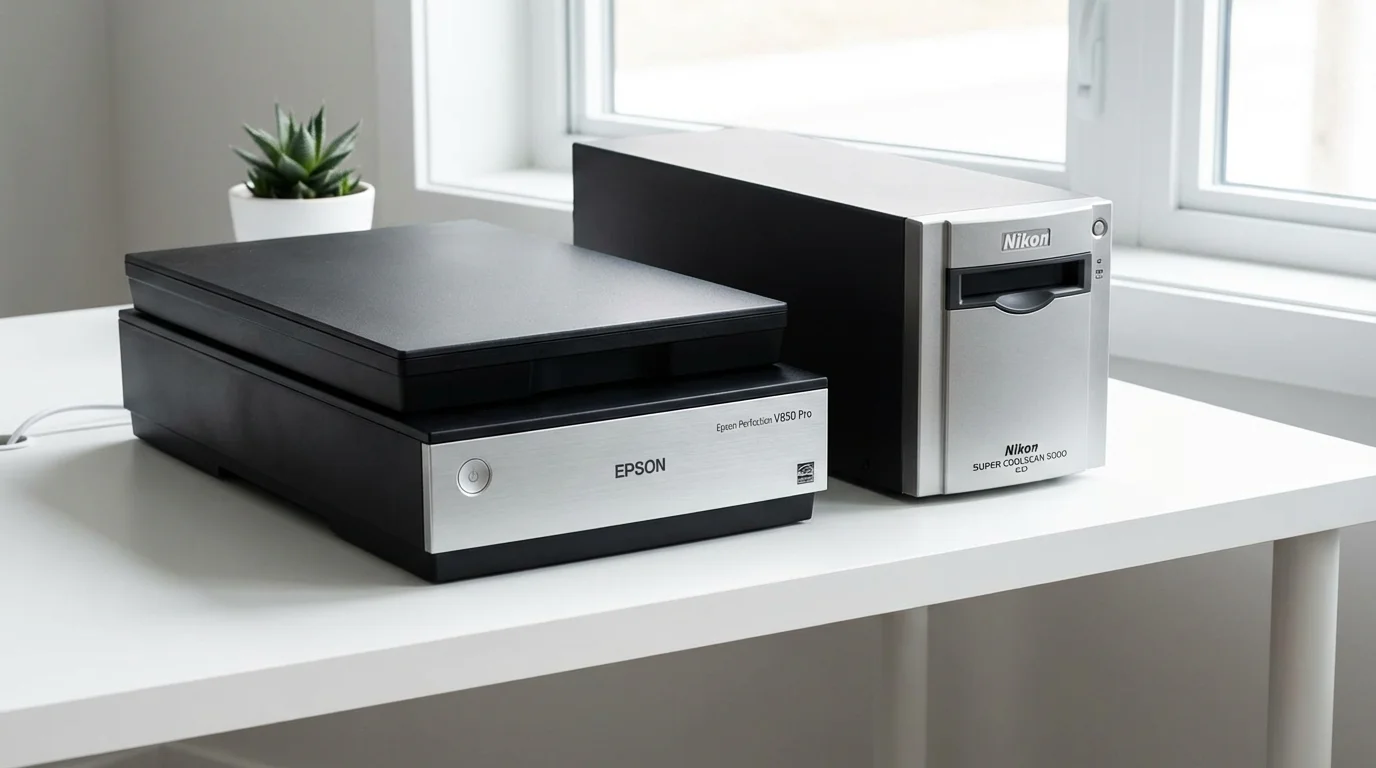
If you prioritize versatility, a high-quality flatbed scanner is your best bet. These machines include a secondary light source in the lid. You place your film into plastic “holders” that keep the film suspended above the glass to prevent “Newton Rings”—those oily-looking Newton rings occur when two transparent surfaces touch.
For those seeking the highest possible detail from 35mm film, a dedicated film scanner is superior. These devices do not use a large glass bed; instead, they pull the film directly into the optical path. This specialized focus results in significantly sharper images and a better ability to see into the dark shadows of a dense slide. According to technical assessments from Digital Photography Review, dedicated film scanners typically offer a higher “DMax,” which is a measurement of the scanner’s ability to record detail in very dark areas of the film.
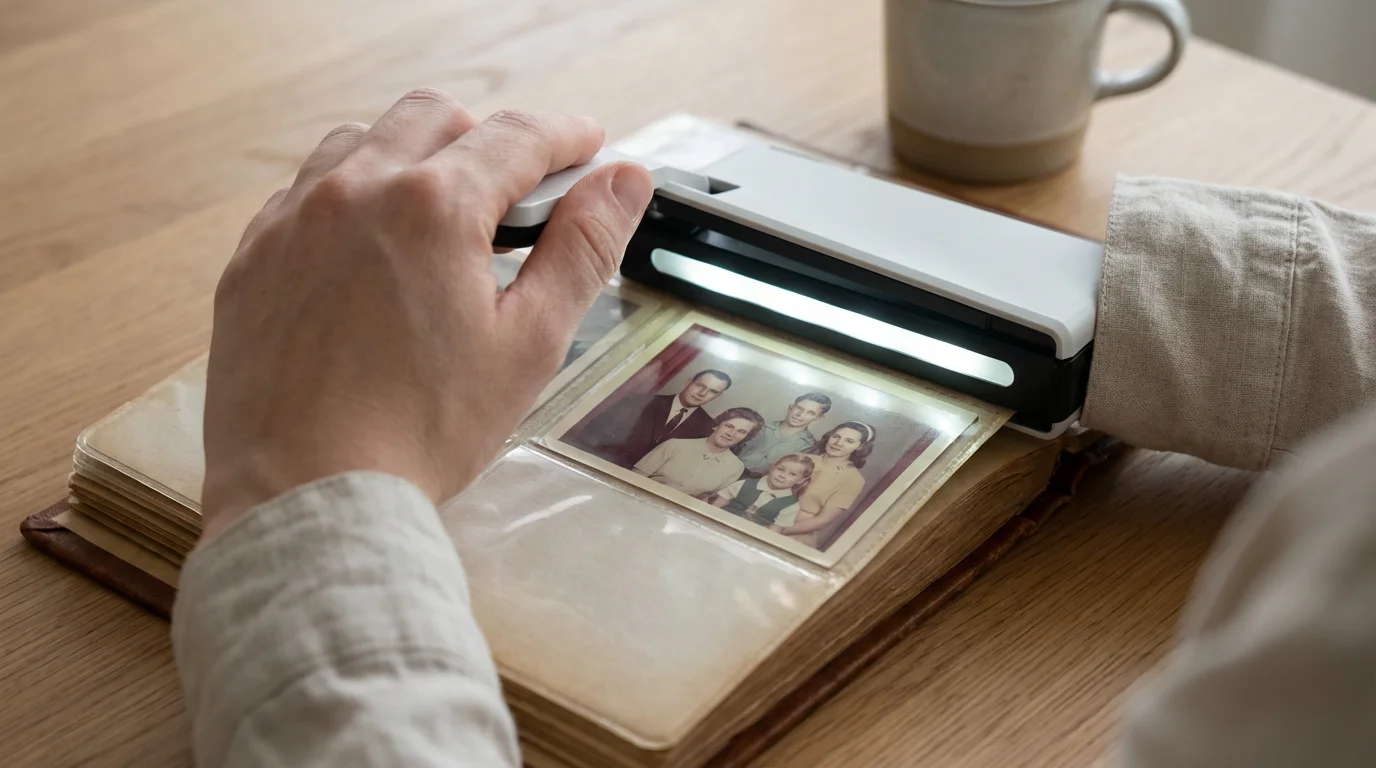
Preparing the Workstation and Cleaning Film
Dust is the primary enemy of a clean scan. Every speck of lint on your negative will appear as a giant white or black blemish on your digital image. While software can fix some of this, your goal should be to capture the cleanest possible image from the start to avoid hours of tedious digital retouching.
A spotless physical workspace is non-negotiable when creating digital copies of photo negatives and slides, as tiny pieces of dust can ruin the optical clarity of your capture.
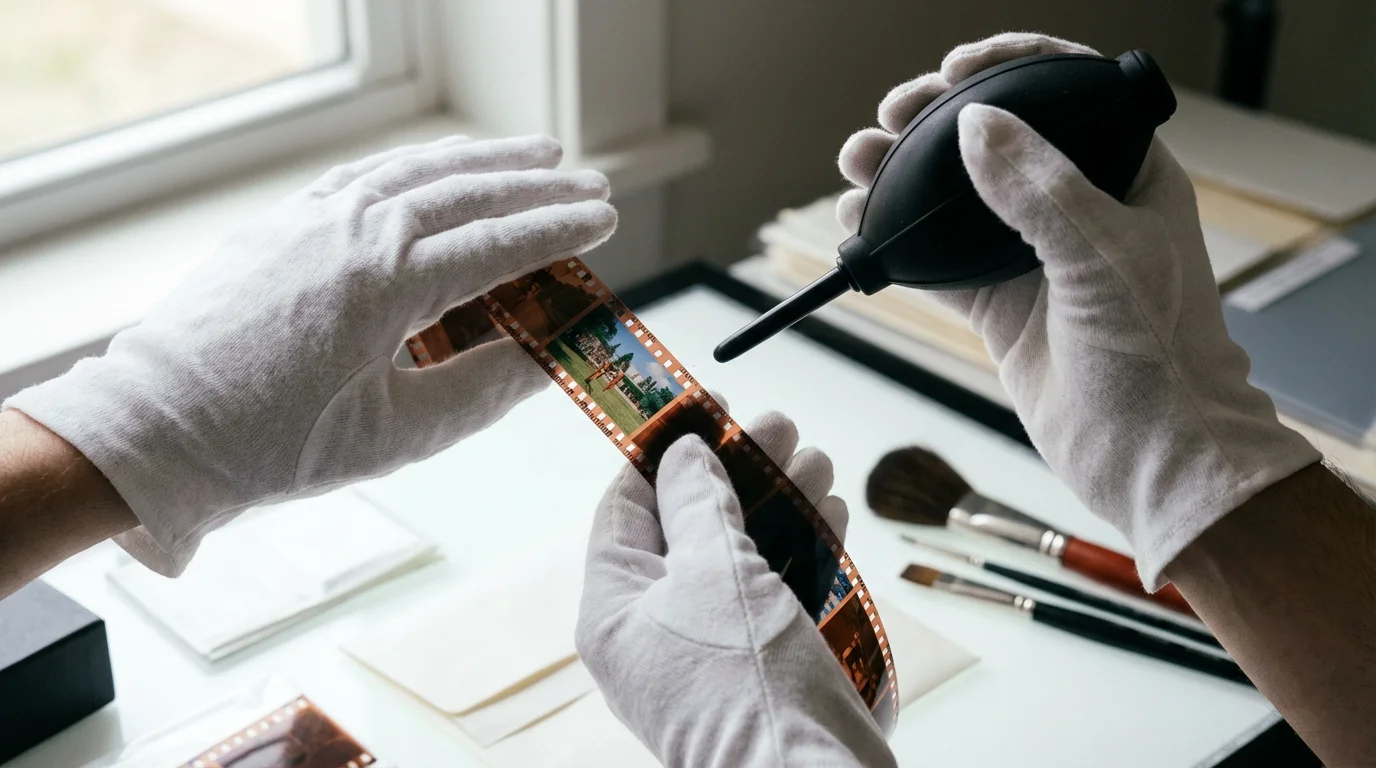
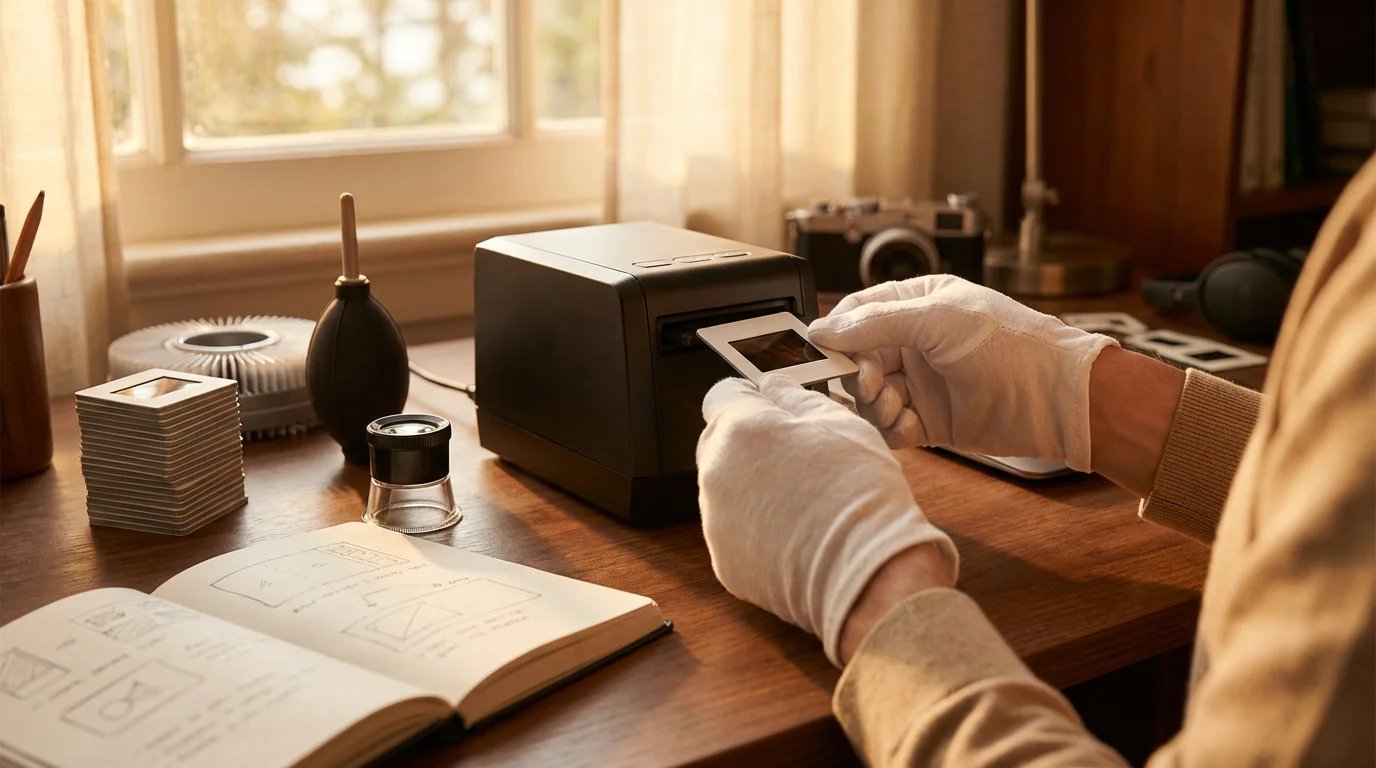
Establish a clean, low-dust environment. Work on a hard surface rather than a carpeted area. Wear lint-free cotton or nylon gloves whenever you handle film. Your skin contains oils that can permanently etch into the film emulsion over time, and even a fresh fingerprint can be difficult to remove digitally.
To clean the film, use a manual rubber air blower to dislodge loose particles. If the dust persists, use a soft anti-static brush designed for optics. For stubborn grime or old fingerprints, you may need a specialized film cleaner like PEC-12. Apply a small amount to a lint-free wipe and gently pass it over the non-emulsion side (the shiny side) first. The emulsion side (the dull side) is much softer and more prone to scratching, so handle it with extreme care. Always allow any liquid cleaner to evaporate completely before placing the film into the scanner.
The most effective way to minimize post-processing work is to ensure your scanner glass and film surfaces are pristine; five minutes of cleaning can save five hours of cloning out dust in Photoshop.
Mastering the Scan Settings
When you open your scanning software (such as Epson Scan, VueScan, or SilverFast), the array of numbers and checkboxes can feel overwhelming. To get the best results, focus on three main settings: Resolution, Bit Depth, and File Format.
If your scans still show imperfections even after using hardware filters, see our guide on how to remove scratches and dust from scanned photos using post-processing software.
Resolution: For 35mm film, do not settle for the default “document” settings of 300 or 600 DPI. Because a 35mm slide is so small, you must scan at a much higher resolution to create a usable digital file. Aim for 3200 DPI or 4000 DPI. At 4000 DPI, a 35mm frame yields a digital file roughly equivalent to 20 megapixels—plenty for a high-quality 11×14 inch print.
Bit Depth: Most scanners offer 8-bit or 16-bit options (sometimes labeled as 24-bit vs 48-bit color). Always choose the higher bit depth. While this creates a larger file, it records significantly more color information. This is vital when you need to brighten a dark photo or correct a color cast, as it prevents “banding” or pixelated gradients in the sky or shadows.
Digital ICE and Dust Removal: Many modern scanners feature Digital ICE (Image Correction and Enhancement). This technology uses an infrared light source to detect dust and scratches on the film surface and automatically removes them. Use this for most color films. However, do not use Digital ICE on traditional silver-halide Black and White film or Kodachrome slides, as the infrared light cannot penetrate the silver or the unique dyes, leading to distorted, blurry images.
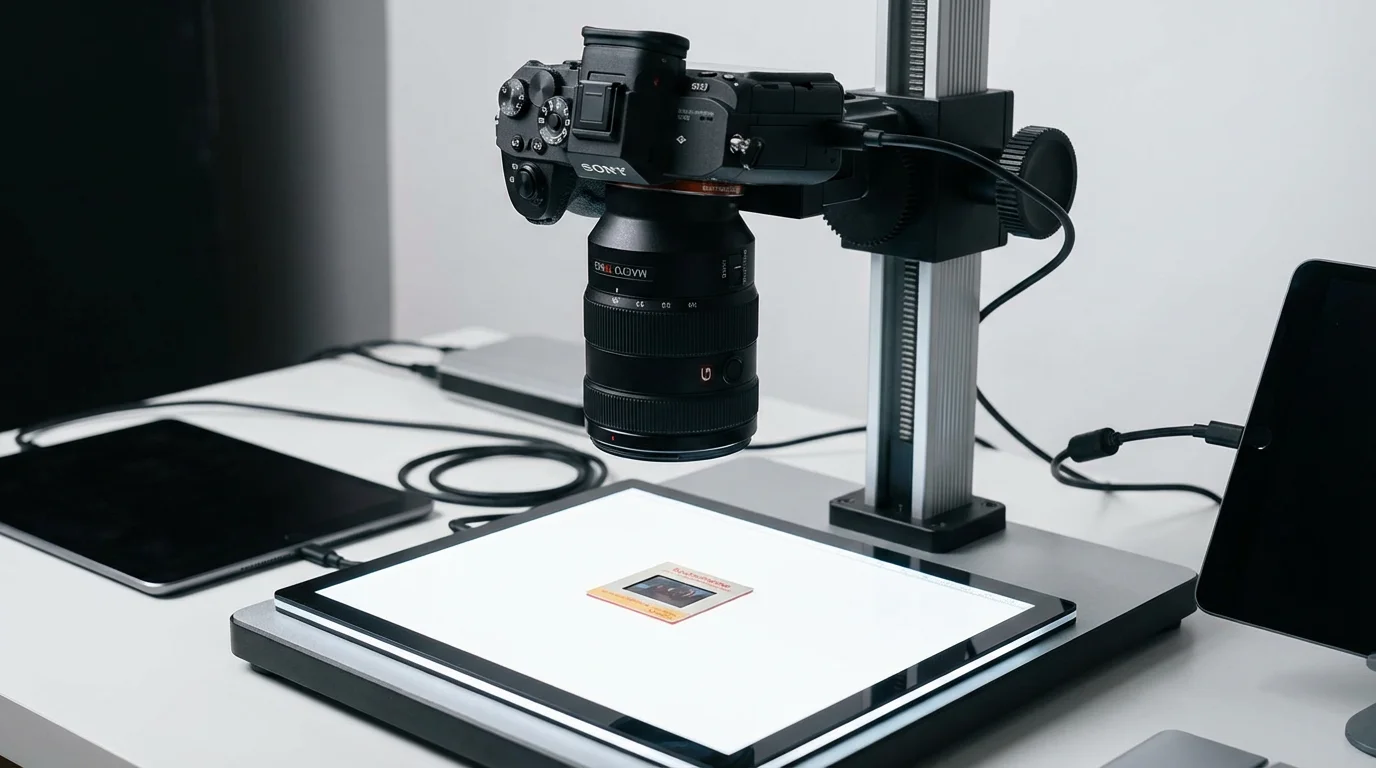
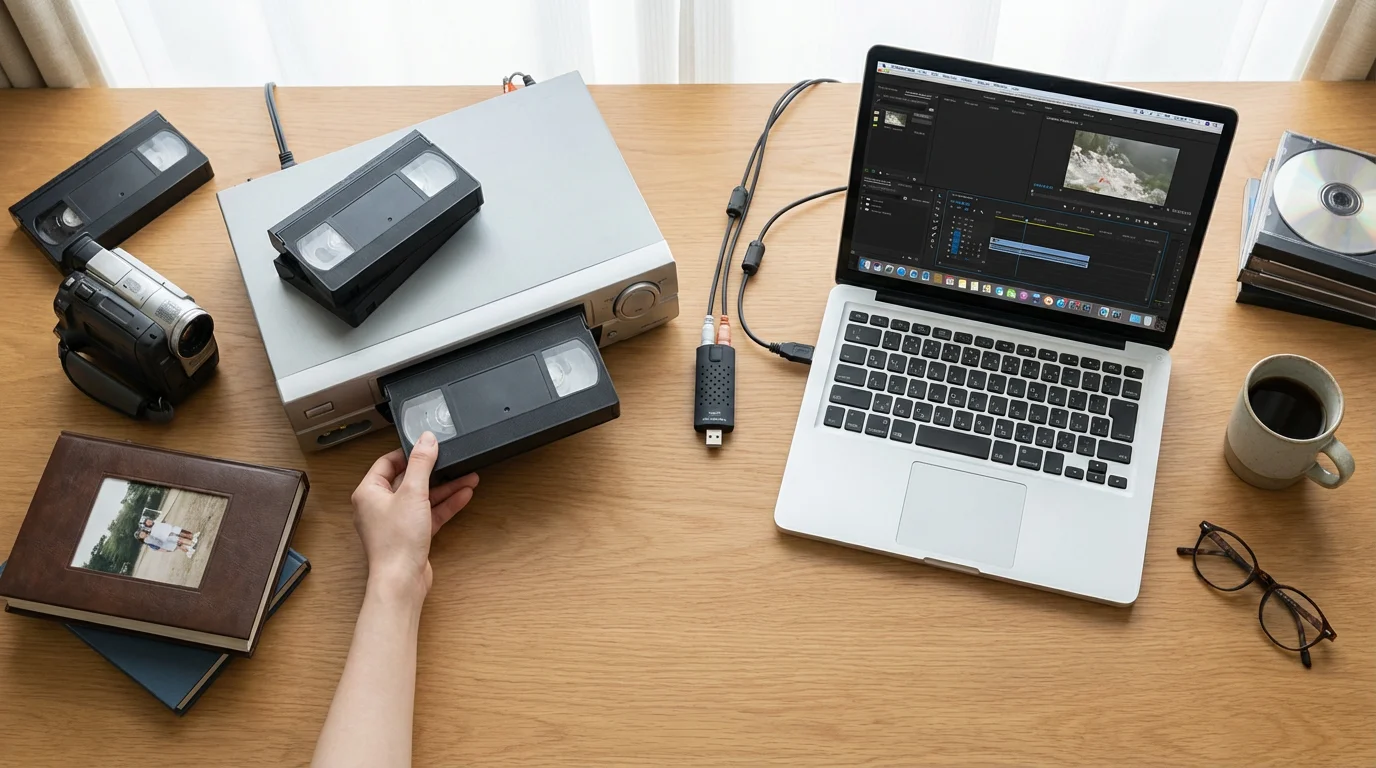
The Digital Camera Scanning Alternative
In recent years, many enthusiasts have moved away from traditional scanners in favor of “camera scanning.” This method involves using a high-resolution DSLR or mirrorless camera equipped with a macro lens to take a photograph of the slide or negative.
If you are interested in this high-speed method, we have a complete tutorial on how to build a DIY camera scanning rig on a budget.
To do this, you need a stable copy stand or tripod that holds your camera perfectly parallel to the film. You place the film on a high-quality LED light panel with a high Color Rendering Index (CRI) to ensure accurate color reproduction. This method is incredibly fast; once you have the focus and exposure set, you can “scan” an entire roll of film in minutes rather than hours.
The challenge with camera scanning lies in the inversion of negatives. Unlike scanning software that handles the orange-mask removal for you, camera scanning leaves you with a raw negative file. You will need specialized software plugins like Negative Lab Pro or manually adjust the curves in Lightroom to achieve natural colors. Despite the steep learning curve, the speed and sharpness of a modern macro lens often outperform mid-range flatbed scanners.
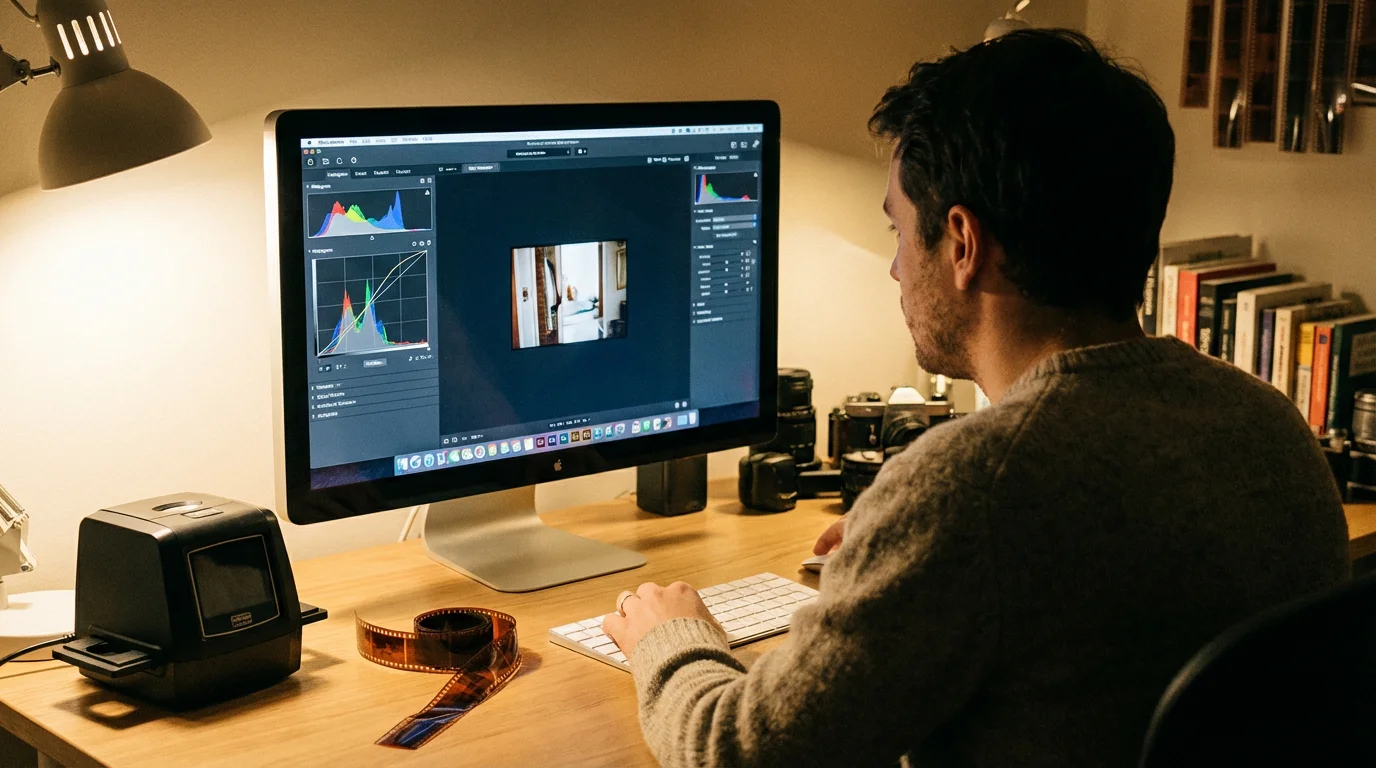
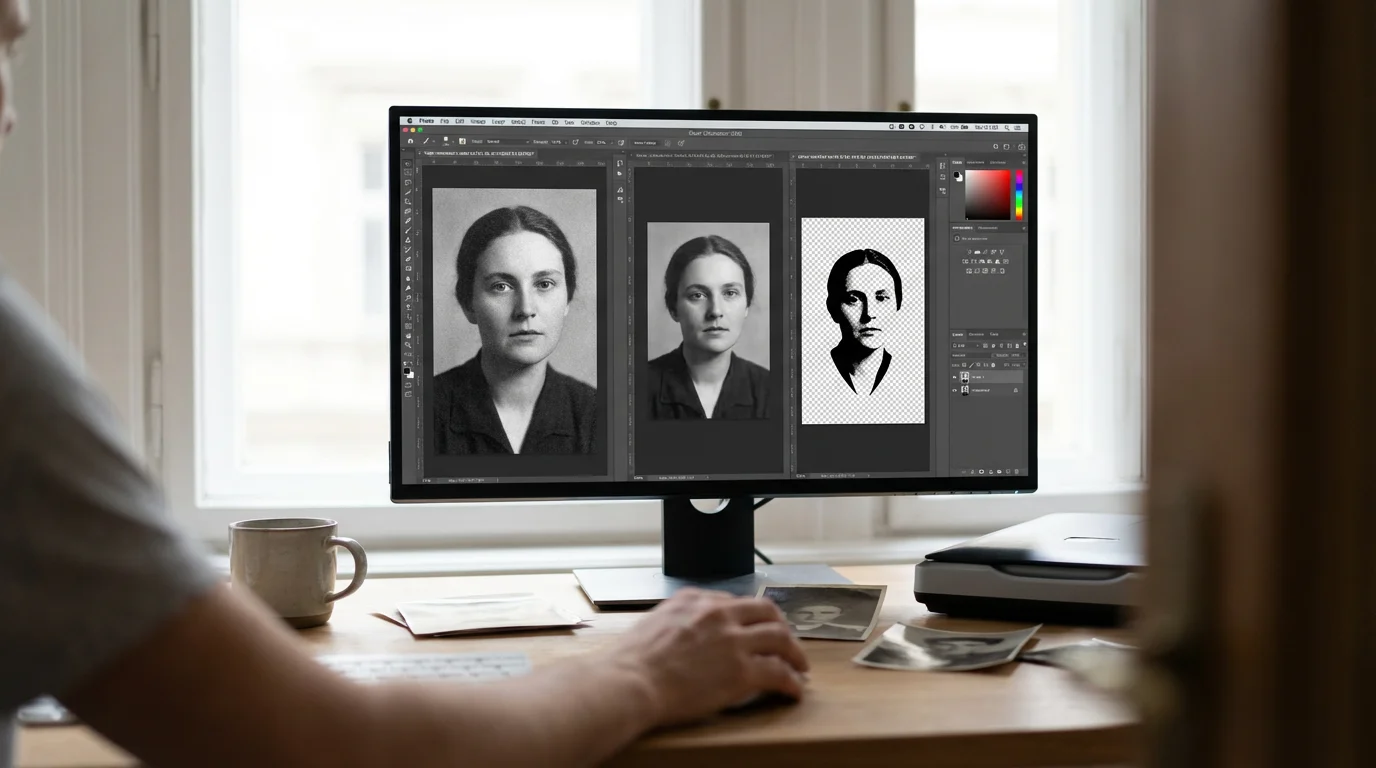
Post-Processing and File Organization
Once you have converted your slides to digital, your work moves to the computer. Raw scans often look a bit flat or have a slight color shift due to the aging chemicals in the film. Use photo editing software to set the “White Balance” and adjust the “Black Point.” Setting a true black point—ensuring the darkest parts of the image are actually black—will instantly add “pop” and contrast to an old, faded slide.
Standardizing your folder hierarchies and naming formats is one of the key milestones when creating a home photo archive that future generations can easily navigate.
Organization is the key to ensuring these files remain useful. Follow a consistent naming convention. Instead of keeping a file named “DSCSC001.tif,” rename it to something descriptive: “1974-05-Grand-Canyon-Smith-Family-01.tif.” This allows you to find images through simple desktop searches years from now.
For storage, follow the “3-2-1 rule” used by professional archivists. Keep three copies of your data, on two different types of media (e.g., a hard drive and a cloud service), with one copy located off-site. This protects your hard work against hardware failure, fire, or accidental deletion.
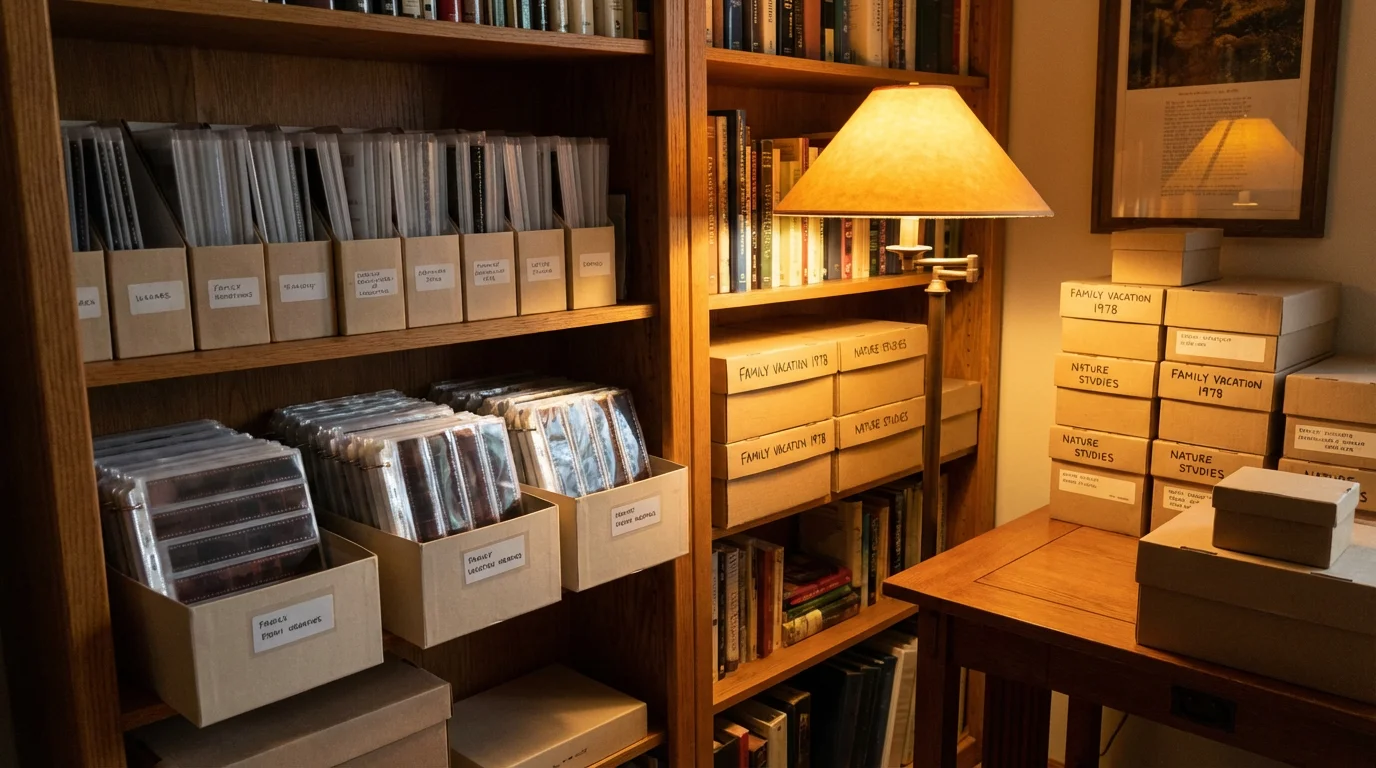
Preserving Your Physical Originals
Digital files are convenient, but the original film is your “master record.” Even after you convert slides to digital, you must store the physical items correctly. The Library of Congress recommends storing film in a cool, dry, and stable environment. Avoid attics or basements, where fluctuations in temperature and humidity can accelerate “vinegar syndrome”—a chemical breakdown that destroys the film base.
Maintaining these physical originals correctly is a fundamental part of creating a home photo archive that your family can enjoy for years to come.
Move your slides out of old wooden boxes or acidic cardboard carousels. Instead, use archival-quality polypropylene sleeves or acid-free boxes. These materials are chemically inert and will not leach harmful gases into the film. When you handle the film to put it into storage, perform one final check for any signs of mold. If you see white, spider-web-like structures on the film, store those items separately from the rest of the collection to prevent the spores from spreading.
By taking the time to scan and properly archive your film, you are not just digitizing images; you are securing a visual record of your family’s journey. The effort you invest today ensures that the vibrant colors of the past remain bright for the future.
Frequently Asked Questions
What is the difference between a slide and a negative?
A slide is a “positive” image; the colors and tones you see on the film match the original scene. You usually view them using a projector. A negative is a “reversed” image where light areas appear dark and colors are inverted. Negatives require a conversion process—either in a darkroom or through digital software—to look like a normal photograph.
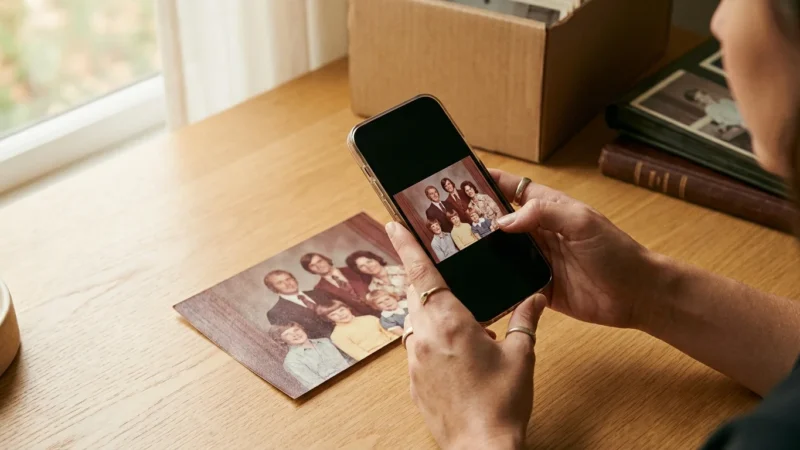
Can I scan slides using my phone?
There are smartphone apps and small light-box attachments designed for phone scanning. While these are great for quickly previewing what is on a slide, the quality is generally too low for printing or long-term archiving. Use a dedicated scanner for the best results.
What should I do if my slides are very dark?
If a slide is “underexposed” (too dark), your scanner may struggle to see through the dense film. In your scanning software, increase the “Exposure” or “Analog Gain” setting. Scanning in 16-bit mode is also essential here, as it gives you more data to work with when you try to brighten the shadows in post-processing.
How long does it take to scan a collection?
Scanning is a slow process. A high-resolution scan of a single slide can take between 2 and 5 minutes. If you have 1,000 slides, that represents over 40 hours of scanning time, not including cleaning or editing. If time is a factor, consider a professional service for the bulk of the collection and scan the most important “hero” shots yourself.
Disclaimer: This article is for informational purposes only. When handling valuable or irreplaceable photographs, consider consulting a professional conservator. Always test preservation methods on non-valuable items first.


Leave a Reply