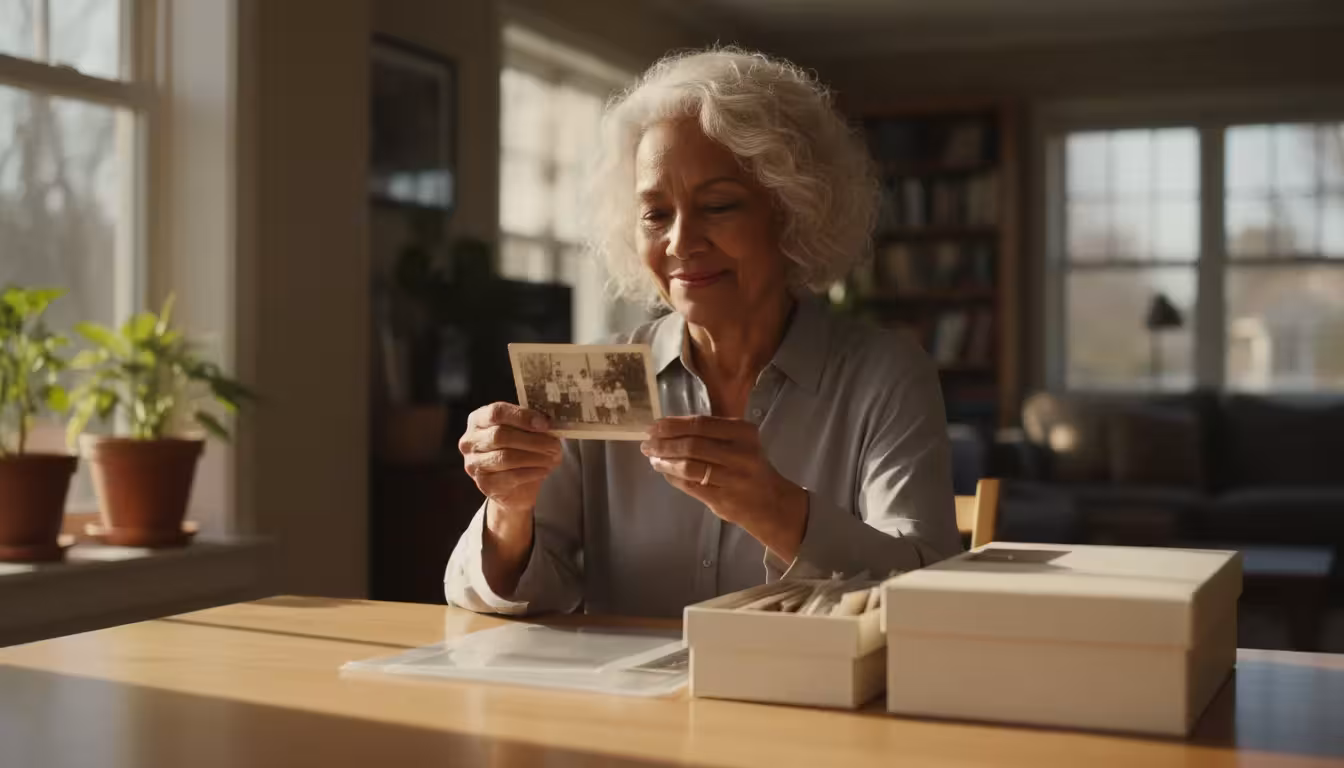
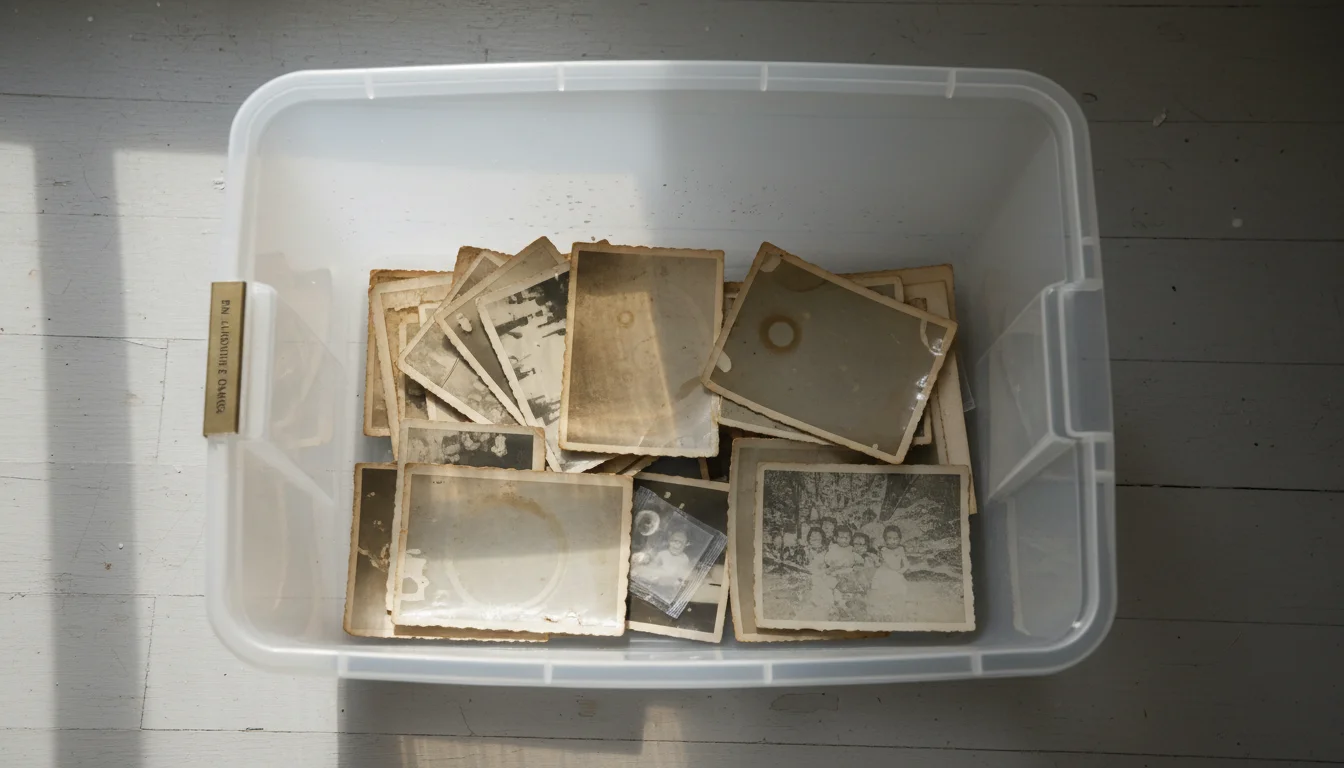
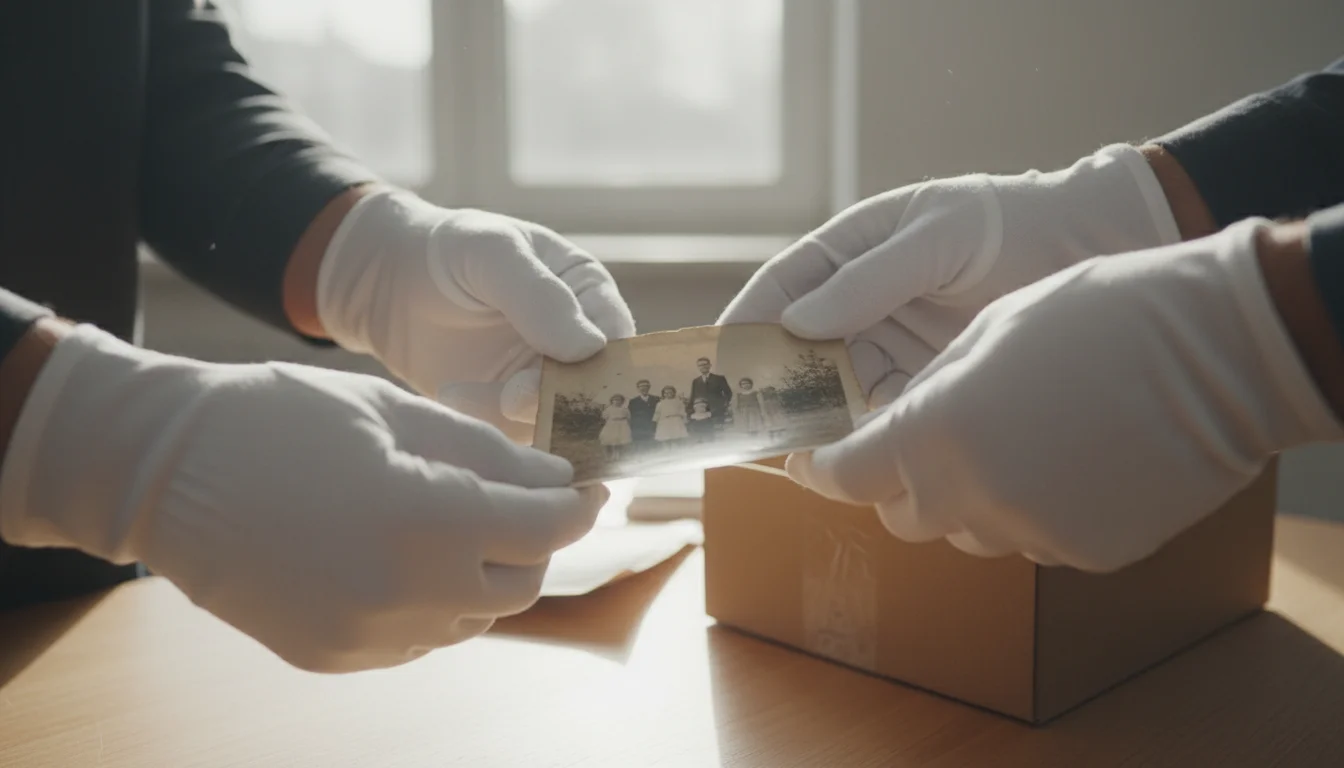
You hold a heavy cardboard box in your hands; it is filled with the only surviving images of your great-grandparents, your childhood home, and your parents’ wedding day. As you lift the lid, a faint, vinegary smell wafts up—a warning sign that these memories are chemically self-destructing. This phenomenon, often called “photo fade,” happens when light, heat, humidity, and poor-quality storage materials conspire to erase the silver and ink from the paper. You do not have to watch your family history disappear into a haze of yellow and brown. By following a structured approach to photo preservation, you can arrest this decay and ensure these physical artifacts survive for another century.
The transition from a disorganized box of loose prints to a professional-grade archival system might feel daunting; however, the process is largely about choosing the right environment and the right chemistry. You are not just organizing pictures; you are acting as a curator for your family’s unique heritage. Every step you take to remove an acidic envelope or stabilize a fluctuating temperature adds years to the life of your collection. This guide walks you through the seven essential steps to implement an archival storage system that meets the same standards used by the world’s leading museums and libraries.
Identifying the Chemical Enemies of Your Print Collection
To stop photos from fading, you must first understand why they deteriorate. Photographs are complex chemical sandwiches. A traditional print consists of a base (paper or plastic), a binder (usually gelatin), and the final image material (silver halides or organic dyes). Each of these layers reacts differently to the environment. When you see a photo turning yellow, you are often witnessing “oxidative-reductive” deterioration, where pollutants or moisture cause the silver particles to migrate and clump.
High temperatures act as a catalyst for these chemical reactions. According to the Image Permanence Institute, for every 10-degree Fahrenheit drop in temperature, you roughly double the life of a color photograph. Humidity is equally dangerous; relative humidity above 60 percent encourages mold growth and makes the gelatin surface of the photo soft and sticky. Conversely, extremely dry air can make the paper base brittle and prone to cracking. Your goal is to find a middle ground where the chemistry of the print remains dormant and stable.
“The single most important factor in the preservation of photographic prints is the environment in which they are kept; specifically, the control of temperature and humidity.”
You must also contend with the “off-gassing” of nearby materials. Many common household items—like standard cardboard boxes, PVC plastic sleeves, and even certain types of wooden shelving—release acidic vapors. These vapors penetrate the photo layers, breaking down the fibers and bleaching the colors. Using acid free photo storage is the primary defense against this invisible chemical warfare.
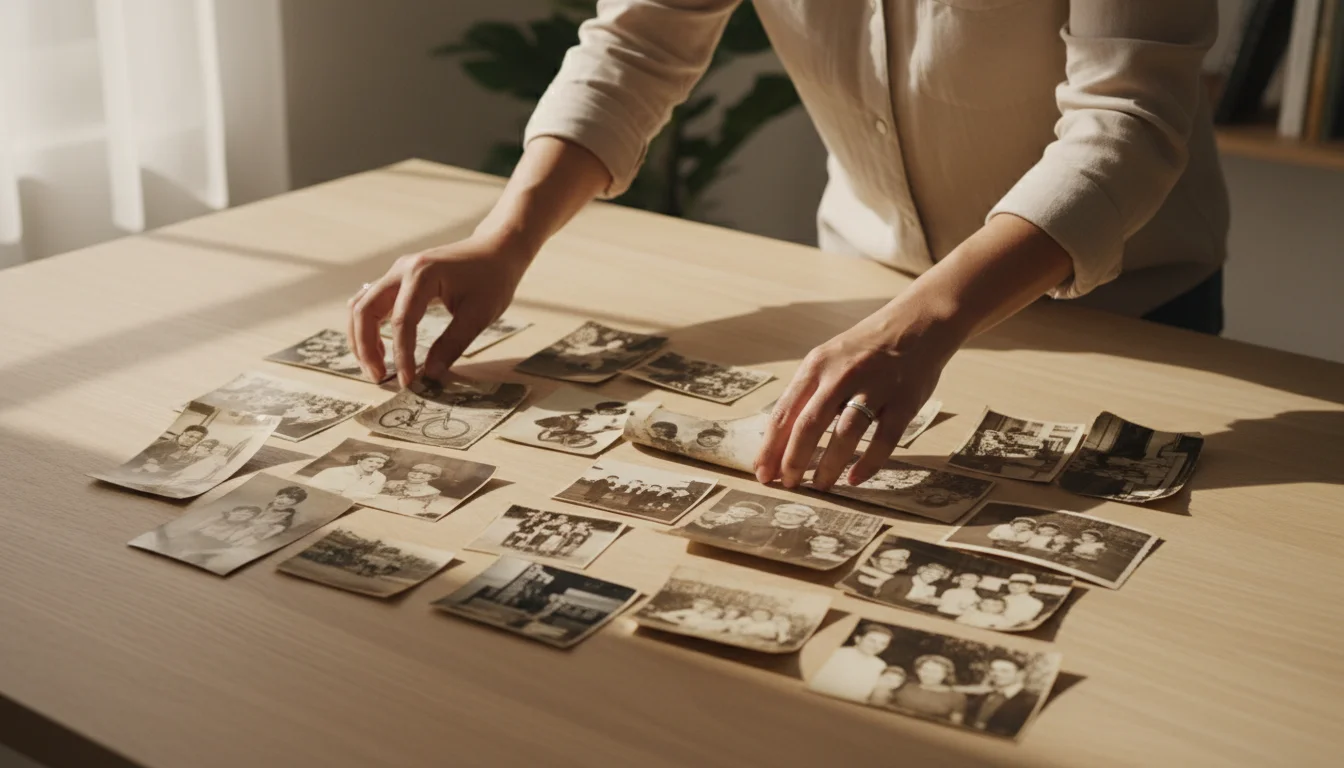
Step 1: The Essential Sort and Clean Phase
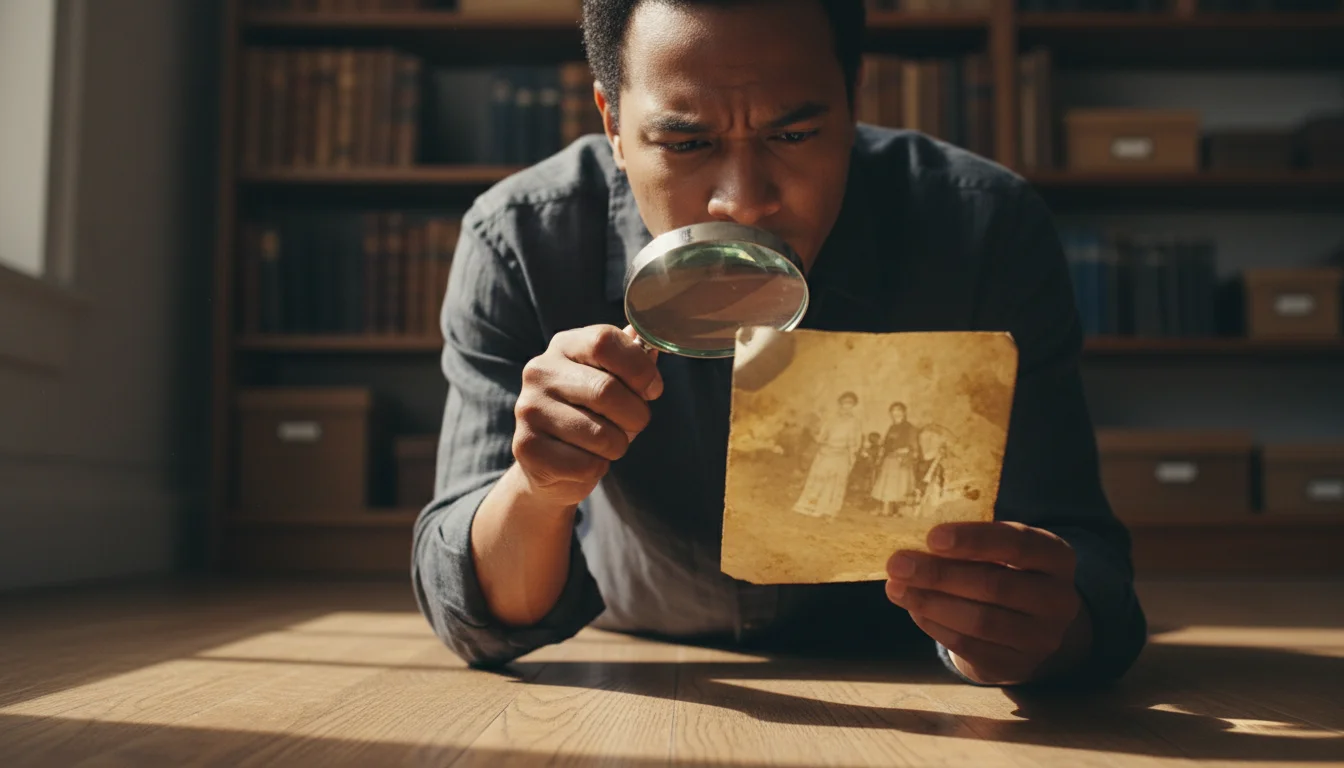
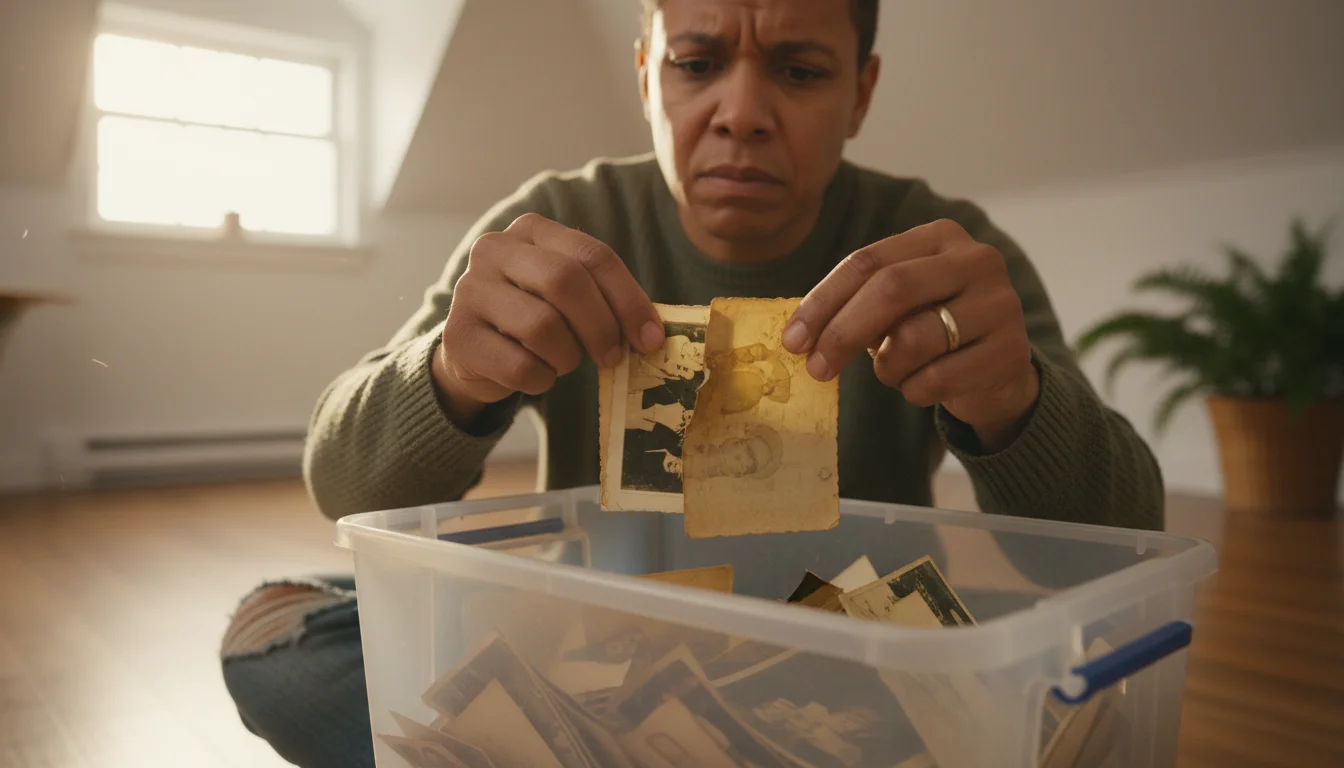
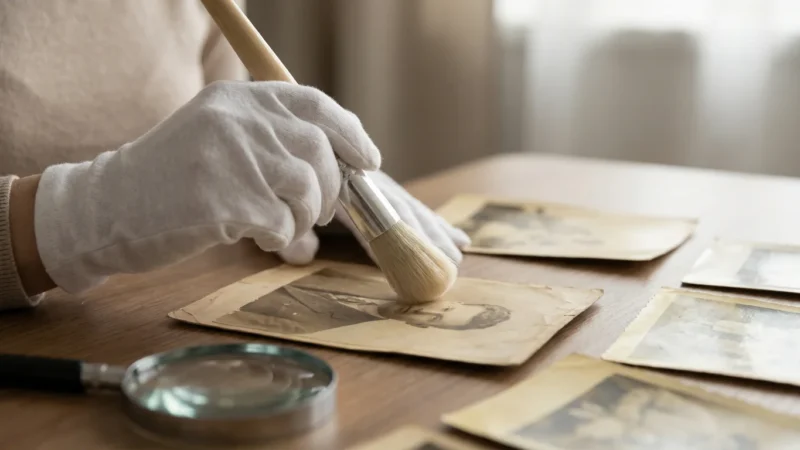
Your first actionable step is to assess what you have. Spread your collection out on a clean, dry table in a room with soft, indirect lighting. Avoid working under direct sunlight, as UV rays cause immediate and cumulative damage to the dyes in color prints. Begin by grouping your photos by era, family branch, or event. As you sort, you will likely encounter staples, paper clips, and rubber bands. Remove these immediately; metal rusts and rubber bands decompose into a sticky, acidic goo that can permanently fuse multiple photos together.
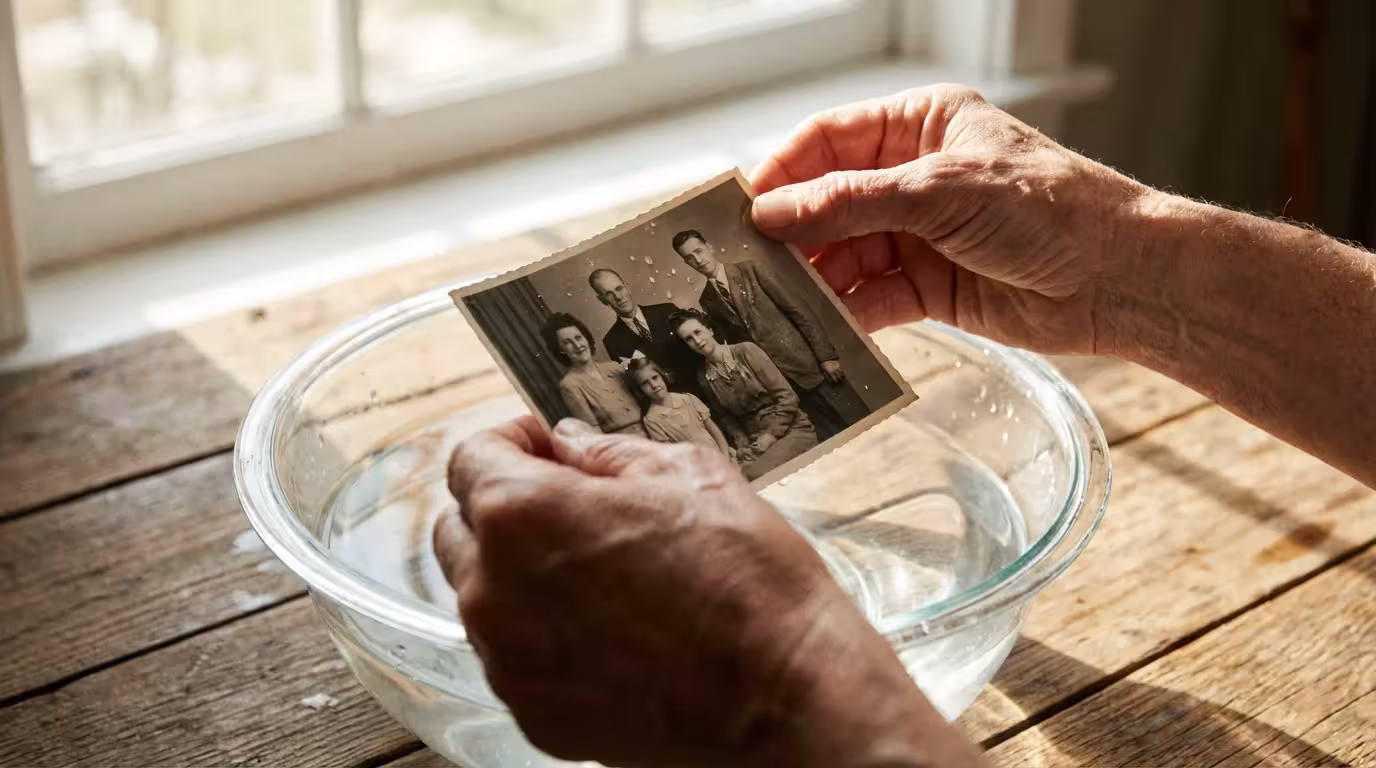
Cleaning should be your next priority, but you must exercise caution. Use a soft-bristled hake brush or a dedicated photographic air blower to remove loose dust and grit. Never use water, glass cleaner, or household solvents on the surface of a print. If you find photos stuck together, do not attempt to peel them apart; you will likely tear the emulsion right off the paper. In these cases, it is best to consult a professional or, at the very least, leave them as they are until you can research specialized humidification techniques. Your primary objective in this phase is to stabilize the collection and remove any immediate physical threats.
Step 2: Selecting Certified Archival Materials
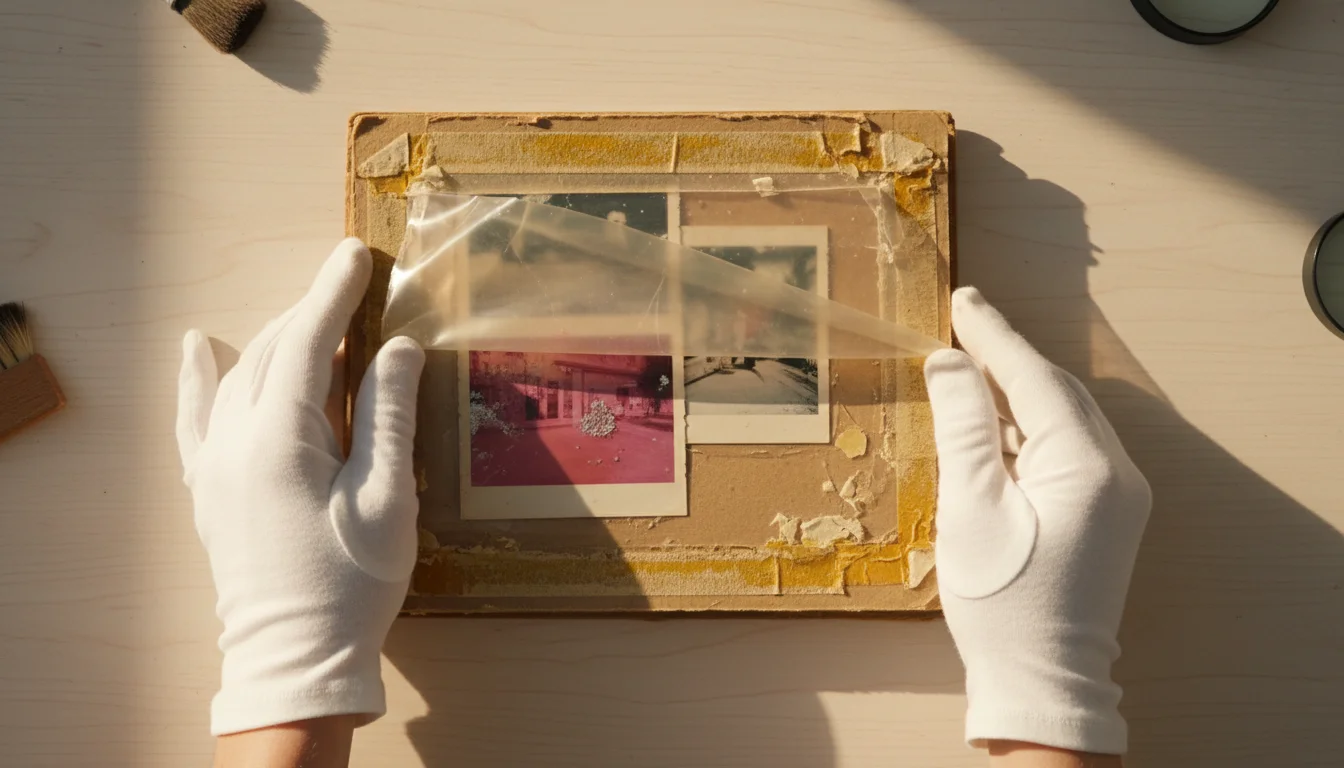
Not all products labeled “archival” are created equal. To ensure the best way to store photos, you need to look for specific certifications. The gold standard for photo safety is the Photographic Activity Test (PAT), an international standard (ISO 18916) that determines whether a storage material will react chemically with photographs. When purchasing boxes, sleeves, or albums, ensure the product description explicitly states it has passed the PAT.
You should prioritize materials that are both acid-free and lignin-free. Lignin is a natural component of wood pulp that turns paper yellow and acidic over time—think of how a newspaper looks after a few days in the sun. For paper-based storage, choose “buffered” materials for most black-and-white prints, as they contain calcium carbonate to neutralize acids. However, for certain color processes and cyanotypes, “unbuffered” materials are safer. If you are unsure, unbuffered materials are a safe “do no harm” default for a mixed collection.
| Material Type | Pros | Cons | Best Used For |
|---|---|---|---|
| Polyester (Mylar/Melinex) | Crystal clear, chemically inert, very rigid. | Can be expensive; prone to static. | Fragile or frequently handled prints. |
| Polypropylene | Affordable, flexible, widely available. | Less clear than polyester. | General bulk storage in albums. |
| Acid-Free Paper | Breathable, protects from light, easy to label. | You cannot see the photo without removing it. | Large prints or very old, sensitive negatives. |
| PVC (Vinyl) | None (Avoid at all costs). | Releases hydrochloric acid; ruins photos. | Nothing. Discard immediately. |
Step 3: Mastering the Ideal Storage Environment
If you keep your photos in the attic or the garage, you are essentially placing them in a slow-motion oven. The National Archives recommends storing photographic materials in a “cool and dry” environment. Specifically, you should aim for a temperature below 70 degrees Fahrenheit and a relative humidity (RH) between 30 and 50 percent. Constantly shifting conditions are worse than a steady, slightly-imperfect environment, as the physical expansion and contraction of the paper base leads to curling and cracking.
The best place in your home for photo storage is usually an interior closet on the main floor. Closets provide a dark environment shielded from the UV radiation of windows and the heat of exterior walls. Avoid storing boxes on the floor; in the event of a minor pipe leak or local flooding, even a few inches of elevation can save your entire heritage. Use a simple digital hygrometer—available for less than twenty dollars—to monitor the humidity levels in your chosen storage area. If the humidity regularly climbs above 60 percent, consider running a dehumidifier to protect your investment.
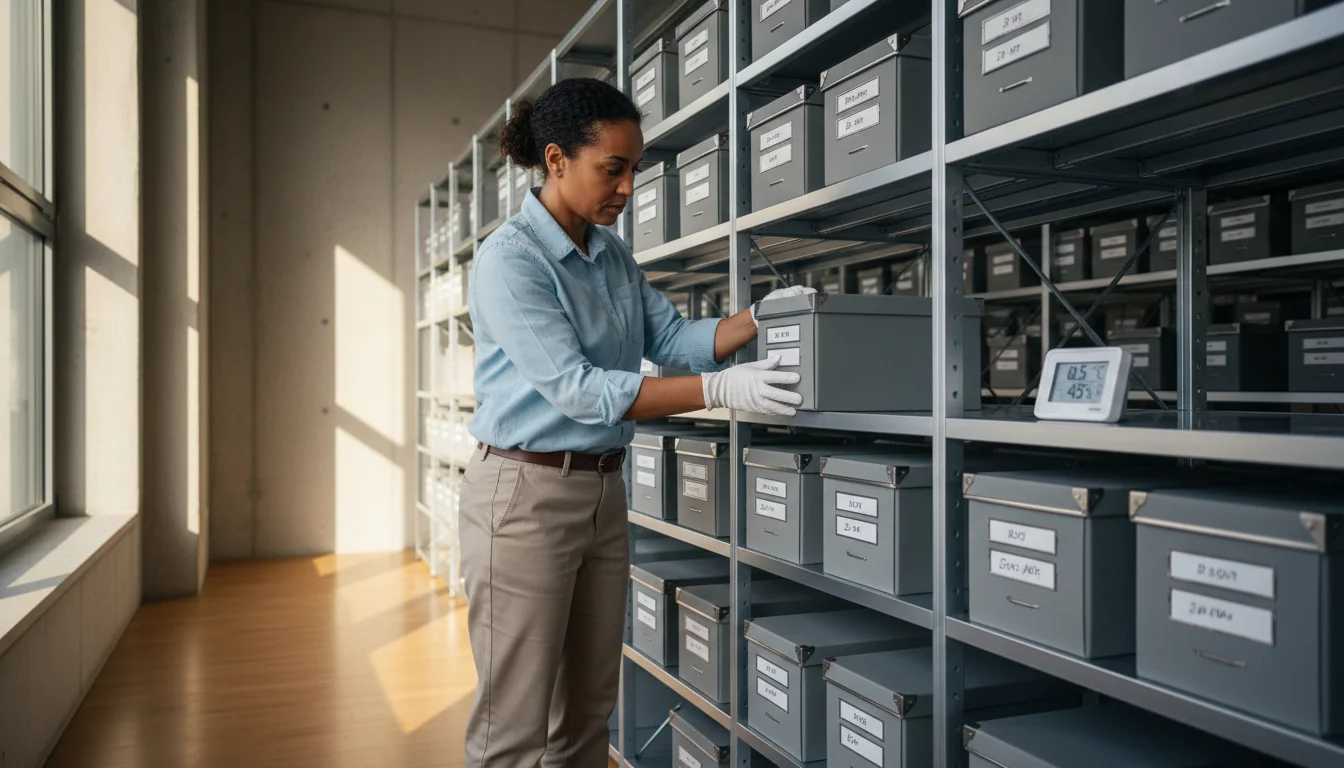
Step 4: Choosing Between Albums and Boxed Storage
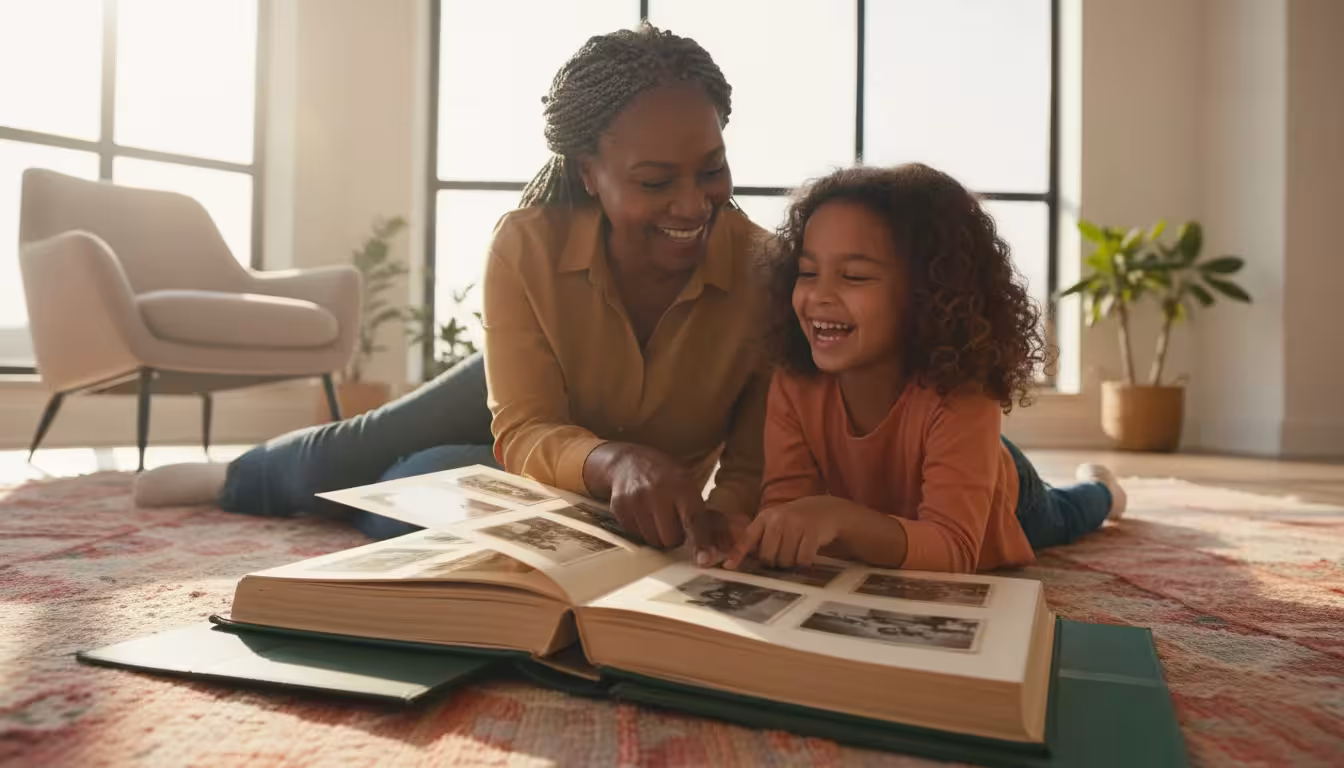
You must decide how you want to interact with your memories. Archival albums are excellent for photos you want to view frequently. They keep images in a fixed order and provide a structured way to share stories with family. When selecting an album, choose one with a “slipcase” to keep out dust and light. Ensure the pages are made of high-quality polypropylene or polyester rather than the “magnetic” adhesive pages popular in the 1970s and 80s. Those old adhesive pages are notoriously acidic and will eventually bond the photo to the paper permanently.
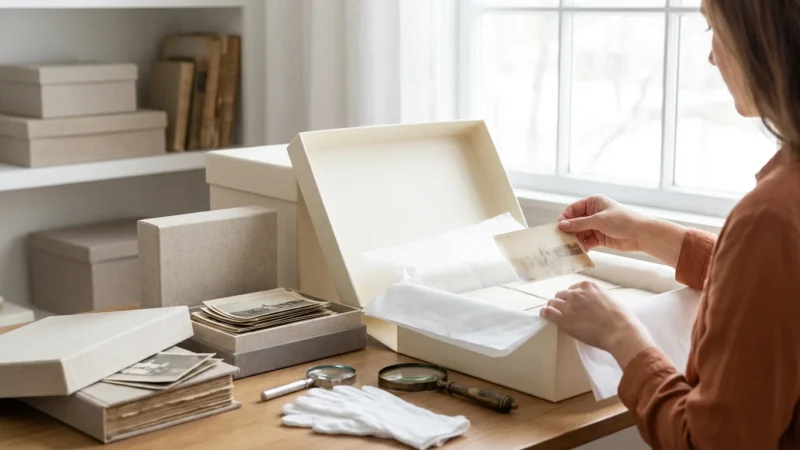
Boxed storage is often the superior choice for large collections or oversized prints. Archival “clamshell” boxes (also called flat-storage boxes) provide an extra layer of protection against fire, water, and light. When using boxes, place each photo in an individual paper or plastic sleeve. This prevents the “transfer” of chemicals from one photo to another and allows you to organize the collection with tabbed dividers. If you have thousands of photos, boxed storage is significantly more space-efficient than dozens of bulky albums. You can find more detailed technical guidance on material standards at the Library of Congress Preservation website.
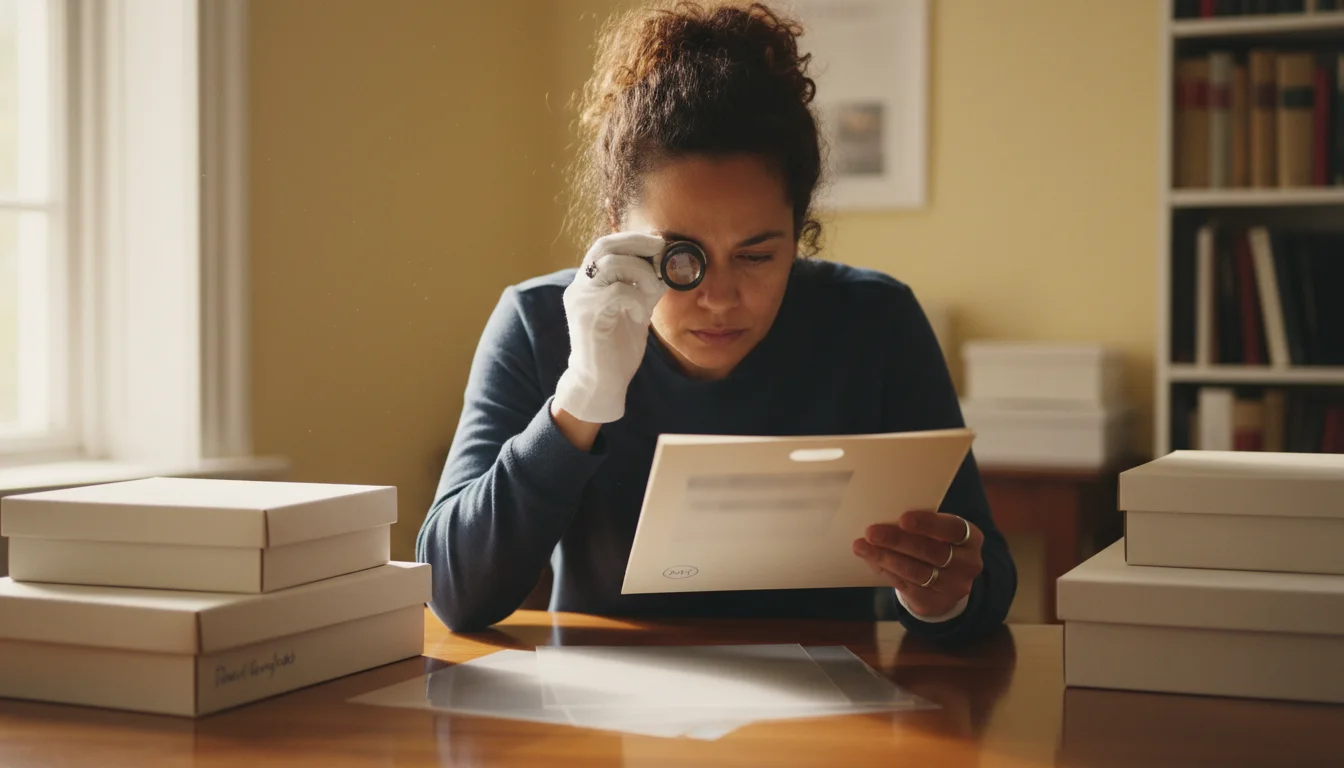
Step 5: Implementing Professional Handling Techniques
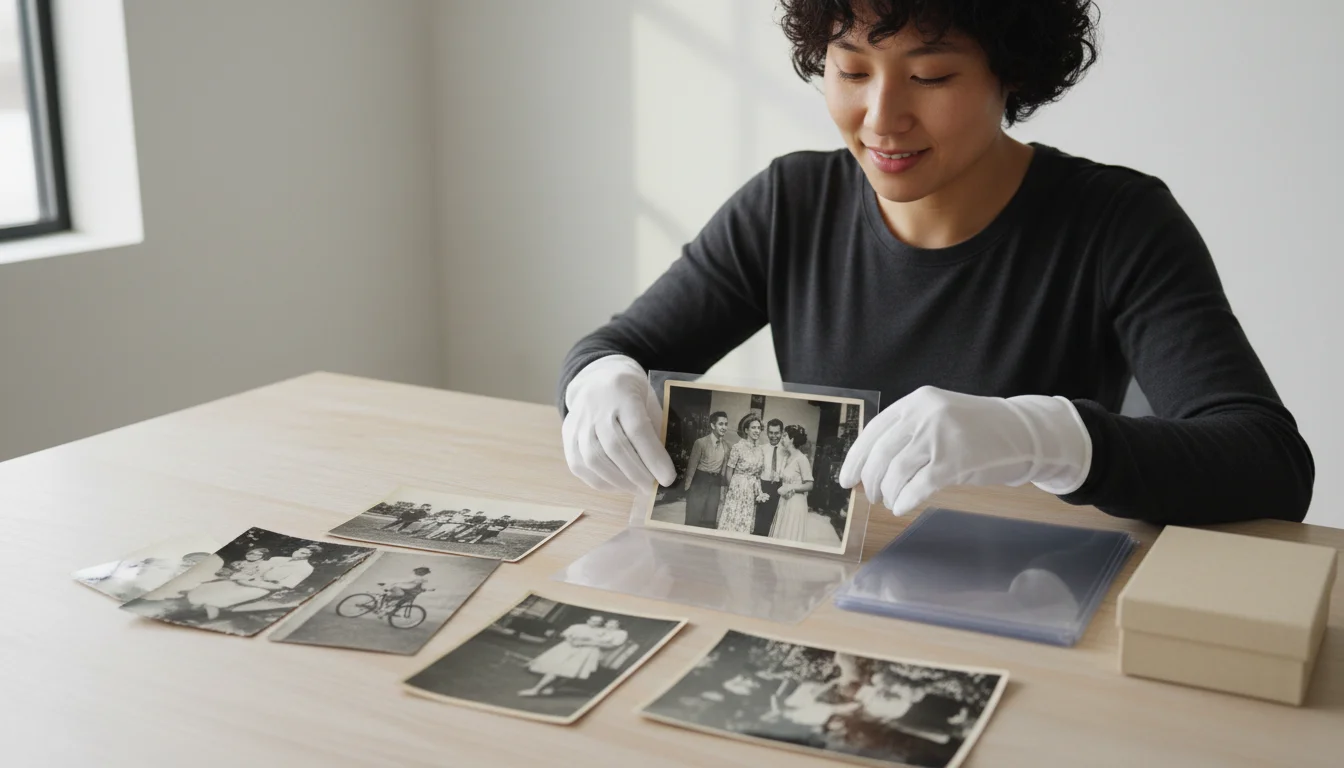
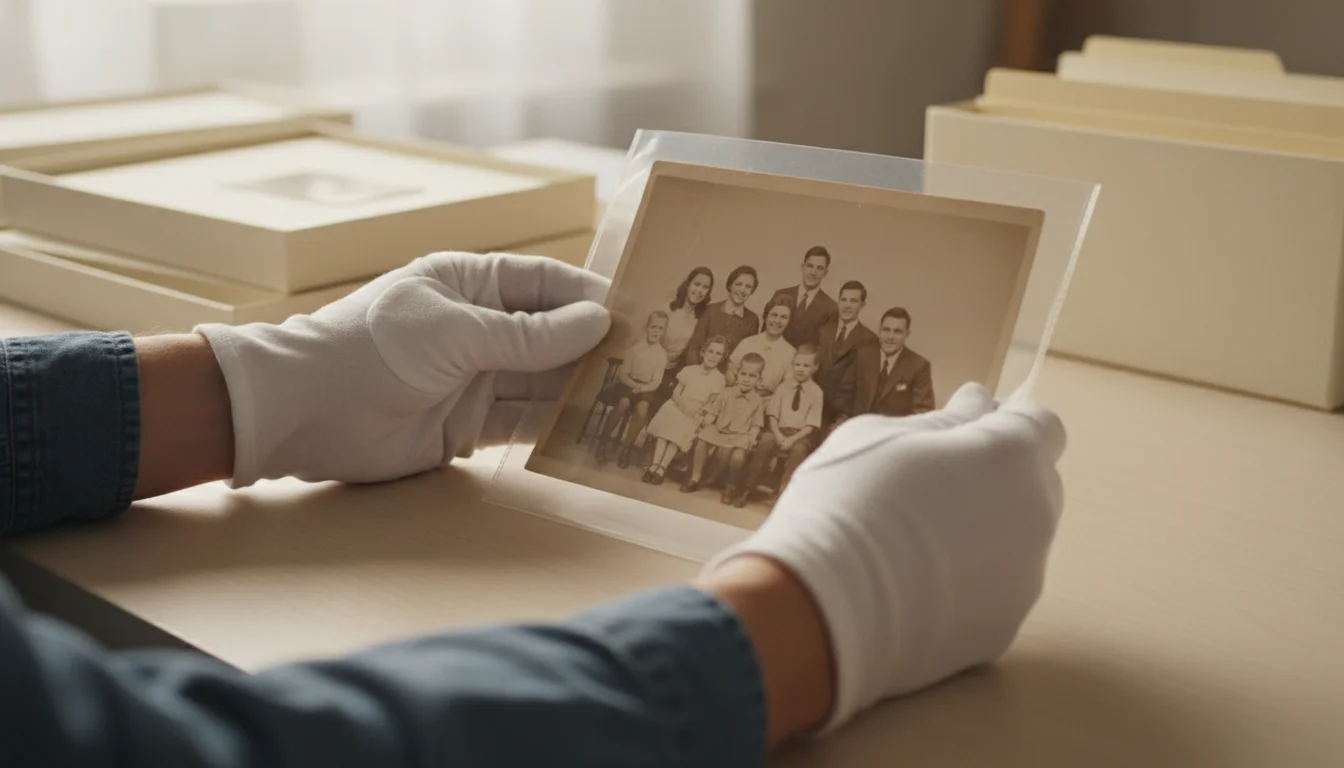
The greatest threat to a photograph is often the person holding it. Your fingers naturally carry oils, salts, and perspiration that react with the silver in the print. Over time, these invisible fingerprints will “develop” into permanent brown stains that are impossible to remove. When you are sorting or cataloging your collection, you should wear clean, white cotton gloves or powder-free nitrile gloves. Nitrile is often preferred because it provides a better grip and does not leave lint on the prints.
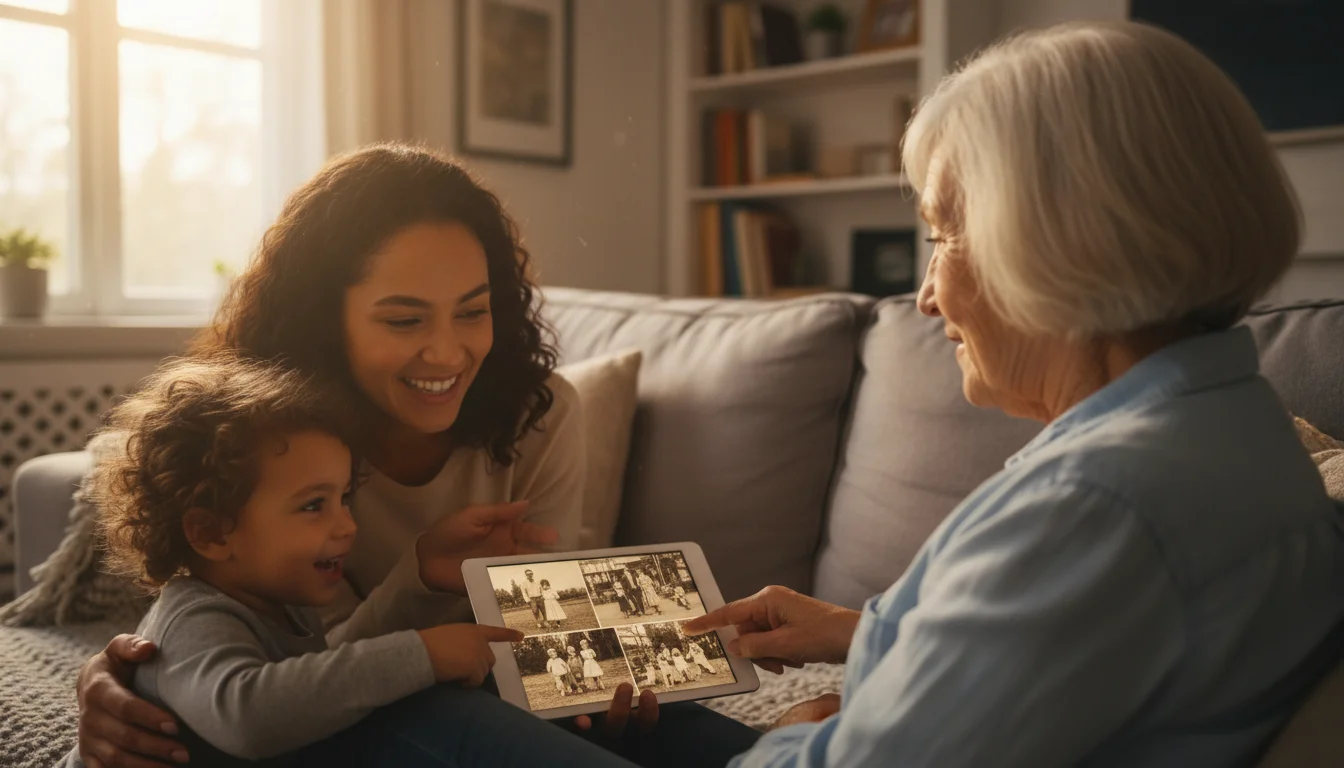
When you handle a print, always support it from underneath with both hands or a piece of rigid cardstock. Never pick up a fragile photo by one corner, as the weight of the paper can cause the emulsion to crack or the corner to snap off. If you are showing photos to family members who are not wearing gloves, encourage them to hold the photos by the edges only. Better yet, provide them with high-quality duplicates or digital copies while keeping the originals safely tucked away in their archival storage sleeves.
Step 6: Safe Labeling and Documentation Without Damage
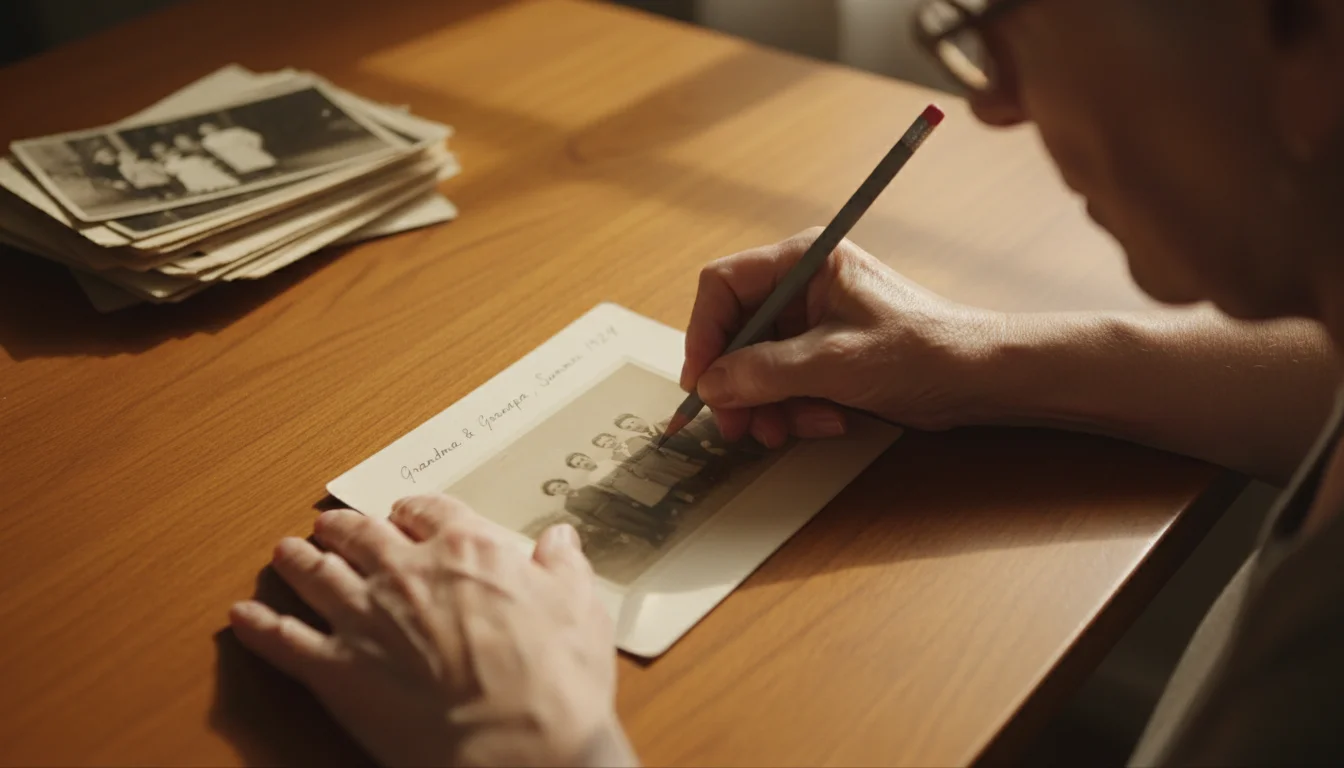
A photo without context is a mystery that loses its value over generations. However, the way you label a photo is critical. Never use ballpoint pens, felt-tip markers, or “permanent” markers on the back of a photograph. The ink can bleed through to the front or “ghost” onto the photo stacked on top of it. Similarly, avoid adhesive labels or “Post-it” notes, as the adhesives will eventually fail or leave a permanent residue.
The safest tool for labeling is a soft lead pencil (No. 2 or softer, like a 4B or 6B). Lightly write the names, dates, and locations on the back of the print along the edge. Do not press hard; the pressure can create an indentation that shows through on the front side of the image. If the photo has a plastic-coated (RC) back that won’t take pencil, write your information on the archival sleeve or the album page instead. This ensures the data stays with the image without compromising the physical integrity of the artifact itself.
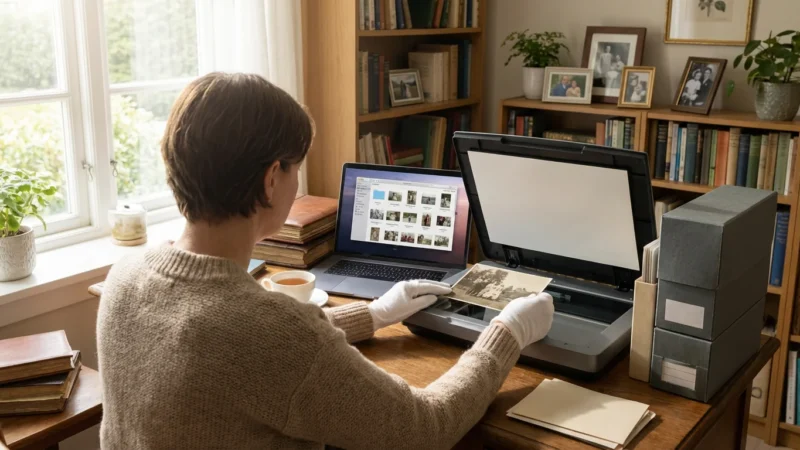
Step 7: Creating a Digitization Safety Net
Preserving the physical print is your primary goal, but photo preservation in the modern era requires a hybrid approach. Digitization serves as a “safety net.” If a natural disaster strikes, having high-resolution digital backups ensures the image survives even if the paper does not. Furthermore, having digital copies allows you to share the memories with relatives across the globe without ever risking the original print in the mail.
When you digitize, use a flatbed scanner rather than a “sheet-fed” scanner, which can scratch or jam fragile old photos. Scan at a minimum of 300 DPI (dots per inch) for standard prints and up to 600 or 1200 DPI for small photos or negatives that you might want to enlarge later. Save your files in a “lossless” format like TIFF for your master archive, and use JPEGs for easy sharing. For more information on digital standards and long-term file stability, you can explore resources from the National Archives Preservation division. Remember: digitization is a supplement to physical storage, not a replacement. The physical print is the only “master” copy that does not require a computer to view.
Avoiding Common Preservation Pitfalls
As you build your storage system, you must remain vigilant against common shortcuts that can backfire. One of the most frequent mistakes is the use of “ordinary” plastic storage bins. While these protect against external water, many are made of plastics that release harmful gases. Furthermore, if you trap even a small amount of moisture inside a sealed plastic bin, you create a micro-greenhouse that accelerates mold. Always choose bins made of “pass-free” polyethylene or polypropylene, and consider adding silica gel packets to absorb any residual moisture.
Another pitfall is the use of wood or unsealed plywood shelving. Wood contains natural acids and lignins, and many wood finishes release formaldehyde. If you must use wooden shelves, line them with archival paper or use powder-coated metal shelving instead. Finally, resist the urge to use “scrapbook” decorations near original photos. Many decorative stickers, glitter, and colored papers are highly acidic. Keep your archival storage focused on the photo itself; if you want to create a decorative scrapbook, use color-copied versions of your images and keep the originals in a separate, professional-grade environment.
“Preservation is a marathon, not a sprint. The goal is to create a stable environment where the rate of change is slowed to a near-halt.”
By taking these seven steps, you transition from being a passive owner of old pictures to an active guardian of your family’s history. You are stopping the fade by controlling the chemistry and the environment. While you cannot go back in time to prevent the initial wear and tear on a hundred-year-old portrait, you can ensure that the image looks exactly the same fifty years from now as it does today. Start with one box, work methodically, and take pride in the fact that you are saving these precious memories for the generations yet to come.
Frequently Asked Questions
Can I store my photos in the attic or basement if they are in plastic bins?
No, you should avoid attics and basements regardless of the container. These areas suffer from extreme temperature fluctuations and high humidity, which accelerate chemical breakdown. Plastic bins may keep out water, but they trap moisture inside, leading to mold and “blocking,” where photos stick together.
What is the difference between acid-free and archival-grade materials?
While “acid-free” means the material has a neutral pH at the time of manufacture, “archival-grade” often implies the material is also lignin-free and has passed the Photographic Activity Test (PAT). Archival materials are specifically designed to prevent long-term chemical reactions that cause yellowing and brittle prints.
Should I wear gloves when handling my old photographs?
Yes, wearing clean, white cotton gloves or powder-free nitrile gloves is highly recommended. Your skin naturally produces oils and salts that can leave permanent fingerprints and attract dirt, eventually eating away at the delicate photo emulsion over several decades.
How do I tell if my old photo albums are damaging my pictures?
Look for “magnetic” or self-adhesive pages with yellowed glue strips. If the plastic overlay smells like a shower curtain (PVC) or the pages have turned brittle and brown, your album is actively damaging your photos through off-gassing and acidic transfer.
Disclaimer: This article is for informational purposes only. When handling valuable or irreplaceable photographs, consider consulting a professional conservator. Always test preservation methods on non-valuable items first.


Leave a Reply