
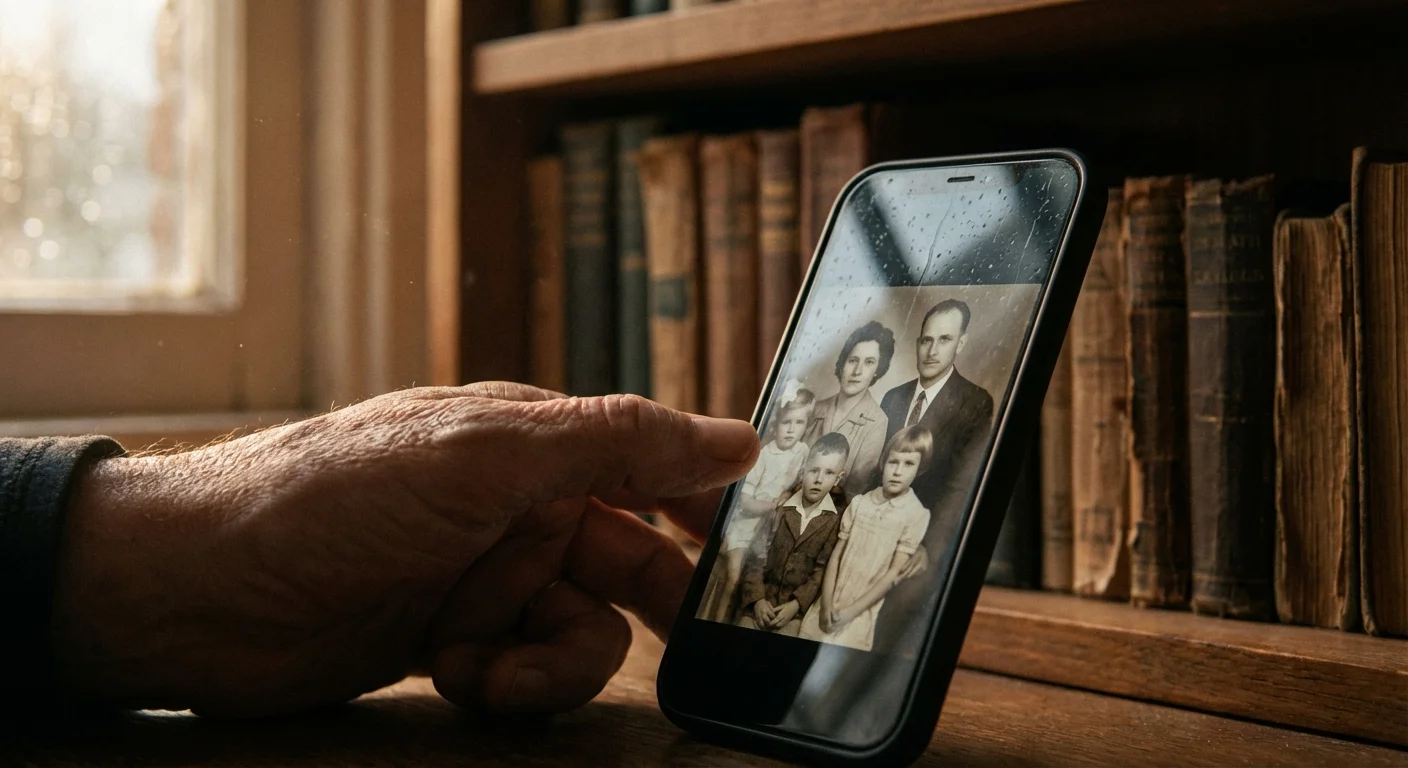
Your social media profiles act as modern-day scrapbooks. They hold the first photos of your children, snapshots of long-forgotten vacations, and candid moments that defined your last decade. However, relying on a third-party corporation to safeguard your family history is a risky strategy. Platforms change their terms, accounts get hacked, and digital services occasionally vanish entirely. Taking control of your digital legacy requires moving these images from the “cloud” into an archive you personally own and manage.
To protect your entire library beyond social media, implementing a 3-2-1 backup strategy ensures your digital assets remain safe from hardware failure.
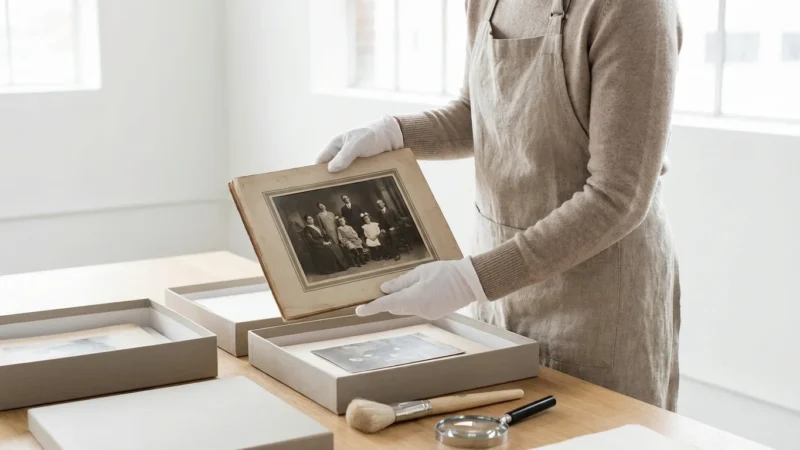
While securing your digital feed is vital, don’t forget the importance of backing up physical photos to ensure your entire family history is safe.
Preserving these memories involves more than just hitting a save button on a single image. You need a comprehensive strategy to download entire libraries, capture the context of the captions, and organize the files so they remain accessible for twenty or fifty years. This guide provides the exact steps to rescue your visual history from Facebook and Instagram and integrate those files into a permanent family archive.
The Vulnerability of Social Media as a Photo Archive
Many users treat Facebook and Instagram as a secondary backup for their phone’s camera roll. You might even delete photos from your physical device after uploading them, assuming they are safe on the platform. This creates a single point of failure. If you lose access to your account due to a security breach or a community standards violation, years of memories can disappear in an instant. Furthermore, these platforms prioritize user engagement and advertising revenue over long-term data preservation; they are not archival institutions.
Before merging these downloads with your main library, take time to declutter your photo collection to ensure you are only preserving the most meaningful images.
When you upload a photo to social media, the platform’s software automatically compresses the file to make it load faster for other users. This process strips away significant amounts of data, reducing the “weight” of the file. While the image looks fine on a small smartphone screen, it loses the depth and detail required for high-quality printing or large-scale displays. By downloading your archive now, you secure the best remaining version of that image before any further platform changes or compression algorithms occur.
Digital preservation is not a one-time event but an ongoing process of active management to ensure information remains accessible as technology evolves.
Consider the history of early digital social spaces like MySpace or Friendster. Millions of users lost their early 2000s digital history because they didn’t have a local backup when those platforms pivoted or faded. To protect your heritage, you must treat social media as a distribution channel, not a storage locker. You can find more foundational principles on how to manage these digital assets through the Library of Congress Preservation resources.
How to Download Your Entire Facebook Photo History
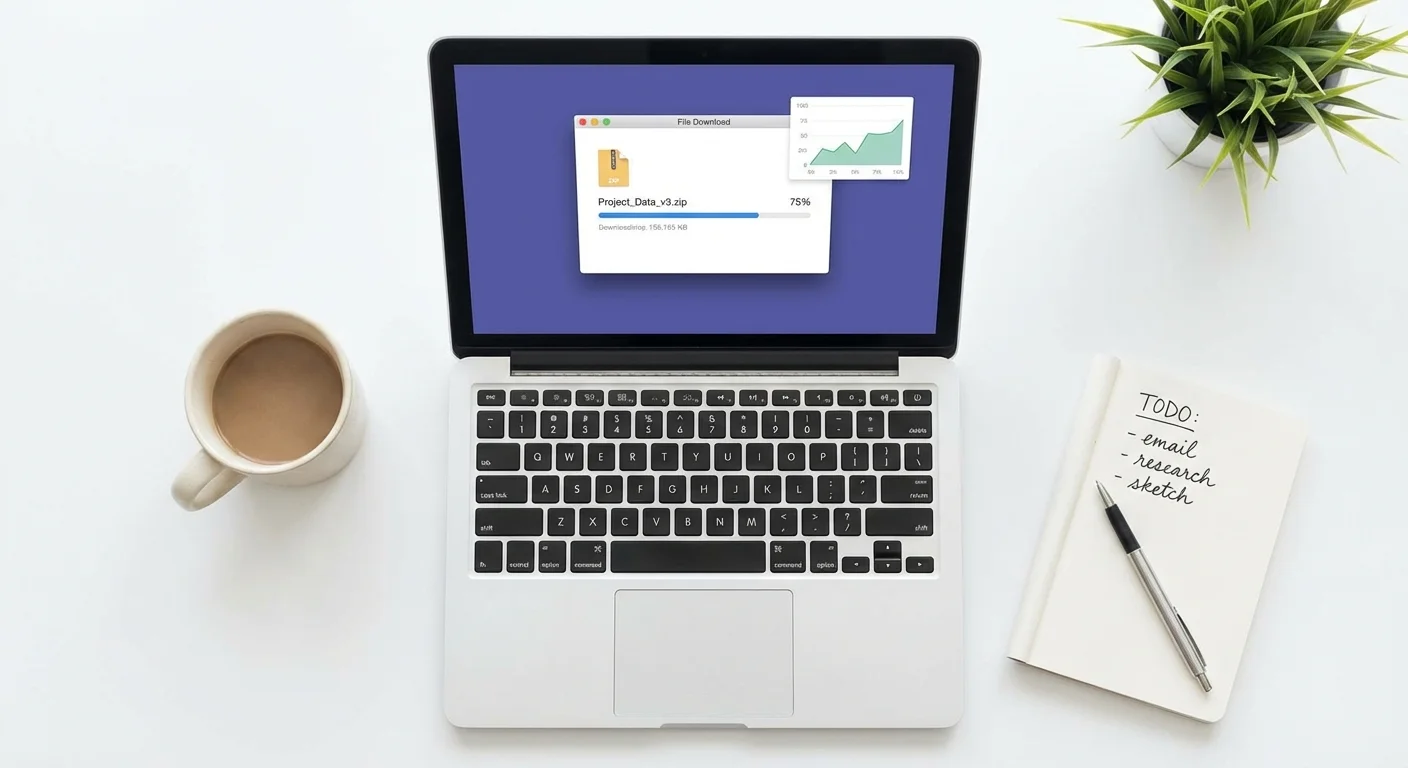
Facebook offers a robust tool for exporting your data, but the interface changes frequently as Meta updates its “Account Center.” To begin your archive, you need a desktop or laptop computer. While you can trigger some of these actions on a mobile device, managing large ZIP files is significantly easier on a traditional operating system.
Navigate to your Facebook settings and look for the “Your Information and Permissions” section within the Accounts Center. Select “Download Your Information.” You will be prompted to choose which profiles you want to include. If you have a linked Instagram account, you can often do both at once, but processing them separately often results in cleaner, more manageable file structures.
When selecting the data to download, you do not need every “Like” or “Poke” from the last fifteen years. Focus your request on “Posts” and “Stories.” Facebook gives you the option to choose the format. Always select HTML if you want an easy-to-browse version of your photos on your computer, or JSON if you plan to import the data into a different software program in the future. For most people, HTML is the most user-friendly choice. Crucially, set the “Media Quality” to High. This ensures Facebook sends you the highest resolution version of the files currently stored on their servers.
After you submit the request, Facebook takes anywhere from an hour to several days to generate the files, depending on how many thousands of photos you have uploaded. You will receive an email notification when the file is ready. You must download these files quickly, as the links usually expire within a few days for security reasons. The resulting file will be a compressed .zip archive. Once you download it, move it to a dedicated folder on your hard drive before unzipping it.

Archiving Your Instagram Visual Legacy
Instagram is a visual-first platform, making its archive particularly precious. Because Instagram photos are often edited with filters within the app, the version on the platform might be the only version that exists with that specific “look.” To archive Instagram photos, use the “Your Activity” section found in your profile menu.
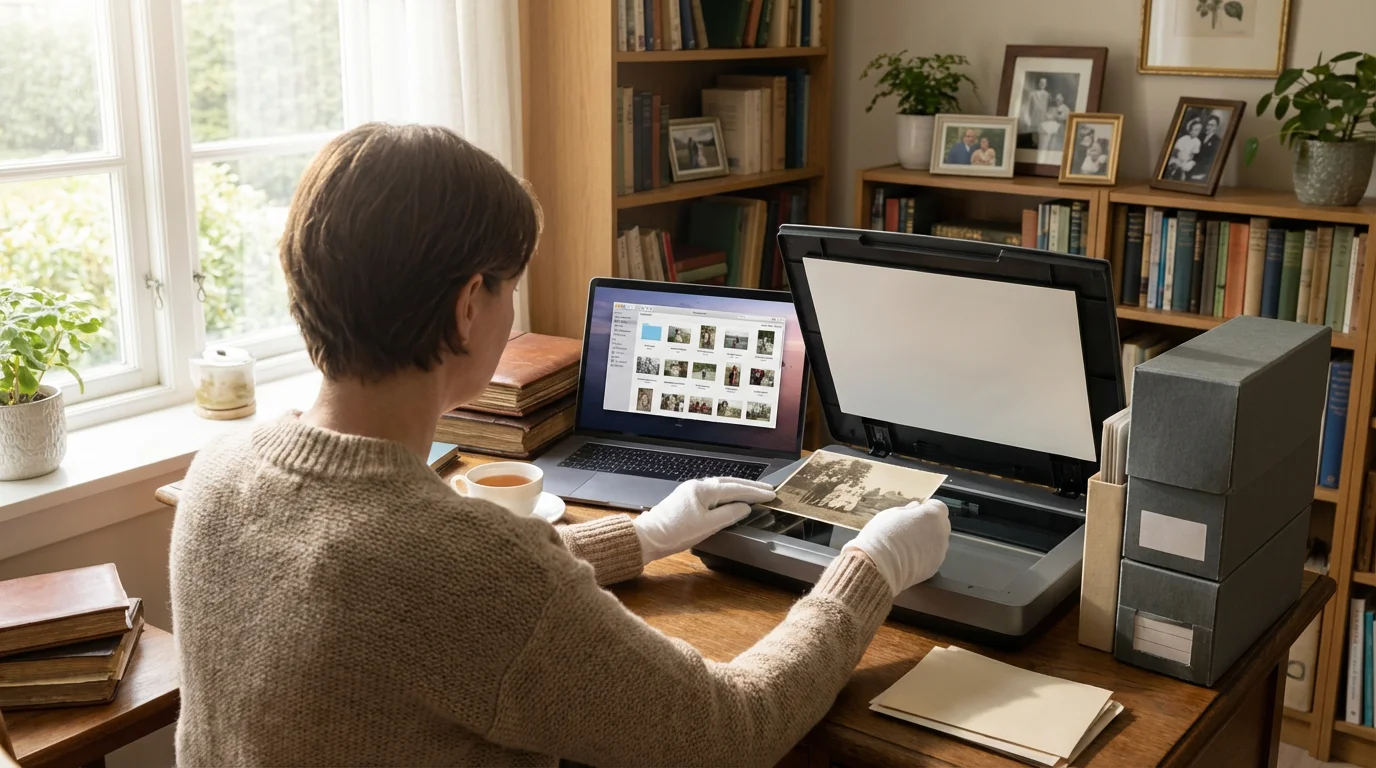
If you want to supplement your Instagram archive with higher-quality scans of physical prints, consider using your smartphone to digitize them quickly and effectively.
Select “Download Your Information” and follow the prompts similar to the Facebook process. Instagram allows you to select a specific date range. If you have never backed up your account, select “All Time.” If you are doing a periodic maintenance update, you might only select the last six months to save time and bandwidth. Again, choose the HTML format and “High” quality for media.
One distinct advantage of the Instagram download tool is that it often includes your “Stories” archive. Stories are ephemeral by nature, disappearing after 24 hours for your followers. However, Instagram keeps a back-end archive of these moments if you have the “Archive” setting turned on. The download tool will extract these vertical videos and photos, preserving the spontaneous moments that don’t always make it to your main grid. Once the download is ready, you will find folders categorized by “Media,” containing subfolders for posts, stories, and even profile pictures.
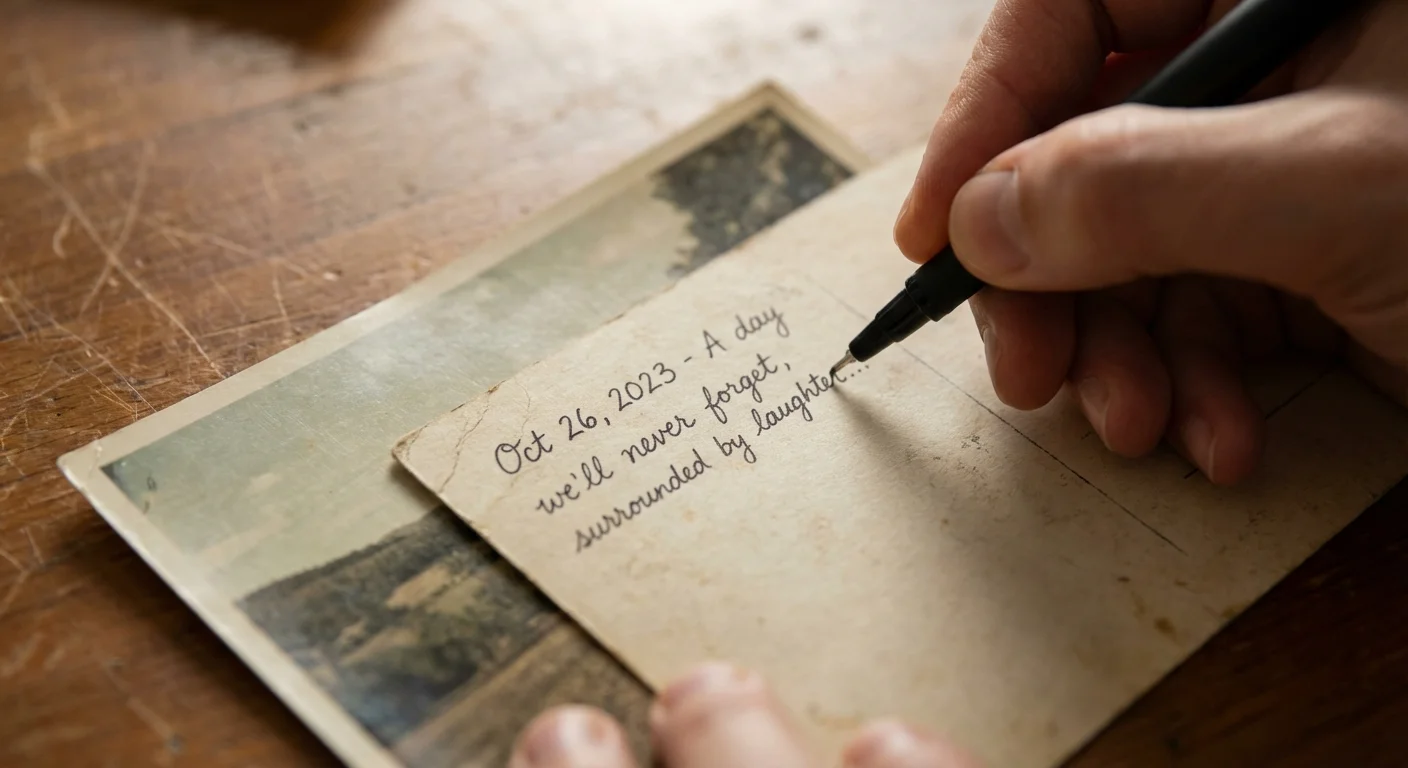
Capturing the Context: Why Captions Matter
A photo of a birthday cake is nice, but a photo of a birthday cake accompanied by a caption explaining that it was your grandmother’s 90th birthday and she had just traveled across the country is a historical record. When you download your data from social media, the image files themselves (the JPEGs) often lose their captions. The platform stores the text separately from the image file.
In your HTML download from Facebook or Instagram, you will find an “index.html” file or a series of webpages. When you open these files in a web browser, they display your photos alongside the original captions, dates, and even comments. This is your “context layer.” It is vital that you do not just “cherry-pick” the photos and delete the rest of the folder. Keep the HTML files and the folder structure intact.
If you want to go a step further, you can use photo management software to manually add these captions into the EXIF or IPTC metadata of the image files. This embeds the description directly into the file’s code. While this is time-consuming, it ensures that even if the image is moved to a different system decades from now, the story of the photo travels with it. For detailed guidance on how image data works, Cambridge in Colour offers excellent tutorials on image metadata and digital file structures.
Organizing Your Social Media Downloads for Long-term Storage
A folder named “facebook_archive_2023_part1.zip” is not helpful for your future self or your heirs. Once you have downloaded and unzipped your social media backup, you must organize the content into your primary photo library. Effective organization prevents your memories from becoming “digital junk” hidden in nested folders.
Start by creating a top-level folder on your computer or external drive named “Social Media Archives.” Inside that, create subfolders for the platform and the year of the download. A clean structure looks like this:
| Level | Folder Name Example | Contents |
|---|---|---|
| Top Level | Photo_Archive_Master | All digitized and digital-native photos |
| Category | 02_Social_Media_Exports | Specific exports from apps |
| Platform | Instagram_Backups | Folders for each download session |
| Date Specific | 2023-12-01_IG_Archive | The unzipped HTML and Media folders |
Do not rename the individual image files within the export folders if you want the HTML index to continue working. The index links to specific filenames like “IMG_1234.jpg.” If you change the filename, the link breaks, and your caption-to-photo connection is lost. Instead, rely on the folder names to tell you what the collection contains. If you find truly “hero” images—the best of the best—copy those into your main “Family Favorites” folder and rename them there, leaving the original export folder as a reference.

Managing Resolution: Can You Print Social Media Photos?
You may feel disappointed when you open a downloaded Facebook photo and see that the file size is only 200 KB. For comparison, a high-quality photo from a modern iPhone is often 3 MB to 5 MB. This massive difference is the result of aggressive compression. Because of this, you must manage your expectations regarding printing.
Most social media photos are perfectly fine for 4×6 inch prints. The resolution is usually sufficient to look sharp at that size. However, if you try to blow up a Facebook photo to an 8×10 or a 16×20 canvas, you will see “pixelation” (blocky squares) and “artifacts” (smudging around edges). If you are creating a physical photo book from your social media history, use layouts that feature multiple smaller images on a page rather than one large full-bleed image.
If a photo is particularly precious and the social media version is the only one you have, consider using AI-upscaling software. Tools now exist that can “guess” the missing data in a low-resolution photo and sharpen the edges. While it is not the same as having the original file, it can make a 4×6 quality image printable at 8×10. Always keep the original, un-upscaled version as your master file; artificial sharpening is an interpretation of the photo, not the photo itself.
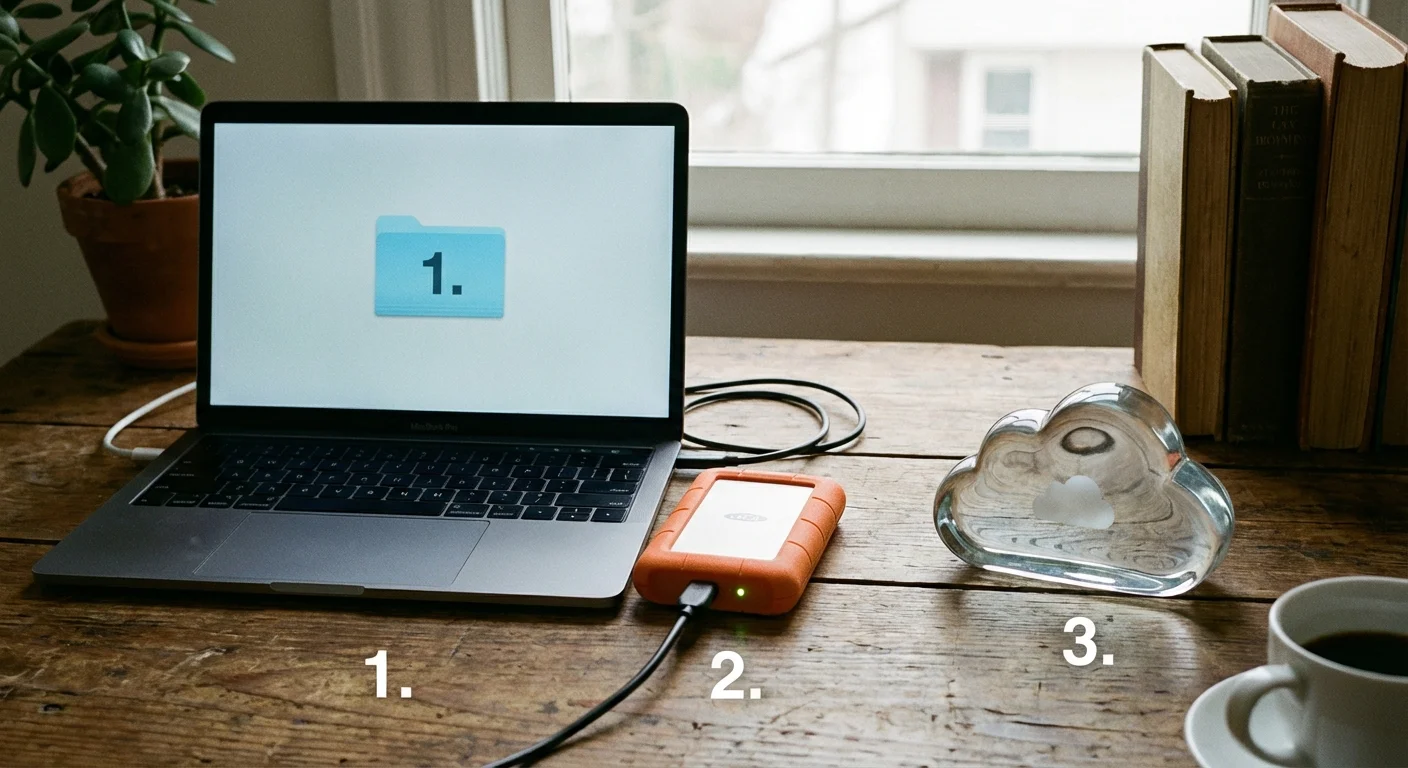
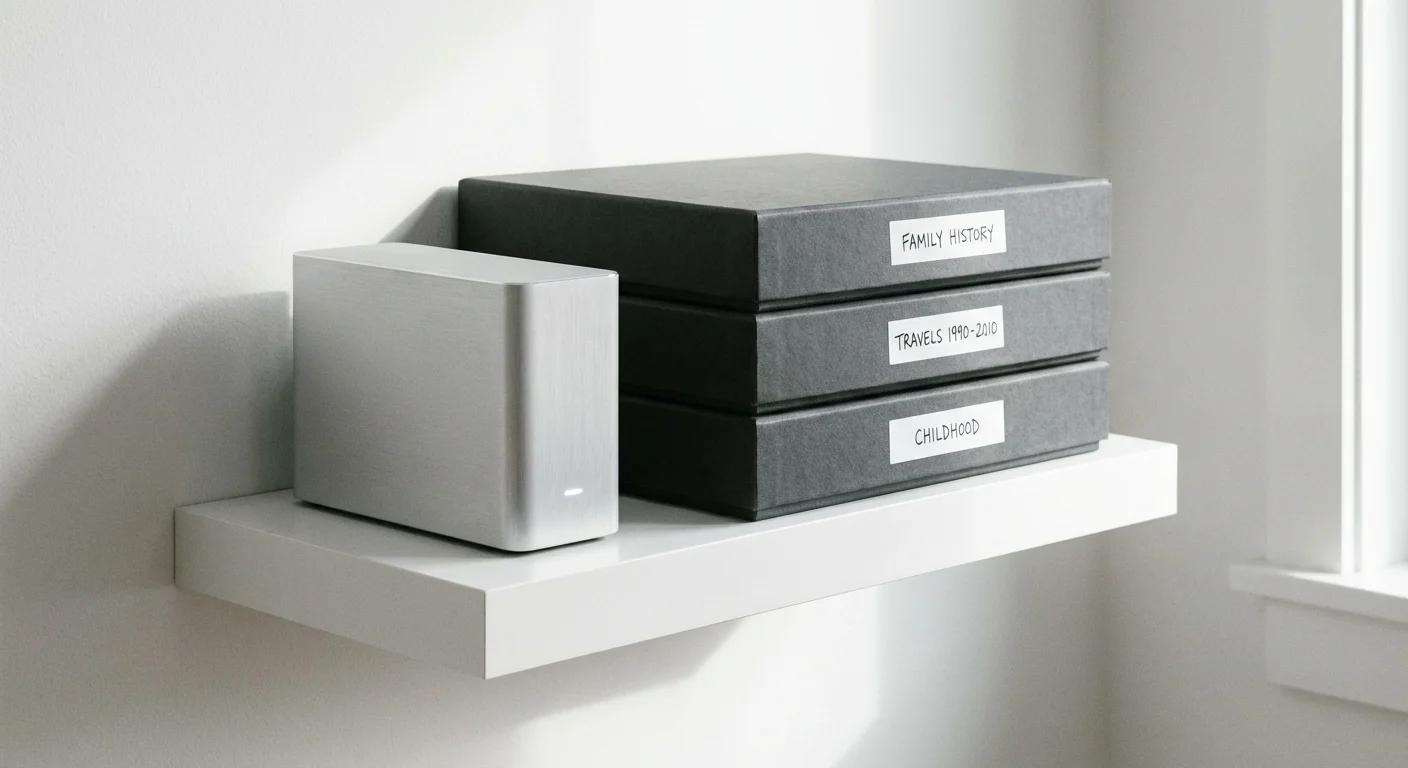
The 3-2-1 Rule for Digital Photo Redundancy
Downloading your photos to your laptop’s hard drive is only the first step. Hard drives fail. Laptops get stolen. To truly preserve your social media history, you must follow the industry-standard 3-2-1 backup rule. This strategy ensures that no single accident can wipe out your entire heritage.
- 3 Copies of your data: Keep the original export, one backup on a physical drive, and one backup in the cloud.
- 2 Different media types: Use different types of storage, such as an External SSD and a Cloud Storage provider (like Google Drive, iCloud, or Backblaze).
- 1 Copy off-site: Ensure at least one backup is located somewhere other than your home. If your house suffers a fire or flood, your off-site cloud backup remains safe.
When choosing an external hard drive, look for Solid State Drives (SSDs) rather than Hard Disk Drives (HDDs) if your budget allows. SSDs have no moving parts and are generally more resistant to physical damage from drops. Regardless of the technology, remember that digital storage media is temporary. You should plan to “migrate” your data to a new drive every five to seven years to prevent data loss from hardware degradation, a phenomenon often called “bit rot.” For more technical insights into how materials degrade, the Image Permanence Institute provides data on both physical and digital longevity.

Future-Proofing Your Personal Digital Archive
The formats we use today, like JPEG and HTML, are currently ubiquitous. However, the history of computing is littered with obsolete file formats. To ensure your social media archive remains viewable in 2050, you should periodically audit your files. Every few years, check to see if your computer can still easily open the HTML indexes from your Facebook downloads.
One way to future-proof the “story” of your social media is to create a “social media yearbook.” Every year, take the top 50 photos you posted to Instagram and Facebook, along with their captions, and print them in a physical book. A high-quality, acid-free photo book is a surprisingly resilient “cold storage” device. It doesn’t require a password, a subscription, or a specific software version to read.
Furthermore, consider your digital “afterlife.” Ensure that a trusted family member knows the location of your master photo archive and has the credentials to access it. If your memories are locked behind an encrypted drive that no one else can open, the preservation work you do today will end with you. Practical preservation is as much about sharing and access as it is about storage and protection.
Frequently Asked Questions
How often should I archive my social media photos?
You should aim to perform a full social media backup at least once every six months. If you are a frequent poster or use your accounts to document daily family life, quarterly backups ensure you never lose more than a few months of memories if an account is compromised or deactivated.
Does downloading photos from Facebook or Instagram reduce their quality?
The quality of the download typically matches the quality of the image currently stored on the server. However, social media platforms compress images significantly upon upload to save space. While the download tool gives you the best available version, these files are usually lower resolution than the original photos taken on your phone or camera.
Can I download photos from someone else’s profile for my archive?
Platform-native archive tools only allow you to download data from accounts you own and can log into. To preserve photos from a relative’s profile, you must either ask them to perform an export and share the files with you or use manual saving methods, though the latter often captures even lower-resolution versions.
What happens to my archived data if I delete my social media account?
Once you have successfully downloaded and saved your archive to your personal computer or cloud storage, that data exists independently of the social media platform. Deleting your account will remove the live versions, but your downloaded backup remains safe as long as you maintain your storage hardware.
Disclaimer: This article is for informational purposes only. When handling valuable or irreplaceable photographs, consider consulting a professional conservator. Always test preservation methods on non-valuable items first.


Leave a Reply