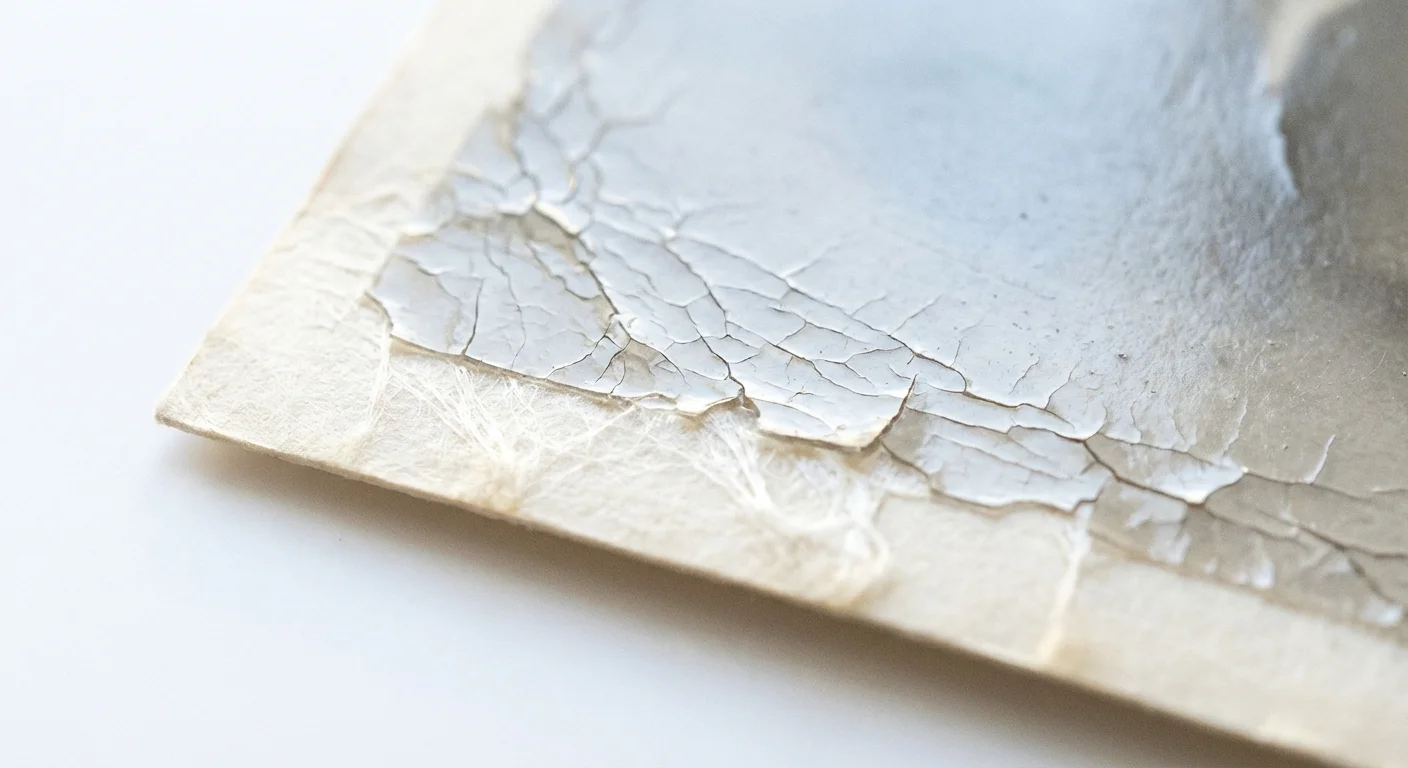
High humidity is the silent enemy of your family heritage. If you live in a coastal region, a tropical climate, or even a home with a damp basement, your photographs are constantly at risk. Moisture does more than just make paper feel limp; it triggers chemical reactions that lead to fading, attracts pests, and facilitates the growth of voracious mold. When the relative humidity rises above 60%, the gelatin emulsion on your photos softens, potentially causing them to stick together in a solid, inseparable block.
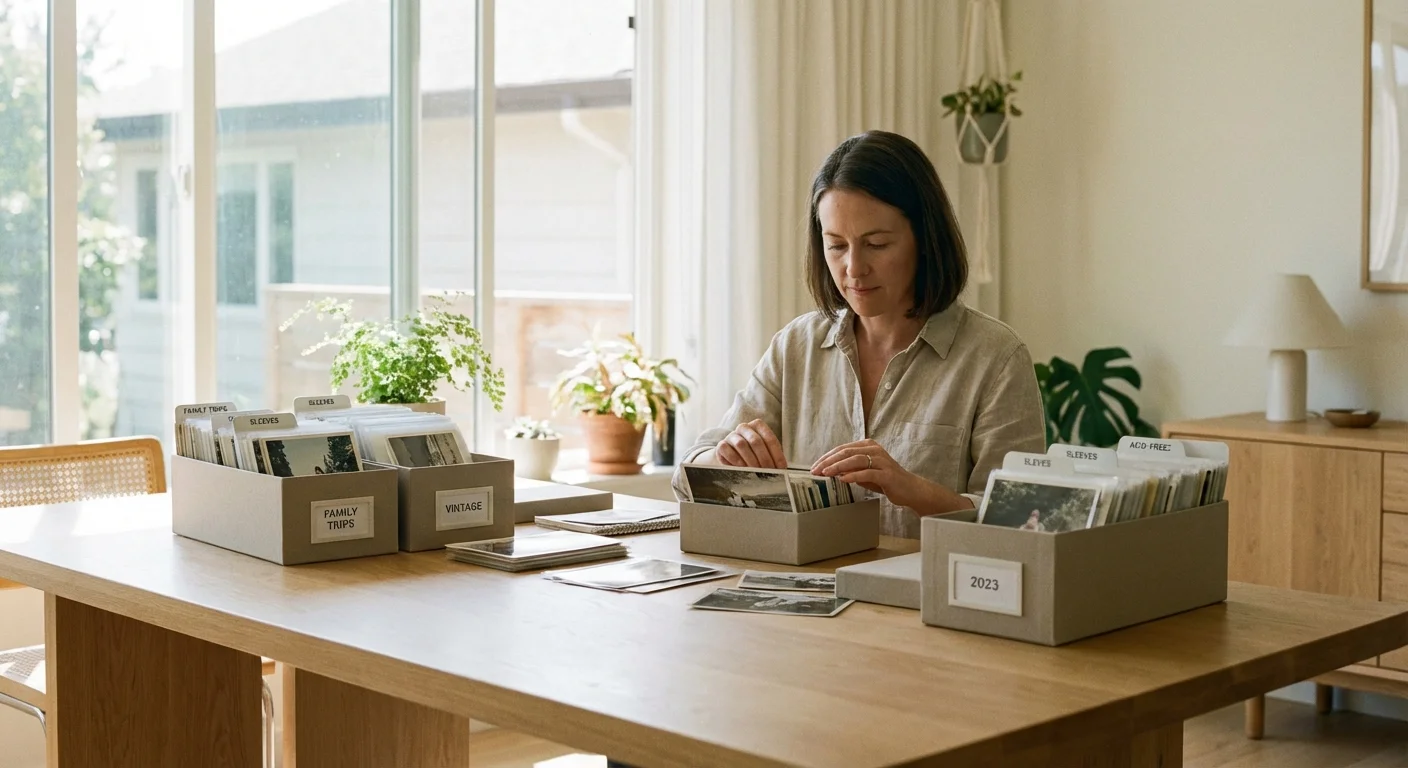
Before you pack everything away, it is helpful to create a photo organization system so you can easily locate specific events and dates later.
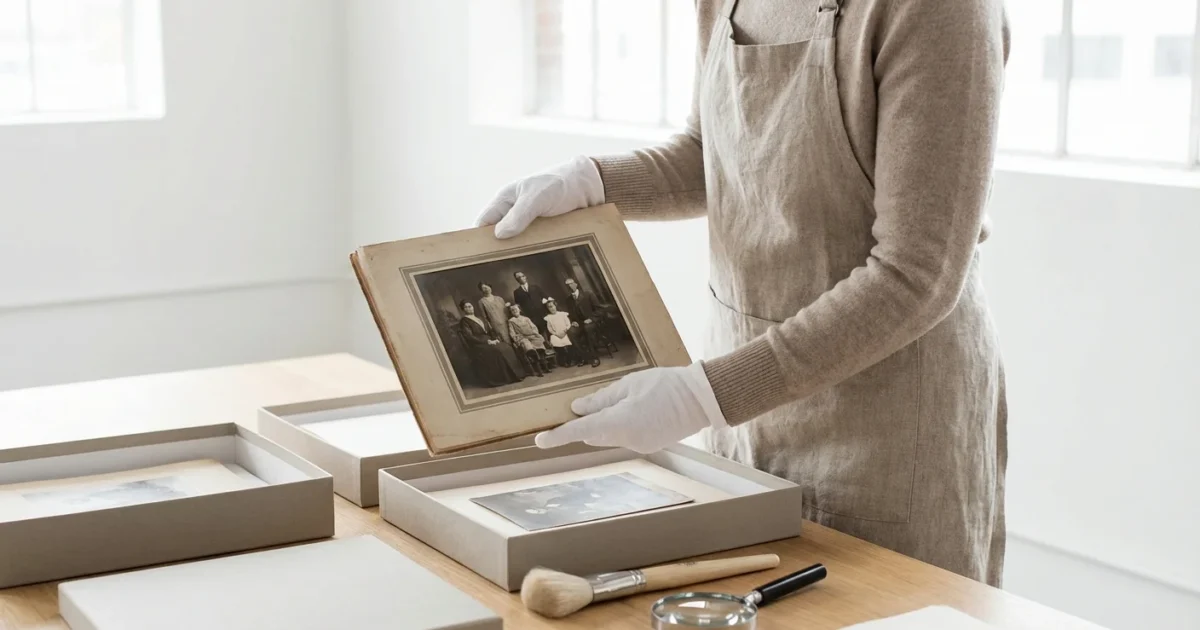
You can stop this deterioration by controlling the environment surrounding your collection. By implementing a system of dehumidifiers for your rooms and desiccants for your storage containers, you create a multi-layered defense. This guide provides actionable steps to safeguard your prints, negatives, and slides against the unique challenges of moisture-heavy environments.
The Science of Humidity and Photographic Decay
To protect your photos, you must first understand how moisture interacts with their physical structure. Most traditional photographs consist of a support layer (paper or plastic) and an image layer (gelatin or albumen containing silver or dyes). Gelatin is highly hygroscopic—it acts like a sponge, absorbing water from the air. When your home’s relative humidity (RH) exceeds 60%, this gelatin becomes tacky. This leads to “blocking,” a condition where photos stacked together fuse into a single mass that you cannot separate without destroying the images.
If your collection includes instant film, special care is required to protect Polaroid photos from deterioration when environmental humidity levels are high.
High humidity also accelerates “vinegar syndrome” in acetate-based negatives and film. As these materials absorb moisture, the acetate base begins to break down, releasing acetic acid. This process is autocatalytic; once it starts, the acid itself speeds up further decay. You will recognize this by a sharp, pungent vinegar smell and the eventual shrinking or buckling of the film. According to the Image Permanence Institute, keeping your storage environment cool and dry is the single most effective way to slow this chemical degradation.
Beyond chemical decay, moisture invites biological threats. Mold spores exist everywhere, but they require a moisture-rich environment to bloom. Once mold takes root on a photograph, it consumes the gelatin emulsion as a food source, leaving permanent scars and stains. Silverfish and booklice also thrive in damp conditions, feeding on the starches and glues found in old photo albums. By maintaining an RH between 30% and 50%, you create a hostile environment for these pests and preserve the physical integrity of your memories.

Choosing the Right Dehumidifier for Your Storage Space
If you store your collection in a dedicated room or a large closet, a room-sized dehumidifier is your primary tool. These machines pull moisture directly from the air, maintaining a consistent environment that seasonal weather changes cannot disrupt. You generally have three choices when selecting a unit for photo preservation.
Compressor Dehumidifiers are the most common and effective for typical household temperatures. They work by drawing air over cold coils; the moisture condenses into water droplets and falls into a tank. These are ideal for basements or large living areas. Look for a model with a built-in humidistat, which allows you to set a target humidity level (e.g., 40%) so the machine only runs when necessary.
Desiccant Dehumidifiers (Mechanical) use a rotating drum of moisture-absorbing material rather than cooling coils. These units are exceptionally quiet and perform better than compressor models in cold environments, such as unheated storage units or northern garages. If your storage area stays below 60 degrees Fahrenheit, a desiccant machine is a superior choice. However, they generally consume more electricity than compressor models.
Peltier (Thermoelectric) Dehumidifiers are small, whisper-quiet devices best suited for tiny closets or cabinets. They have no moving parts other than a small fan. While they are affordable, their moisture-removal capacity is limited. Use these only for small, enclosed volumes of space, as they cannot handle the moisture load of an entire room in a truly humid climate.
| Feature | Compressor Model | Desiccant Machine | Peltier Model |
|---|---|---|---|
| Best For | Large rooms / Basements | Cold environments | Small closets / Cabinets |
| Efficiency | High in warm temps | High in cold temps | Low |
| Noise Level | Moderate (Fan + Hum) | Low | Very Low |
| Target RH Control | Excellent | Excellent | Limited |
Using Silica Gel and Desiccants for Micro-Environments
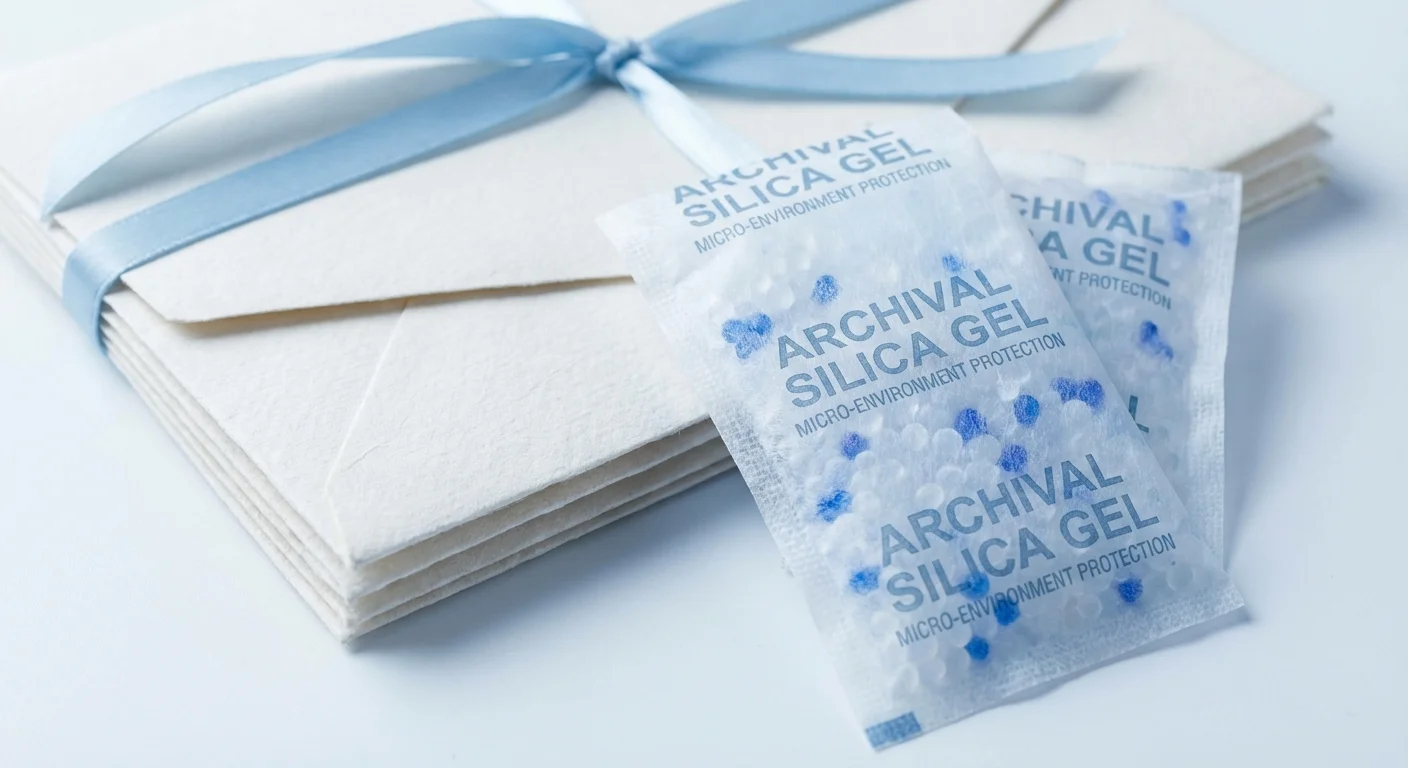
While a room dehumidifier manages the broad environment, you often need localized protection inside your photo boxes. This is where desiccants, specifically silica gel, become vital. Silica gel is a porous form of silicon dioxide that traps water molecules within its structure. It does not “leak” or turn into a liquid; it remains dry to the touch even when saturated.
For photo storage, you should use indicating silica gel. These beads are treated with a moisture-sensitive chemical that changes color—usually from orange to green or blue to pink—when they can no longer absorb moisture. This visual cue tells you exactly when it is time to intervene. You should avoid “blue” indicating silica gel if possible, as it contains cobalt chloride, which is a known environmental toxin. Modern “orange” silica gel uses methyl violet and is much safer for home use.
To use silica gel effectively, you must place your photos and the desiccant in a sealed, airtight container. If the container is not airtight, the silica gel will simply try to dehumidify the entire room, saturating itself in a matter of days. In a sealed 10-gallon plastic bin, 50 to 100 grams of silica gel can maintain a dry environment for several months. You can buy these in pre-packaged Tyvek sachets or as loose beads that you place into breathable muslin bags. To “recharge” the beads once they change color, bake them in a conventional oven at 200–250°F for several hours until the original color returns.
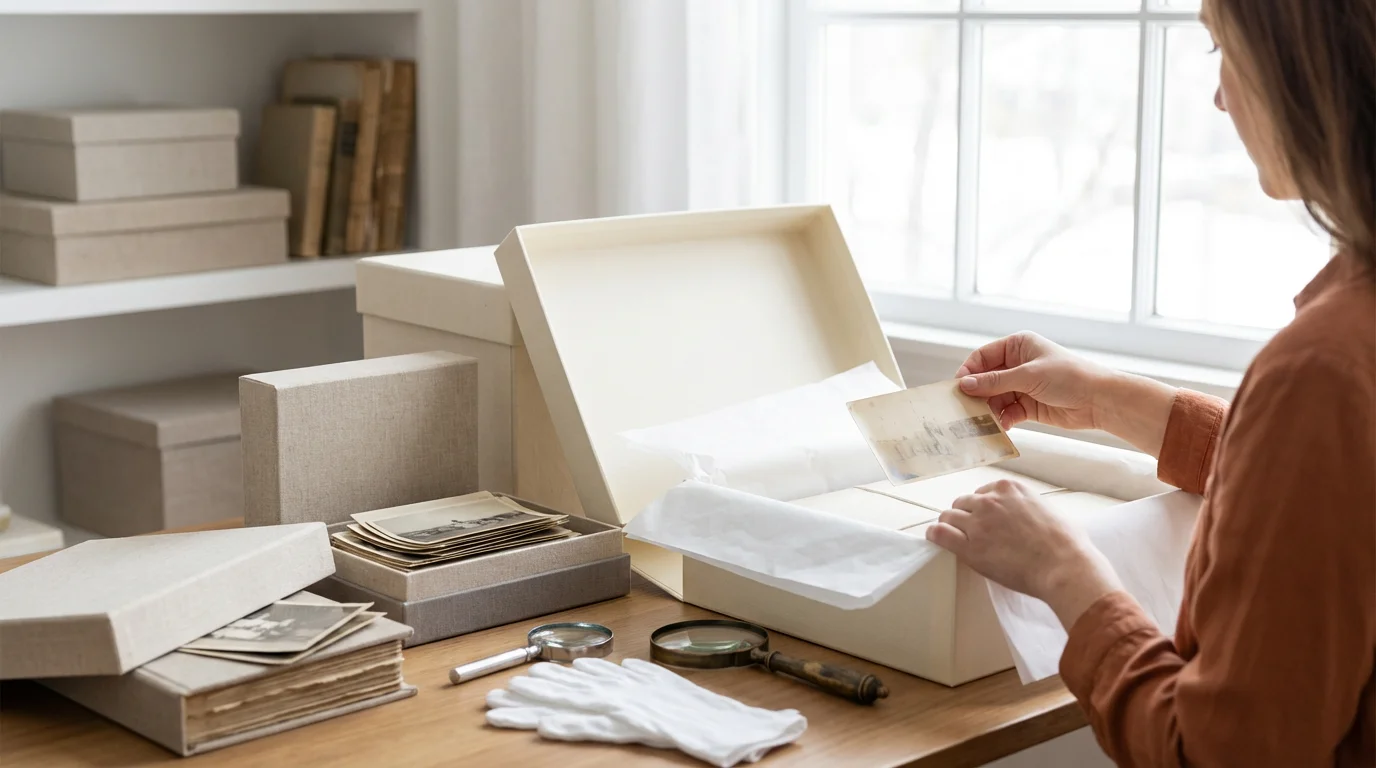
Archival Bins and Sleeves: Your First Line of Defense
In humid climates, your choice of storage material determines whether your photos survive a temporary equipment failure. Standard cardboard boxes are a poor choice for damp areas. Cardboard is a cellulose-based material that naturally absorbs moisture from the air, holding it against your photos and providing a breeding ground for mold.
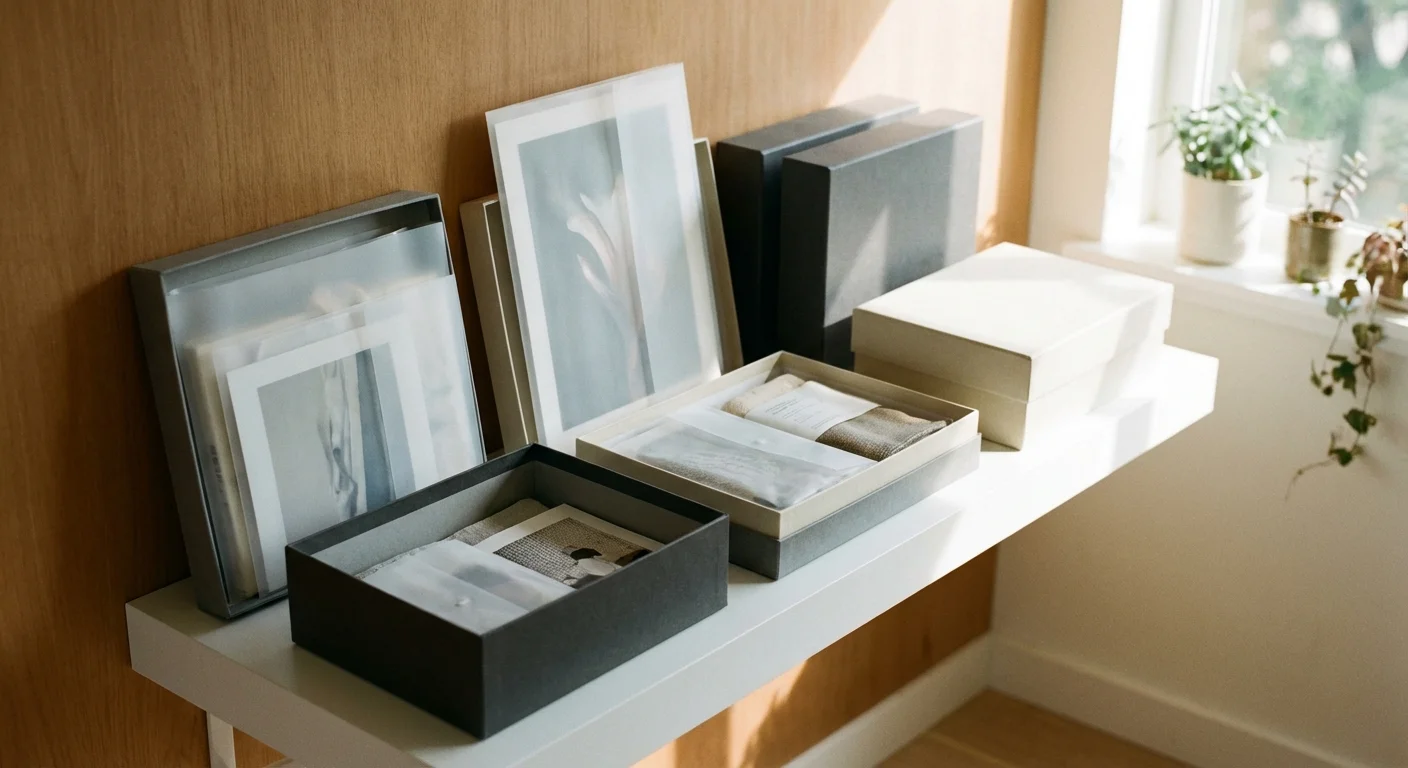
Instead, invest in gasket-sealed plastic bins. These containers feature a silicone or rubber seal around the lid and heavy-duty latches that create an airtight environment. Brands like Iris or Sterilite manufacture “Gasket Boxes” that are highly effective at blocking ambient humidity. Within these bins, you should still use archival-grade internal storage. Look for products that have passed the Photographic Activity Test (PAT). The Library of Congress recommends PAT-compliant materials because they are chemically stable and will not react with the photographic silver or dyes over time.
Use polypropylene or polyester (Mylar) sleeves for individual photos. These plastics are inert and provide a physical barrier against moisture. However, a word of caution: if you live in an extremely humid area and cannot maintain a dry environment, plastic sleeves can sometimes trap moisture against the photo if it was already damp when you sleeved it. Always ensure your photos are “conditioned” in a dry, dehumidified room for 24 hours before sealing them into plastic sleeves and airtight bins.

Monitoring Your Environment with Precision
You cannot manage what you do not measure. A common mistake is assuming that because a room feels comfortable to you, it is safe for your photos. Human comfort usually ranges between 40% and 60% RH, but the upper end of that range is risky for long-term photo preservation. You need a digital hygrometer to track the specific conditions in your storage area.
Place one hygrometer in the room where you keep your collection and, if your collection is large or valuable, place a smaller “mini” hygrometer inside one of your sealed storage bins. Modern smart hygrometers are surprisingly affordable and connect to your smartphone via Bluetooth or Wi-SFi. These devices can send an alert to your phone the moment the humidity crosses a threshold, such as 55%. This allows you to check for a full dehumidifier tank or a power failure before any damage occurs.
“Consistent environmental conditions are more important than achieving a perfect ‘archival’ temperature once. Rapid cycling of humidity causes more physical stress to photo emulsions than a steady, slightly higher humidity level.”
When monitoring, pay attention to seasonal shifts. You may find that your dehumidifier works perfectly in the summer but the air becomes dangerously dry (below 30% RH) in the winter when the heater is running. Very low humidity makes photos brittle and prone to cracking. Your goal is a stable middle ground—aim for a constant 35% to 45% RH for the best results.
Building a High-Humidity Storage System Step-by-Step
Setting up a comprehensive protection system does not have to be overwhelming. You can build a professional-grade storage environment by following these steps:
- Select the Coolest, Driest Room: Avoid attics (too hot) and garages (too humid/unstable). An interior closet on the main floor of your home is usually the most stable environment.
- Elevate Your Storage: Never store photo boxes directly on a concrete floor. Concrete wicks moisture and is the first place to flood. Use metal or plastic shelving to keep your collection at least 12 inches off the ground.
- Condition Your Materials: Before sealing photos in plastic, run a dehumidifier in the room for 24 to 48 hours. This ensures the paper and gelatin have released excess moisture.
- Sort into Archival Envelopes: Place photos in acid-free paper envelopes or polypropylene sleeves. Paper envelopes are slightly better if you are worried about minor moisture trapped inside, as they “breathe” better than plastic.
- Seal in Gasket Bins with Desiccant: Place the sleeved photos into your gasket-sealed bins. Add a 50-gram indicating silica gel packet to each bin. Secure the latches firmly.
- Set Up the Room Dehumidifier: Position your dehumidifier in the center of the room or near the storage closet. If possible, use a hose to a floor drain so the machine can run continuously without you needing to empty the bucket.
- Label and Schedule Checks: Label each bin with its contents and the date you last checked the desiccant. Set a recurring calendar alert on your phone to check the hygrometer and silica gel every three months.
Emergency Salvage: Handling Mold and Moisture Damage
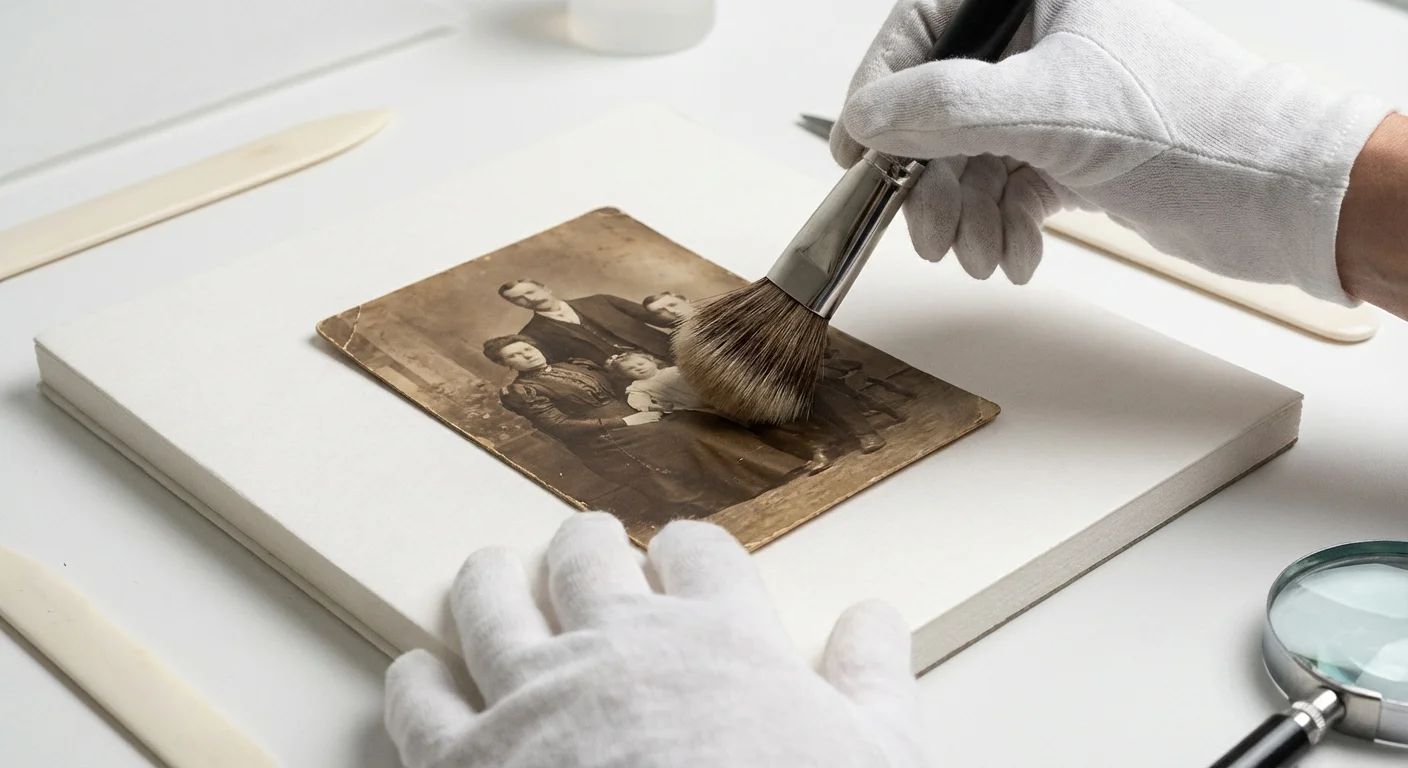
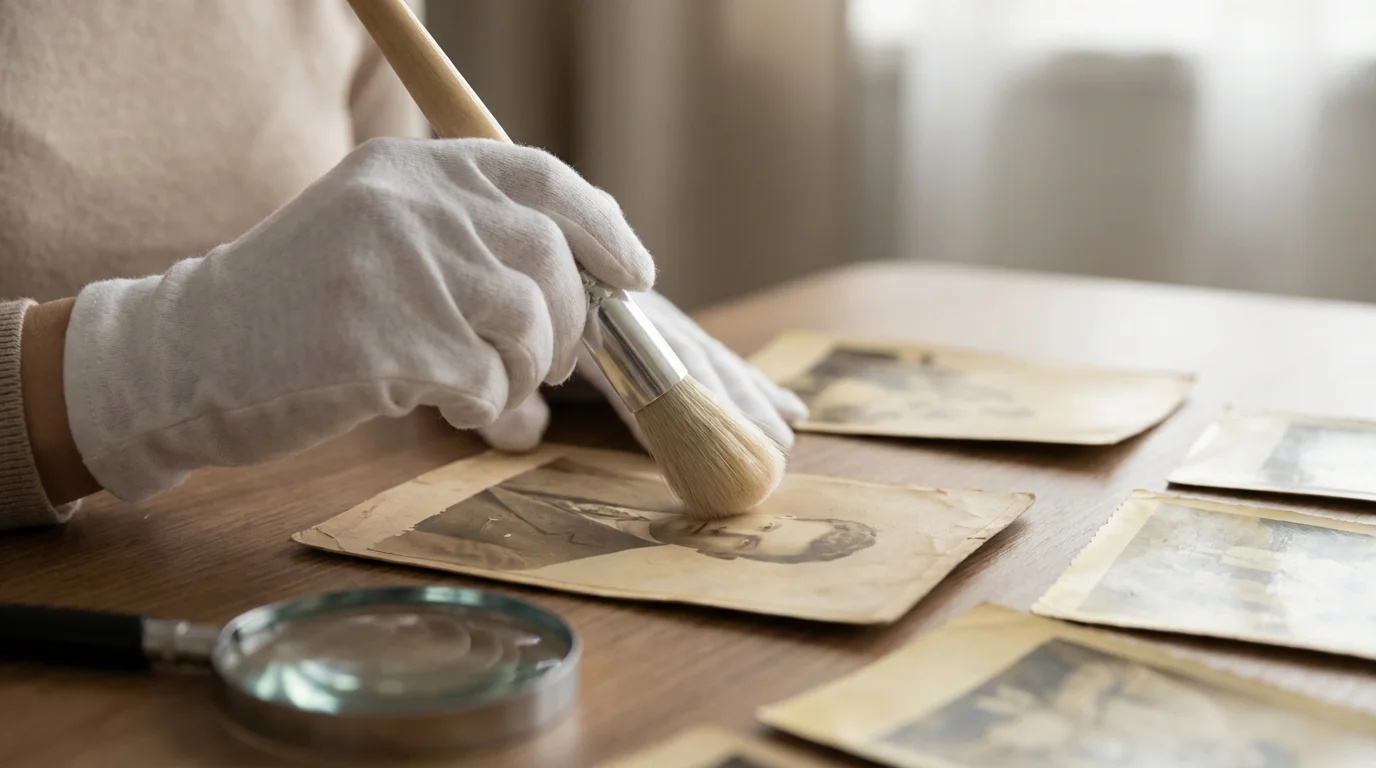
If you discover that humidity has already taken a toll, you must act quickly to prevent further loss. Mold is a health hazard; if you find significant growth, wear a N95 mask and nitrile gloves before handling the items. Do not attempt to wipe mold off a damp photo, as you will likely smear the softened emulsion and permanently ruin the image.
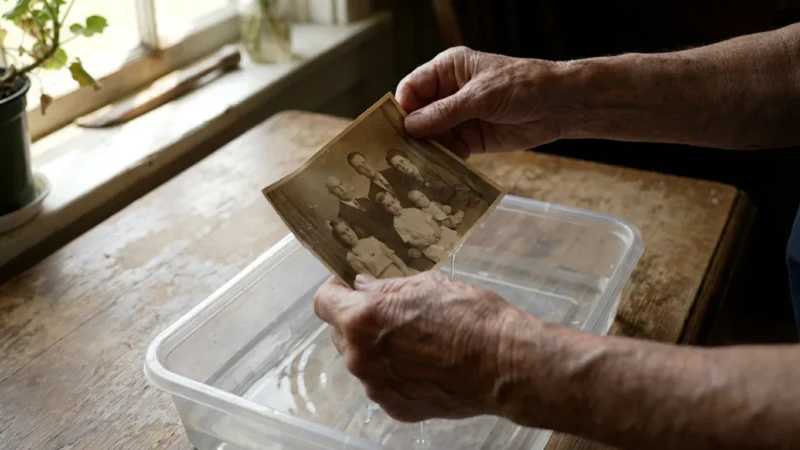
The first step in any moisture emergency is to isolate and dry. Move the affected photos to a dry, air-conditioned space. Use fans to increase airflow, but do not point them directly at the photos, which can cause them to fly around or dry too unevenly. If the photos are currently wet or very damp, you can actually freeze them to stop the mold growth and chemical decay. Place them in wax paper or interleaving paper, put them in a freezer bag, and keep them in a standard freezer. This “buys you time” until you can consult a professional conservator or set up a controlled drying environment.
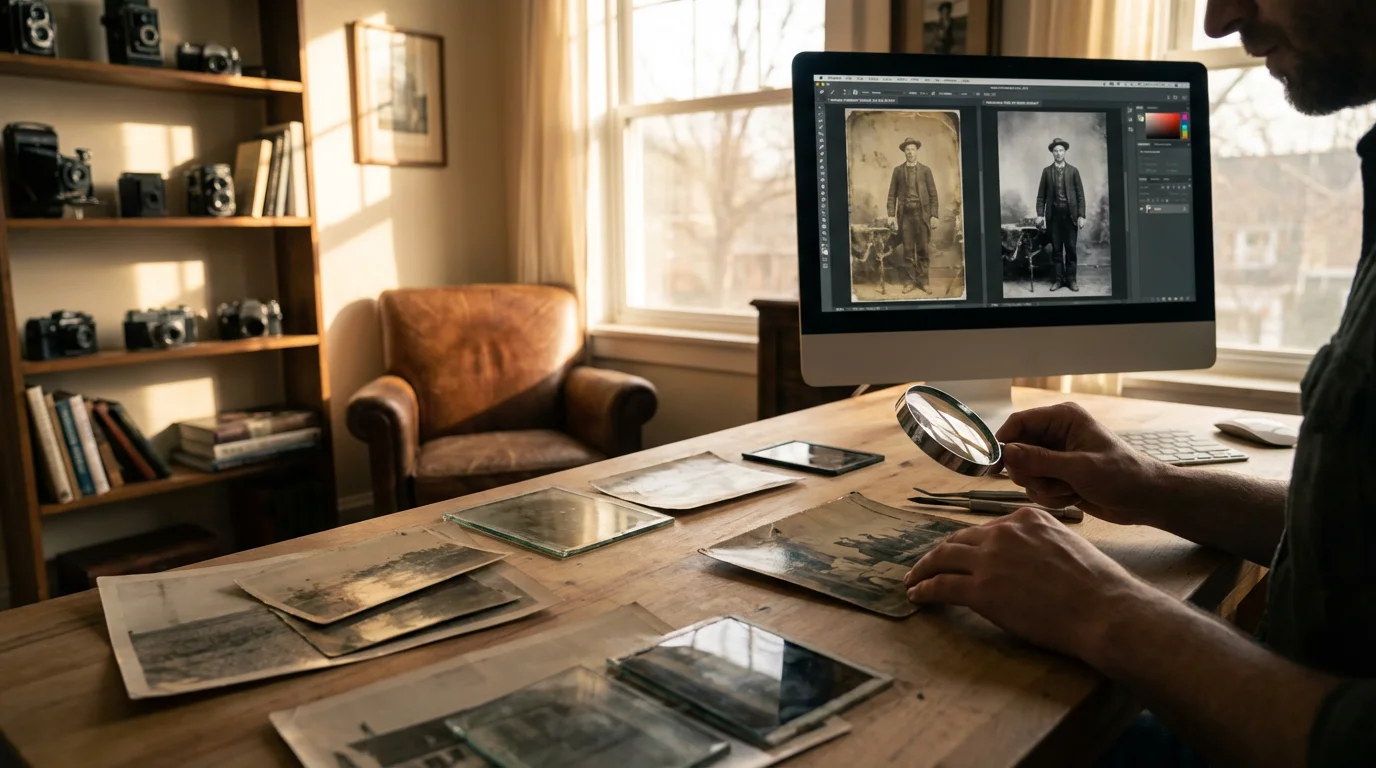
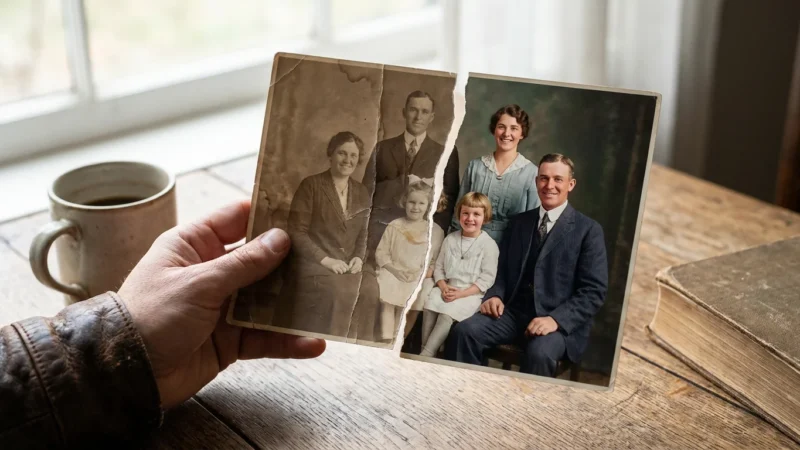
For photos that are stuck together, do not pull them apart. This is a common mistake that results in the image from one photo being ripped off and stuck to the back of the other. Professional conservators often use controlled re-hydration or specific chemical baths to separate blocked photos. If the memories are irreplaceable, this is the time to invest in professional restoration services. In the meantime, digitize whatever you can. Even a high-quality smartphone photo of a damaged print is better than no record at all if the physical object continues to degrade.
Frequently Asked Questions
What is the ideal humidity level for storing old photographs?
The ideal relative humidity (RH) for most photographic prints is between 30% and 50%. You should avoid fluctuations, as rapid changes in humidity cause the photo paper and emulsion to expand and contract, leading to cracking or curling.
How often do I need to recharge or replace silica gel packets in photo boxes?
In high-humidity environments, you should check indicating silica gel every 2 to 4 months. If the beads have changed color (usually from orange to green or blue to pink), you must recharge them in an oven according to the manufacturer’s instructions or replace them with fresh packets.
Can I use a basement dehumidifier to protect my photos?
Yes, a compressor-based dehumidifier is highly effective for large spaces like basements. However, ensure the unit has an auto-drain feature or a large tank, and place your photos on shelving at least 12 inches off the floor to protect them from potential leaks or floods.
Are plastic bins or cardboard boxes better for humid climates?
In high-humidity areas, airtight plastic bins (specifically those with a gasket seal) are superior to cardboard. Cardboard is hygroscopic, meaning it absorbs moisture from the air, which can encourage mold growth directly against your photos.
Disclaimer: This article is for informational purposes only. When handling valuable or irreplaceable photographs, consider consulting a professional conservator. Always test preservation methods on non-valuable items first.

Leave a Reply