
You likely have a plastic bin tucked away in a closet, a basement, or an attic. Inside that bin lies a collection of black plastic rectangles—VHS tapes containing the only surviving footage of your wedding, your child’s first steps, or a late grandparent’s laughter. These objects feel permanent, but they are actually among the most fragile items in your home. Magnetic tape is a volatile medium, and the clock is ticking on its survival. Converting your vhs to digital is no longer just a weekend project; it is a necessary act of rescue for your family history.
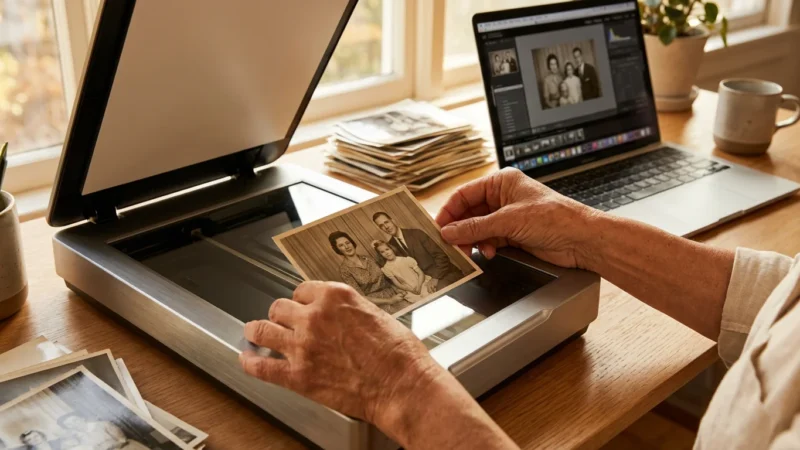
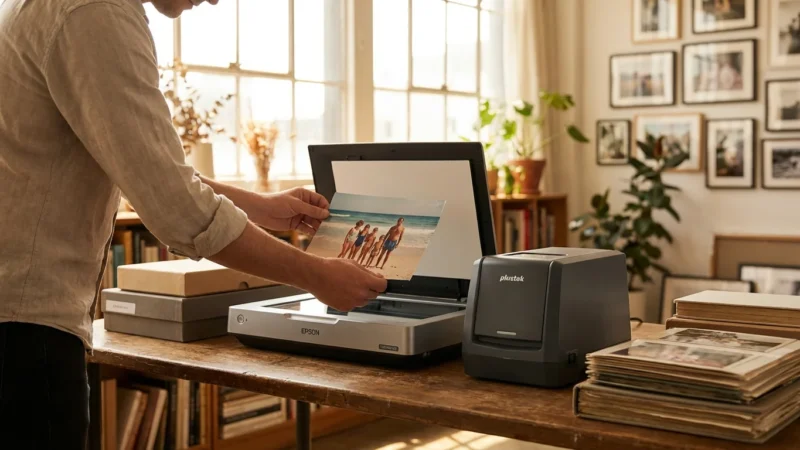
While this guide focuses on video, you can follow similar DIY principles for your still images by learning how to scan old photos at home.
Digital conversion breathes new life into these memories. It allows you to share a video of a 1992 birthday party across the world in seconds; more importantly, it stops the inevitable physical decay of the original media. This guide walks you through the technical “why” and the practical “how” of the video conversion process, ensuring your home movies survive for the next century.
The Ticking Clock: Understanding Magnetic Decay
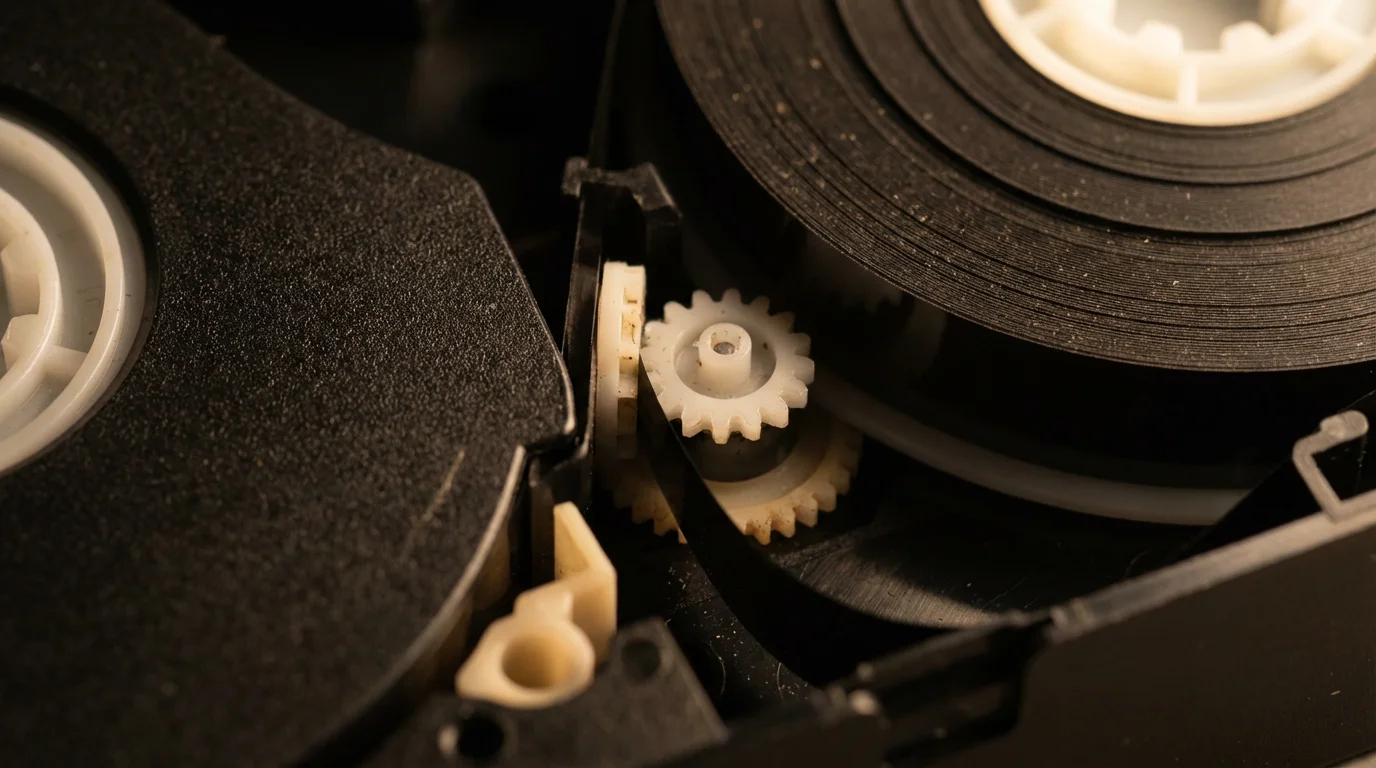
To understand why you must convert vhs tapes to digital format, you first have to understand what a VHS tape is. It consists of a long polyester film coated with tiny magnetic particles (usually iron oxide) held together by a chemical binder. As the VCR head passes over the tape, it reads the magnetic orientation of these particles to reconstruct an image. Unfortunately, this chemical composition is inherently unstable.
According to the Image Permanence Institute’s research on magnetic media, these tapes face several existential threats. The most common is “binder hydrolysis,” often called sticky shed syndrome. Over time, the binder absorbs moisture from the air, causing it to become sticky. When you try to play a compromised tape, the magnetic coating can literally peel off the plastic backing and clog your VCR heads, permanently destroying the footage. Beyond stickiness, “remanence decay” occurs as the magnetic particles lose their charge over decades, leading to color fading, loss of sharpness, and “snowy” interference.
Every time you play a VHS tape, the physical friction of the playback heads causes a microscopic amount of wear. Digital files do not suffer from this mechanical degradation. By moving your home movies to a digital environment, you transition from a medium that dies a little every time you enjoy it to one that you can replicate perfectly an infinite number of times.
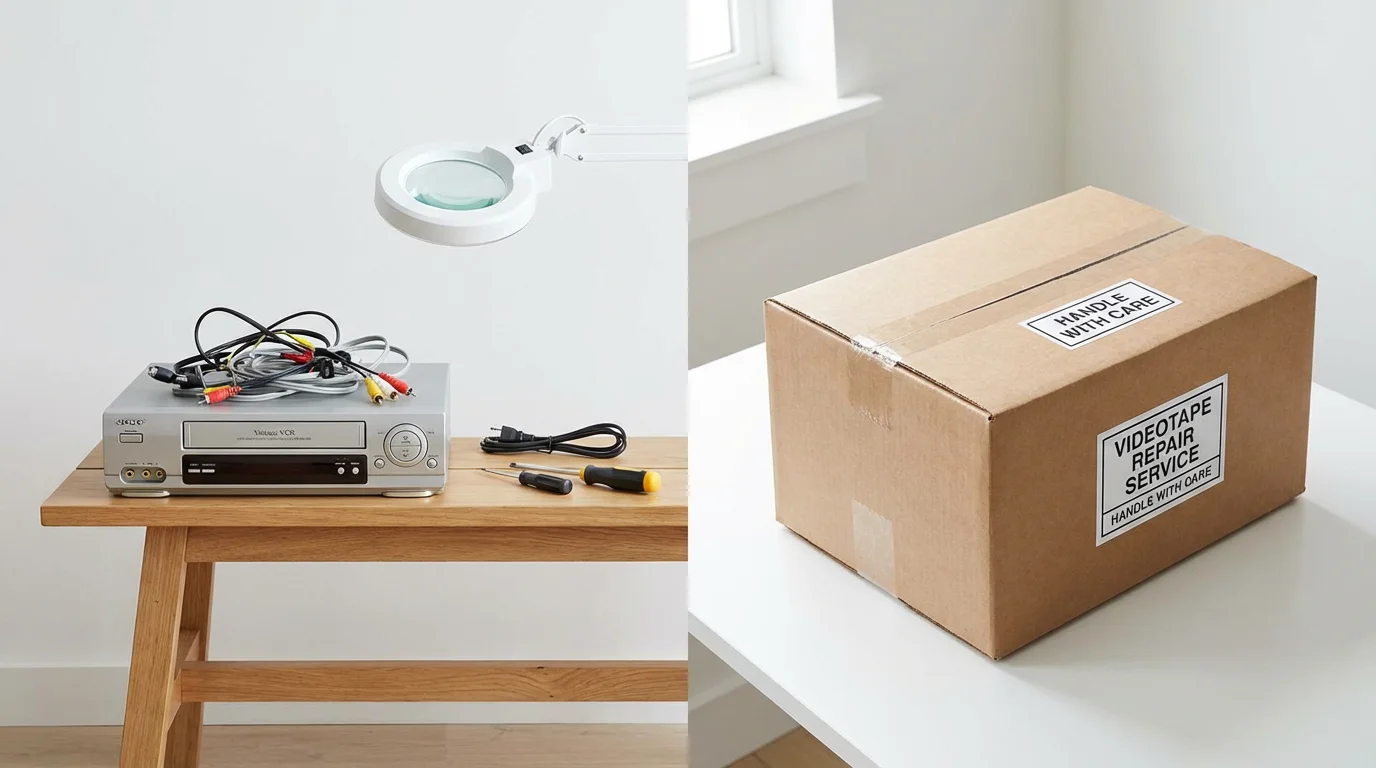
Choosing Your Path: DIY vs. Transfer Services
Before you buy equipment or ship your boxes, you must decide between the “Do-It-Yourself” route and hiring a professional service. This decision usually hinges on three factors: the volume of your collection, your technical comfort level, and the current condition of your tapes.
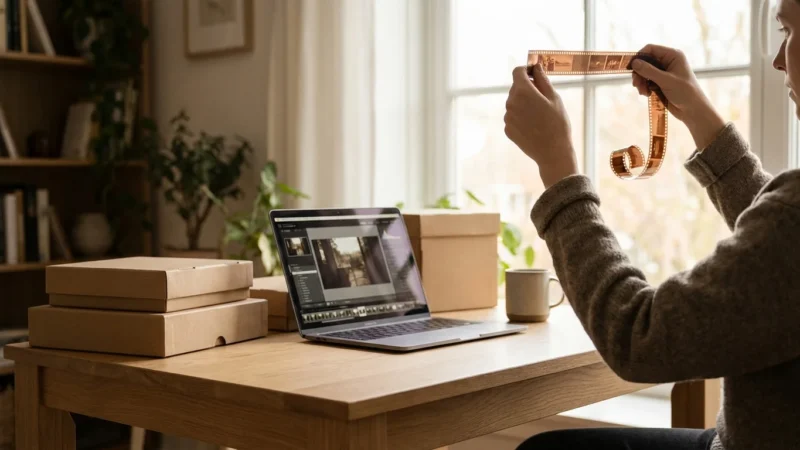
If your archive includes more than just tapes, you might also want to learn how to digitize 35mm film negatives at home to round out your DIY project.
If your collection includes other legacy formats, you might also be interested in learning how to digitize your slides using professional techniques at home.
The DIY approach is ideal if you have dozens of tapes and a functional VCR. It allows you to maintain total control over the process, ensuring that no stranger handles your private family moments. It is also significantly cheaper in the long run if you are willing to invest the time. However, remember that video conversion happens in real-time. If you have 50 hours of footage, it will take at least 50 hours of capture time, plus setup and organization.
Professional services, on the other hand, offer high-end equipment that the average consumer cannot afford. They often use industrial-grade “Time Base Correctors” to stabilize shaky footage and high-quality “capture cards” that minimize digital noise. If your tapes show signs of mold—a white, fuzzy substance on the edges of the reel—do not attempt a DIY transfer. Mold requires professional remediation in a controlled environment to prevent the spores from ruining your equipment and your health.
Essential Hardware for Home Movie Transfer
If you choose the DIY path, you need a specific chain of hardware to bridge the gap between the 20th-century analog signal and the 21st-century digital file. You cannot simply plug a VCR into a modern laptop without an interface.
Your first requirement is a high-quality VCR. If you still own your original machine, clean the heads using a dry head-cleaning cassette or, if you are technically inclined, manual cleaning with isopropyl alcohol and lint-free swabs. If you are buying a used VCR, look for “S-VHS” (Super-VHS) models from brands like Panasonic or JVC. These machines often feature better internal circuitry and S-Video outputs, which provide a cleaner signal than the standard yellow RCA “composite” jack.
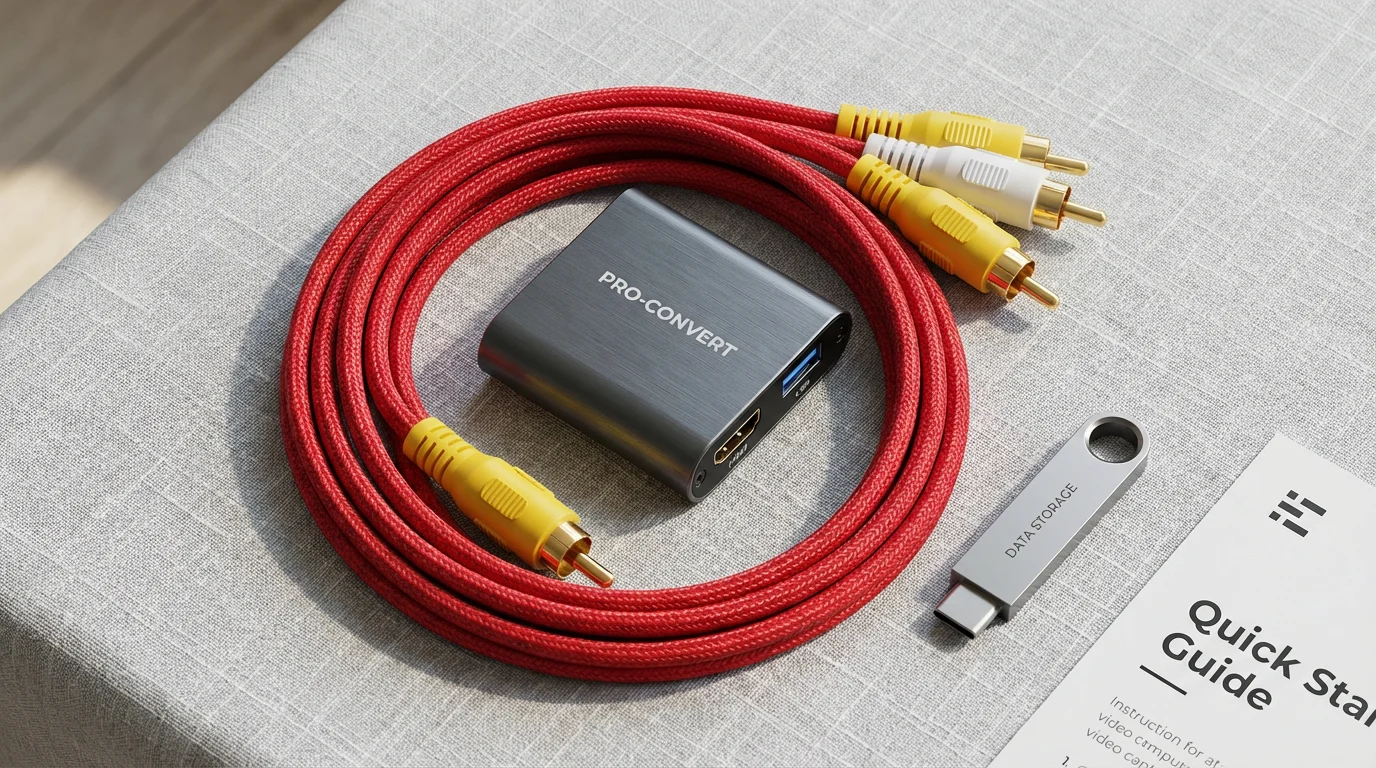
Next, you need an Analog-to-Digital Converter (ADC). These range from $20 USB “dongles” to $300 professional capture boxes. While the cheap options work, they often struggle with “frame dropping”—a phenomenon where the digital file skips frames because the analog signal from the tape is inconsistent. Higher-end converters handle signal fluctuations much better. You will connect the RCA (Red, White, Yellow) or S-Video cables from the VCR to this converter, and then plug the converter into your computer’s USB port.
“The quality of your digital transfer is dictated entirely by the weakest link in your hardware chain. A $500 capture card cannot fix the signal from a dirty, low-end VCR.”
A Step-by-Step Guide to the DIY Conversion Process
Once you have gathered your hardware, follow these steps to ensure a high-quality home movie transfer. Do not rush the setup; a little preparation prevents hours of re-recording later.
For a quick way to document tape labels and covers, consider scanning photos with your smartphone to keep your digital file organization tidy.
- Inspect and Prepare the Tape: Fast-forward the tape to the end and rewind it completely. This “re-packs” the tape, ensuring even tension on the spool and removing any loose dust. Check the casing for cracks or debris.
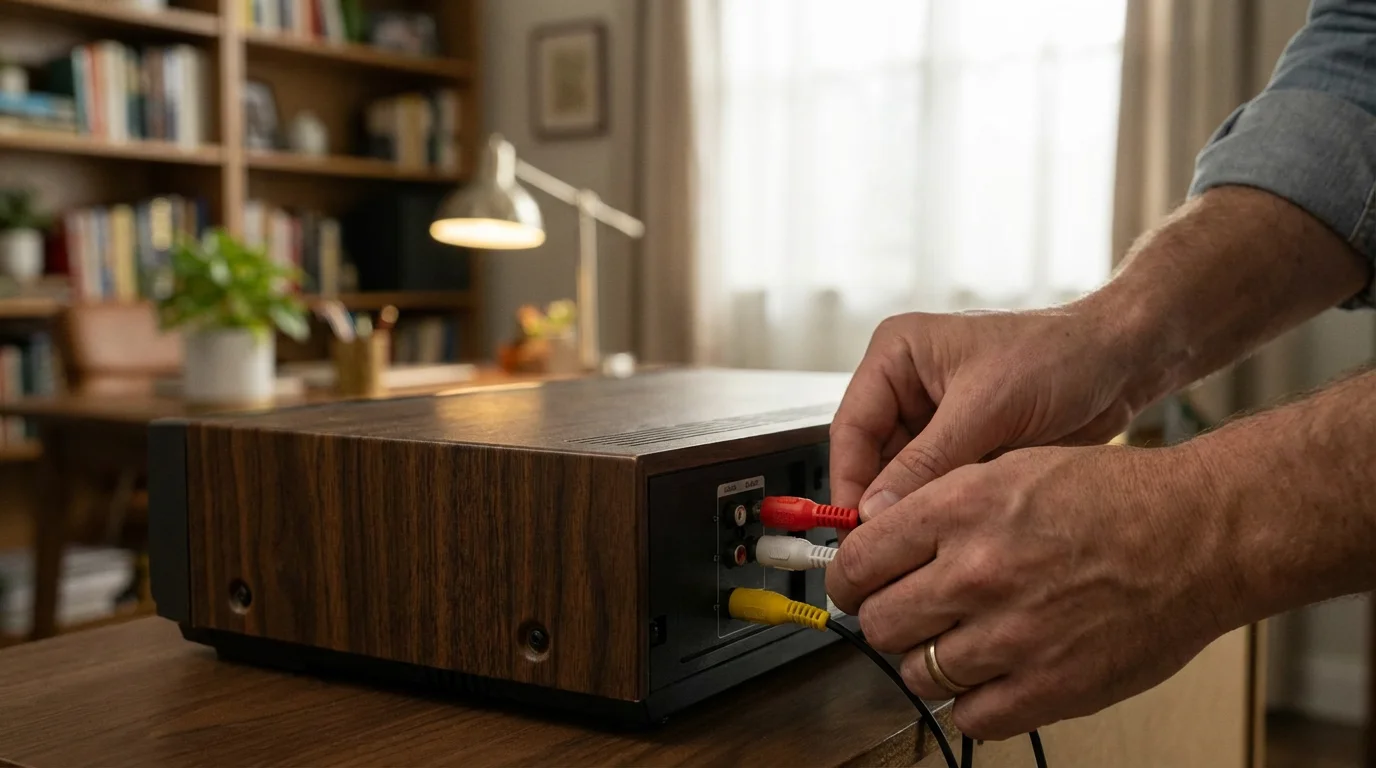
- Connect the Hardware: Plug your VCR into the capture device. Use S-Video if both your VCR and capture device support it—it separates the color and brightness signals for a sharper image. If not, use the standard yellow composite cable. Always ensure the red and white audio cables are seated firmly.
- Configure the Software: Use software like OBS Studio (free and powerful) or the software included with your capture device. Set your “Canvas Size” to 720×480 (for NTSC/North American tapes). Avoid the temptation to “stretch” the video to widescreen; keep the aspect ratio at 4:3 to avoid distorting your family members’ faces.
- Test the Levels: Play a few minutes of the tape while watching the software monitors. Ensure the audio isn’t “clipping” (hitting the red zone in the volume meter) and the video isn’t too dark or overly bright.
- The Capture: Press record on your software, then press play on the VCR. Because this happens in real-time, you must leave the computer alone during this process. Avoid running heavy programs in the background, as this can cause the computer to “drop frames,” resulting in jerky video.
- Trimming and Exporting: Once the tape ends, stop the recording. Use a basic video editor to trim the static at the beginning and end of the clip. Save the final file using a modern codec.
Selecting the Best Digital Formats for Longevity
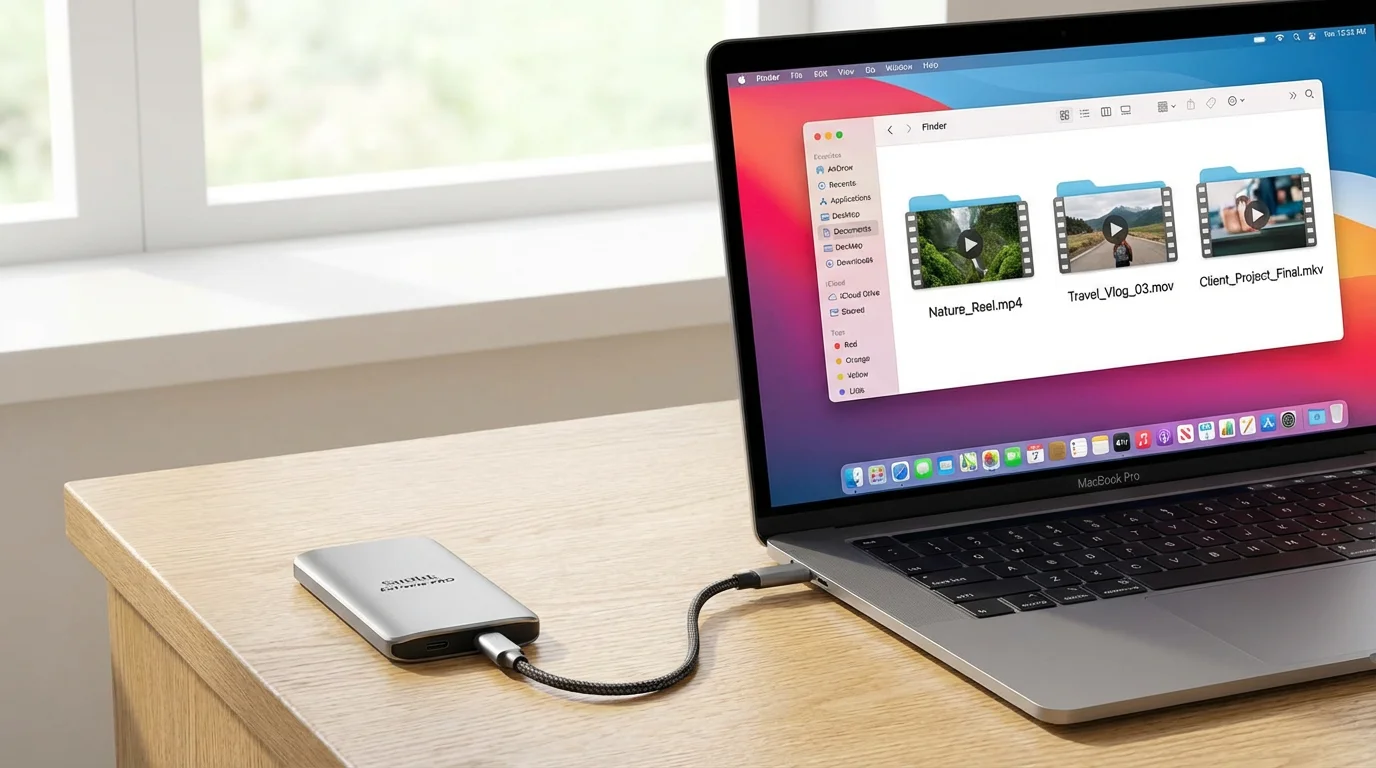
When you convert vhs tapes to digital, the file format you choose determines how easy it will be to access those memories in twenty years. Not all digital files are created equal. You must balance file size with visual quality.
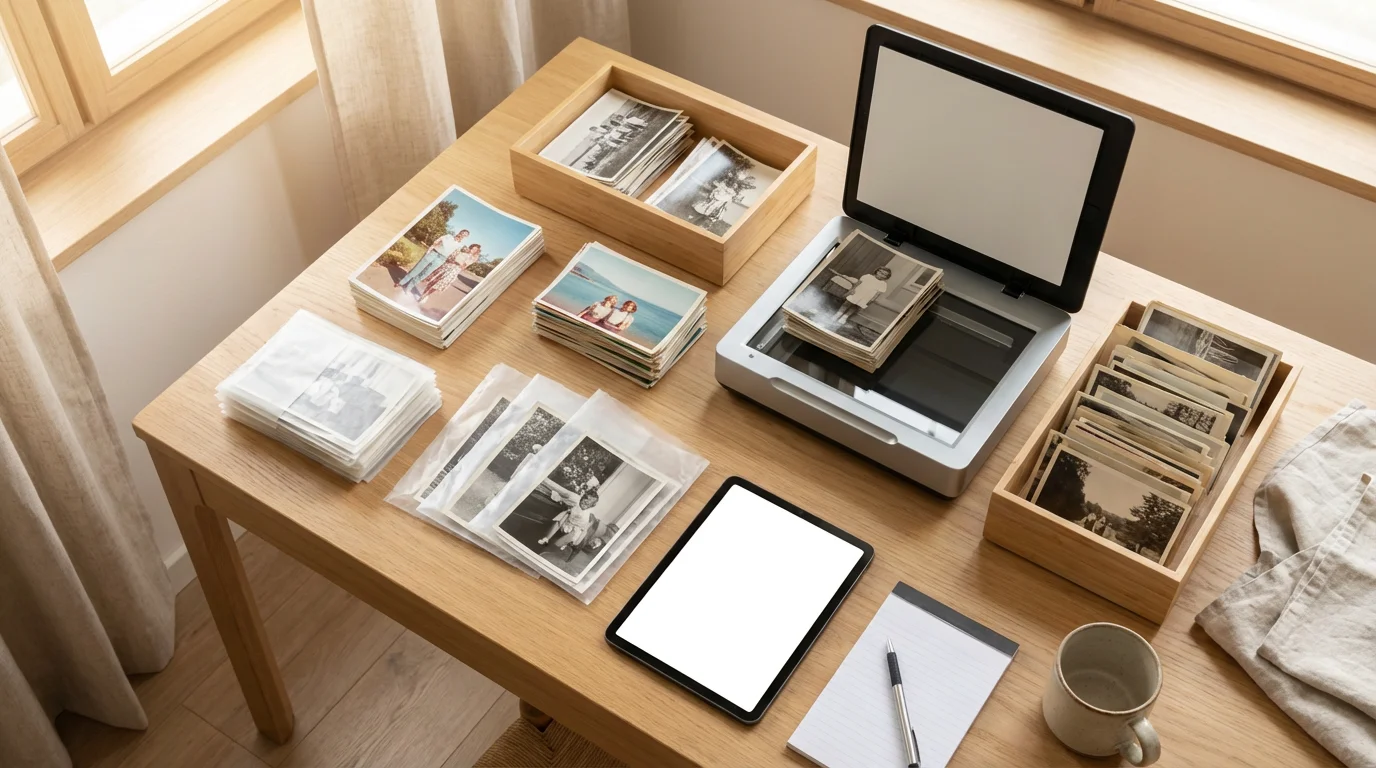
Organizing these new files properly is a critical step in creating a home photo archive that remains accessible for future generations.
For most users, the H.264 MP4 format is the gold standard. It offers excellent compression—meaning the files won’t take up your entire hard drive—while maintaining high visual fidelity. Almost every device on earth, from smart TVs to iPhones, can play MP4 files. If you are a preservationist looking for the highest possible quality and plan to do professional color correction, you might consider an “uncompressed” or “lossless” format like FFV1 in an MKV container, but be prepared for massive file sizes (upwards of 30GB per hour of video).
| Format | Pros | Cons | Best Use Case |
|---|---|---|---|
| MP4 (H.264) | Highly compatible, small file size. | Lossy compression (slight quality loss). | General sharing and viewing. |
| MOV (ProRes) | High quality, easy to edit. | Large file size. | Intermediate editing. |
| MKV (FFV1) | Archival quality, no data loss. | Huge file sizes, limited playback support. | Long-term professional archiving. |
Avoid converting directly to DVD. While it was popular a decade ago, “disc rot” is a documented phenomenon where the reflective layer of the DVD oxidizes and becomes unreadable. Furthermore, the DVD format uses an older compression method (MPEG-2) that is less efficient than modern standards. Stick to file-based digital formats that you can easily copy and move between storage devices.
When to Hire a Transfer VHS to Digital Service
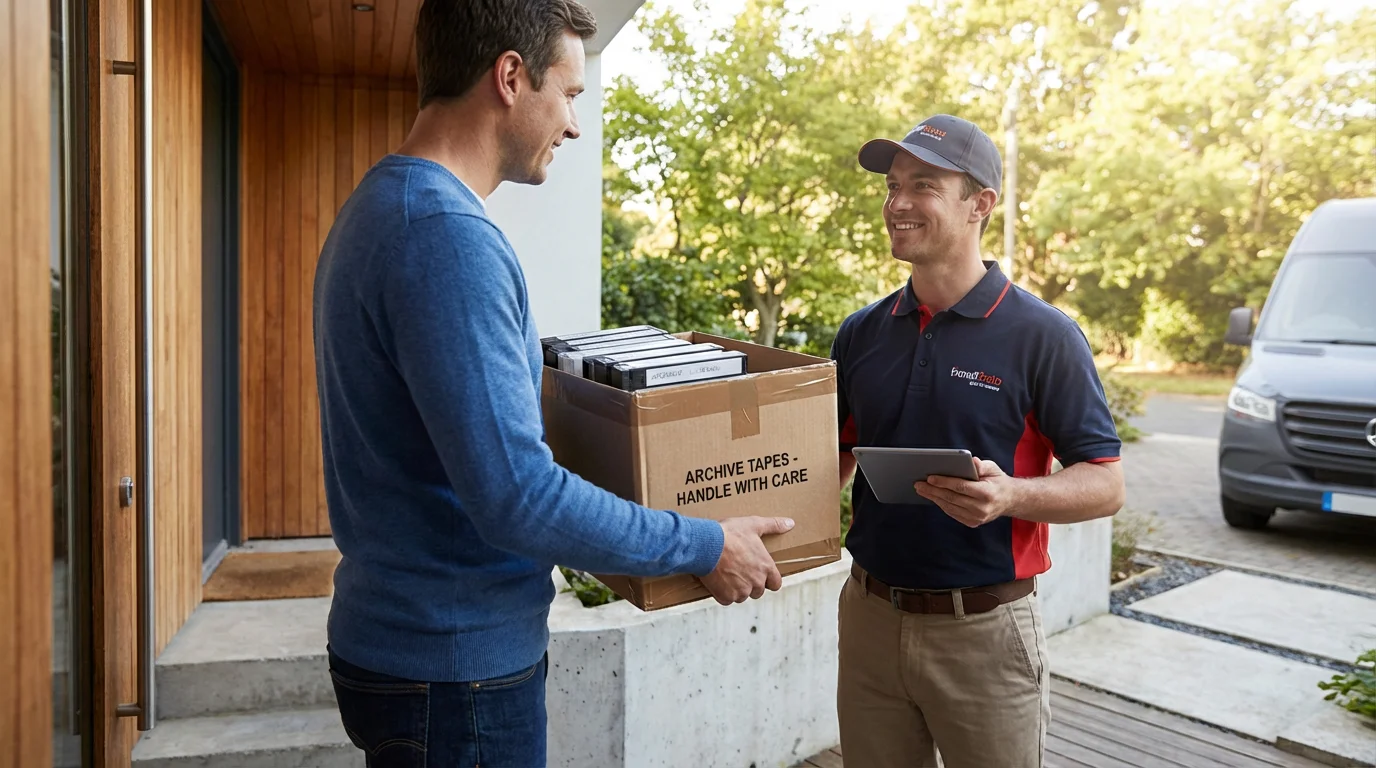
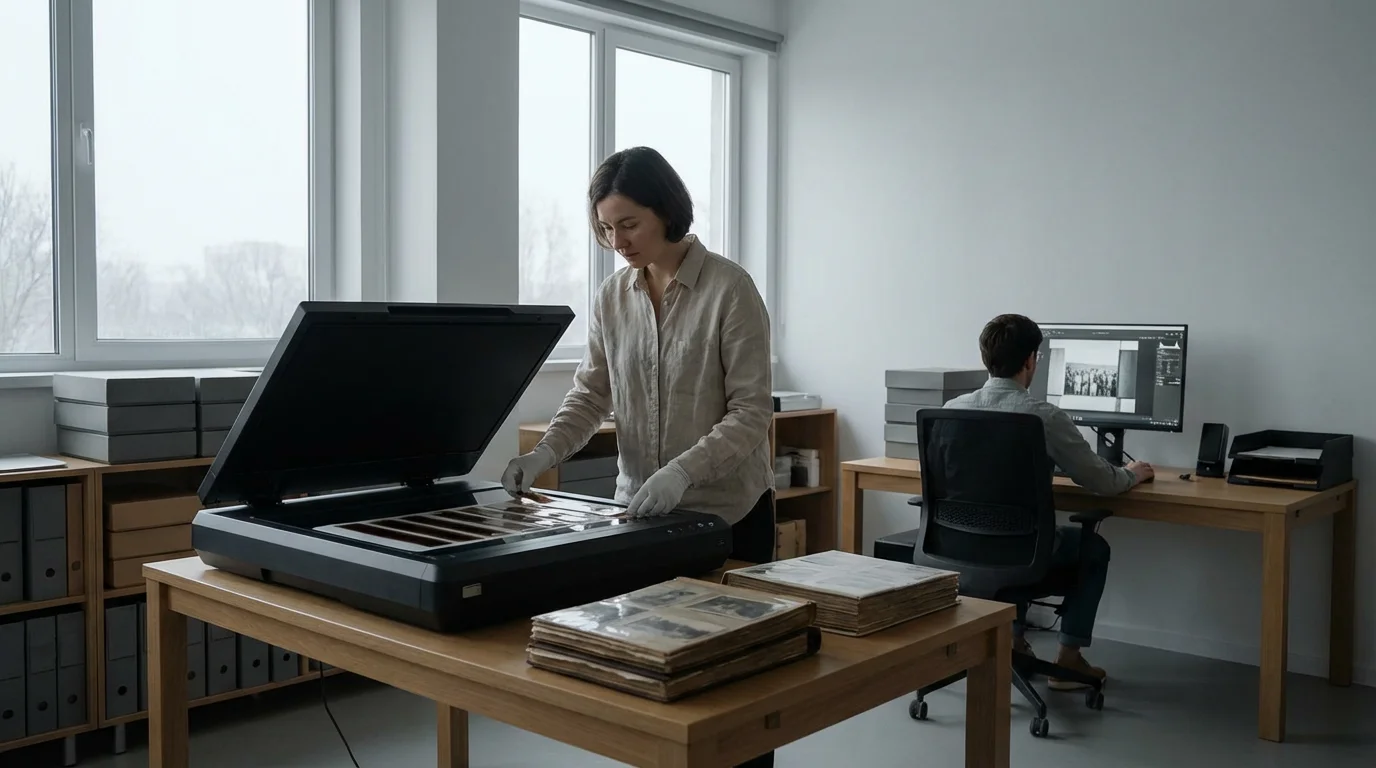
If the technical details above feel overwhelming, or if you discover that your VCR is chewing up tapes, it is time to look for a professional transfer vhs to digital service. Not all services are equal, and your family’s history is too important to trust to the lowest bidder without doing your homework.
Evaluating whether professional scanning services are worth the cost depends on the size of your collection and your quality expectations.
When vetting a service, ask if they provide “frame-by-frame” capture or if they simply run your tapes through a consumer-grade DVD recorder. The best services use professional decks (like the Sony Broadcast series) and external Time Base Correctors to stabilize the “jitter” that often plagues old tapes. They should also offer cleaning services for tapes with minor mold or physical damage.
Check their delivery options. Many older services still default to DVDs, but you should insist on receiving digital files on a USB drive or via a cloud download. This allows you to immediately create your own backups. Finally, look for a service that handles everything in-house. Some “big box” retailers actually ship your precious tapes to a central processing facility, increasing the risk of loss in transit. A local or specialized lab that keeps your tapes on-site is always the safer choice.
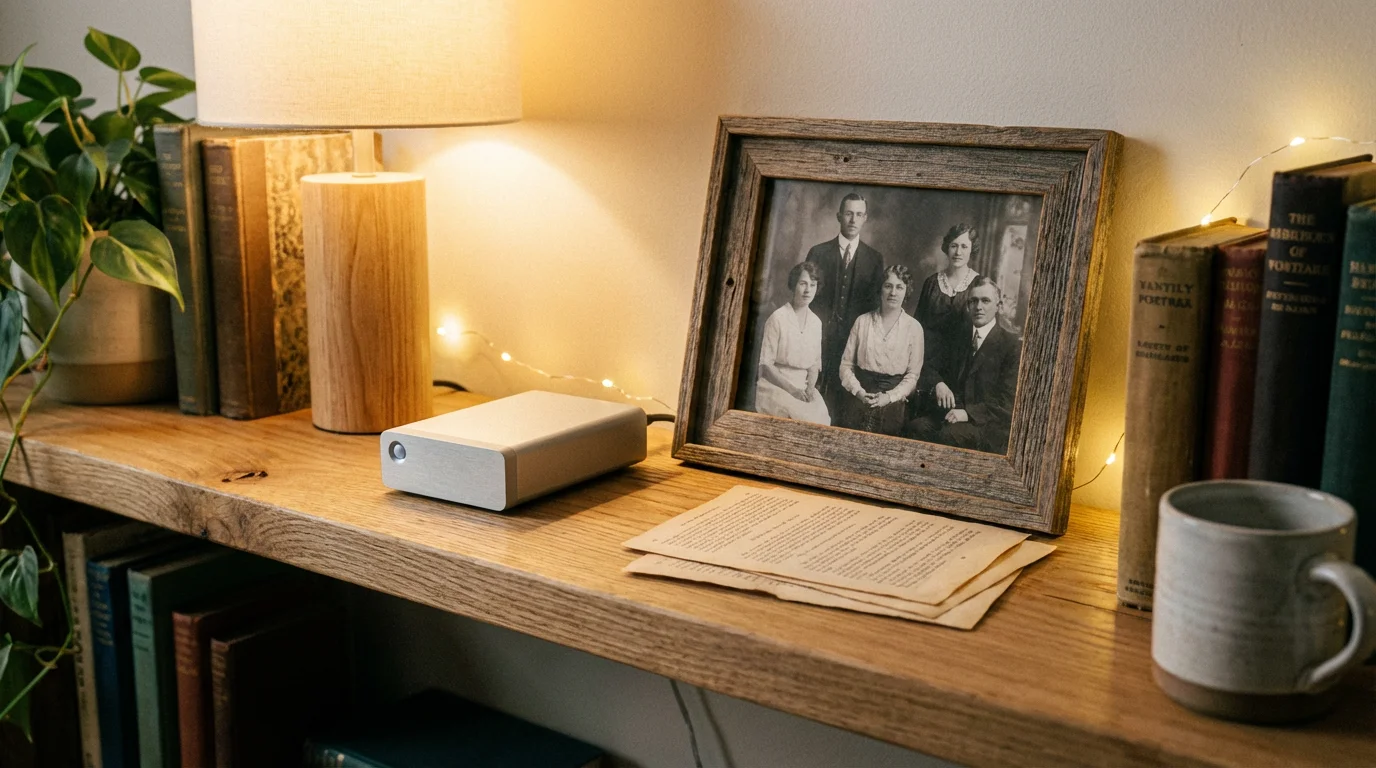
Safeguarding Your Digital Legacy: Storage and Backup
Converting your tapes is only half the battle; the other half is ensuring those new digital files don’t vanish due to a hard drive failure or a lost password. Digital data is notoriously “brittle.” While a VHS tape might slowly degrade over 20 years, a failing hard drive can erase 500 hours of video in a single second.
Follow the 3-2-1 Backup Rule:
Keep 3 copies of your files, stored on 2 different types of media (e.g., one hard drive and one cloud service), with 1 copy located off-site (away from your home). This protects you against hardware failure, accidental deletion, and localized disasters like fires or floods.
Refer to the Library of Congress guidelines on media preservation for best practices. They suggest checking your digital files every few years to ensure they still open and are not corrupted. As technology evolves, you may eventually need to “migrate” your files—for example, moving your MP4s to a newer, more efficient format in 15 years. This proactive management is the only way to ensure your photographic and video heritage remains accessible to future generations.
Finally, give your files descriptive names. A file named VID_001.mp4 is useless to your grandchildren. Use a consistent naming convention, such as 1985-06-15_Sarah_First_Birthday.mp4. This metadata is the “label on the box” that ensures your memories are not just preserved, but findable and meaningful.
Frequently Asked Questions
How much does it cost to have VHS tapes professionally converted?
Prices typically range from $15 to $35 per tape, depending on the length of the footage and the quality of the service. High-end labs may charge more for specialized cleaning or high-bitrate archival captures, while bulk services often offer discounts for collections of 20 tapes or more.
Can I convert VHS-C, Hi8, or MiniDV tapes using the same method?
The general capture process is the same, but the playback hardware differs. VHS-C tapes require a physical adapter that looks like a full-sized VHS tape. Hi8 and MiniDV require either the original camcorder or a dedicated “deck” for that specific format. Most USB capture devices will accept the signal from these cameras just as they would from a VCR.
Why does my converted video have black bars on the sides?
This is actually a good sign! Standard definition video from the VHS era was recorded in a 4:3 aspect ratio (nearly square). Modern screens are 16:9 (widescreen). The black bars, or “pillarboxing,” ensure that the original image is not stretched or distorted. You should avoid any setting that “fills the screen,” as it will make everyone in the video look unnaturally wide.
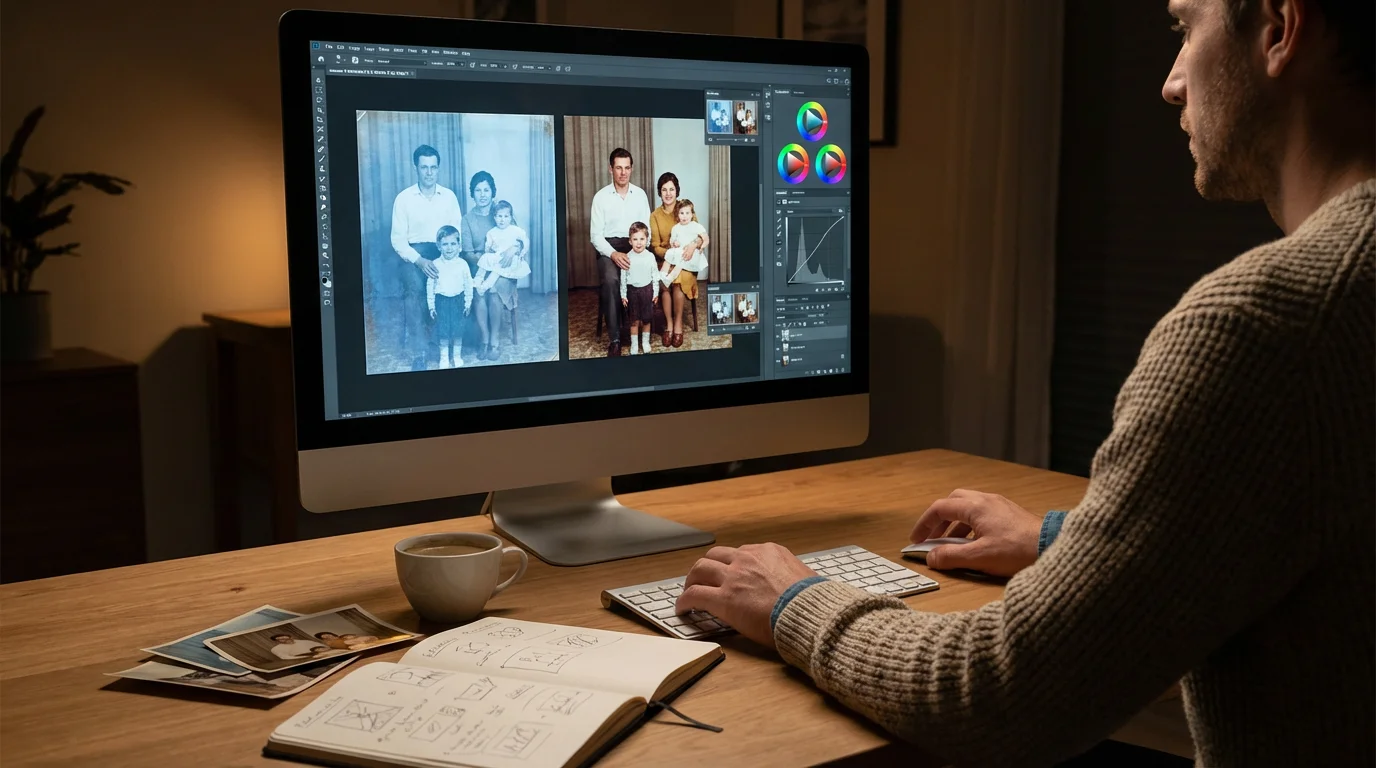
Is it possible to improve the quality of the video after it is digitized?
Yes, you can use “video enhancement” software to reduce noise, sharpen edges, or adjust colors. However, these tools cannot create detail that wasn’t there to begin with. The best approach is to get the cleanest possible capture from the start and treat digital enhancement as a subtle finishing touch rather than a total fix.
Disclaimer: This article is for informational purposes only. When handling valuable or irreplaceable photographs and videos, consider consulting a professional conservator. Always test preservation methods on non-valuable items first.

Leave a Reply