Transforming ninety days of intensive hospital care into a cherished photo record requires a fundamentally different creative approach. Standard baby memory books fail NICU families because their milestone templates depend entirely on calendar days rather than postmenstrual age.
Furthermore, phototherapy lamps emit narrow blue-green wavelengths that clip digital camera sensors, turning tender moments into harsh, clinical portraits. You can restore natural skin tones and celebrate quiet medical victories without overwhelming your family with alarming clinical imagery.
This guide demonstrates how to color balance blue incubator light photo collections, reframe clinical interventions into developmental triumphs, and build an archival nicu baby photo book.
Understanding the 460–490 nm Phototherapy Color Problem
Approximately 10.4% of infants born in the United States arrive prematurely each year, according to national surveillance data from the March of Dimes. A significant portion of these infants spend their initial weeks under intensive overhead phototherapy lights to treat neonatal hyperbilirubinemia.
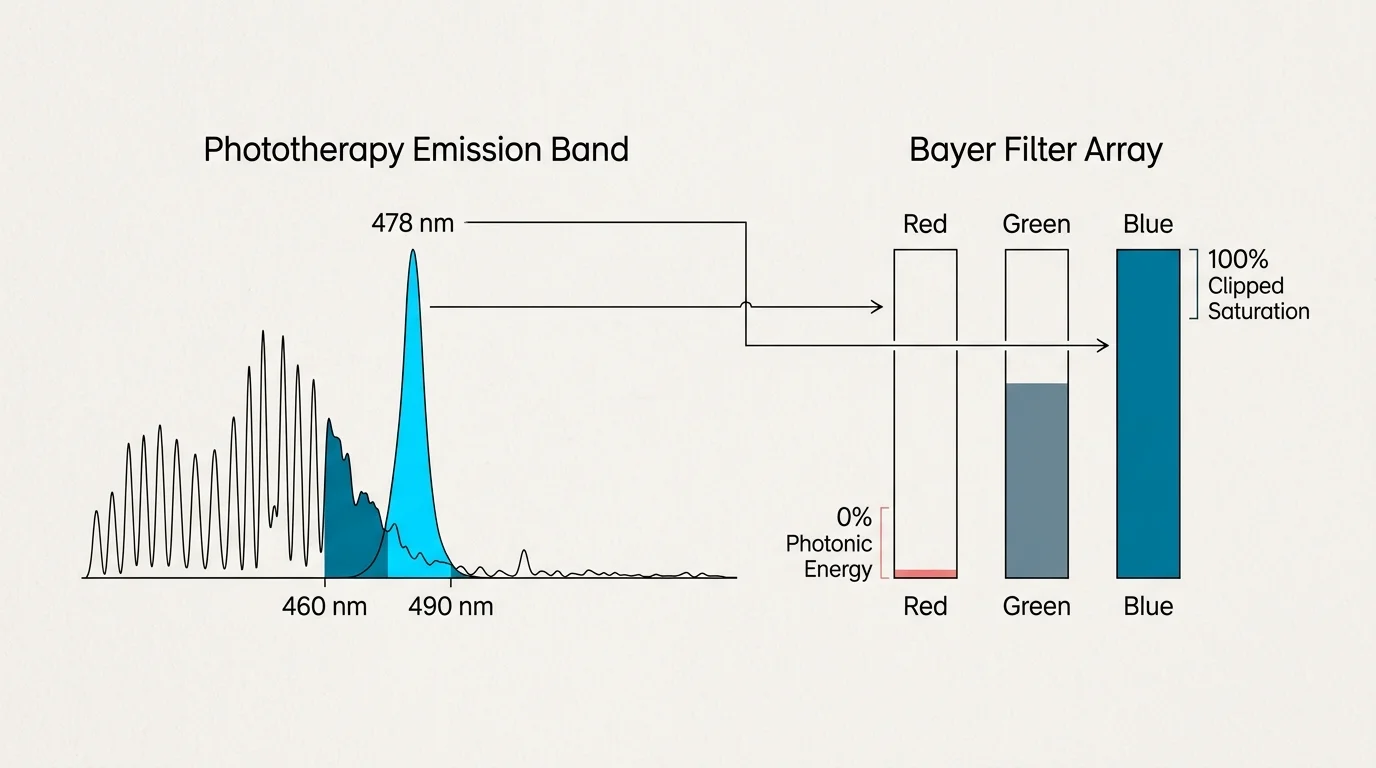
The American Academy of Pediatrics specifies that intensive phototherapy units must emit narrow-spectrum light predominantly between 460 and 490 nanometers, peaking near 478 nanometers. This narrow band breaks down unconjugated bilirubin through photoisomerization; however, it wreaks havoc on consumer digital sensors.
Digital camera sensors capture color using a Bayer filter array composed of red, green, and blue photosites. Under 478-nanometer illumination, the blue channel clips to absolute saturation almost instantly, while the red channel receives virtually zero photonic energy.
When you attempt a simple global white balance adjustment in basic photo apps, the software boosts the red channel to its mathematical ceiling. This creates unnatural magenta artifacts, accentuates skin mottled by clinical stress, and crushes tonal gradation across delicate facial features.
Understanding sensor behavior under monochromatic light helps you diagnose why basic temperature adjustments fail. Detailed tutorials on digital sensor clipping from Cambridge in Colour illustrate how narrow-band illumination destroys chromatic separation across adjacent pixels.

Color-Grading Workflow: Correcting Incubator Cyan in Raw Images
To eliminate clinical discoloration, you must shoot in RAW format rather than JPEG. A JPEG file bakes the sensor’s clipped blue data into an 8-bit channel, discarding the subtle shadow data required to reconstruct natural skin tones.
Open your RAW editing application, such as Adobe Lightroom Classic, Capture One Pro, or Apple Photos RAW engine. Begin by navigating past the global White Balance sliders directly to your Hue, Saturation, and Luminance (HSL) panel.
Reduce the saturation slider for Cyan down to -60 or -75, and lower Blue saturation to approximately -45. This step strips the hyper-saturated monochromatic cast out of the ISO-boosted sensor data without bleaching the infant’s lips.
Next, adjust the Cyan Hue slider upward toward +15 or +20, nudging residual hospital teal tones toward neutral cobalt. Shift the Blue Hue slider by +5 to prevent ambient hospital blankets from taking on sickly purple tinges.
Move directly to the Luminance sub-panel to rebuild the lost luminance in your infant’s face. Raise Orange Luminance by +15 to +25, and increase Red Luminance by +10 to draw warm contours out of the shadows.
Finally, open your three-way Color Grading wheels to inject biological warmth back into the desaturated highlights and midtones. Set your Midtone wheel to an angle of 35 to 40 degrees (warm peach) with a saturation value between 12 and 18.
Selective HSL desaturation isolates the aggressive 478-nanometer light source before you rebuild skin tones. Global adjustments merely stretch broken color channels until digital noise destroys the portrait.
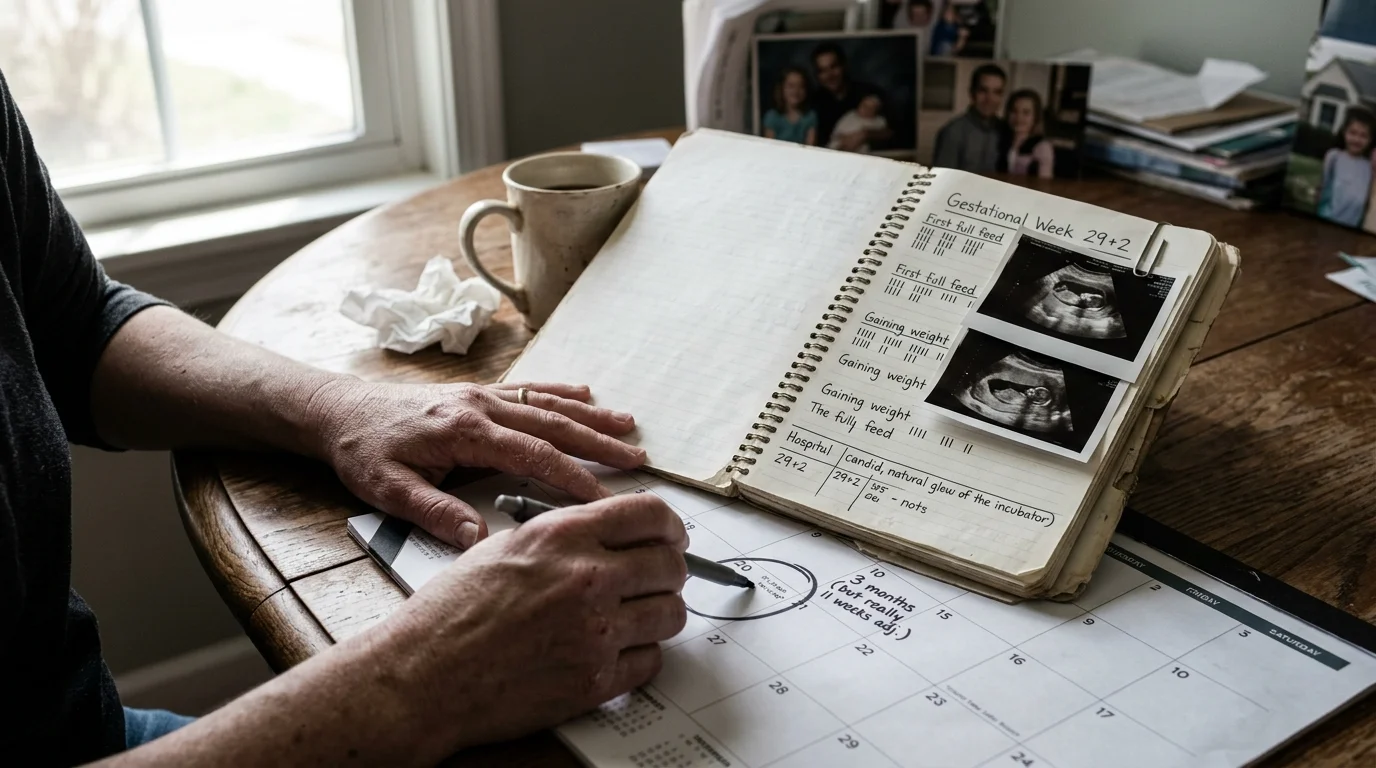
Milestone Pacing: Gestational Weeks Versus Calendar Months
Standard commercial baby albums include pre-printed pages marking “One Month Old,” “Two Months Old,” and “First Outing.” For a preemie born at 26 weeks who spends 90 days in intensive care, these pages create acute emotional heartache.
At one calendar month, an infant born 14 weeks early is still at 30 weeks postmenstrual age (PMA). The child remains inside an incubator, reliant on respiratory support and feeding tubes, rather than smiling or rolling over on a nursery playmat.
When planning how to document nicu journey photos, abandon calendar milestones entirely. Structure your album chapters around gestational milestones and developmental transitions tracked by your bedside neonatology team.
| Developmental Phase | Standard Calendar Framework | Gestational / PMA Framework | Recommended Visual Focus |
|---|---|---|---|
| Extreme Prematurity | Month 1 (Day 1 to 30) | 24 to 28 Weeks PMA | First skin-to-skin touch, tiny footprint next to wedding band, incubator nameplate. |
| Moderate Prematurity | Month 2 (Day 31 to 60) | 29 to 33 Weeks PMA | Transition from ventilator to CPAP, first kangaroo care session, open-air eye contact. |
| Late Preterm Transition | Month 3 (Day 61 to 90) | 34 to 37 Weeks PMA | Transition to open crib, first cotton onesie, initial non-nutritive sucking or bottle feed. |
| Term Equivalent & Home | Month 4 (Discharge Window) | 38 to 40+ Weeks PMA | Car seat safety challenge, removal of feeding tube, passing through the NICU exit doors. |
Organizing your keepsakes chronologically by gestational age provides developmental coherence. It highlights the infant’s real biological progression instead of measuring their recovery against arbitrary calendar dates designed for full-term births.
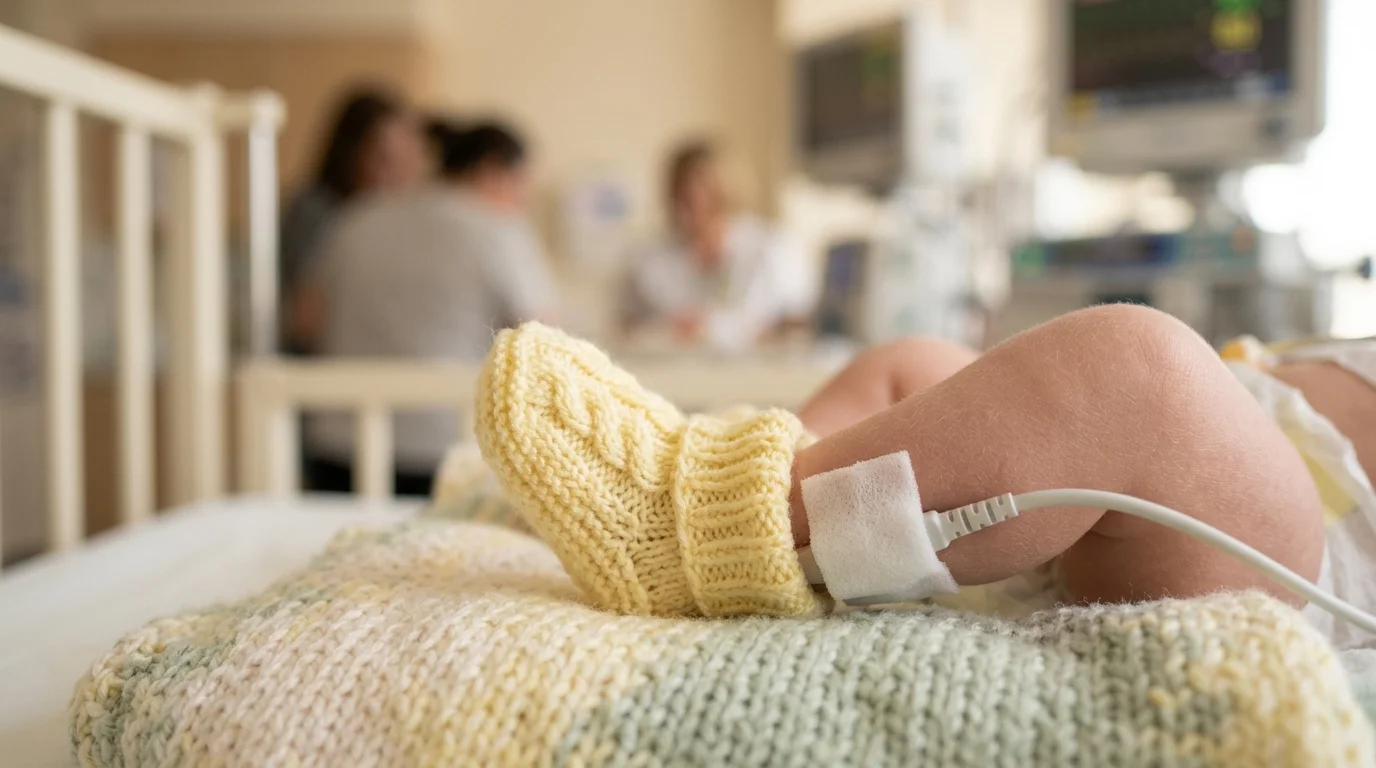
Framing Micro-Milestones: Telling the Story Without Alarming Wires
Parents often hesitate to take photos in the NICU because bedside monitoring equipment appears intimidating. Ventilator circuits, feeding tubes, and umbilical lines can overwhelm viewers who lack clinical context.
You can document these medical realities sensitively by utilizing selective depth of field. Use a fast prime lens set between f/1.8 and f/2.8 to keep your baby’s features sharp while softening distracting background monitors.
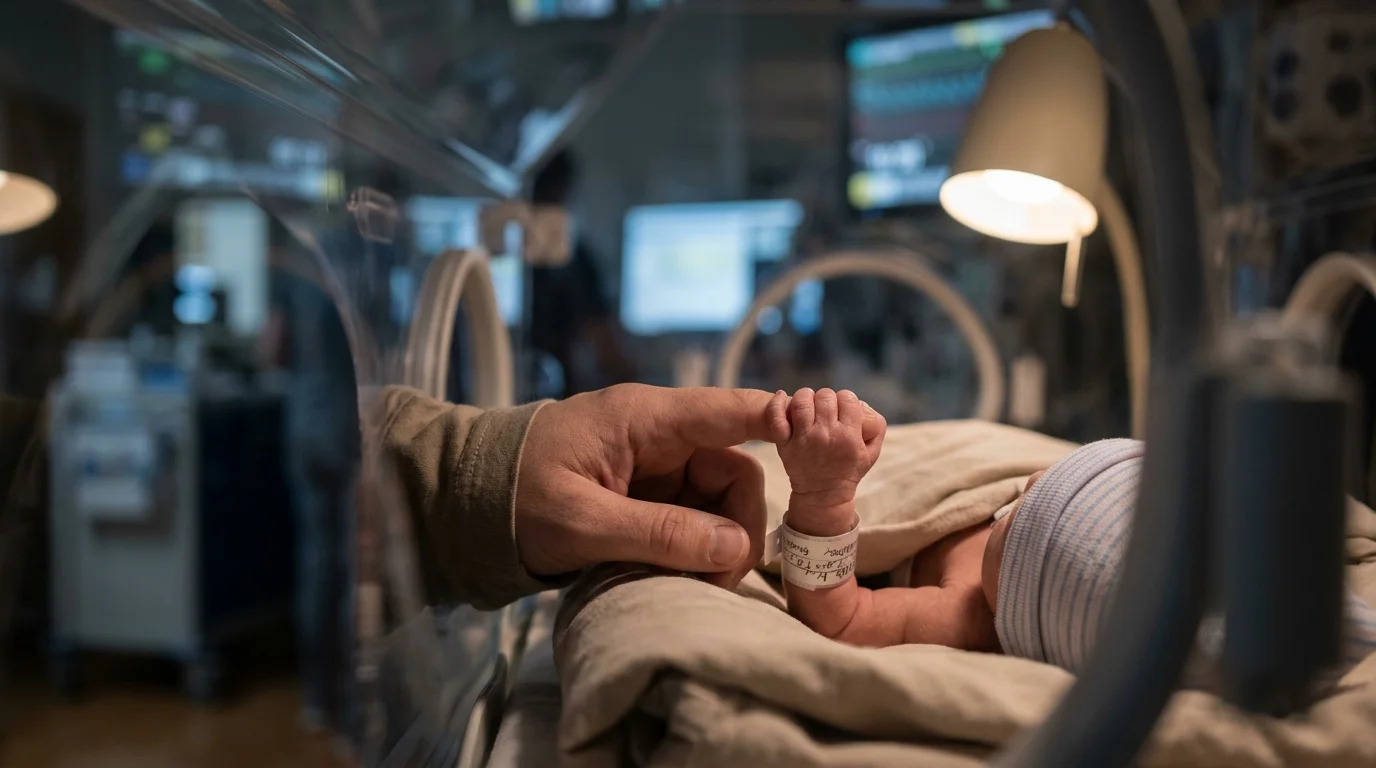
Focus your composition on scale and human connection rather than the full bed space. Frame the infant’s hand gripping your partner’s index finger, or capture a macro shot of their foot pressing against your bare chest during kangaroo care.
Document the removal of medical hardware as triumphant steps forward. Photograph the transition from an endotracheal tube to a nasal CPAP mask, then to high-flow nasal cannula, and finally to room air.
When photographing adhesive medical tape on delicate skin, compose from angles that emphasize eye contact rather than facial barriers. Position yourself near the head of the incubator, shooting down across the infant’s forehead to capture clear expressions.
Avoid photographing monitor alarm screens when numbers dip, as these images trigger traumatic recall rather than pride. Instead, photograph the bedside milestone cards frequently crafted by nurses, such as “First Day on Room Air” or “Two-Pound Club.”
Medical equipment represents life-saving scaffolding rather than permanent identity. Use narrow depth of field to keep your baby at the visual forefront while medical interventions recede softly into the background.
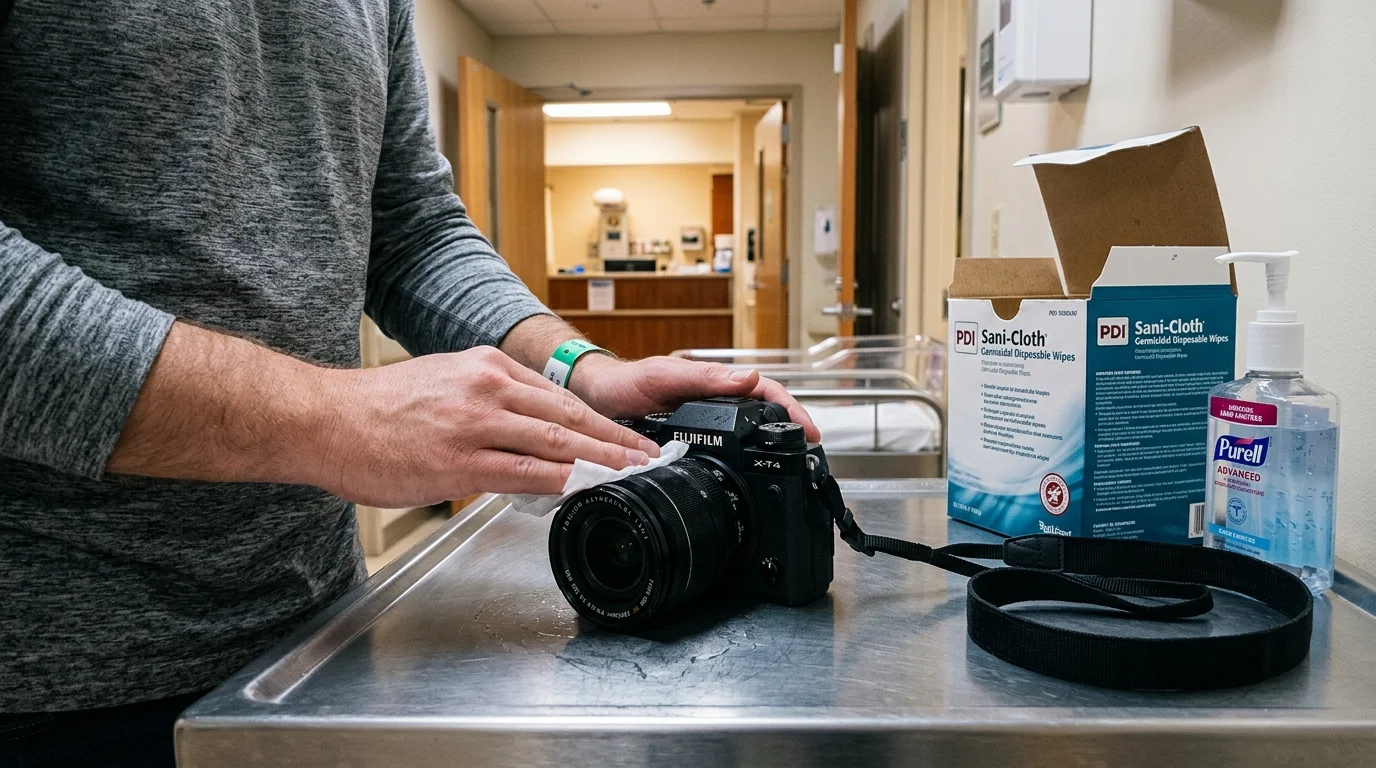
Hospital Protocol: Safety, Disinfection, and Sensor Low-Light Limits
Every neonatal intensive care unit maintains strict infection prevention protocols to protect vulnerable patients from nosocomial pathogens. Your camera equipment, smartphone, and lens barrels act as potential fomites unless you disinfect them thoroughly.
Hospital bedside policies require parents to sanitize personal electronic devices with hospital-approved disinfectant wipes, such as quaternary ammonium or 70% isopropyl alcohol wipes. Always allow the manufacturer-specified wet-contact time—typically two minutes—before drying your equipment with a sterile swab.
Hospital protocols strictly prohibit flash photography inside the NICU environment. Premature infants possess underdeveloped pupillary light reflexes, translucent eyelids, and sensitive retinas that cannot tolerate high-intensity strobe light bursts.
Because flash photography is forbidden, your camera must operate effectively in dim, uneven ambient hospital lighting. Equip your camera body with a 35mm f/1.8 or 50mm f/1.8 prime lens to pull maximum light onto your sensor.
Configure your camera settings to a minimum shutter speed of 1/125 second to freeze your baby’s rapid breathing movements. Set your ISO between 1600 and 3200, relying on modern digital noise reduction software rather than risking motion blur.
Respect federal health privacy laws and hospital regulations regarding Protected Health Information (PHI). Never angle your camera toward neighboring incubators, central nursing stations, or bedside monitors displaying another infant’s medical charts.
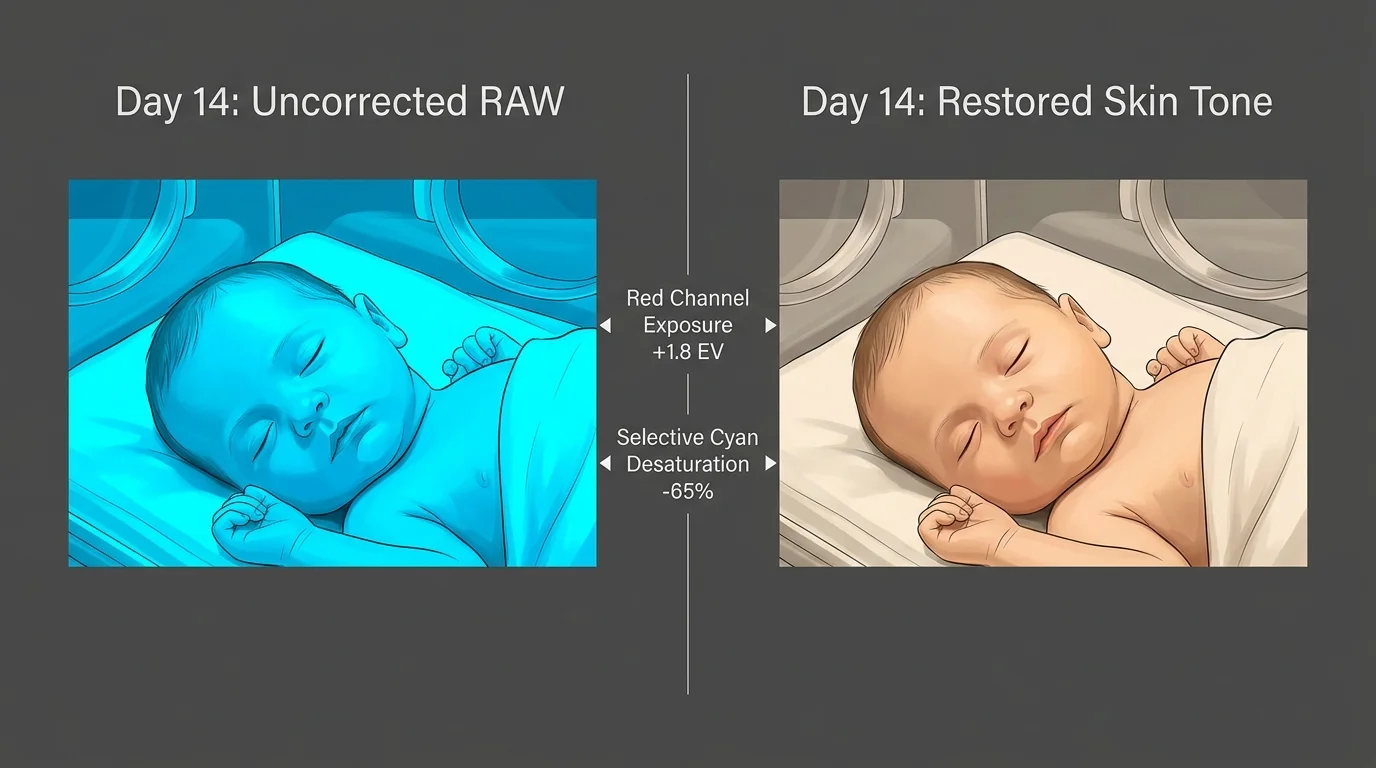
Worked Example: Restoring a Day 14 Phototherapy Portrait
To see how targeted adjustments function in practice, consider this worked scenario restoring a high-contrast incubator photograph. The image was captured on October 14, representing Day 14 of life for an infant born at 27 weeks gestation, weighing 940 grams.
The original image was captured under active overhead phototherapy with a mirrorless camera and a 35mm f/1.8 lens. Exposure values were 1/160 second, f/2.0, and ISO 2500, recorded as an uncompressed 14-bit RAW file.
In the straight-out-of-camera RAW rendering, the infant’s face appeared saturated in harsh electric cyan. The histogram revealed extreme clipping in the blue channel at RGB value 255, while the red channel was compressed entirely below value 40.
The step-by-step restoration parameters in Adobe Lightroom Classic proceeded as follows:
- Basic Panel: White Balance manually shifted from “As Shot” (4100K) to 8600K; Tint increased from +4 to +36 (magenta).
- HSL Saturation: Cyan shifted to -74%; Blue shifted to -52%; Magenta shifted to -18%.
- HSL Hue: Cyan shifted to +24; Blue shifted to +12; Orange kept at 0.
- HSL Luminance: Orange increased to +22; Red increased to +14; Blue reduced to -12 to retain gentle bedding depth.
- Color Grading Panel: Midtone Hue set to 36 degrees with Saturation at 16; Highlight Hue set to 42 degrees with Saturation at 8.
- Tone Curve: Raised the shadow endpoint by 4% to soften harsh incubator plastic reflections.
Total processing time required exactly four minutes in the editing suite. The final export transformed a harsh, alarming clinical photo into a tender portrait with soft, natural peach skin tones and zero blue artifacts.
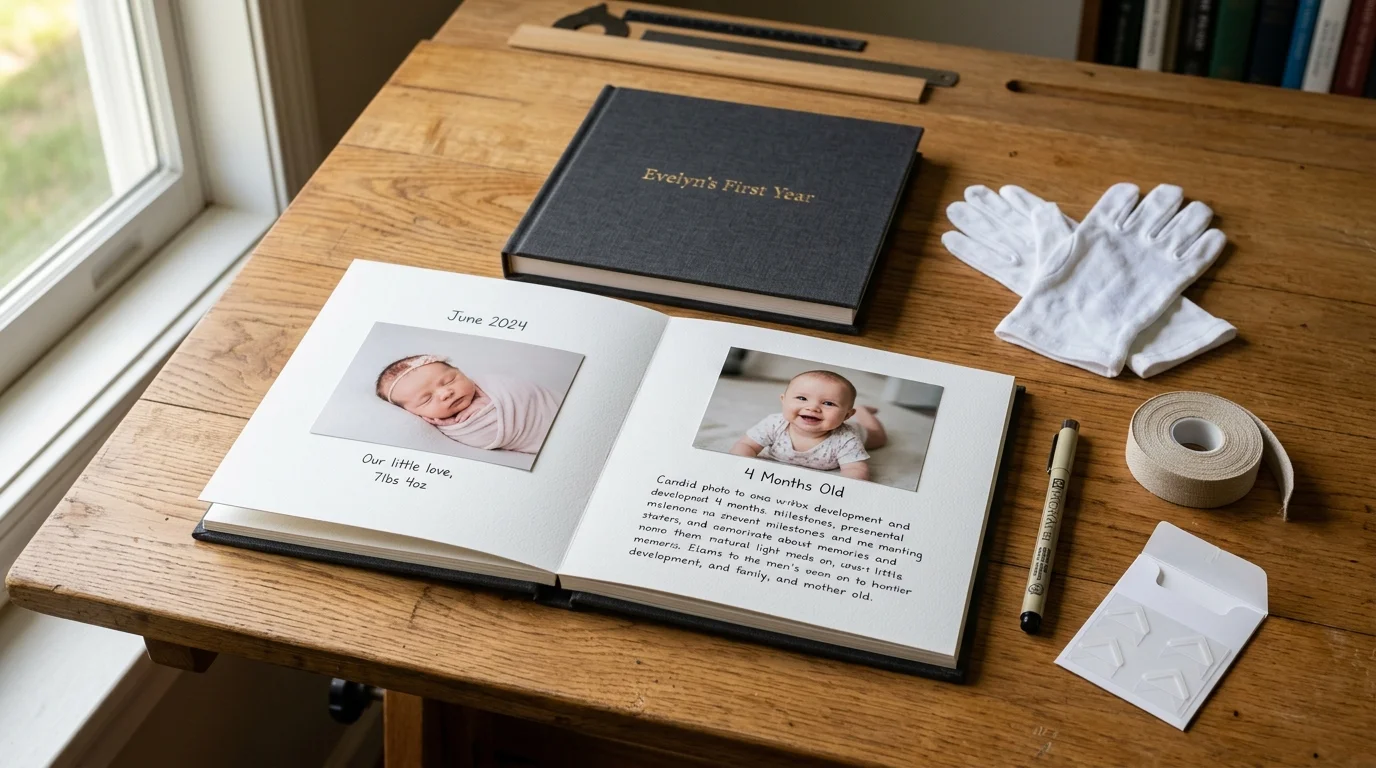
Selecting Archival Materials for a Medical-Milestone Keepsake Book
Preserving your NICU documentation requires materials that resist degradation over decades of handling. Standard cheap commercial photo books utilize acidic glues and thin press-printed papers that yellow, turn brittle, and fade within fifteen years.
Your finished nicu baby photo book should follow archival print permanence standards. Review the photographic longevity standards documented by the Image Permanence Institute to understand how humidity, light exposure, and chemical off-gassing break down consumer-grade prints.
Select flush-mount albums bound with archival, acid-free rag boards rather than standard magazine-weight photo papers. Flush-mount albums allow edge-to-edge panoramic spreads that lay flat, preventing incubator lines and milestone portraits from disappearing into a center gutter.
Specify 100% cotton rag paper with a neutral pH, certified to pass the Photographic Activity Test (ISO 18916). Pair this substrate with pigment-based aqueous inks—often marketed as giclée printing—which boast display ratings exceeding 100 years without noticeable fading.
Cover materials should balance tactile comfort with clinical cleanliness. Avoid synthetic pleathers that break down through hydrolysis; opt instead for custom bookbinding buckram or genuine linen treated with water-resistant, acid-free starch coatings.

Curating the 90-Day Arc: Pacing Your Album Layout
A ninety-day stay in the neonatal unit produces thousands of photographs. Attempting to include every snapshot will dilute the emotional resonance of your family’s journey and exhaust anyone viewing the album.
Edit your archive down to approximately 75 to 110 standout photographs spread across 30 to 40 album pages. Structure the narrative arc across three distinct, balanced chronological chapters.
Chapter 1: The Fragile Beginning (Days 1–30 / 24–28 Weeks PMA). Dedicate twelve pages to the initial crisis and early stabilizing efforts. Highlight tiny scale, delicate hands, medical vigilance, and your first tentative moments of skin-to-skin touch.
Chapter 2: The Working Middle (Days 31–60 / 29–33 Weeks PMA). Dedicate fourteen pages to developmental endurance. Feature gradual respiratory weaning, the removal of invasive monitoring lines, growth chart accomplishments, and your baby wearing their first preemie-sized hat.
Chapter 3: The Sprint Toward Home (Days 61–90 / 34–38+ Weeks PMA). Dedicate fourteen pages to active discharge preparation. Showcase the move to an open bassinet, independent feeding triumphs, the final car seat challenge, and your walk through the hospital exit doors.
Incorporate small visual artifacts alongside the photography to deepen tactile memory. Photograph hospital ID bands, the first tiny preemie diaper, or milestone footprint cards, placing them neatly on alternating clean white pages.
Conclude your album with a side-by-side comparison on the final spread. Display a macro portrait from Day 1 opposite a portrait from discharge day to permanently capture your infant’s remarkable resilience.
Frequently Asked Questions
How do I color balance blue incubator light photos using only a smartphone?
Download free mobile editing apps like Adobe Lightroom Mobile or Snapseed that offer selective color adjustments. Access the HSL tool, tap the color dropper on the blue incubator light, and drag the saturation slider down until the cyan cast disappears from your baby’s skin.
Can hospital disinfectant wipes damage my digital camera lenses?
Yes, aggressive chemical wipes like bleach-based or strong ammonium hospital wipes can strip anti-reflective lens coatings over time. Use gentle 70% isopropyl alcohol wipes on exterior camera barrels and screens, and rely on a clean microfiber cloth with specialized optical cleaner for front glass elements.
Should I include challenging medical days in our keepsake album?
Yes, but frame them around resilience rather than clinical despair. Include one or two quiet portraits from difficult setbacks—such as an unexpected re-intubation—accompanied by short, honest journal captions describing your family’s quiet courage during those hours.
What camera settings should I use through acrylic incubator plastic?
Place your lens hood directly against the flat acrylic surface to eliminate reflective glare from room lighting. Shoot perpendicular to the plastic at f/2.0 or f/2.8, using manual focus to prevent your camera’s autofocus sensor from locking onto scratches on the incubator walls.
Disclaimer: This article is for informational purposes only. When handling valuable or irreplaceable photographs, consider consulting a professional conservator. Always test preservation methods on non-valuable items first.