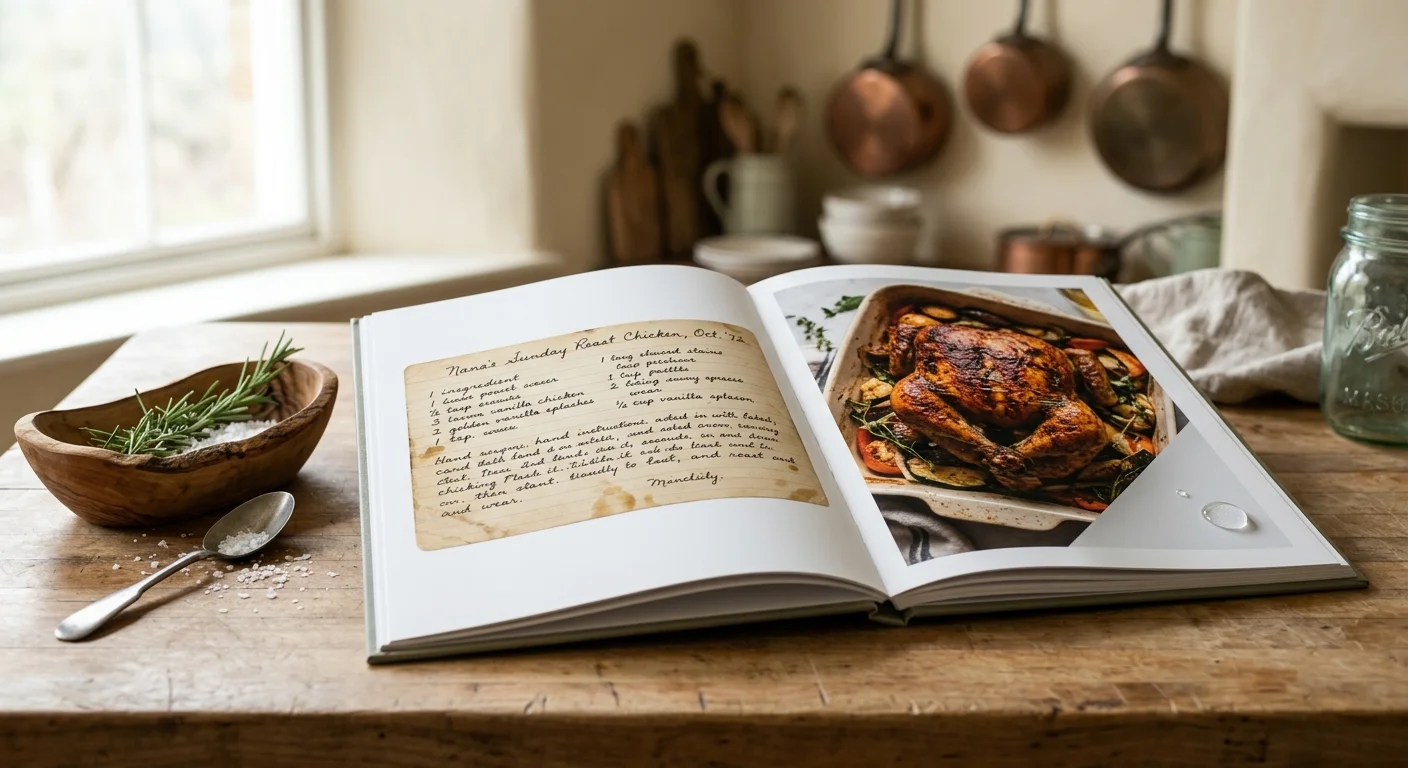
You can build a durable memorial keepsake that honors your late husband’s culinary legacy without sacrificing the authentic splatters on his original cards. This project binds high-resolution scans of his handwritten notes alongside fresh photos of his signature meals into a splash-proof volume.
Most photo books fail near a stove because paper warps under steam and commercial lamination peels at the seams. By engineering a spill proof photo recipe book using tear-resistant synthetic substrates and twin-loop wire binding, you can cook his comfort recipes daily without fear.
Preserving Culinary Memory: Digitizing Handwritten Cards Without Erasing the Past
Every crease, butter stain, and vanilla splash on your husband’s index cards tells the story of your shared meals. You do not want to digitally scrub away these intimate traces of his presence.
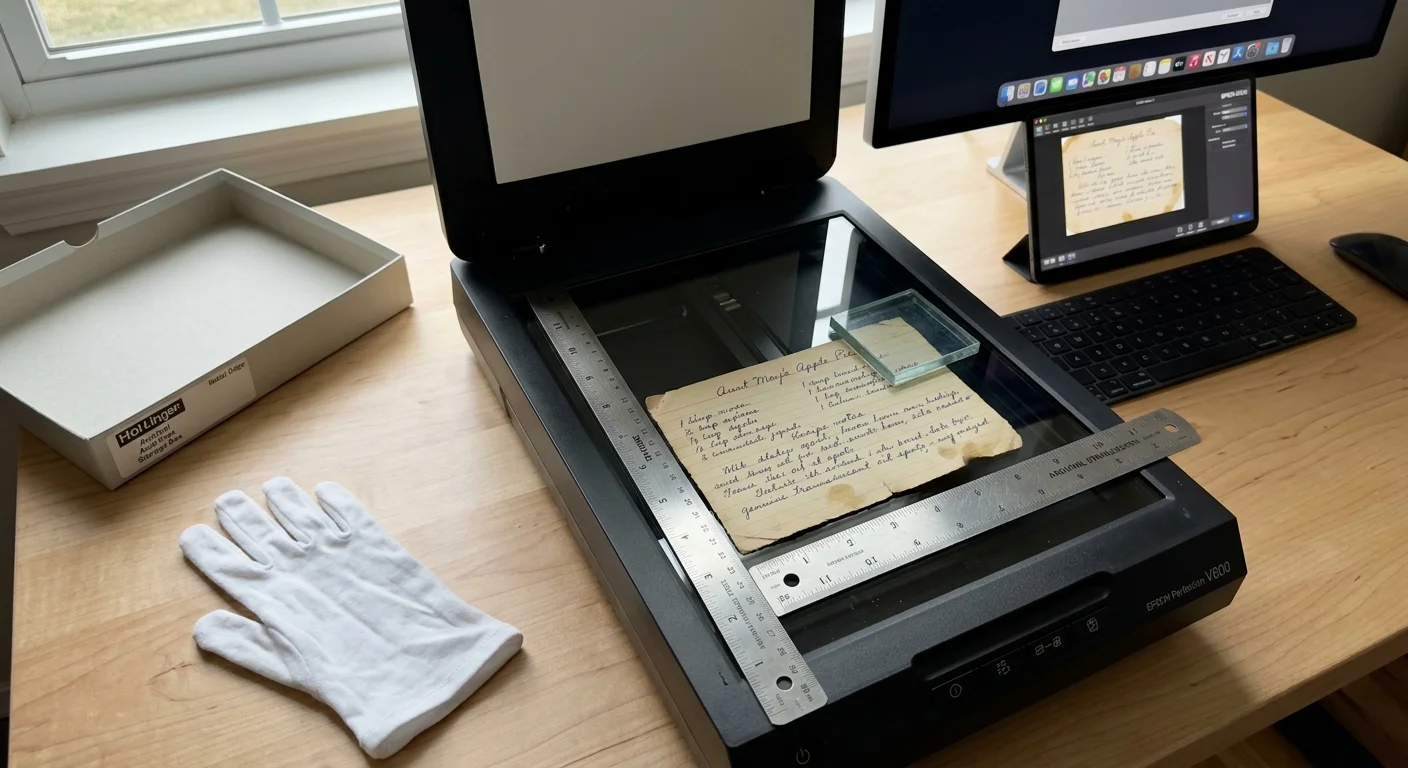
Set a flatbed scanner to 600 DPI using 24-bit RGB color mode. This resolution captures subtle pencil pressure, ink fading, and the exact golden tone of aged index paper.
Never run fragile cards through an automatic sheet feeder. Lay each card flat against the scanner glass, aligning the edges with an archival ruler to avoid skewing.
Save the raw scans as uncompressed TIFF files rather than compressed JPEGs. The digital preservation standards published by the Library of Congress Preservation Directorate confirm that uncompressed master files protect delicate historical gradients from digital degradation over time.
If a card has a warped edge from past spills, use a small piece of acid-free glass to weight it flat. Do not apply adhesive tapes or chemical cleaners to flatten stubborn paper.
Capture both sides of every recipe card, even if the reverse side contains only a faint grease spot. That mark shows where his hand rested while basting a Sunday roast.
Photographing the Finished Dish: Lighting and Staging Memorial Meals
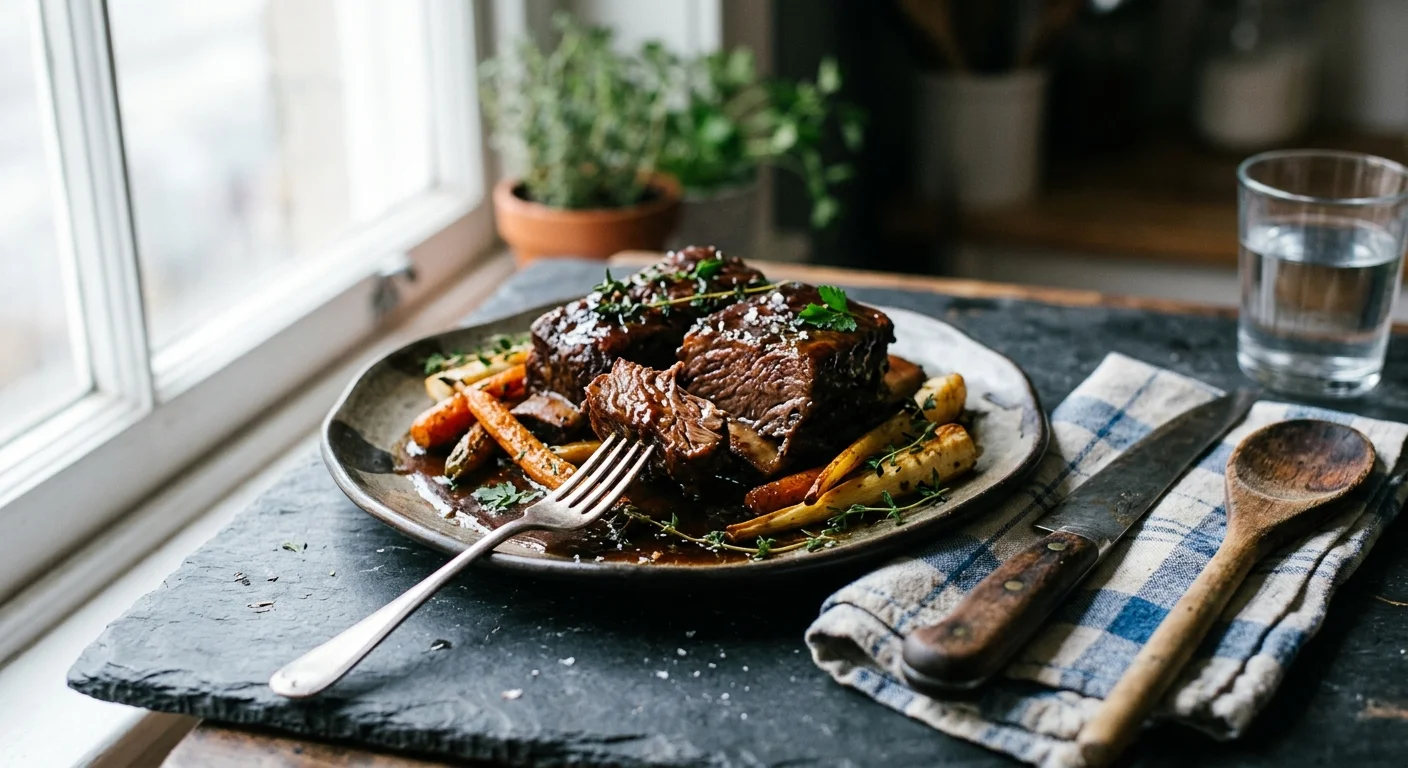
Cooking his signature recipes can feel like an emotional journey. Preparing his braised short ribs or sourdough bread lets you celebrate his culinary touch through photographic documentation.
Set your staging area next to a north-facing window during late morning. Soft, diffused side-lighting illuminates moisture on roasted vegetables and deepens rich sauce highlights naturally.
Mount your digital camera or smartphone on a steady tripod directly above or at a 45-degree angle to the plate. An aperture setting between f/4 and f/5.6 creates gentle background blur while keeping ingredients sharp.
Include physical mementos he used at the dinner table within the frame. His favorite carving knife, his worn wooden spoon, or his checked linen napkin ground the dish in family history.
Keep the surrounding area clear of clutter to focus attention on the food. Wipe rim splatters off the plate with a damp paper towel before taking your final photograph.
Take multiple exposures across different cooking stages. A shot of garlic sizzling in his cast-iron skillet adds rich visual context alongside the finished plate.
Designing the Page Layout: Harmonizing Archival Artifacts and Modern Photos
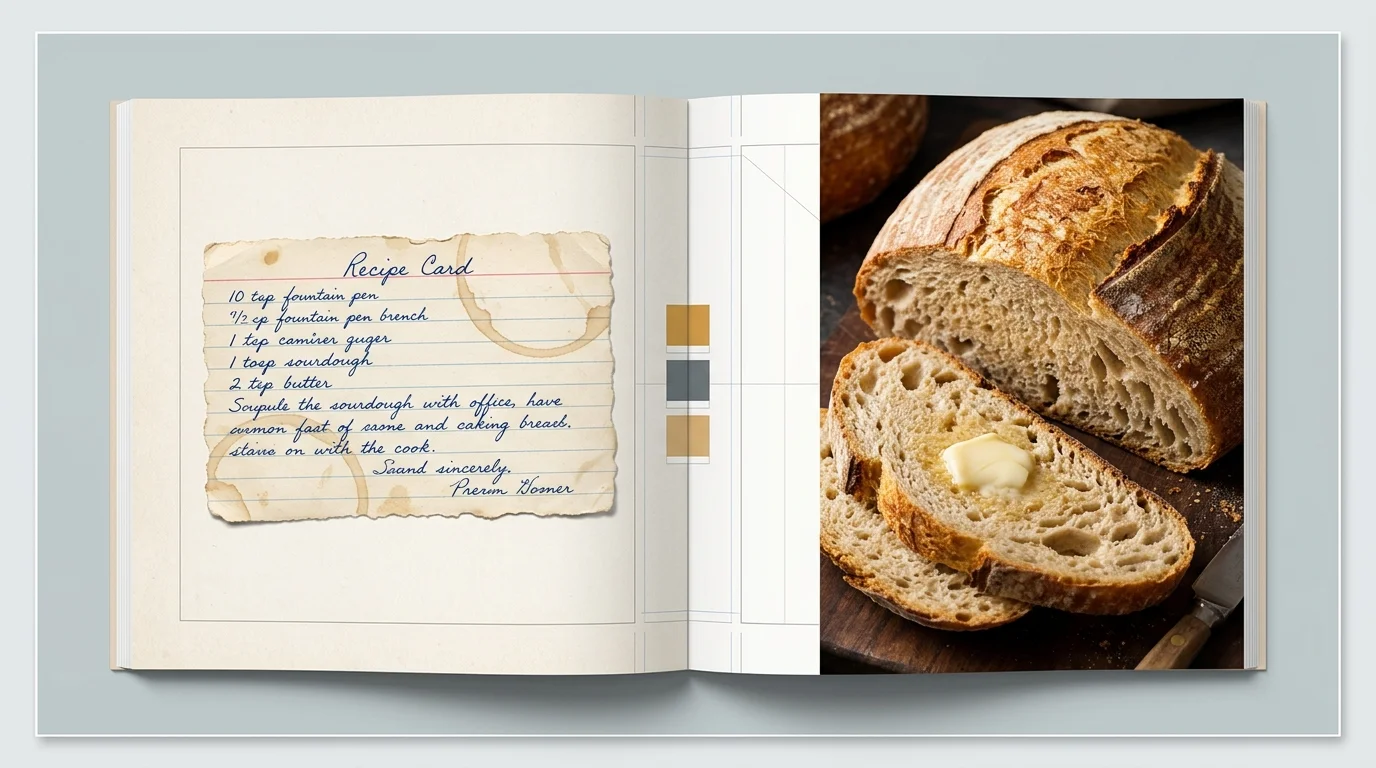
A balanced two-page spread format establishes visual harmony between the past and the present. When planning your family recipe photo book design, assign each dish a full left-and-right display.
Place the photographic scan of his handwritten card on the left-hand page. Scale the image to actual size so his handwriting feels personal and immediate as you stand at the counter.
Transcribe his handwritten ingredients and directions in a crisp, legible typeface beneath or alongside the scan. A modern serif font at 11-point size ensures effortless reading while chopping ingredients.
Dedicate the facing right-hand page to a full-bleed photograph of the prepared meal. Seeing the rich colors of the completed dish provides an encouraging visual guide for your cooking session.
Leave at least one inch of white space around all four outer margins. Ample margins keep your fingers from obscuring printed text when holding the book open.
Layouts should balance raw historical evidence with functional kitchen readability. Clear typography ensures you never misread a tablespoon for a teaspoon during meal preparation.
Add a brief memorial caption at the bottom of the page noting when he first prepared the dish. Recording special holiday anniversaries turns the cookbook into a treasured family biography.
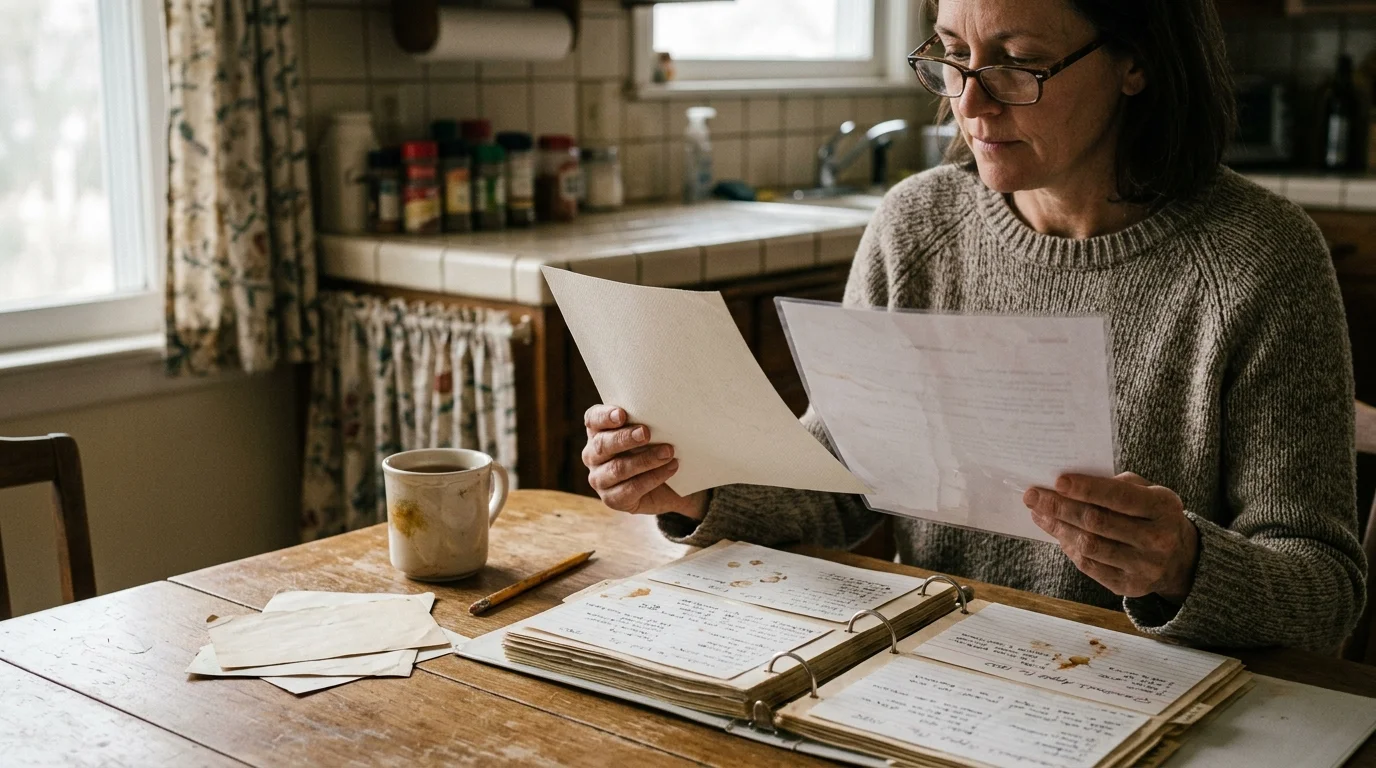
Synthetic Substrates vs. Lamination: Choosing Countertop-Grade Paper
Standard cookbooks absorb kitchen splatters like a sponge, leaving permanent stains. Traditional plastic lamination also fails over time because steam breaks down thermal edge seals.
Solid-core synthetic paper eliminates these issues completely. Made from high-grade polyester or polypropylene polymers, synthetic sheets contain zero wood pulp and cannot absorb moisture.
When hot broth or melted butter hits synthetic paper, the liquid stays on the surface. You simply wipe the page clean without worrying about puckering, warping, or delamination.
Synthetic paper also offers superior tear resistance around binding perforations. Even vigorous page turning with wet hands will not rip the inner rings.
| Substrate Option | Thickness & Weight | Steam Resistance | Grease Cleanability | Layflat Behavior |
|---|---|---|---|---|
| Standard 100 lb Gloss Paper with 3-mil Thermal Lamination | 14 mil / 310 gsm | Low (Edges separate after repeated exposure) | Moderate (Grease traps under loose plastic edges) | Stiff (Springs shut easily) |
| Solid Polyester Synthetic Film (Nekoosa Synaps OM) | 10 mil / 270 gsm | Impervious (No layers to separate or warp) | High (Wipes clean with mild detergent) | Flexible (Lies flat without spring tension) |
| Polypropylene Film (YUPO Ultra Synthetic) | 8 mil / 200 gsm | High (Heat sensitive above 200°F) | High (Impervious to cooking oils and vinegar) | Flexible (Folds smoothly over coils) |
| Uncoated 80 lb Text Paper with Water-Base Varnish | 5 mil / 118 gsm | Fails (Paper wrinkles instantly under steam) | Fails (Absorbs oil spots permanently) | Neutral (Pliable but highly fragile) |
Solid polyester film remains dimensionally stable when exposed to counter heat from adjacent stovetop burners. It provides the ideal balance of tactile flexibility and heavy-duty kitchen durability.
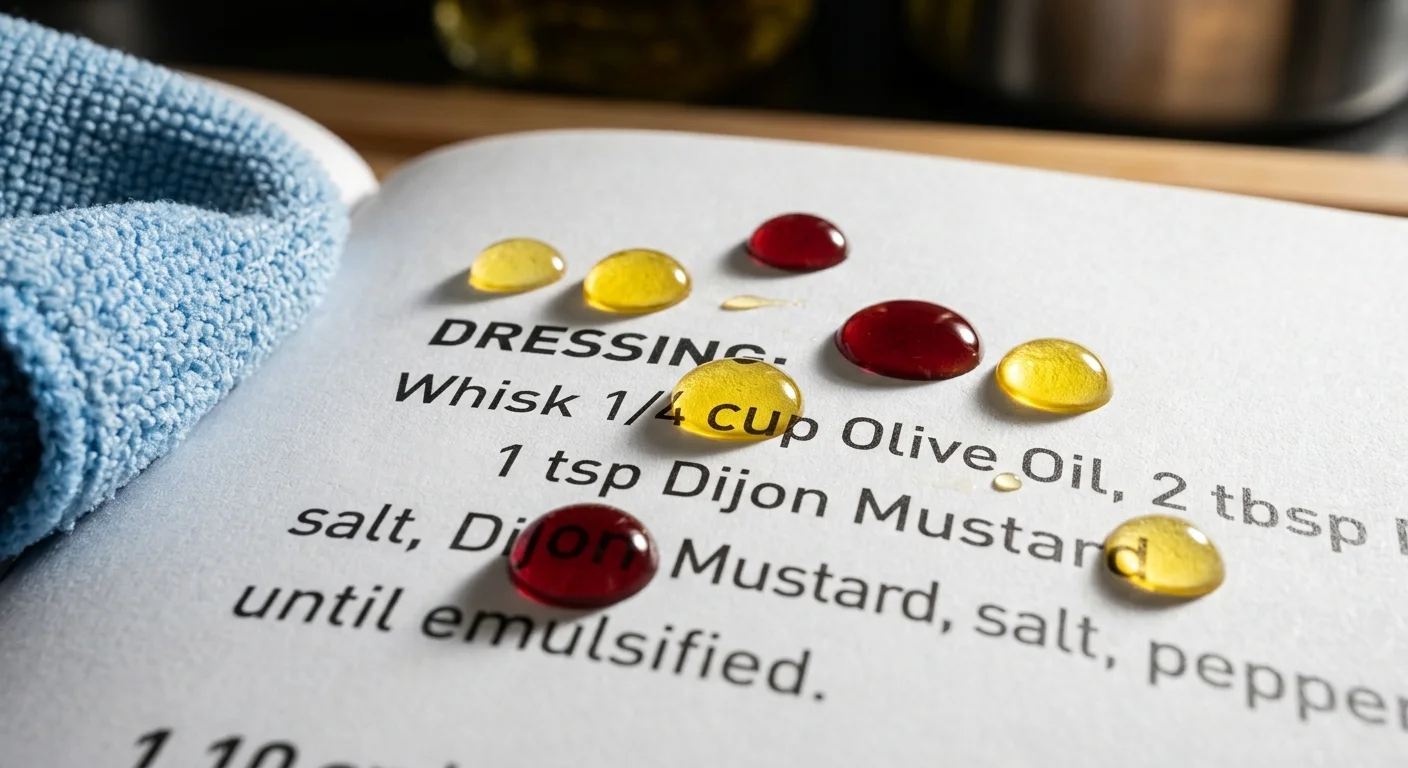
Protective Coatings: Defending Against Oil and Acid Spills
Cooking ingredients attack printed images through both fat absorption and acidic degradation. Tomato puree, citrus juice, and hot grease can dissolve standard digital toner over time.
Applying an inline ultraviolet (UV) flood coating over the printed synthetic sheet seals the pigments. The liquid varnish cures instantly under UV light, forming an impenetrable acrylic shield.
Opt for a matte UV coating rather than high gloss. Glossy finishes produce intense reflections under overhead kitchen lights, obscuring ingredient quantities while you measure.
A matte surface maintains soft text contrast and replicates the visual texture of real paper. It also resists greasy fingerprints, ensuring the book looks neat after heavy use.
If red marinara sauce spatters the page, let it cool before wiping. Use a soft microfiber cloth dampened with warm water and one drop of liquid dish soap.
Avoid scouring pads, acetone, or abrasive cleansers on coated synthetic sheets. Gentle wiping preserves the varnish coat and keeps the memorial imagery sharp for decades.
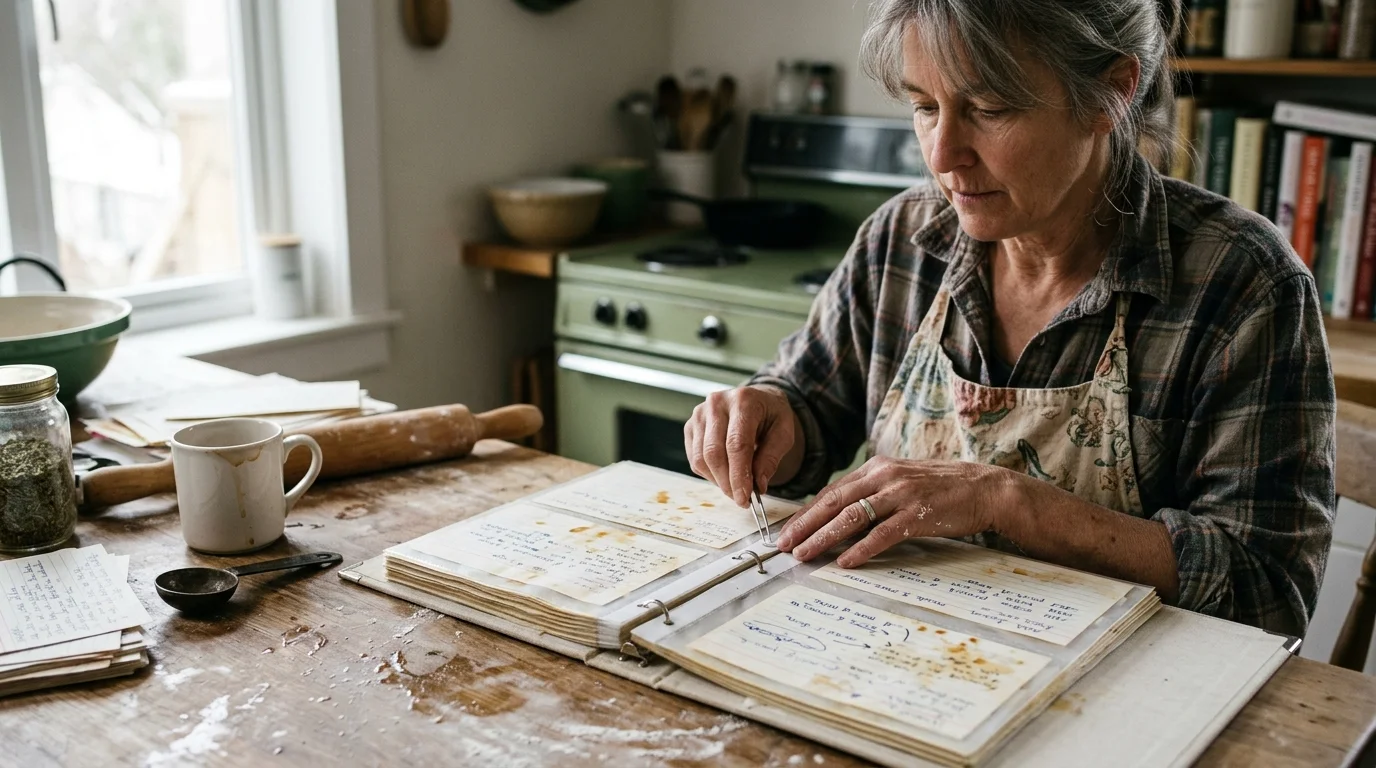
Binder Engineering: Layflat Mechanics for Cooking Counters
Most commercial cookbooks use case-bound glued spines that snap shut unless weighted down by soup cans. Forcing a glued book open near cooking pots eventually snaps its spine.
Double-loop Wire-O binding provides true mechanical layflat performance. Each page pivots independently around continuous metal wire loops without tension or resistance.
This binding system lets the book fold completely back on itself at a full 360-degree angle. Folding the volume in half cuts its countertop footprint by 50 percent.
Select a 3:1 pitch wire diameter with a bronze or matte black finish. Wire-O provides clean visual elegance while standing up to frequent kitchen handling.
Specify a heavy-duty, water-resistant book board for the front and back covers. A 2.0 mm chipboard wrapped in moisture-resistant Buckram bookcloth provides rigid physical support.
The rigid cover acts as an easel when propped against a counter backsplash. You can read your husband’s recipes from several feet away while stirring simmering sauces.
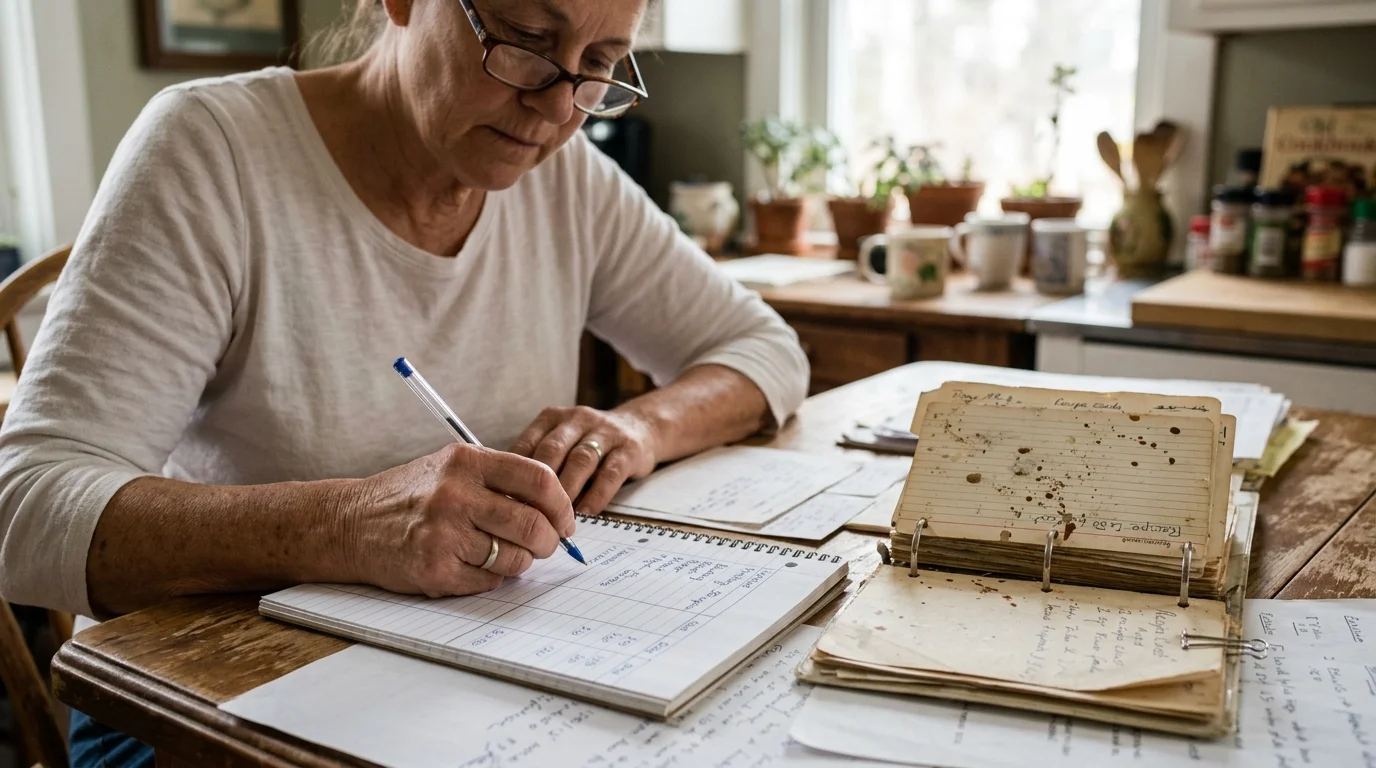
Step-by-Step Production: A Worked Example and Budget Breakdown
To help you make cookbook from old recipe cards smoothly, review this concrete production run. This worked scenario documents the creation of three identical heirloom volumes for a family.
The project, titled “David’s Kitchen Table,” includes 32 heirloom recipes across 48 interior pages. Dimensions measure 8.5 by 11 inches in portrait orientation.
Digitizing 32 double-sided cards required 64 scans at 600 DPI on an Epson flatbed scanner. Scanning and cropping took four hours across one weekend.
Cooking and photographing 16 key recipes took four weeks. File preparation and page layout in Adobe InDesign required six hours of formatting.
The interior pages were printed on 10-mil Synaps OM synthetic polyester using a commercial HP Indigo digital press. Both sides received a protective matte UV flood coating.
The covers were built from 2.0 mm binder board covered in waterproof charcoal Buckram cloth. Sheets were punched and joined using 9/16-inch bronze Wire-O binding.
- Digital color proofing and physical sample sheet: $32.00
- Synthetic substrate printing (48 pages x 3 copies): $148.50
- Matte UV coating application: $36.00
- Cloth-wrapped covers and Wire-O mechanical binding: $44.00
- Total production cost: $260.50
The completed project yields three archival, kitchen-ready volumes at $86.83 per copy. You retain one working copy for your counter and gift two to adult children.
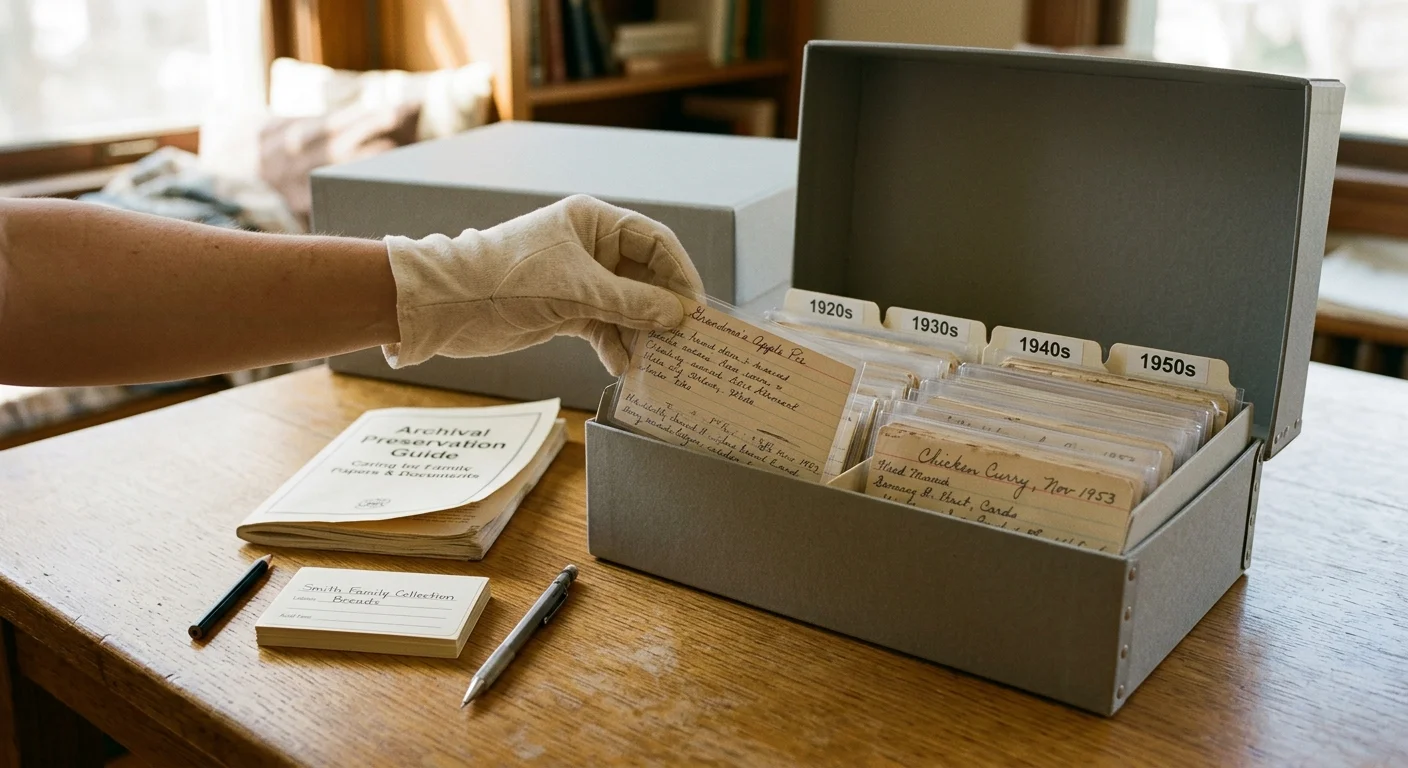
Archiving the Original Artifacts: Long-Term Storage for Fragile Cards
Once you digitize his handwritten cards, retire the physical originals from kitchen duty. Continued counter exposure to cooking heat, moisture, and pests will accelerate paper deterioration.
Store each original card in an individual archival L-sleeve made from virgin polyester. Archival plastic sleeves protect paper from handling oils while allowing both sides to remain visible.
The professional conservators at the American Institute for Conservation stress that archival enclosures must pass the Photographic Activity Test (PAT) to prevent long-term yellowing. Look for PAT-certified polyester or polypropylene storage products.
Place the sleeved cards into an acid-free, lignin-free archival storage box with buffered interior board. Buffered boards neutralize airborne environmental acids that degrade aged cellulose fibers.
Store the archival box inside an interior closet on a main living floor. Basements and attics experience severe temperature and humidity swings that weaken old paper fibers.
Label the exterior of the box with acid-free tags documenting his name and dates. Your husband’s original cards will remain safe while his culinary spirit stays active in your kitchen.
Frequently Asked Questions
Can I clean dried marinara sauce off synthetic photo book pages?
Yes. Synthetic polyester pages treated with a UV matte coating allow you to wipe away dried sauce, oil, and vinegar using a damp microfiber cloth and mild dish soap without damaging the print.
Why is twin-loop wire binding better than standard book binding for cooking?
Twin-loop Wire-O binding allows the book to fold completely back on itself 360 degrees. It lies perfectly flat on narrow countertops without springing shut or requiring heavy recipe stands.
Should I edit out the food splatters on my late husband’s recipe cards before printing?
Keep the splatters in your high-resolution scan. Those oil rings, vanilla drops, and thumb smudges are direct physical evidence of his labor and love in the kitchen.
Will synthetic paper tear when turning pages with wet hands?
Solid-core polyester synthetic paper will not tear, stretch, or warp from wet hands. It is completely waterproof and resistant to mechanical friction around binding holes.
Disclaimer: This article is for informational purposes only. When handling valuable or irreplaceable photographs, consider consulting a professional conservator. Always test preservation methods on non-valuable items first.