You can hang a 50-print photo grid across industrial dorm cinder block without forfeiting your housing deposit or destroying irreplaceable family snapshots. Most viral dorm hacks prioritize quick installation while silently subjecting bare photographic emulsions to chemical staining and mechanical tearing.
This guide evaluates whether magnetic washi tape systems or archival polypropylene corners provide superior tensile holding strength and chemical safety on painted institutional masonry. You will learn the exact physical thresholds where magnetic compression damages bare gelatin layers.
By calculating surface shear against adhesive migration, you can build an aesthetic display that preserves both your wall paint and your photographic heritage.
The Dorm Wall Dilemma: Cinder Block Paint and Security Deposits
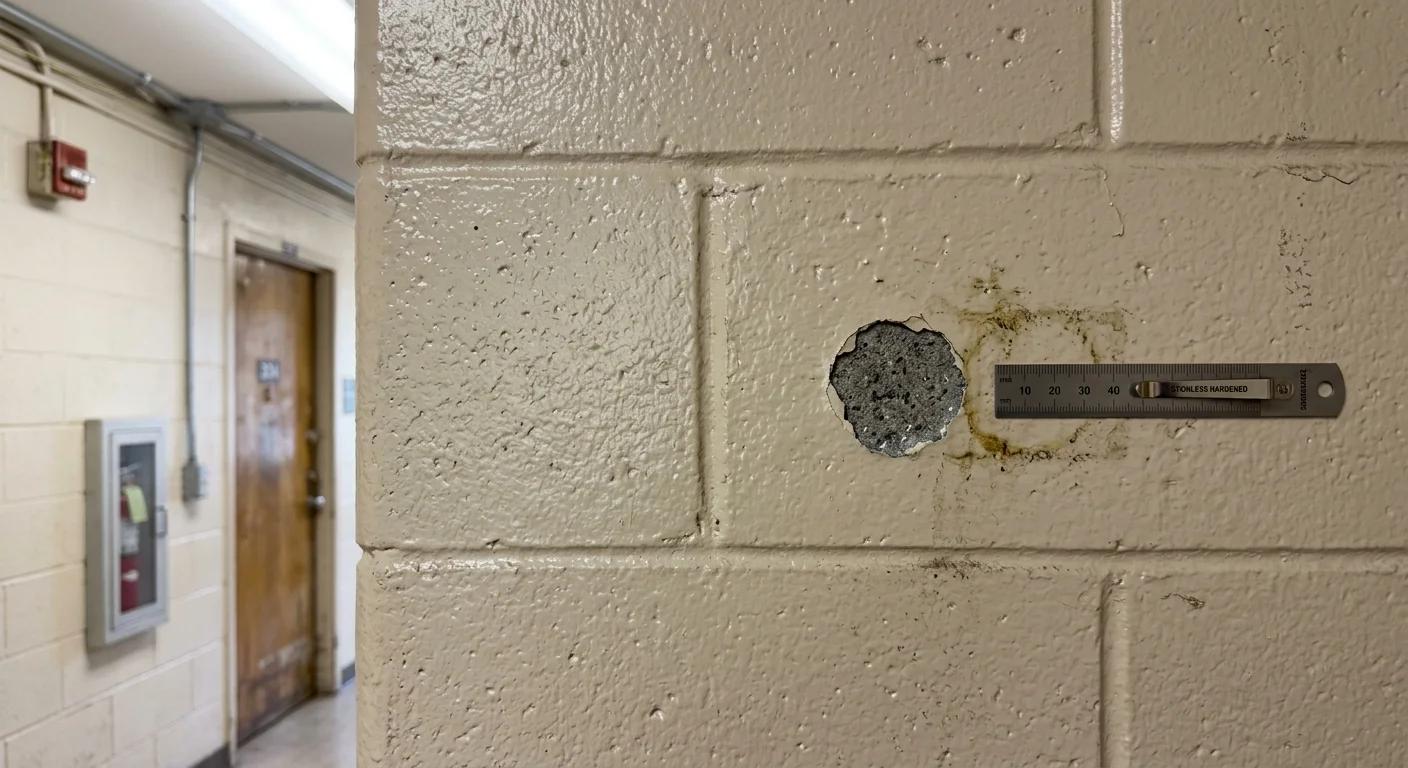
College residence halls present hostile environments for photographic displays. Most dormitories feature concrete masonry units coated in decades of glossy, industrial-grade latex paint that resists standard adhesives.
This slick, non-porous paint surface causes weak tapes to peel unexpectedly. Conversely, aggressive consumer adhesives bond too strongly, tearing the paint film when removed.
University residential housing policies routinely penalize students for mounting damage. Minor drywall patching or adhesive residue removal generally incurs fines between $25 and $100 per spot.
Peeled paint requiring full wall repainting frequently triggers assessments ranging from $113 to over $250 per incident. A grid of fifty prints mounted with improper tape can easily forfeit your entire security deposit.
Standard mounting putties leave oily silicone residues that penetrate porous masonry. Over an academic year, those oils migrate into the wall, creating permanent dark rings that require costly solvent primers to cover.
Displaying prints safely requires a system that respects both institutional architectural coatings and fragile paper chemistry. You need balanced adhesion that releases cleanly upon move-out day.
Understanding Bare Photographic Emulsions and Mechanical Stress
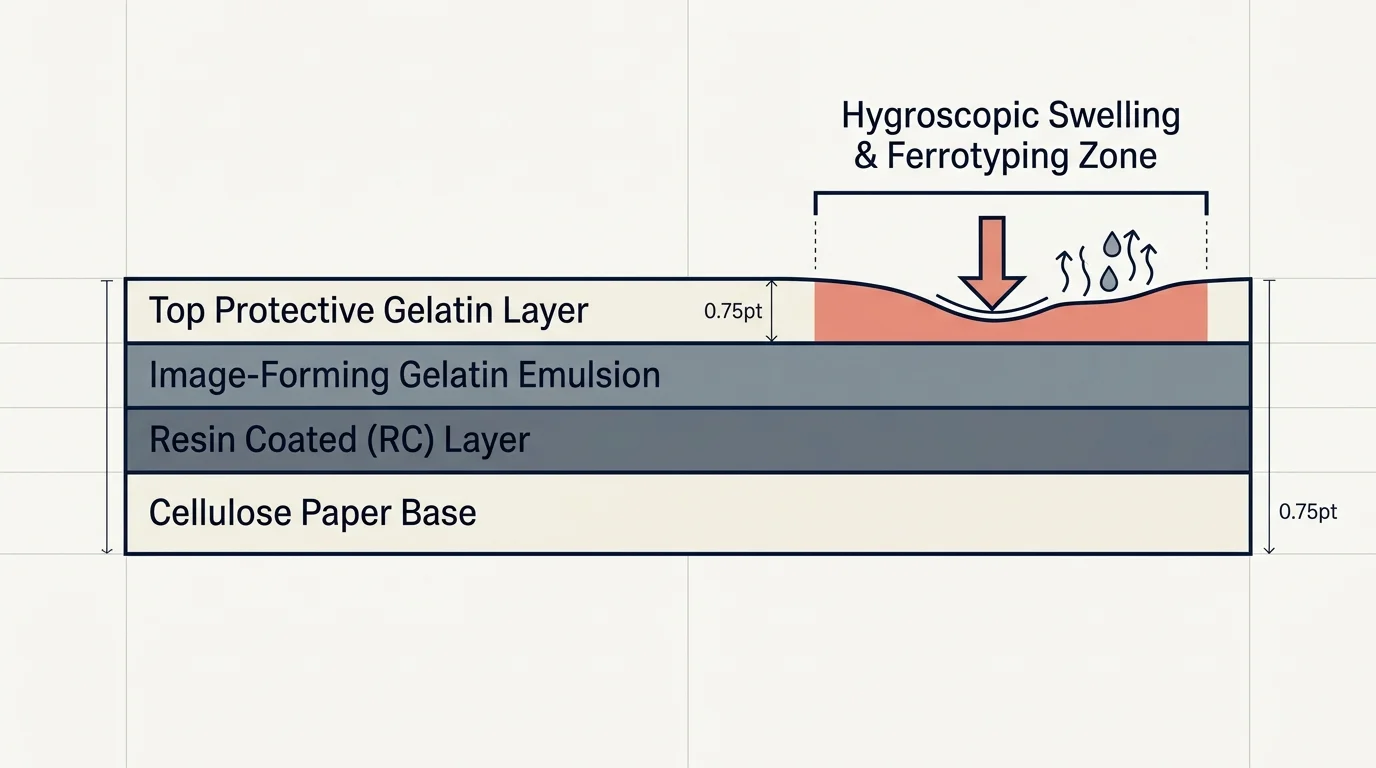
Traditional chromogenic and gelatin-silver prints consist of an image-forming layer suspended in purified animal gelatin. This gelatin rests atop a resin-coated paper base.
The gelatin layer is chemically delicate and mechanically hygroscopic. It swells in humid air and contracts in dry conditions, making it vulnerable to localized physical stress.
Direct mechanical pressure against an unshielded gelatin emulsion alters surface micro-topography permanently, especially during ambient humidity spikes common to student housing.
When bare gelatin experiences localized pressure under elevated humidity, a physical deformation called ferrotyping occurs. Ferrotyping permanently alters the print gloss, creating unsightly, flattened shiny spots where items pressed against the surface.
The Image Permanence Institute developed the Photographic Activity Test to assess materials that touch prints. Standardized under ISO 18916:2025, this test evaluates chemical reactivity and gelatin staining under accelerated aging conditions of 70°C and 86% relative humidity.
Directly clamping magnets to bare emulsions fails the core intent of ISO 18916:2025 preservation principles. The pinching force concentrates mechanical stress directly over image dyes.
If dormitory relative humidity climbs between 70% and 86%, gelatin softens substantially. Under continuous magnetic clamp force, softened gelatin risks permanent physical impression, edge cracking, or localized dye transfer.
Evaluating Magnetic Washi Grids: Tensile Strength and Compression Risks
Commercial magnetic hanging products, such as GoodHangups MagnaStickers, retail between $9.99 for an 8-pack and $39.99 for a 40-pack. These systems use removable, low-tack receptive stickers paired with tiny neodymium disc magnets.
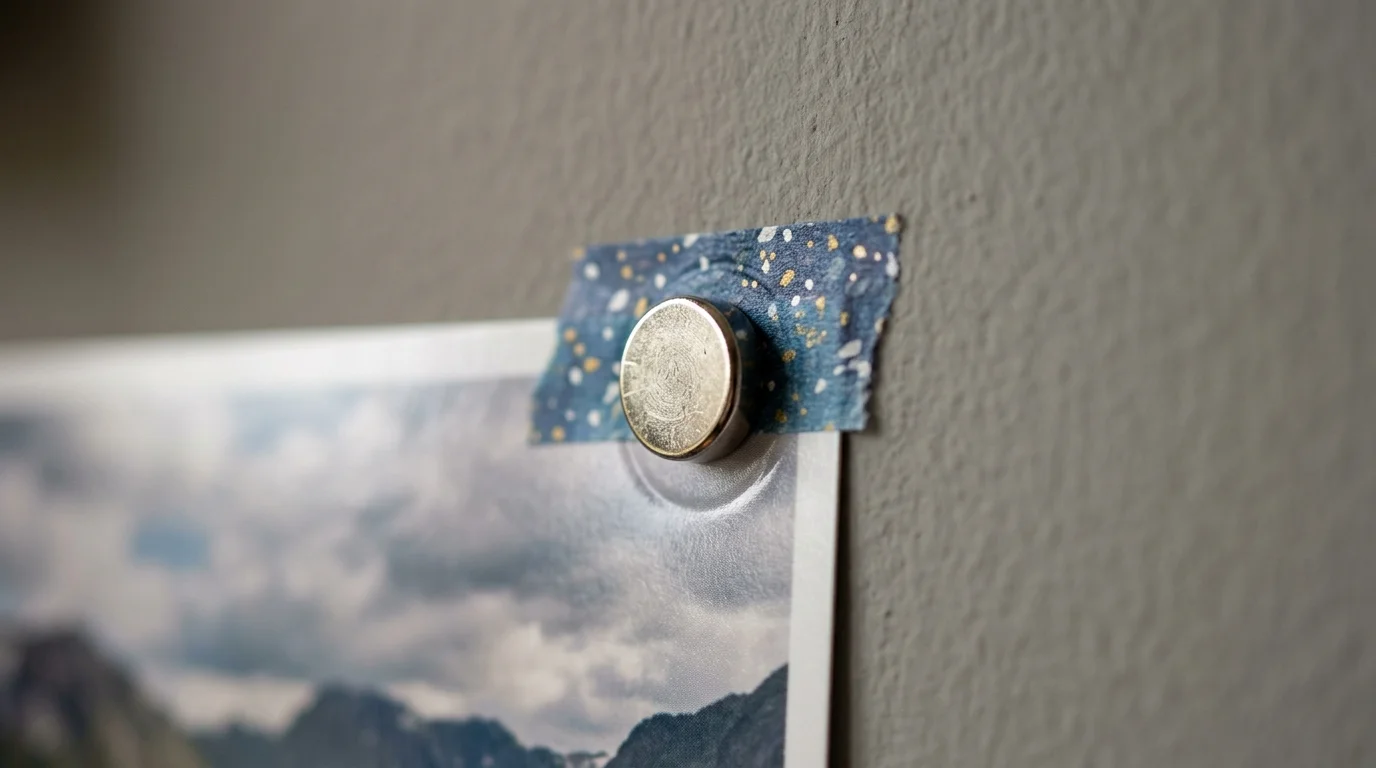
Social media tutorials often adapt this concept into cheap DIY projects. Students apply decorative washi tape over flat steel washers, securing the assembly to painted cinder blocks before clamping prints with neodymium magnets.
A typical 5mm by 1mm N52 neodymium disc magnet produces approximately 0.75 pounds of pull force against a steel substrate. When concentrated on a 5mm contact zone, that creates intense localized compressive pressure.
That pressure pinches the bare print emulsion directly against the tape layer. Over months of exposure, that point load causes mechanical indentations that cannot be reversed.
DIY washi tape also exhibits variable tensile shear capacity on institutional semi-gloss paint. Washi tape uses natural rubber or acrylic adhesives designed for low peel adhesion on clean writing paper, not heavy masonry.
As room temperatures fluctuate, washi adhesive experiences shear creep. A 4×6 print weighs roughly 4.5 grams, and while a single magnet holds that static load, air currents from dorm heating blowers generate peeling moments that dislodge the tape.
Furthermore, non-archival washi adhesives release volatile plasticizers over time. These migratory chemicals pass through the print edges, causing yellow staining and planar curl along your grid borders.
Archival Photo Corners: Non-Invasive Geometry on Porous Walls
Museum conservators avoid securing historic prints with pressure clamps or adhesives applied to bare surfaces. Instead, they rely on archival mounting corners to support objects purely through geometric encapsulation.
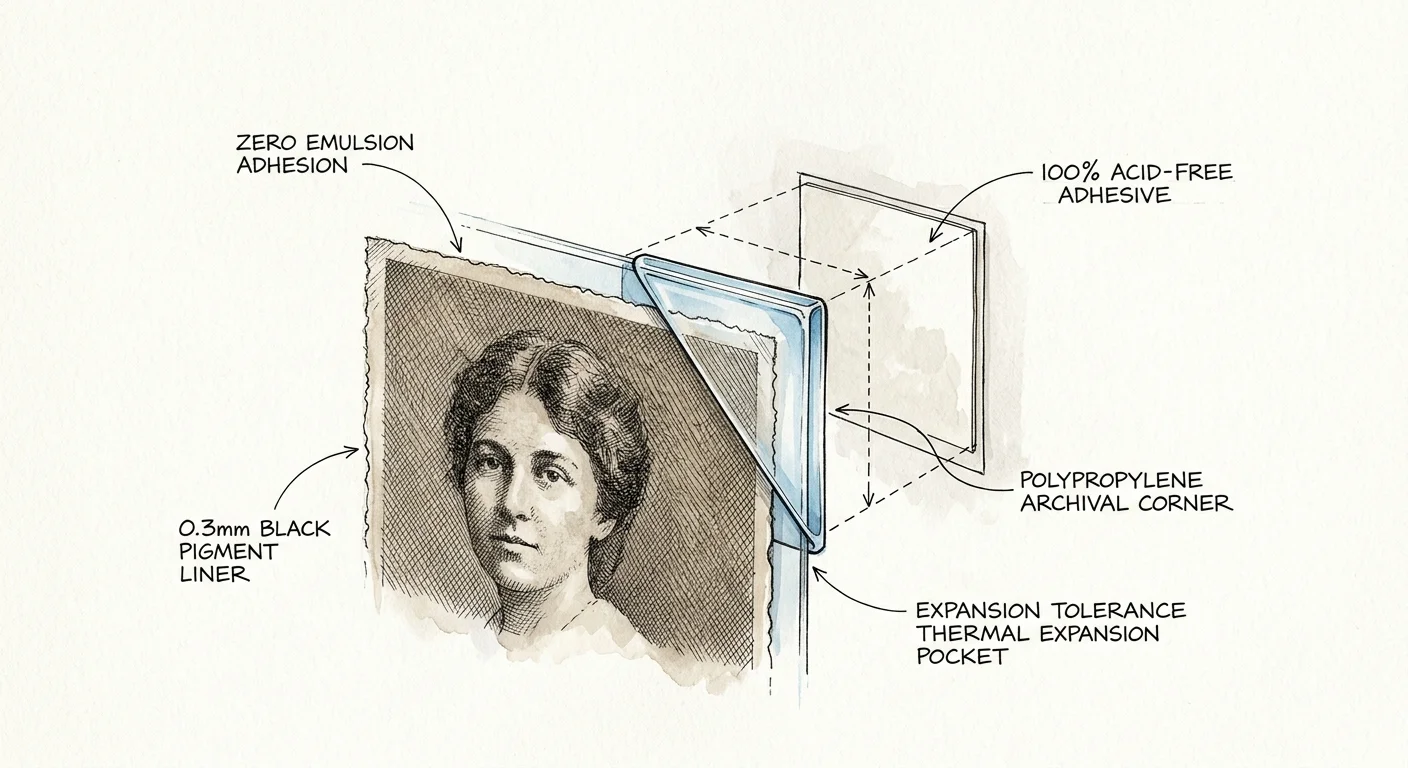
Archival photo corners, manufactured from inert polypropylene or archival polyester like Mylar, enclose print corners within a protective pocket. The adhesive stays on the exterior reverse side, never contacting the emulsion.
Guidelines from the Library of Congress Preservation directorate advocate non-invasive, reversible housing methods that leave photographic artifacts unblemished upon disassembly. Archival mounting corners meet this standard precisely.
Because the corner pocket accommodates natural paper expansion, your photographs do not buckle when dormitory temperatures fluctuate. The print floats securely inside an acid-free envelope of chemically inert plastic.
To mount these corners to painted cinder block, pair them with removable command-style mounting strips. Standard 3M Command Poster Strips are rated for flat paper items weighing up to 1 pound (0.45 kilograms).
Command poster adhesive relies on synthetic rubber chemistry designed for clean shear resistance and stretch-release removal. The adhesive stretches parallel to the wall, detaching cleanly without pulling the paint layer.
By sticking the removable strip to the back of the archival corner, adhesive never touches the photograph. The wall paint remains intact, and your print emulsion suffers zero compressive strain.
Tensile Hold and Adhesive Migration: Comparative System Metrics
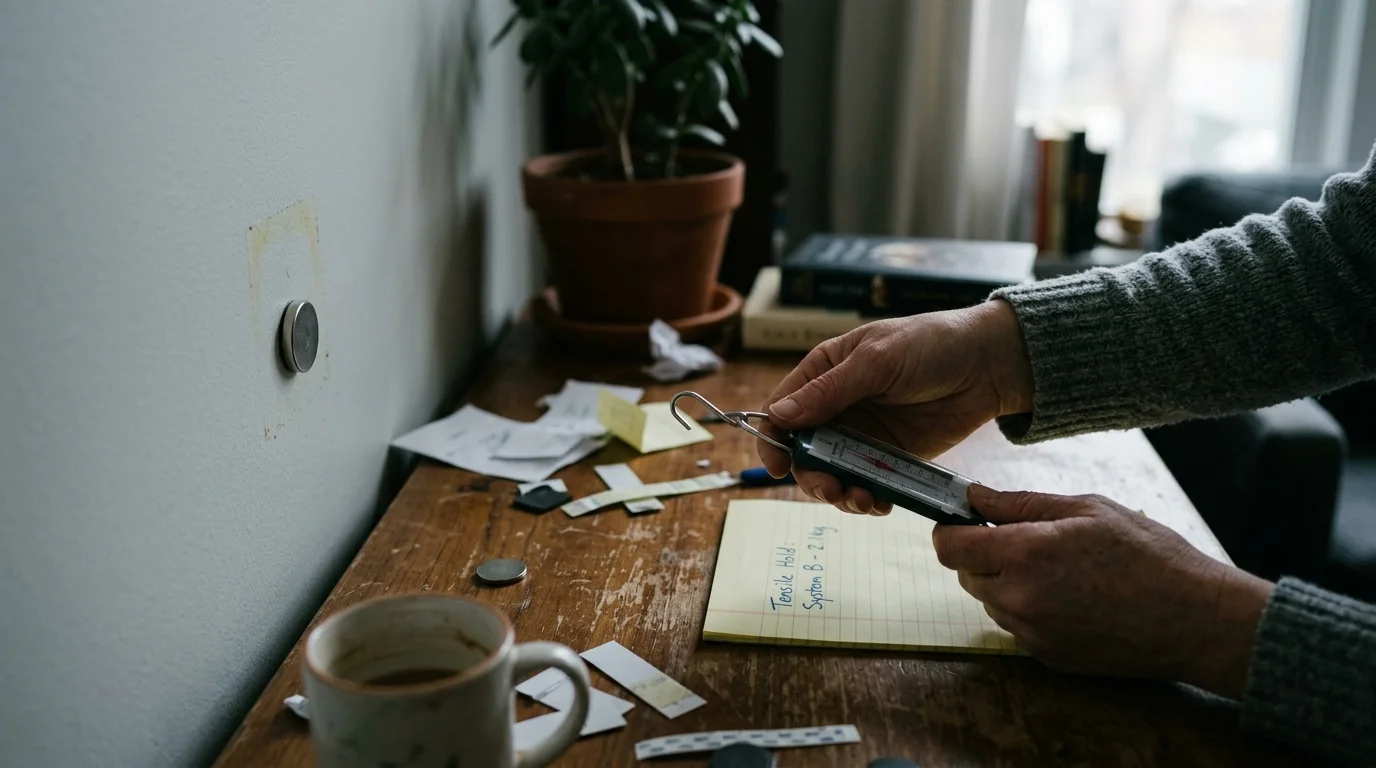
Selecting the right mounting method requires balancing physical holding capacity against preservation safety. The following metrics evaluate common dorm wall display methods under typical residential hall conditions.
| Mounting Method | Emulsion Contact | Tensile Shear Limit | Wall Paint Risk | ISO 18916:2025 Compliance |
|---|---|---|---|---|
| Commercial Magnet Stickers (GoodHangups) | Direct magnetic point load | 450 grams per anchor | Low (removable base) | Fails (compression on bare emulsion) |
| DIY Washi Tape + Steel Disc + Magnet | Direct pinch against tape face | 65 grams per anchor | Moderate (shear creep peel) | Fails (acidic off-gassing and indentation) |
| Lineco 1.25″ Polypropylene Corners + Command Strips | Zero (corner encapsulation only) | 450 grams per pair | Negligible (stretch release) | Passes (PAT certified materials) |
| Adhesive Putty / Poster Tack | Direct chemical contact on print back | 120 grams per blob | High (oil staining and paint pull) | Fails (oil migration into paper core) |
| Rolled Painter’s Tape Loops | Direct contact on print reverse | 85 grams per loop | Low to moderate | Fails (causes planar paper tear) |
The comparative data reveals why magnetic washi systems carry hidden risks. While magnetic systems hold sufficient weight, they trade wall safety for localized physical damage to the print face.
Adhesive putties create substantial risks on both surfaces. They leave irreversible oily stains inside the paper fibers while generating $25 cleaning fines per spot on residence hall walls.
Archival polypropylene corners paired with stretch-release strips represent the only solution scoring high marks across structural hold, chemical safety, and wall protection. You eliminate both repair fines and print deterioration.
Step-by-Step Installation: Building a 50-Print Dorm Grid Safely
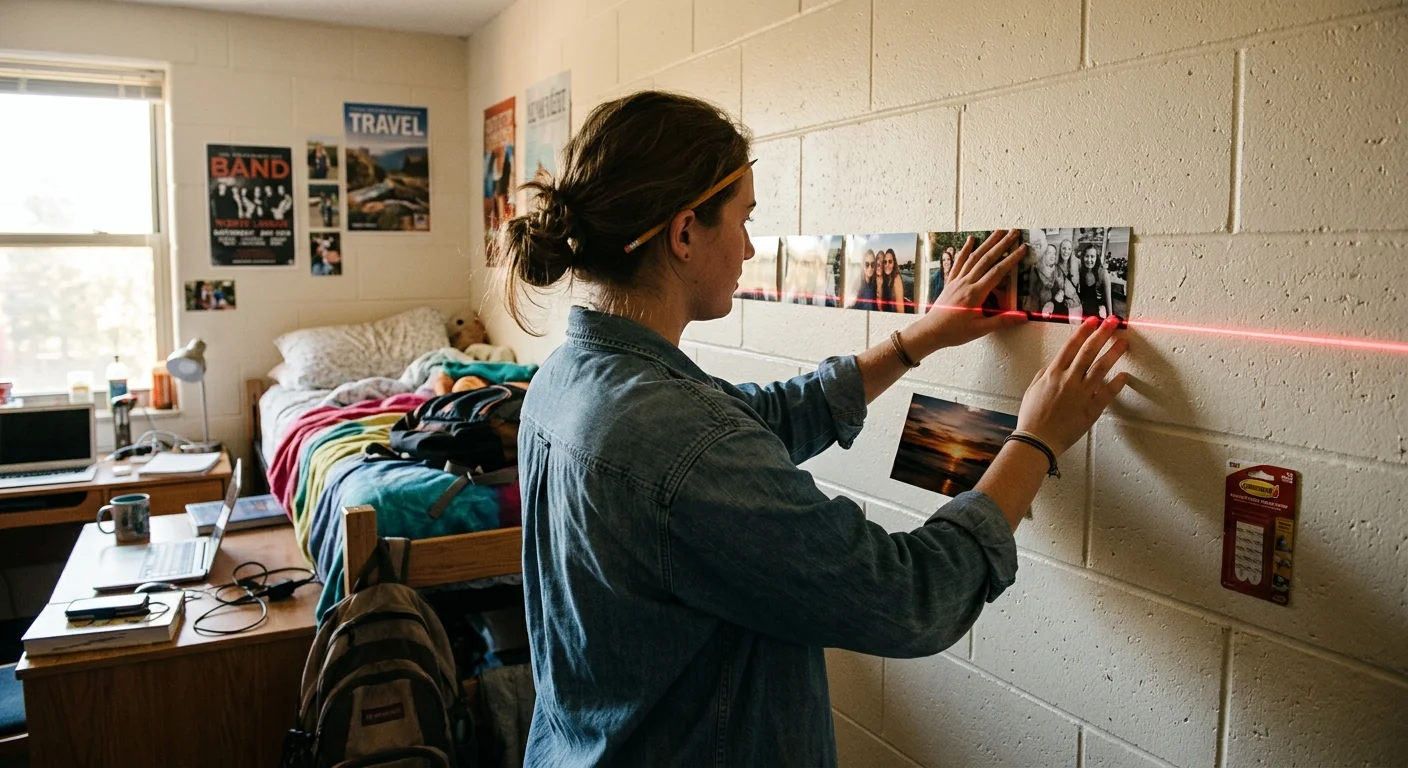
Constructing a uniform 50-print grid requires systematic layout planning and precise material selection. Here is a fully worked implementation scenario for a standard residential cinder block wall.
Assume your collection contains fifty standard 4×6 inch photographic prints in landscape orientation. Each print weighs approximately 4.5 grams, creating a total static load of 225 grams across the entire installation.
You will arrange the prints into 5 rows of 10 images each, incorporating a 1-inch (25.4mm) reveal between borders. Ten prints measuring 6 inches wide plus nine 1-inch gaps yield an overall grid width of 69 inches.
Five rows measuring 4 inches high plus four 1-inch gaps produce a total display height of 24 inches. This balanced 69×24 inch layout fits standard dorm wall spacing above student study desks.
Gather the required components before beginning assembly: 100 Lineco 1.25-inch archival polypropylene mounting corners (approx. $14.50 per pack of 100) and two 48-packs of 3M Command Poster Strips ($9.99 each). Your total investment is approximately $34.48.
Compare that $34.48 expense to potential university damage assessments. A single paint peeling assessment of $113 to $250 makes this proactive preservation setup significantly more economical.
- Clean the painted cinder block using a lint-free cloth dampened with a 70% isopropyl alcohol and water mixture to strip ambient dust and grease. Allow the wall to dry fully for 15 minutes.
- Establish your baseline horizontal reference line using blue painter’s tape and a 24-inch bubble level, aligning the tape top where you want the upper row positioned.
- Slide two archival polypropylene corners onto the bottom left and bottom right corners of each photograph. Never apply tape directly onto the print borders.
- Peel one Command Poster Strip from its liner and press it firmly against the reverse flat tab of each mounting corner, burnishing with your thumb for 5 seconds.
- Remove the remaining wall-side liner from both corner strips, hold the print by its edges, and press the assembly against the cinder block wall for 30 seconds.
- Slide the print upward slightly to disengage it from the pockets, then press firmly over the empty corners to ensure 100% adhesive wet-out against the masonry.
- Slide the photograph back down into the secured corner pockets, perfectly seated without adhesive contact.
- Repeat the process across your 5×10 layout, using a 1-inch cut cardboard spacer block to maintain uniform spacing between adjacent prints without tedious pencil measuring.
When move-out week arrives, removal takes seconds. Slide each photograph up and out of the archival corner pockets, packing your prints safely into an archival storage box.
Next, grasp the exposed tab of each Command Poster Strip. Slowly stretch the strip straight down against the wall, parallel to the masonry surface, pulling at least 12 inches until the elastomeric bond releases cleanly.
Never pull the strip outward toward yourself at a 90-degree angle. Pulling outward creates peel forces that snap the paint layer right off the cinder block substrate.
Humidity Control and Long-Term Display Maintenance in Residence Halls
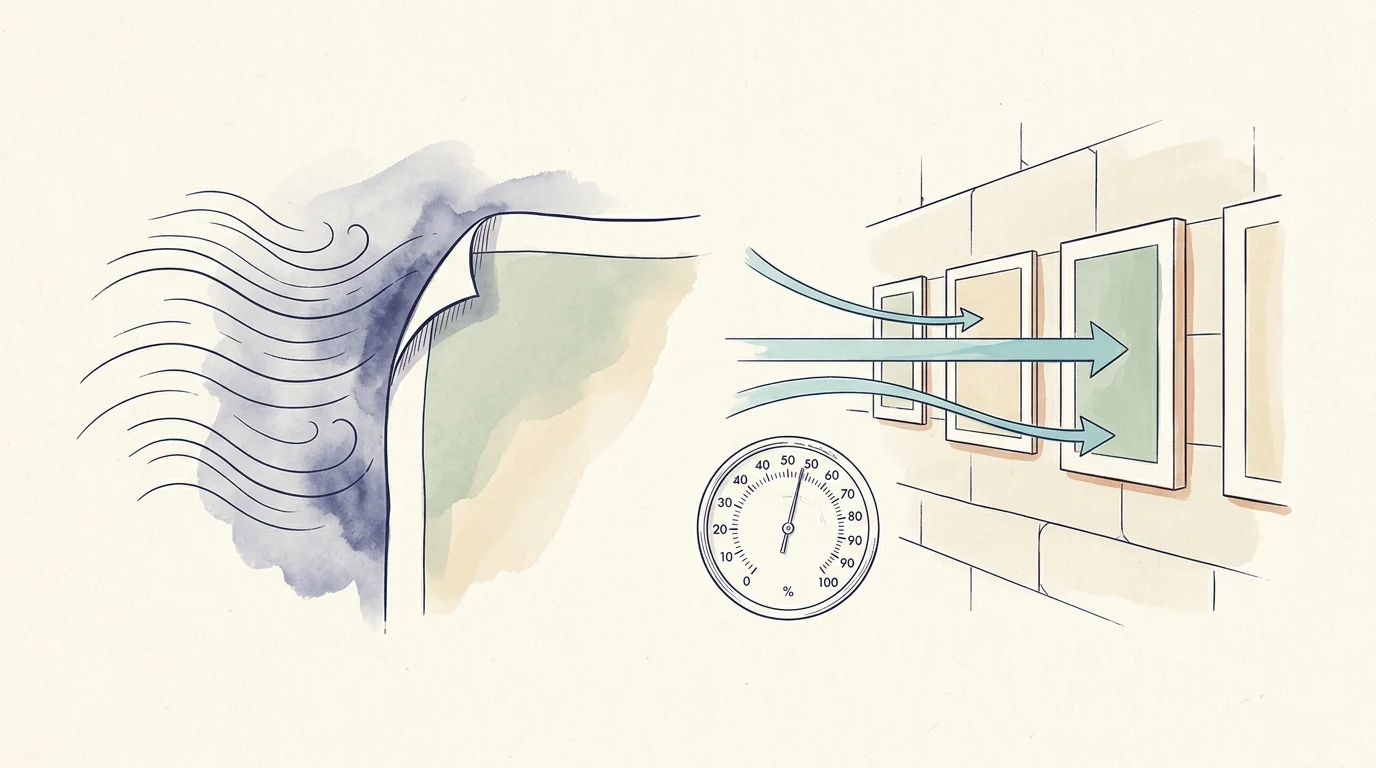
Residence halls frequently suffer from erratic HVAC regulation. Humidity levels in late summer and early autumn can easily surpass the critical 70% relative humidity threshold inside dorm rooms.
High moisture levels activate residual chemicals and soften photographic gelatin. Keep your photo grid positioned away from humid bathroom doorways, desktop kettles, and unvented mini-refrigerators.
Similarly, avoid installing displays directly above baseboard heating elements or radiator covers. Concentrated thermal plumes cause differential dehydration across resin-coated paper layers, provoking aggressive edge curl.
If your room feels excessively muggy, run an oscillating fan to encourage continuous air movement across the wall. Moving air discourages stagnant microclimates where mold spores flourish on paper fibers.
Perform a visual inspection every two months. Check corner tabs to ensure seasonal masonry expansion has not loosened the stretch-release adhesive bonds.
If you notice edge curling on older family prints, insert a 2-ply acid-free rag board backing slip inside the pocket behind the print. That small card adds structural rigidity without increasing front surface pressure.
Frequently Asked Questions
Can I safely use washi tape if I stick it to the back of the photo instead of the front?
No, sticking washi tape directly to the reverse paper backing causes fiber tears upon removal. Natural rubber adhesives also degrade rapidly, leaching acidic compounds into the paper core over a typical school semester.
Do neodymium magnets cause permanent damage if left on prints for an entire academic year?
Yes, continuous localized clamping force produces circular compression indentations on bare emulsions. In rooms where relative humidity reaches 70% or higher, the magnet can permanently ferrotype or stick to the softened gelatin layer.
What is the safest way to remove sticky putty residue left by a previous dorm occupant?
Dab the oily residue repeatedly with a fresh lump of kneaded eraser or a dry microfiber cloth to lift surface particles. For stubborn stains on glossy masonry, gently rub a cotton swab moistened with 70% isopropyl alcohol.
Will mounting prints with archival corners keep them completely flat without glass?
Archival corners hold prints securely while permitting natural thermal expansion. For prints that experience minor environmental bowing, backing each photo with a cut piece of 2-ply museum rag board provides necessary stiffness.
Disclaimer: This article is for informational purposes only. When handling valuable or irreplaceable photographs, consider consulting a professional conservator. Always test preservation methods on non-valuable items first.