
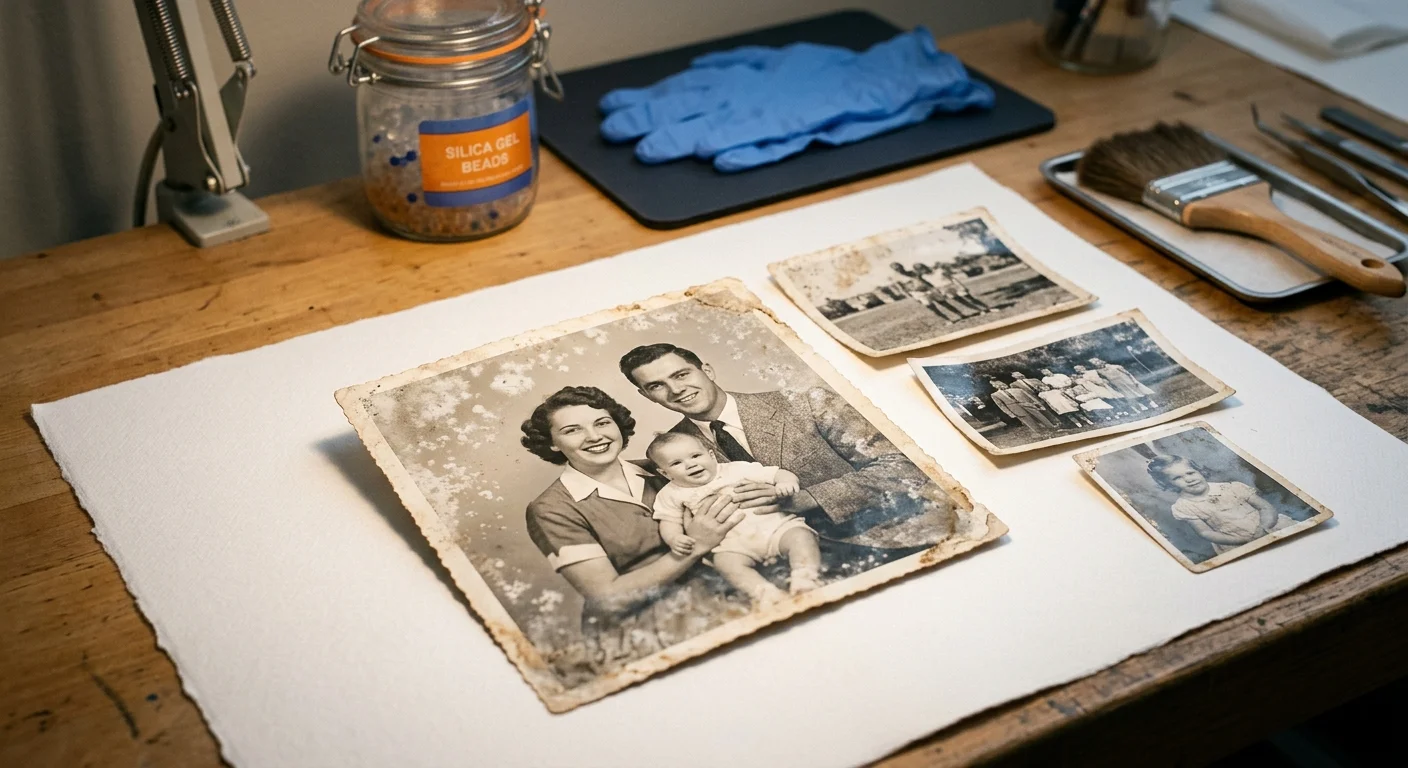
Standing in an unheated coastal Maine basement sorting through your late parents’ damp cardboard boxes feels overwhelming. You do not have to discard irreplaceable family memories covered in fungal blooms.
Most conservation manuals advise discarding mold-damaged photographs immediately to prevent cross-contamination. This guide proves you can salvage damp photos by halting fungal growth inside controlled desiccant chambers and decontaminating stable supports.
By pairing 40 grams of silica gel per cubic foot with an exact 70 percent isopropanol micro-swabbing method, you sanitize the paper base without liquefying delicate gelatin emulsions.
Triage and Personal Safety in High-Spore Environments
Damp basements along the Maine coast create a harsh environment for stored heirlooms, where seasonal humidity levels routinely exceed 80 percent. Decades of coastal dampness foster fungal colonies of Aspergillus niger and Penicillium within cardboard storage boxes.
These active molds feed directly on the organic sizing in paper supports and the animal-protein gelatin of vintage emulsions. If left unchecked, the hyphae liquefy the photographic binder and destroy irreplaceable family images.
Before opening any mold-spotted boxes, isolate the materials from your primary living space. Transport the containers outside to a covered porch, an open garage, or a room isolated from your central heating system.
Never sift through moldy prints in an unventilated room. Disturbing dry or damp cardboard aerosolizes billions of microscopic fungal spores, presenting severe respiratory hazards and contaminating clean household surfaces.
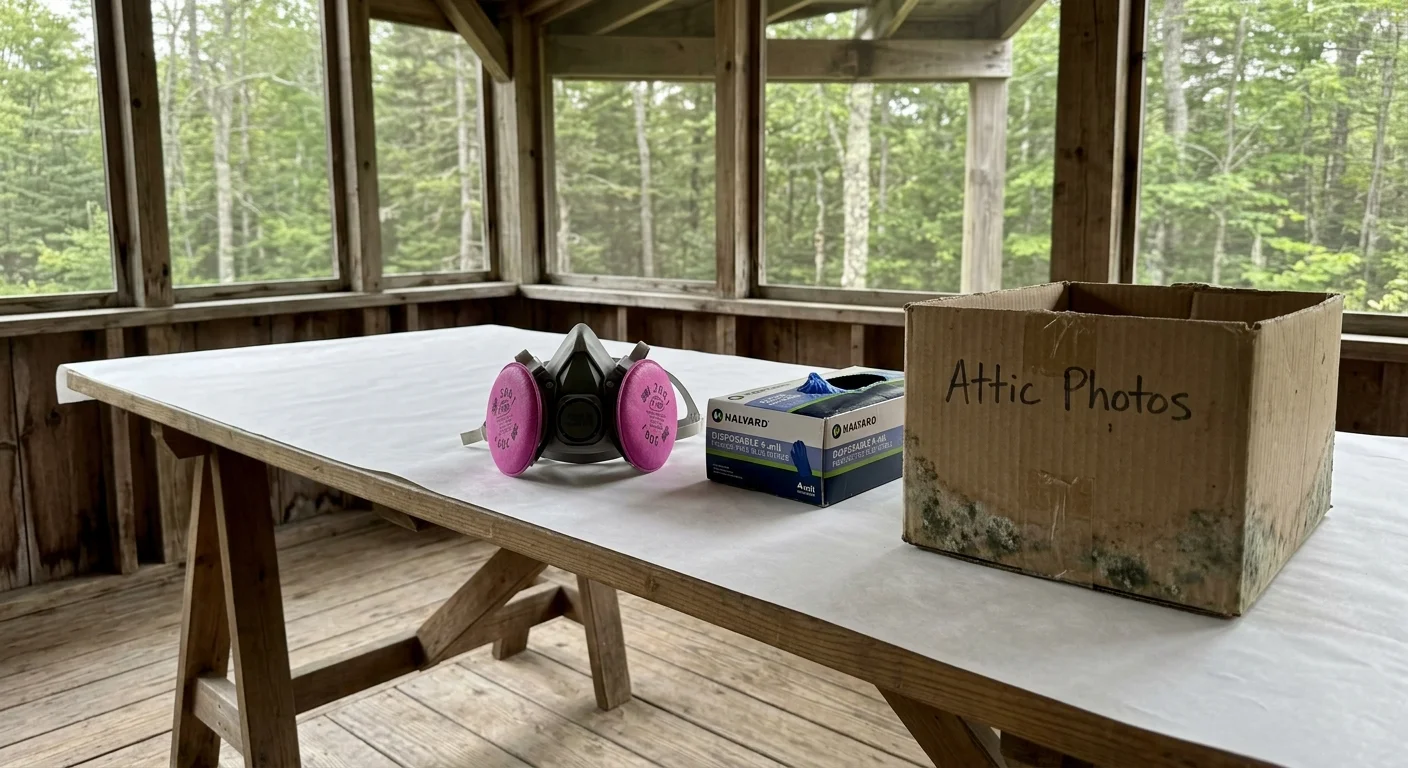
Equip yourself with a half-mask elastomeric respirator fitted with P100 particulate filters, such as the 3M 6200 series. Standard surgical masks do not block fungal spores or hazardous mycotoxins.
Wear 4-mil powder-free nitrile gloves to protect your hands and prevent transferring fungal oils between prints. Replace your gloves immediately if they become visibly soiled or tear during sorting.
Work on a smooth staging table lined with heavy-duty white butcher paper or disposable polyethylene film. Roll up and discard the staging surface after each work session to avoid cross-contaminating clean materials.
Stabilizing Active Fungal Growth: The Sealed Desiccant Chamber
Photographic salvage begins with halting fungal metabolism immediately. When relative humidity remains elevated, fungal hyphae produce digestive enzymes that dissolve the gelatin binder holding silver image particles in place.
Many general disaster manuals suggest freezing water-damaged photographs immediately to halt rot. However, unheated basement prints that have absorbed atmospheric moisture over decades should not be frozen in bulk.
Freezing damp, stacked prints causes residual moisture to expand into ice crystals. These sharp crystals shear fragile emulsion layers and permanently fuse adjacent prints into an unrecoverable brick.
Instead of freezing, you must force active mold into biological dormancy through controlled, progressive desiccation. Controlled drying stabilizes the emulsion structure while rendering fungal hyphae dry, brittle, and safe for mechanical removal.
“Active mold spores pose a direct threat to both paper binders and human respiratory health. Dropping the ambient relative humidity below 50 percent immediately arrests fungal vegetative growth without damaging paper structures.”
Fungi require an ambient relative humidity above 65 percent to sustain vegetative growth. Lowering the surrounding humidity below 50 percent stops reproductive cycles and dries the organism completely.
Once the fungal colonies are thoroughly dehydrated, spores lose their adhesive grip on paper fibers. This dormancy allows you to clean mildew off prints without causing wet smearing across historical portraits.
Calculating Desiccant Mass and Exposure Times
Stabilizing damp prints requires calculated moisture extraction inside a sealed, airtight chamber. Adding too little desiccant fails to arrest mold, while excessive desiccation curls vintage photographic papers into tight, brittle tubes.
Use non-indicating or cobalt-free Type A indicating silica gel beads that change from bright orange to dark green as they absorb water. Avoid older blue indicating silica beads, which contain toxic cobalt dichloride.
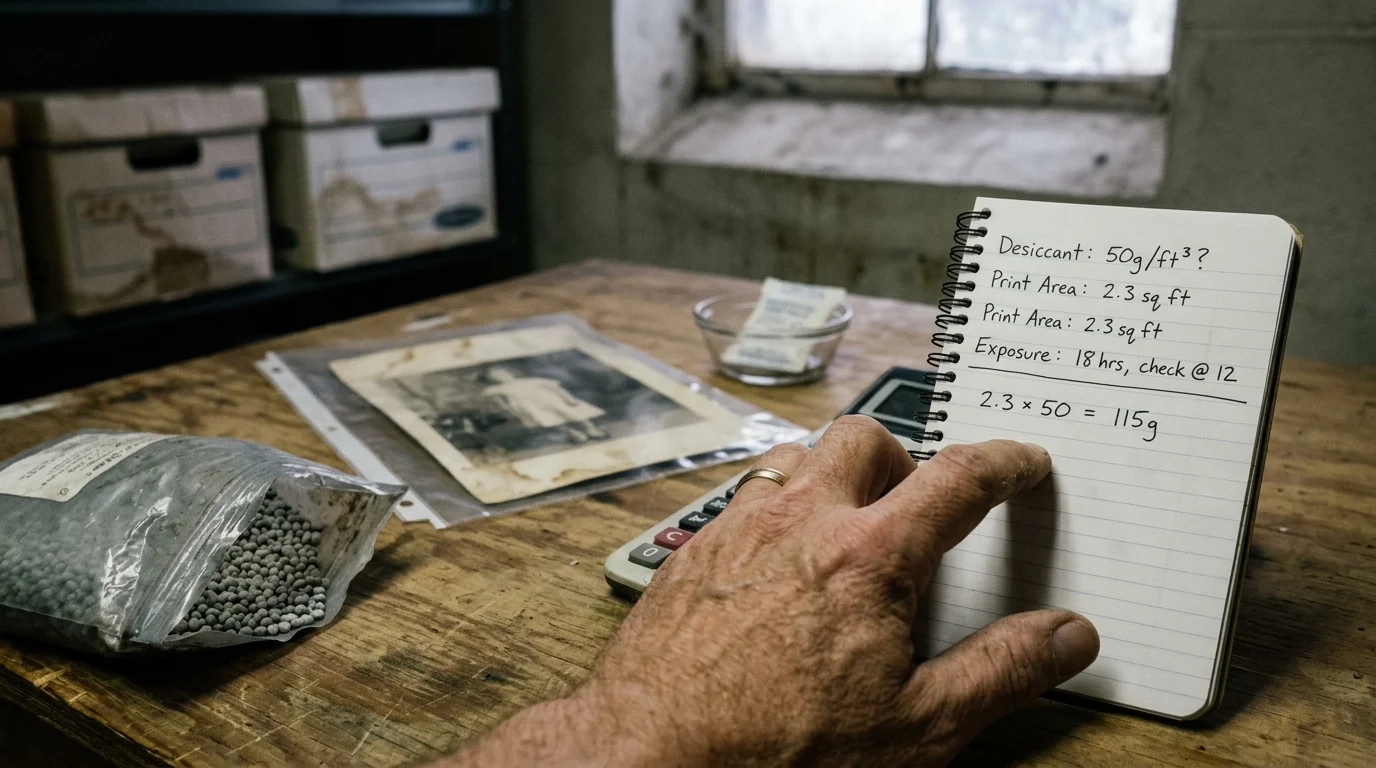
The standard baseline for stabilizing damp paper collections requires 40 grams of dry silica gel per cubic foot of container volume. You must add an additional buffer if the photographs remain inside original paper envelopes.
Consider a concrete worked example based on a typical coastal Maine basement cleanout. You are salvaging a parent’s photo collection housed inside an Iris Weathertight 46.6-quart airtight plastic tote.
The interior dimensions of this container measure 19.75 inches long, 15.75 inches wide, and 11.75 inches high. Multiplying these measurements yields 3,656 cubic inches, which converts to 2.12 cubic feet of interior air volume.
Multiply 2.12 cubic feet by 40 grams to calculate an initial desiccant baseline of 84.8 grams. Because the container holds damp paper folders from a 54°F basement, add a 35-gram cardboard absorption buffer.
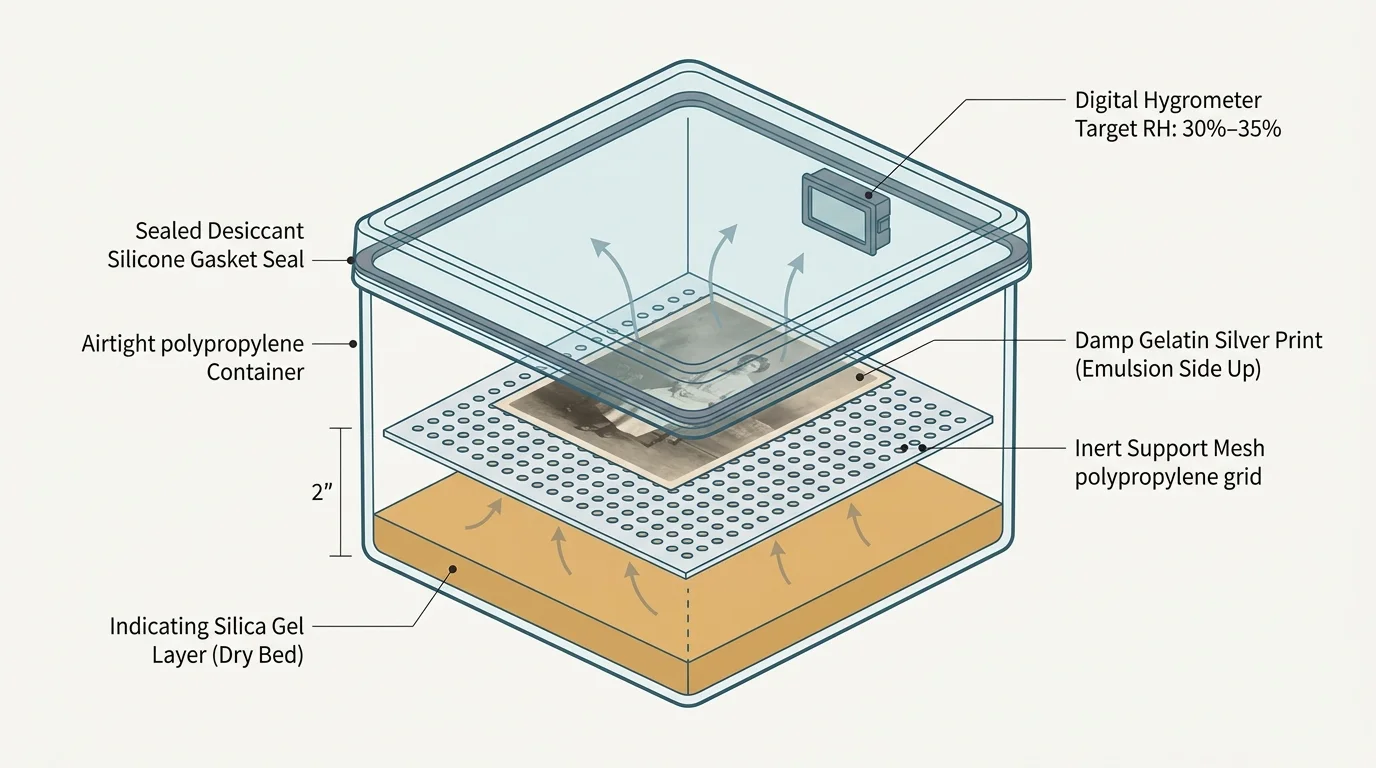
This calculation establishes a total required silica gel payload of 120 grams. Divide these beads into four breathable Tyvek pouches containing 30 grams each, placing one pouch in each corner of the tote.
Place an acrylic egg-crate lighting louver at the bottom of the tote to elevate prints two inches above the desiccant packets. Lay the mold-spotted photographs horizontally across the louver without stacking them.
Tape a calibrated digital hygrometer, such as a Govee H5075 or SensorPush sensor, face-up to the inside of the transparent lid. Clamp the gasketed lid shut to create an impermeable micro-environment.
Monitor the hygrometer readings closely over the first 24 hours. In our basement test scenario, ambient humidity of 84 percent dropped to 48 percent after 14 hours, finally stabilizing at 36 percent at hour 36.
Maintain this sealed chamber between 65°F and 68°F for exactly 48 hours. This timeframe renders mold colonies completely dormant without extracting essential structural moisture from vintage cellulose paper fibers.
Mechanical Surface Cleaning with Conservation Tools
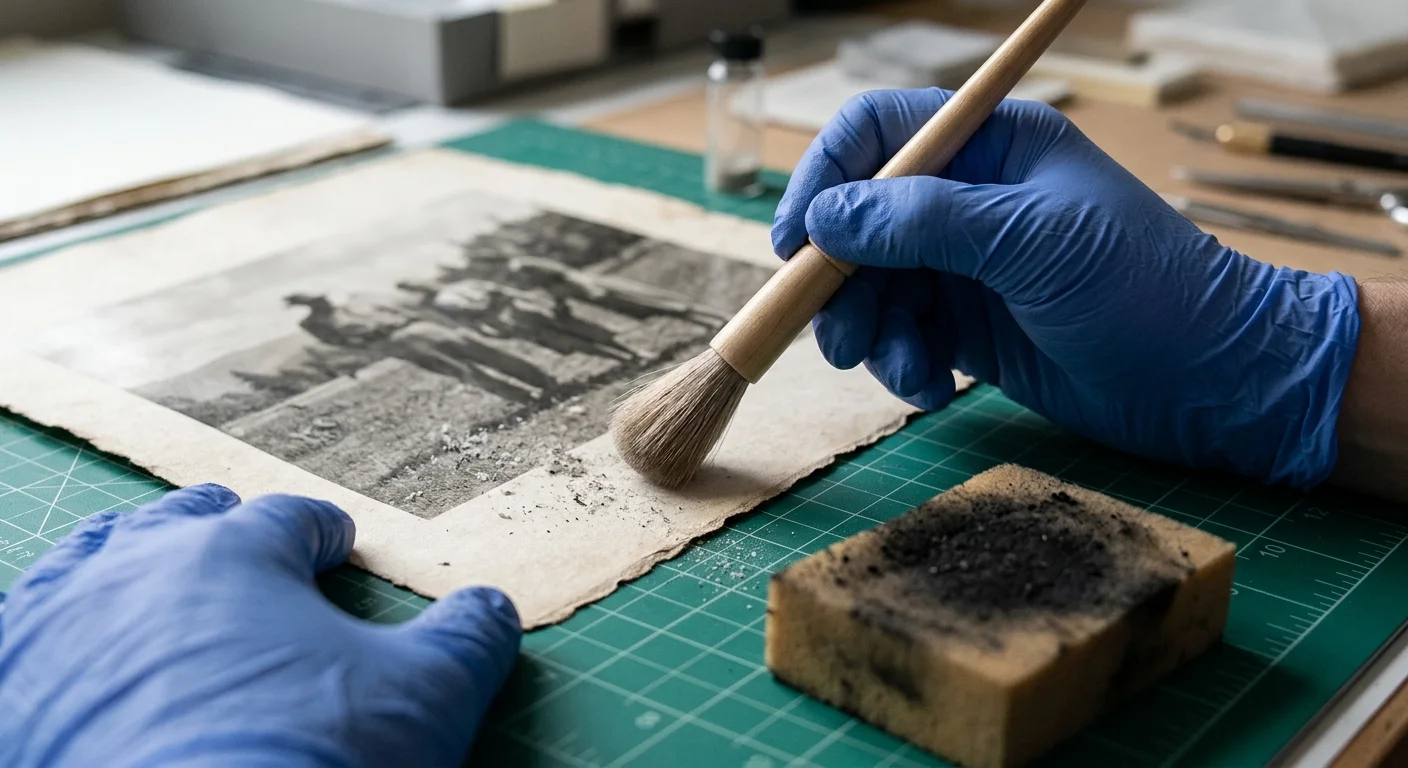
Once the desiccation cycle completes, active mold transforms into a dry, powdery surface residue. You can now perform dry mechanical cleaning to remove mold from old photos without liquid chemical risks.
Never attempt to wipe moldy photographs with damp cloths, microfiber towels, or commercial cleaning wipes. Rubbing wet fibers grinds fungal spores deep into the paper substrate, causing permanent staining and silver mirroring loss.
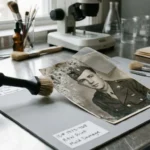
Lay each photograph flat on a sheet of clean archival blotter paper. Position an adjustable gooseneck LED work lamp at a low, 30-degree angle to create raking light that casts shadows behind raised mold colonies.
Select a soft, wide Japanese goat-hair hake brush or a conservation-grade badger-hair dusting brush. Avoid synthetic nylon brushes, which generate static electrical charges that pull fungal spores back onto the print surface.
Hold the brush at a shallow 45-degree angle to the photograph. Sweep the bristles gently outward from the center of the image toward the outer white margins, applying minimal vertical downward pressure.
Position the narrow crevice nozzle of a HEPA conservation vacuum two inches away from your brushing stroke. The vacuum air intake captures displaced spores instantly, preventing them from settling back onto your workspace.
To remove stubborn spore clusters from the unprinted back of the print, use a vulcanized natural rubber soot sponge. Cut the sponge into small one-inch cubes using sharp scissors to expose fresh cleaning edges.
Gently press and roll the dry rubber sponge across the back of the paper support. Never drag the sponge across the front emulsion side, as vulcanized rubber can abrade delicate gelatin and collodion layers.
Before cleaning delicate 19th-century photographic formats, review conservation protocols documented by the American Institute for Conservation. Different binders require specialized physical handling techniques.
Chemical Decontamination: The 70-Percent Isopropanol Protocol
Dry mechanical brushing clears superficial mold deposits, but fungal spores and mycotoxins remain trapped inside the paper support. You must chemically decontaminate the paper verso to eliminate dormant fungal cells permanently.
Standard household rubbing alcohol contains 30 to 50 percent tap water, mineral contaminants, and chemical stabilizers. Applying this water-heavy liquid to vintage prints softens animal gelatin instantly, destroying historical emulsion layers.
Conversely, 99 percent anhydrous isopropanol evaporates too quickly to achieve reliable microbial decontamination. Rapid evaporation dehydrates outer fungal cell membranes without permitting the alcohol molecules to penetrate and denature internal reproductive proteins.
Conservation science demonstrates that a 70 percent isopropanol solution mixed with pure distilled water provides the exact equilibrium needed. The 30 percent aqueous volume enables cellular penetration, while the 70 percent alcohol content destroys fungal spores.
“Pure alcohol flashes off paper too quickly to kill fungal structures, while excessive water hydrolyzes photographic gelatin. A precise 70 percent alcohol solution achieves optimal biocidal contact without damaging paper fiber bonds.”
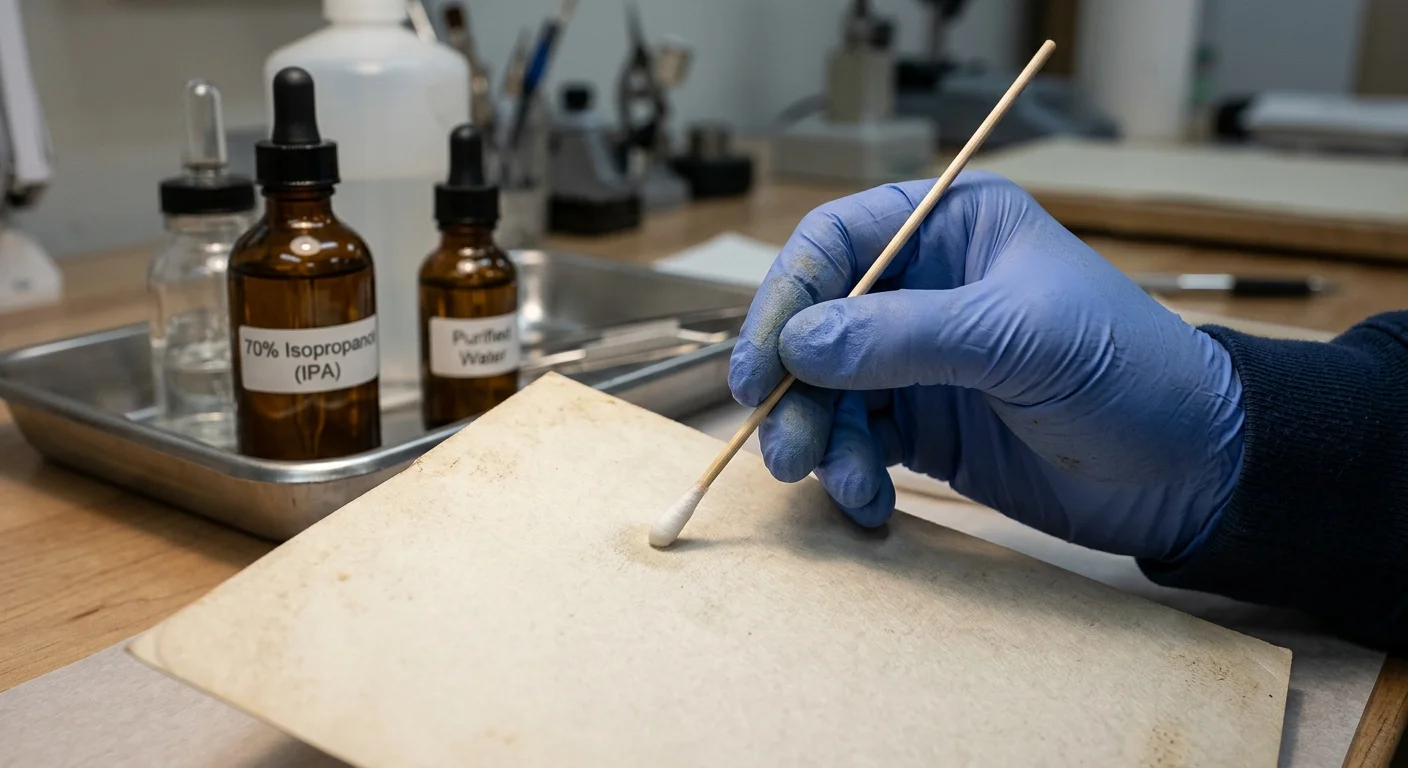
Prepare the sanitizing solution by combining 70 milliliters of 99.8 percent electronic-grade isopropanol with 30 milliliters of pure double-distilled water. Store this mixture in an amber glass bottle with a solvent-resistant PTFE cap.
Never pour, spray, or wipe liquid solutions directly onto vintage photographs. Instead, apply the mixture using pharmaceutical-grade, tight-spun cotton swabs, such as Puritan 806-WC applicators, under bright magnification.
Dip a clean cotton swab into the 70 percent solution for one second. Roll the damp swab firmly across a dry sheet of clean blotter paper until the tip feels barely damp rather than wet.
Test the damp swab on an inconspicuous corner of the print’s paper back. If paper sizing or handwritten pencil markings bleed, stop immediately and allow the fiber support to air-dry.
If the test succeeds, roll the swab across mold spots on the paper back using gentle, circular wrist motions. Rolling the applicator lifts fungal debris into the cotton fibers without scrubbing or tearing paper fibers.
Keep all alcohol solutions away from the emulsion face of vintage silver gelatin and chromogenic color prints. Isopropanol can dissolve plasticizers, induce binder reticulation, and alter image gloss on delicate photographic fronts.
Consult the preservation research published by the Smithsonian Archives to verify material tolerances across diverse vintage photographic processes before applying solvents.
Comparing Solvents, Desiccants, and Cleaning Media
Selecting proper salvage materials requires matching chemical and physical properties to specific photographic layers. Using incorrect drying media or excessive solvents risks irreversible delamination of silver gelatin binders.
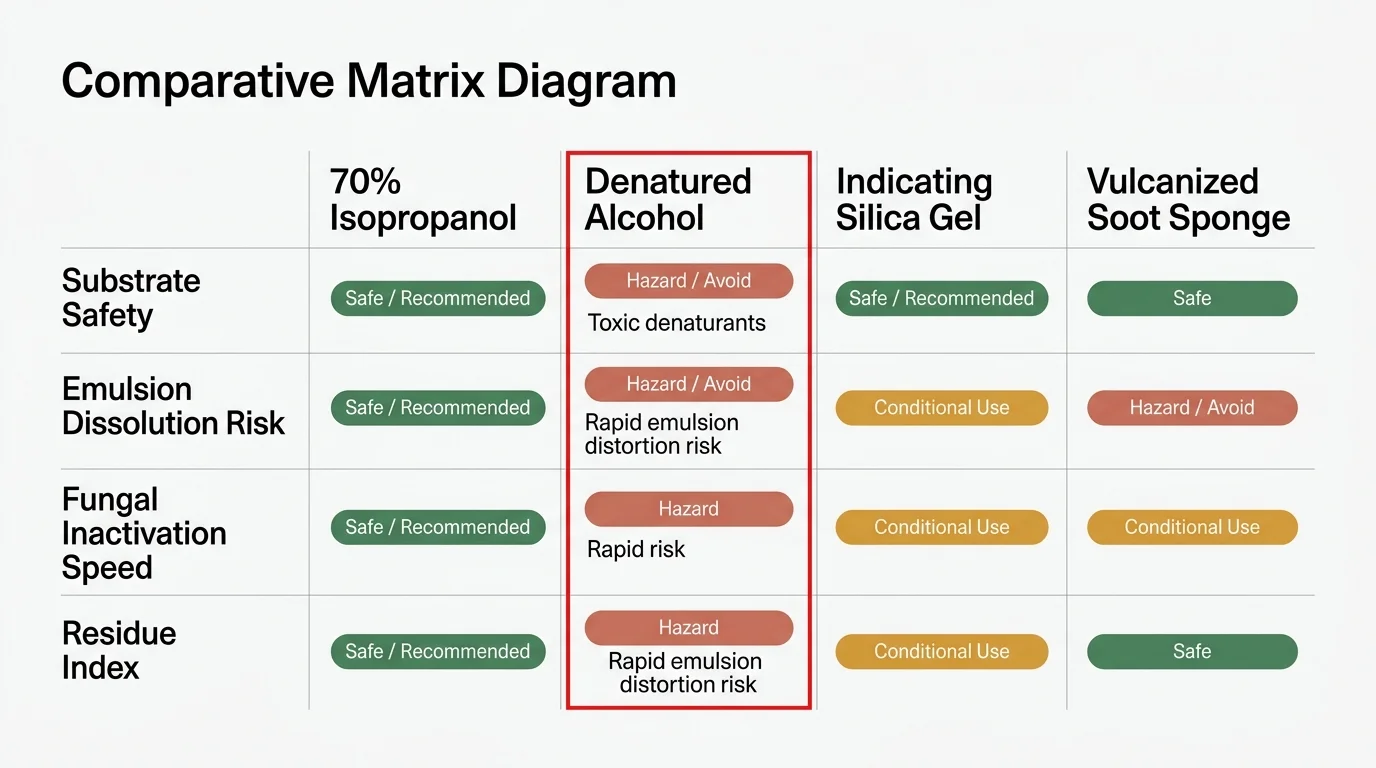
The table below provides measurable performance metrics, moisture contents, and safety profiles for primary decontamination agents. Reference these specifications before treating mold-damaged vintage prints from damp storage environments.
| Preservation Agent | Substrate Target | Moisture / Volatility Profile | Gelatin Solubilization Risk | Fungal Eradication Rating |
|---|---|---|---|---|
| 70% Isopropanol (v/v Distilled Water) | Paper Verso & Margins Only | Moderate (35–45 sec dwell time) | High on direct emulsion; Low on dry verso | Biocidal (Spore neutralization) |
| 99.8% Anhydrous Isopropanol | Metal / Glass Enclosures | Ultra-fast (5–10 sec dwell time) | Zero moisture; High embrittlement risk | Incomplete (Fails spore wall penetration) |
| Type A Indicating Silica Gel | Enclosed Atmospheric Air | Zero moisture (Absorbs 35% by weight) | None (Passive vapor extraction) | Bacteriostatic (Drives dormancy) |
| Vulcanized Rubber Soot Sponge | Dry Paper Verso Only | Zero moisture (Mechanical pickup) | Moderate friction abrasion risk | Mechanical removal only |
| Japanese Hake Goat-Hair Brush | Emulsion & Verso Surfaces | Zero moisture (Static-free animal hair) | Low (When applied with raking stroke) | Superficial spore displacement |
Always prioritize passive dry desiccation and mechanical brushing before considering chemical solvent application. Chemical sanitization serves exclusively as a secondary decontamination step for heavily affected paper supports.
Never combine multiple chemical solvents or introduce domestic disinfectants into photographic paper fibers. Household sanitizers contain chlorine bleach, quaternary ammonium compounds, or surfactants that trigger rapid chemical yellowing and silver oxidation.
Long-Term Archival Housing for Coastal Environments
Decontaminated photographs must never return to an unheated coastal Maine basement or damp storage area. Basement relative humidity levels exceeding 65 percent will reactivate dormant mold spores within weeks.
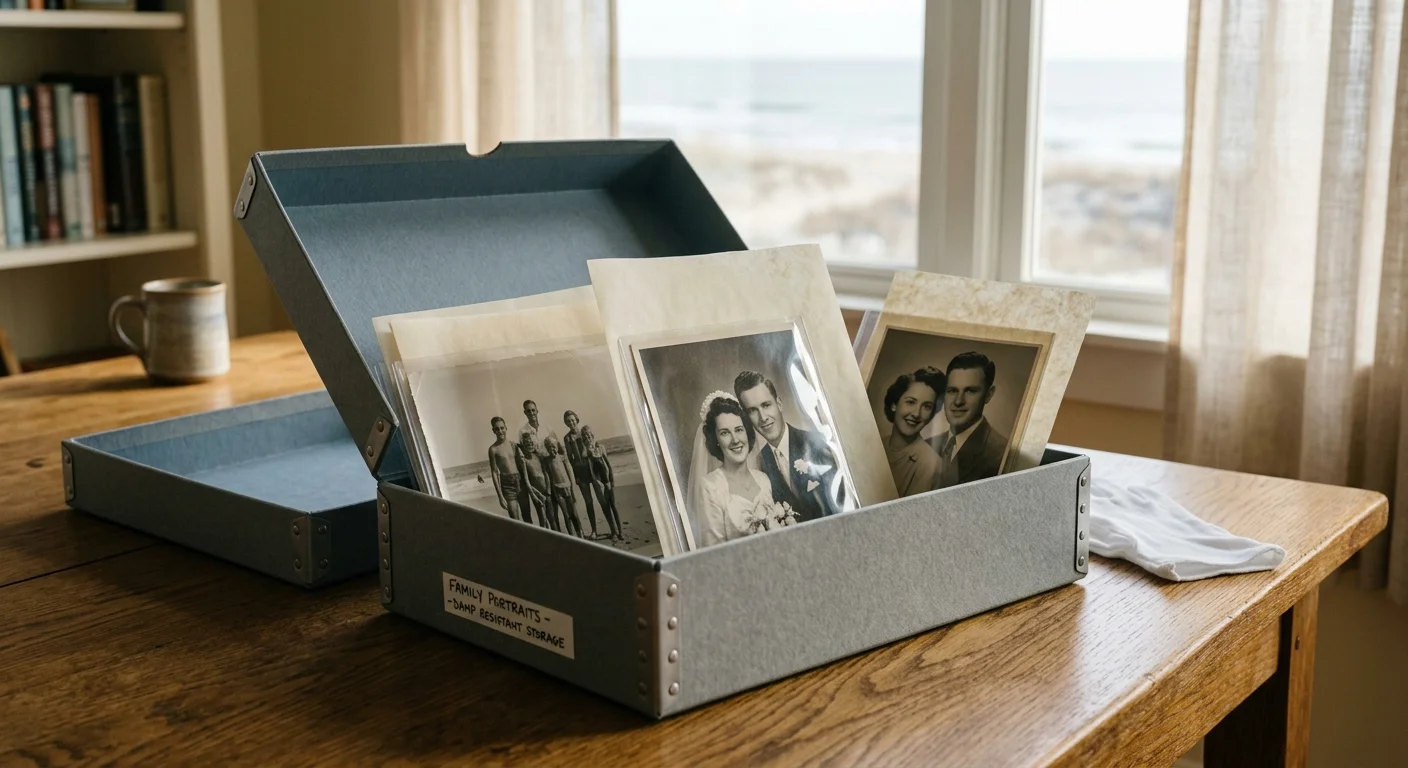
House salvaged vintage prints individually within unbuffered or buffered acid-free paper envelopes. Ensure all paper enclosures pass the ISO 18916 Photographic Activity Test to prevent chemical reactions with vintage image silver.
Avoid storing treated prints inside vinyl or cheap polyvinyl chloride plastic sleeves. Flexible PVC sleeves release volatile plasticizers and hydrochloric acid gas that corrode photographic binders and turn paper supports yellow.
If you require transparent sleeves for visual identification, choose archival-grade polyester film, such as Melinex 516 or Mylar D. Ensure prints are completely desiccated before sealing them inside non-breathable polyester enclosures.
Pack sleeved photographs upright inside heavy-duty, metal-edge archival boxes made from acid-free, lignin-free barrier board. These rigid boxes protect prints from dust, light exposure, and rapid external humidity fluctuations.
Store the archival boxes on an interior closet shelf within your main living quarters. Maintain ambient room temperatures between 65°F and 70°F, with relative humidity regulated between 30 and 40 percent.
Review the environmental stability standards established by the Image Permanence Institute to protect your family archive against seasonal moisture spikes.
Frequently Asked Questions
Can you clean mildew off prints using bleach or household sanitizers?
Never apply household bleach, disinfectant wipes, or ammonia sprays to vintage photographs. These chemicals cause immediate binder dissolution, paper fiber degradation, and irreversible silver image bleaching.
Instead, desiccate the print to arrest growth and use dry mechanical brushing paired with a controlled 70 percent isopropanol micro-swab on paper backs only.
What should you do if damp photos are stuck together in a solid block?
Do not force stuck photographs apart while they are damp or brittle. Forcing adhered prints apart tears paper supports and strips the gelatin image layer off the adjacent photograph.
Place the entire fused photo block into a sealed desiccant chamber to dry slowly, then consult a professional photo conservator for controlled humidification and mechanical separation.
How do you remove mold from old photos without smearing the image layer?
Desiccate prints in an airtight chamber until fungal colonies dry into brittle powder before touching the surface. Lowering relative humidity below 50 percent prevents active mold from smearing during treatment.
Sweep the dry spores away using a soft goat-hair brush under low raking light, directing debris directly toward a HEPA conservation vacuum nozzle.
Why is 70% isopropyl alcohol safer for prints than 91% or 99% formulations?
Pure 99 percent alcohol evaporates too rapidly to penetrate fungal spore walls, failing to deactivate reproductive enzymes before drying. Furthermore, 91 percent formulations flash off too fast for effective decontamination.
A 70 percent isopropanol solution contains 30 percent water, which facilitates osmotic cellular penetration, while the alcohol component denatures internal spore proteins without dissolving photographic emulsions.
Disclaimer: This article is for informational purposes only; when handling irreplaceable photographs, consider consulting a professional conservator. Always test preservation methods on non-valuable items first.
1 Comment