
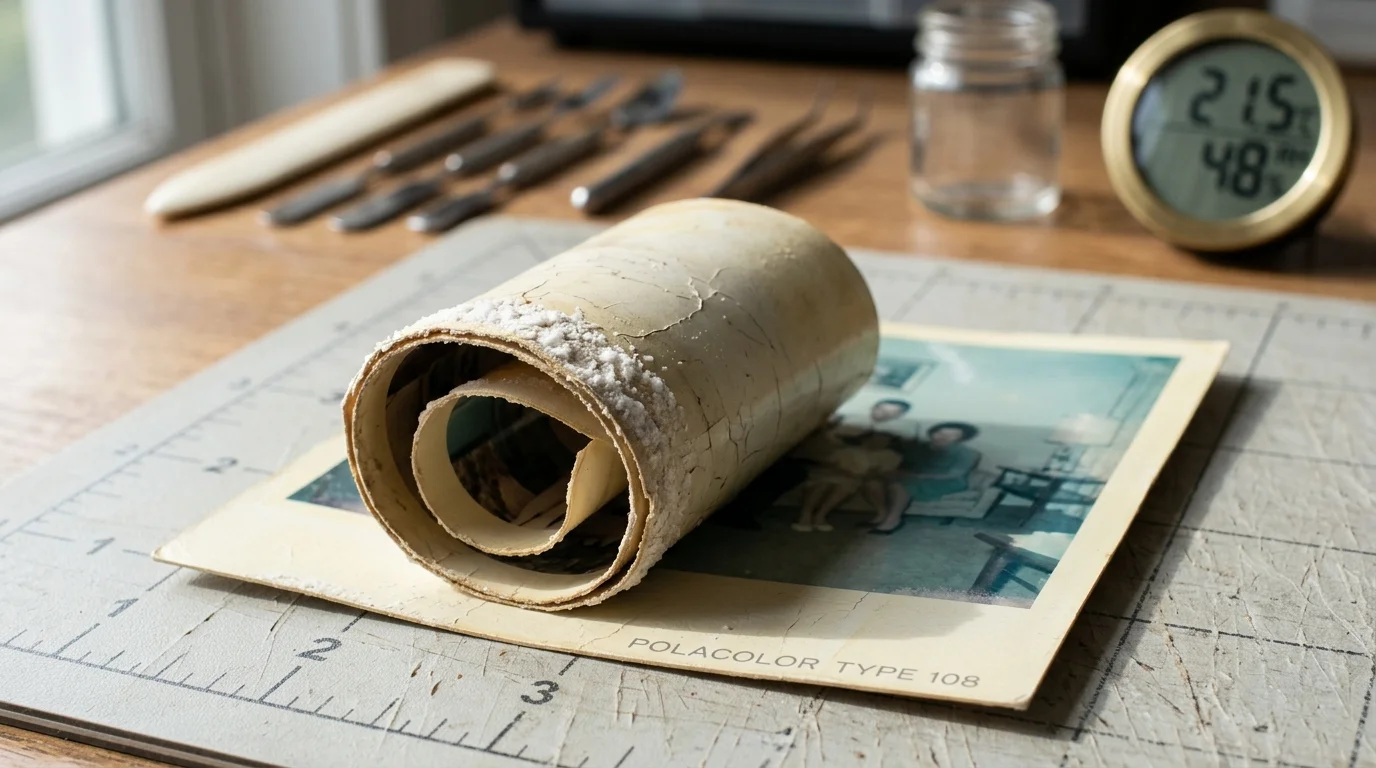
If you inherited curled 1960s Polaroid Type 108 prints, standard flattening advice will ruin them. Forcing these rigid prints flat cracks their delicate dye layers immediately.
Early peel-apart color prints retain residual alkaline chemistry from processing pods. Unlike standard black-and-white photos, standard buffered enclosures trigger catastrophic dye shifts; you must use unbuffered materials.
This protocol shows you how to safely humidify brittle packfilm prints to 65% to 80% relative humidity. You will learn to flatten curled polaroid prints and house them safely.
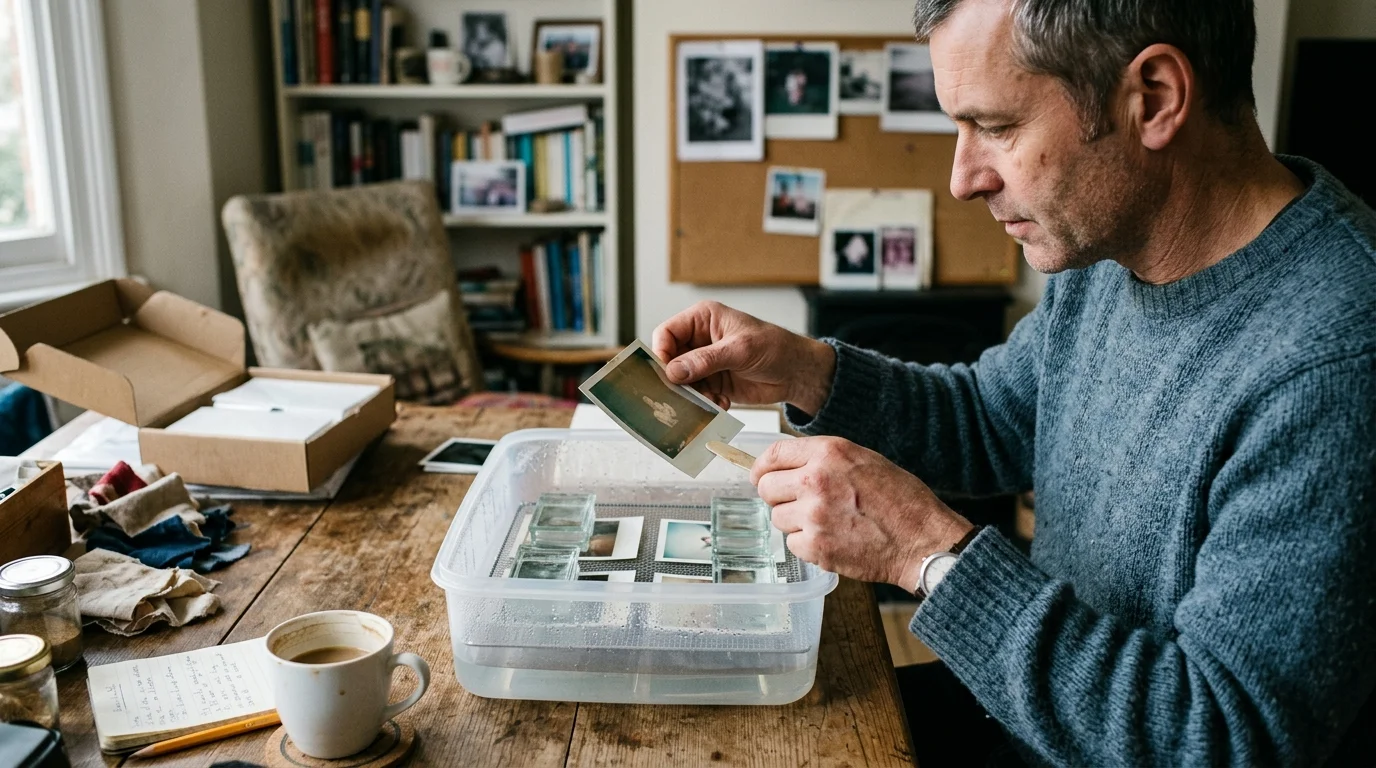
Understanding Polaroid Type 108 Chemistry
Polaroid introduced Polacolor Type 108 film in 1963 as the first packfilm yielding finished color prints in sixty seconds. The process was a marvel of mid-century chemical engineering that eliminated darkroom processing.
While later integral films feature different physical construction, protecting Polaroid photos from deterioration always requires managing chemical instability and environmental hazards.
However, the chemical structure of Polacolor differs substantially from standard chromogenic prints. These differences dictate how you must handle, humidify, and store them today.
Type 108 relied on a sophisticated dye-developer system. Edwin Land’s chemists linked dye molecules directly to hydroquinone developing agents across yellow, magenta, and cyan layers.
When you pulled the film packet through the camera rollers, pressure ruptured an internal chemical pod. This pod spread a viscous, highly alkaline reagent paste across the negative and positive sheets.
The processing reagent contained concentrated potassium hydroxide to activate development. Unreacted dye developers migrated into an image-receiving layer containing polyvinyl alcohol and mordant compounds.
To stop development, an internal acid polymer layer neutralized the caustic alkali. The reaction generated water, which evaporated as the print dried.
Unfortunately, the chemical pod rarely distributed reagent with absolute uniformity across margins. You will frequently find white, crusty chemical residues along the borders of vintage packfilm prints.
These crystalline crusts consist of caustic potassium salts. If you expose these salts to liquid water or excessive humidity, you reactivate their caustic potential and ruin the image layer.
Why Buffered Enclosures Ruin Polacolor Dyes
Standard archival guidelines often instruct you to store vintage photographs in buffered paper sleeves. That standard advice protects silver gelatin prints, but it degrades Polacolor Type 108 emulsions.
For collectors living in tropical or coastal regions, learning how to store photos in high-humidity climates is essential to prevent moisture from activating residual pod chemistry.
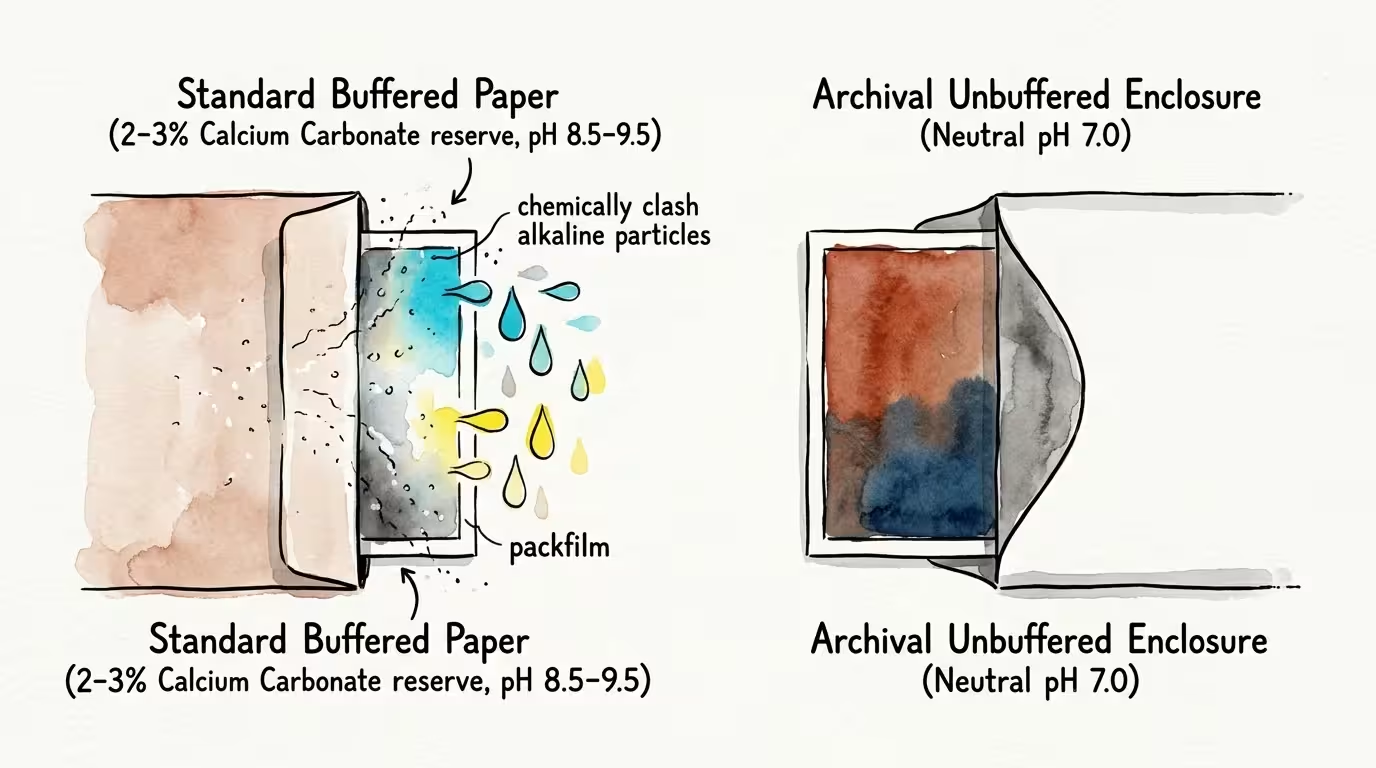
Buffered paper enclosures contain a 2% to 3% calcium carbonate reserve. Manufacturers add this alkaline reserve to neutralize environmental airborne acids and keep paper pH between 8.0 and 9.5.
Research published by the Image Permanence Institute confirms that alkaline environments accelerate the fading of synthetic color dyes. Synthetic dye-developer systems require a strictly neutral pH environment.
When you place a Polacolor print inside a buffered folder, the alkaline reserve interacts with the print’s fragile acid-stabilized surface. This interaction disrupts the delicate chemical balance established during the original 1960s development cycle.
The alkaline migration triggers yellowing of background highlights and induces severe fading in cyan dye layers. In damp storage, buffered paper can even cause dyes to mobilize and bleed.
Dye-diffusion transfer prints demand an unbuffered neutral paper environment. Introducing alkaline buffering agents compromises the internal acid neutralization layer engineered into the print structure.
You must house vintage peel-apart color prints exclusively in unbuffered archival envelopes. Ensure your envelopes have a neutral pH between 6.5 and 7.5 and pass the ISO 18916 Photographic Activity Test.
Chamber Materials and Equipment Specifications
Flattening curled polaroid prints through direct force causes immediate micro-fracturing across the brittle gelatin. A passive humidity chamber relaxes the fibers safely through controlled water vapor absorption.
This passive vapor setup operates on principles similar to those used for uncurling brittle film strips without risking direct liquid contact.
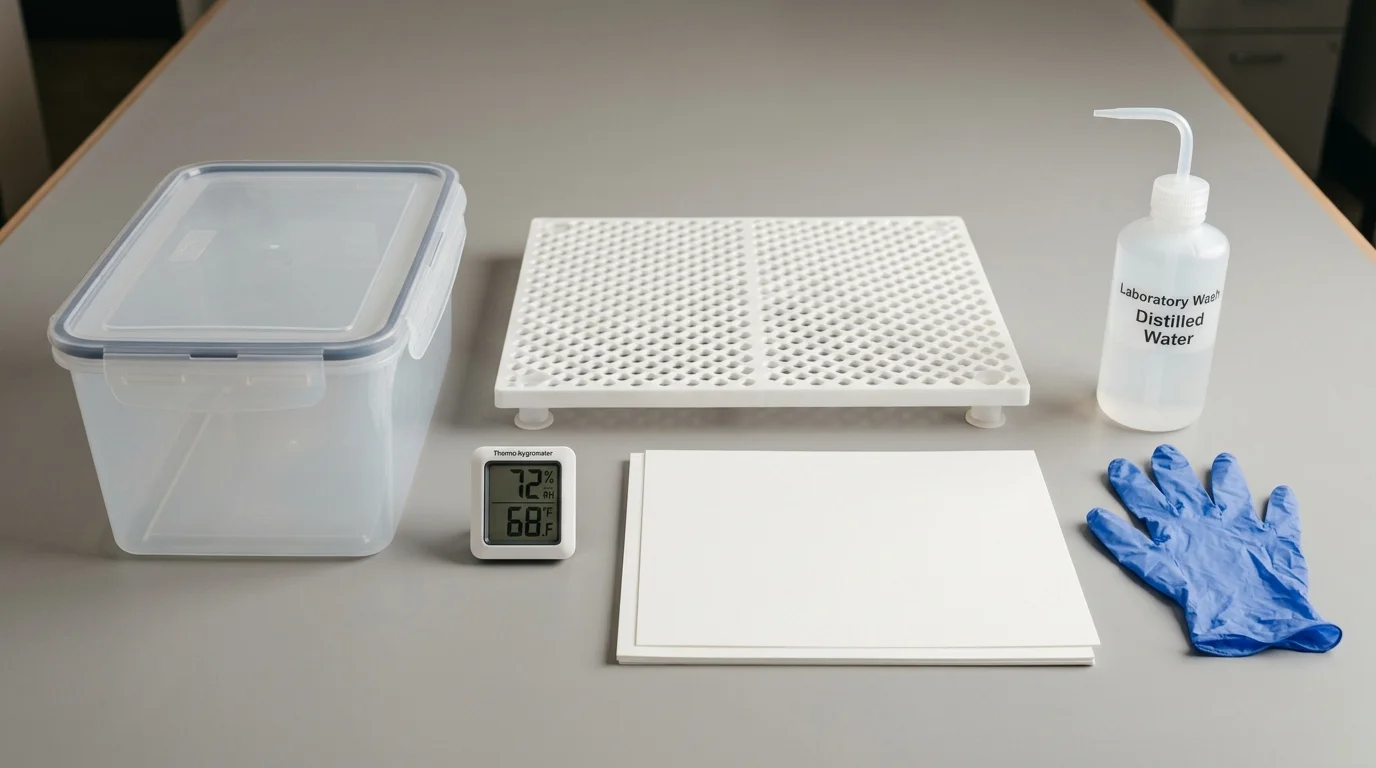
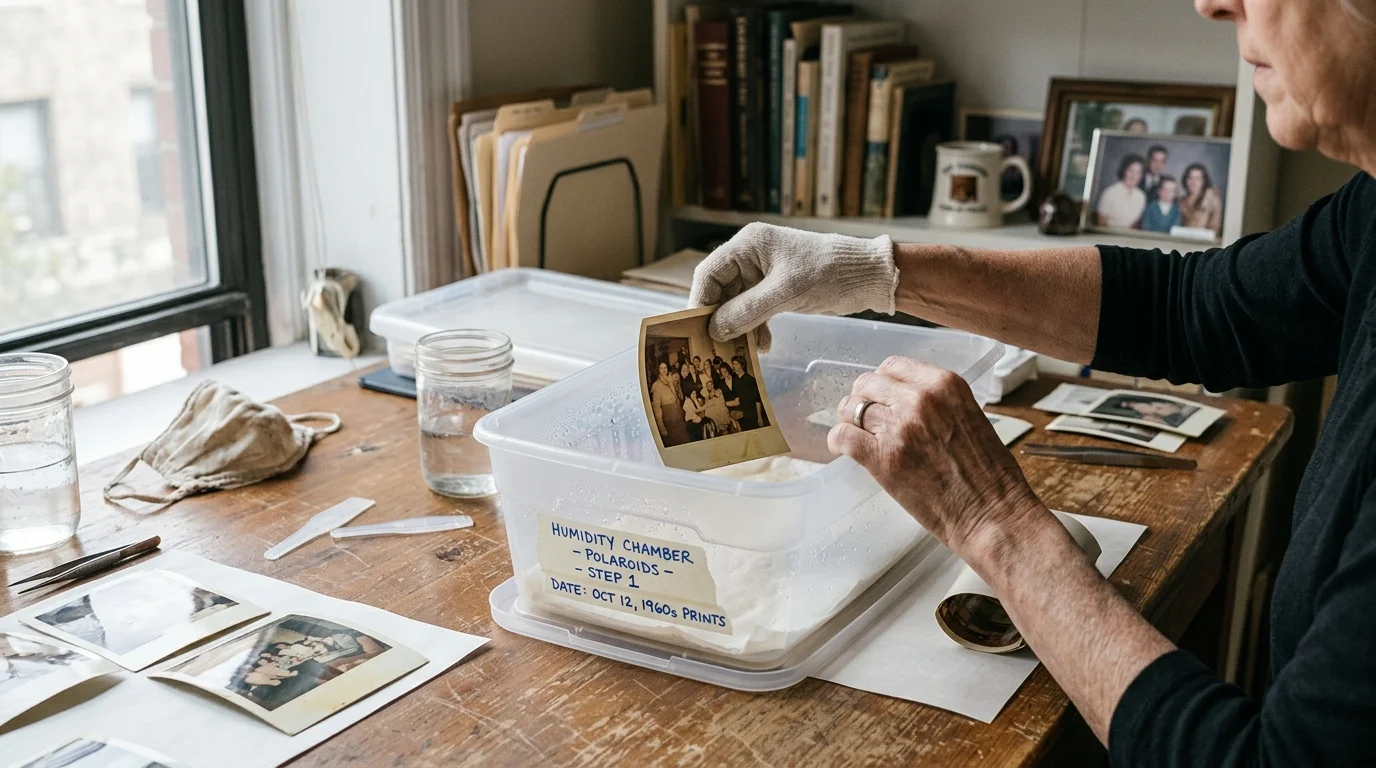
You can construct a museum-grade passive humidity chamber using affordable, inert materials. Assemble the required components before beginning the relaxation process.
- Chamber container: A heavy-duty, airtight polypropylene or polyethylene tote box measuring at least 12 by 16 inches with a secure snap-tight lid.
- Digital thermo-hygrometer: A fast-response digital sensor calibrated to monitor internal relative humidity and temperature continuously.
- Elevated support platform: A rigid, rustproof stainless steel or polypropylene grid to elevate prints above the moisture reservoir.
- Water reservoir substrate: Two sheets of heavyweight, 100% cotton archival blotter paper measuring 10 by 14 inches.
- Vapor barrier release layer: Spun-bonded polyester sheets, such as Hollytex 3256, cut to fit the support platform.
- Water supply: Deionized or distilled water to prevent mineral crusting and microbial transfer.
- Drying boards: Two sheets of smooth plate glass or polished acrylic cut to 11 by 14 inches, with a 0.25-inch thickness.
- Weights: Four fabric-wrapped lead weights or uniform steel book weights totaling 5 to 10 pounds.
Never substitute chlorinated tap water for distilled water. Tap water introduces mineral deposits and chlorine gas into the sealed chamber air, attacking delicate dyes.
Step-by-Step Humidity Chamber Protocol
Before introducing prints to moisture, inspect each image carefully under raking light. Look for flaking gelatin, physical tears, or heavy potassium hydroxide crusts on the edges.
Clean loose dust from margins using a soft, natural goat-hair brush. Do not rub the caustic edge residue, as friction drives alkaline particles into the image layer.
Saturate your archival blotters with distilled water until they are completely damp. Press the blotters between clean paper towels to eliminate pooling liquid; you want dampness, not standing water.
Place the damp blotters flat on the bottom of the polypropylene container. Position your elevated rack directly over the blotters, ensuring at least one inch of clearance between the rack and paper.
Place your digital hygrometer inside on the rack where you can read its display through the container walls. Seal the container lid firmly and watch the relative humidity climb.
Wait until the internal humidity stabilizes between 65% and 80% relative humidity. Never introduce prints if the relative humidity exceeds 80%.
When relative humidity exceeds 85%, gelatin swells excessively and turns into a soft, tacky gel. Tacky emulsions adhere aggressively to any surface they touch, destroying the photograph permanently.
Once your chamber registers stable humidity between 68% and 75% RH, open the lid briefly. Place your curled Type 108 prints onto the rack, emulsion facing upward.
Reseal the container immediately to maintain the microclimate. Keep the prints inside the chamber for 15 to 45 minutes, inspecting relaxation progress every 10 minutes.
The paper base and gelatin absorb ambient water vapor, causing the curled edges to relax downward. Remove the prints the moment they lie relatively flat under their own weight.
The Weighted Drying Press Procedure
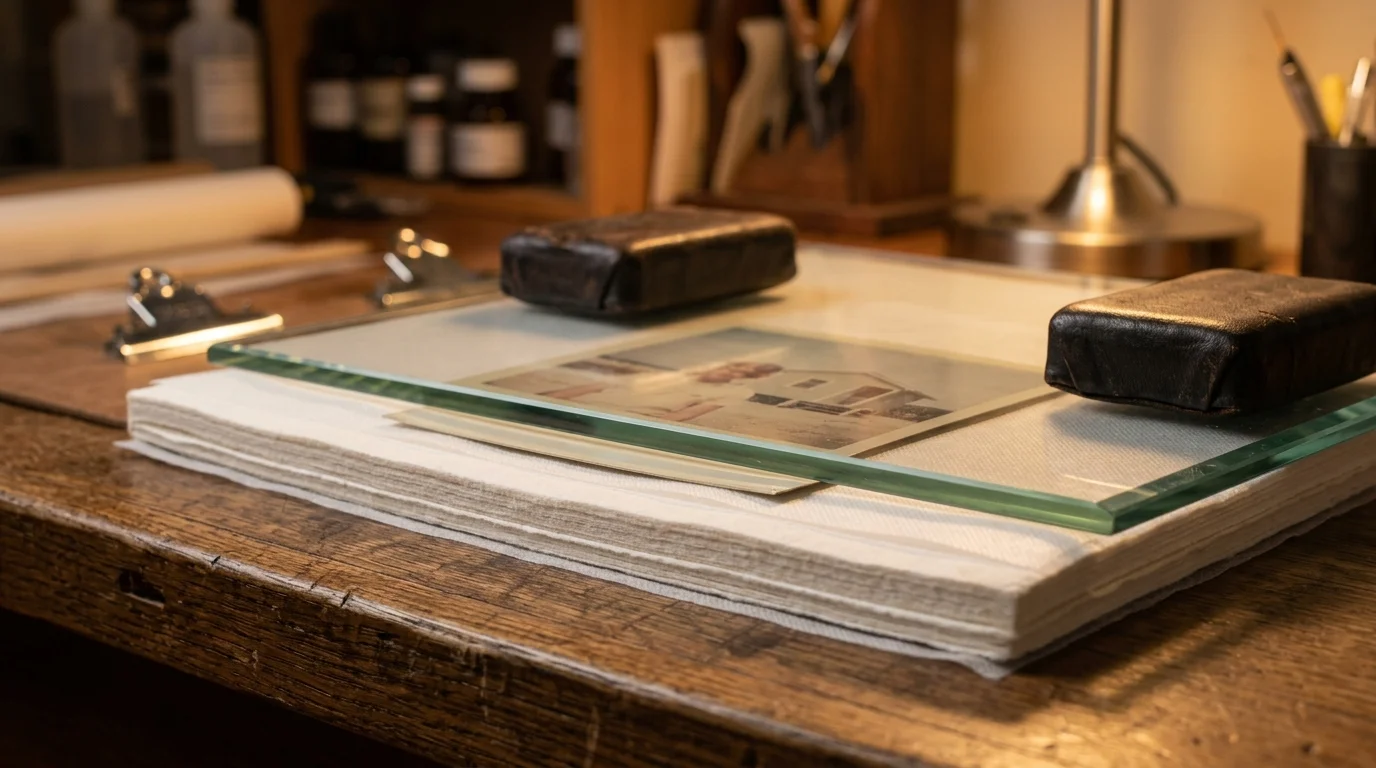
Humidification softens the photographic support, but you need controlled pressure to establish long-term planar stability. Prepare your drying press stack before opening the humidity chamber.
If your prints endured decades of thermal stress in unconditioned storage before flattening, review our attic photo triage guide to identify signs of irreversible heat brittleness.
Once the prints are flat and structurally stabilized, digitizing them creates an opportunity for pulling hidden detail from blown-out Polaroid highlights during digital editing.
Lay your base plate glass or smooth acrylic sheet onto a sturdy, level work surface. Place two bone-dry, 100% cotton archival blotters onto the glass surface.
Layer a sheet of spun-bonded polyester release fabric, such as Hollytex, directly over the blotter. This synthetic barrier prevents the soft emulsion from sticking to the fibrous blotter paper.
Transfer the humidified prints from the chamber using archival tweezers or clean cotton gloves. Lay the prints face up on the Hollytex barrier sheet, leaving at least one inch between borders.
Place a second sheet of Hollytex gently over the print faces. Smooth the fabric from the center outward to eliminate air pockets, taking care not to drag the fabric across the emulsion.
Add two dry archival cotton blotters directly on top of the upper release sheet. Place your top glass plate over the blotters, ensuring all layers remain perfectly aligned.
Place your weights evenly across the top glass plate, aiming for 5 to 10 pounds of total load. This moderate pressure holds the prints flat without squeezing the softened emulsion layers.
Leave the prints in this drying stack for 24 to 72 hours. Moisture moves from the print through the porous Hollytex into the dry blotters, establishing flat paper memory.
Never open the press during the first 24 hours. Premature exposure to ambient room air causes uneven edge drying, prompting prints to curl again immediately.
Worked Example: Restoring an Eight-Print 1968 Pack
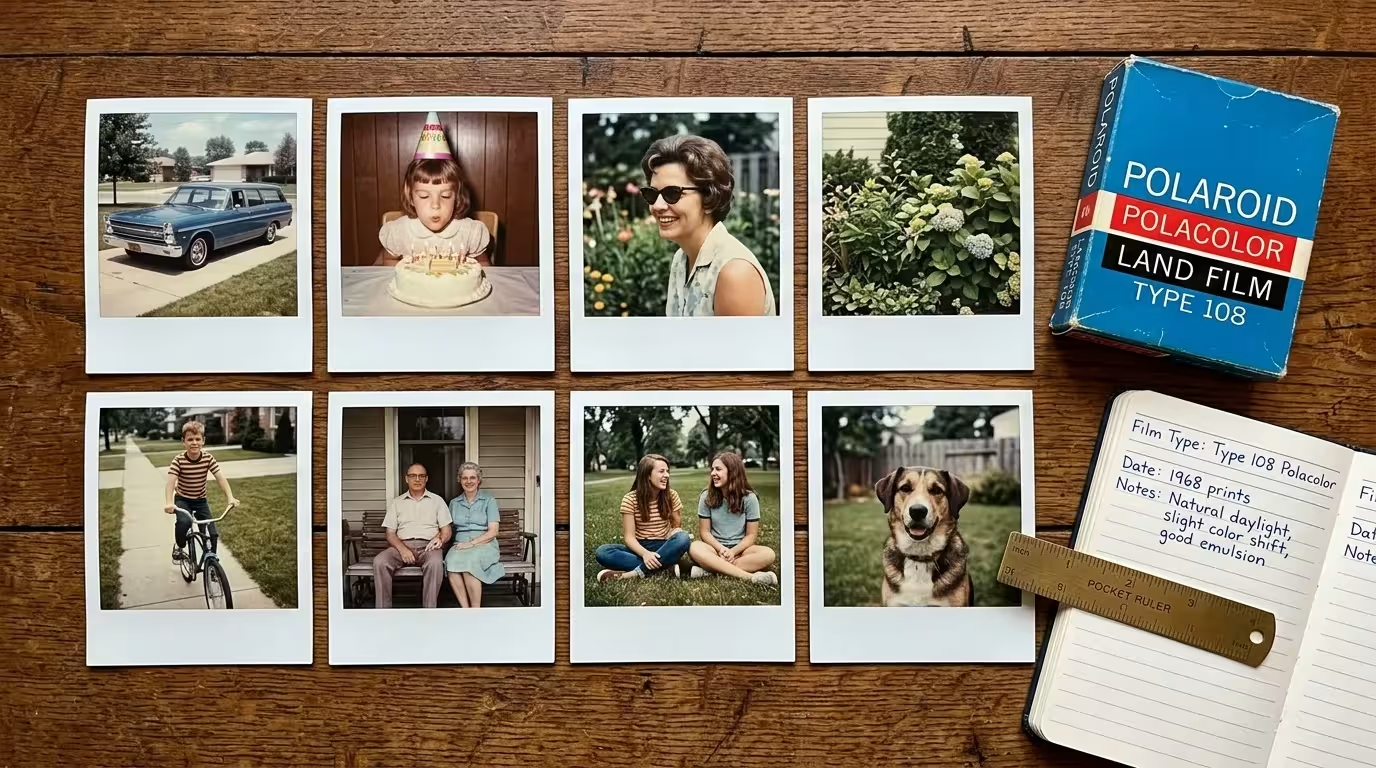
Consider a practical restoration scenario involving eight Polacolor Type 108 prints produced in August 1968. The prints measure 3.25 by 4.25 inches and exhibit severe transverse curl, rolling into tight cylinders.
The margins display white potassium hydroxide residue along the original pod edges. The ambient room environment registers 70°F (21°C) and 35% relative humidity.
The archivist assembled materials totaling an investment of $93.50. This budget included an airtight polypropylene container ($15.00), a digital hygrometer ($13.50), archival blotters ($24.00), Hollytex sheets ($16.00), and unbuffered envelopes ($25.00).
The chamber was prepared with damp blotters and reached 72% RH after twenty minutes of equilibration. The eight curled prints were arranged across the elevated rack with adequate air circulation between them.
Inspection at the 15-minute mark revealed partial relaxation of the paper bases. At 35 minutes, the prints relaxed fully, lying planar on the rack without curling upwards.
The operator transferred the eight prints into two drying presses, placing four prints per stack. Each stack received an evenly distributed 7.5-pound weight and dried for 48 hours.
When opened after two full days, all eight prints exhibited complete planar stability. The emulsion surfaces remained pristine, with zero dye bleed, surface cracking, or adhesive sticking.
Storage Enclosure Comparison
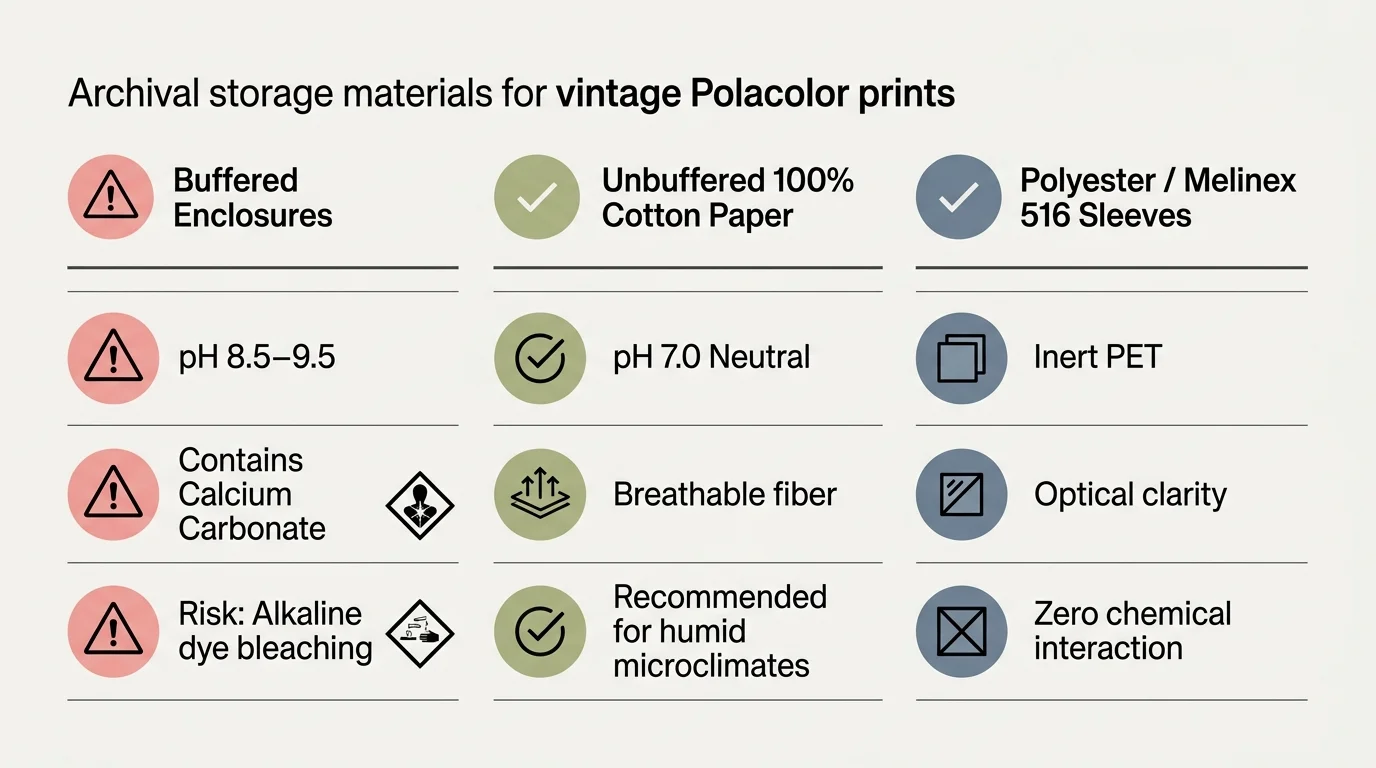
Selecting incorrect storage sleeves undoes all your flattening efforts. Consult this technical comparison to choose safe enclosures for vintage Polacolor prints.
| Enclosure Option | Material Chemistry | pH Rating | ISO 18916 PAT Test | Polacolor Suitability | Primary Risk Factor |
|---|---|---|---|---|---|
| Unbuffered Archival Envelopes | 100% Cotton Rag Paper | 6.5 – 7.5 | Passed | Optimal | None; chemically neutral environment |
| Standard Buffered Envelopes | Wood Pulp w/ CaCO3 Reserve | 8.5 – 9.5 | Passed (General) | Unacceptable | Alkaline dye shifting and highlight yellowing |
| Polyester Sleeves (Melinex 516) | Polyethylene Terephthalate | Neutral (Inert) | Passed | Acceptable | Ferrotyping if relative humidity spikes |
| Commercial PVC Sleeves | Polyvinyl Chloride w/ Plasticizers | Variable (Acidic) | Failed | Hazardous | Hydrochloric acid off-gassing and plasticizer stickiness |
Unbuffered paper enclosures remain the gold standard for vintage packfilm prints. They allow natural gas exchange while shielding the emulsion from light and airborne pollutants.
If you prefer transparent enclosures for viewing, use uncoated archival polyester such as Melinex 516. Never use polyvinyl chloride sleeves, which off-gas hydrochloric acid and destroy color prints.
Long-Term Storage and Climate Control
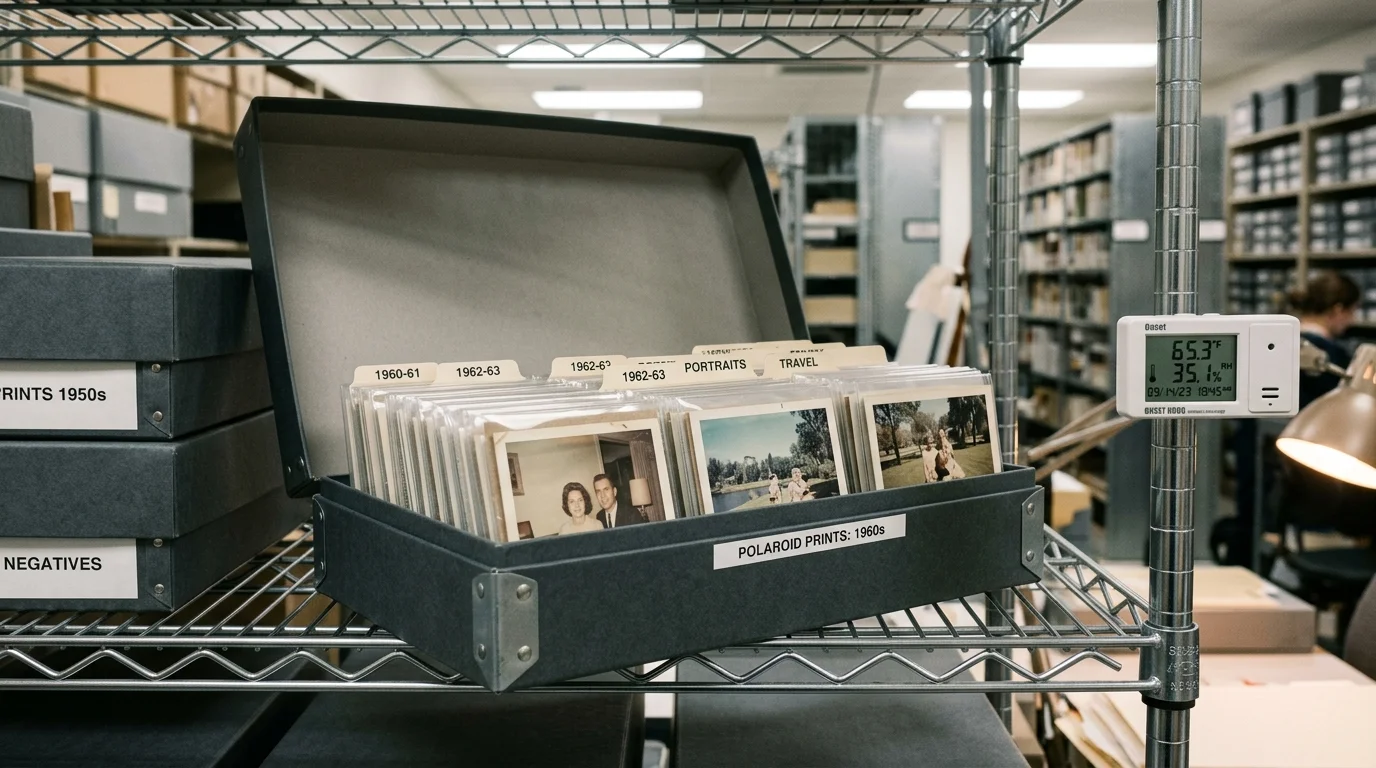
After flattening and sleeving your prints, you must control the surrounding storage environment. Color photographic dyes remain susceptible to dark fading caused by heat and ambient humidity.
Guidelines from the American Institute for Conservation emphasize stable climate controls for color materials. Keep your storage area between 30% and 50% relative humidity.
Never store vintage photographs in uninsulated attics or damp basements. Relative humidity swings cause the paper base to expand and contract repeatedly, cracking the gelatin layer.
Keep storage temperatures below 68°F (20°C). Every 10°F drop in temperature significantly extends the lifespan of color dyes by slowing chemical degradation.
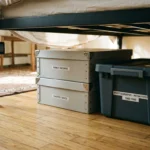
Store your unbuffered envelopes upright inside archival drop-front boxes that meet Library of Congress Preservation standards. Standing envelopes vertically prevents excessive weight from pressing against delicate emulsions.
Label each enclosure clearly using a soft 2B graphite pencil on the exterior back before inserting the photograph. Never use ballpoint pens or markers, as solvent-based inks migrate through paper and stain prints.
Frequently Asked Questions
Can I use a dry mount press or household iron to flatten curled Polaroid prints?
No, you must never apply dry heat or heated presses to Polacolor prints. High temperatures melt the protective lacquer and accelerate synthetic dye degradation immediately.
How should I remove caustic white residue from the edges of packfilm prints?
Leave solid crystals untouched if they remain outside the image area. If removal is necessary, have a professional conservator scrape them away mechanically using a micro-spatula under magnification.
Why are unbuffered archival envelopes better than buffered envelopes for Type 108?
Buffered envelopes contain calcium carbonate that creates an alkaline pH of 8.0 to 9.5. This alkaline environment breaks down synthetic dye developers, causing highlight yellowing and dye fading.
What should I do if a print sticks to the release paper during drying?
Never pull or force apart a stuck print. Return the assembly to the humidity chamber for five minutes to rehydrate the gelatin, allowing it to release cleanly.
Disclaimer: This article is for informational purposes only. When handling valuable or irreplaceable photographs, consider consulting a professional conservator. Always test preservation methods on non-valuable items first.
2 Comments