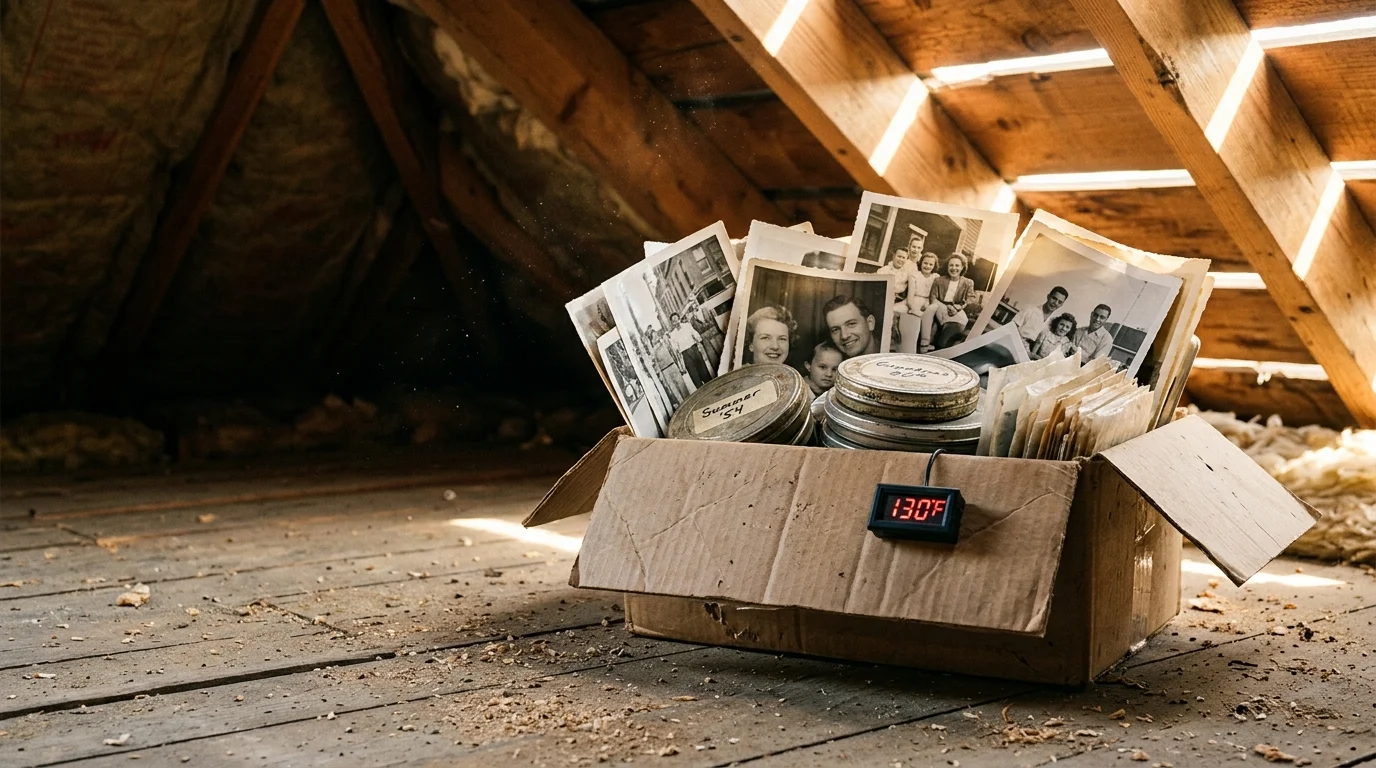
Clearing a sweltering Midwest estate attic in July puts decades of family heritage at immediate risk. When attic rafters hit 130°F, you cannot simply carry baking film reels and gelatin prints straight into an air-conditioned living room.
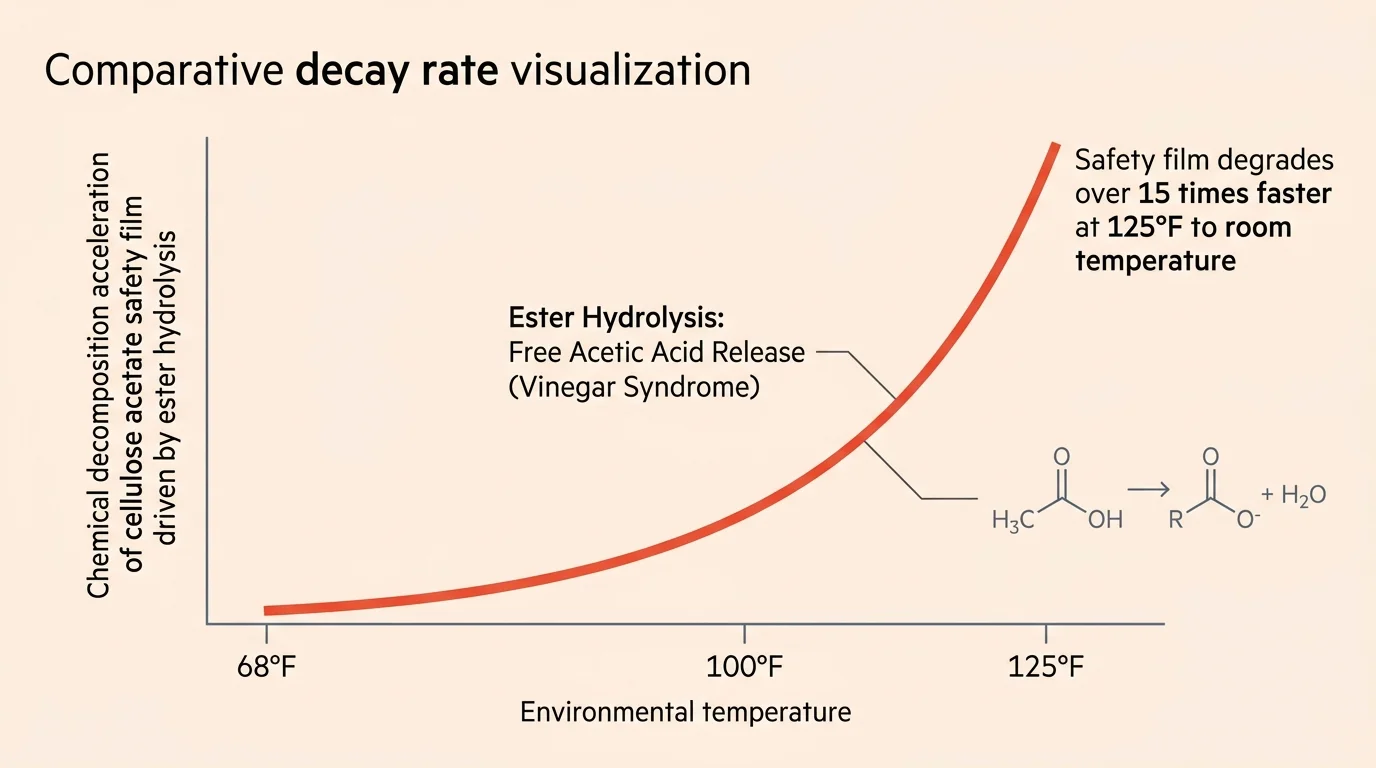
Rapid cooling causes moisture condensation that permanently fuses photo emulsions within minutes. Cellulose acetate film degrades over fifteen times faster at 125°F than at room temperature, releasing destructive acetic acid that eats your negatives.
This guide calculates the precise chemical decay rate of attic photo storage and delivers an exact 72-hour cooler stabilization protocol to rescue your family archive safely.
The Midwest Attic Crisis: Thermal Shock and Chemistry
Summer in an uninsulated suburban attic creates an environmental furnace. Ambient outdoor temperatures of 92°F easily drive roof deck and rafter temperatures past 130°F.
If you serve as an estate executor, you face severe physical time constraints. You often must clean out an inherited family home within days or weeks.
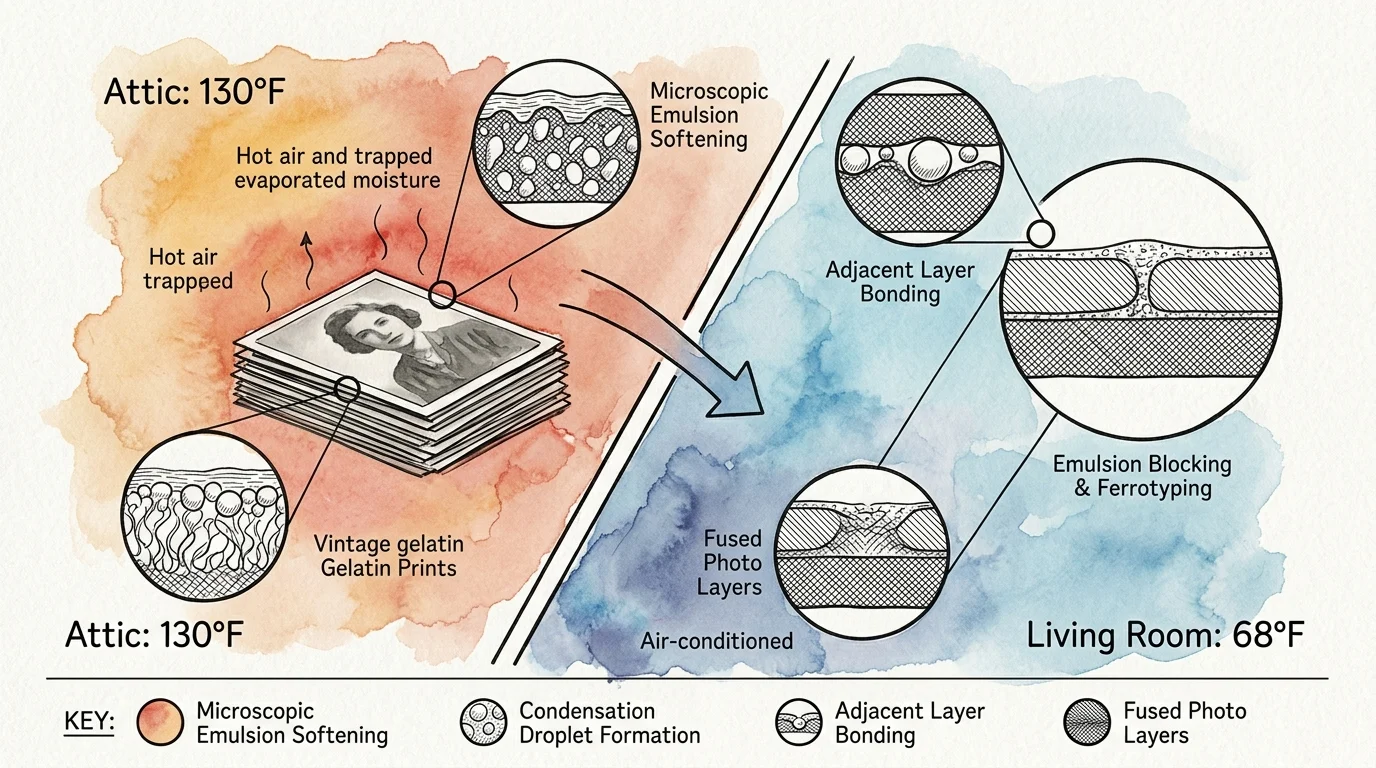
Carrying hot boxes directly down into a 68°F air-conditioned living room triggers immediate thermal shock. The warm air inside the box holds substantial evaporated moisture.
When warm, humid air strikes chilled room air, water condenses onto delicate emulsion surfaces. Gelatin layers on photographic prints soften rapidly and bond to glass or adjacent paper.
This phenomenon, known as blocking or ferrotyping, causes catastrophic and irreversible image loss. Once gelatin emulsions fuse together, separating them without water damage becomes nearly impossible.
Controlled thermal acclimation protects your inherited prints from this abrupt moisture transfer. You must lower the temperature gradually while isolating the items from ambient humidity.
Calculating Cellulose Acetate Decay Rates at 120°F+
Safety film produced between the 1930s and 1980s uses a cellulose acetate plastic base. Heat and ambient moisture trigger a self-catalyzing chemical reaction known as ester hydrolysis.
The acetate molecules shed acetyl groups, creating free acetic acid that smells like pungent household vinegar. As acid concentration rises, the reaction accelerates exponentially.
Preservation research pioneered by the Image Permanence Institute reveals that temperature acts as the primary accelerator for cellulose acetate decomposition. Every major thermal increase cuts chemical longevity in half.
Physical chemists evaluate this acceleration using the Arrhenius activation energy equation. For cellulose acetate base deacetylation, the activation energy measures approximately 90 kilojoules per mole.
At an optimal archival room temperature of 68°F (20°C), fresh acetate film survives approximately 45 to 50 years before entering the autocatalytic vinegar syndrome phase. High heat violently shortens this timeline.
At 90°F (32.2°C), the chemical reaction rate runs 3.2 times faster than room temperature baseline. At 110°F (43.3°C), the degradation rate jumps to 8.7 times faster.
In a baking 125°F (51.7°C) attic, the decay multiplier reaches 15.6 times the baseline rate. At 130°F (54.4°C), the reaction runs 24.5 times faster.
This mathematical reality means one single Midwest summer month in a 130°F attic inflicts two entire years of room-temperature chemical decay. A three-month summer heatwave causes half a decade of structural damage.
The acetic acid cannot escape when film rolls sit tightly packed inside metal cans or cardboard boxes. The trapped acid attacks the image-forming gelatin emulsion, warping the base and dissolving the picture.
Identifying Heat-Damaged Photos and Film Stages
Before moving boxes out of the attic, inspect individual containers to determine the stage of chemical decay. Different stages require different levels of isolation and protection.
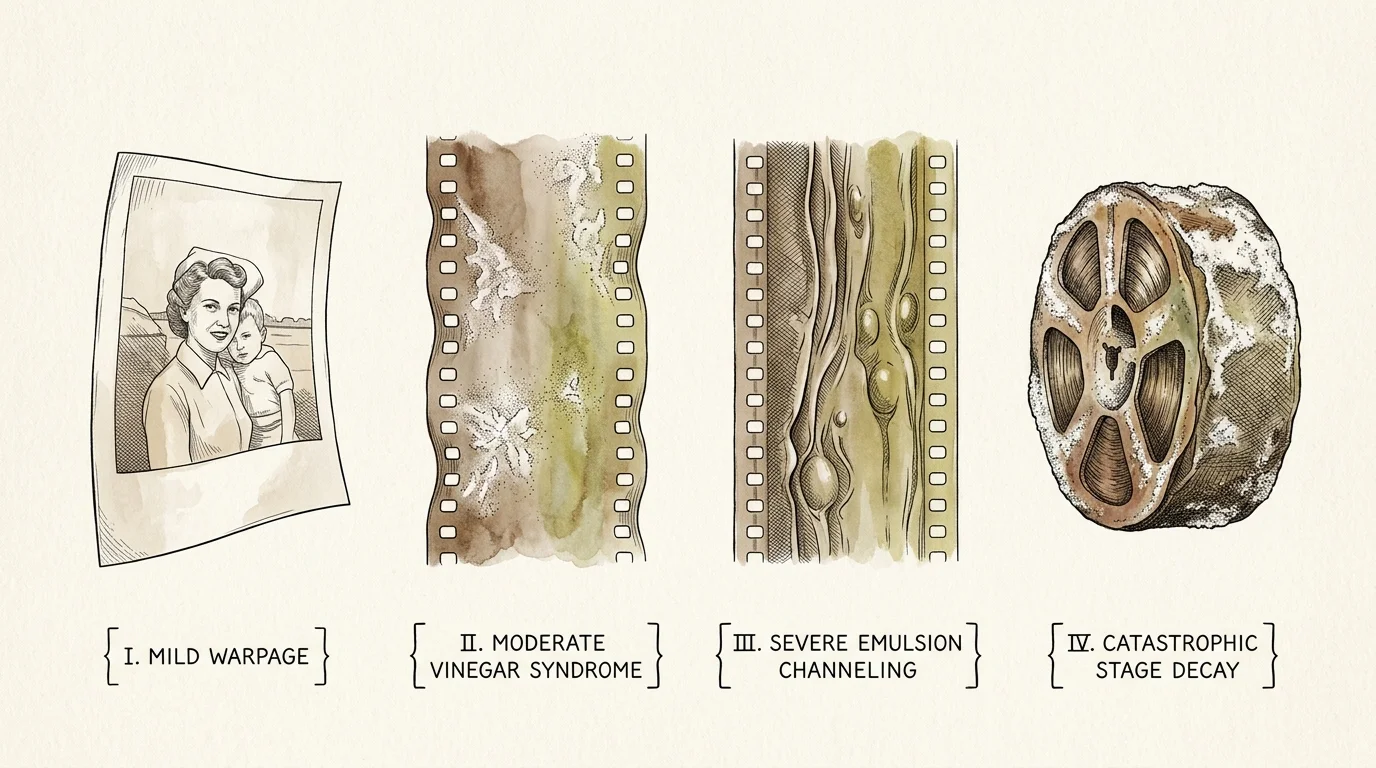
Stage 1 decay presents as a faint vinegar scent when you open a container. The film negatives or movie reels remain flat, but edge curling starts to develop.
Stage 2 decay brings a sharp, unmistakable acid odor that burns your nostrils. Film strips show noticeable warping, cupping, and longitudinal shrinkage while the gelatin emulsion resists.
Stage 3 decay marks advanced structural failure across film and print materials. You will observe deep channeling, severe bubbling, and an unrolling resistance that snaps brittle film bases.
Liquid plasticizer, specifically triphenyl phosphate, begins weeping out of the plastic base in Stage 3. It forms greasy deposits or white crystalline powder along the film edges.
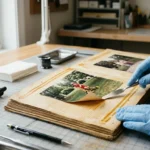
Heat-damaged photographic prints show distinct symptoms separate from film reels. Heat bakes out natural plasticizers, leaving paper fibers brittle, chalky, and prone to cross-fracturing.
Color prints develop severe dye fading and yellow color casts as cyan dyes degrade first. Gelatin surfaces may show micro-crazing, forming tiny cracks that resemble dried desert mud.
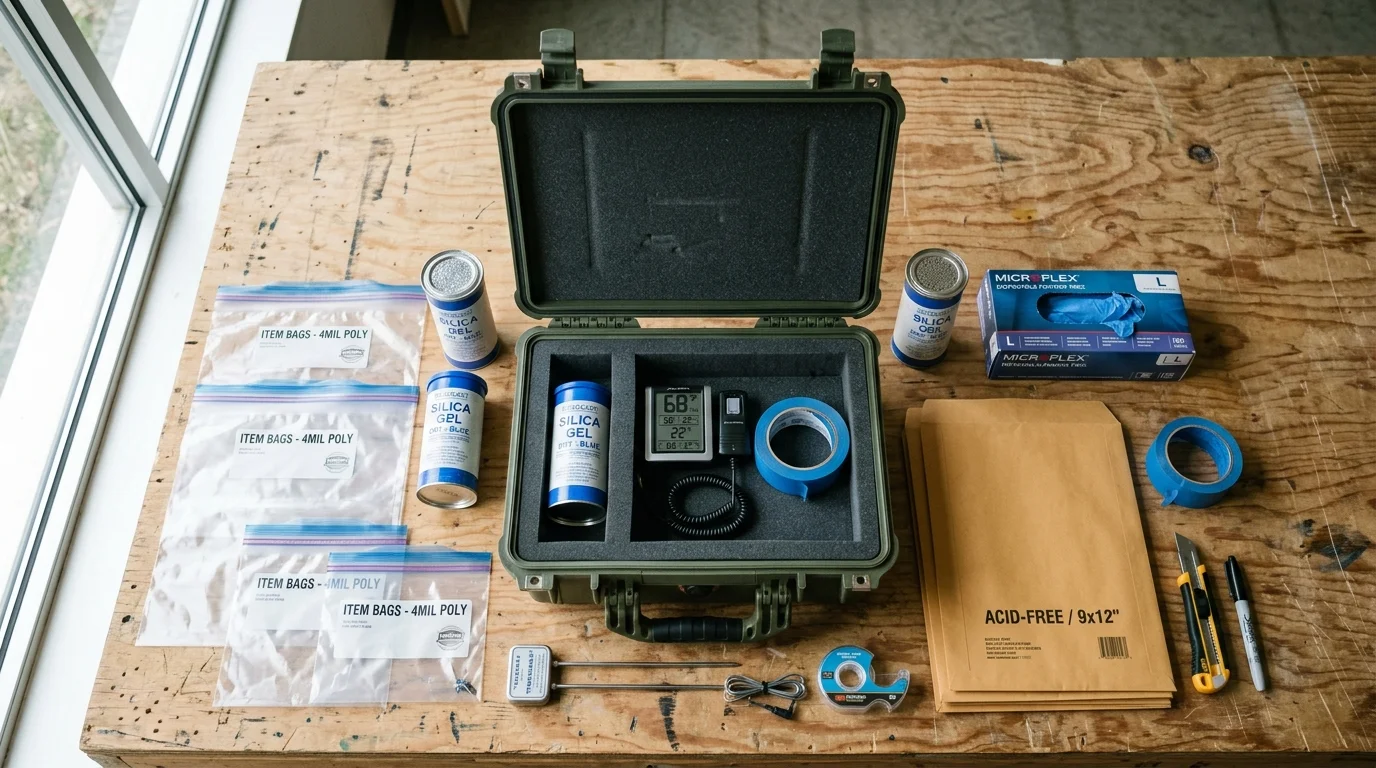
Equipment Manifest for the 72-Hour Cooling Protocol
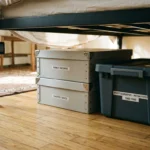
Never rely on ordinary thin storage tubs or cardboard boxes to stabilize overheated collections. You need insulated containers that slow thermal conduction down to fractions of a degree per hour.
- Insulated Hard Cooler: One Coleman 52-Quart Marine Hard Cooler with thick polyurethane foam walls and an airtight lid gasket.
- Moisture Barrier Bags: Ziploc Two-Gallon Heavy Duty Freezer Bags made of virgin polyethylene with double-zipper seals.
- Desiccant Canisters: Two Dry & Dry 50-gram indicating silica gel metal canisters to absorb residual moisture without desorbing chemicals.
- Digital Monitoring Unit: One AcuRite 00613 digital hygrometer and thermometer with external display probe to track interior thermal drops.
- Handling Gear: One box of powder-free nitrile gloves (four-mil thickness) to prevent skin oils from contacting softened gelatin.
- Interleaving Material: One package of acid-free, unbuffered archival paper tissue sheets measuring 8×10 inches.
The insulated cooler acts as a thermal buffer, forcing overheated objects to shed heat slowly. The moisture barrier bags prevent ambient humidity from condensing onto cooling print surfaces.
The silica gel canisters regulate interior relative humidity between 30% and 40%. This prevents the film base from overdrying while eliminating any condensation threat.
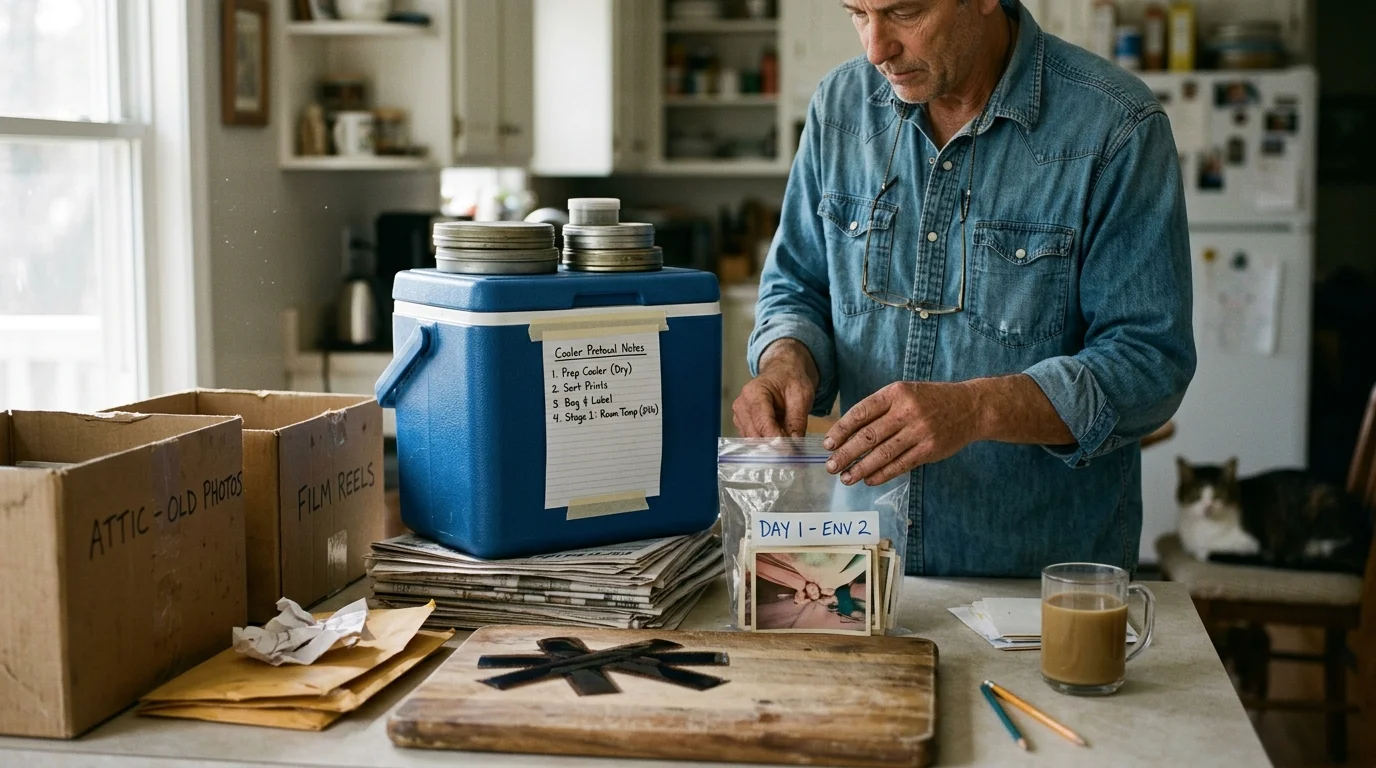
The 72-Hour Cooler Stabilization Protocol: Step-by-Step
Execute this 72-hour triage sequence before sorting, scanning, or cataloging any attic materials. Patience during these three days preserves images that would otherwise shatter or stick.
Hour 0: Packing at the Attic Boundary
Work directly at the attic access stairs; do not carry loose, uninsulated photos through the air-conditioned house. Put on nitrile gloves to protect heat-softened emulsion layers.
Place up to five photo bundles or three film cans into each two-gallon freezer bag. Add one conditioned 50-gram silica gel canister into each bag beside the photos.
Press excess warm air out of the bag gently before sliding the zipper completely shut. Place the sealed bags inside the Coleman cooler, insert your digital sensor probe, and latch the lid.
Hours 1 to 24: The First Thermal Step-Down
Move the latched cooler to an intermediate staging location such as an attached garage, covered porch, or upper hallway. This environment should rest between 82°F and 88°F.
The thick polyurethane foam walls throttle thermal exchange, dropping the internal cooler temperature by roughly 1.5°F per hour. Check the digital thermometer probe every six hours without unlatching the lid.
Do not open the cooler during this first 24-hour cycle. Sudden introduction of outside air disrupts the controlled internal vapor-pressure equilibrium.
Hours 24 to 48: The Second Thermal Step-Down
At Hour 24, verify that the internal cooler thermometer reads within 2°F of the intermediate room temperature. Move the unopened cooler into an uncooled interior utility room or basement entryway held at 74°F to 76°F.
The cooling rate slows during this phase, dropping internal temperatures by approximately 0.5°F per hour. The enclosed silica gel actively captures any moisture driven out of paper mounts.
Leave the latched cooler undisturbed throughout this second full day. The cellulose acetate bases slowly relax internal mechanical tensions created by decades of high-heat warping.
Hours 48 to 72: Final Acclimation to Living Space
Bring the cooler into your primary climate-controlled sorting room, maintained between 68°F and 70°F and 45% relative humidity. Keep the cooler lid latched for the first twelve hours of this phase.
At Hour 60, pop the cooler lid latch open one quarter of an inch to permit slow pressure equalization. Leave the sealed polyethylene bags inside the cracked cooler for another twelve hours.
At Hour 72, remove the bags from the cooler. Check the digital display to confirm that bag contents match the 68°F ambient room temperature perfectly.
Unzip the bags in a well-ventilated space, ideally near an open window or exhaust fan. Acetic acid fumes that accumulated inside the sealed bags will vent away harmlessly.
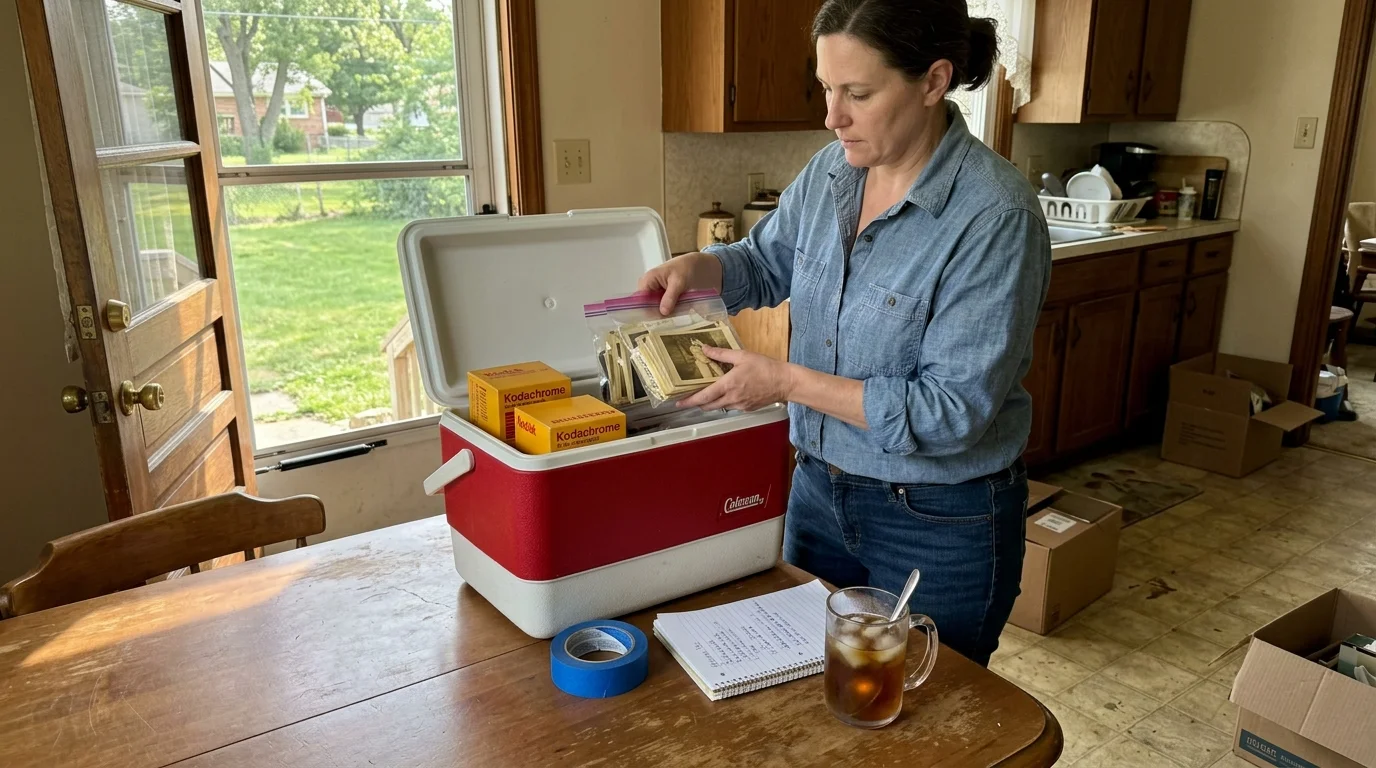
Worked Example: Clearing a Peoria Estate Collection
Consider an actual estate scenario in Peoria, Illinois. An executor named David entered a two-story uninsulated home attic at 1:30 PM on a July afternoon.
The outdoor temperature reached 93°F with 65% relative humidity; the attic thermometer registered a blistering 128°F. The archive contained 14 Kodak Carousel slide trays, six 400-foot 8mm acetate film reels, and three shoeboxes containing 520 silver gelatin prints.
David purchased two Coleman 52-Quart Coolers ($88 total), ten two-gallon freezer bags ($11), and four silica canisters ($22). His total triage investment came to $121.
He staged the empty coolers on the second-floor attic landing. He packed seven slide carousels and two film cans into the first cooler, and seven carousels, four film cans, and the print boxes into the second.
He placed two 50-gram silica gel canisters in each cooler and latched the lids at 2:45 PM Thursday. The internal cooler temperature read 124°F upon initial sealing.
David transferred the coolers down to the upper hallway, which measured 84°F. By 2:45 PM Friday (Hour 24), the internal cooler probes registered 85.2°F, matching the landing environment without condensation.
He carried the coolers down to the basement landing at 74°F. By Saturday at 2:45 PM (Hour 48), the coolers read 74.8°F, and the silica indicator beads remained deep orange, showing safe humidity levels.
He moved both coolers into the 68°F home office on Saturday afternoon. When he unsealed the bags at 2:45 PM Sunday (Hour 72), not a single slide mount had warped, and zero print blocking occurred.
Had David brought those 128°F boxes straight into the 68°F office, the 60°F temperature drop would have triggered instant surface condensation. His $121 supply run saved an entire century of family documentation.
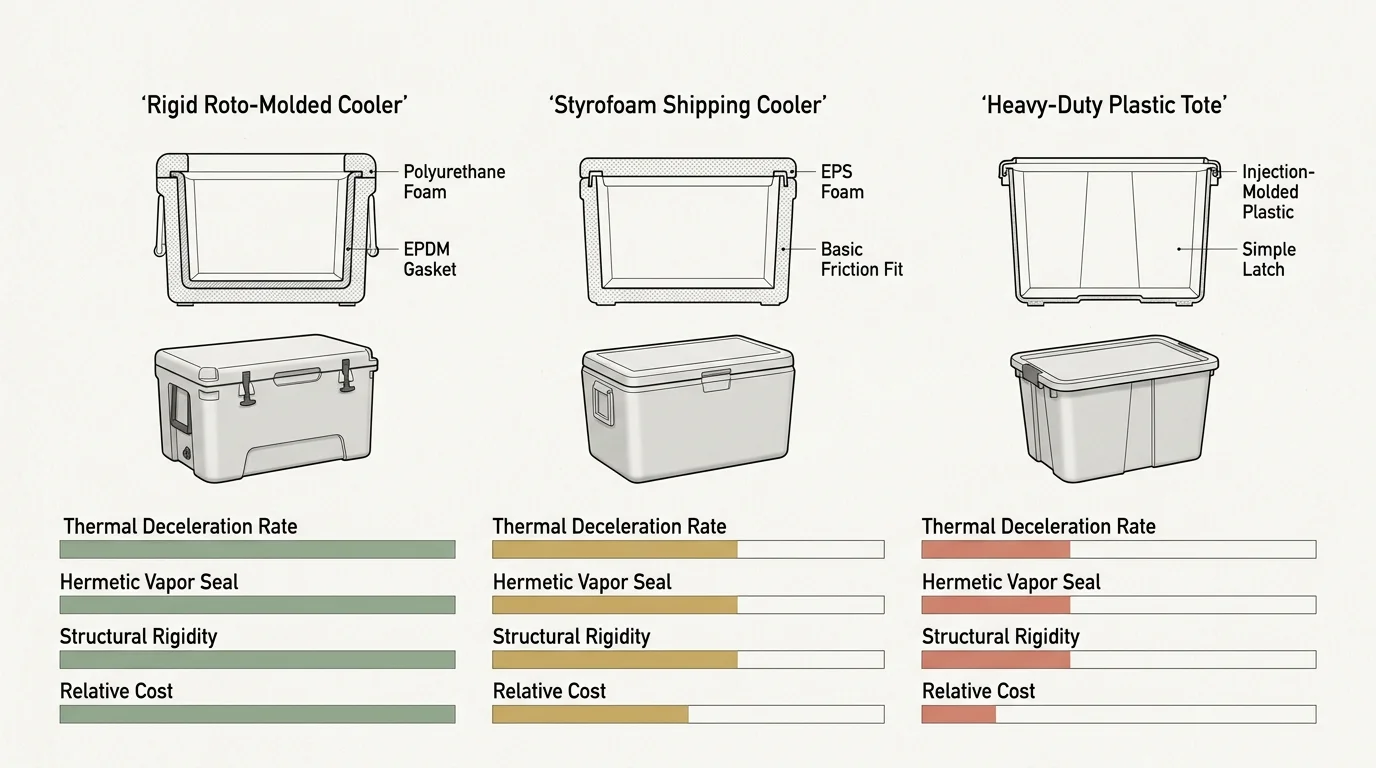
Comparing Temporary Stabilization Containers
Selecting the wrong container compromises your triage effort before the 72 hours conclude. Use this comparison table to evaluate container performance based on physical insulation properties.
| Container Type | Wall Insulation R-Value | Moisture Barrier Integrity | Average Cooling Rate | Triage Safety Rating |
|---|---|---|---|---|
| Coleman 52-Quart Marine Hard Cooler | R-6.0 (Polyurethane Foam) | Hermetic Seal with Gasket | 0.8°F to 1.5°F per Hour | Optimal (Full Protection) |
| 1.5-Inch Wall Molded EPS Shipper Box | R-4.2 (Expanded Polystyrene) | Fair (Requires Tape Sealing) | 1.8°F to 2.4°F per Hour | Acceptable (Secondary Choice) |
| Sterilite 66-Quart Polypropylene Tote | R-0.8 (Uninsulated Plastic) | Poor (Non-Gasketed Lid) | 4.5°F to 6.0°F per Hour | Dangerous (Condensation Risk) |
| Double-Wall Corrugated Cardboard Box | R-1.1 (Paper Fluting) | None (Porous Paper Fiber) | 3.8°F to 5.2°F per Hour | Critical Failure Risk |
Standard plastic storage totes lack the thermal resistance required to prevent steep temperature gradients. Corrugated cardboard boxes absorb atmospheric moisture, driving water vapor directly toward your drying photographs.
Only thick-walled polyurethane coolers or specialized molded polystyrene containers throttle conduction enough to safeguard fragile film emulsions. Invest in proper insulation before attempting attic removal.
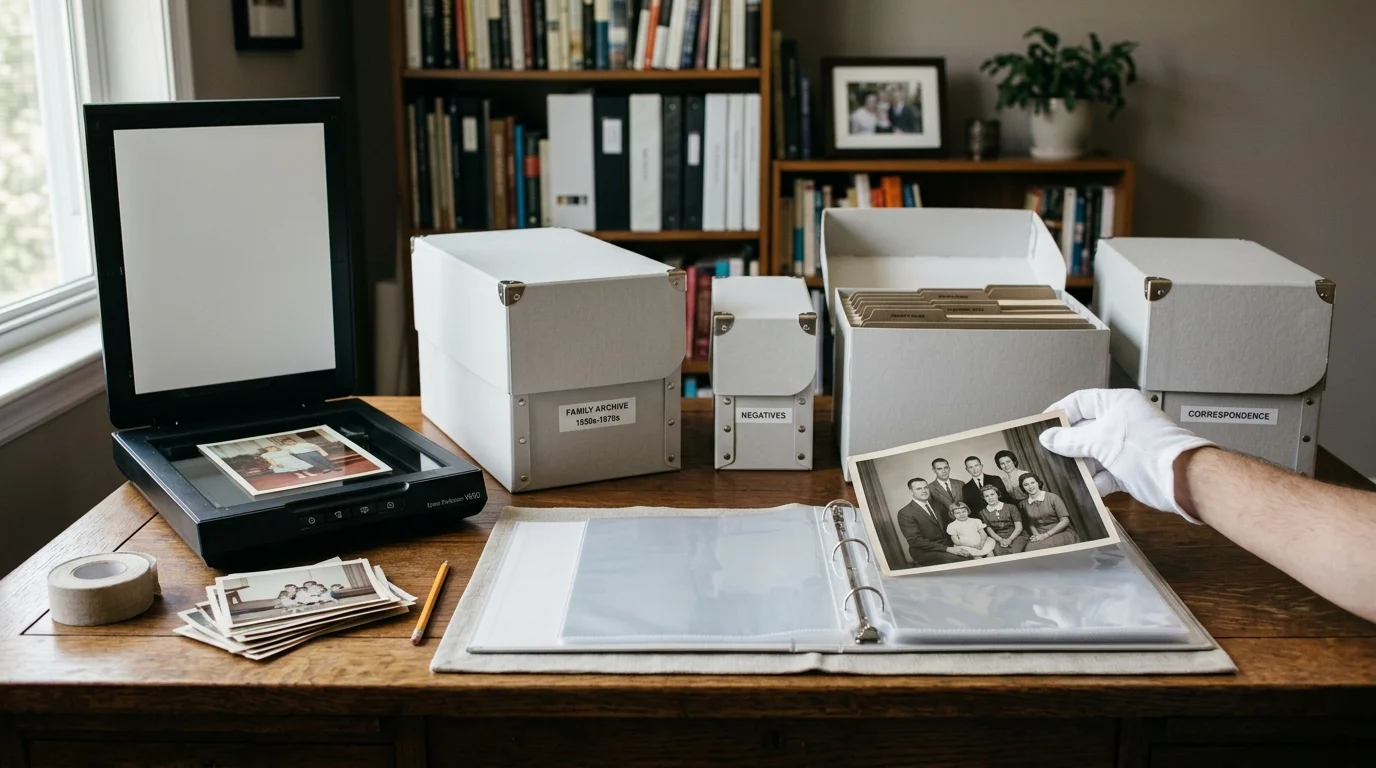
Permanent Storage and Next Steps After Hour 72
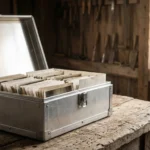
Once you finish the 72-hour stabilization protocol, you must establish clean permanent storage. Do not return stabilized photographs to original cardboard shoeboxes or acidic wooden drawers.
Cardboard contains lignin and sulfur compounds that off-gas harmful peroxides, accelerating image silver fading. Transfer black-and-white prints into acid-free, lignin-free archival folders.
Consult the preservation guidelines outlined by the Library of Congress Preservation Directorate for long-term envelope selection. They recommend unbuffered enclosures for cyanotypes and dye transfer prints, while standard silver gelatin prints thrive in buffered enclosures.
Quarantine film that reached Stage 2 or Stage 3 vinegar syndrome completely away from healthy photographic collections. Off-gassing acetic acid acts as an airborne contagion, initiating decay in adjacent healthy films.
Store degraded acetate reels inside ventilated metal cans or archival buffered paper enclosures rather than sealed plastic bags. Sealed containers trap accumulating acetic vapor, dramatically quickening base destruction.
Follow the environmental storage standards published by the National Archives Preservation National Programs. Maintain historical collections at or below 65°F with relative humidity strictly stabilized between 30% and 40%.
Cold storage provides the ultimate defensive tool for active vinegar syndrome. Freezing acetate film at 0°F halts chemical hydrolysis entirely, preserving family reels until you can complete digital transfers.
Frequently Asked Questions
Can I put heat-damaged photos straight into a household freezer to stop decay?
Never put hot or warm photographs directly into a home freezer. Rapid freezing crystallizes trapped moisture inside the gelatin emulsion, cracking the image layer and causing permanent structural delamination.
How do I separate two photo prints that are already stuck together?
Do not pull stuck prints apart while they are dry. Dry pulling tears paper fibers and rips away gelatin emulsions; set them aside for professional conservators who utilize controlled moisture chambers.
Can vinegar syndrome film infect my healthy digital backup drives or modern prints?
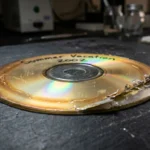
Vinegar syndrome off-gasses acetic acid vapor, which corrodes metallic components in electronic equipment and optical discs. Store degraded safety film in a separate room from computers, hard drives, and modern color prints.
What should I do if the indicating silica gel turns color during the 72 hours?
If the indicating beads shift from orange to green, the desiccant has reached moisture saturation. Quickly swap the saturated canister with a fresh, dry unit without leaving the cooler lid open.
Disclaimer: This article is for informational purposes only. When handling valuable or irreplaceable photographs, consider consulting a professional conservator. Always test preservation methods on non-valuable items first.