
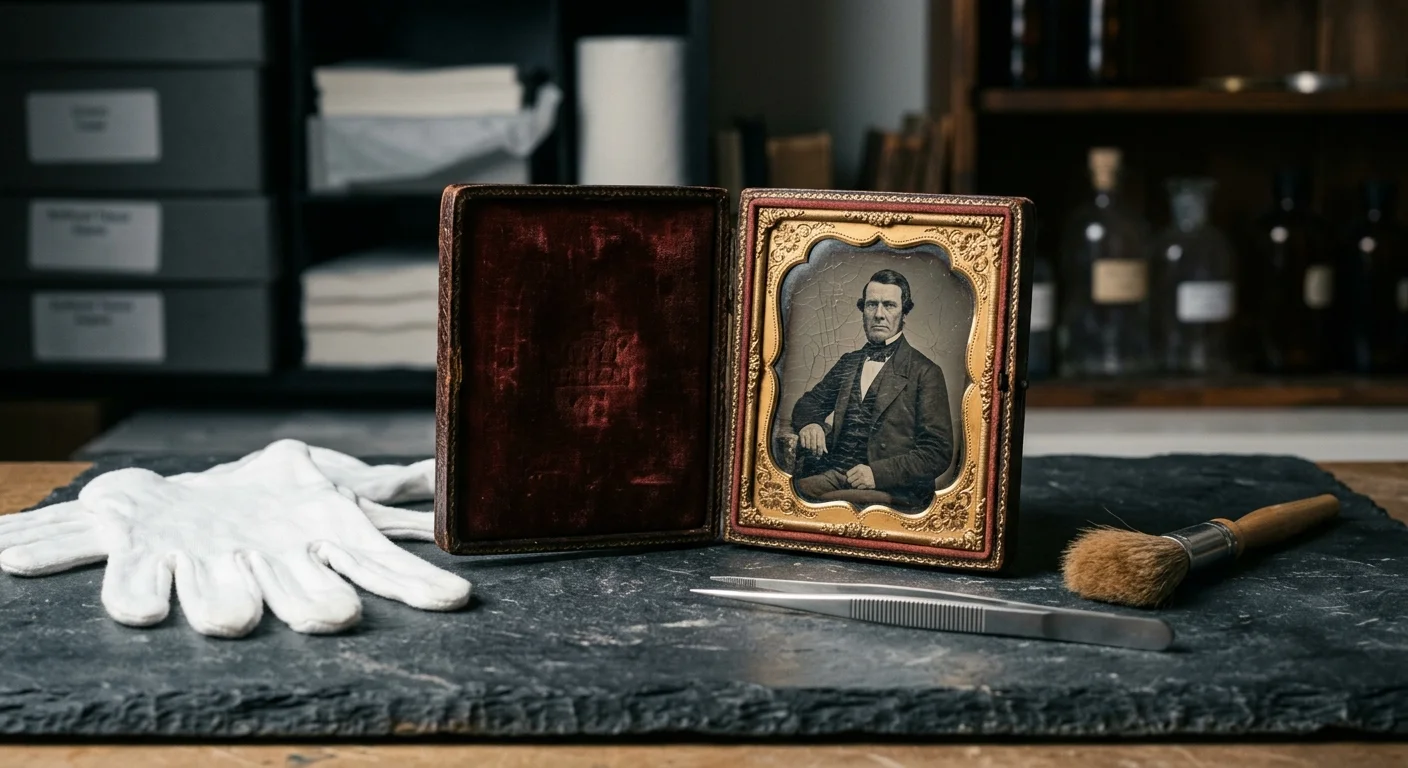
Your Arizona attic conversion subjects fragile nineteenth-century ambrotypes to brutal 40-degree daily temperature swings. These intense thermal swings destroy the delicate bond holding aged collodion emulsion to antique glass backings.
Most preservation guides simply tell you to relocate your heirlooms to a cooler floor. However, when limited living space leaves you with no alternate rooms, passive thermal engineering provides your only working defense.
Building nested, high-R-value micro-chambers dampens extreme daily heat cycles into harmless, slow-moving thermal waves. This approach prevents fatal shear stress without requiring expensive mechanical refrigeration systems in your home.
The Physics of Collodion Shear on Glass Plates
An ambrotype consists of an exceedingly thin layer of cellulose nitrate collodion carrying reduced metallic silver particles. Photographers poured this wet chemical mixture directly onto clear or dark soda-lime glass plates during the 1850s.
Because glass is naturally non-porous, the collodion film does not form chemical bonds with the substrate. Instead, the dried collodion relies entirely on microscopic surface friction and weak mechanical adhesion to stay anchored.
Every substance expands when heated and contracts when cooled, but different materials expand at wildly different rates. Materials scientists measure this dimensional behavior using the linear coefficient of thermal expansion.
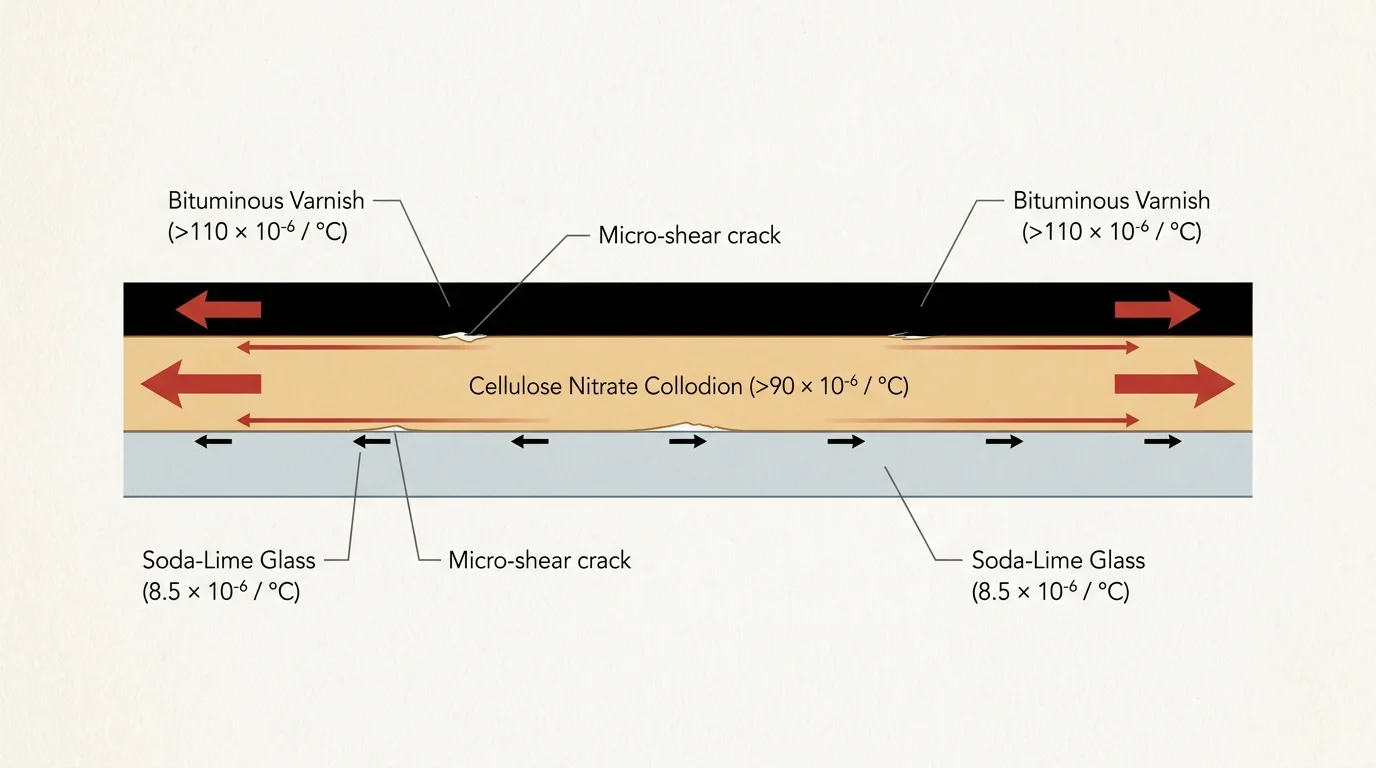
Standard nineteenth-century soda-lime sheet glass expands very slowly, exhibiting a coefficient of thermal expansion around 8.5 × 10⁻⁶ per degree Celsius. It remains dimensionally rigid through wide atmospheric shifts.
In contrast, dried cellulose nitrate collodion expands and contracts dramatically, possessing a thermal expansion coefficient exceeding 90 × 10-6 per degree Celsius. It reacts aggressively to sudden temperature shifts.
When you add an asphaltum or black spirit varnish backing to create the positive image, you introduce a third reactive material. Bituminous varnishes expand at rates exceeding 110 × 10-6 per degree Celsius.
As your room temperature climbs, the collodion and varnish layers expand roughly ten times faster than the underlying glass plate. The rigid glass mechanically holds its ground while the organic layers struggle to push outward.
This stark mechanical mismatch generates immense interfacial shear stress along the plate surface. When the temperature plummets at night, the organic layers contract violently, snapping microscopic anchor points across the smooth silica base.
Interfacial shear stress between expanding collodion polymers and rigid silica glass accounts for almost all mechanical delamination in unconditioned antique collections.
Repeated thermal expansion cycles induce mechanical fatigue across the plate. Over weeks of daily stress, the collodion binder shears clean away from the glass, causing blind cleavage, cupping, and irreparable flake loss.
Arizona Attic Microclimates and Diurnal Thermal Shock
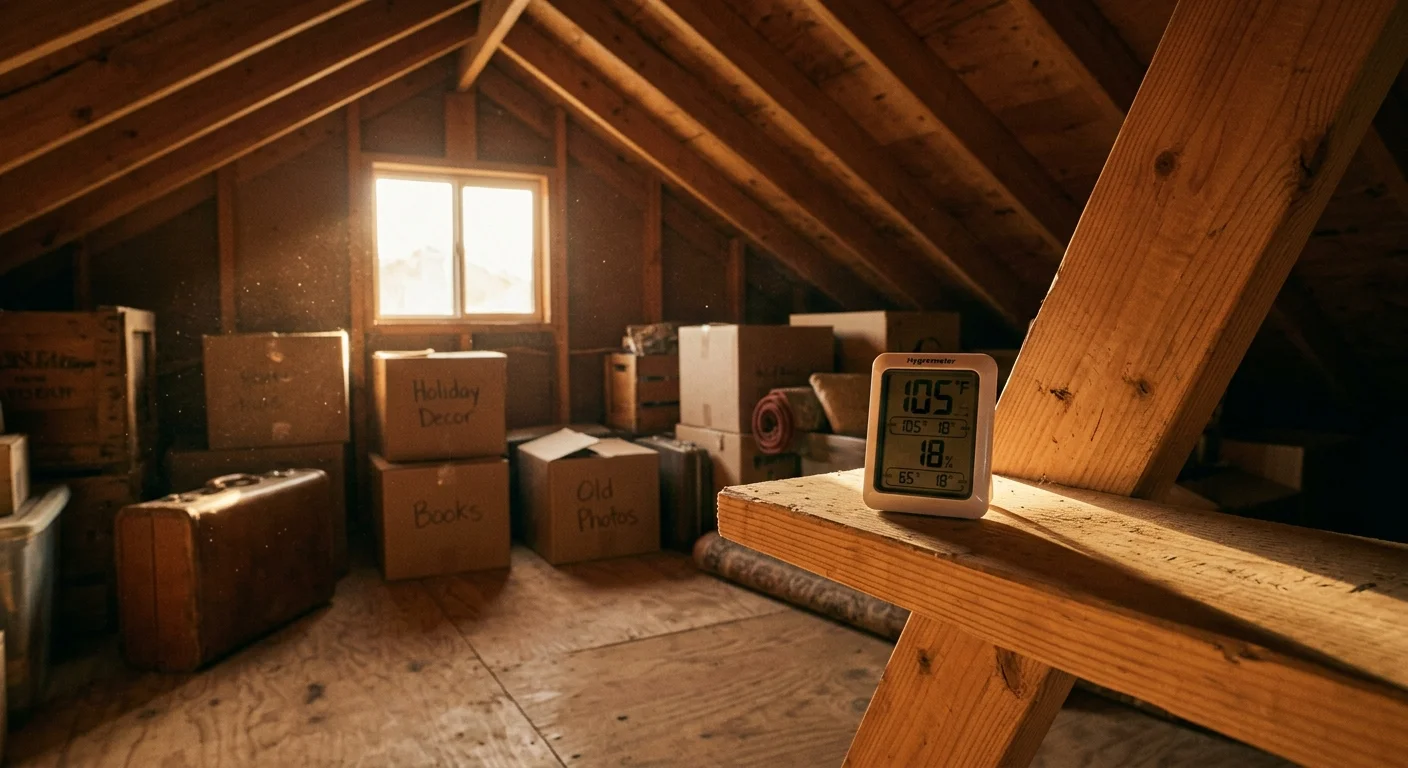
In desert climates like Phoenix or Tucson, converted attics endure severe daily thermal swings. Even well-finished attic lofts regularly experience 40-degree Fahrenheit ambient shifts within a standard twelve-hour diurnal window.
At 5:00 AM, cool night air across the desert might stabilize your upper living space at 68 degrees Fahrenheit. By 3:00 PM, intense rooftop solar radiation drives indoor attic temperatures above 108 degrees Fahrenheit.
While sustained elevated heat accelerates chemical decay according to the Arrhenius rate law, temperature oscillation causes rapid mechanical destruction. The speed of the temperature change dictates the intensity of the shear stress.
According to baseline research published by the Image Permanence Institute, rapid physical fluctuations provoke faster structural failure in composite photographic artifacts than slow, seasonal drifts. Fast swings allow no time for structural relaxation.
When temperature rises at five degrees Fahrenheit per hour, the outer edges of an ambrotype warm far faster than the core. This uneven thermal gradient creates destructive differential expansion across the face of a single plate.
Furthermore, daily heating causes absolute moisture shifts in any absorbent materials packed near your ambrotypes. Wood case frames, velvet pinch pads, and paper liners release captured water vapor directly into the case microenvironment.
This evaporated moisture condenses against cooler glass surfaces when temperatures plunge at night. Trapped moisture softens the collodion binder, dramatically lowering its cohesive strength and making it far more vulnerable to mechanical shear.
You cannot stop the sun from beating down on your roofline each afternoon. You can, however, encase your heirlooms inside a thermal barrier that slows this daily energy transfer down to a harmless crawl.
Identifying Pre-Flaking Pathology in Cased Ambrotypes
Before assembling protective micro-chambers, you must carefully inspect your ambrotypes for early microscopic indicators of collodion failure. Early intervention stops plate degradation long before loose flakes drop into the case interior.
Place your cased photograph on a clean, steady work surface covered with unbuffered archival blotting paper. Use a battery-powered, cool-running 5000K LED inspection lamp angled at roughly thirty degrees to provide raking light.
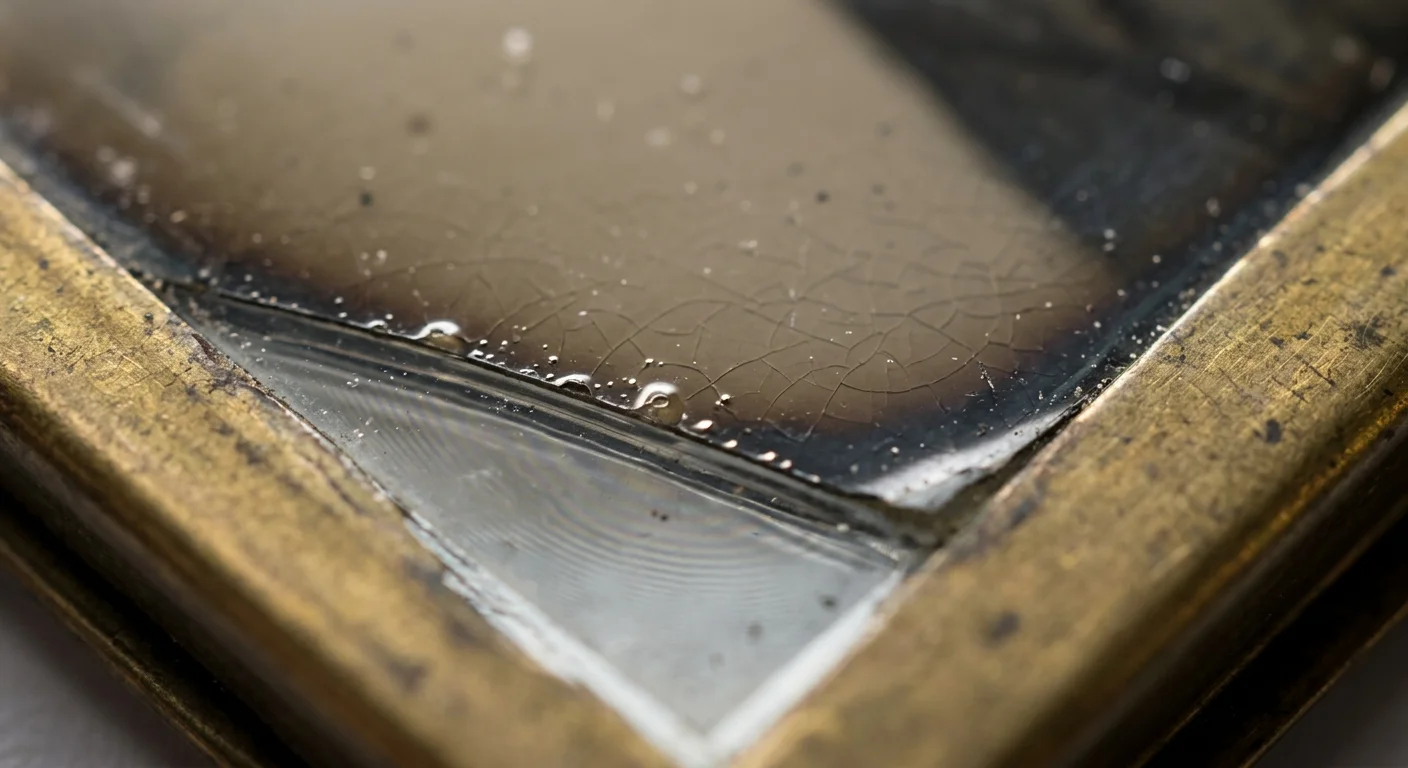
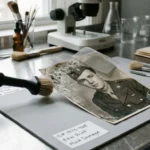
Examine the collodion surface with a 10x achromatic optical loupe. Look closely for blind cleavage, which appears as tiny, silvery air pockets resting beneath the emulsion layer where adhesion has failed.
Inspect the plate for fine reticulation or crazing patterns that resemble cracked ceramic glaze. These microscopic fissures prove that repeated expansion and contraction cycles have already overstressed the dried collodion matrix.
Next, determine whether your ambrotype features a collodion surface image or relies on a painted glass backing. In true ambrotypes, photographers applied dark varnish either to the collodion side or to the rear glass face.
If the photographer coated asphaltum paint directly over the delicate collodion layer, thermal swings cause the varnish to crack first. The contracting varnish curls tightly, peeling the underlying collodion layer off the glass.
Check the structural integrity of your thermoplastic Union Case, often manufactured by Littlefield, Parsons & Company or Samuel Peck. These nineteenth-century molded sawdust-shellac compounds become brittle when exposed to prolonged thermal cycling.
Note any warping along the case perimeter or loose brass preserver foils holding the package together. A warped case flexes the interior glass sandwich, introducing severe mechanical bending stresses across an already stressed emulsion.
Document every existing fissure, chip, and air pocket with high-resolution macro photography before proceeding. Having baseline visual records ensures you notice immediately if thermal stabilization measures need mechanical adjustment later.
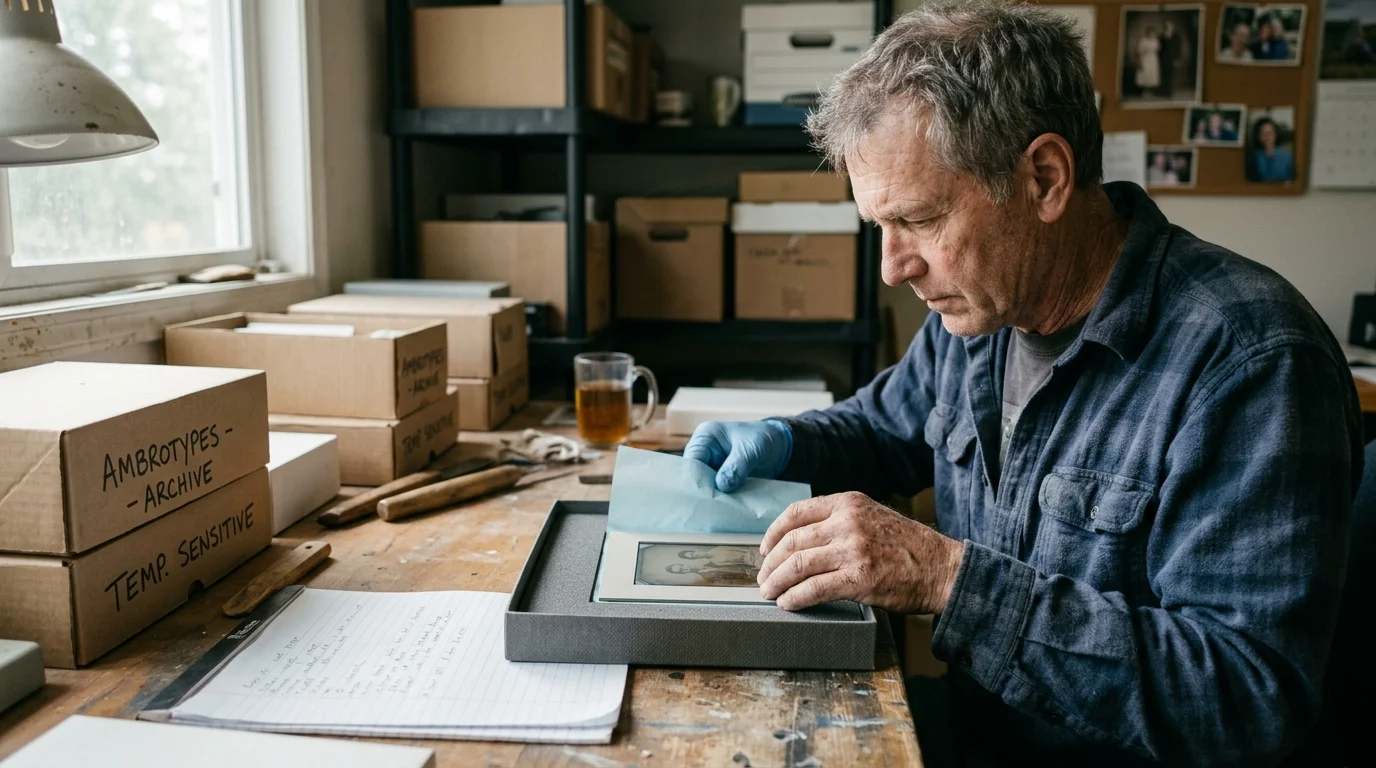
Engineering Nested Archival Micro-Chambers by R-Value
Passive thermal protection relies on the physical law of thermal resistance, commonly designated as R-value. Higher R-values indicate that a given material resists conductive heat flow more effectively over time.
To eliminate collodion flaking, your storage assembly must dampen a 40-degree room fluctuation down to less than four degrees inside the container. This performance requires an overall assembly thermal resistance of at least R-12.
A single archival cardboard box provides an insignificant thermal barrier of roughly R-0.8. Heat flows directly through thin paperboard walls, shocking the enclosed ambrotypes within forty-five minutes of an attic temperature spike.
You achieve high thermal resistance without mechanical power by building nested protective layers. Each distinct boundary creates a thermal transition zone, forcing energy to travel through multiple conductive and convective barriers.
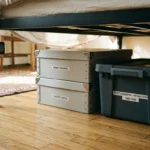
The outermost defense requires an airtight, vapor-sealed shell to completely block hot desert convection currents. A commercial polymer case with an integrated neoprene gasket stops external air infiltration entirely.
Inside this outer shell, you install continuous panels of rigid, high-density insulating foam. Closed-cell polyisocyanurate or high-density extruded polystyrene provides exceptional thermal resistance in compact, easily customized footprints.
The third nested layer features a rigid archival container meeting strict conservation criteria. As detailed by the Library of Congress Preservation Directorate, materials directly housing historical photographs must pass the rigorous Photographic Activity Test (ISO 18916).
Buffered 60-point barrier boards neutralize migrating airborne acids without releasing harmful volatile plasticizers. This sturdy internal box isolates your cased ambrotypes from direct physical contact with outer structural insulation boards.
The innermost core contains passive thermal mass and humidity-stabilizing conditioning cassettes. Pre-conditioned silica tiles absorb and release latent heat while pinning internal relative humidity between 30% and 40%.
By nesting these targeted layers, you effectively turn a violent 40-degree exterior temperature spike into a gentle, imperceptible thermal drift. Your ambrotypes remain in physical equilibrium regardless of intense rooftop conditions.
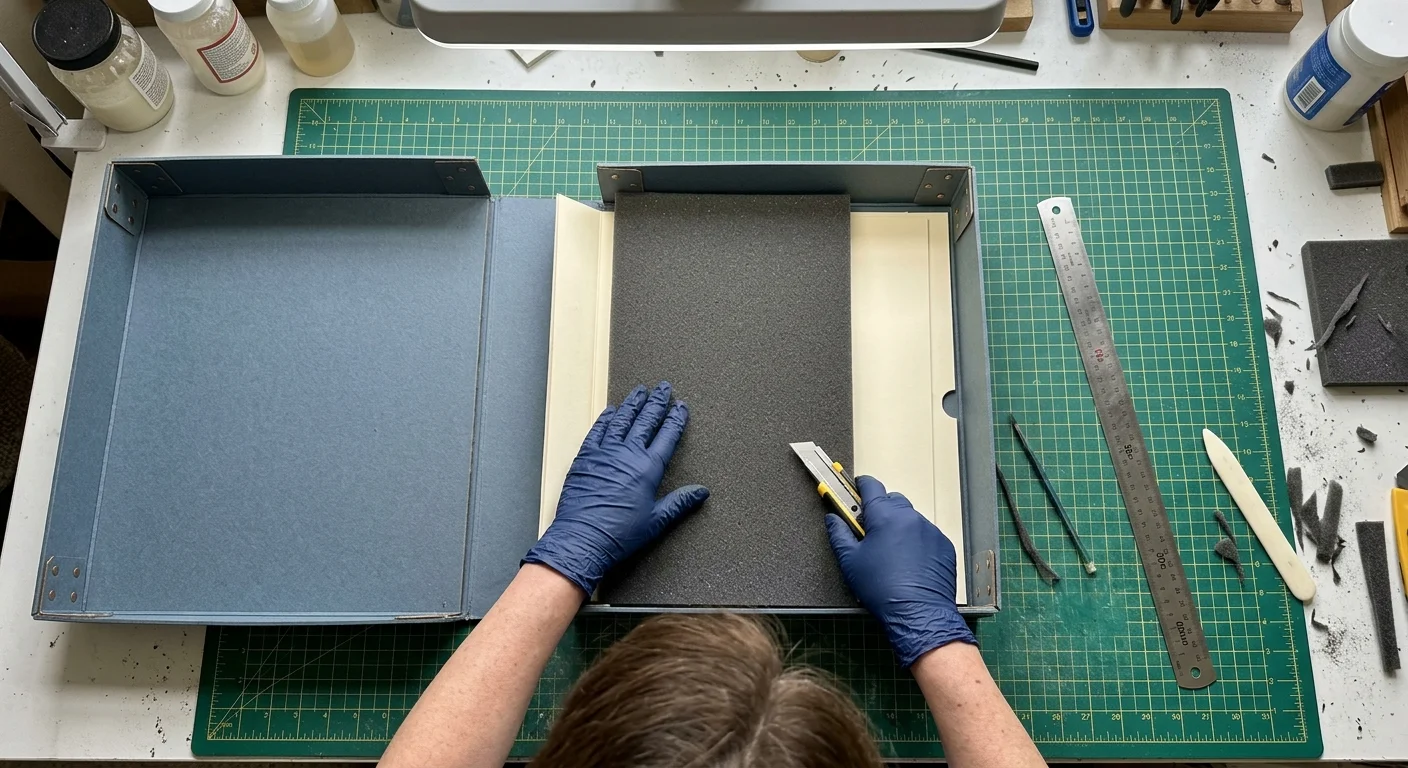
Step-by-Step Build: Damping a 40-Degree Fluctuation
This worked example outlines the exact construction of an R-13 nested micro-chamber designed for an attic space in Phoenix, Arizona. The attic swings daily from 68 degrees Fahrenheit at 5:00 AM to 108 degrees at 3:00 PM.
The collection consists of six sixth-plate ambrotypes measuring 2.75 by 3.25 inches. All six plates remain housed within their original thermoplastic Littlefield Union Cases.
First, purchase an airtight exterior transport container, specifically a Pelican 1450 Protector Case with exterior dimensions of 16.00 by 13.00 by 6.87 inches. This gasketed structural enclosure costs approximately $115.00.
Next, source a four-by-eight-foot sheet of 1.0-inch Johns Manville AP Foil-Faced Polyisocyanurate foam board from a local building supplier for roughly $24.00. This rigid board delivers a thermal rating of R-6.5 per inch.
Using a heavy-duty utility knife, cut six panels to line the bottom, four interior walls, and inside lid of the Pelican case. The reflective aluminum foil faces outward toward the case shell to reflect radiant heat energy.
Apply a second interior layer using 1.0-inch cuts of the same foil-faced polyisocyanurate board. Stagger all joints to eliminate direct thermal bridging paths, establishing a cumulative insulation barrier of R-13 across all six sides.
Inside the insulated cavity, place a Hollinger Metal Edge Archival 60-point barrier box (item #04010, measuring 7.5 by 5.5 by 4.0 inches, costing $11.50). This PAT-compliant container holds your cased photographs securely.
Wrap each thermoplastic ambrotype case in acid-free, unbuffered four-flap paper enclosures made from 10-point archival folder stock. Slide the wrapped cases into the Hollinger box, positioning them vertically on their long edges.
Never pack fragile plates horizontally under heavy vertical stacks. Vertical filing prevents concentrated downward weight from pressing broken or cupping collodion flakes into the opposite glass cover sheet.
Add one 50-gram pre-conditioned Art-Sorb silica gel cassette (costing $18.00), calibrated to 35% relative humidity, beside the plates. Secure the inner box lid, close the insulated foam cap, and clamp the outer Pelican case latches.
Temperature dataloggers reveal that during a continuous 40.0-degree external attic fluctuation, the internal core temperature shifts by only 3.2 degrees over twelve hours. This 92% damping rate successfully eliminates interfacial collodion shear stress.
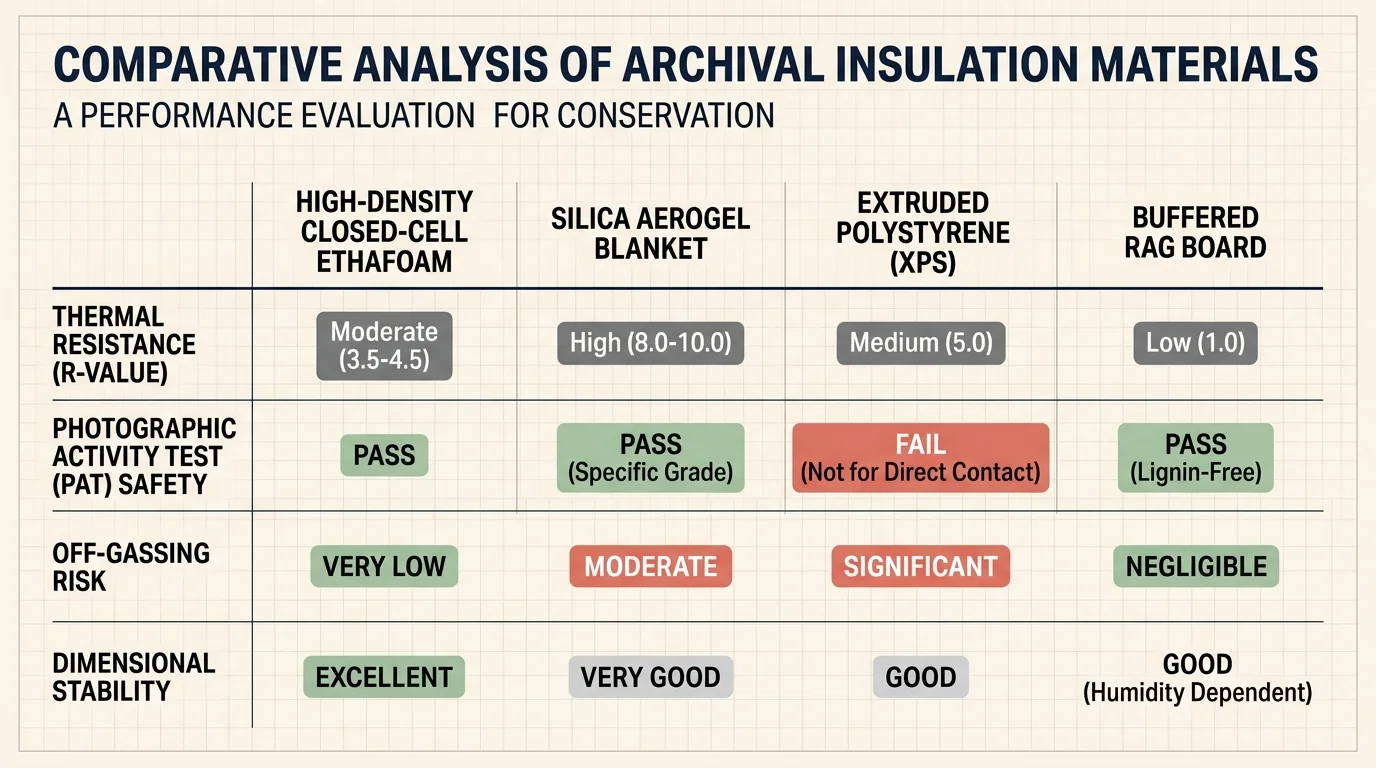
Comparing Thermal Barrier Materials for Photographic Storage
Selecting insulation for photographic storage requires balancing thermal resistance against chemical inertness. Many commercial building insulations off-gas corrosive compounds that actively destroy silver image layers within weeks.
Never place loose fiberglass, open-cell polyurethane upholstery foam, or standard styrofoam packing peanuts inside archival storage boxes. These materials release volatile plasticizers, styrene monomers, and formaldehyde into the storage atmosphere.
Review the measurable specifications of safe, high-performance thermal insulation barriers in the comparison table below.
| Insulation Material | R-Value (per inch) | Thermal Conductivity (W/m·K) | PAT ISO 18916 Safety Rating | Estimated Cost (per sq ft) |
|---|---|---|---|---|
| Foil-Faced Polyisocyanurate (Rigid) | R-6.5 | 0.022 | Safe (External to Barrier Box) | $0.75 |
| Extruded Polystyrene / XPS (Foamular 250) | R-5.0 | 0.029 | Safe (External to Barrier Box) | $0.65 |
| Silica Aerogel Blanket (Pyrogel HPS) | R-10.3 | 0.014 | Requires Sealed Mylar Barrier | $4.80 |
| Closed-Cell Polyethylene (Ethafoam 220) | R-3.8 | 0.038 | Passed (Direct Contact Safe) | $3.20 |
| Archival Cotton Rag Board (8-Ply) | R-1.4 | 0.105 | Passed (Direct Contact Safe) | $6.50 |
Foil-faced polyisocyanurate delivers the highest standard thermal resistance per dollar for constructing secondary external chambers. Its impermeable aluminum facing prevents any internal core foam chemicals from migrating outward into the storage environment.
If you require custom interior blocking materials inside the PAT-compliant Hollinger box itself, choose closed-cell polyethylene foam exclusively. Known commercially as Ethafoam 220, this chemically pure polymer releases zero harmful acidic vapors.
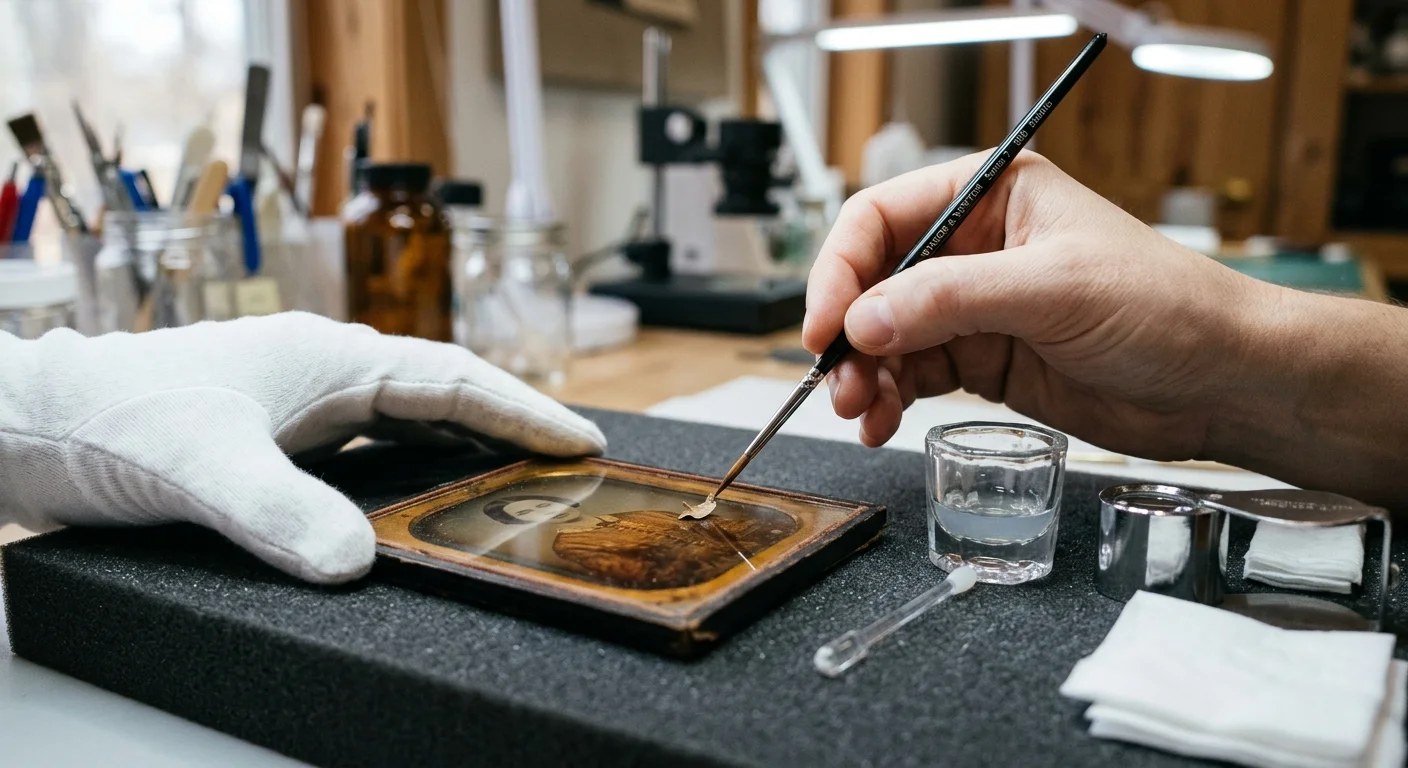
Emergency Stabilization for Actively Lifting Emulsions
If you open an ambrotype case and discover loose, curling collodion flakes, immediately alter your handling protocol. Physical agitation or erratic air currents will dislodge unanchored emulsion fragments, destroying fine image details permanently.
Immediately lay the opened Union Case flat on your workspace, keeping the collodion side facing upward. Never tilt the plate vertically or hold it upside down to examine backing markings.
Resist the urge to re-adhere peeling flakes using commercial adhesives, clear glues, or spray fixatives. Household glues shrink aggressively as their solvent carrier evaporates, ripping delicate photographic films apart at the margins.
Avoid touching loose collodion fragments with bare skin, cotton gloves, or mechanical tweezers. Fine cotton glove fibers snag readily on raised emulsion edges, snapping fragile historical flakes away from the glass surface.
If you must reposition a displaced flake before closing the case, use a single-fiber synthetic sable brush (size 000). Touch the dry brush gently against the flake edge to nudge it without applying downward pressure.
If an ambrotype displays widespread emulsion cleavage, keep it resting flat inside a shallow archival storage tray. Do not re-close the original case lid if the velvet pinch pad presses directly against lifting flakes.
Professional consolidation requires complex conservator treatments, such as controlled micro-misting with pharmaceutical-grade gelatin or synthetic resins like Klucel G. These delicate procedures require specialized laboratory equipment and years of training.
Never apply liquid adhesives or consolidants to an ambrotype plate at home; irreversible surface staining and violent emulsion curling will result.
Locate a certified photograph conservator through the American Institute for Conservation directory. A trained conservator can safely relax, realign, and consolidate shattered collodion coatings using reversible, conservation-grade adhesives.
Frequently Asked Questions
Can you use standard household insulation to wrap ambrotype storage boxes?
No, standard fiberglass and common building wraps off-gas volatile organic compounds, formaldehyde, and sulfur compounds. These airborne pollutants actively tarnish silver image particles and degrade cellulose nitrate collodion binders. Use only closed-cell polyethylene, foil-faced polyisocyanurate, or acid-free cotton rag boards.
How quickly does a 40-degree temperature swing cause collodion to flake?
Delamination is cumulative rather than instantaneous. While a single 40-degree Fahrenheit cycle induces microscopic shearing stresses along the glass interface, visible cleavage typically emerges after three to six months of uninterrupted diurnal cycling.
Should you remove an ambrotype from its thermoplastic Union Case to preserve it?
Keep the ambrotype inside its original Union Case unless the case itself is warped or actively off-gassing. The original brass preserver, pinch pad, and cover glass provide structural compression and an initial thermal buffer against ambient temperature spikes.
Can you re-adhere loose collodion flakes using commercial archival glue?
Never apply commercial glues, gelatin, or consolidants to lifting collodion without professional conservation training. Wet adhesives introduce moisture and solvents that dissolve the collodion layer or cause severe planar warping as they dry.
Disclaimer: This article is for informational purposes only. When handling valuable or irreplaceable photographs, consider consulting a professional conservator. Always test preservation methods on non-valuable items first.

1 Comment